Hello Friends, I am here again with a legendary project. You know that I am sharing very useful DIY projects for you. I wanted to share another new project. Today I made a led lighted vanity table for my home. Let's see how it was done?
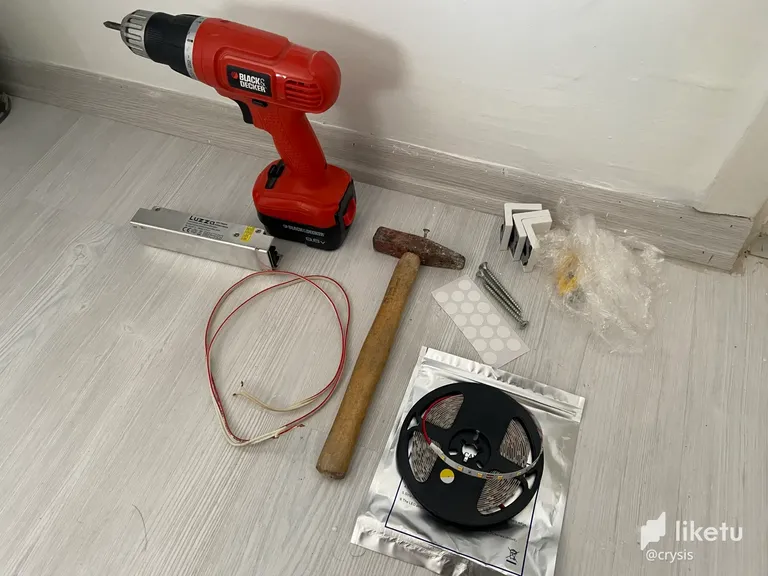
First of all, the materials; cordless drill, led light, electric transformer for led light, hammer, some electric cable and spirit level. I used the iPhone app for the spirit level. You can use a normal spirit level if you have it at home.
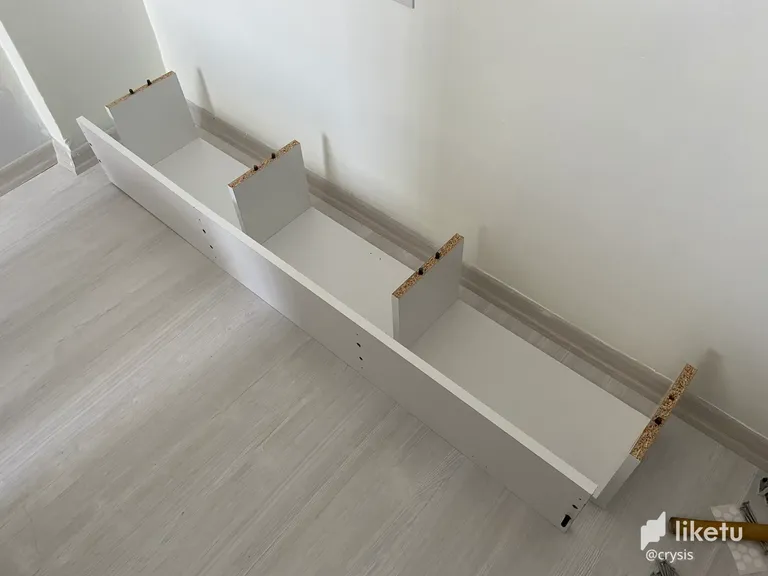
We have 2 long boards and 4 short boards. We assemble it as you can see in the picture. The boards have holes on them. We insert small sticks into these holes. You can do this more easily with the help of a hammer.
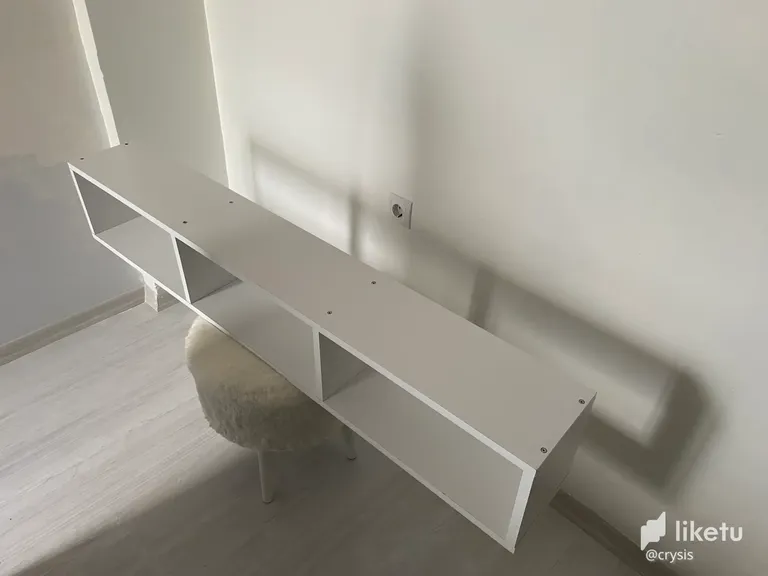
We assemble the 2nd long board as you can see in the picture. Then we insert 16 screws with a cordless drill. We attach screws to the junction points of short boards and long boards. Our table is ready. Now let's mount it on the wall.
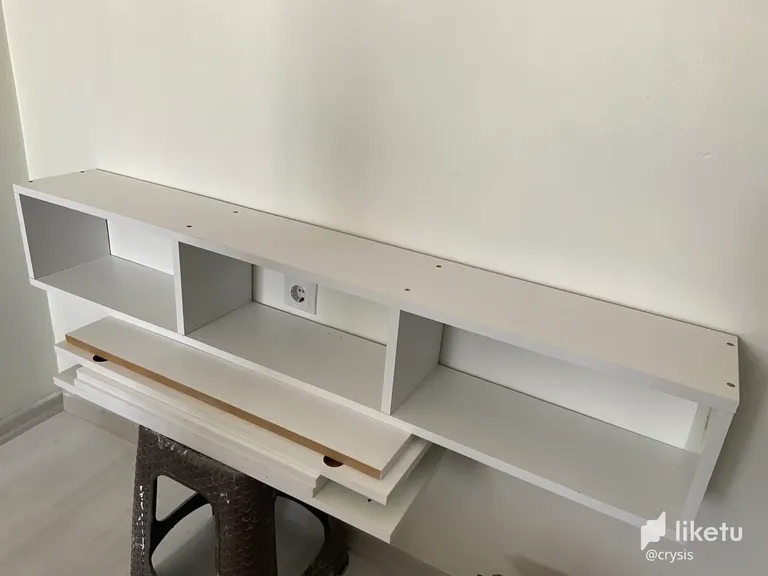
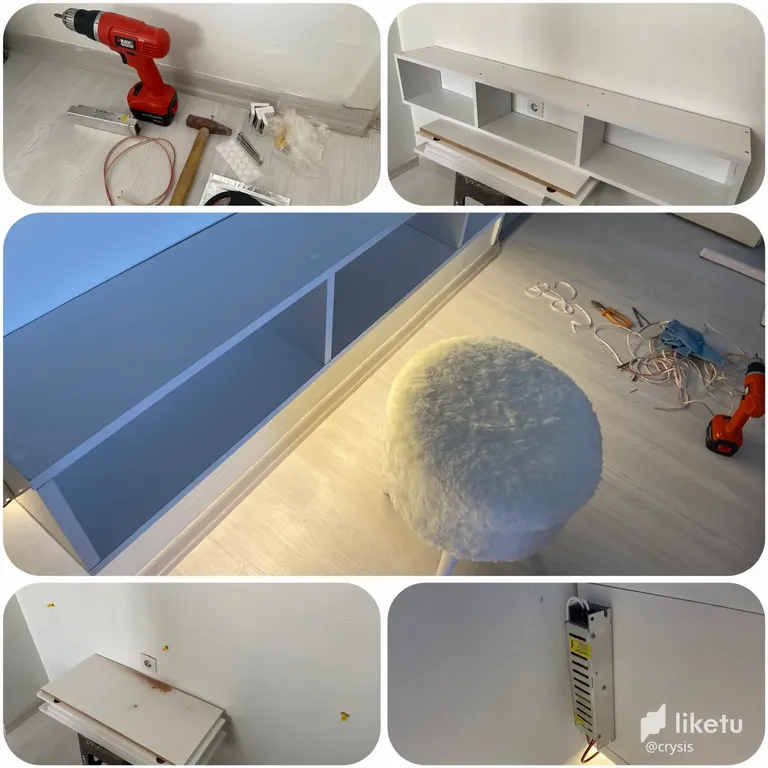
I measured the make-up table with the help of a spirit level. I adjusted the distance of the table with the help of a stool and some wood. I marked it with a pencil to pierce the wall. Now let's drill through the wall. ☺️
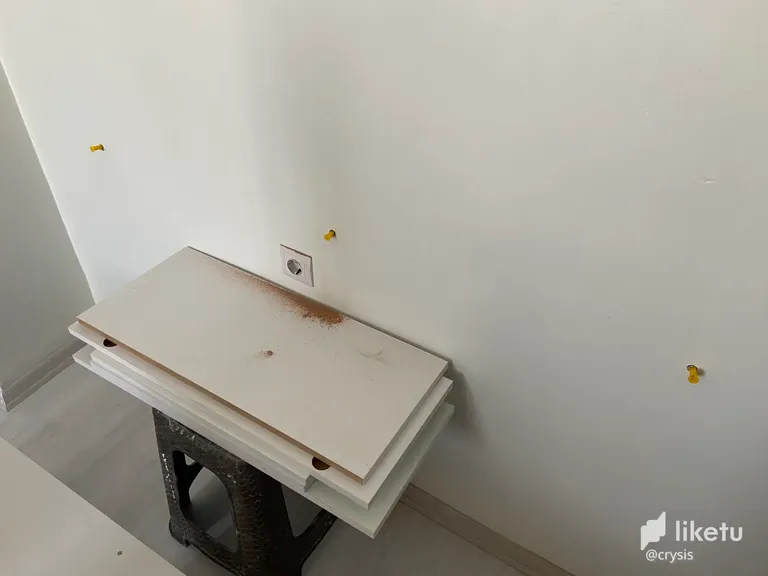
As you can see in the picture, I drilled 3 holes in the wall and placed the dowels. I inserted the dowels into the wall with a hammer.
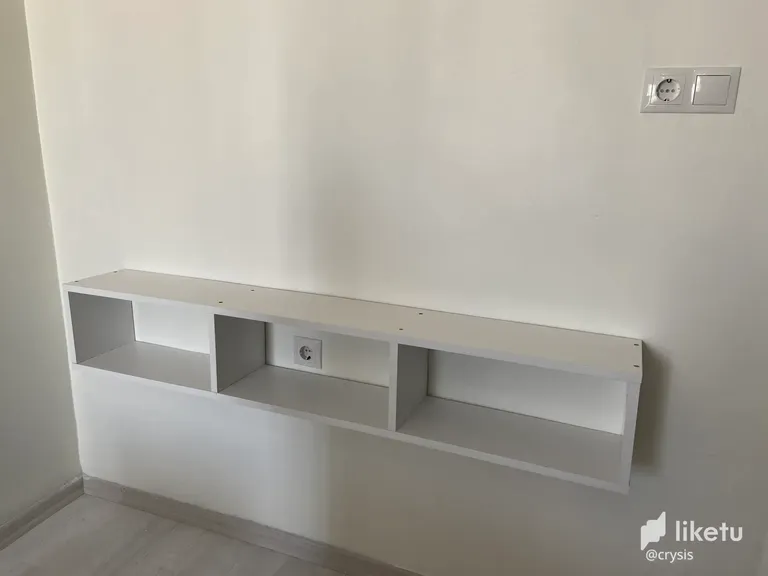
I mounted the table to the wall with 3 long screws. I took the little chairs and boards from under the table. I vacuumed the dust from the wall with a vacuum cleaner. Let's make LED light now ☺️
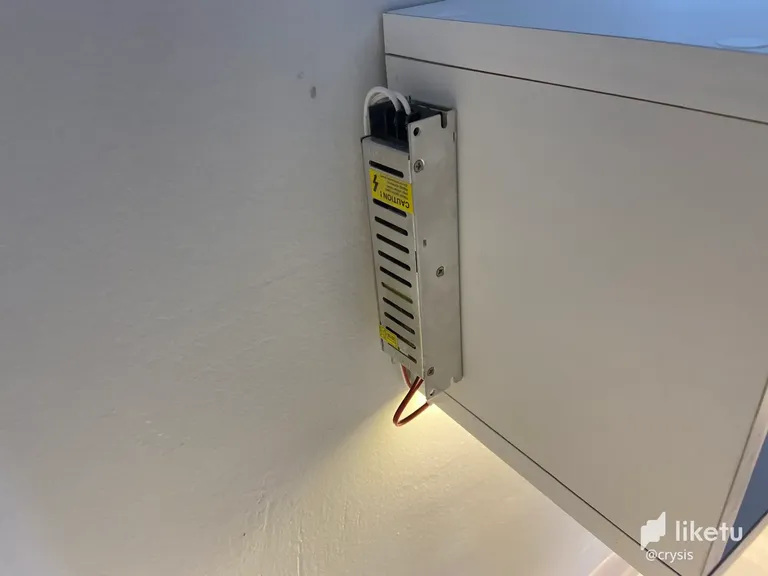
I mounted the electrical transformer on the left side of the table, close to the wall. It won't be visible as it's a blind spot. ☺️ I also made electrical and led strip connections. We are ready now. Let's see how the table turned out. ☺️
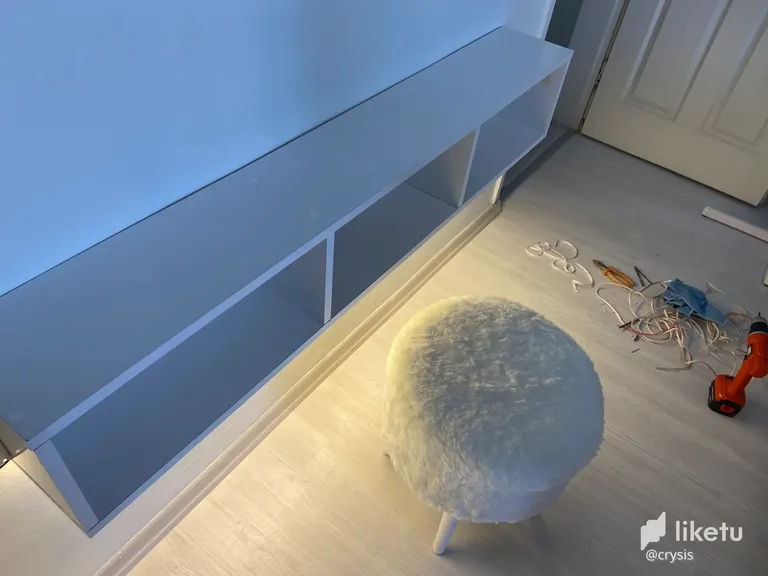
Yes Friends, our LED lighted make-up table turned out great. You can achieve great things at home by making my posts. Just believe and try. Thank you for reading. ☺️
🇹🇷 Postun Türkçe Versiyonu;
Merhaba Arkadaşlar, efsane bir proje ile yine buradayım. Biliyorsunuz ki sizler için çok faydalı diy projeleri paylaşıyorum. Yeni bir proje daha paylaşmak istedim. Bugün evim için led ışıklı makyaj masası yaptım. Bakalım nasıl yapıldı?
Öncelik olarak, malzemeler; şarjlı matkap, led ışık, led ışık için elektrik trafosu, çekiç, biraz elektrik kablosu ve su terazisi. Su terazisi için İphonenun uygulamasını kullandım. Evinizde varsa normal su terazisi kullanabilirsiniz.
2 adet uzun ve 4 adet kısa tahtamız var. Resimde gördüğünüz gibi montajını yapıyoruz. Tahtaların üzerlerinde delikler var. Bu deliklere küçük çubuklar sokuyoruz. Çekiç yardımı ile bunu daha kolay yapabilirsiniz.
Diğer uzun tahtayı resimde gördüğünüz gibi montaj yapıyoruz. Sonra şarjlı matkap ile 16 adet vida takıyoruz. Kısa tahtalar ile uzun tahtaların birleşim noktalarına vida takıyoruz. Masamız hazır. Şimdi duvara montaj yapalım.
Su terazisi yardımı ile makyaj masasını ölçtüm. Tabure ve biraz tahta yardımı ile masanın mesafesini ayarladım. Duvarı delmek için kalem ile işaretledim. Şimdi duvarı delelim. ☺️
Resimde gördüğünüz gibi duvara 3 adet delik açtım ve dübelleri yerleştirdim. Dübelleri çekiç ile iyice duvara soktum.
3 adet uzun vida ile masayı duvara monte ettim. Küçük sandalye ve tahtaları masanın altından aldım. Elektrikli süpürge ile duvardan çıkan tozları süpürdüm. Şimdi led ışık yapalım.☺️
Elektrik trafosunu masanın sol tarafına, duvara yakın olan yere montaj yaptım. Kör nokta olduğu için fazla gözükmeyecek. ☺️ Elektrik ve led şerid bağlantılarını da yaptım. Artık hazırız. Bakalım masa nasıl oldu. ☺️
Evet Arkadaşlar, Led ışıklı makyaj masamız harika oldu. Sizlerde postlarımı oluyarak, evinizde harika işler başarabilirsiniz. Sadece inanın ve deneyin. Okuduğunuz için teşekkür ederim. ☺️
For the best experience view this post on Liketu