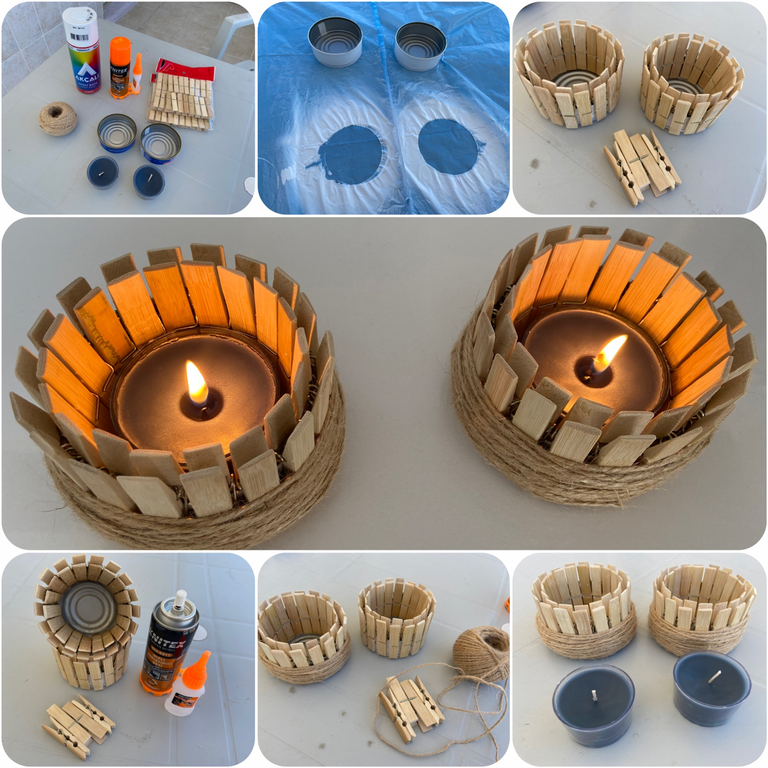
Hello Friends, today I am here for a great diy project for your home. We will make a very nice candle holder with the materials at home. Today we are making candle holders with cans. Let's see what the materials are?
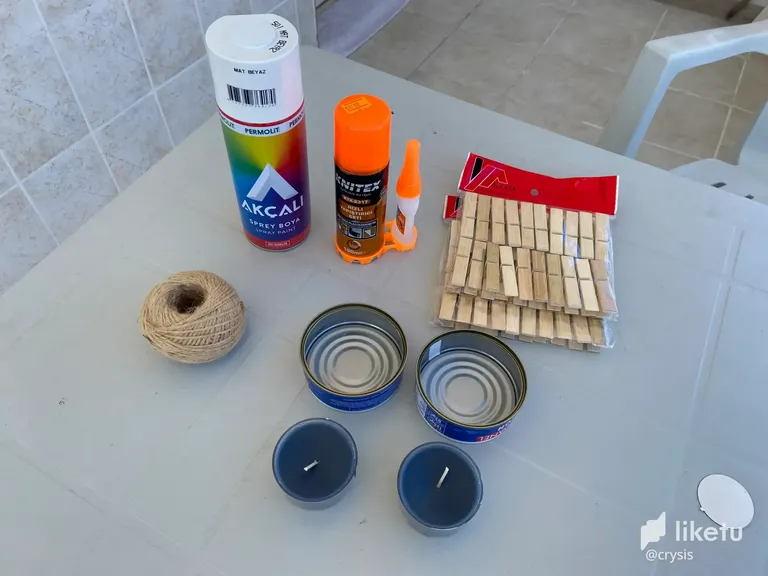
First of all, our materials; white spray paint, instant glue, 2 tins, wooden clothespins, decorative thread, 2 candles. Our materials are ready. Let's see how decorative candle holders are made.
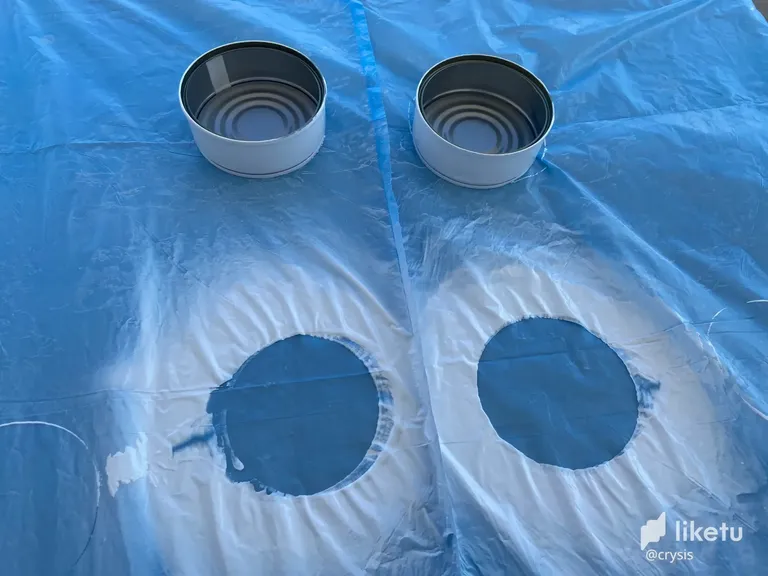
First, we paint the tin boxs with white spray paint. We are waiting for the paint on the tin boxs to dry. It will be enough to wait about 1 hour. After the paint dries, we continue again. ☺️
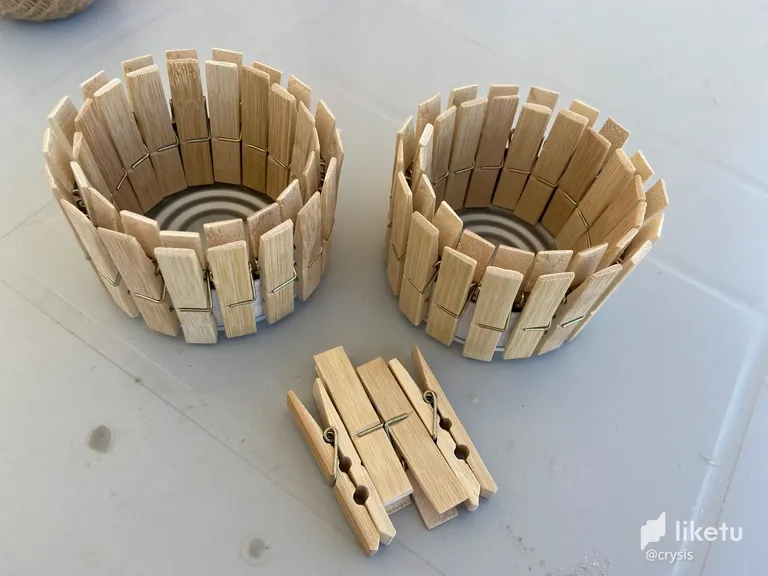
After the paint dries, we attach the wooden pegs to the box as in the picture. 1 tin box requires 18 wooden pegs. In total, I attached 36 wooden pegs to the tin boxs. Wooden pegs attached. Let's see, what's the next action? ☺️
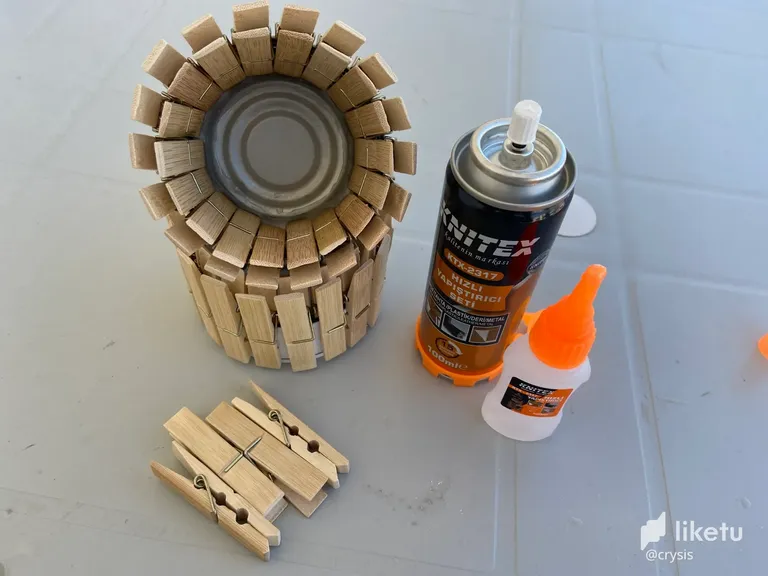
As you can see in the picture, we stick the wooden pegs with quick glue. We do the same for the other tin box. After the glue dries, we continue the process.
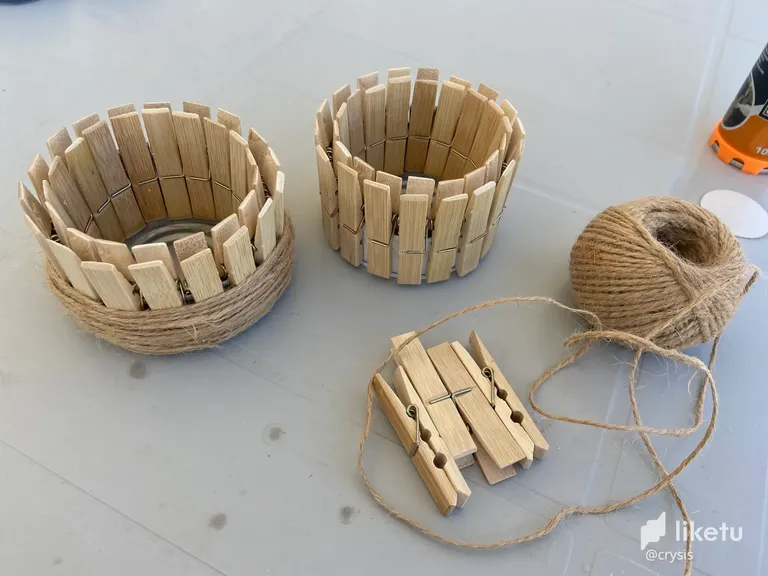
In the next process, we wrapped the decorative rope on the pegs as you can see in the picture. We apply the same process in the other candle holder.
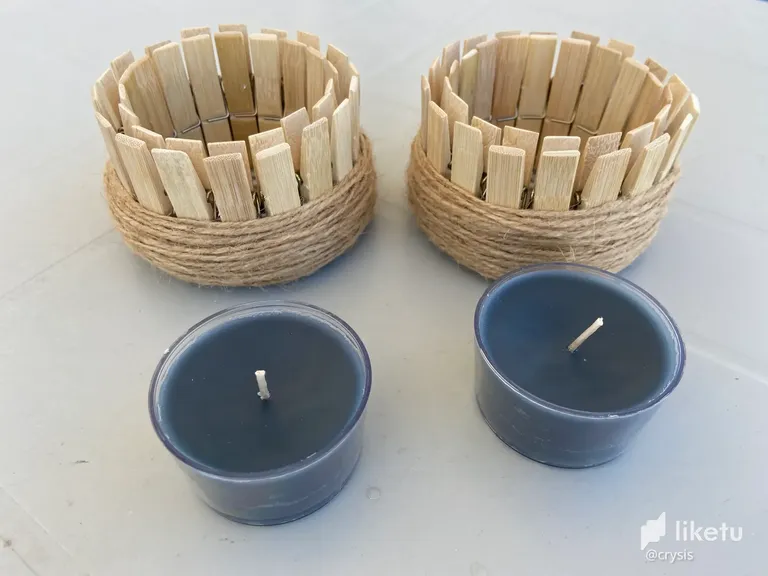
We have completed all the steps. Finally, we put our candles in our candle holders. We are ready now. Let's see how we made a candle holder? ☺️
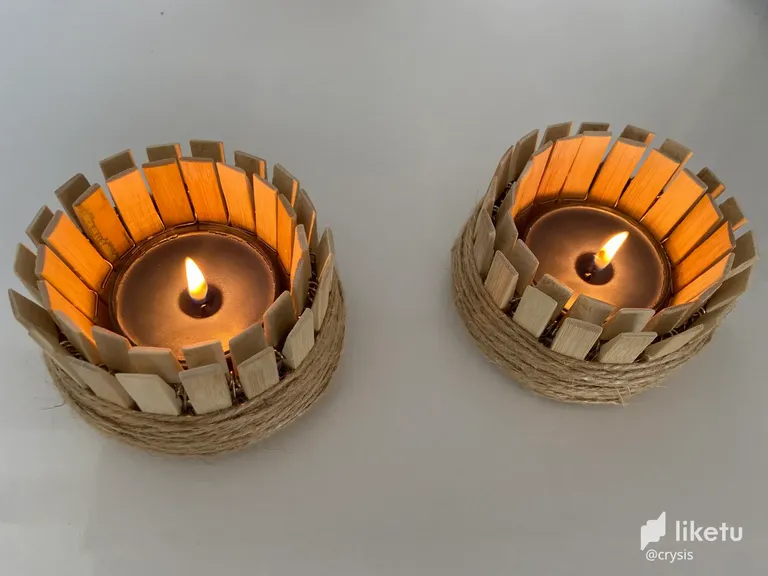
Yes Friends, we also lit our candles. The result was truly excellent. I think I will make a few more candle holders.😀 You can easily make decorative candle holders at home. Thank you for reading. ☺️
🇹🇷 Postun Türkçe Versiyonu;
Merhaba Arkadaşlar, bugün eviniz için harika bir diy projesi için buradayım. Evde olan malzemeler ile çok güzel bir mumluk yapacağız. Bugün konserve kutusu ile mumluk yapıyoruz. Bakalım malzemeler neler?
Öncelik olarak, malzemelerimiz; beyaz sprey boya, hızlı yapıştırıcı, 2 adet konserve kutusu, tahta mandallar, dekoratif ip, 2 adet mum. Malzemelerimiz hazır. Bakalım dekoratif mumluk nasıl yapılıyor?
İlk olarak, teneke kutuları beyaz sprey boya ile boyuyoruz. Teneke kutuların boyasının kurumasını bekliyoruz. Yaklaşık olarak 1 saat beklemeniz yeterli olacaktır. Boya kuruduktan sonra tekrar devam ediyoruz. ☺️
Boya kuruduktan sonra, resimdeki gibi tahta mandalları kutuya takıyoruz. 1 teneke kutu için 18 adet tahta mandal gerekiyor. Toplamda 36 adet tahta mandalı teneke kutulara taktım. Tahta mandallar takıldı. Bakalım sıradaki işlem ne? ☺️
Resimde gördüğünüz gibi tahta mandalları hızlı yapıştırıcı ile yapıştırıyoruz. Diğer teneke kutu için de aynı işlemi uyguluyoruz. Yapıştırıcı kuruduktan sonra işlemlere devam ediyoruz.
Sonraki işlemde resimde gördüğünüz gibi dekoratif ipi mandalların üzerine sardık. Aynı işlemi diğer mumluk içinde uyguluyoruz.
Bütün adımları tamamladık. Son olarak mumlarımızı, mumluklarımızın içine koyuyoruz. Artık hazırız. Bakalım nasıl bir mumluk yaptık? ☺️
Evet Arkadaşlar, mumlarımızı da yaktık. Sonuç gerçekten mükemmel oldu. Sanırım bir kaç tane daha mumluk yapacağım.😀 Sizlerde evinizde kolaylıkla dekoratif mumluk yapabilirsiniz. Okuduğunuz için teşekkür ederim. ☺️
For the best experience view this post on Liketu