My sister-in-law came over a couple of weeks ago with her quilling kit. I’ve always wanted to learn how to make this paper art so we spent two hours going through the basics.
I love exploring new forms of relaxing art to do in my free time. I probably won’t get serious with this art but do plan on learning how to make my own greeting cards with it.
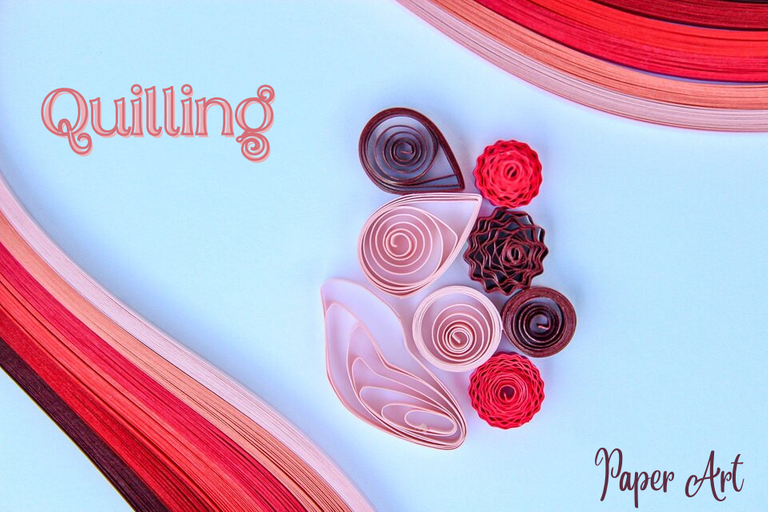
Quilling is an art that deals with the manipulation of paper. You roll it, shape it, glue it then design it to make beautiful art.
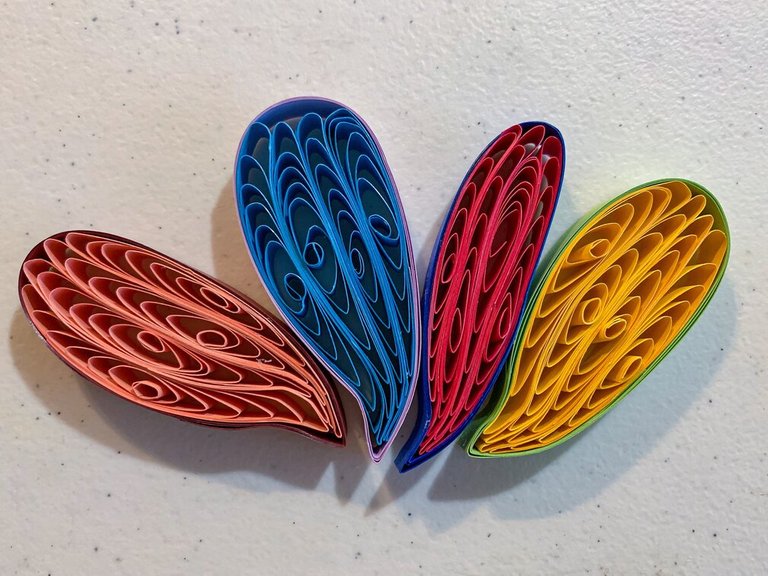
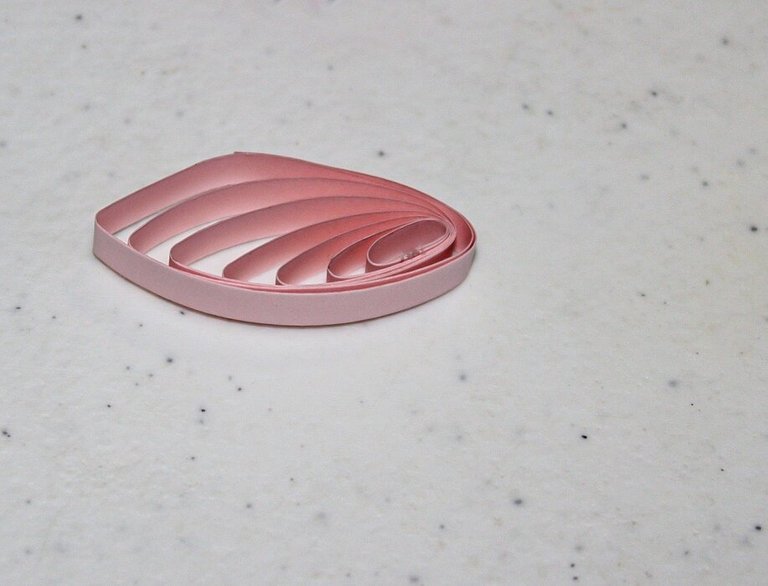
This is one of the first designs my sister tried. She made this and glued it to a greeting card to spice it up.
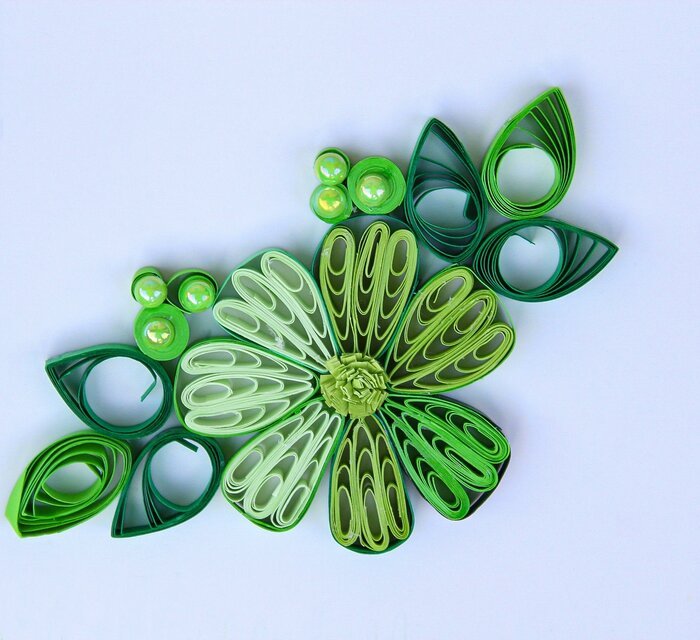
This design is what really sparked interest in me and made me want to learn to do cards this way.
There are so many pretty and vibrant colored papers to use. I love how they come in these loop like strips that you tear off and separate just as you would do for a sticky note.
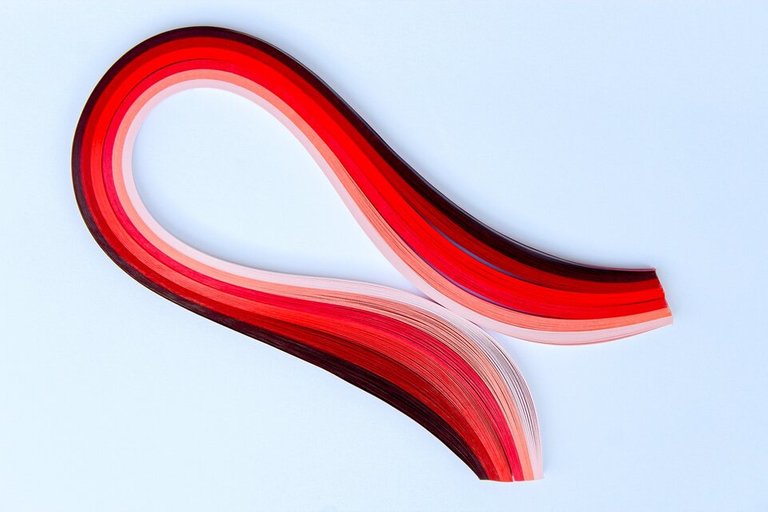
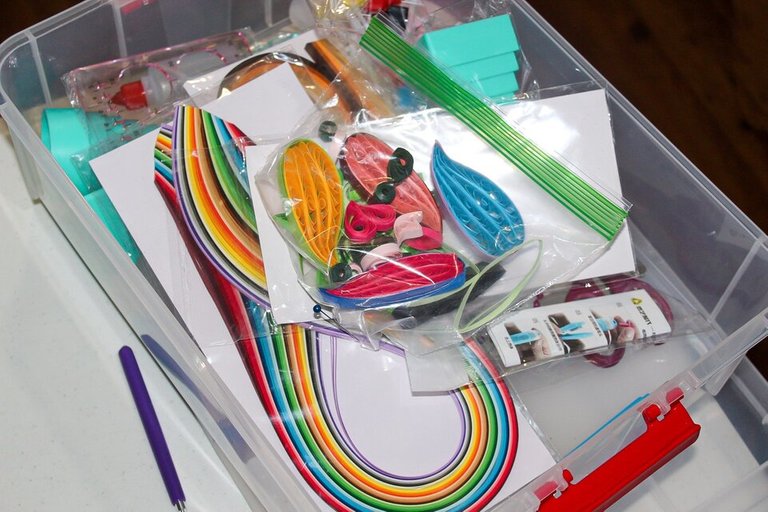
You can purchase supplies separately or buy small, medium and large sized kits to get started. Some people make their own strips of paper to save money. My sister started with a nice sized kit and has put her materials in a bin.
She started with showing me the basic tool that is used to roll the paper. This is how most designs are started. After doing a simple roll you can manipulate it however you want from there.
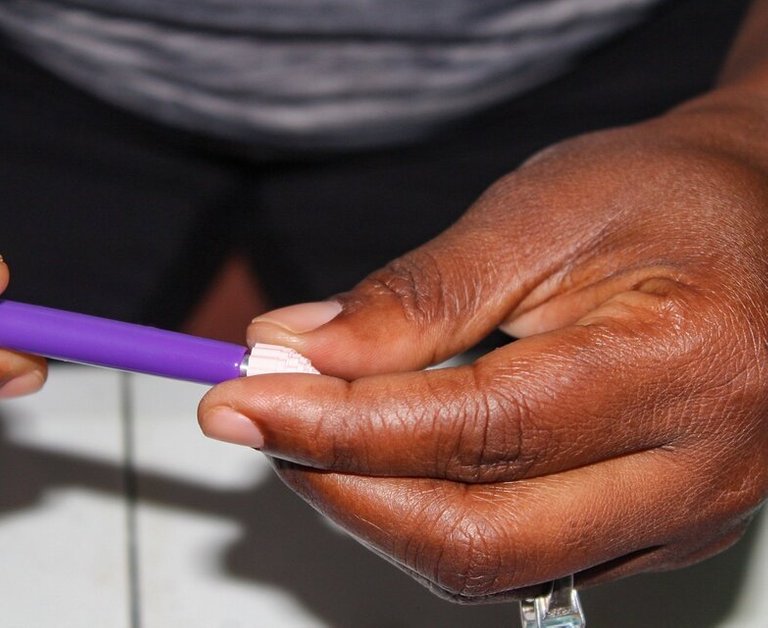
This fork/pick tool was really cool too. She uses this when she wants a more elongated design. This is a good tool to use for making leaves…
If you haven’t noticed by now I have no idea what the real names for these tools are called. She told me but of course I don’t remember and I’m too lazy this morning to go look them up. So I’m just naming them by what they look like. 🤭
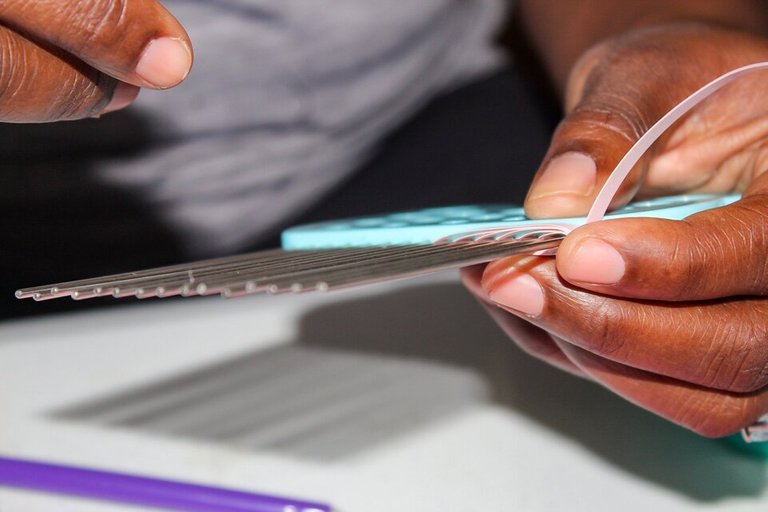
This next tool I used was my favorite. It’s the crinkling tool that crinkles the paper. 😁
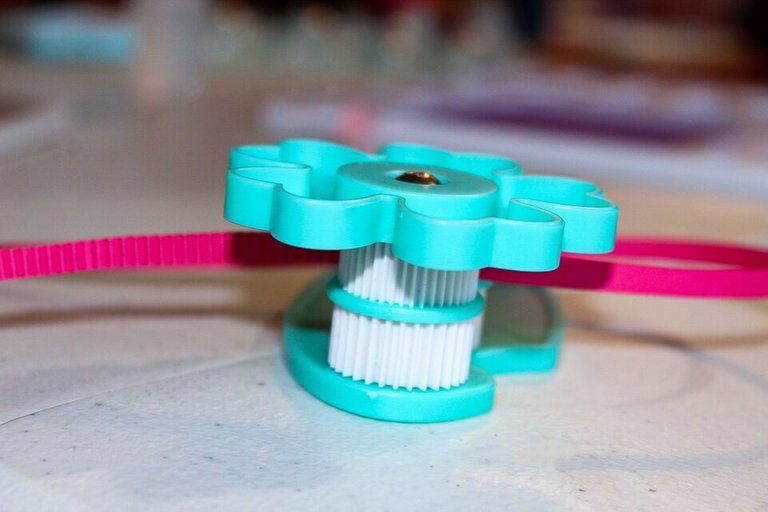
I love the way it makes the paper look and feel. My youngest took my crinkled paper from me and I never seen it again lol. I had to make another one because she loved it so much.
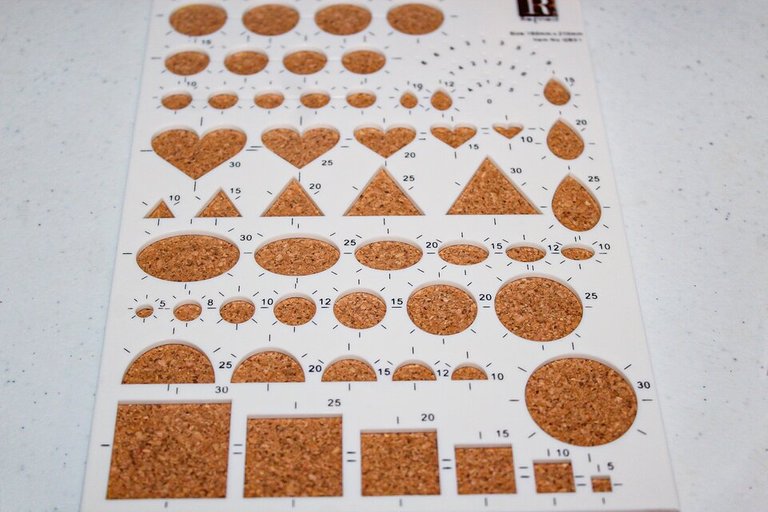
This sizing board is used to help you with getting exactly the same sizes on pieces. If you want to manipulate the designs into particular sizes and shapes this is what you’ll use.
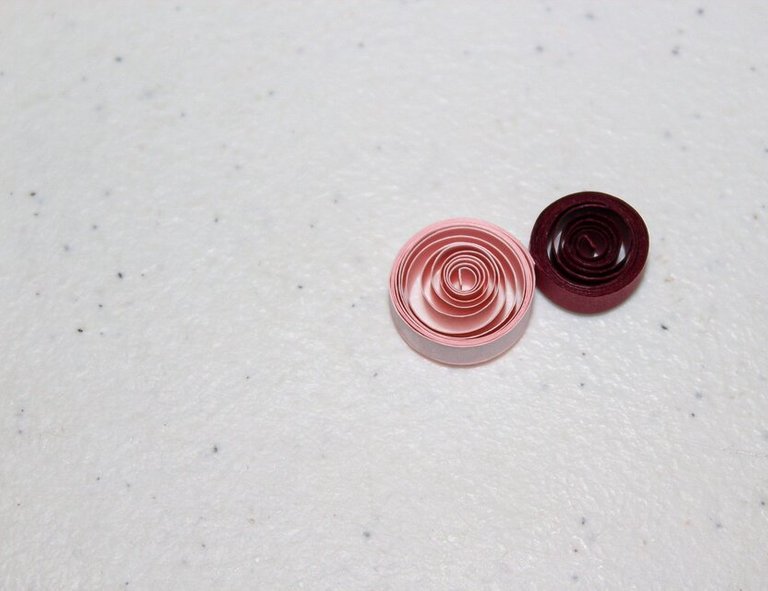
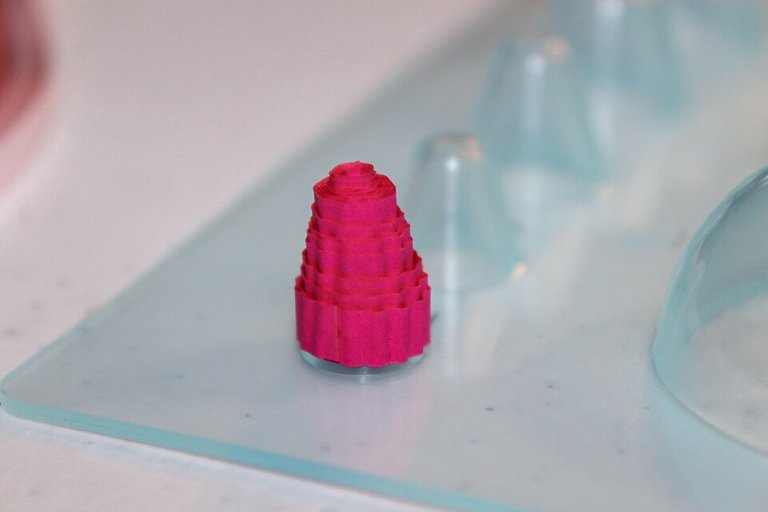
Here’s the crinkled piece I made…
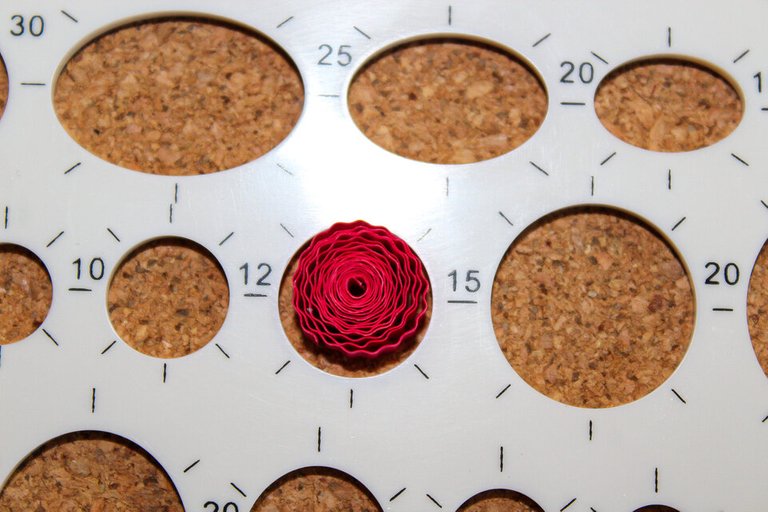
It was cool watching it roll to size once I released it in there.
This next one is a dome shake maker. You have to glue the end of the paper first in order to manipulate it into these shapes. Once you do that it takes just seconds to achieve a desired look.
I was amazed when browsing through Pinterest by the millions of things you can make with this paper art. I’ve even seen what other Hivers have made here with jewelry and decorations. Speaking of jewelry a pair of earrings might be on my to make list too. 😃
It was really relaxing rolling the paper and chatting with my sister at the same time. It also was a nice break for my hands as needlework is more strenuous and tenses up my muscles after doing it for so long.
She told me we can practice a few more times making designs and then she would help me design my greeting cards. When that happens you know I’ll be back here to show you. 😉
Have you ever tried quilling? Does this type of art look like something of your interest?
