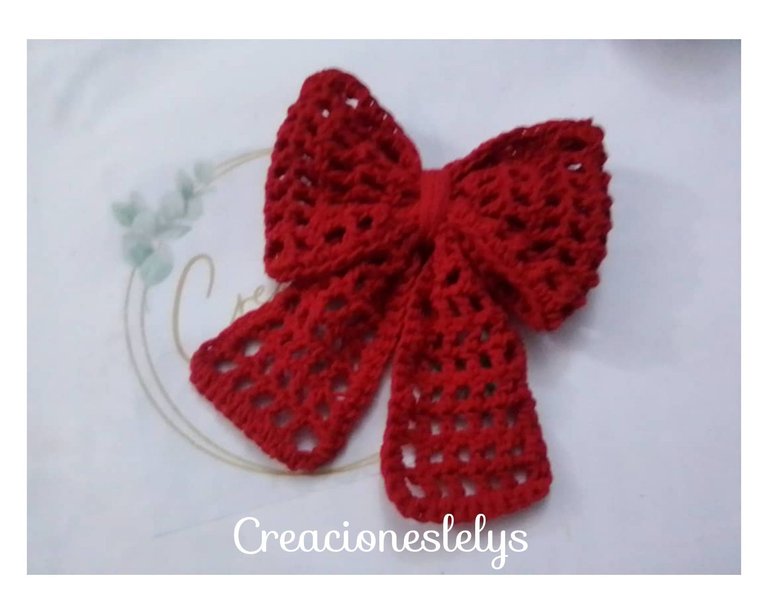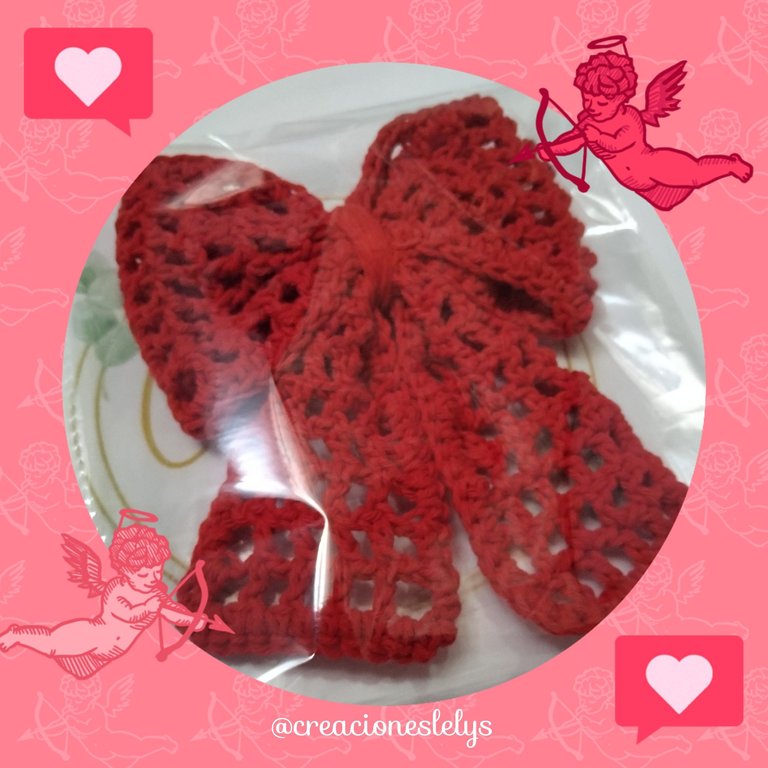
💝 EL AMOR ESTÁ EN EL AIRE.
💝 LOVE IS IN THE AIR.
Hola amigos 😀 es un gusto volver a saludarles. Pensé que no encontraría la motivación para realizar algún proyecto repleto de amor y poder participar en este lindo concurso del mes de febrero. Soy del tipo de personas que al crear debe tener todo el entusiasmo, muy pocas veces he realizado algún proyecto desanimada, por eso espero que llegue a mí la inspiracion o la razón poderosa que me invita a crear.
Hello friends 😀 it's nice to greet you again. I thought I would not find the motivation to make a project full of love and to participate in this nice contest for the month of February. I am the kind of person who must have all the enthusiasm to create, very rarely have I done a project discouraged, so I hope that I get the inspiration or the powerful reason that invites me to create.

Este proyecto lo inspiró mi hermosa nieta Sofía Celeste ❣️ ella vino a visitarme y a contarme que su mamá la inscribió en una escuelita de danzas. A ella le encanta cantar y bailar. Solo con sentir la emoción de sus palabras 💓 me llegó la inspiración. Enseguida pensé en todos los arreglos que podré hacerle para cuando vaya a hacer sus presentaciones o para sus días de clases. ¡Así que apenas tuve tiempo tomé el ganchillo y esto hice!
This project was inspired by my beautiful granddaughter Sofia Celeste ❣️ she came to visit me and tell me that her mother enrolled her in a dance school. She loves to sing and dance. Just feeling the emotion of her words 💓 inspired me. I immediately thought of all the arrangements I can make for her when she goes to perform or for her class days, so as soon as I had time I took the crochet hook and this is what I made!
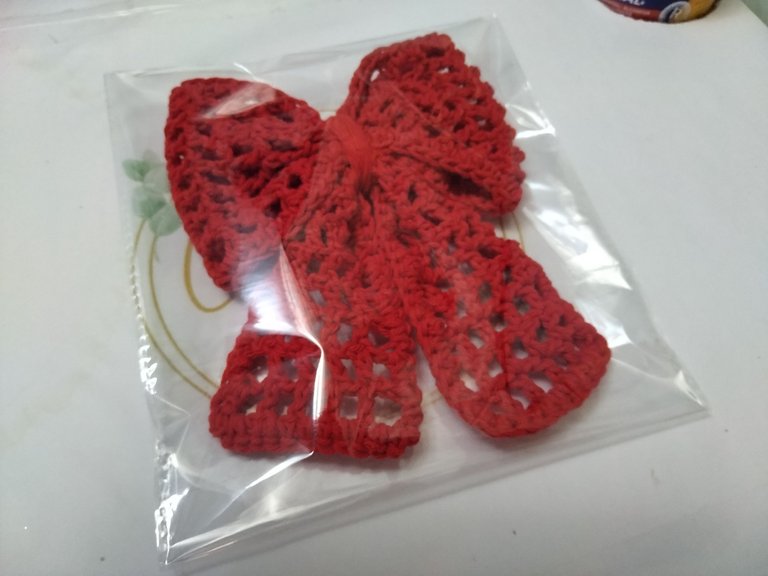
No estoy muy segura si antes había realizado de esos lazos, me encantó hacerlo porque el tipo de tejido es sumamente sencillo, ideal para las personas que recién inician con el arte del tejido a crochet.
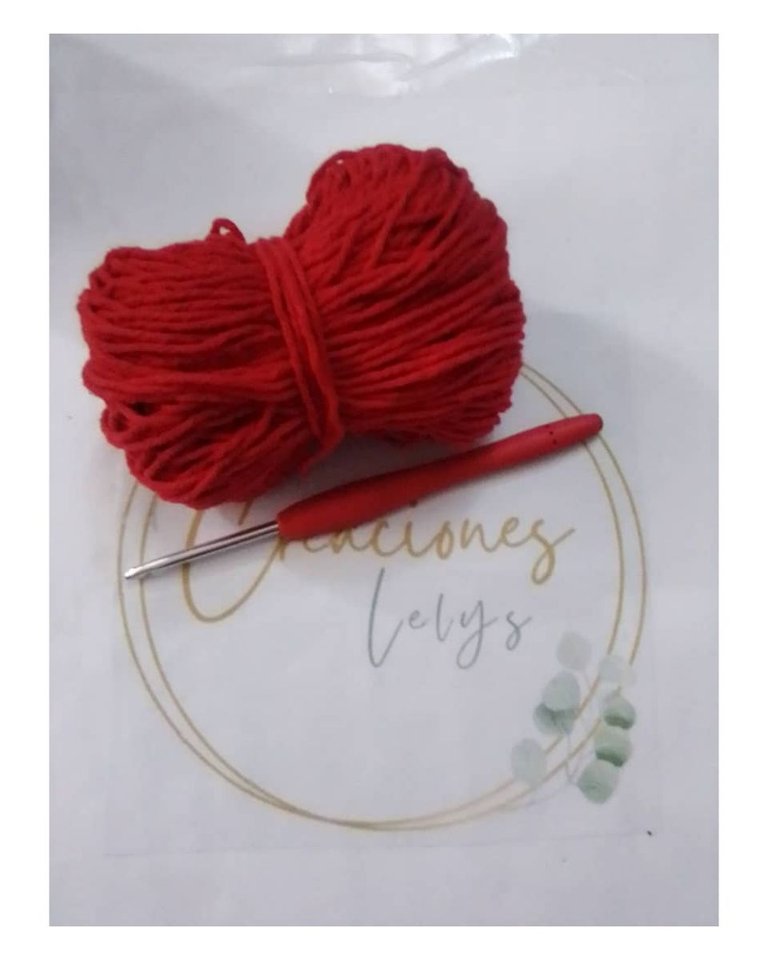
Materiales utilizados:
❣️ Hilo de algodón color rojo.
❣️ Aguja de crochet de 4mm.
❣️ Tijeras.
❣️ Aguja lanera.
❣️ Pinza o hebilla para el cabello.
❣️ Pegamento.
I'm not sure if I had ever made one of these loops before, I loved doing it because the type of knitting is extremely simple, ideal for people who are just starting with the art of crochet knitting.
Materials used:
❣️ Red cotton yarn.
❣️ 4mm crochet needle.
❣️ Scissors.
❣️ Wool needle.
❣️ Hair clip or buckle.
❣️ Pegament.
Como les mencioné estos 🎀 lazos se realizan súper fácil; constan de dos piezas que tejeremos por separado.
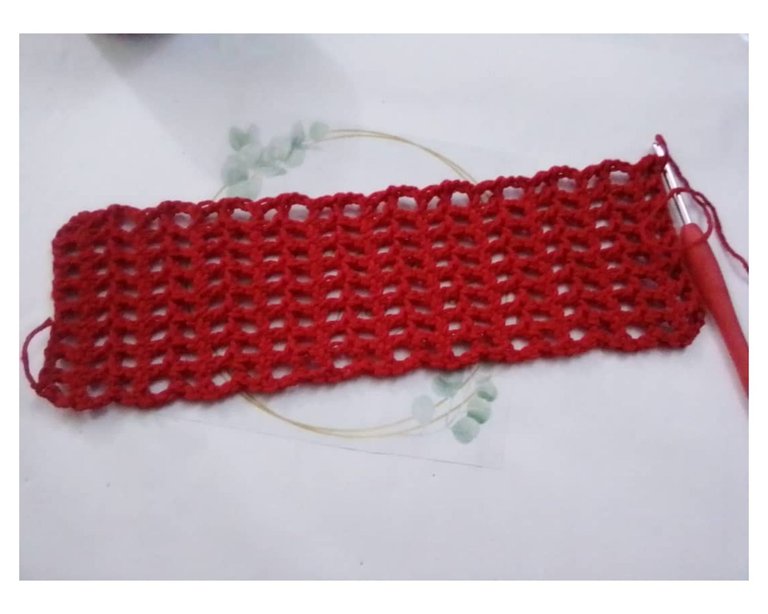
🎀 Primera pieza: iniciamos tejiendo una cadeneta de 22 puntos. Inmediatamente tejemos 1 punto alto en el sexto punto contando desde el ganchillo. A partir de allí vamos a tejer 1punto alto-1cadena dejando 1pc sin trabajar en la base. Se formarán unos cuadritos por toda esta vuelta. Al finalizar empezamos otra vuelta subiendo con 4cadenas, 1punto alto sobre el punto alto de la vuelta anterior, 1cadena y así continuamos hasta finalizar la vuelta. Debemos tejer siguiendo este patrón hasta obtener 22 vueltas.
As I mentioned these 🎀 loops are super easy to make; they consist of two pieces that we will knit separately.
🎀 First piece: we start by knitting a chain of 22 stitches. Immediately we knit 1 single crochet in the 6th stitch counting from the crochet hook. From there we are going to knit 1chain-high stitch leaving 1pc unworked at the base. A few squares will be formed throughout this row. At the end of the row, we start another row with 4 chains, 1 double crochet over the previous row, 1 chain and so on until the end of the row. We must knit following this pattern until we have 22 rows.
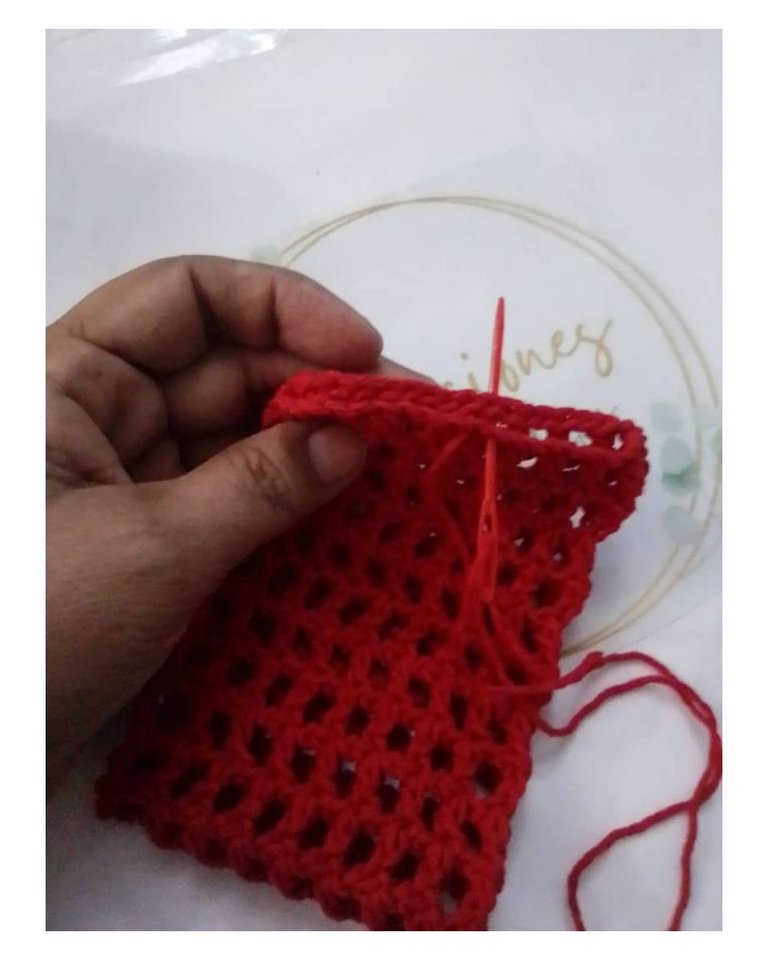
🎀 Al finalizar la última vuelta doblamos el tejido para unir ambos extremos. Para ello colocaremos la hebra larga sobrante en una aguja lanera. Iremos uniendo punto 🪡 por punto hasta unir ambos extremos totalmente. Cerramos y cortamos la hebra.
🎀 At the end of the last loop we fold the fabric to join both ends. To do this we will place the remaining long strand of yarn on a wool needle. We will go joining stitch 🪡 by stitch until we join both ends completely. Close and cut the yarn.
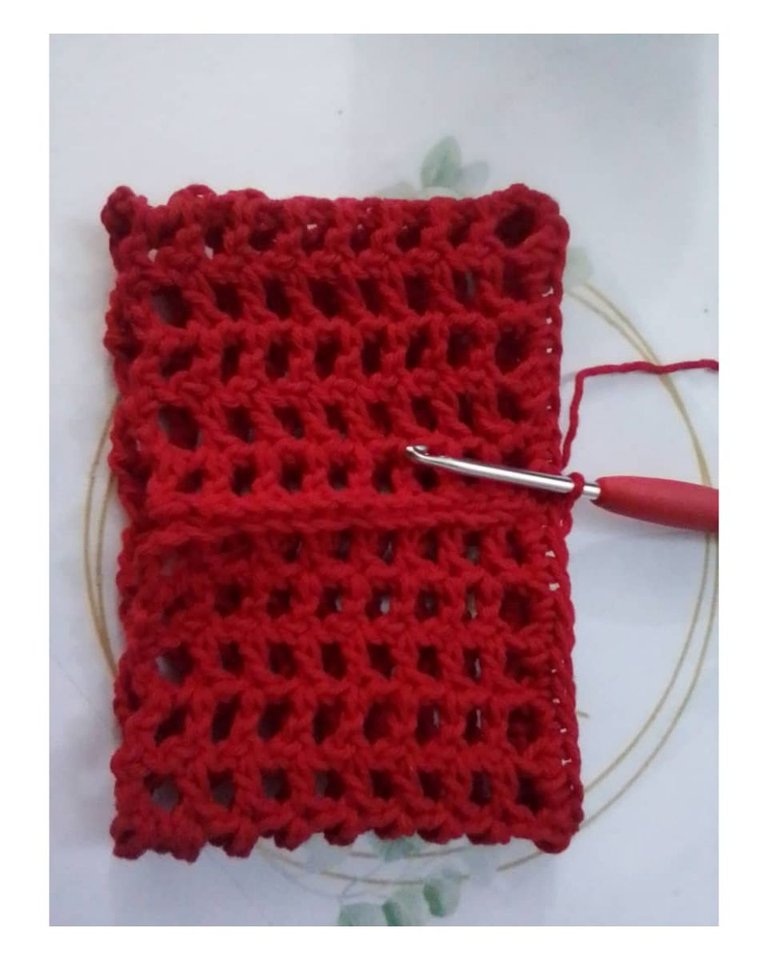
🎀 Tomaremos de nuevo el hilo y el crochet para tejer un borde de solo puntos bajos por toda la orilla de esta pieza, la de arriba y la de abajo. Al finalizar debemos dejar la hebra larga para usar luego.
🎀 We will take the yarn and crochet again to knit a border of only single crochet stitches all around the edge of this piece, the top and the bottom. At the end we should leave the long yarn for later use.
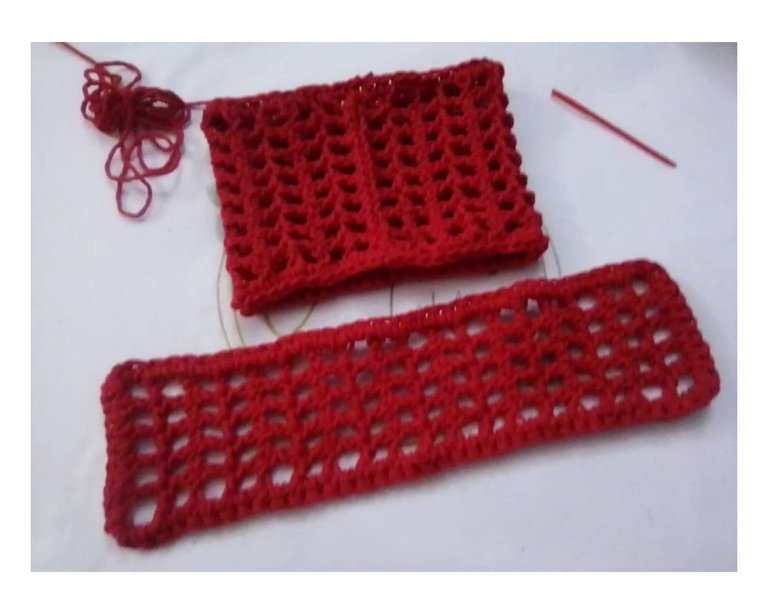
🎀 Segunda pieza: el procedimiento es igual al anterior, empezaremos esta vez tejiendo una cadeneta de 14 puntos. Subimos y tejemos el primer punto alto para empezar a formar los cuadros. Debemos completar 18 vueltas en total. Al finalizar haremos una vuelta de puntos bajos por todo el alrededor de la pieza. Cortamos el hilo y escondemos la hebra.
🎀 Second piece: the procedure is the same as the previous one, we will start this time knitting a chain of 14 stitches. We go up and knit the first high stitch to start forming the squares. We must complete 18 rows in total. At the end we will knit one row of single crochet all around the piece. Cut the yarn and hide the yarn.
🎀 Para el armado del lazo vamos a necesitar el resto de los materiales mencionados.
🎀 For the assembly of the loop we will need the rest of the materials mentioned above.
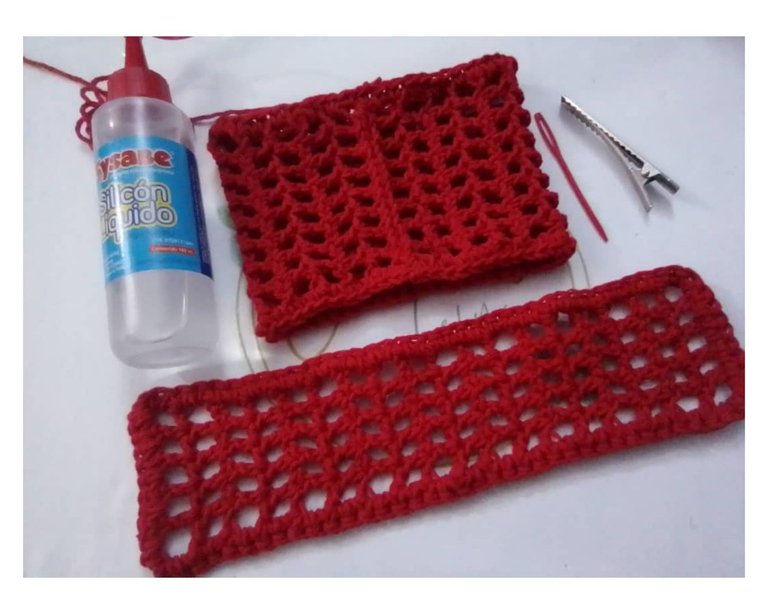
❣️ Tomamos de nuevo la primera pieza, haremos un basteado por todo el medio de la pieza tomando las dos caras con la aguja lanera y el hilo que dejamos largo. La idea es hacer un arruchado bien apretado que ayudará a realizar la forma del medio del lazo. Una vez arruchado agarramos el hilo y lo enrollamos por sobre el arruchado haciendo presión para que quede bien fijo. Soltamos un momento ese hilo y acercamos la segunda pieza la cual colocaremos doblada debajo del lazo. También le haremos un ligero arruchado a esta pieza, pero sin costura. Al tenerlo cerca de la primera pieza seguimos enrollando el hilo ahora por las dos piezas. Finalmente colocaremos la hebilla para el cabello, colocamos pegamento en el tejido para que la hebilla no se mueva. Esperamos un ratito que seque y seguimos enrollando, ahora incluyendo la hebilla abierta. Al terminar cortamos y escondemos la hebra sobrante. ¡Y así debe quedar!
❣️ We take the first piece again, we will make a baste all around the middle of the piece taking both sides with the wool needle and the thread that we left long. The idea is to make a very tight ruffling that will help to make the shape of the middle of the loop. Once it is gathered, we grab the thread and wind it over the gathering, making pressure so that it is well fixed. Release the thread for a moment and bring the second piece closer, which we will place folded under the loop. We will also slightly ruffle this piece, but without stitching. When we have it close to the first piece, we continue winding the thread now through the two pieces. Finally we will place the buckle for the hair, we put glue on the fabric so that the buckle does not move. Wait a little while for it to dry and continue winding, now including the open buckle. When finished, we cut and hide the excess strand, and that's how it should look!
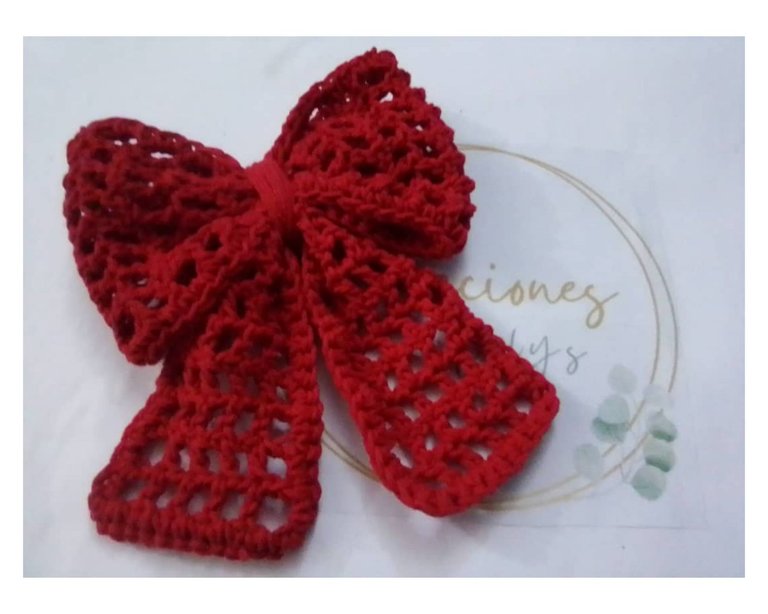
💝 El lazo quedó muy lindo. Ahora mi nieta tendrá un accesorio en tendencia que podrá lucir cuando ella quiera. Espero que les haya gustado esta creación. Me gustaría invitar a @linita y a @vicmito74 a participar en este reto. Suerte para todos. Todas las fotos son de mi propiedad. Edité con Polish. Usé el traductor de Deelp. Hasta la próxima.
💝 The bow turned out very nice. Now my granddaughter will have a trendy accessory that she can wear whenever she wants. I hope you liked this creation. I would like to invite @linita and @vicmito74 to participate in this challenge. Good luck to all of you. All photos are my property. I edited with Polish. I used Deelp translator. See you next time.
