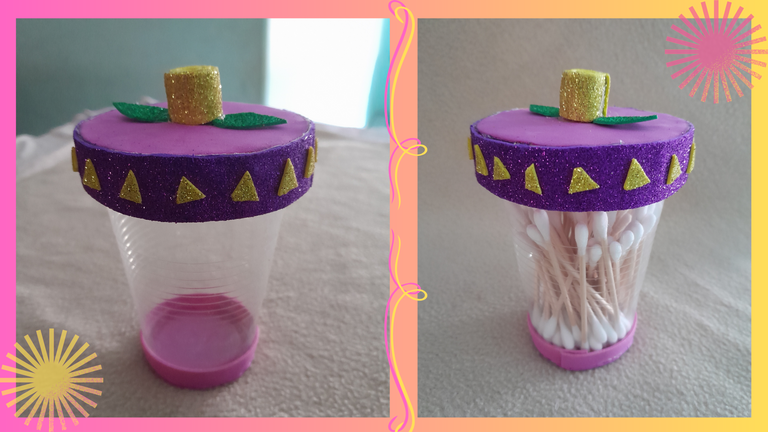
Hello my beautiful people of hive, happy holy week, I hope you are having a good time in the company of your loved ones and mainly with the presence of God in your hearts, in these moments of reflection and prayer in these holy days. Greetings and blessings to all, today I will share with all of you in the beautiful community of hive diy a swab holder or cottonetes, made with recycled material, I had the need to make one since I always buy swabs are those that come in bags, because they are cheaper than those that come in their cases or containers, then I decided to make my own swab holder, and thus have more easily to remove any when using it.
Español:
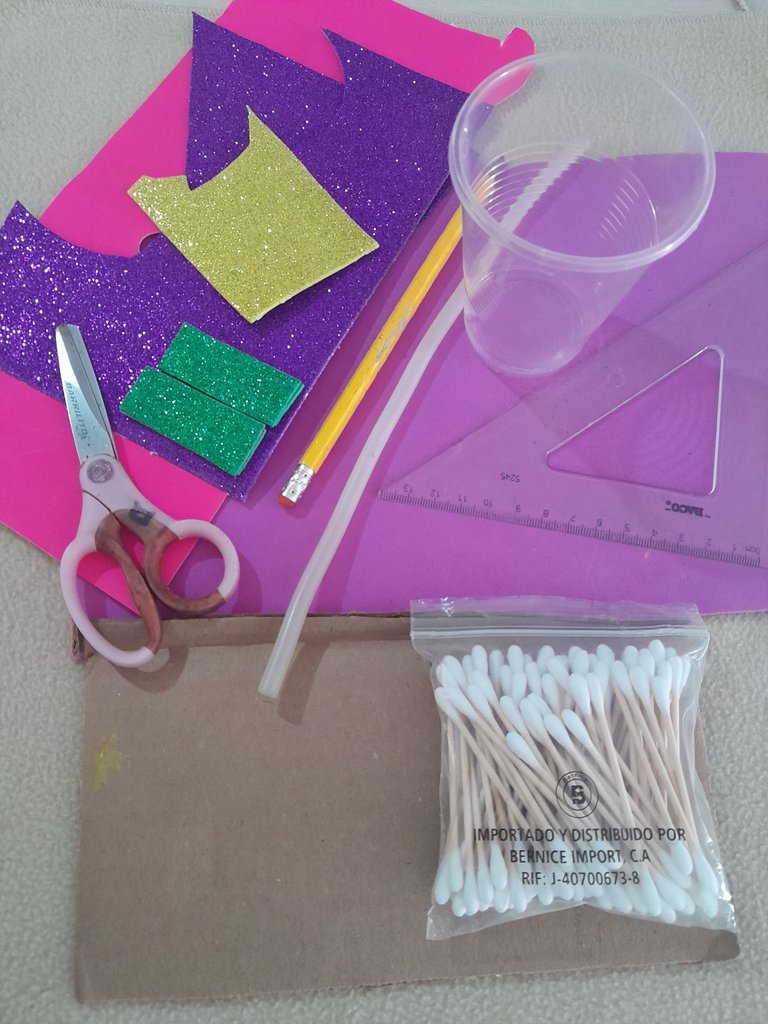
Materiales:
- Foami morado, amarillo y verde.
- Cartulina doble faz rosada.
- Vaso plastico desechable
- Hisopos.
- Silicon.
- Cartón.
- Tijera.
- lápiz.
- regla.
English:
Materials:
- Purple, yellow and green Foami.
- Pink double-sided cardboard.
- Disposable plastic cups.
- Q-tips.
- Silicon.
- Cardboard.
- Scissors.
- pencil.
- ruler.

Español:
Paso 1:
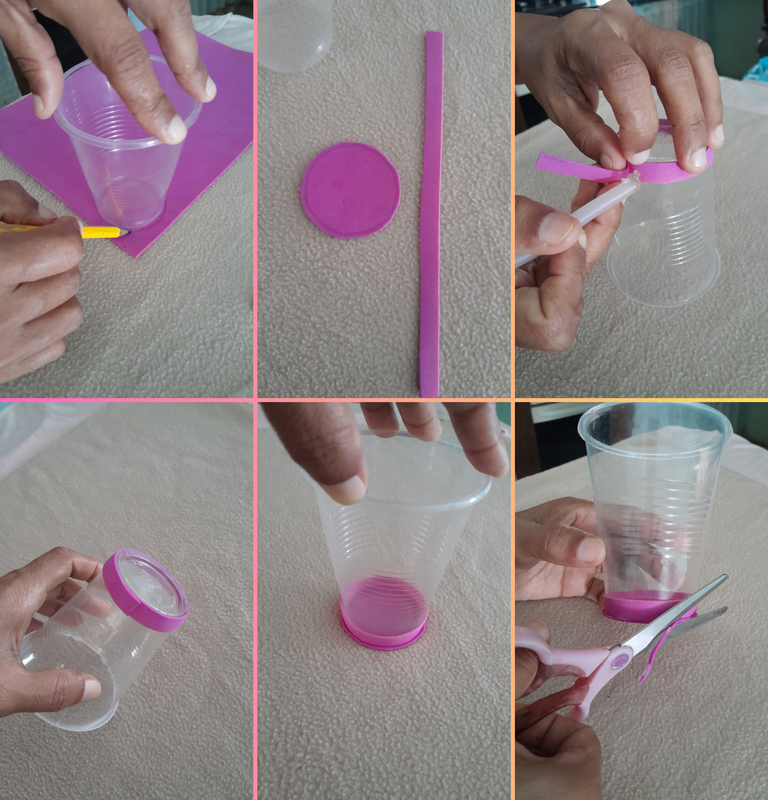
- Marcamos en el foami el fondo del vaso con el lápiz, lo recortamos y obtenemos la base del vaso, también recortamos una tira del mismo foami de 1 cm de ancho, luego colocamos la tira de foami alrededor del fondo del vaso, de manera que quede bien ajustado y lo pegamos con silicon caliente encima del foami junto con la otra punta. Teniendo mucho cuidado de no colocar el silicon caliente directamente al vaso, ya que es muy frágil a lo caliente, recortamos la tira sobrante. Ahora volvemos a pegar con mucho cuidado, colocando el silicon caliente por todo el borde del fondo del vaso el círculo de foami, sin que el silicon toque el vaso.
English:
Step 1:
- We mark on the foami the bottom of the glass with the pencil, cut it out and get the base of the glass, we also cut a strip of the same foami of 1 cm wide, then we place the strip of foami around the bottom of the glass, so that it is well adjusted and we stick it with hot silicone on top of the foami along with the other end. Being very careful not to place the hot silicon directly on the glass, as it is very fragile to the hot, we cut the excess strip. Now we glue again very carefully, placing the hot silicone all around the edge of the bottom of the glass the foami circle, without the silicone touching the glass.

Español:
Paso 2:
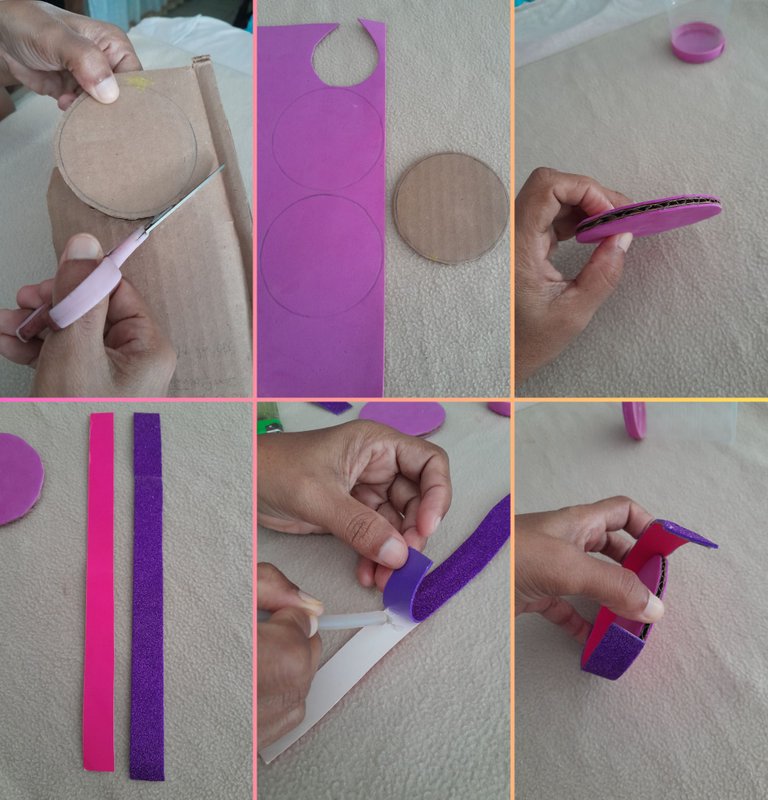
- Ahora hacemos la tapa de nuestro porta hisopos, de la misma manera que realizamos la base del vaso colocando la boca del vaso en el cartón obteniendo un circulo y 2 en el foami, dibujamos y recortamos. Luego pegamos los 2 círculos de foami junto al del cartón, después recortamos 2 tiras de 2 cm de ancho una de cartulina y otra de foami, pegamos las 2 tiras juntas, y ahora pegamos la tira alrededor del círculo del cartón.
English:
Step 2:
- Now we make the lid of our swab holder, in the same way that we made the base of the glass by placing the mouth of the glass on the cardboard obtaining a circle and 2 on the foami, draw and cut out. Then we glue the 2 circles of foami next to the cardboard, then we cut 2 strips of 2 cm wide one of cardboard and another of foami, we glue the 2 strips together, and now we glue the strip around the circle of cardboard.

Español:
Paso 3:
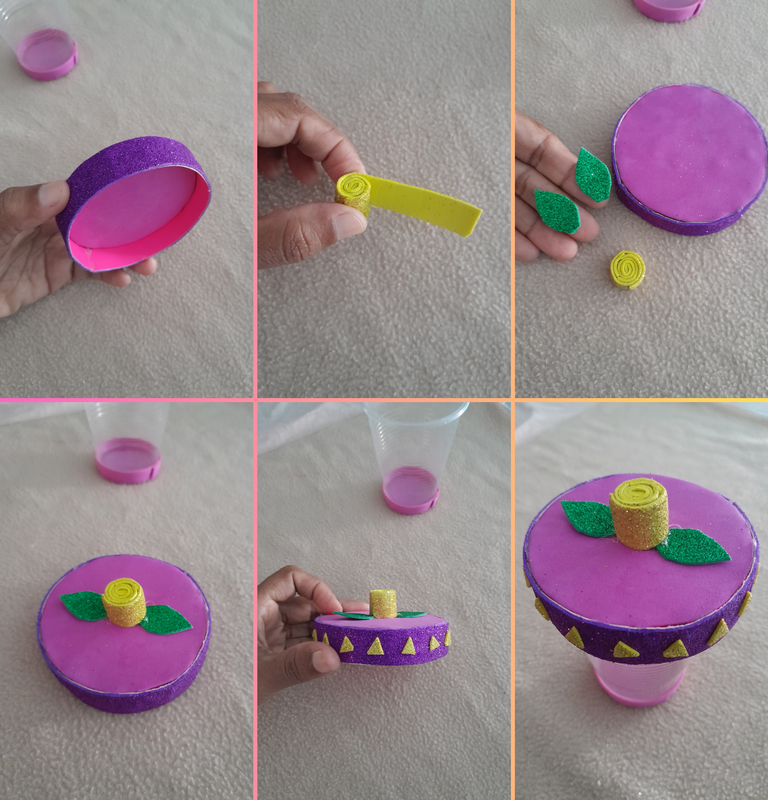
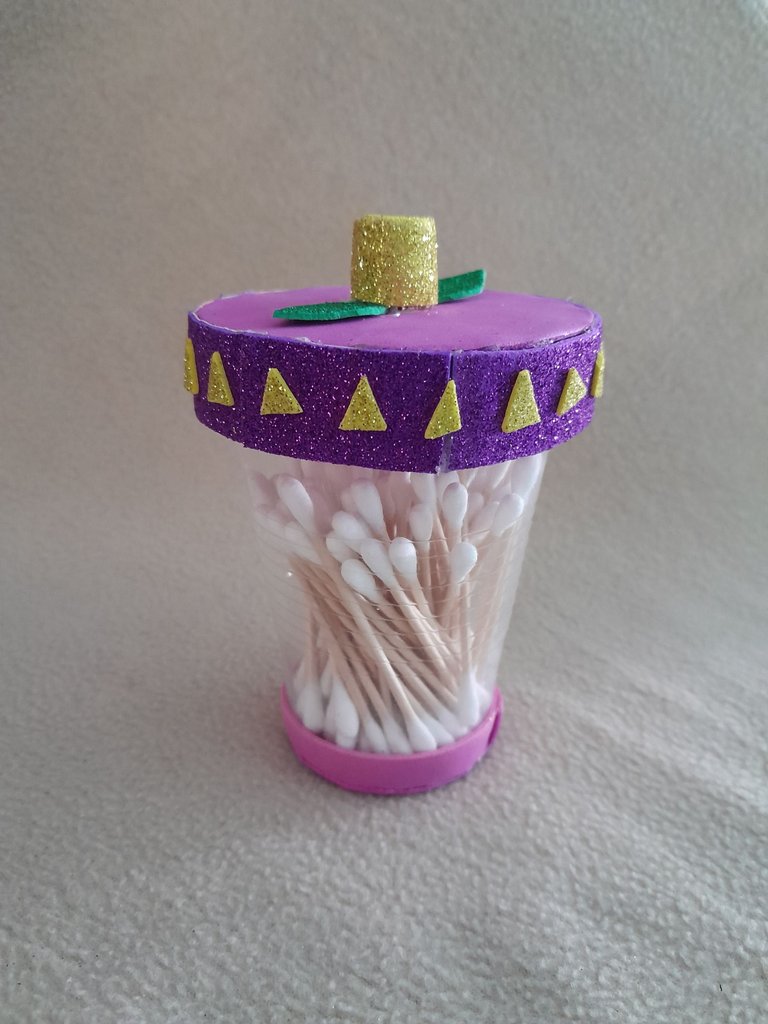
- Aquí teniendo la tapa lista, procedo hacerle el detalle de una flor a la tapa con el foami amarillo, recorto una tira de 2 cm de ancho por 9 cm de largo, voy pegando la tira y enrollando al mismo tiempo, luego dibujo y recorto 2 hojas verde y pego en el centro de la tapa, también recorto triángulos pequeños y lo pego alrededor de la tapa. Asi termino mi porta hisopos.
English:
Step 3:
- Here having the lid ready, I proceed to make the detail of a flower on the lid with the yellow foami, I cut a strip of 2 cm wide by 9 cm long, I glue the strip and roll it at the same time, then I draw and cut 2 green leaves and glue them in the center of the lid, I also cut small triangles and glue them around the lid. That's how I finish my swab holder.

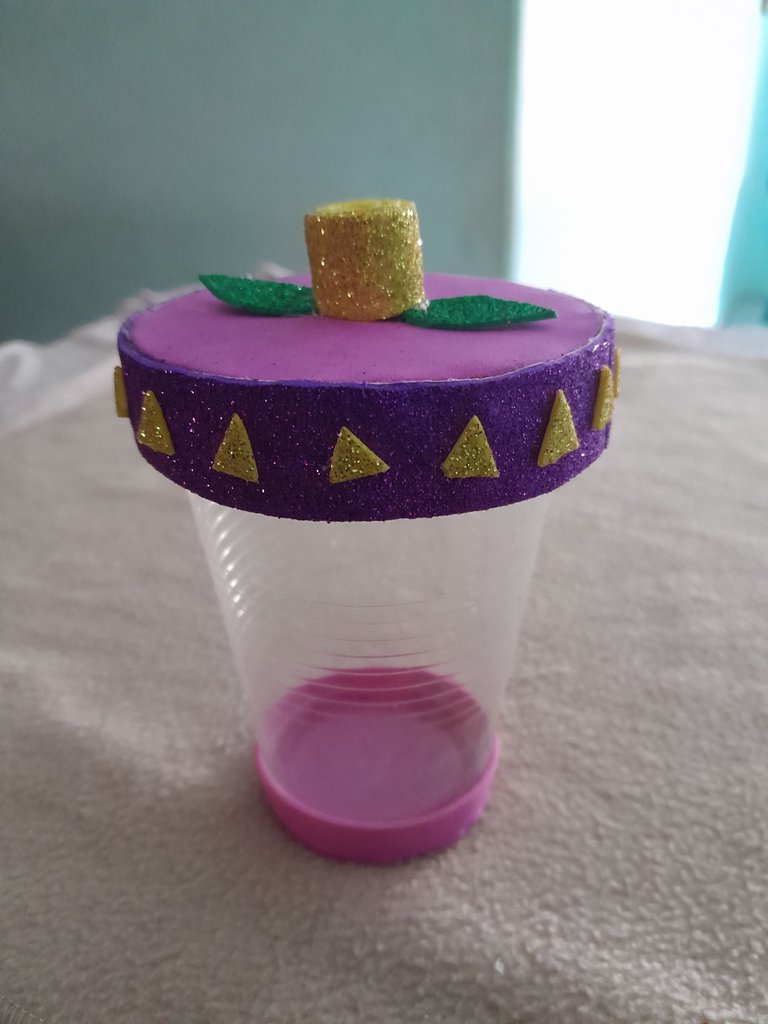
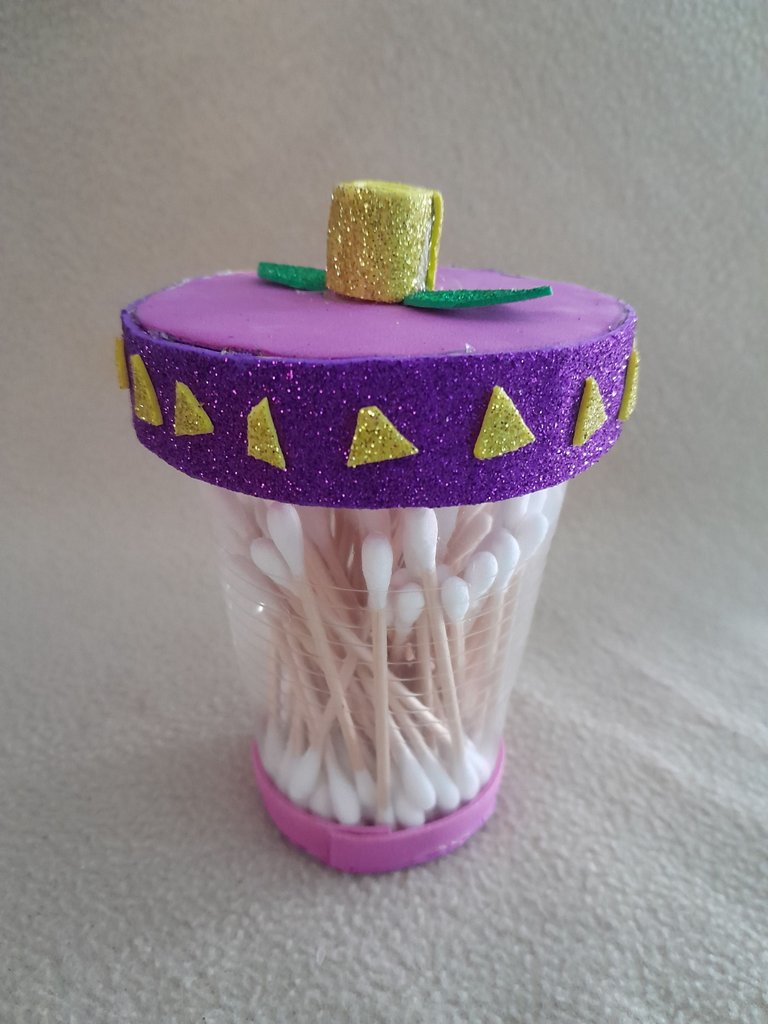
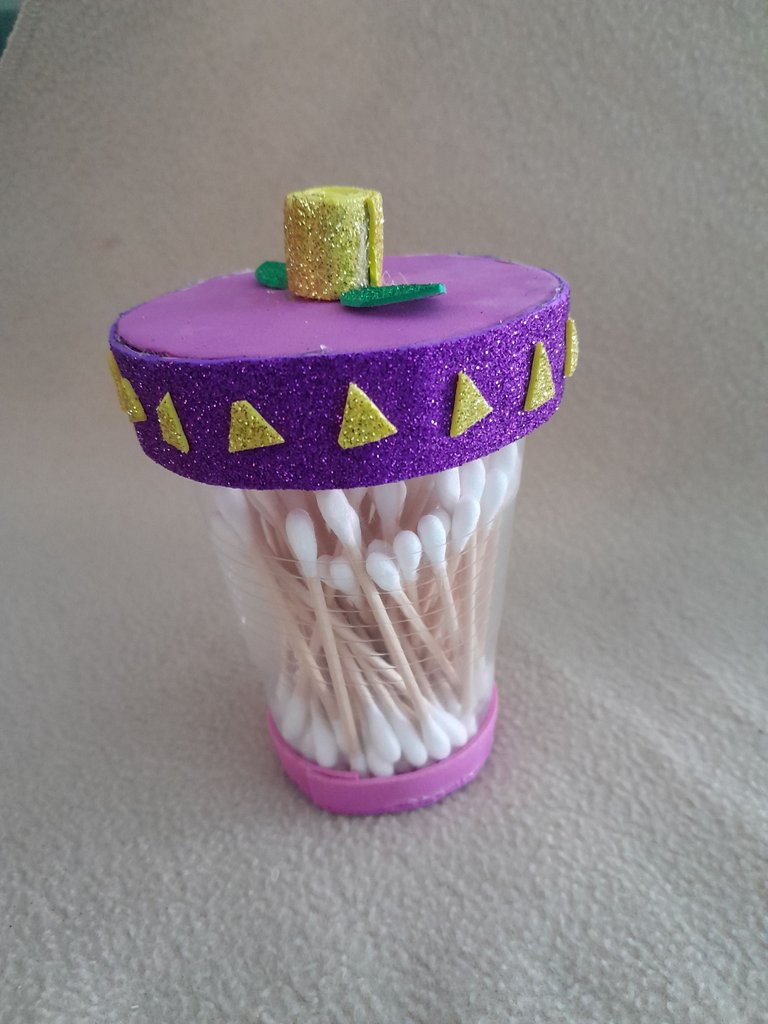
Resultado final. Espero les haya gustado, saludos.
Final result. I hope you liked it, greetings.
Todas las fotos son de mi autoría y editadas con Canva.Traductor: DeepL Translate.
All photos are my own and edited with Canva.Translator: DeepL Translate.
