Español:
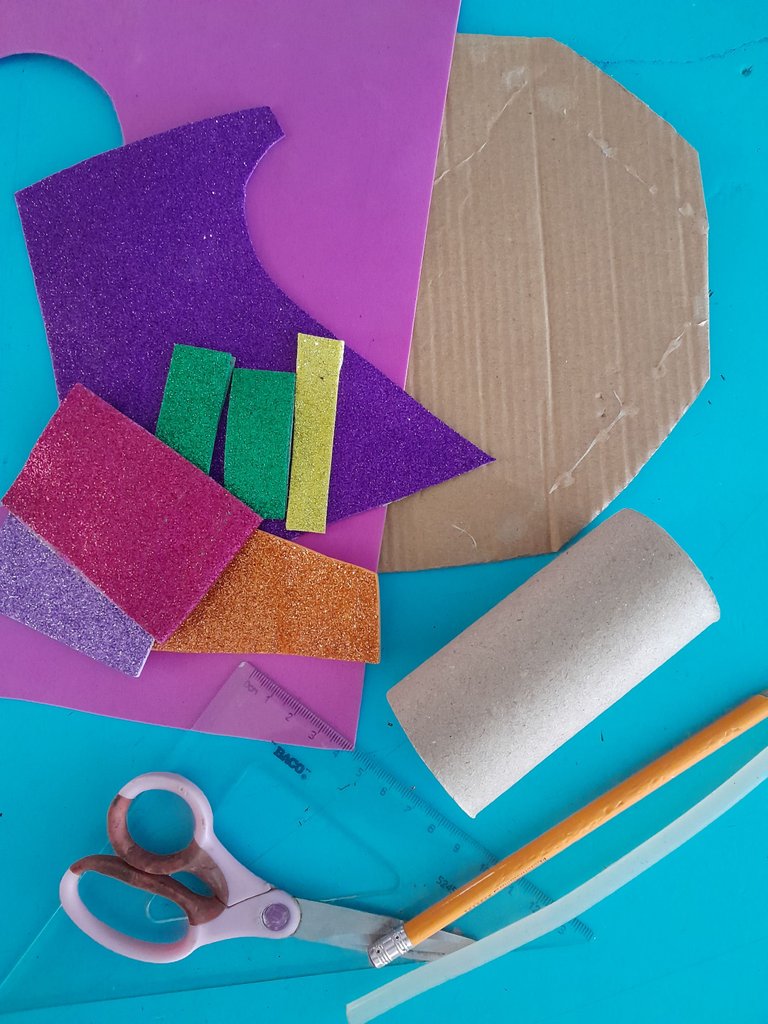
Materiales:
- Foami de varios colores.
- Un tubo de cartón.
- Cartón.
- Regla.
- Silicon.
- Tijera.
- Lápiz.
English:
Materials:
- Foami of various colors.
- A cardboard tube.
- Cardboard.
- Ruler.
- Silicon.
- Scissors.
- Pencil.

Español:
Paso 1:
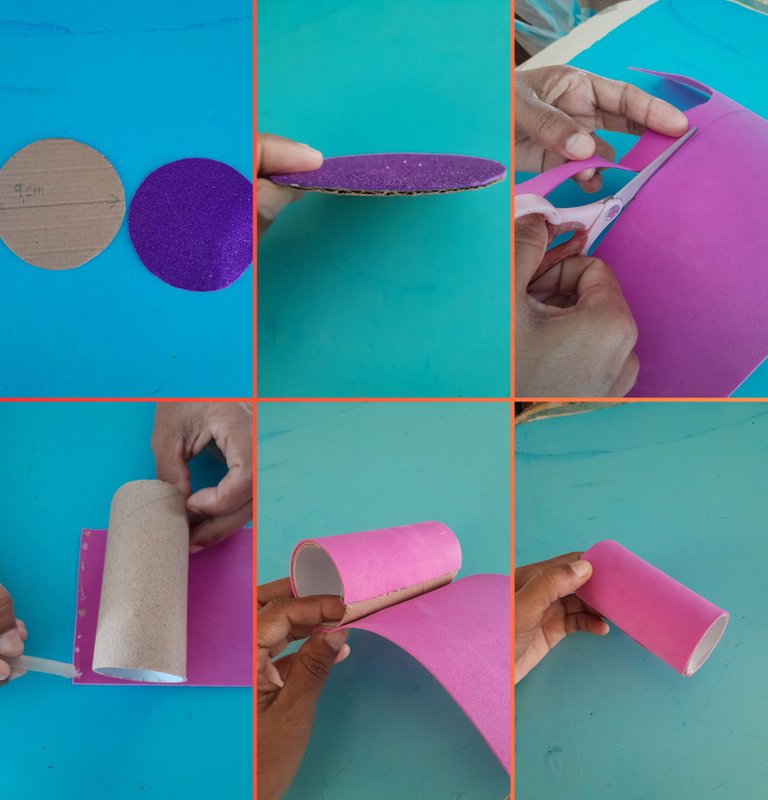
- Dibujo y recorto 2 círculos de 9 cm de diámetro, 1 en el cartón y otro en el foami, luego con silicon caliente pego los 2 círculos juntos.
Después procedo a medir con la ayuda de la regla el foami rosado a la altura del tubo de cartón, para luego recortarlo y pegarlo, cubriendo el tubo.
English:
Step 1:
- I draw and cut out 2 circles of 9 cm in diameter, 1 on the cardboard and another on the foami, then with hot silicone I glue the 2 circles together.
Then I proceed to measure with the help of the ruler the pink foami at the height of the cardboard tube, then cut it out and glue it, covering the tube.

Español:
Paso 2:
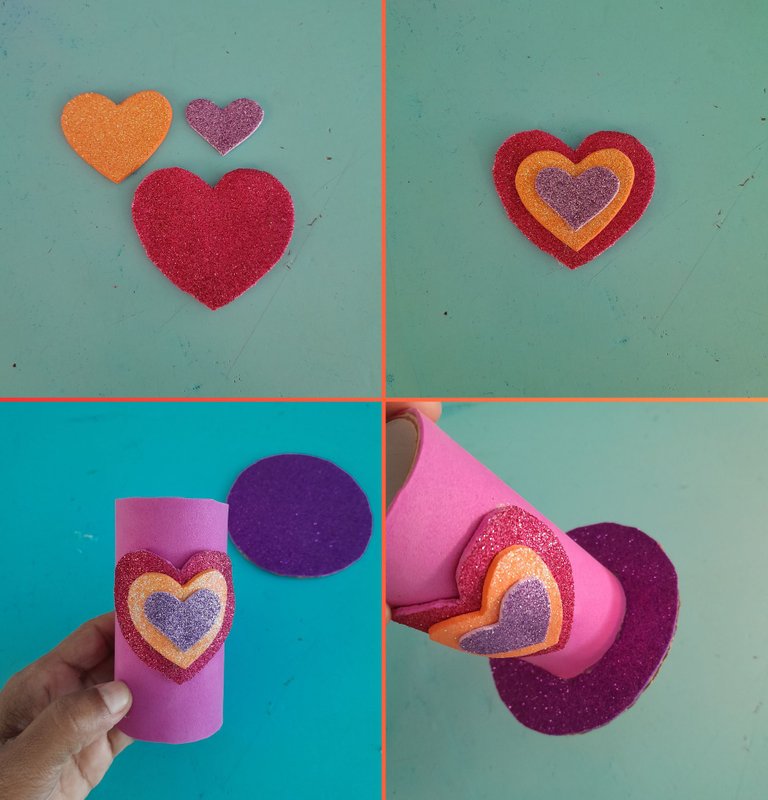
- A continuación dibujo 3 corazones de diferentes colores en el foami escarchado de 3 tamaños diferentes, pego los 3 corazones uno encima del otro, desde el más grande hasta el más pequeño, despues lo pego en el centro del tubo, luego coloco silicon caliente por todo el borde del tubo de cartón para pegarlo en todo el centro del círculo de foami.
English:
Step 2:
- Next I draw 3 hearts of different colors on the frosted foami of 3 different sizes, I glue the 3 hearts one on top of the other, from the biggest to the smallest, then I glue it in the center of the tube, then I put hot glue all around the edge of the cardboard tube to glue it all around the center of the foami circle.

Español:
Paso 3:
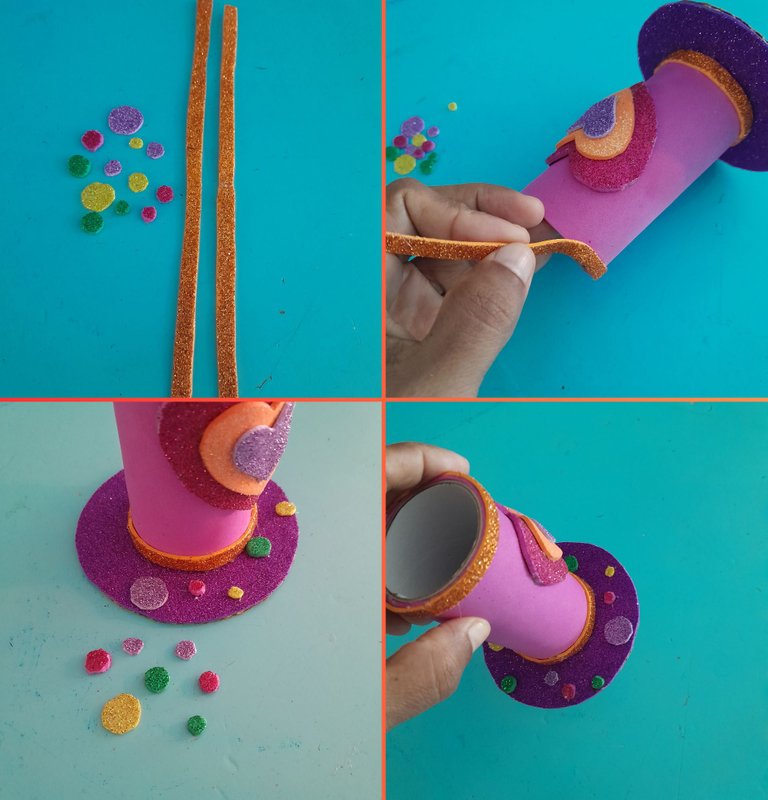
- Ahora corto 2 tiras de foami color naranja de 1/2 cm de ancho, la cual pego en la parte superior e inferior de nuestro centro de mesa.
Para terminar dibujo y recorto varios círculos pequeños de varios colores y tamaños, luego lo pegamos por todo el borde de la base del centro de mesa.
English:
Step 3:
- Now I cut 2 strips of orange foami 1/2 cm wide, which I glue on the top and bottom of our centerpiece.
To finish I draw and cut out several small circles of various colors and sizes, then I glue them all around the edge of the base of the centerpiece.

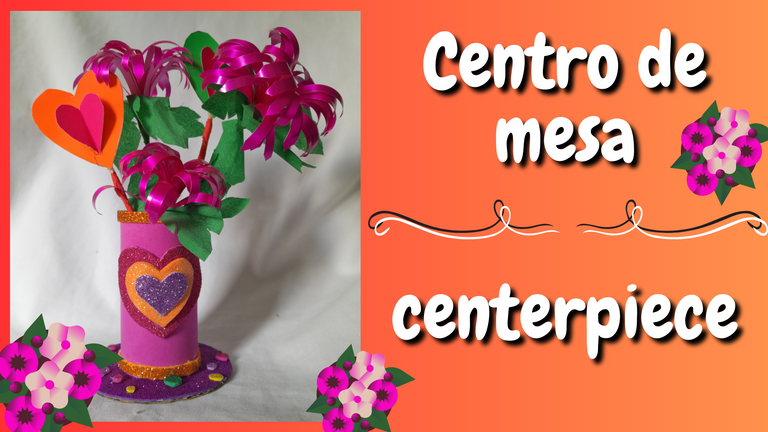
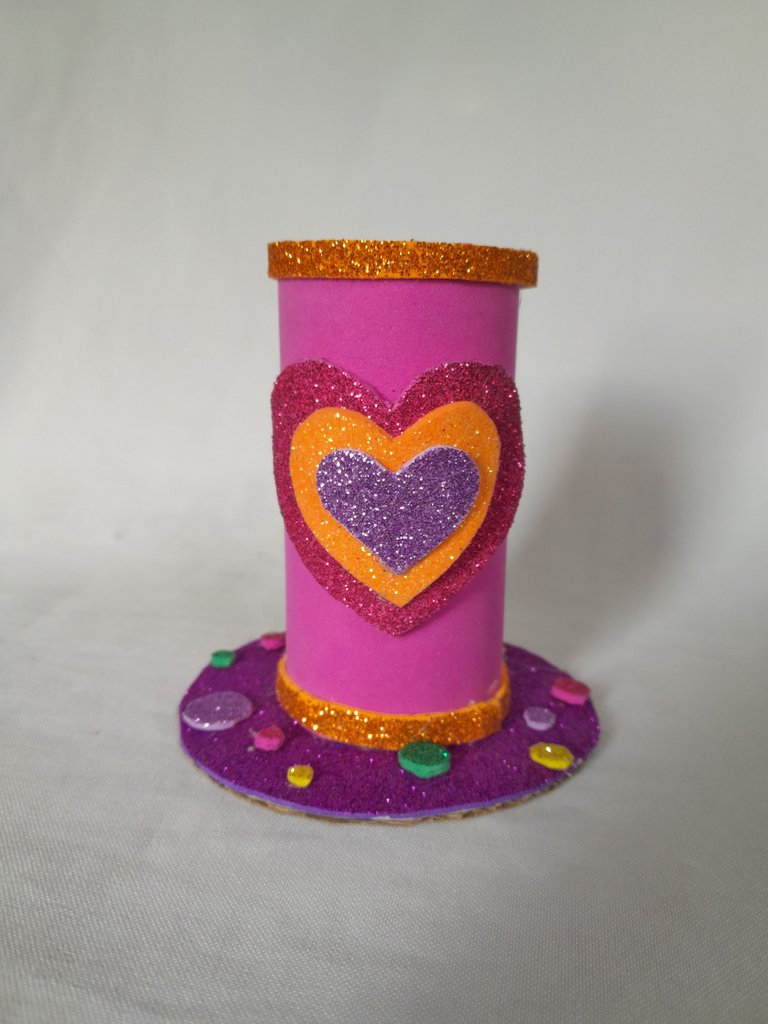
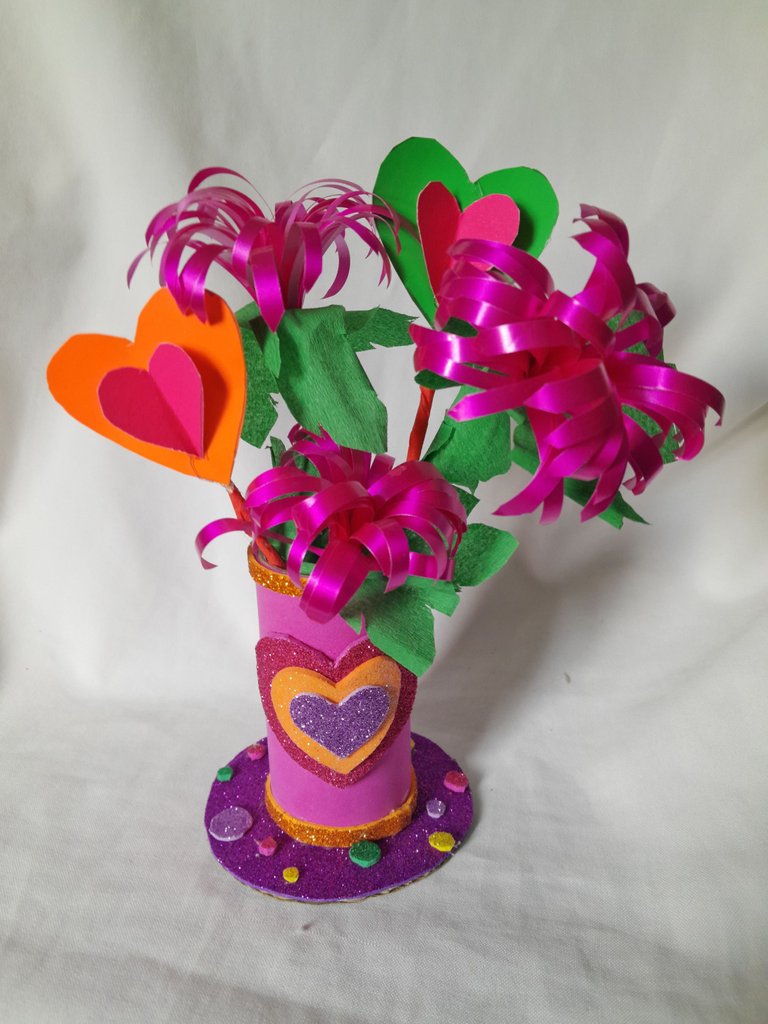
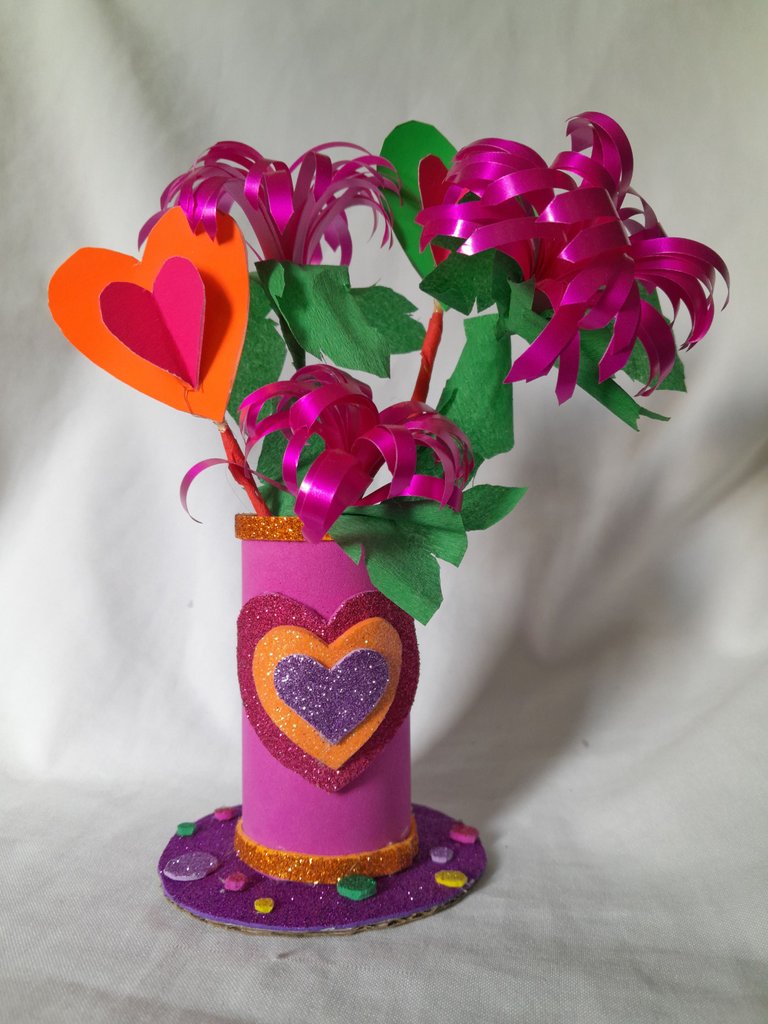
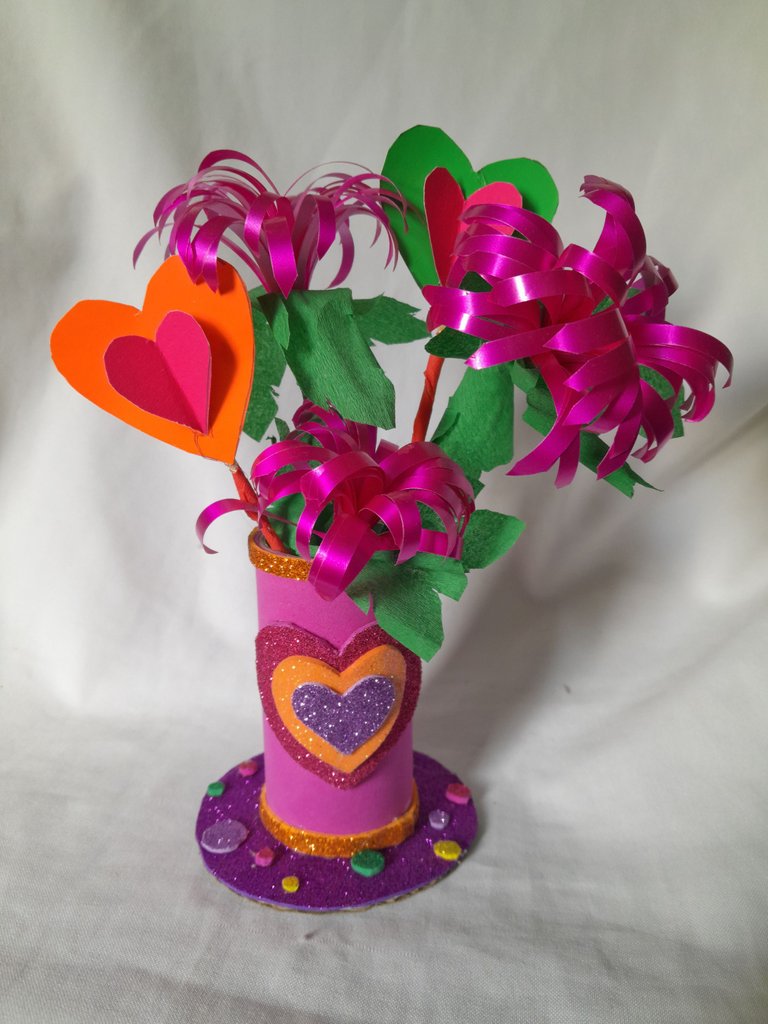
Asi quedo mi resultado final. Gracias por su apoyo feliz dia.
Here is my final result. Thank you for your support.
Todas las fotos son de mi autoría y editadas con Canva.Traductor: DeepL Translate.
All photos are my own and edited with Canva.Translator: DeepL Translate.
