Español:
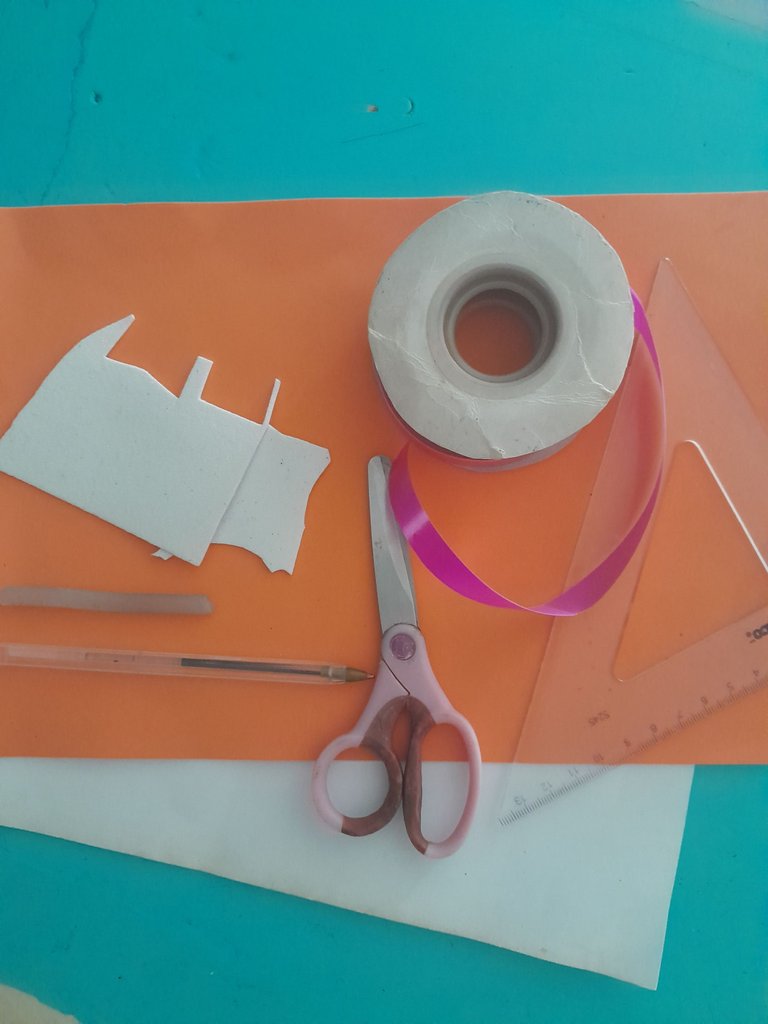
Materiales:
- Cinta plastica para hacer lazos de regalo.
- Cartulina.
- Foami.
- Silicon .
- Lápiz.
- Tijera.
- Regla.
English:
Materials:
- Plastic ribbon to make gift bows.
- Cardboard.
- Foami.
- Silicon.
- Pencil.
- Scissors.
- Ruler.

Español:
Paso 1:
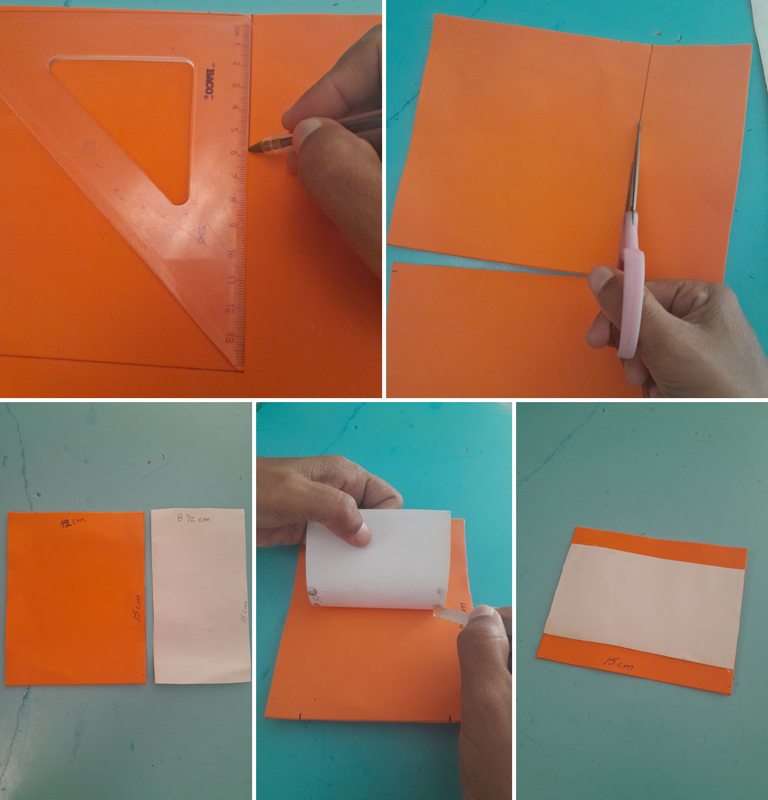
- Comenzamos marcando y recortando el foami color naranjado con una medida de 12 x 15 cm. De la misma manera recortamos la cartulina blanca de 8 y 1/2 x 15 cm, luego pegamos con silicon caliente la cartulina encima del foami dejando un espacio de cada lado de 2 cm.
English:
Step 1:
- We start by marking and cutting out the orange foami with a size of 12 x 15 cm. In the same way we cut the white cardboard of 8 and 1/2 x 15 cm, then we glue with hot silicone the cardboard on top of the foami leaving a space of 2 cm on each side.

Español:
Paso 2:
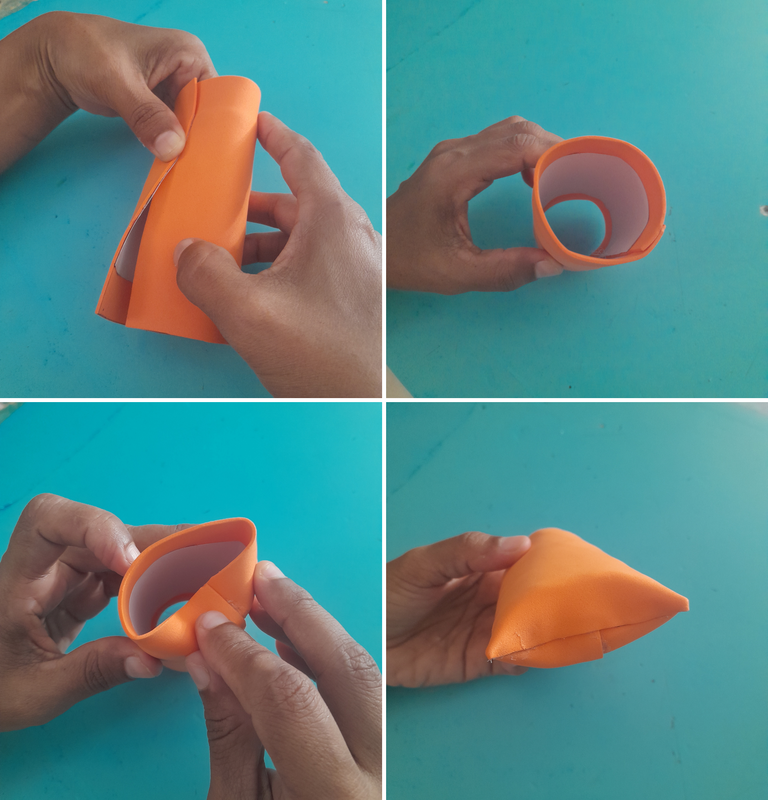
- Ahora pegamos los dos lados del foami en forma de un tubo dejando la cartulina por la parte de adentro, luego se hace un doblez con el foami hacia la parte de adentro y lo pegamos con silicon, dejando el otro lado de la cajita sin pegar, para introducir nuestro obsequio luego pegarlo.
English:
Step 2:
- Now we glue the two sides of the foami in the shape of a tube, leaving the cardboard on the inside, then we make a fold with the foami towards the inside and we glue it with silicone, leaving the other side of the box without glue, to introduce our gift and then glue it.

Español:
Paso 3:
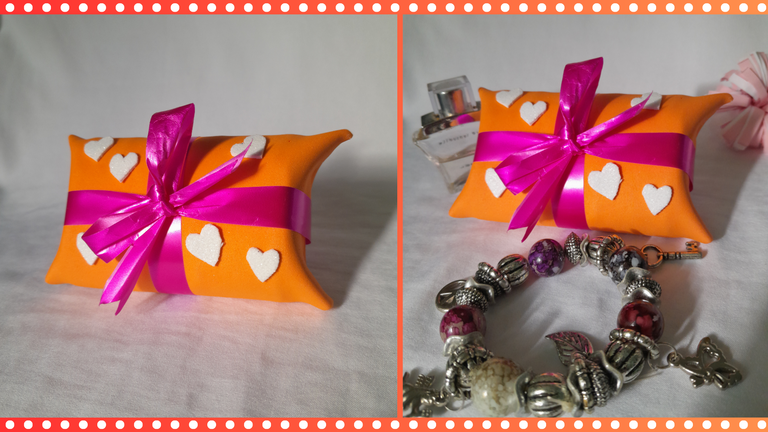
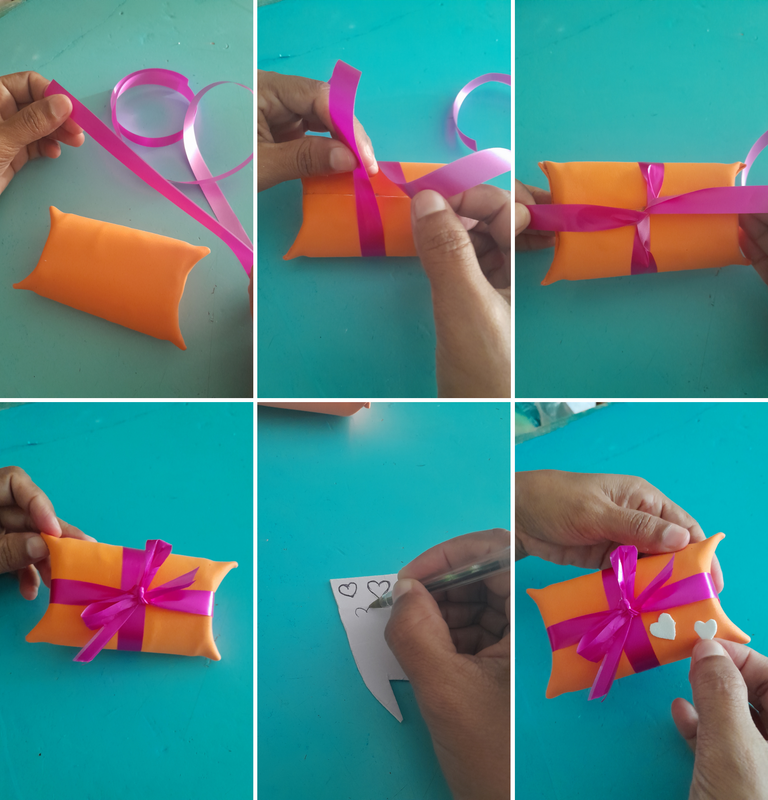
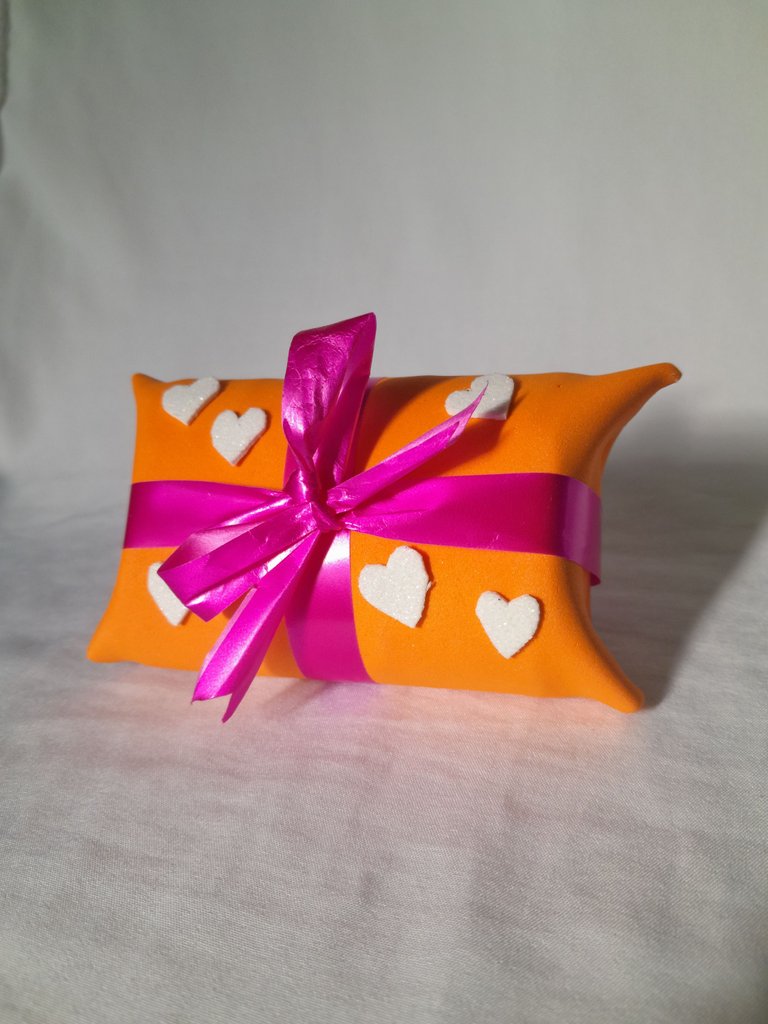
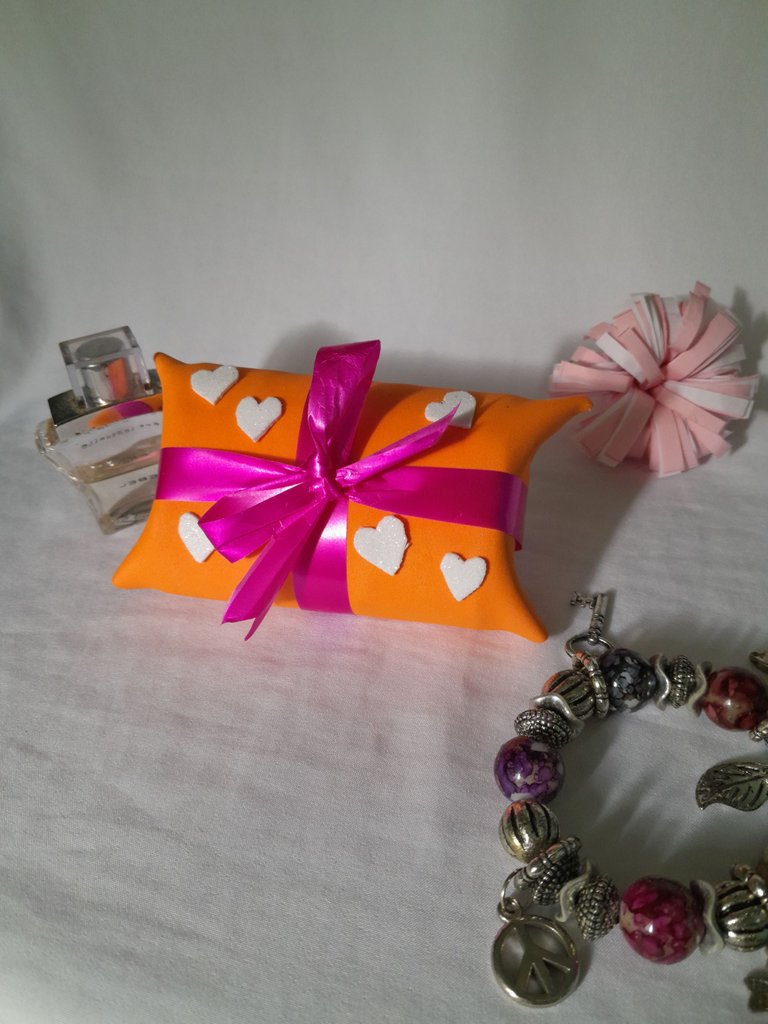
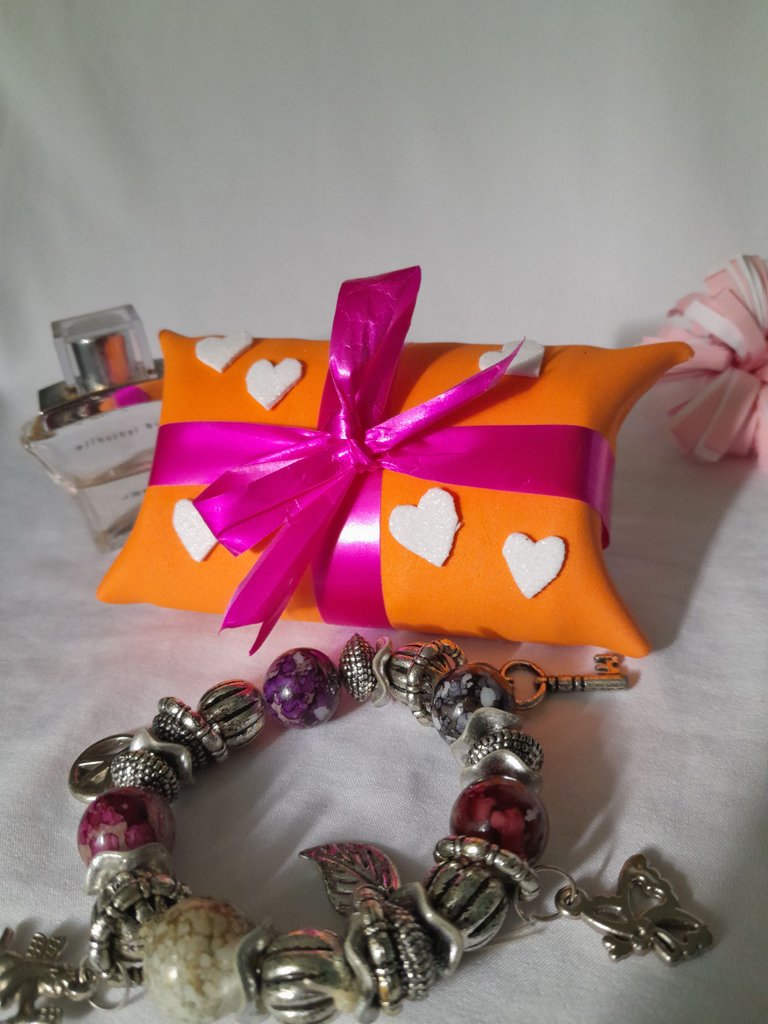
- Aquí continuamos, tomando la cinta la colocamos en el centro de la caja, hacemos un entrelazado en la parte de abajo y volteamos hacia arriba, luego realizamos un lazo quedando como lo muestra la foto. Término dibujando y recortando 6 corazones pequeños en el foami blanco y los pego alrededor del lazo, dejando nuestra cajita decorada.
English:
Step 3:
- Here we continue, taking the ribbon we place it in the center of the box, we make an interlace at the bottom and turn it upwards, then we make a bow as shown in the photo. I finish by drawing and cutting out 6 small hearts in the white foami and glue them around the ribbon, leaving our little box decorated.

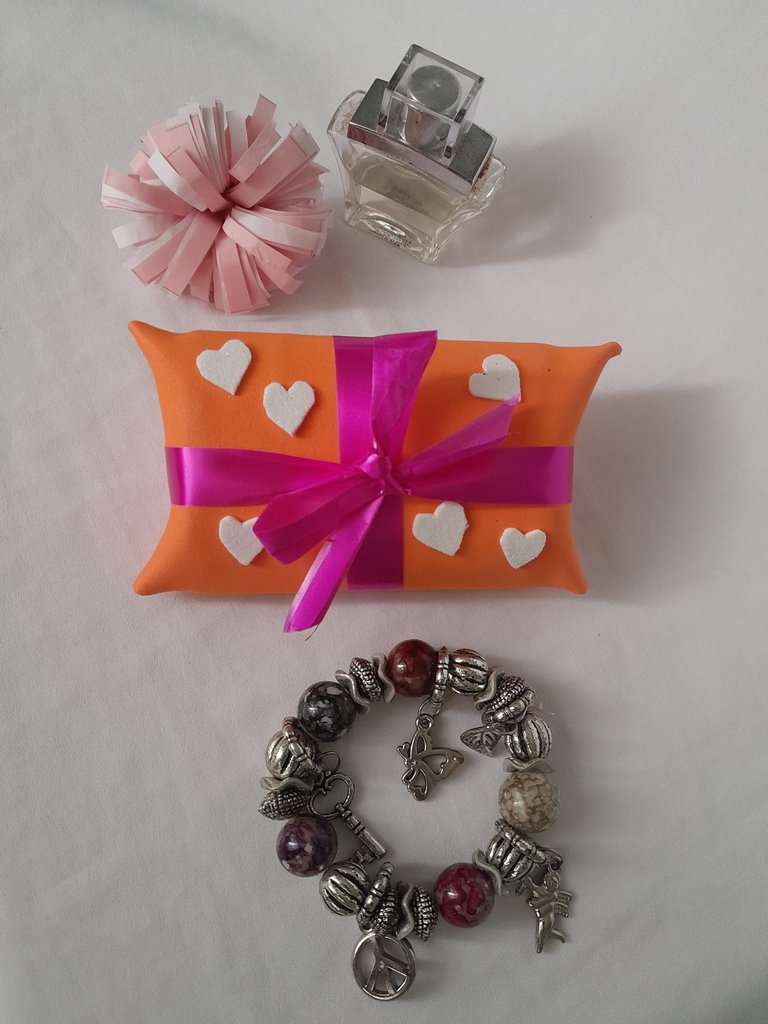
Espero les guste el resultado final de este lindo detalle.
I hope you like the final result of this nice detail.
Todas las fotos son de mi autoría y editadas con Canva.Traductor: DeepL Translate.
All photos are my own and edited with Canva.Translator: DeepL Translate.
