Hi fellow Hiveians,
Today I wanted to share what fun it is to be able to fix something on our own!
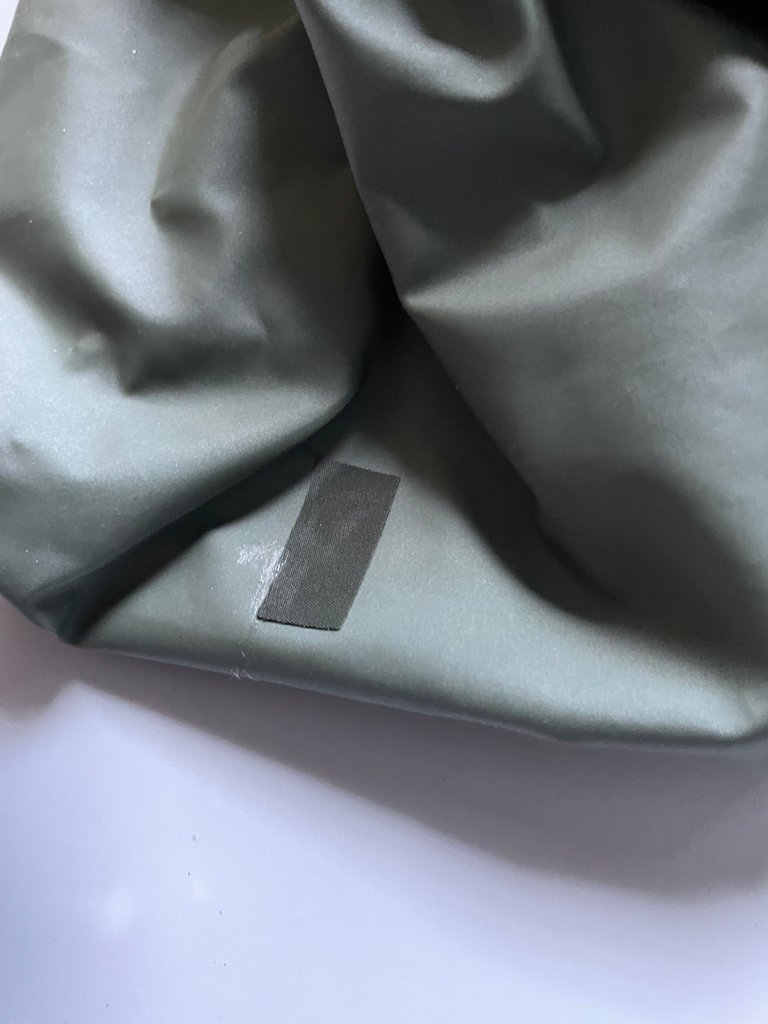

DIY Waterproof Waders Repair
When we buy things these days, one of the most important things for me and my family is to figure out how to make things last. I'm really in the habit of trying to stretch our money as far as it can go, because if not then we will end up in a financial predicament that isn't something I would very much like to be in. This means that when we buy things online or offline we are always making sure that we can get some additional things to go along with it in case what we are using needs to get fixed!
This was exactly what happened with this one. The little man and I have been using some rubber chest waders to use when we go fishing and it's been great. You get to be able to walk in the shallow water and mull about where you're fishing without getting wet, but also getting a pretty nice advantage over the other anglers in the area! I would love to eventually get a boat but in the meantime, these waders certainly do the trick!
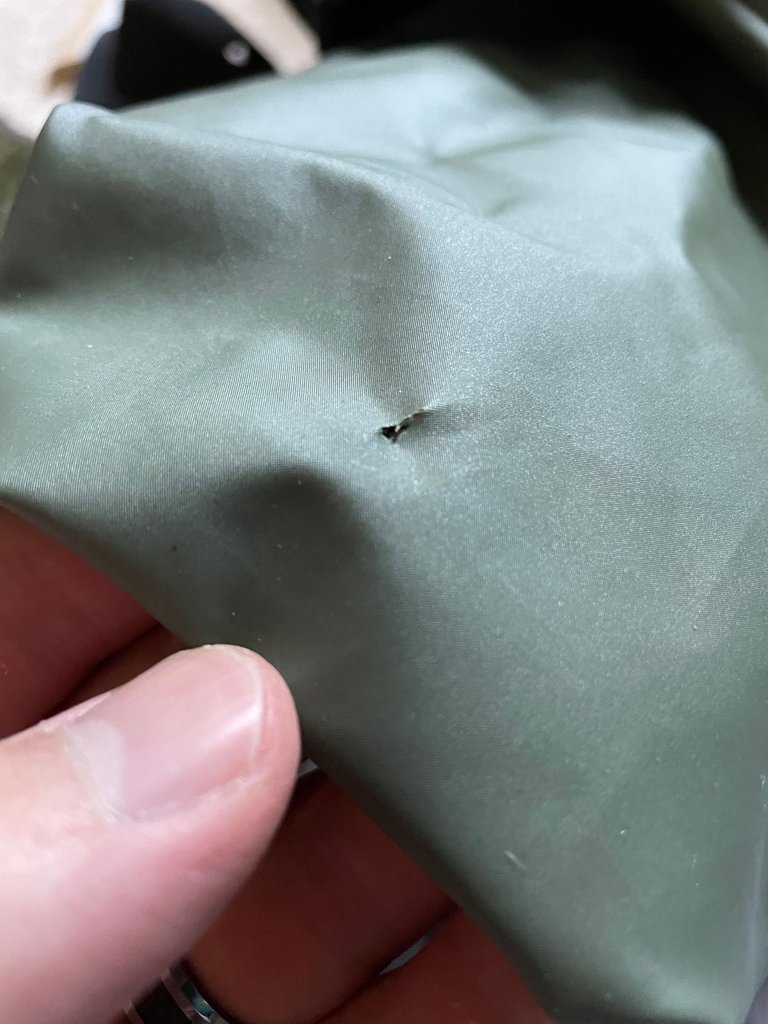
The challenge sometimes with things like waders though is you sometimes get into a little bit of a bind and end up getting a little rip in them! This was certainly the case in the fall of last year where the little man tripped and fell and he ended up tearing his waders a little bit. Thankfully it was towards the end of the season so we didn't really miss out on a lot of wading. We're certainly going to be hitting the ponds and rivers now that they are fixed up though!
What was nice with the particular set of waders we bought, the vendor happened to also provide a small patch that came with the purchase! I don't know if that's common with buying waders, I would like to think it is because the companies know that the things will likely get a little rip here and there, so it's pretty easy to provide the customers with a little bit of a kit so you don't feel like you have to get rid of the waders.
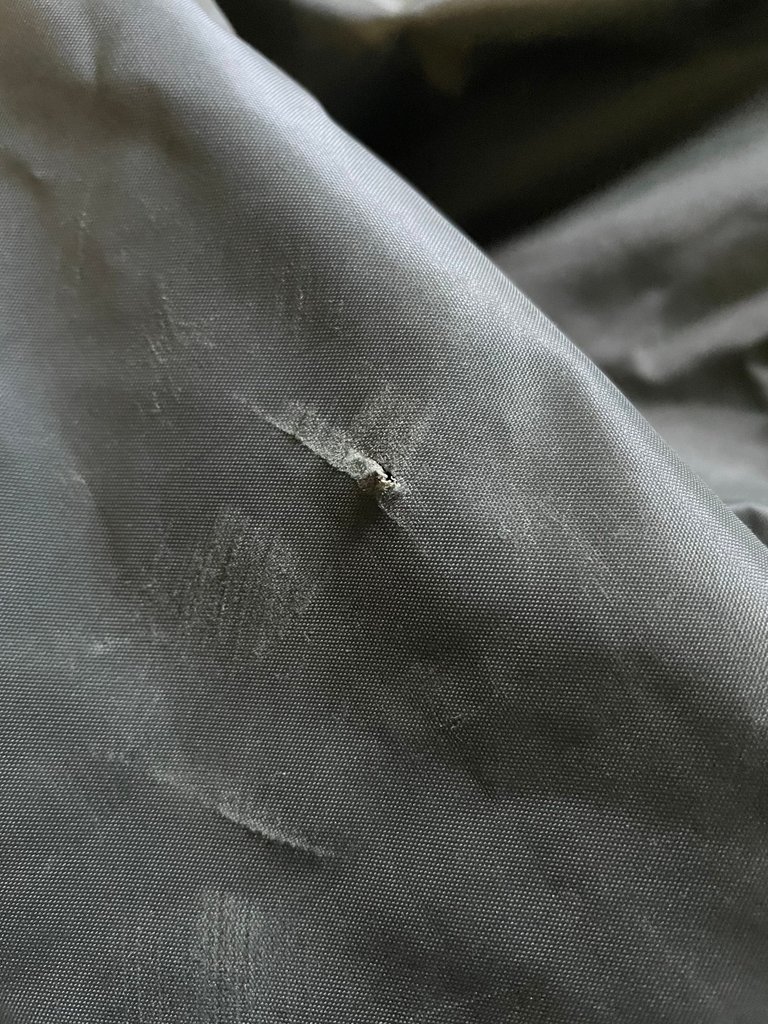
I apparently failed to be a good poster though, and forgot to take a picture of cutting and gluing LOL oops, my bad! :D but what I did was put the patch over the hole to give it a rough measure then cut a small square of the patch material. Once I had it in roughly the area I wanted, I applied the glue and I watched a quick video online for a good way to handle it and you're supposed to let the glue sit for a little bit and that promotes a nice strong bond.
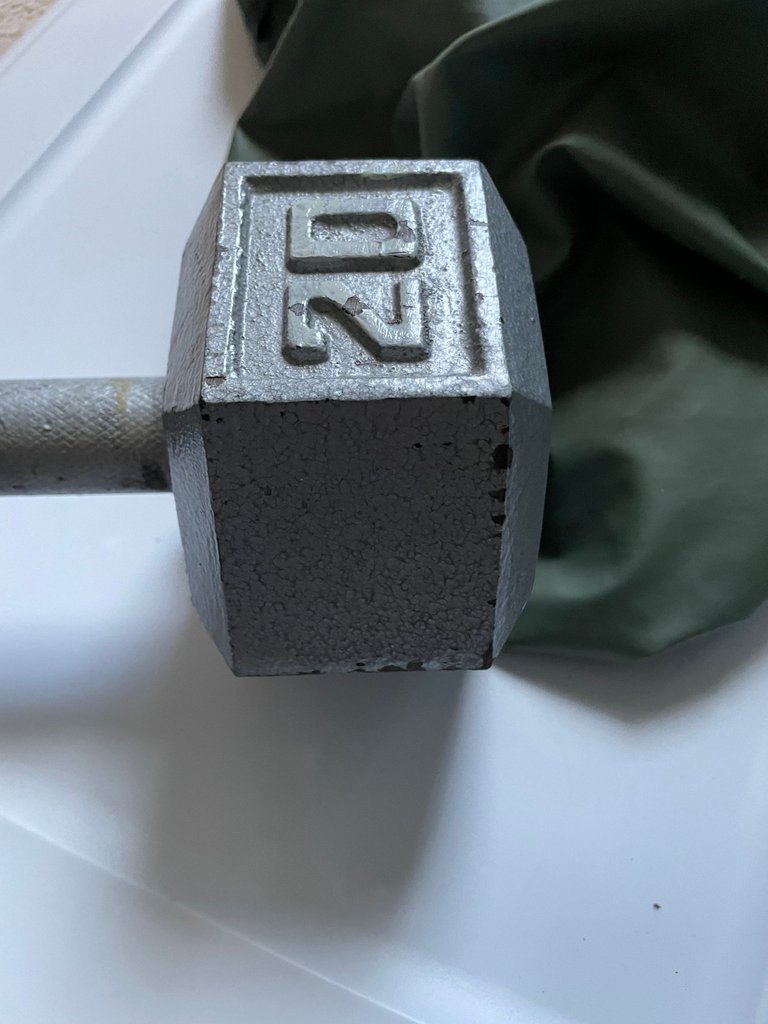
Once you get the thing glued, one of the important things is to compress it! You have to find something that's fairly heavy so that it lies flat but it also squishes the patch and glue into the hole. I didn't really find anything that wasn't too big except for this handy old weight here. It did the trick!
What I ended up having to do, which I didn't take a picture of to include here, was patch both the inside as well as the outside of the wader. The patch we can see below here was the patch on the inside. I figured that I'd have to do another one to really keep out the water fully but gave it to the little man to test it out when my wife took him to the beach to play around in the rocks and tidepools. Sure enough, it wasn't sealed enough! I also did the front and it was largely okay but we took it out for it's paces last weekend and did some good wading in a pond and it didn't do too bad!


-CmplXty. Real human written content, never AI.

Do you want to get paid, in crypto, for searching the internet? Try using and signing up for Presearch to earn some great crypto! I've currently got 2,900 PRE tokens, with a market value of $180.27. It doesn't sound like a lot but when you search using sites like Google you get paid $0! Join Presearch to break Google's stranglehold on the internet searches. If you'd like to sign up, use my referral link below and spread the word!
https://www.presearch.org/signup?rid=513043
