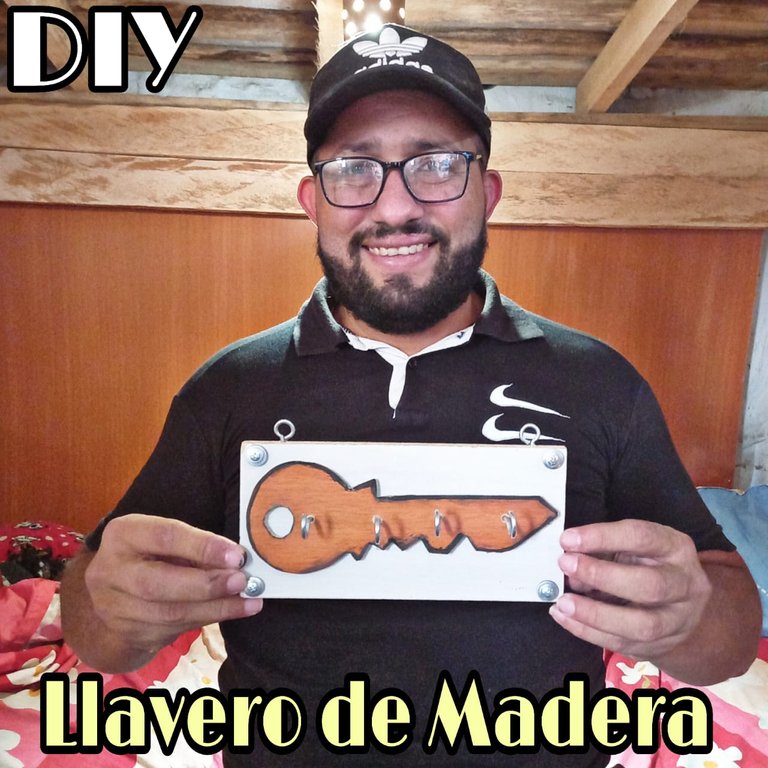
Hola, hola buenas tardes a todos los amigos que integran esta hermosa comunidad de #hive-Diy es un placer para mí saludarle y desearles que tengan un hermoso día. Hoy vengo con un nuevo tutorial de ¿Cómo hacer un llavero para pared con diseños en 3D?
Hello, hello good afternoon to all the friends who make up this beautiful #hive-Diy community it is my pleasure to greet you and wish you a beautiful day. Today I come with a new tutorial how to make a wall keychain with 3D designs.
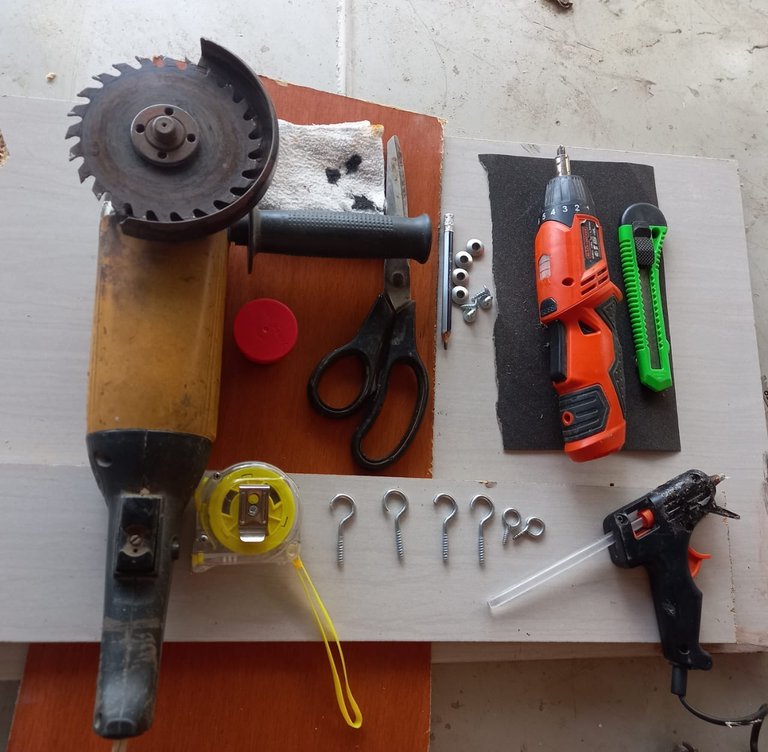
Para la elaboración de esta lámpara necesitaremos los siguientes materiales:
- Un pedazo de tablero de melamina.
- Un pedazo mdf delgado.
- Esmeril.
- 4 Armellas abiertas.
- 2 Armellas pequeñas cerradas.
- 4 Tornillos autorrosante con arandela.
- Pistola de silicón.
- Metro.
- Tijera para cartón.
- Exacto.
- Pintura negra.
- Mopa.
- Desarmador de estrella.
- Lija 120.
- Lápiz.
- A piece of melamine board.
- A thin piece of mdf.
- Grinder.
- 4 open eyebolts.
- 2 small closed eyebolts.
- 4 self-tapping screws with washer.
- Silicone gun.
- Meter.
- Cardboard scissors.
- Exact.
- Black paint.
- Mop.
- Phillips screwdriver.
- 120 grit sandpaper.
- Pencil.
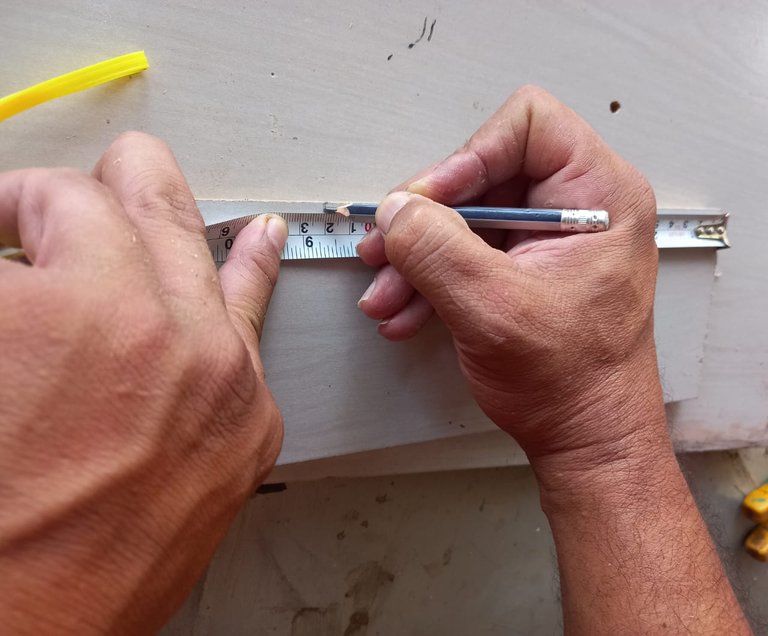
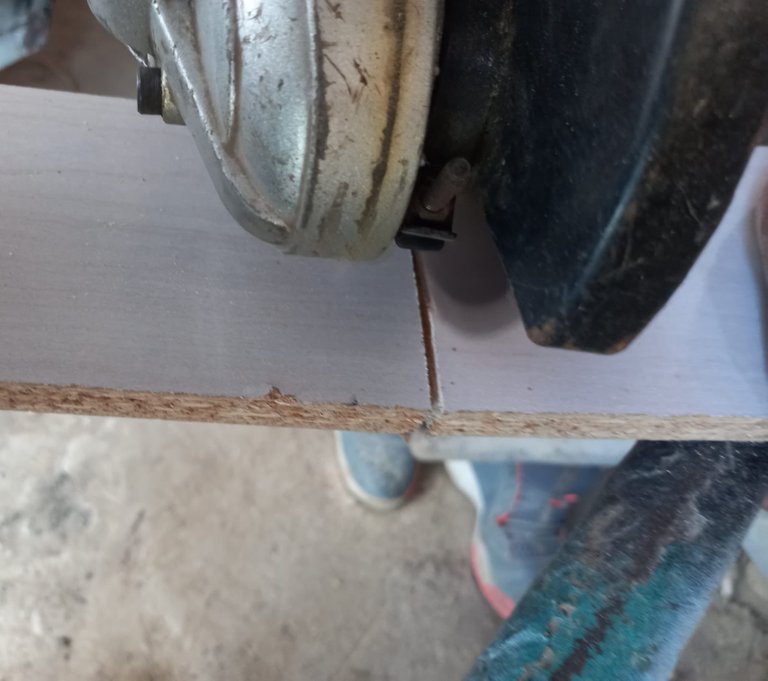
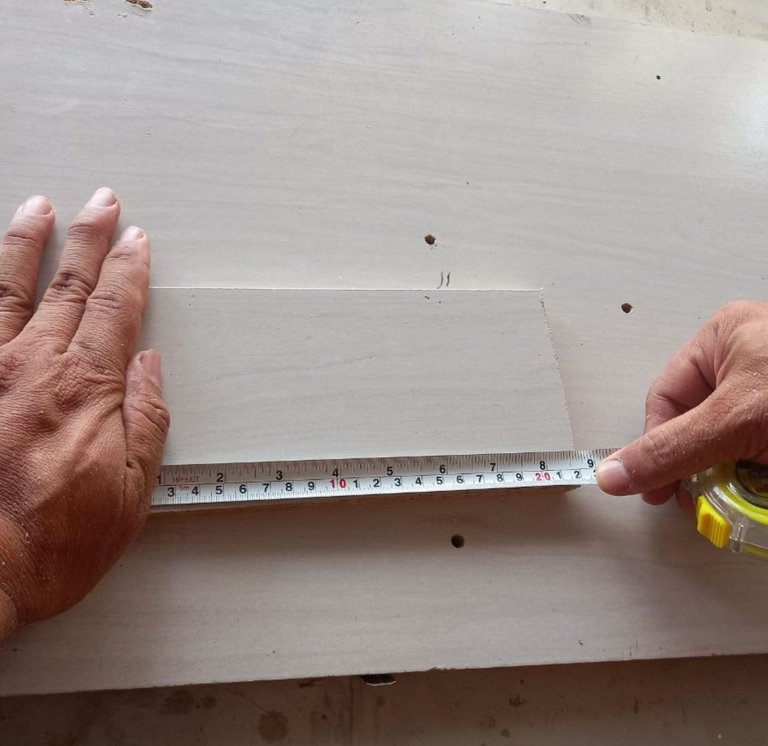
Primero cortamos con el esmeril, una pieza de tablero de melanina de 11cm de ancho y 22cm de largo.
First we cut with the grinder, a piece of melanin board 11cm wide and 22cm long.
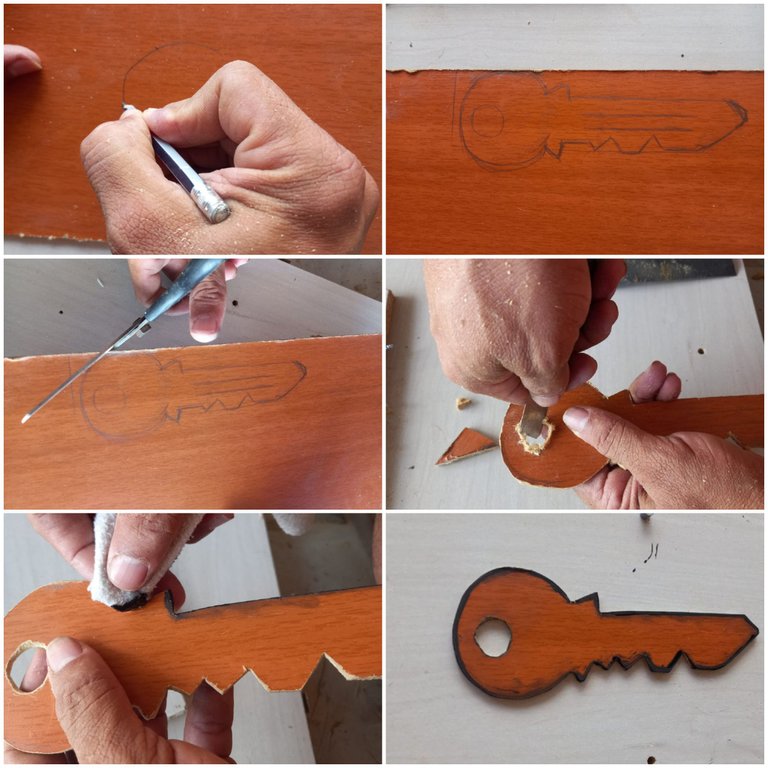
Luego dibujamos una llave sobre el pedazo de mdf , la recortamos con la tijera para cartón o con un exacto y pintamos sus bordes con pintura negra utilizando una mopa.
Then we draw a key on the piece of mdf, cut it out with the cardboard scissors or an exacto and paint its edges with black paint using a mop.
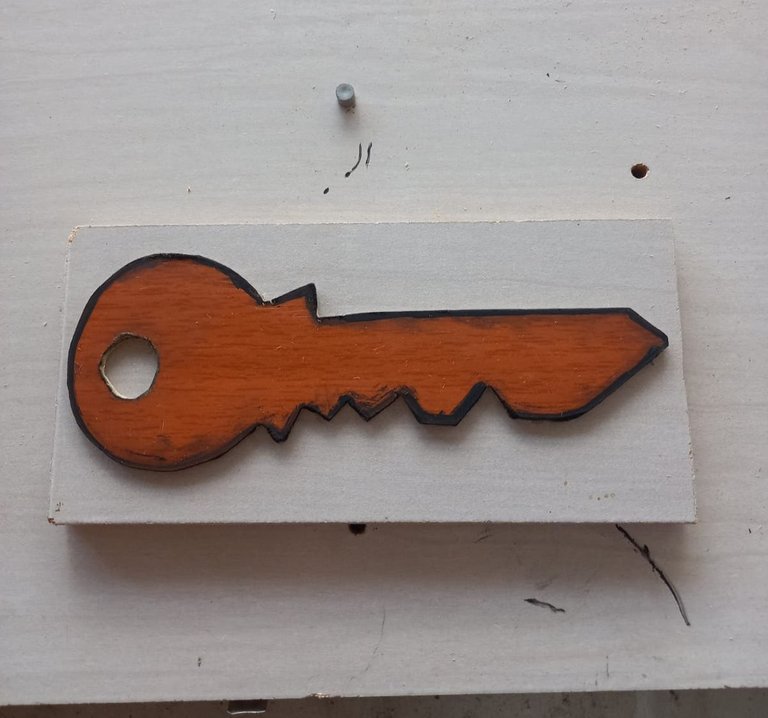
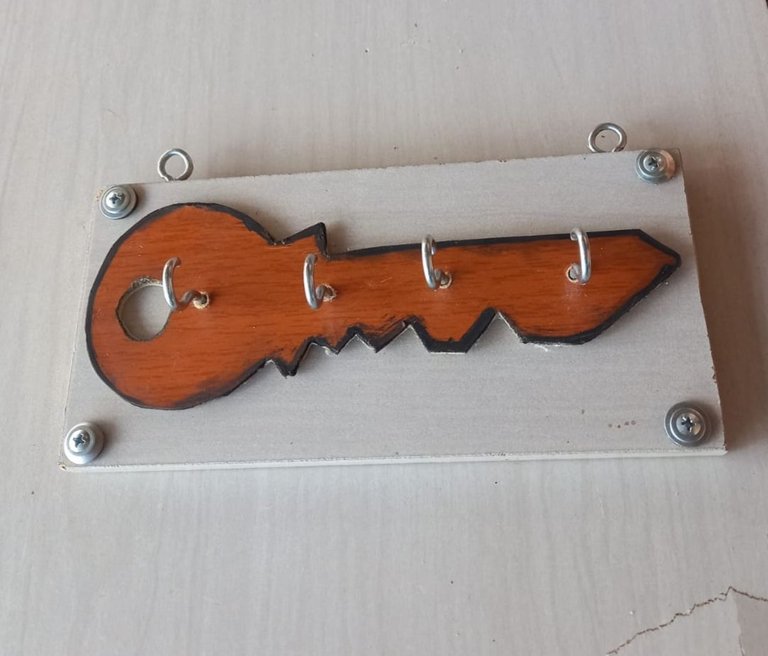
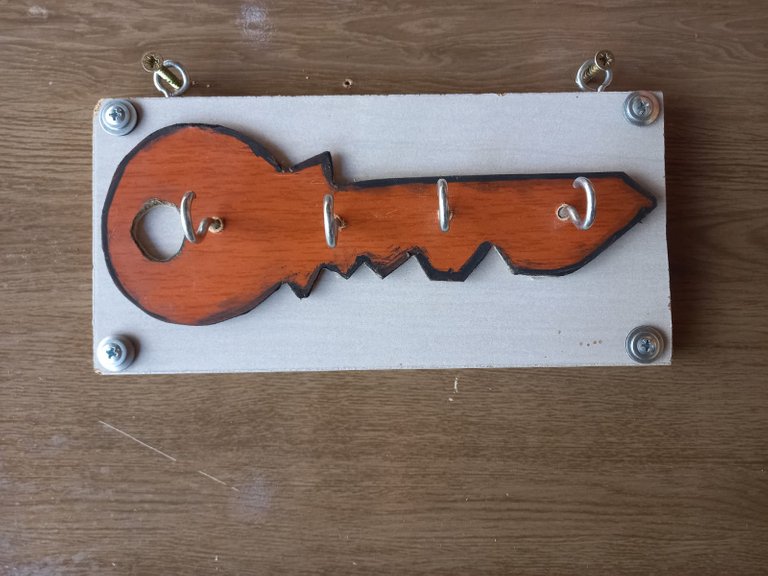
Pegamos con silicón caliente el diseño de la llave ya recortada sobre el tablero de melamina.
We glue the key design already cut out onto the melamine board with hot silicone.
Posteriormente introducimos las Armellas abiertas en el centro de la llave de manera horizontal, dejando un espacio de 5cm entre cada una de ellas.
Then we introduce the open eyebolts in the center of the key horizontally, leaving a space of 5cm between each one of them.
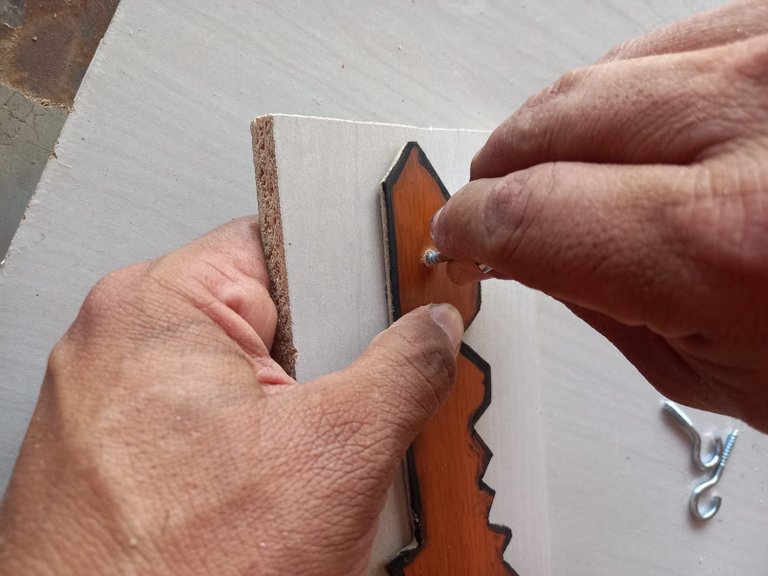
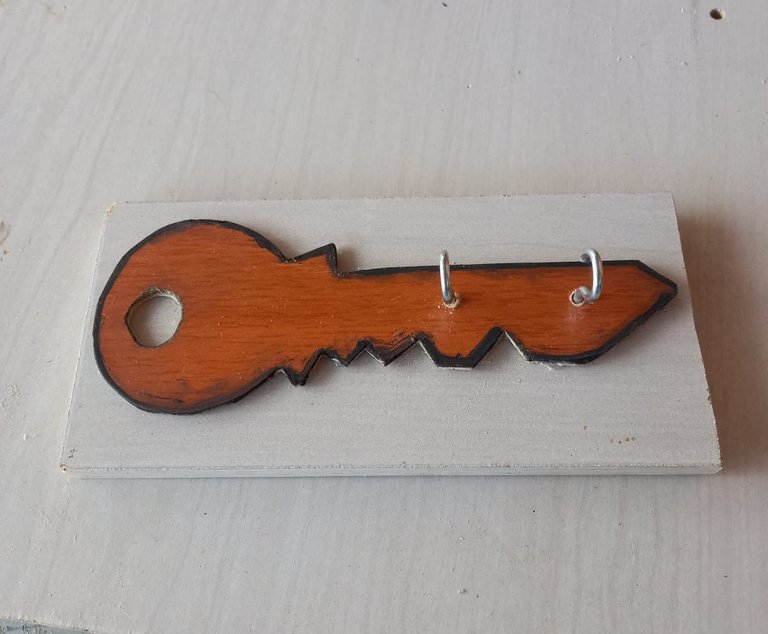
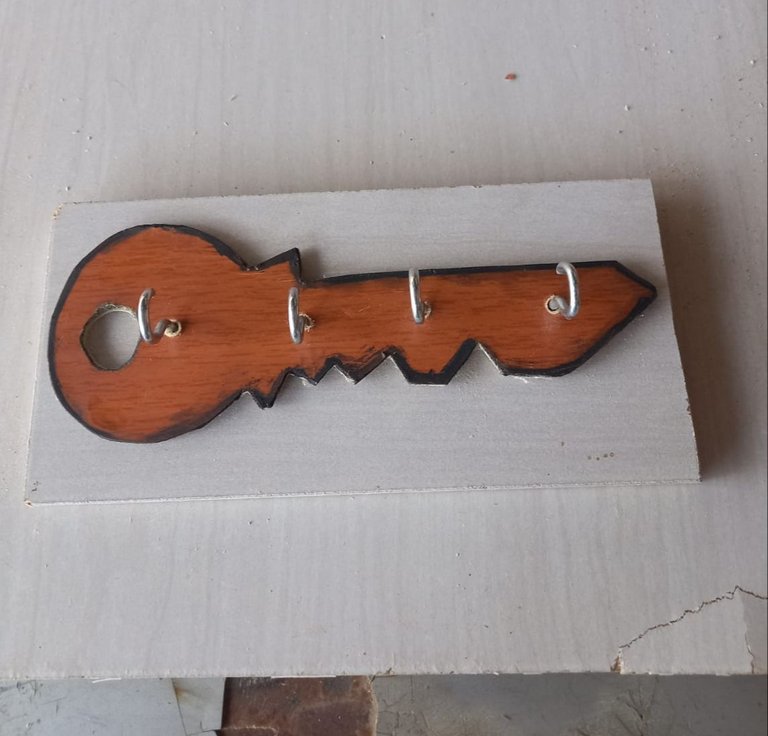
Luego introducimos las dos armellas cerradas, en el borde del tablero, en sus extremos, para colgarlo.
Then we introduce the two closed eyebolts, on the edge of the board, at its ends, to hang it.
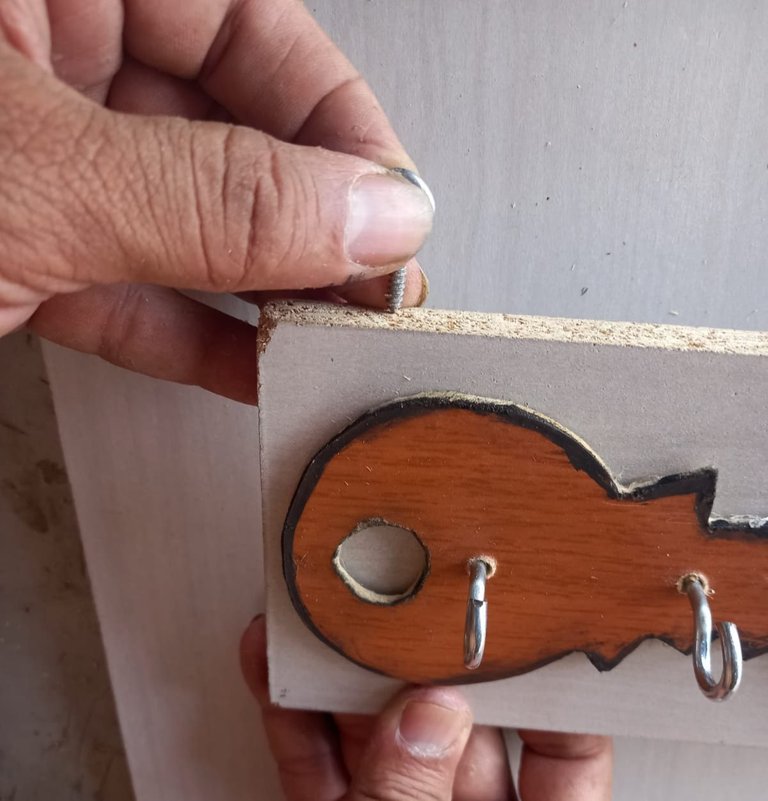
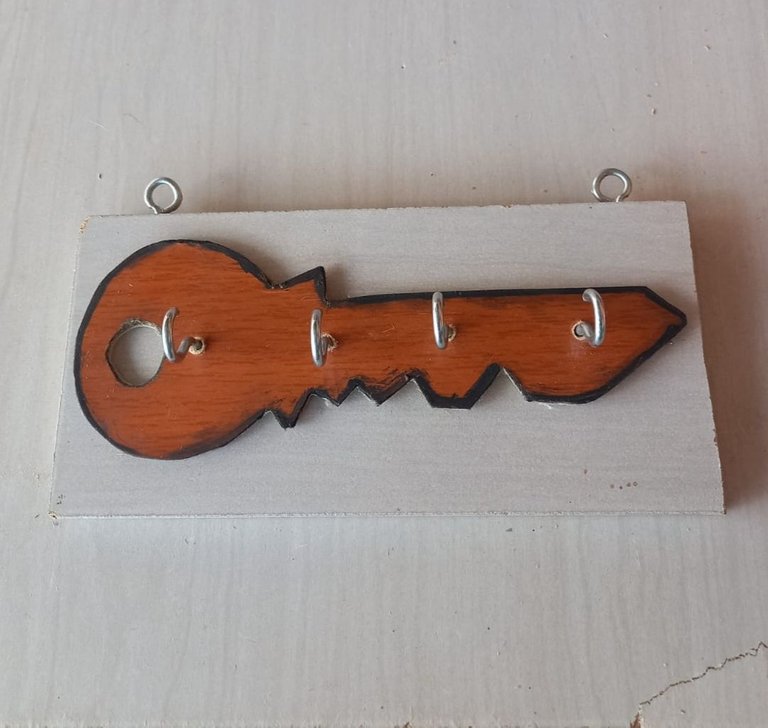
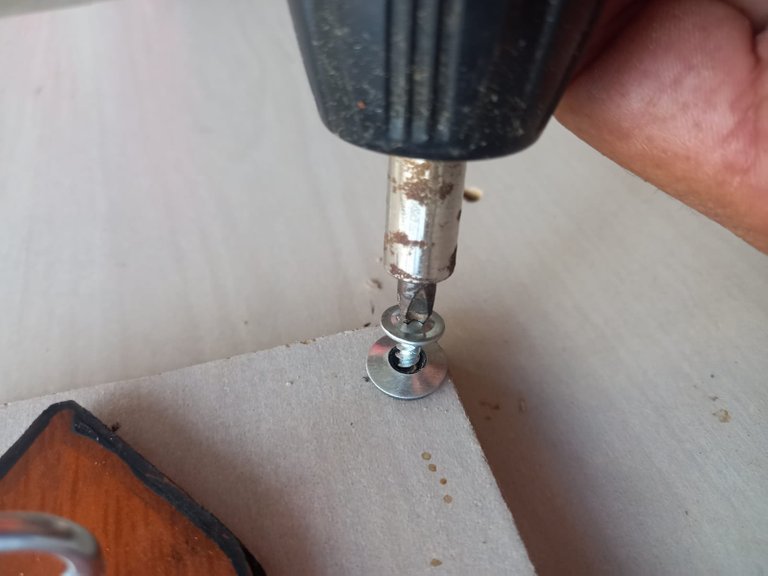
Finalizamos introduciendo con el desarmador de estrella, los cuatro tornillos con arandelas en las esquinas del tablero, para decorar nuestro llavero.
Finally, using the Phillips screwdriver, insert the four screws with washers in the corners of the board to decorate our key ring.
Gracias por quedarte hasta el final de éste tutorial estimado amigo lector, espero que te haya gustado. Saludos y muchas bendiciones.
Thank you for staying until the end of this tutorial dear reader friend, I hope you liked it. Greetings and many blessings.
Traducción: Www.DeepL.com.
Ediciónde imagen: Picsar.
Todas las fotos son de mi autoría.
Traducción: Www.DeepL.com.
Ediciónde imagen: Picsar.
Todas las fotos son de mi autoría.