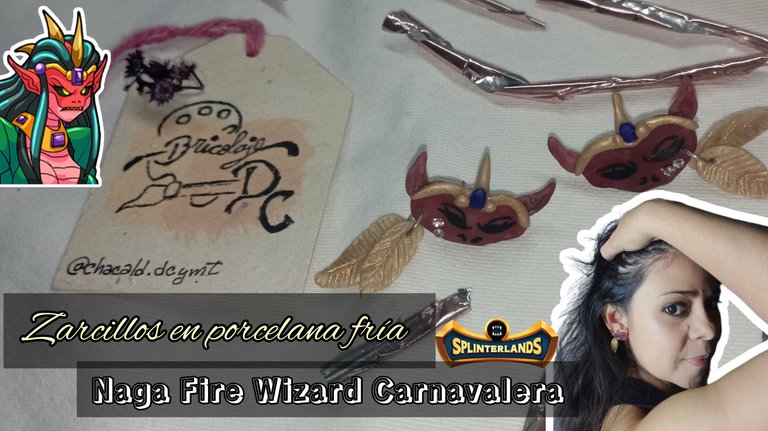
Greetings friends who love handmade crafts! Welcome once again to my Bricolaje DC workshop, this time I would like to join the Carnival Accessories Contest with some earrings inspired by a Splinterlands card and I have called them Naga Fire Wizard Carnavalera. Join me and I'll show you the creative process.
¡Saludos amigos amantes de las artes manuales! Sean bienvenidos una vez más a mi taller Bricolaje DC, en esta oportunidad me gustaría sumarme al Carnival Accessories Contest con unos aretes inspirados en una carta de Splinterlands y los he llamo Naga Fire Wizard Carnavalera. Acompáñenme y les muestro el proceso creativo.
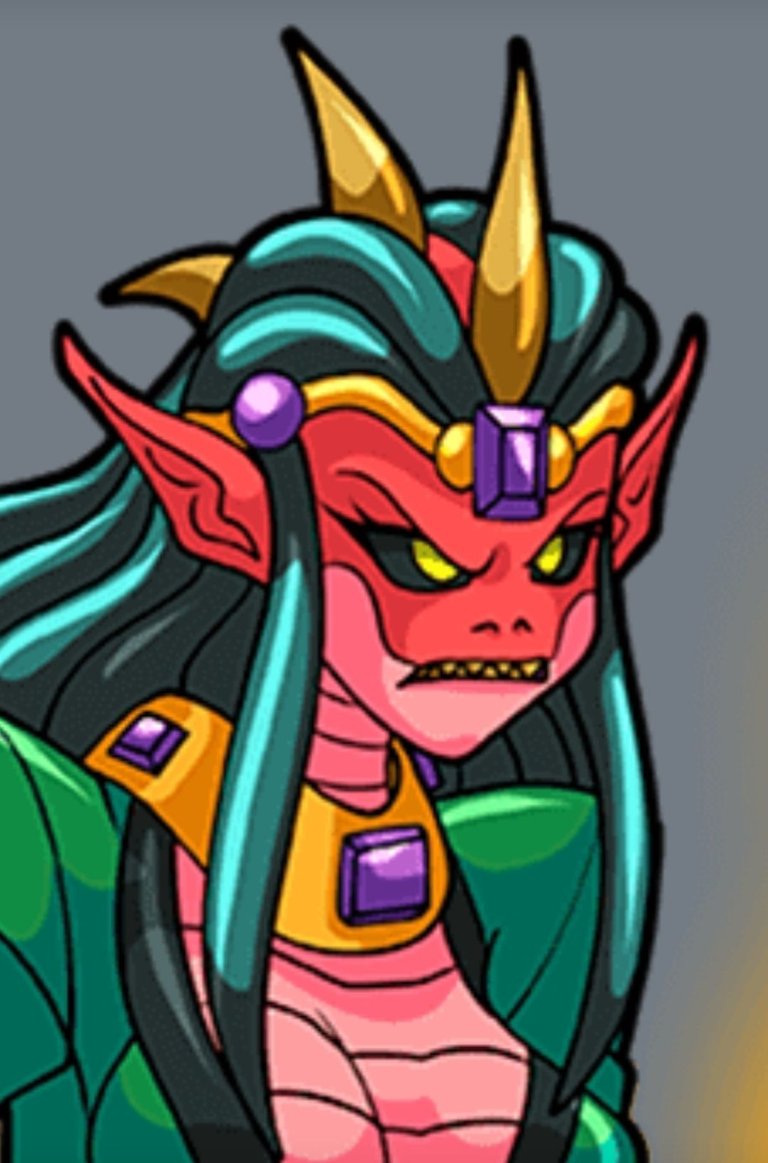
What inspired me about this card was its mask, since colorful masks and accessories are characteristic of this holiday season. The mask of Naga maga of fire, is reddish in color, has pointed ears and some golden accessories. These are the elements I will use for this project.
Lo que me inspiró de esta carta fue su antifaz, ya que, las máscaras y accesorios coloridos son característicos de estas fiestas. La máscara de Naga maga de fuego, es de color rojizo, tiene orejas puntiagudas y algunos accesorios dorados. Estos son los elementos que utilizaré pars este proyecto.

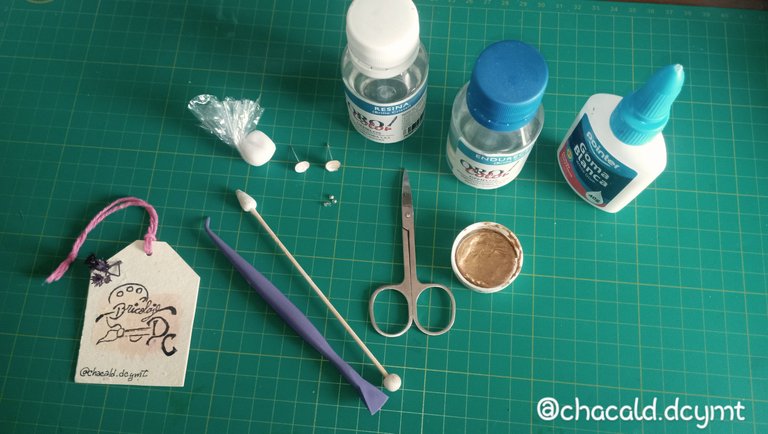
Materials:
30 grams of cold porcelain dough
Watercolor
Glue
Molding sticks
Shiny stones for inlaying
Base for tendrils
2 rings
Gold acrylic paint
Brush
Black gel pen
Resin
Scissors
Materiales:
30 gramos de masa de porcelana fría
Acuarela
Pegamento
Estecas de moldear
Piedras brillantes para incrustar
Base de zarcillos
2 argollas
Pintura acrílica dorada
Pincel
Bolígrafo de gel color negro
Resina
Tijera
Elaboration process:
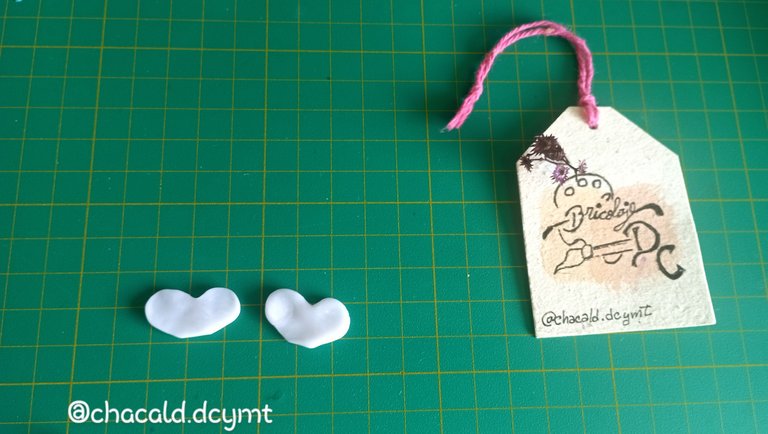
I started by making the mask. I gave it a heart shape and cut the bottom part with the scissors so that it would be similar to the drawing on the card.
Proceso de elaboración:
Comencé haciendo el antifaz. Le di forma de corazón y en la parte de abajo corté con la tijera para que quedara similar al dibujo de la carta.
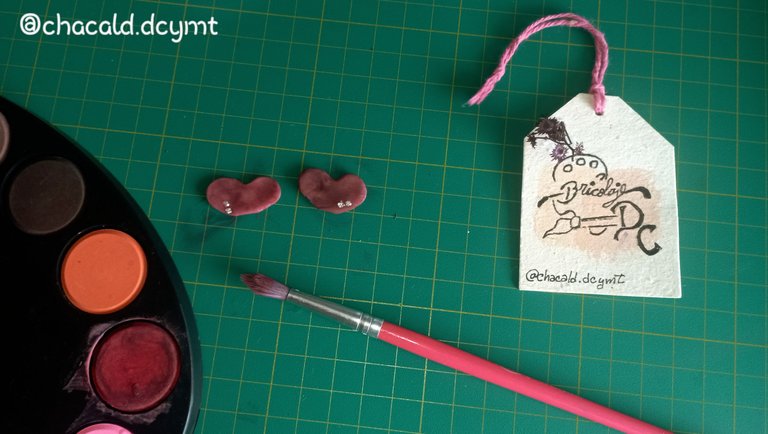
With watercolor, we are going to paint the bases of the mask. I combined red and black to give it a vinotint tone.
I took the opportunity to inlay 2 shiny pebbles on the outer side of each tendril.
Con la acuarela, vamos a pintar las bases del antifaz. Combiné rojo y negro para darle un tono vinotinto.
Aproveché de incrustar 2 piedritas brillantes del lateral exterior de cada zarcillo.
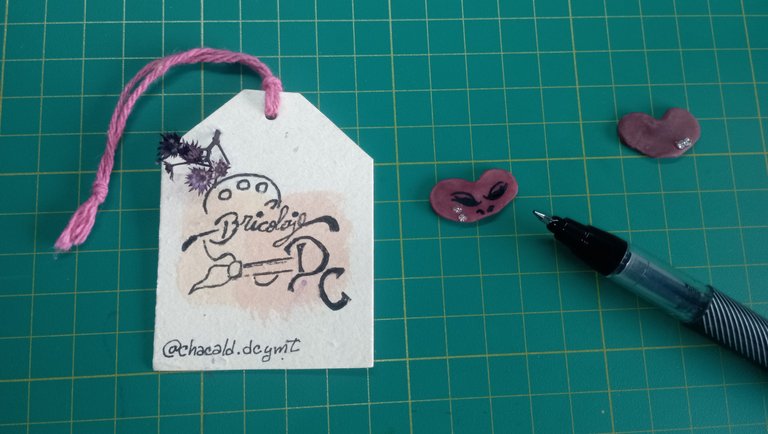
I took the pen and marked the eyes of the mask and then the nose.
Tomé el bolígrafo y marqué los ojos del antifaz y luego la nariz.
With dough, I made the ornaments on the top of the mask, then painted them with gold and purple watercolor paint.
Con masa, hice los ornamentos de la parte superior del antifaz, luego los pinté con la pintura dorada y acuarela violeta.
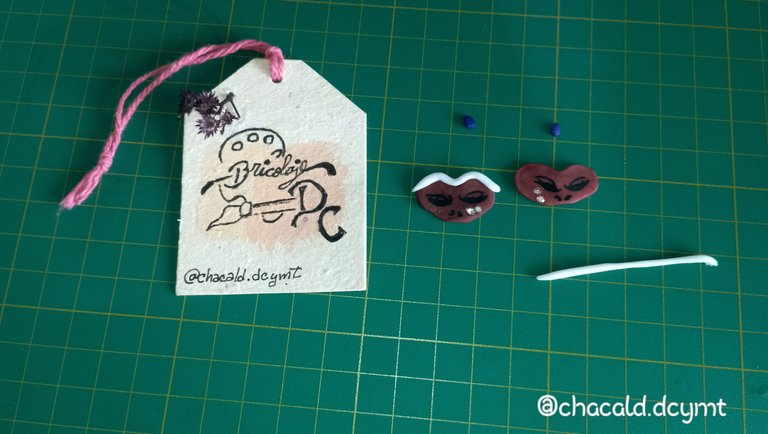
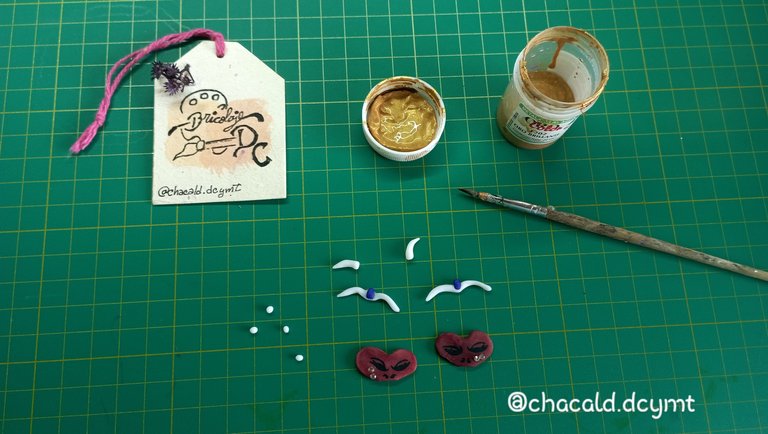
It occurred to me to add a couple of golden feathers to go more with the carnival design.
I took a piece of dough and began to mold the feathers with the help of the flat stake.
Se me ocurrió agregar un par de plumas doradas que fueran más con el diseño de carnaval.
Tomé un trozo de masa y comencé a moldear las plumas con ayuda de la esteca plana.
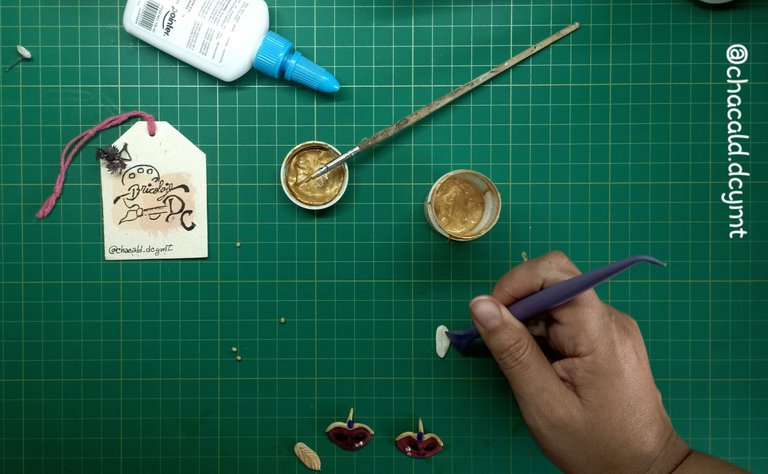
With the help of the tendril base, I pierced the feathers and the mask so that I could pierce the ring.
Con ayuda de la base para zarcillos, perforé las plumas y el antifaz para poder atravesar la argolla.
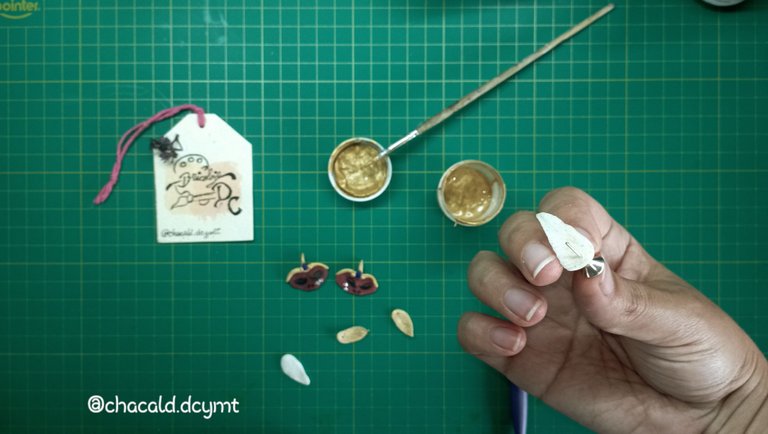
I let the pieces air dry for 2 hours. Once the pieces were hardened, I placed the ring to attach the mask to the feathers.
Dejé secar las piezas al aire por 2 horas. Una vez endurecidas las piezas, coloqué la argolla para unir el antifaz a las plumas.
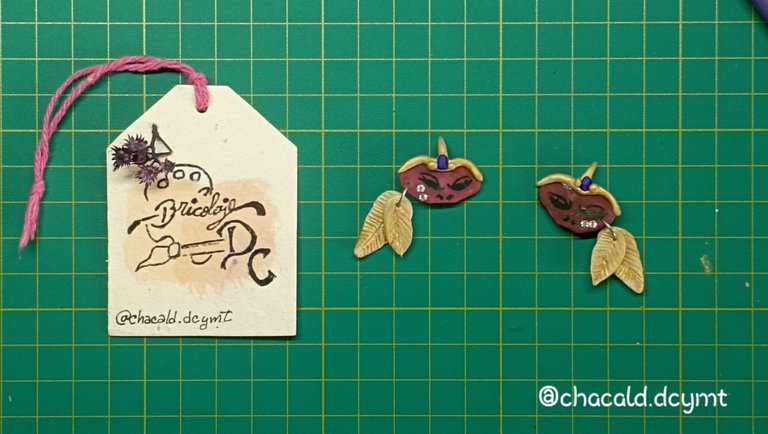
I made the little ears to place on each mask. This was one of the most complex parts because of the tiny size of the ears.
I glued the ears and let them dry for 20 minutes to continue, to prevent the small pieces from peeling off with the contact of my hands.
Hice las pequeñas orejas para colocar en cada antifaz. Esta fue una de las partes más complejas por el diminuto tamaño de las orejas.
Pegué las orejas y dejé secar por 20 minutos para seguir, así evitar que con el contacto de mis manos se despegaran las piezas pequeñas.
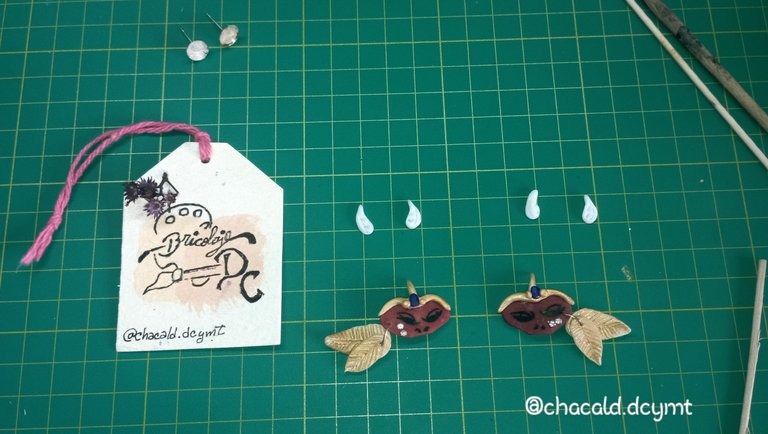
I placed a disk of dough on the back of each mask to cover the base of the tendril and glued it with glue. I let it dry for 1 hour.
Coloqué por la parte de atrás de cada antifaz un disco de masa que cubriera la base del zarcillo y la pegue con pegamento. Dejé secar 1 hora.
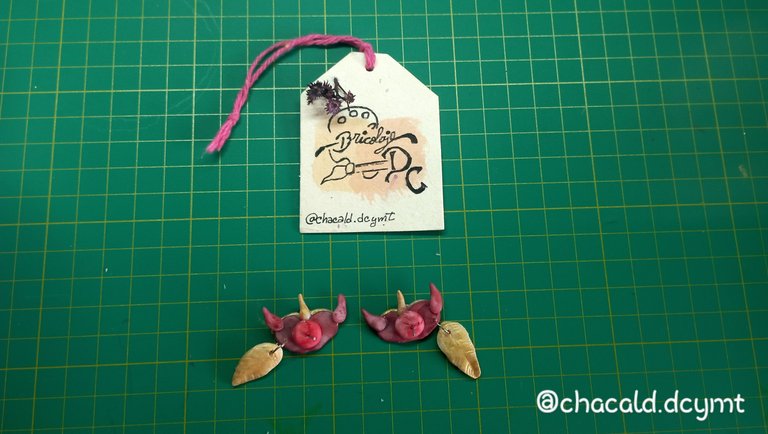
I applied a layer of resin and let it dry for 8 hours to harden and protect the pieces.
Apliqué una capa de resina y dejé secar por 8 horas para endurecer y proteger las piezas.
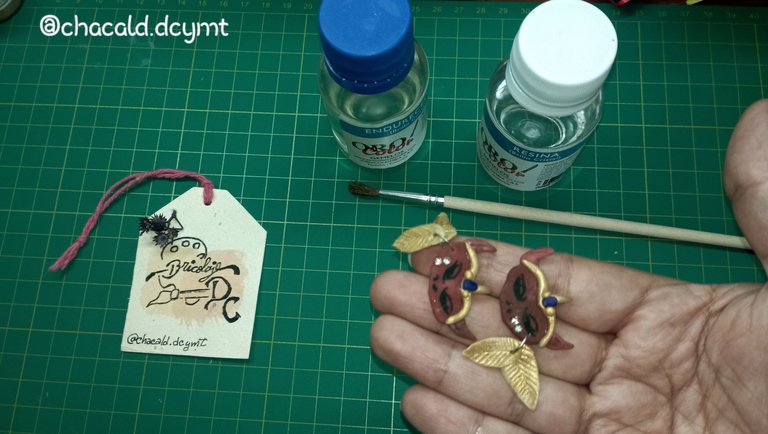
And that's how these carnival tendrils turned out:
Y así fue como quedaron estos zarcillos de carnaval:
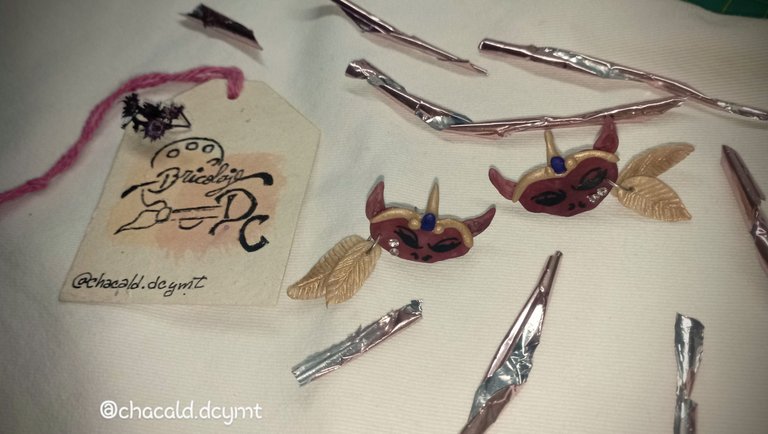
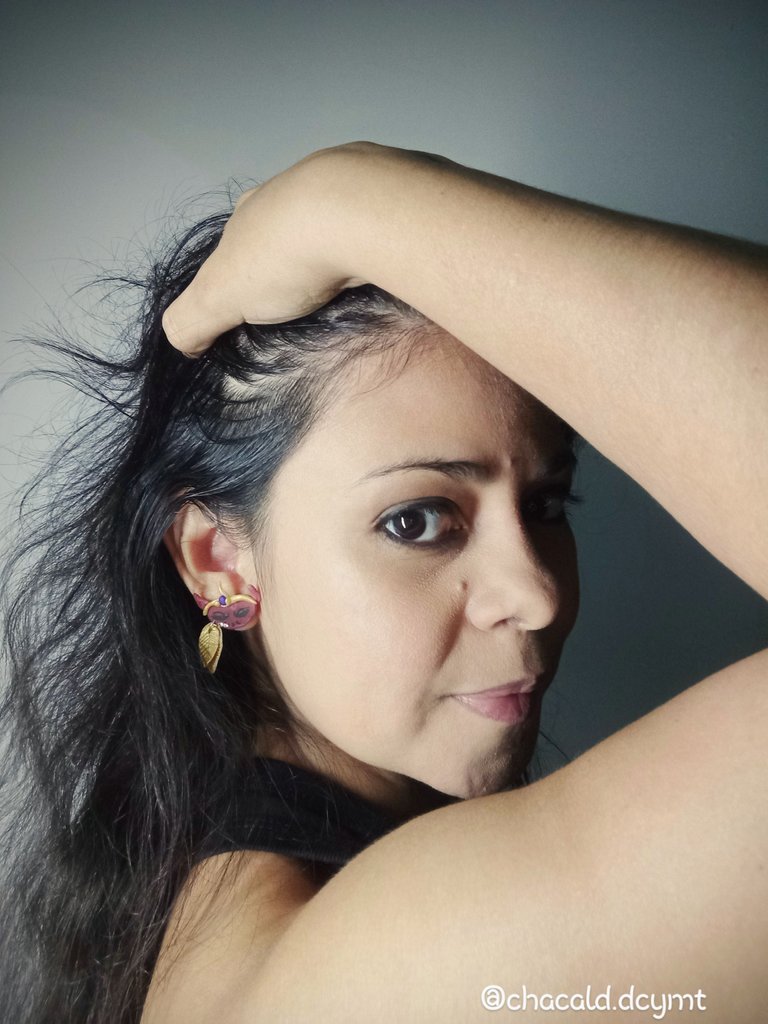
I really enjoyed working on this project. And especially to show it off at carnival. I hope you like it. A big hug and see you next time. Bye!
Me gustó mucho trabajar en este proyecto. Y sobretodo lucirlo en carnaval. Espero les guste. Un abrazo infinito y nos vemos en una próxima oportunidad. Chao!

If you are not yet playing Splinterlands go here and join the adventure.
Si todavía no estás jugando Splinterlands entra aquí y únete a la aventura.

Original content by the author.
Resources: App: Canva / Giphy / Inshot
📷 Redmi 10 Smartphone
Translation done with Deepl.com
✿ All Rights Reserved || © @chacald.dcymt 2024✿
💌 Discord: chacald.dcymt#3549
X: @chacald1
Reddit: chacald
_
Contenido original del autor.
Recursos: App: Canva / Giphy / Inshot
📷 Redmi 10 Smartphone
Traducido con Deepl.com
✿ Todos los Derechos Reservados || © @chacald.dcymt 2024✿
💌 Discord: chacald.dcymt#3549
X: @chacald1
Reddit: chacald
