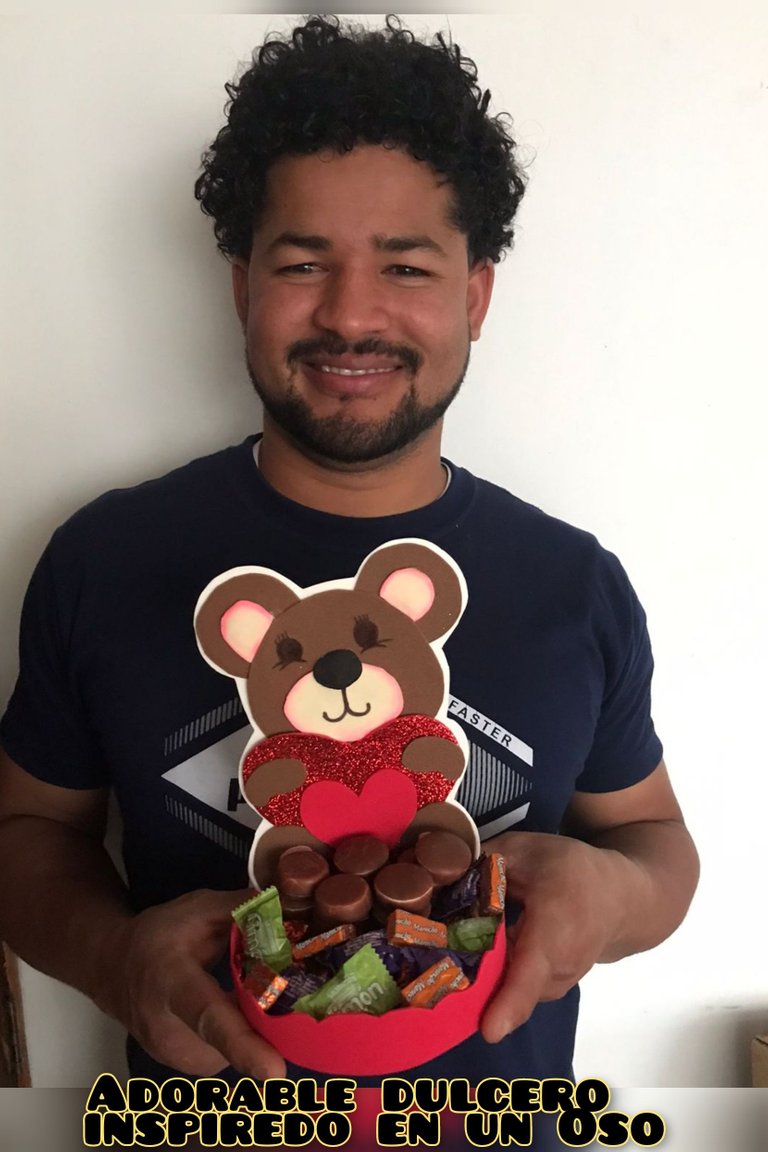
Hola queridos lectores
Hello dear readers
Saludos cordiales a todos los integrantes de la colmena bricolaje ¿como se sienten hoy? Espero que muy bien, con mucha vitalidad y salud, en esta ocasión les quiero compartir un adorable dulcero elaborado en goma eva inspirado en un oso 🐻 para regalar a esa persona especial el día de San Valentín o en otra ocasión si gusta.
Warm greetings to all the members of the DIY hive, how are you feeling today? I hope very well, with lots of vitality and health, this time I want to share with you an adorable eva rubber candy box inspired by a bear 🐻 to give to that special person on Valentine's Day or any other occasion if you like.
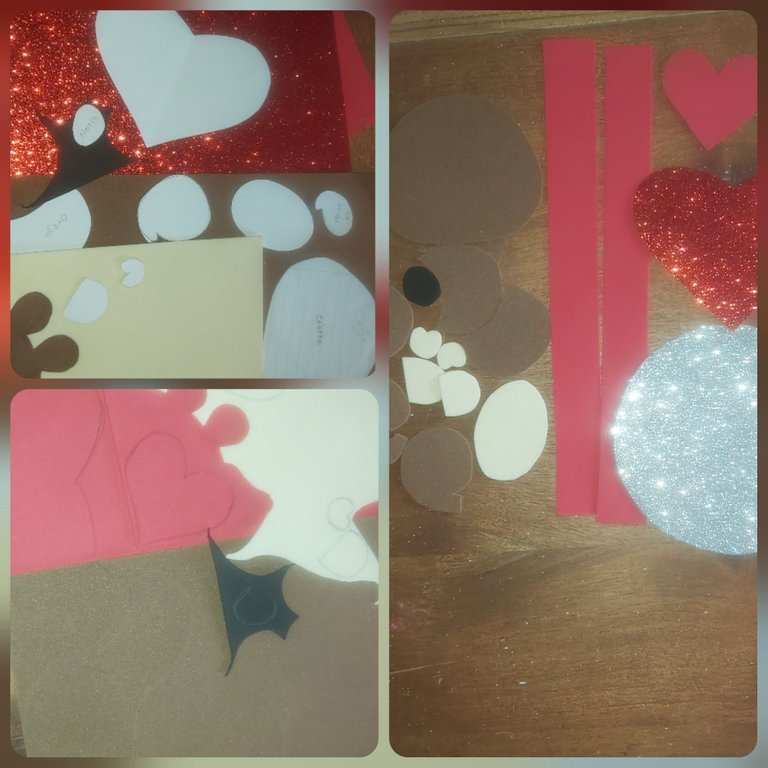
Materiales
- Goma eva de colores Rojo, blanco, rojo escarchado, plateado, marrón y beis.
- Círculo de cartón de 15 cm de diámetro
- Tijera
- Lapiz
- Pistola y barra de Silicón
- Marcadores
- Dulces a su gusto.
- Moldes
Materials
- Red, white, frosted red, silver, brown and beige eva rubber.
- Cardboard circle of 15 cm in diameter.
- Scissors
- Pencil
- Silicone Gun and Silicone Stick
- Marker pens
- Candy of your choice.
- Molds
PROCEDIMIENTO
PROCEDURE
Colocamos los moldes en la goma eva de lo distintos colores que vamos a utilizar, luego marcamos y recortamos todas las piezas.
We place the molds on the eva rubber of the different colors we are going to use, then we mark and cut out all the pieces.
Teniendo todo recortado pasamos a pegar, primero armamos el oso, pegamos la cabeza al corazón rojo escarchado, luego pegamos las orejas.
First we glue the bear, glue the head to the frosted red heart, then we glue the ears.
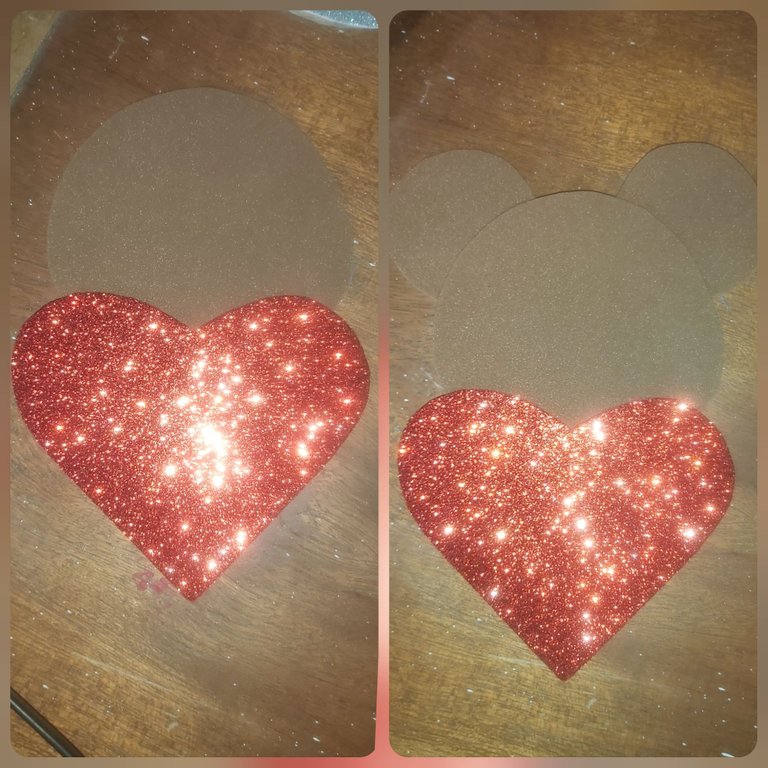
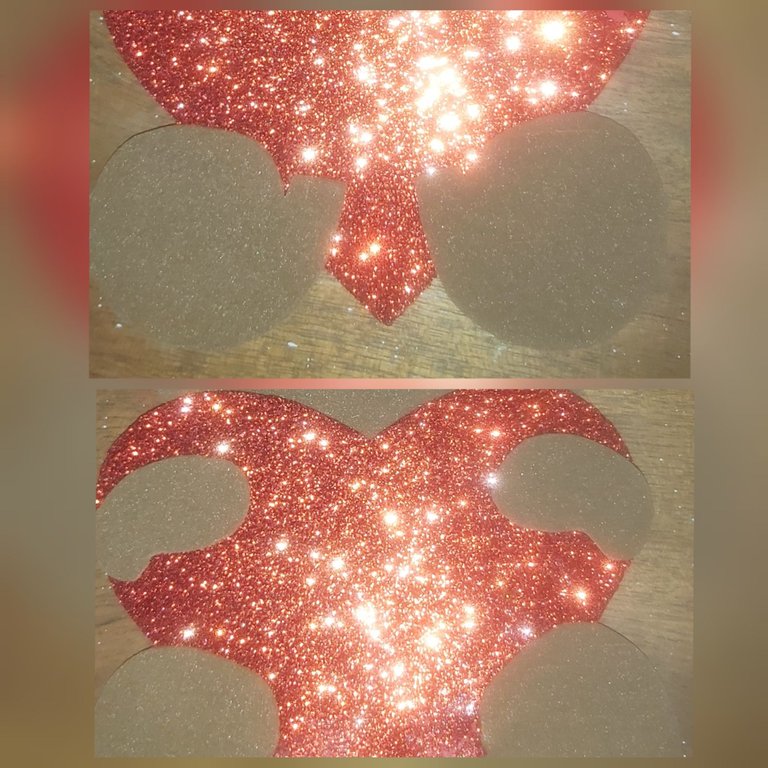
En este paso vamos a seguir pegando las patas trasera y luego las patas delanteras, simulando que el oso 🐻 está sujetando el corazón.
In this step we are going to continue gluing the back legs and then the front legs, simulating that the bear 🐻 is holding the heart.
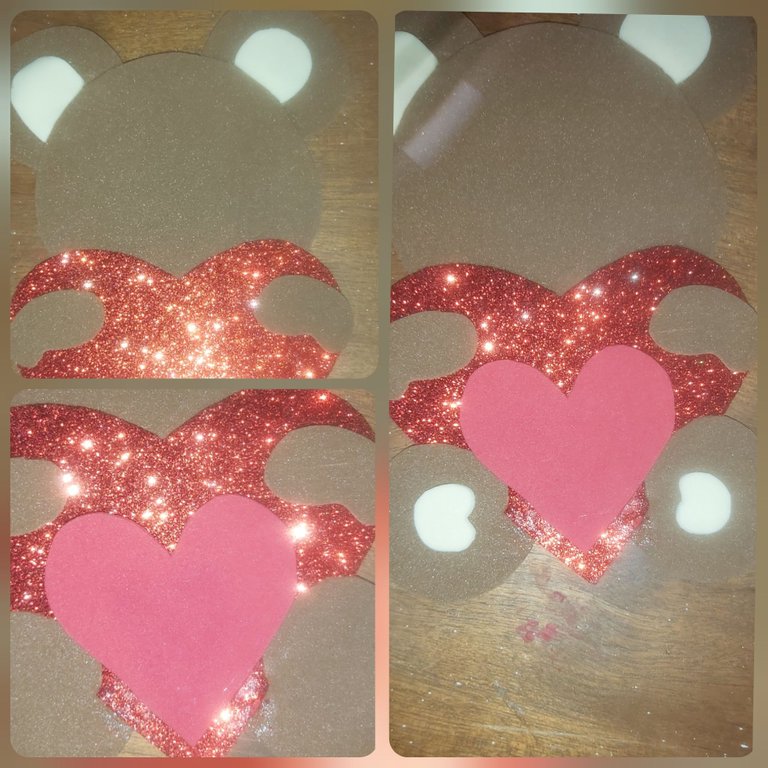
Luego vamos a pegar el centro de las orejas y el centro de las patas de color beis, también pegamos el corazón ❤ más pequeño en medio me las 2 patas trasera.
Then we will glue the center of the ears and the center of the beige legs, we also glue the smaller ❤ heart in the middle of the 2 back legs.
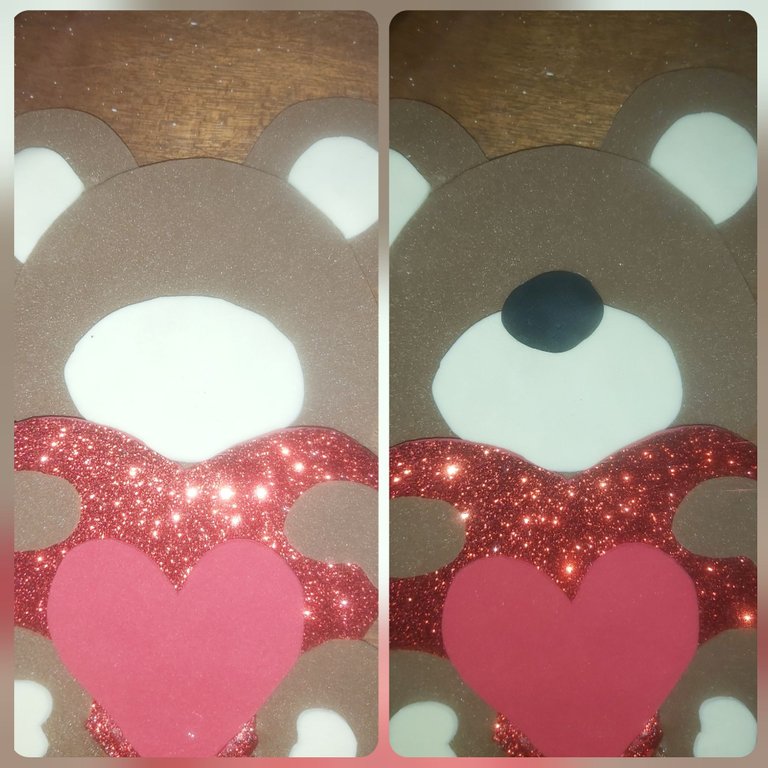
Para terminar con todas las piezas del oso pegamos la trompa de color beis y encima pegamos la nariz de color negro.
To finish with all the pieces of the bear we glue the beige trunk and on top we glue the black nose.
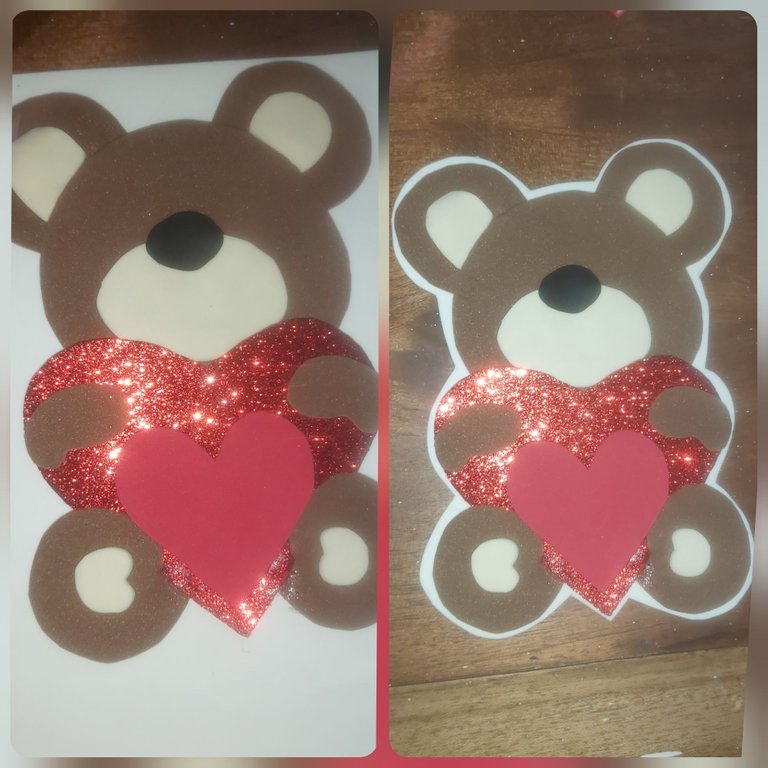
Al terminar de armar el oso lo colocamos en la goma eva de color blanco, pegamos y luego recortamos dejando un borde por todo el contorno del oso, eso le va a dar firmeza y una mejor iluminación.
Once the bear is finished, we place it on the white eva rubber, glue it and then cut it, leaving a border all around the bear, this will give it firmness and a better illumination.
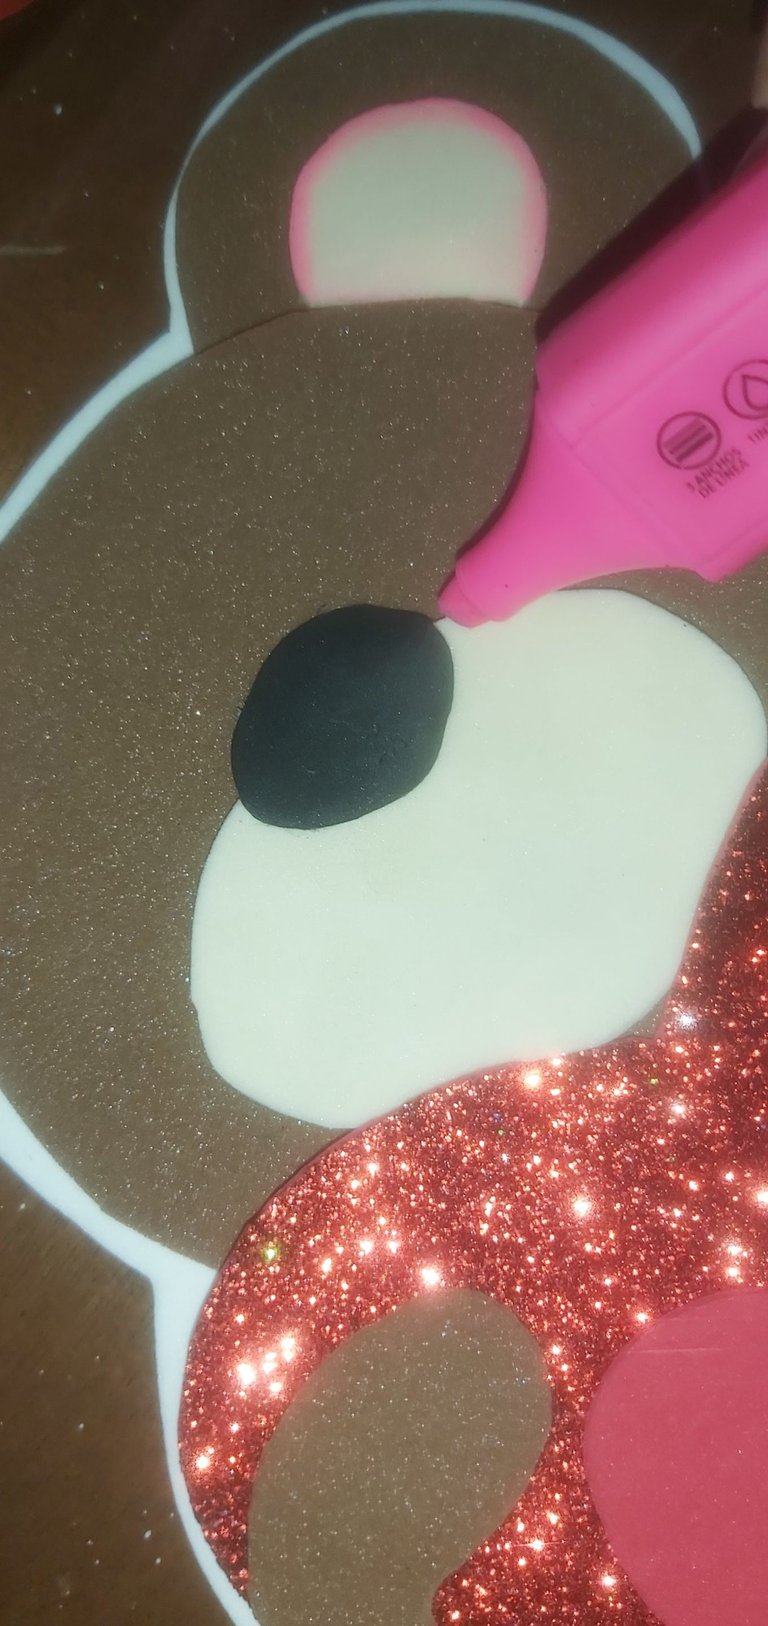
Agarramos el marcador fucsia y resaltamos todo el contorno de la trompa, las orejas y las patas en general todas las piezas de color beis.
We take the fuchsia marker and highlight all the contour of the trunk, the ears and the legs in general all the beige pieces.
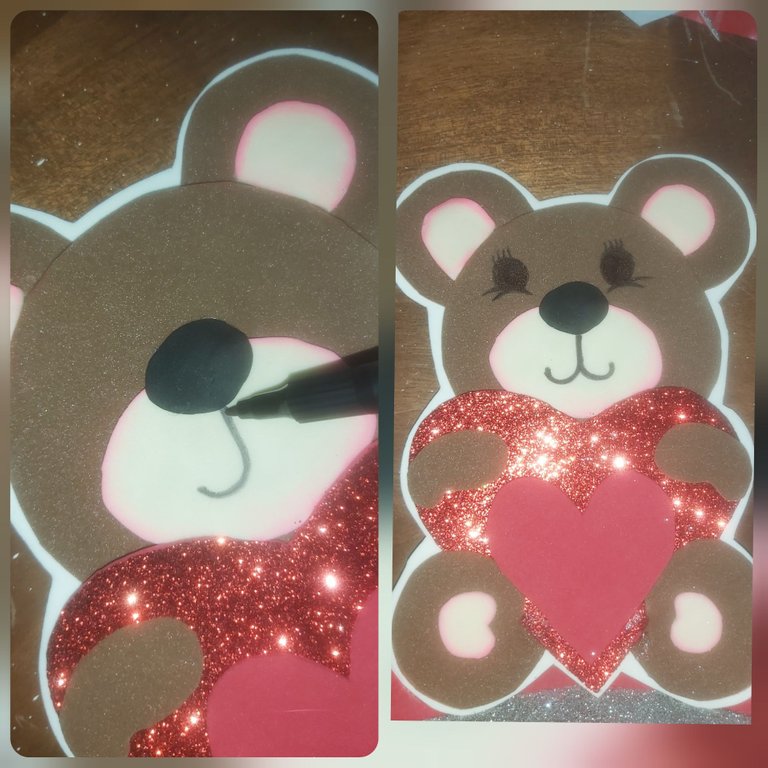
Con el marcador negro dibujamos las líneas de la boca, los ojos y las pestañas del oso.
With the black marker we draw the lines of the bear's mouth, eyes and eyelashes.
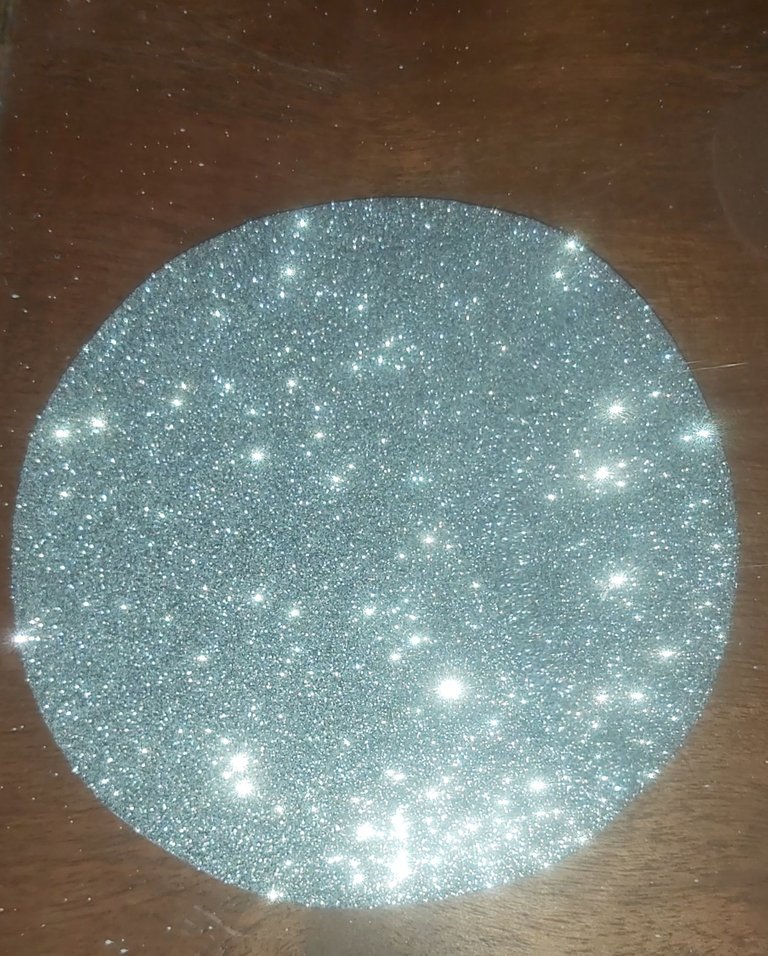
Vamos a agarrar el circulo de cantón y le colocamos silicon por todo el borde y pegamos el círculo de goma eva plateado del mismo tamaño del círculo de cartón.
We are going to take the cardboard circle and put silicone all around the edge and glue the silver eva rubber circle of the same size as the cardboard circle.
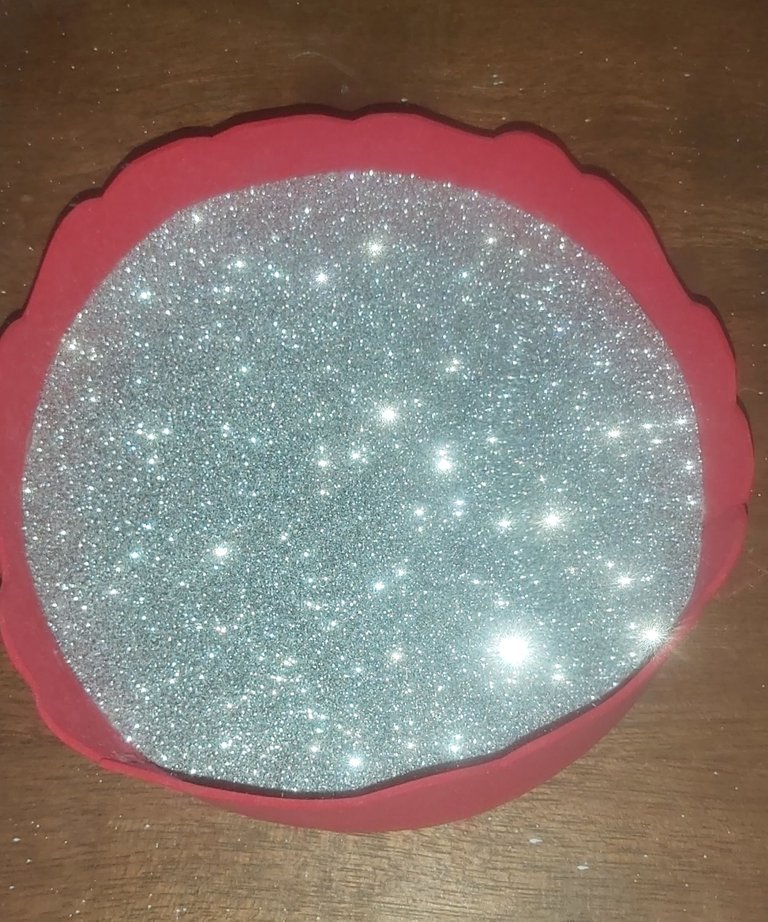
Luego hacemos unas pequeñas curvas en las tiras de goma eva roja y pegamos por todo el borde del círculo de goma eva plateado para formar la cesta donde irán los dulces.
Then we make some small curves in the red eva rubber strips and glue all around the edge of the silver eva rubber circle to form the basket where the candies will go.
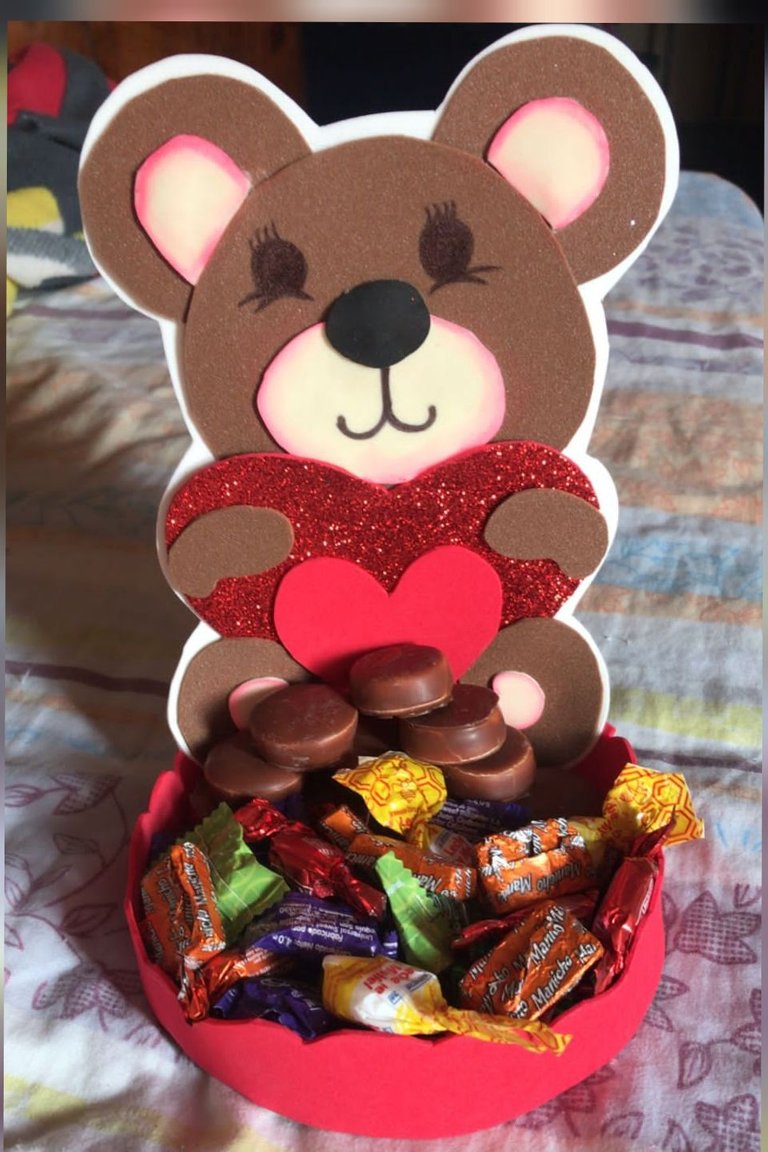
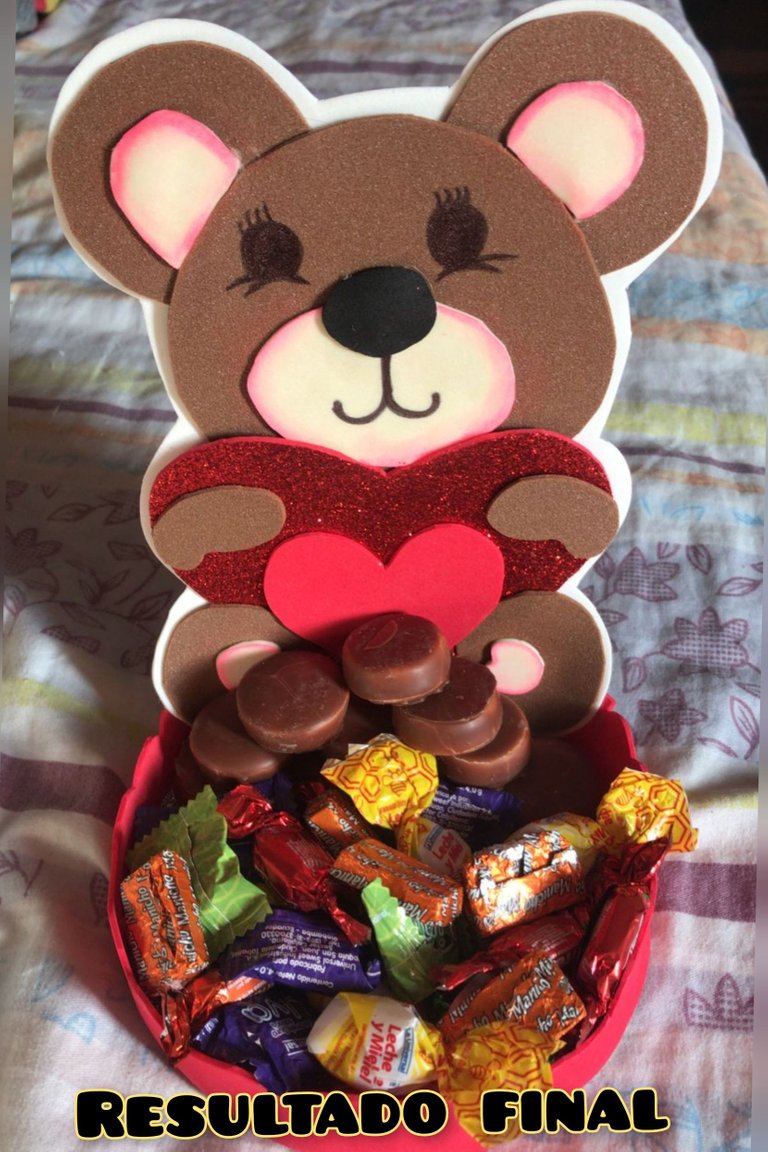
Para finalizar vamos pegar el oso dentro de la cesta ya terminada y por último colocamos los dulces que desee.
Finally, we glue the bear inside the finished basket and place the desired candies.
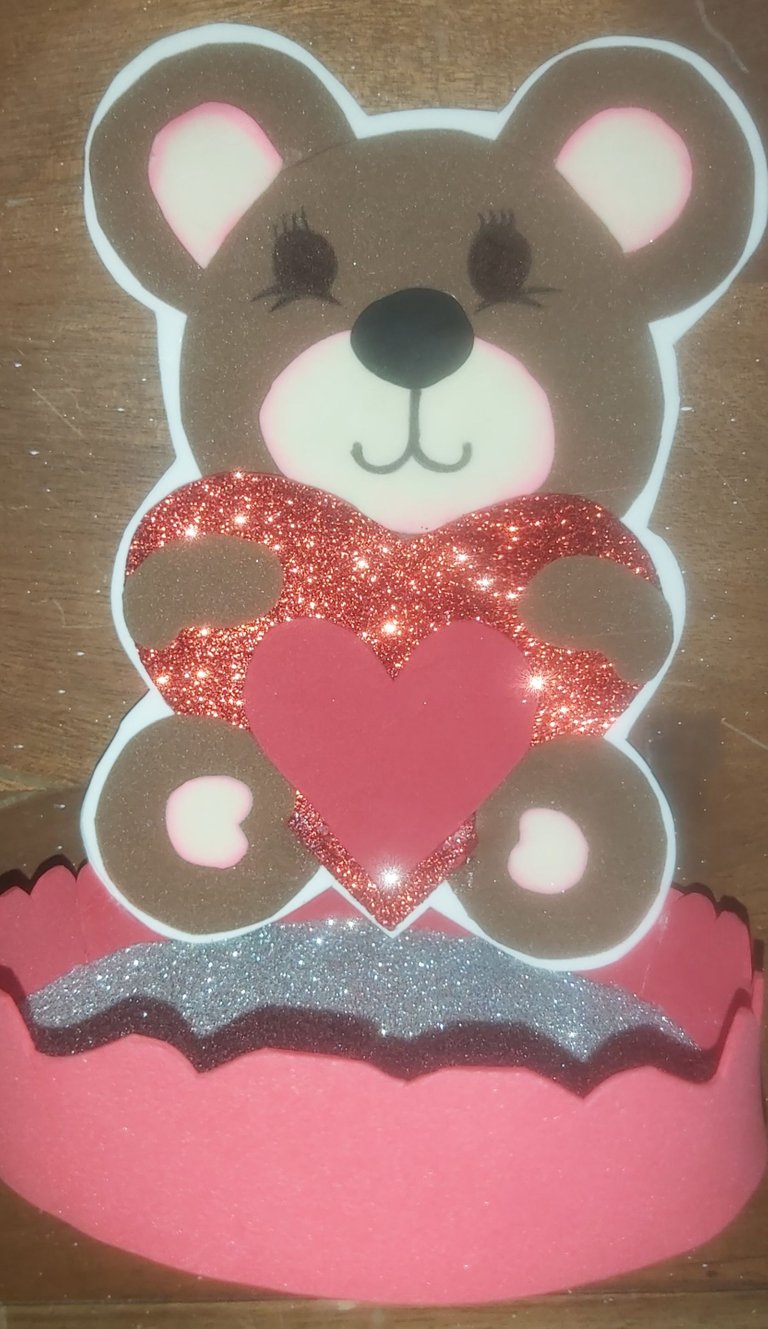
Les muestro elbresultado final.
I show you the final result.
De ante mano GRACIAS por el apoyo y por leer mis publicaciones me despido hasta otra oportunidad les deseo éxito en su vida y la bendición del todo poderoso
Thank you in advance for your support and for reading my publications, I bid you farewell until another opportunity, I wish you success in your life and the blessing of the Almighty
Las fotos fueron tomadas por mi teléfono Huawei Y6 y fueron editadas en la aplicación Incollage

Traductor www.DeepL.com/Translator (free version)


The photos were taken by my Huawei Y6 phone and were edited in the Incollage application.

Translator www.DeepL.com/Translator (free version)