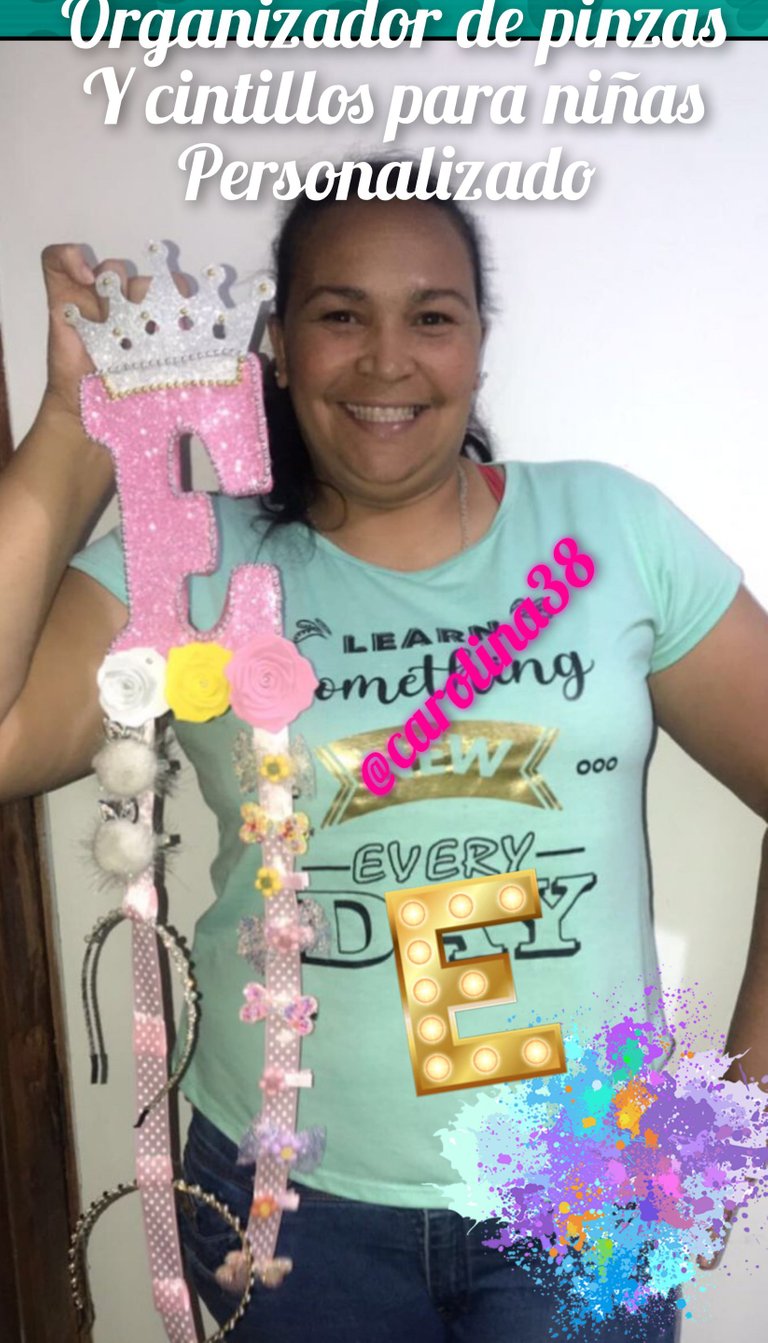
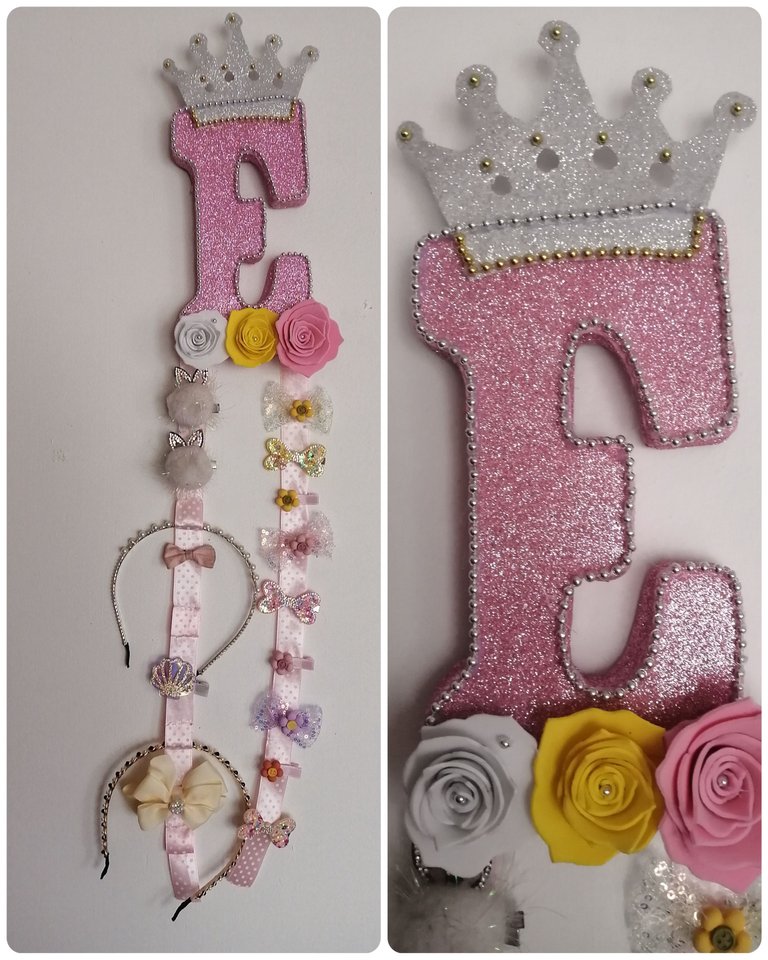
Buenas querida y hermosa comunidad de hiver diy, amigos blogueros dios me los bendiga en esta oportunidad les muestro un nuevo proyecto que consiste en la elaboracion de un hermoso y creativo organizador o colgante para pinzas y cintillos para el cabello especial para todas las niñas y adolescentes, totalmente personalizado ideal para colgar en un lugar especial cerca de la peinadora o en una pared del cuarto de nuestras pequeñas espero y les guste.
Este proyecto lo realize por la necesidad de tener donde organizar y colgar la pinsas y cintillos de mi pequeña Emma la intención de esto era darle un poco de alegria y enseñarle a mi niña el valor de organizarse desdd pequeña.
Good dear and beautiful community of hiver diy, bloggers friends god bless me this time I show you a new project that consists of the elaboration of a beautiful and creative organizer or pendant for hair clips and headbands special for all girls and teenagers, fully customized ideal for hanging in a special place near the comb or on a wall of the room of our small hope you like it.
This project was made by the need to have a place to organize and hang my little Emma's hair clips and headbands, the intention of this was to give her a little joy and teach my little girl the value of being organized since she was a little girl.
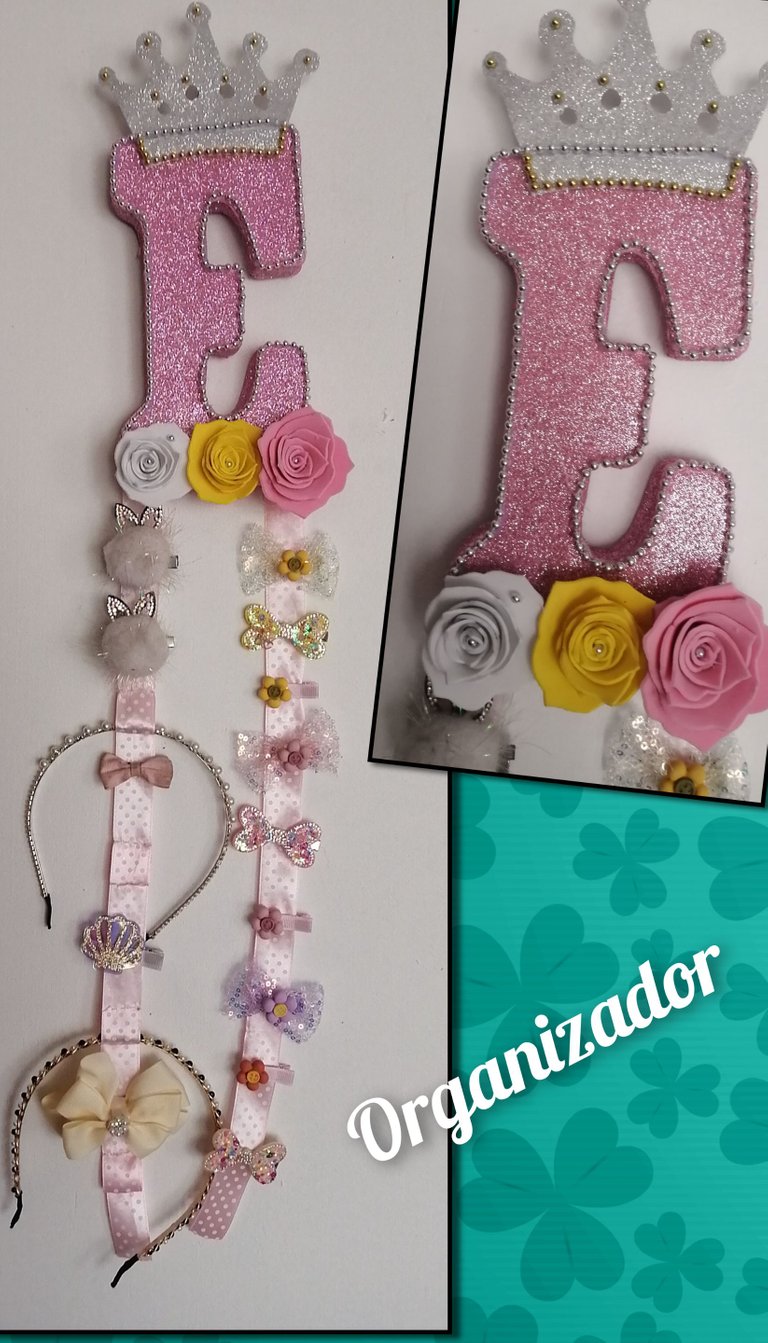
Materiales a utilizar
1 1/2 metro de cinta
Cartón
Foami de color amarillo, rosa, blanco
Perla corrida dorada y plata
Foami escarchado rosa y plata
Lapiz
Pistola de silicon
Silicon
Hilo y aguja
Patrones corona, letra E, flores
Materials to be used
1 1/2 meter of ribbon
Cardboard
Yellow, pink, white foami
Gold and silver beads
Pink and silver frosted foami
Pencil
Silicone gun
Silicon
Thread and needle
Patterns wreath, letter E, flowers
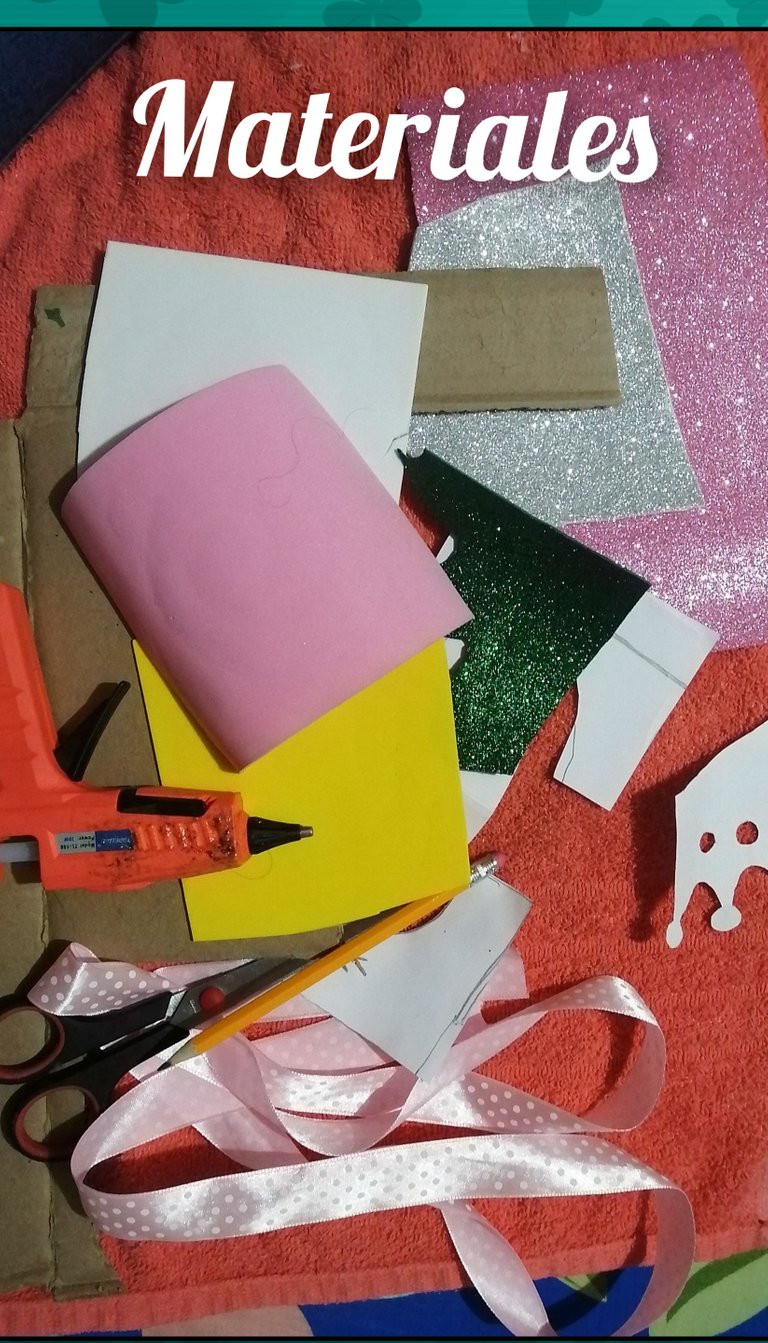
Realizacion del proyecto
Realization of the project
Para empezar marcamos y cortamos en los fomis o goma eva de color amarillo, rosa, y blanco las fllres, en el cartón marcamos la letra E y lao foami o goma eva escarchados la corona y la letra E.
To begin we mark and cut in the yellow, pink, and white fomis or eva rubber the fllres, on the cardboard we mark the letter E and on the foami or frosted eva rubber the crown and the letter E.
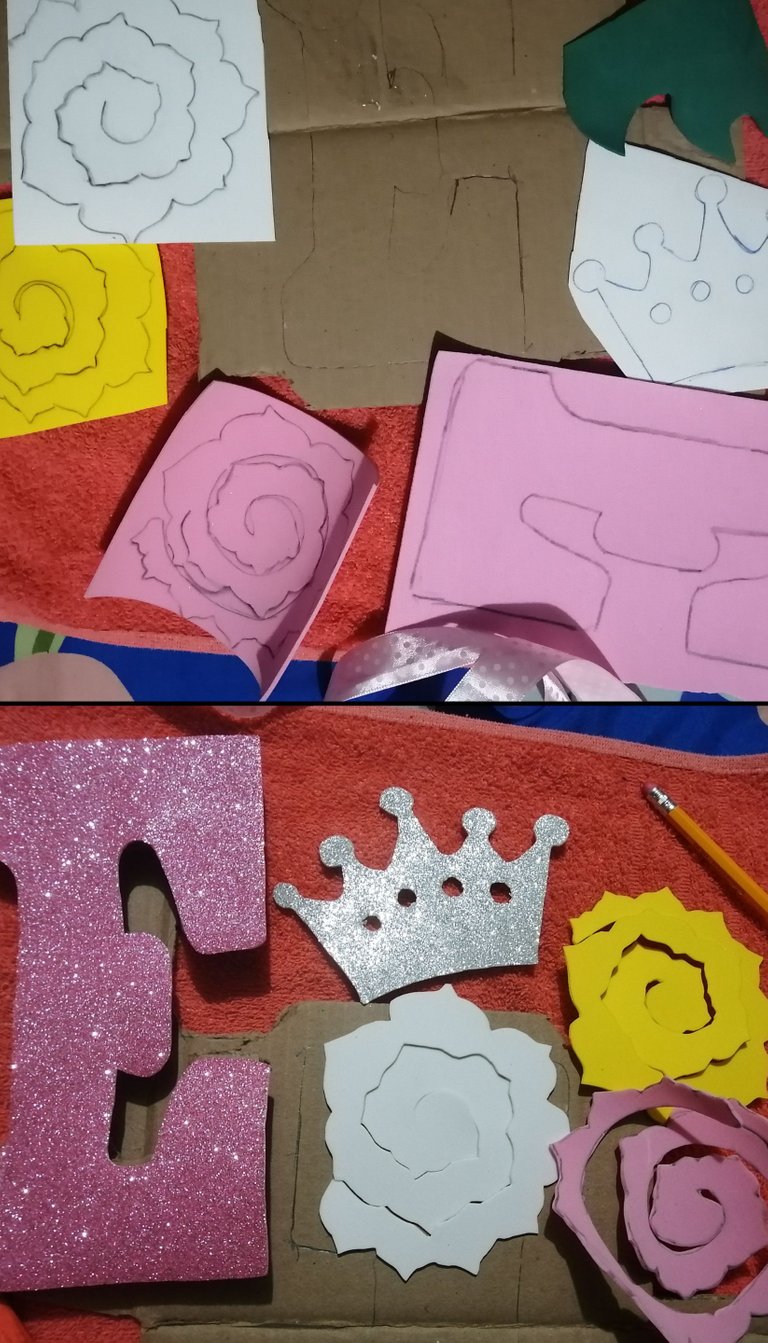
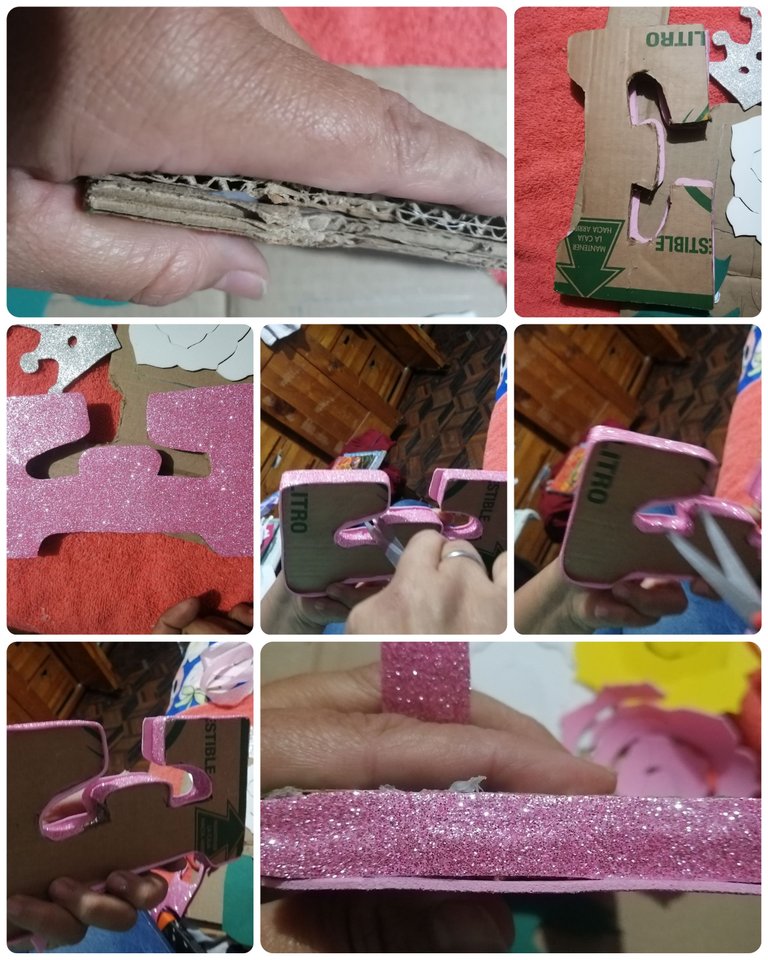
Para nuestro 2do paso tomaremos las 2 letras cortadas en carton y la pegamos uno sobre el otro y luego pegamos ensima la letra en foami o goma eva rosa y para tapar los bordes cortamos tiras de foami de 2cm y pegamos por todo el borde de la letra y luego recortamos los excedentes de los bordes de la misma
For our 2nd step we will take the 2 letters cut in cardboard and glue one on top of the other and then we glue the letter in foami or pink eva rubber and to cover the edges we cut foami strips of 2cm and glue all around the edge of the letter and then we cut the excess of the edges of the letter.
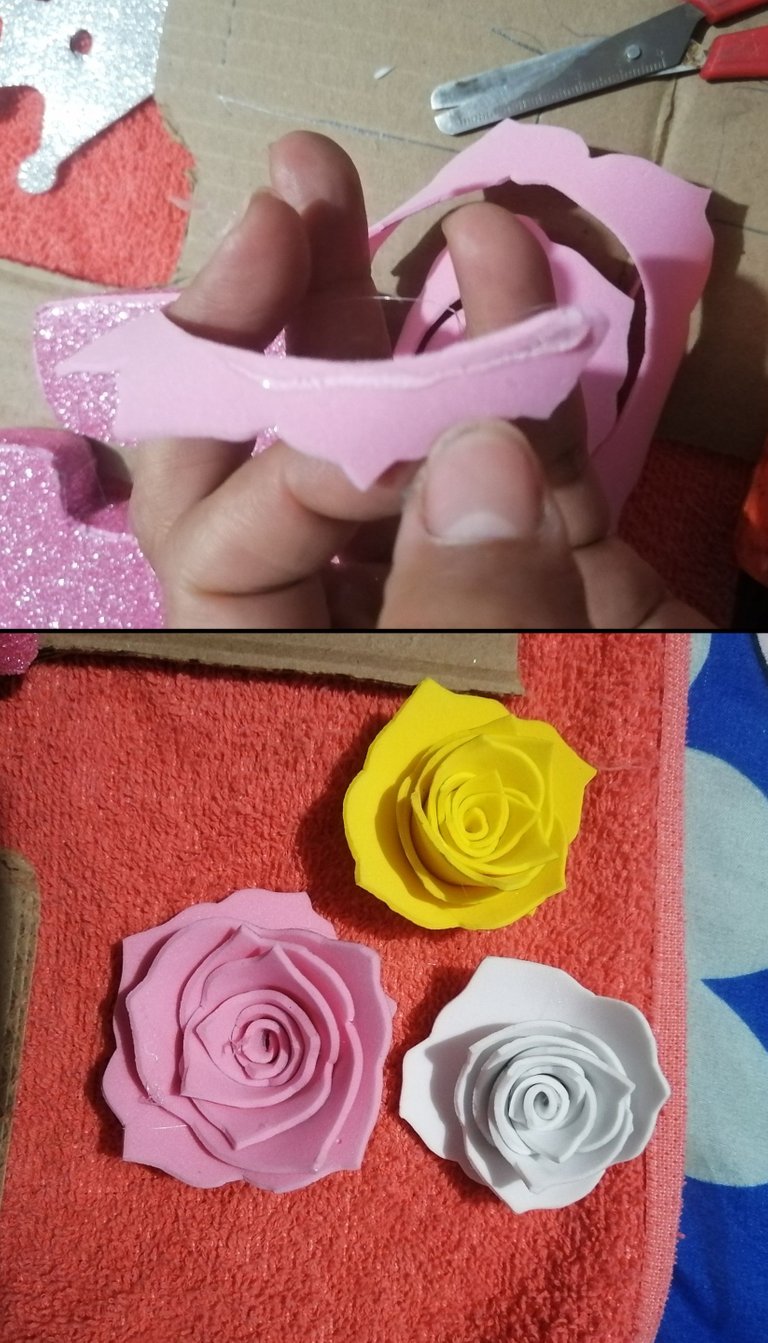
Para nuestro tercer paso armamos las flores tomando el extremo y enrrollando para formar la flor, repetimos el mismo paso hasta formarlas 3 floes que necesitamos por esta vez.
For our third step we assemble the flowers by taking the end and rolling it up to form the flower, we repeat the same step until we have 3 floes that we need this time.
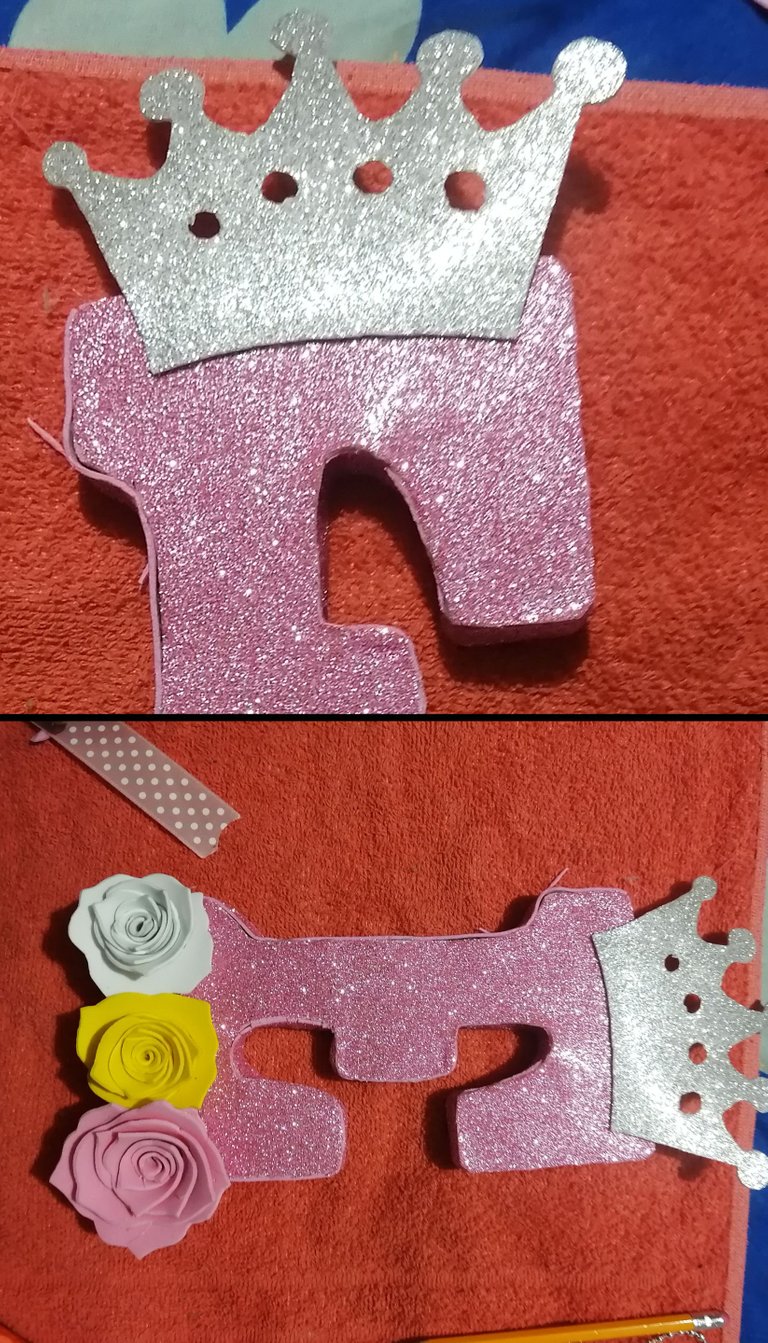
Para nuestro cuarto paso pegaremos la corona en la parte superior de la E y luego en la parte interior pegamos las flores blamca, rosa y amarilla.
For our fourth step we glue the wreath on the top of the E and then on the inside we glue the white, pink and yellow flowers.
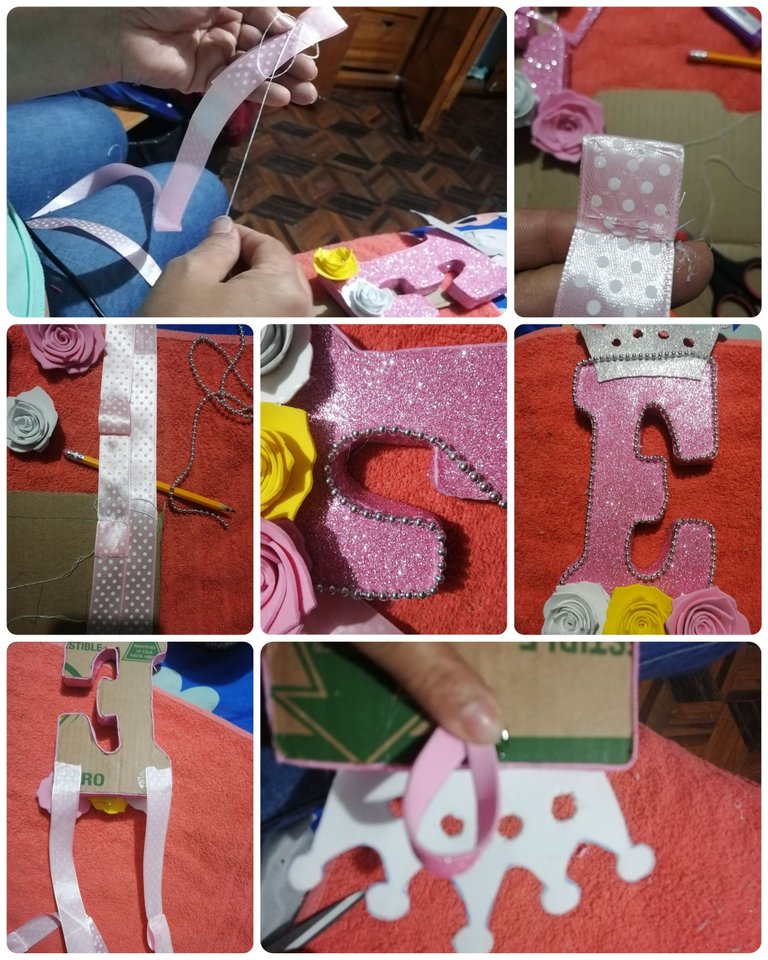
Para nuestro quinto y último paso cortamos la cinta en dos partes iguales, le haremos algunos dobles a la cinta, cosemos con aguja y hilo, luego pegamos cada dobles, este paso se le hace solo a una de las cintas y la otra se deja lisa, luego pegamos por la parte de atraz de la letra E en ambos bordes, para decorarla le pegamos la perla corrida por los bordes de la letra y cortamos algunas pelotitas y tambien pegamos en el centro de la flor y en la corona.
For our fifth and last step we cut the ribbon in two equal parts, we will make some doubles to the ribbon, we sew with needle and thread, then we glue each double, this step is done only to one of the ribbons and the other is left smooth, then we glue the back of the letter E on both edges, to decorate it we glue the pearl along the edges of the letter and cut some small balls and also glue in the center of the flower and the wreath.
Resutado final del proyecto
Final result of the project
Muchas gracias por leer mi bloc queridos bloguros espero les guste mi proyecto y puedan realizar para sus niñas dios me los bendiga hasta una próxima oportunidad.
Thank you very much for reading my blog dear bloggers I hope you like my project and you can make it for your girls god bless you until next time