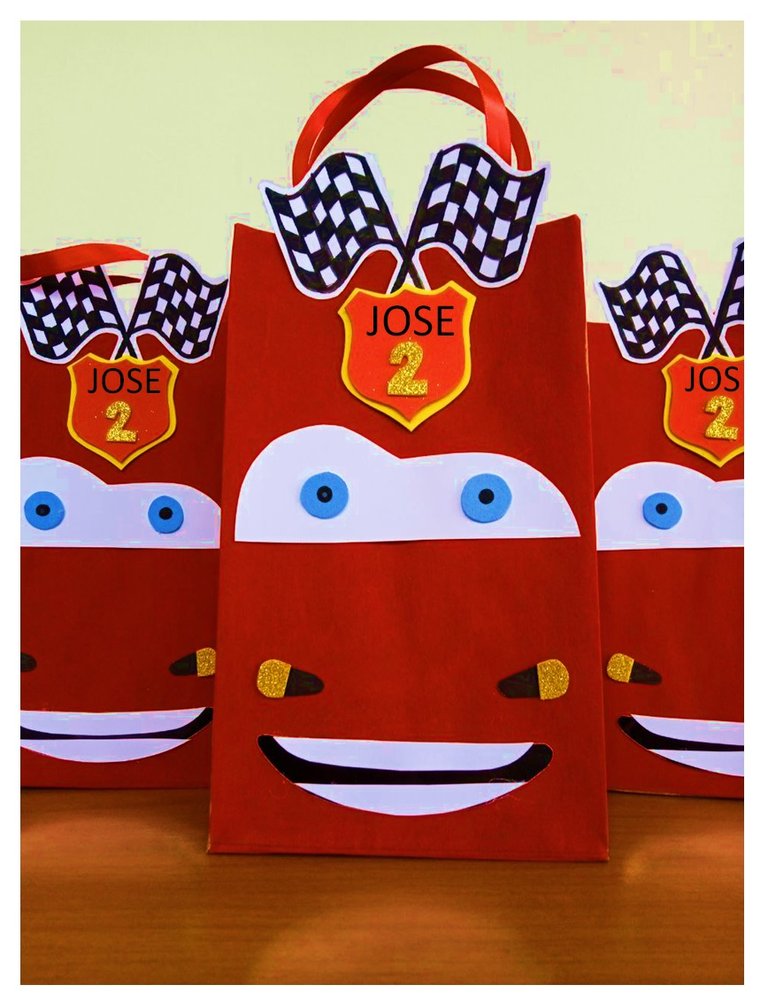
Hola Amigos de hive, hoy quise mostrarles como elabore unas bolsas para cotillones ó bien Duleros de cumpleaños para una fiesta temática Rayo Mac Queen a pedido de una clienta.
Hi hive friends, today I wanted to show you how I made some cotillion bags for a Lightning Mac Queen themed party at the request of a customer.
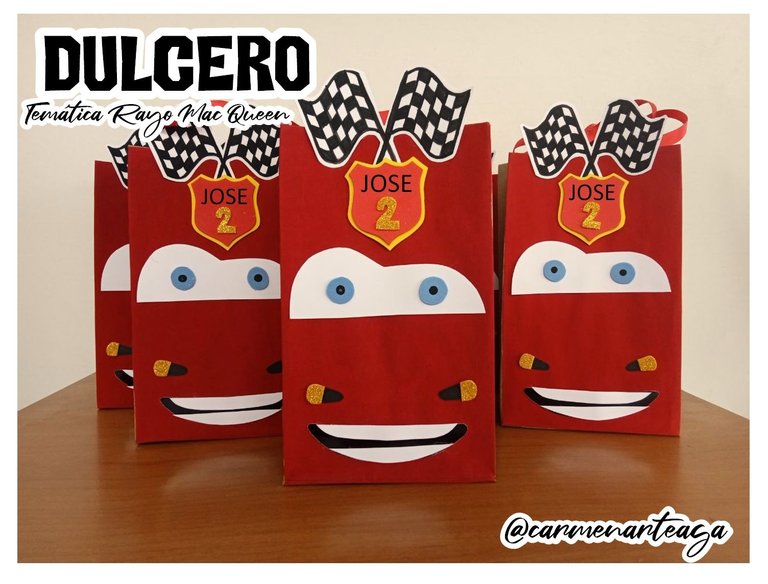
les Muestro el paso a paso...
I show you the step by step...

- 🚗 Papel Kraft.
- 🚗 Cartulina Blanca.
- 🚗 Cartulina Negra.
- 🚗 Foami de Color Dorado Escarchado.
- 🚗 Foami de Color Rojo.
- 🚗 Foami de Color Amarillo.
- 🚗 Impresion de Banderines.
- 🚗 Pintura al Frio de Color Rojo.
- 🚗 Foami de Color Azul Claro.
- 🚗 Kraft paper.
- 🚗 White Cardboard.
- 🚗 Black Cardboard.
- 🚗 Frosted Gold Foami.
- 🚗 Red Foami.
- 🚗 Yellow Foami.
- 🚗 Printing of Pennants.
- 🚗 Red Cold Paint.
- 🚗 Light Blue Foami.

🚗 PASO 1: Tome el papel Kraft y Con ayuda de mi patrón Dibuje y corte las 20 bolsas.
🚗 STEP 1: Take the Kraft paper and With the help of my pattern Draw and cut the 20 bags.

🚗 PASO 2: Una vez cortadas todas las bolsas comence a pintar uno de los lados con la pintura al frio de Color Rojo.
🚗 STEP 2: Once all the bags were cut, I started to paint one side with the Red colored cold paint.
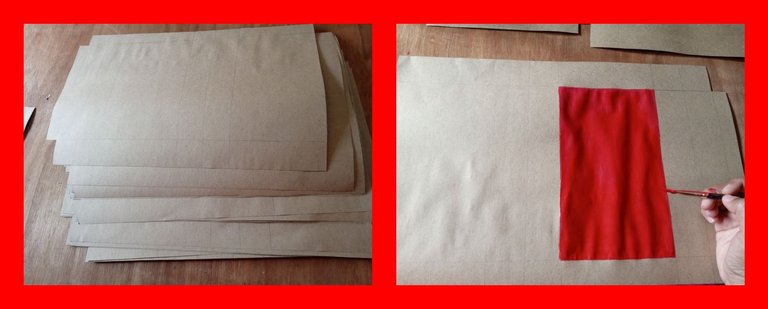
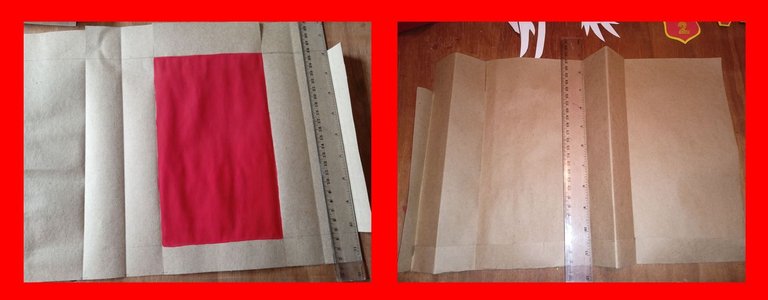
Con ayuda de una regla fui dándole un pequeño doble en todas las líneas de cada bolsa para poder armarlas.
With the help of a ruler I made a small double in all the lines of each bag to be able to assemble them.
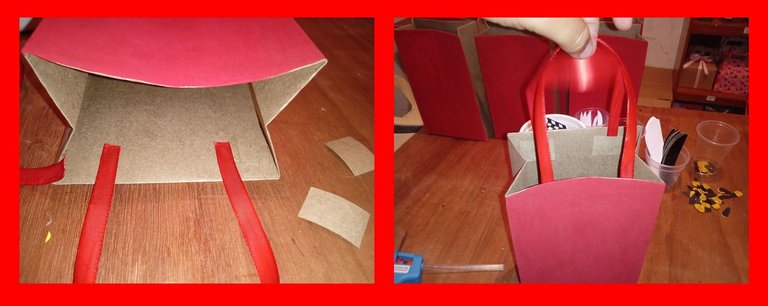
🚗 PASO 3: Fui doblando armando y pegando cada una de las bolsas así como también tome una cinta de color rojo y corte 2 cintas de 30cm cada una para hacer las asas de las bolsas.
🚗 STEP 3: I was folding assembling and gluing each of the bags as well as taking a red ribbon and cut 2 ribbons of 30cm each to make the handles of the bags.

🚗 PASO 4: Una vez armadas todas las bolsas las reserve y comencé a dibujar y cortar cada pieza con las que les daría forma al personaje de cada bolsas.
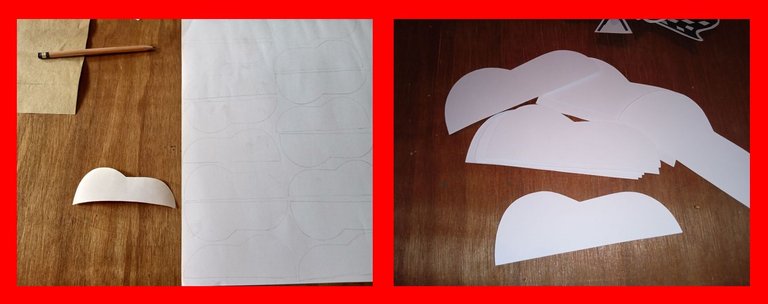
Primeramente tome la cartulina blanca y corte lo que serian los ojos.
🚗 STEP 4: Once all the bags were assembled, I set them aside and began to draw and cut each piece with which I would give shape to the character of each bag.First take the white cardboard and cut out what would be the eyes.
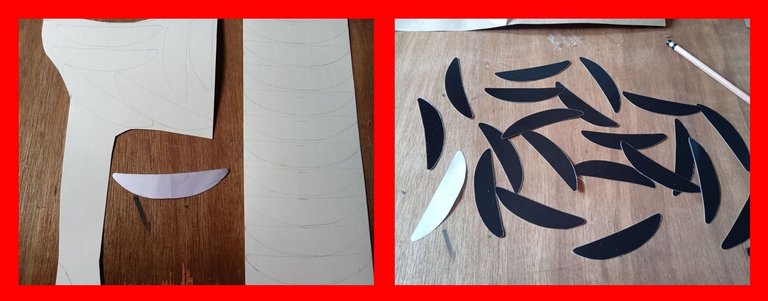
Con la cartulina negra dibuje y corte lo que seria la boca.
With the black cardboard draw and cut out what would be the mouth.
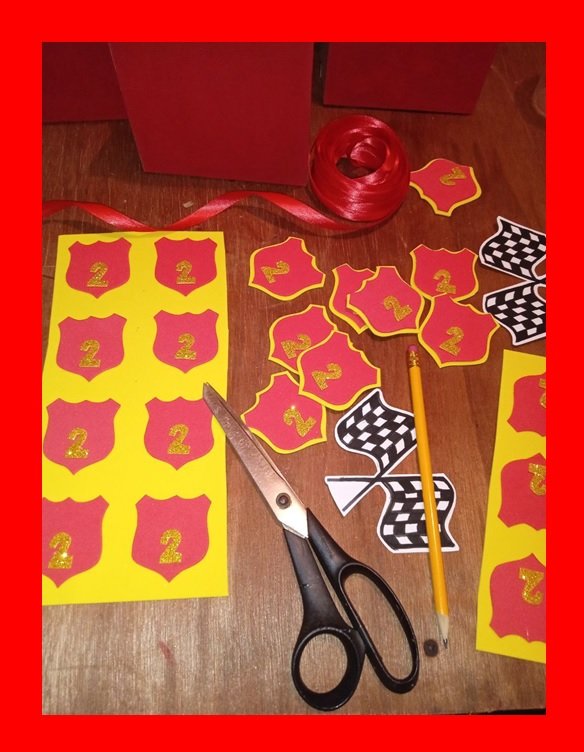
Del mismo modo dibuje y corte lo que seria la insignia con el foami rojo, el foami dorado escarchado y el foami amarillo.
In the same way, draw and cut what would be the badge with the red foami, the frosted gold foami and the yellow foami.

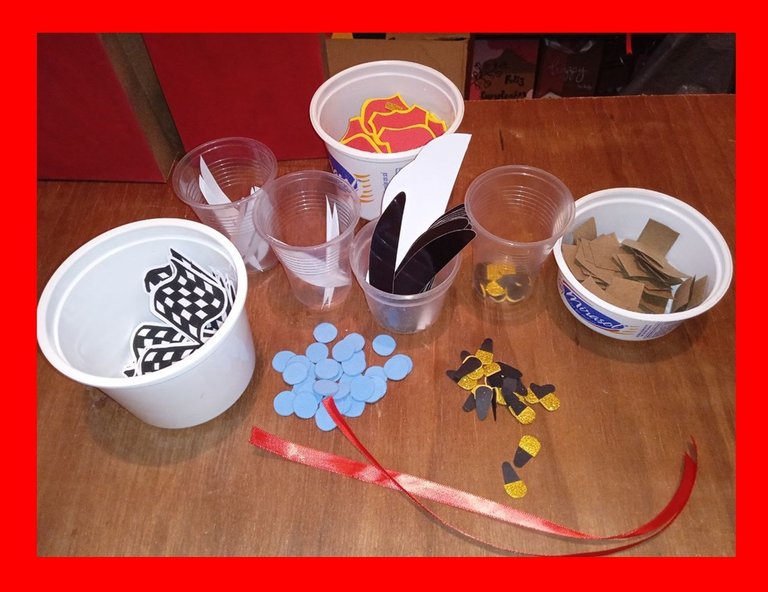
Así también corte lo que serian la pupila de los ojos con el foami de color azul, los dientes con la cartulina blanca y los banderines,
I also cut out the pupils of the eyes with blue foami, the teeth with white cardboard and the pennants.

🚗 PASO 5: Una vez que tuve todas las piezas cortadas comencé a pegarlas en cada una de las bolsas armadas anteriormente, esto lo hice guiándome de una de las bolsas que ya había armado previamente para poder lograr que todas quedasen igual.
🚗 STEP 5: Once I had all the pieces cut, I started to glue them in each of the previously assembled bags, this was done using as a guide one of the bags that I had previously assembled in order to make them all look the same.


Y pues así fue como elabore estas lindas bolsas dulceras ...
And that's how I made these cute candy bags ...
Gracias por Leerme
Espero les Guste..
Las fotos son de mi autoría.
Un Gran Abrazo...
Thanks for reading me I hope you like it. The photos are of my authorship.A Big Hug...


