
Welcome back to another update on this build. Last time, we had finally gotten the instrument off the mould. Then, we trimmed the edges to finally have some semblance of what it will look like when it is finished.
Today, we're going to complete that line we created on the back and extending it over that the end of the body. Interesting, isn't it?
Let's jump right to it!
Make it happen
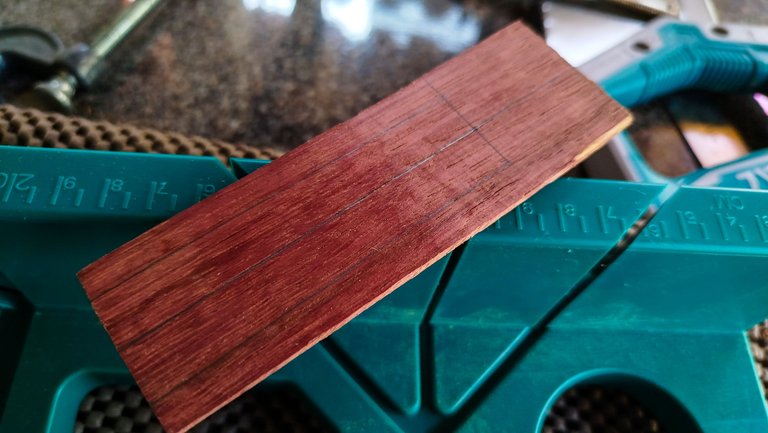
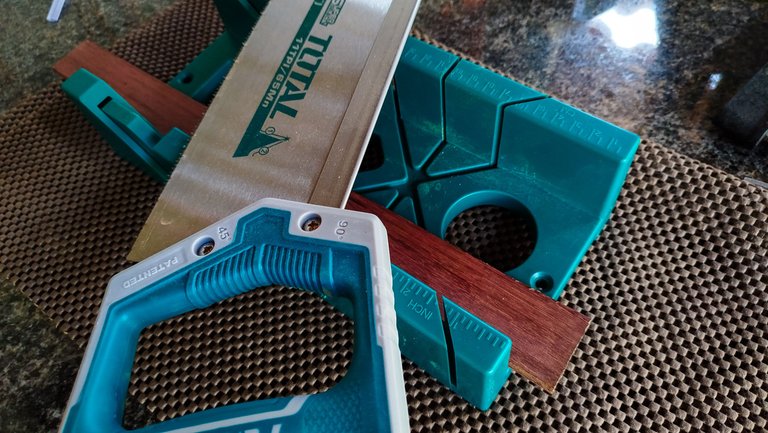
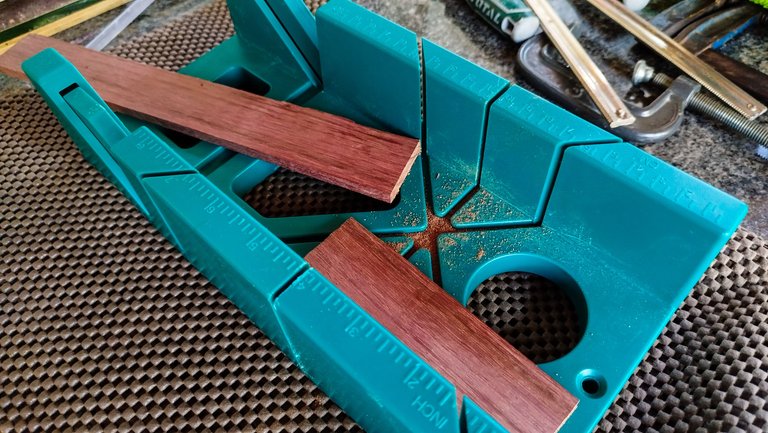
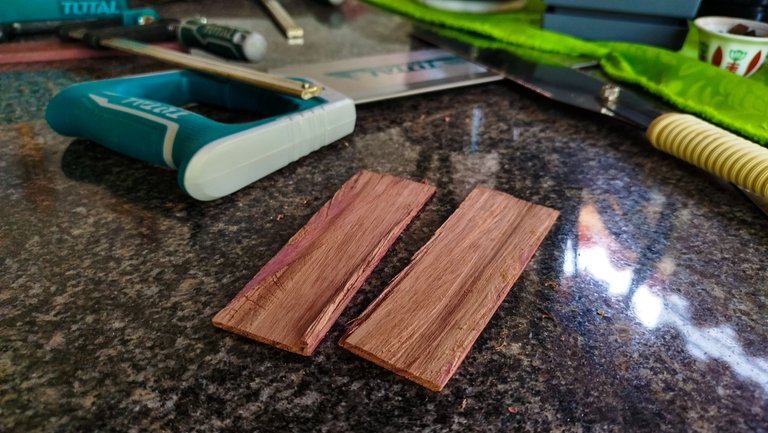
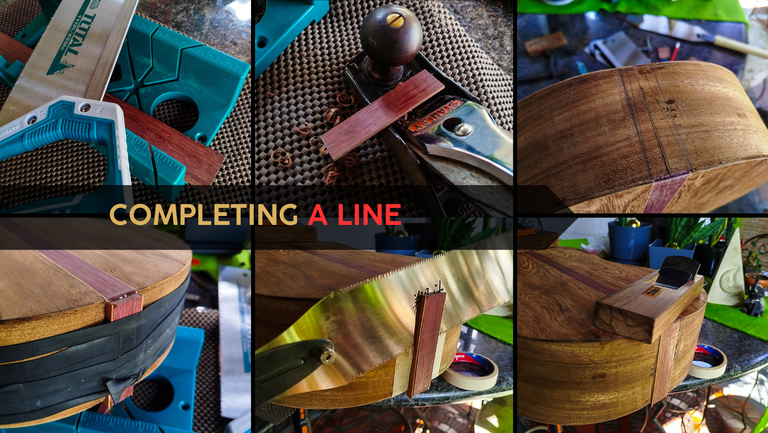
To create this ornament, we need to cut the pieces for it. We start by making two cuts of purple heart. Why two? Easy, sometimes this ideas don't work well the first time, so it's good to have a backup. We go ahead and work to cut the piece in half so we end with two rectangles that are not too thick. Remember this wood is really hard.
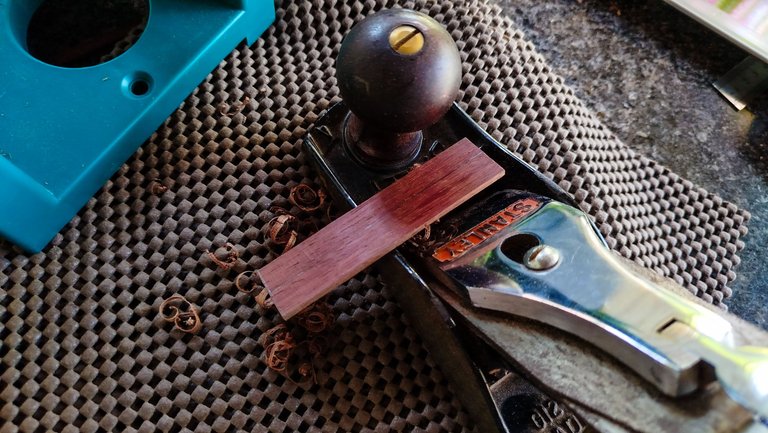
The rest of the process entails using sandpaper, a hand plane and drawing some lines to cut the pieces to the width we need to create this. To finish the ornament, we need some thinner strips of wood to replicate the same pattern we created on the back. With this ready, we can move on.
Remember the part where we said about backup? It turns out, we needed an extra piece to make this work and ended up making the whole ornament from scratch to have it ready for the next step.
Glue it
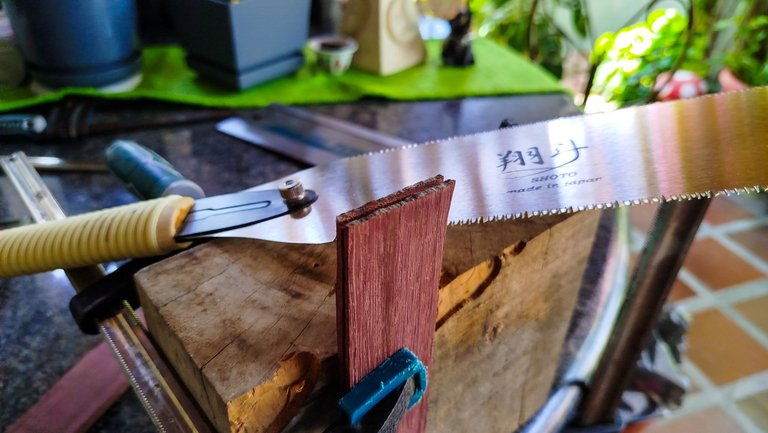
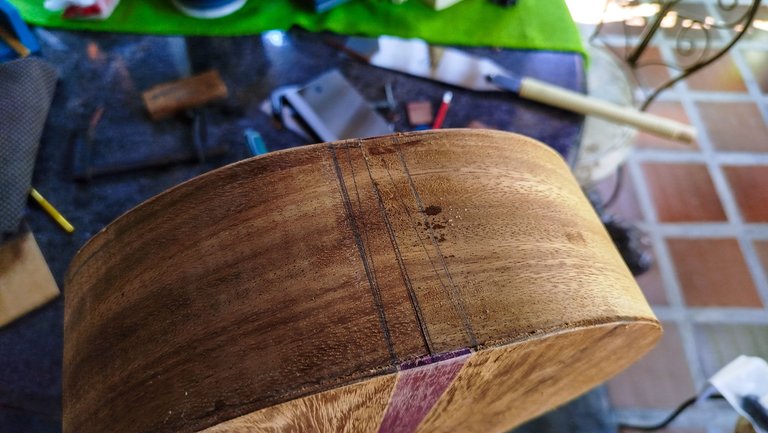
To glue this piece, we need to make room for it. After marking where it will go and making sure it will be aligned with the strip in the back, we can start to cutting process. First, we use a knife to make the initial marks. Then, we switch to a saw. We don't need to cut that much since we are just removing a portion of the sides to make room for this ornament. However, we also don't want to ruin the work we have done previously, so the sawing has to make steady and slow to get good results.
Once we have used the saw, we have to use a chisel to clean the room for the ornament. There are not many photos of this process as it requires a lot of attention to details, so no distractions while cutting.
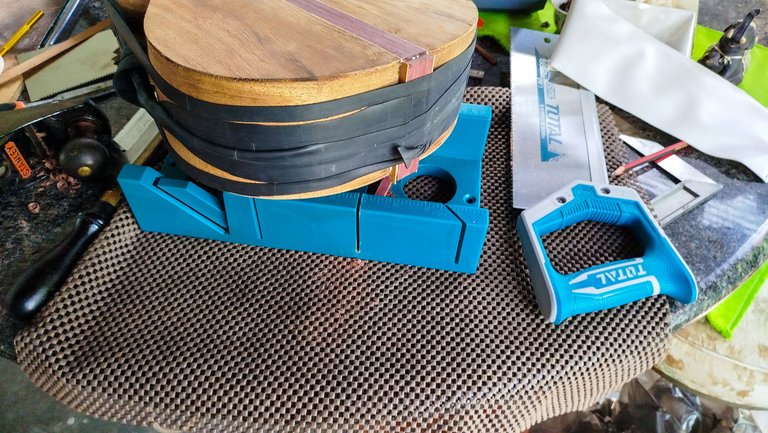
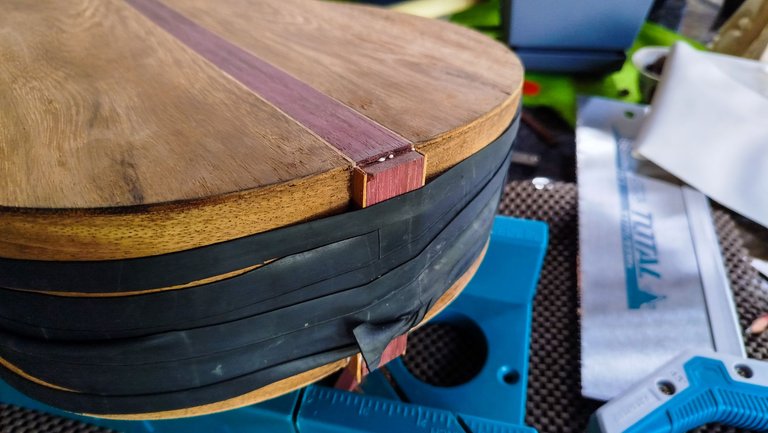
To glue the ornament in place, we use rubber bands to hold it in place and let magic happen.
Trim it
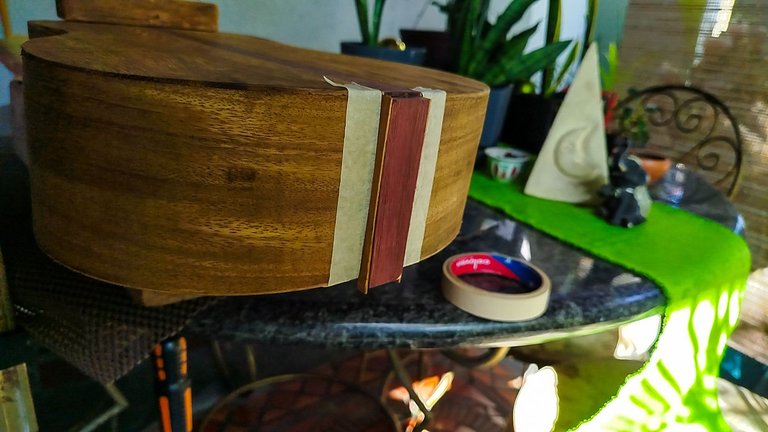
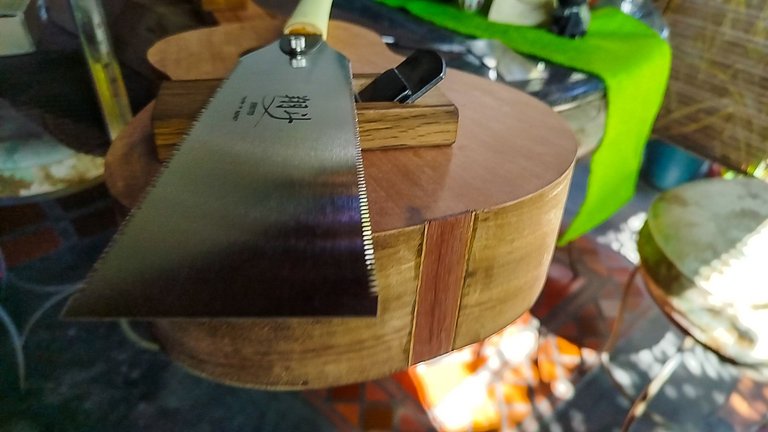
As you can see the ornament is above the line of the sides. Once glue has dried up, we can address this. We start by using a saw to remove some material from the top. Not using a hand at this stage is logical since we do not want to use a lot of pressure on the build. We could break something.
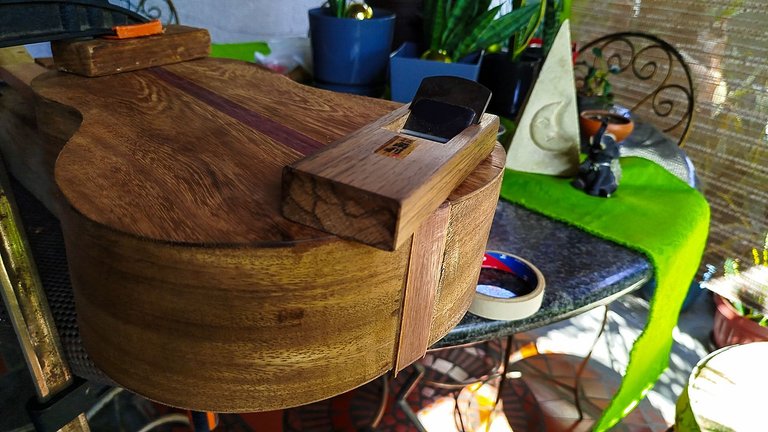
After cutting from the top, we use a block plane to smooth surface until we are near the sides. Then, we switch to the card scraper to avoid damaging anything. To top it off, we sand the ornament.
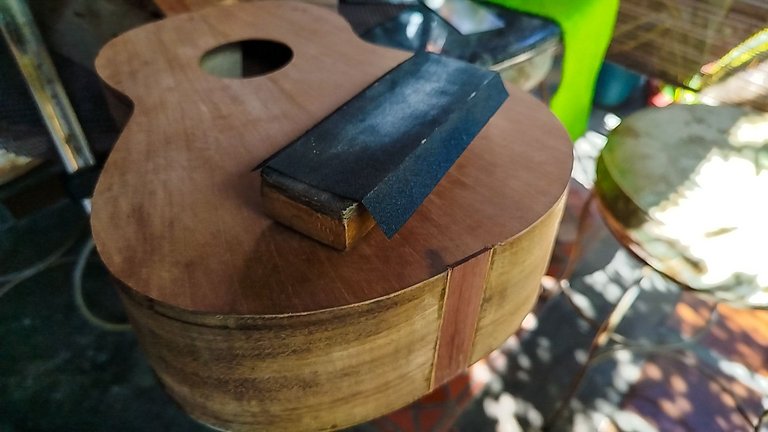
Then, it is a thing of repeating this process on the portion that goes above the line of the sound board. We protect the top with some masking tape. Then, we cut. We use the block place to get closer to the surface. We finish it sanding.
And thus we have completed the line from the back all the way to the end of the body.
Next time, we'll start working on the fretboard and then we can address some other stages of this build.
Thanks for reading! See you on the next entry!


Photos 📷: Redmi Note 13
Thumbnail 🖼️: Canva.
Editing 🎬:Adobe Photoshop Lightroom.


Follow me on Instagram for enquires and commission.
If you'd like to help the workshop grow, you can make a donation here. You can find me at discord as bertrayo#1763

