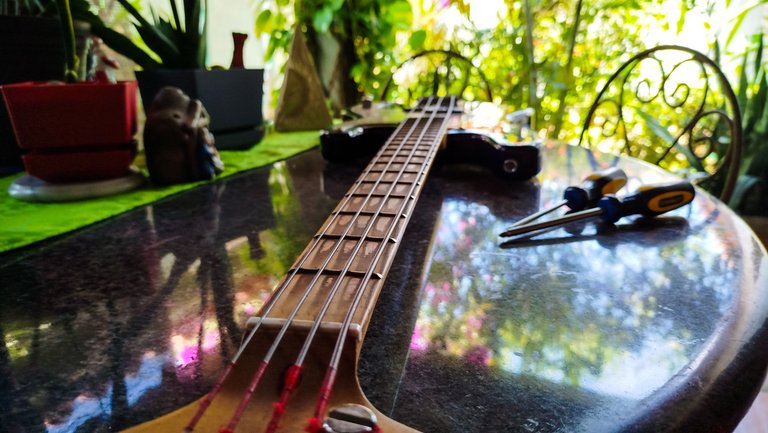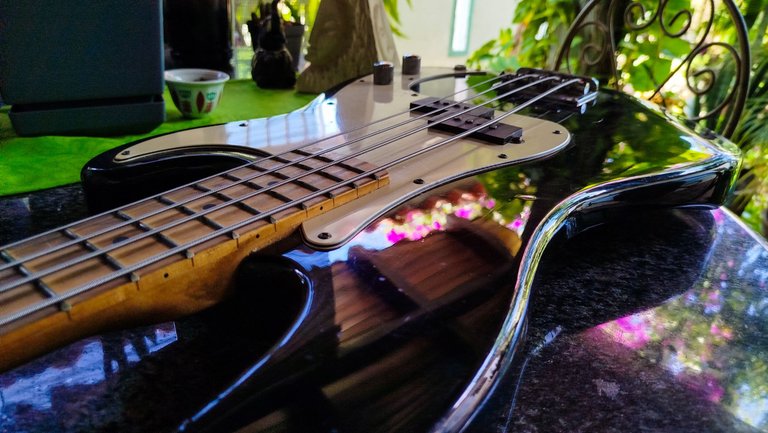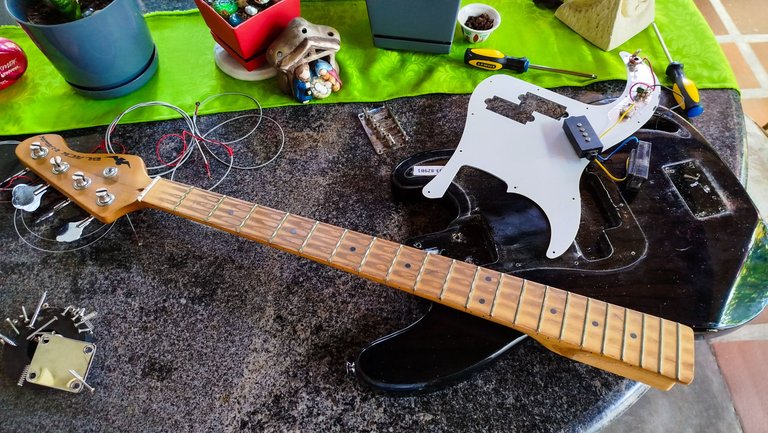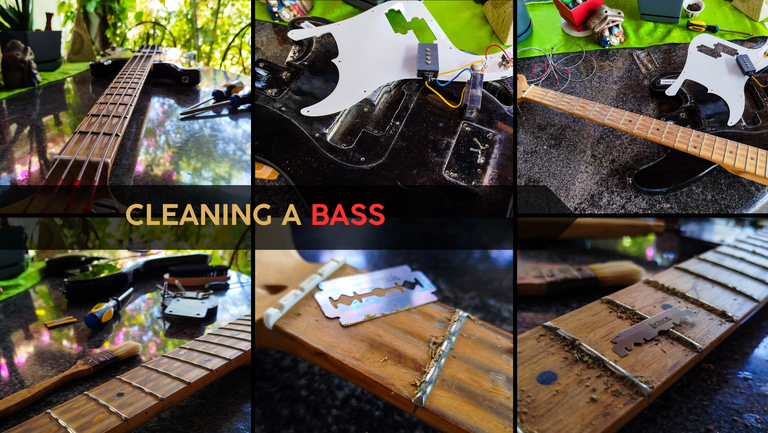

Welcome back to a new project. This time I had the chance of starting some maintenance jobs for some instruments that came around. This bass came from a neighbor. He wanted to know what happened to something about the sound and and checking the electronics. The other issue was a buzzing E string.
I had to do some research before trying to start this job, but I'm blessed to live in the era of information. So, I checked blogs, videos and other resources to get the job done. Plus, the bass needed some cleaning.
Let's get to it!
Assessment
At the start, the job is all about having a look at the instrument and understanding what the client needs. That's why we assess everything relevant. We ask the question needed to have a clue. Then, we use the information gathered in that stage to make a diagnose. And only then we start working. However, since I haven't done that much work on electrical instruments before, there was the need to understand a simple matter. So the first order of business was learning how to take apart the instrument and reassembling it.
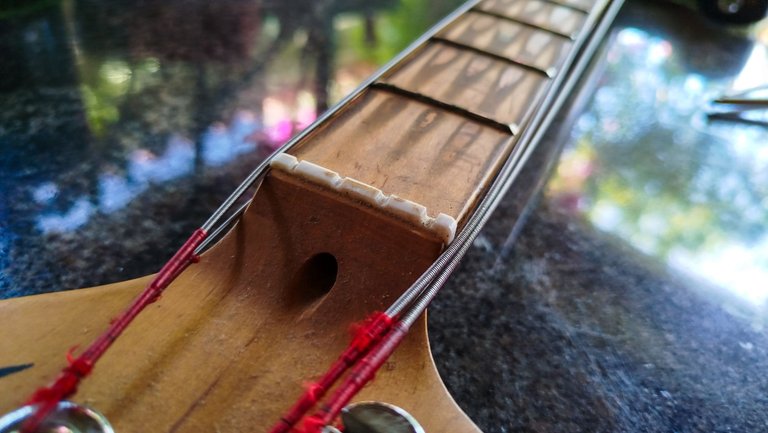
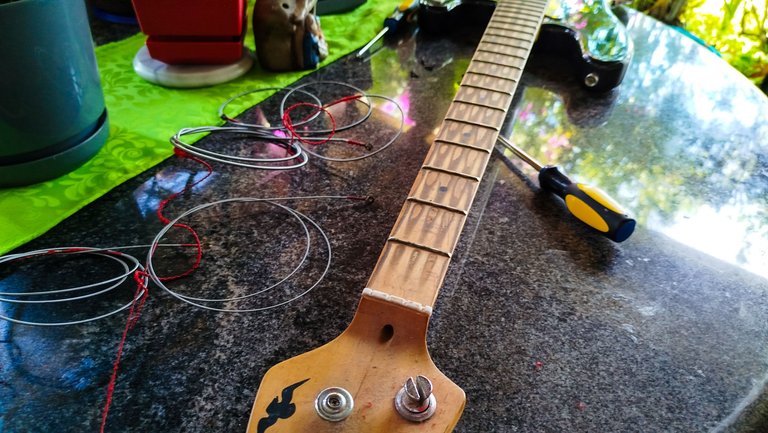
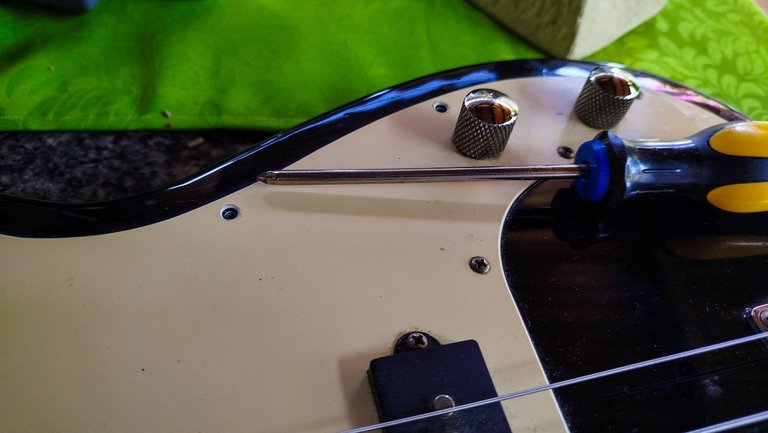
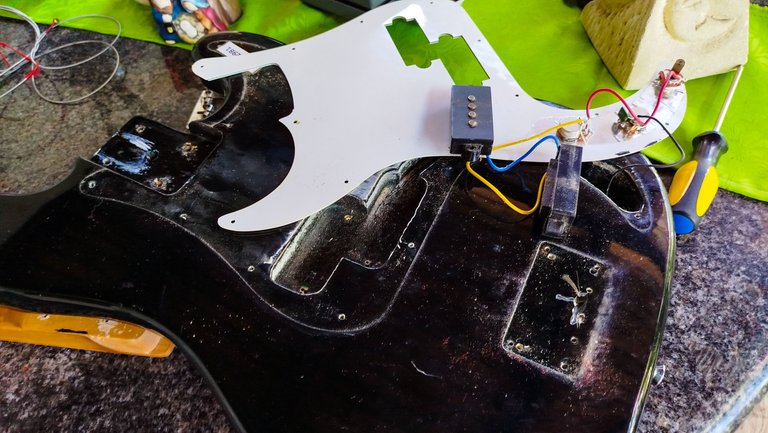
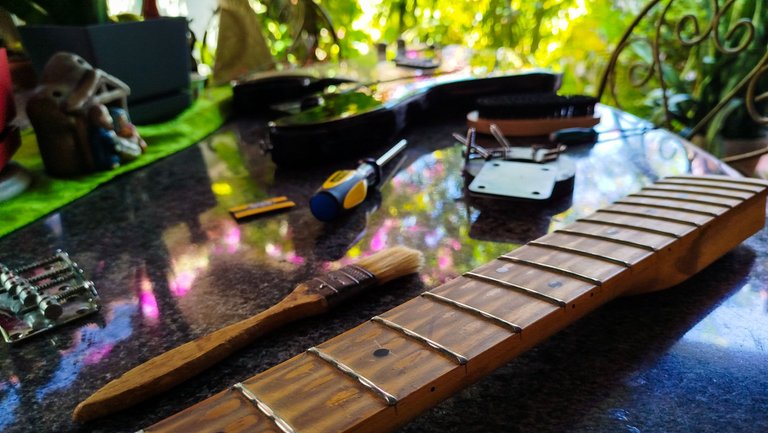
It sounds crazy, but there are not many chances to try this. Of course, armed with a screwdriver and a magnet, I did the whole job. Removing screws and using the magnet to keep them together in one place. This part was an interesting test of skills. The strings of a base are annoying to remove. And I also the had the chance to get to see every part that needed cleaning.
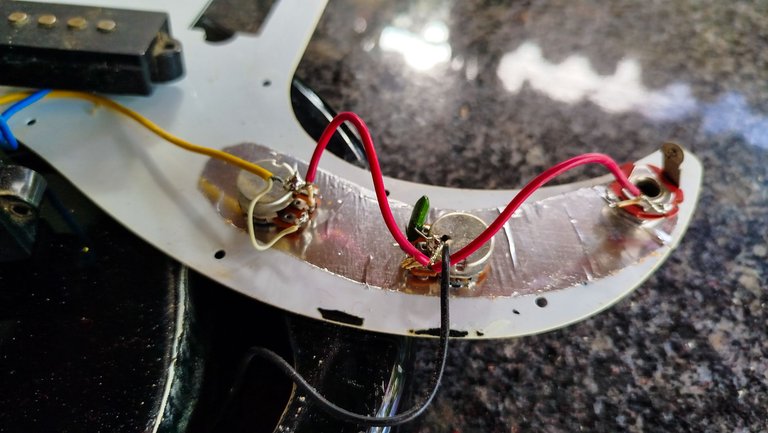
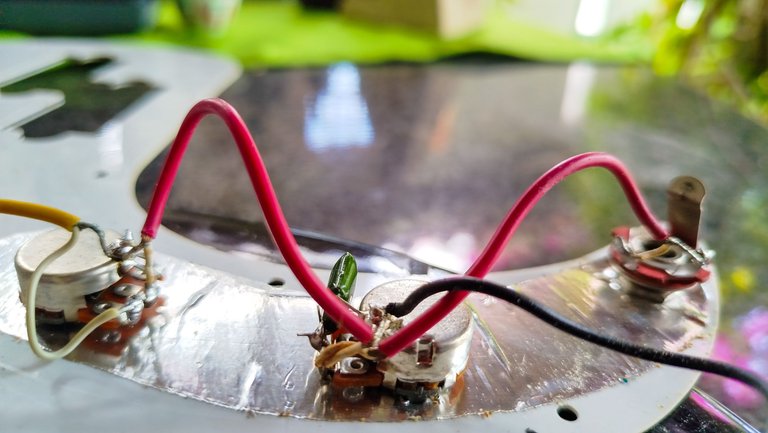
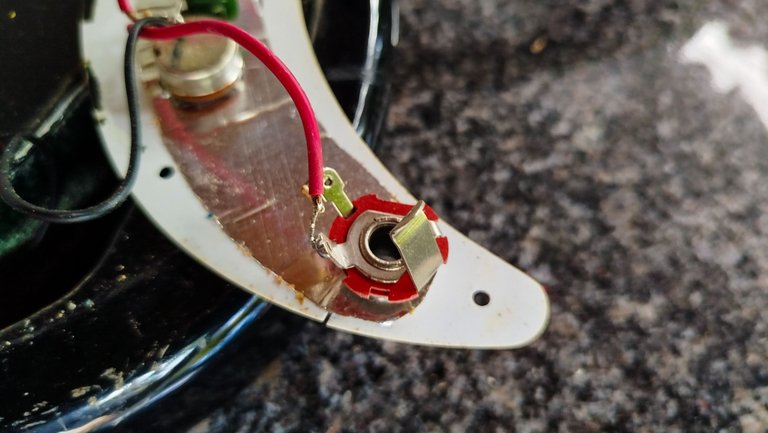
Putting apart the instrument was a nice thing to do because it allows checking out the electronics from the start. Having a look at it, I saw nothing wrong about it. There were no false contacts and nothing looked like it needed much work. So, after taking time to buy some electronics' cleaner, I could focus in the big matter at hand, the dirty fretboard and the rest of the instrument.
Title
There's a colloquial term to refer to the thing that clings to the instrument's fretboard. It is often referred as cheese. The same is true for keyboards in computers and other things that get dirty because our fingers are greasy. Added to the fact that this instrument looked like it haven't been cleaned since it was bought.
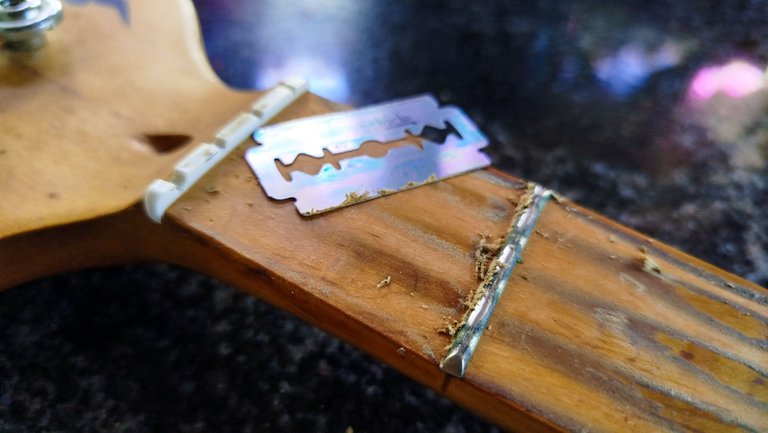
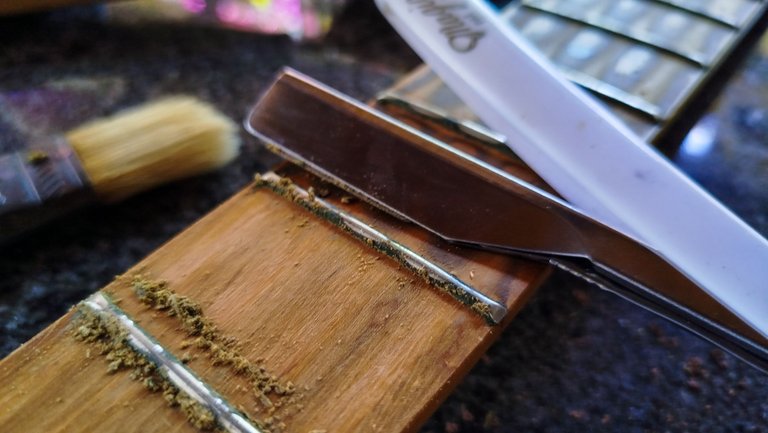
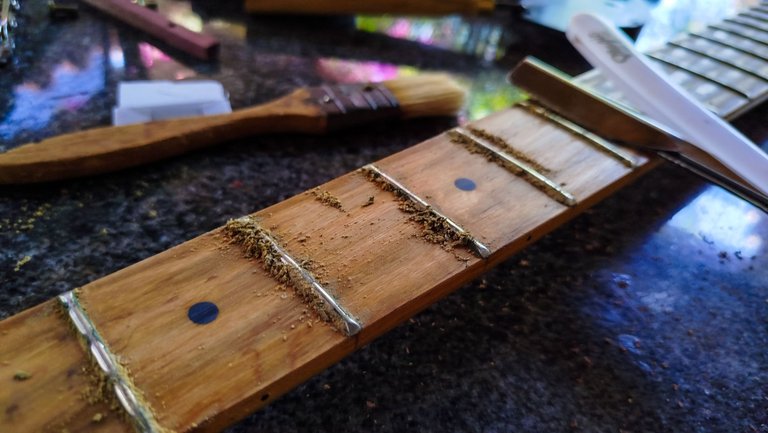
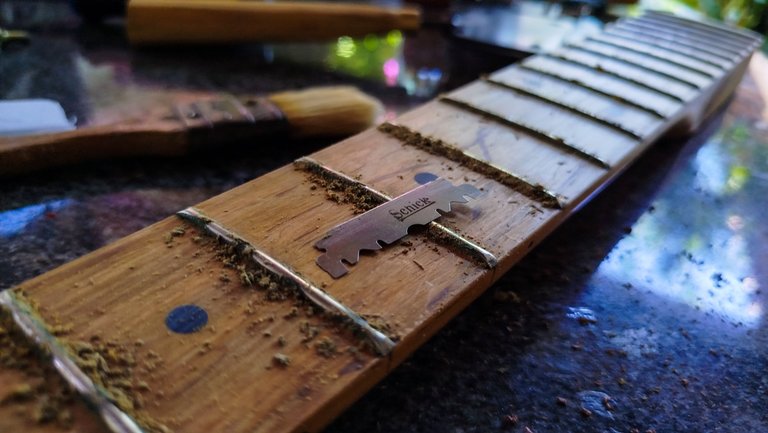
There are several ways to do this job. Two of them are popular. One is scraping; the other, scrubbing. The latter requires to buy an oil-based soap. That was going to take too long and since it is a specialized product, it would be a problem to find around here. So, the former it is. We need a razor and patience. The first step is to remove the cheese from the fretboard. Scraping has to be done very gently since damaging the wood would be a mess.
And as you can see the razor broke, but then I found the other razor with a handle to make the job easier. But this was only the beginning of the cleaning part.
On the next entry we'll get in depth to the rest of the cleaning as we address the frets to remove the cheese, polish and hydrate the whole fretboard to make it look as new.
Thanks for reading. See you next time.

Photos 📷: Redmi Note 13
Thumbnail 🖼️: Canva.
Editing 🎬:Adobe Photoshop Lightroom.


Follow me on Instagram for enquires and commission.
If you'd like to help the workshop grow, you can make a donation here. You can find me at discord as bertrayo#1763
