Another project has come to a close. If you wanna check out the whole series, make sure to click here.
This one is on her owner's hands and compliments haven't been missing. I took it to my class today and we fixed a minor issue with tuning. There was also praise from my teacher. To quote him "this is an instrument that I'd gladly play". Something like that from a concertist is on another level. But let's have a look at the last task of the project.
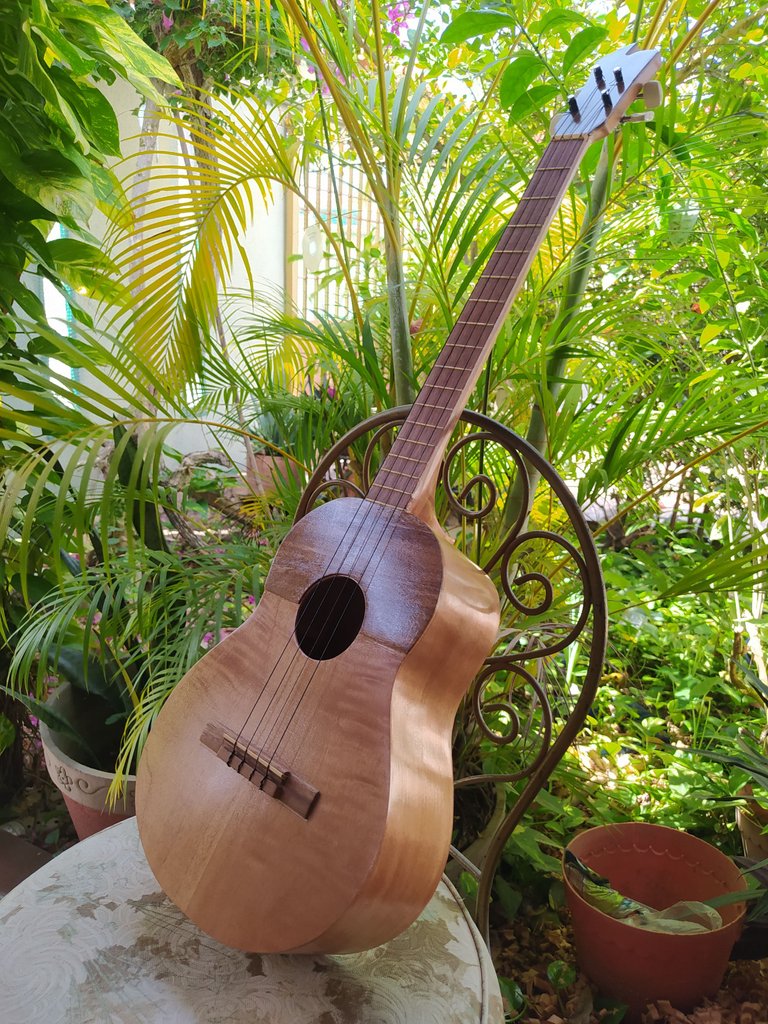
Varnish
Last week was the worst for this kind of job. It was cloudy every day and it rained as well. If you know something about applying varnish, you might understand why. For those who do not, here's why. You need to thin varnish with thinner. Depending of the kind of thinner you use, the mixture is sensitivity to low temperatures. I think it is the worst kind of stuff. That's why I've never seen any woodworking video of the people I follow on social media doing a finish with these kind of synthetic materials.
They use oils, shellac and other things. That's to avoid the the finishing turning white. This is something you can try. Pour thinner into water and you'll see it change colour. Same happens on an instrument. As the it evaporates and a coat of finish dries, it might turn white. This happens when the temperature drops it condensation inside varnish. It is a nightmare.
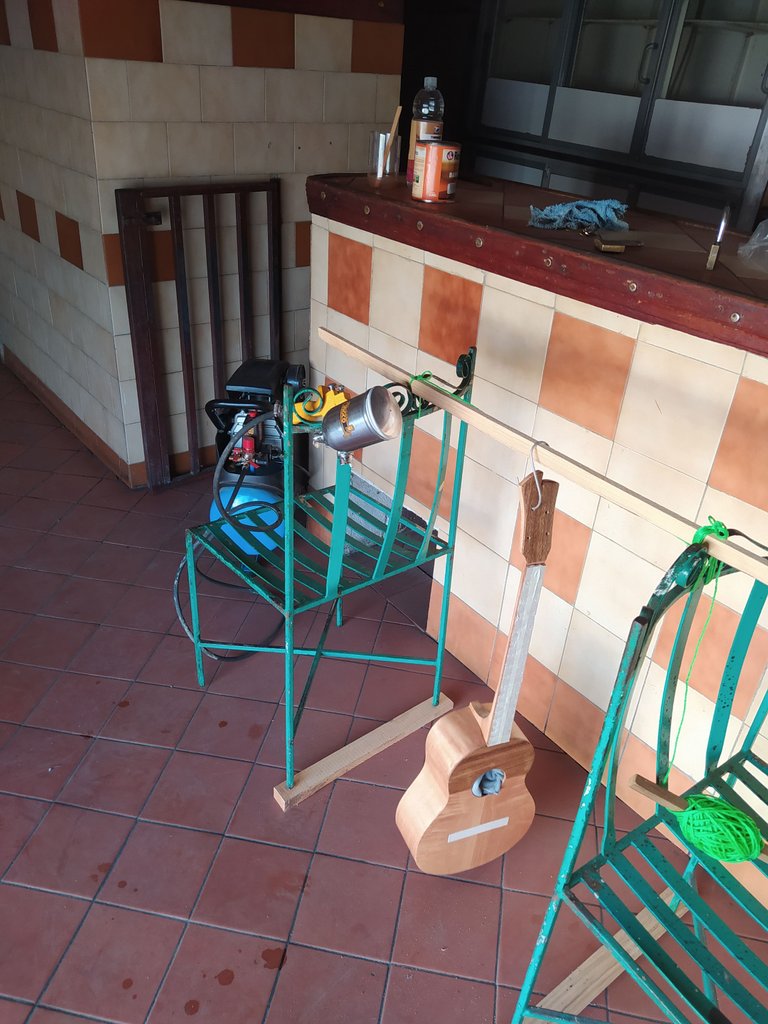
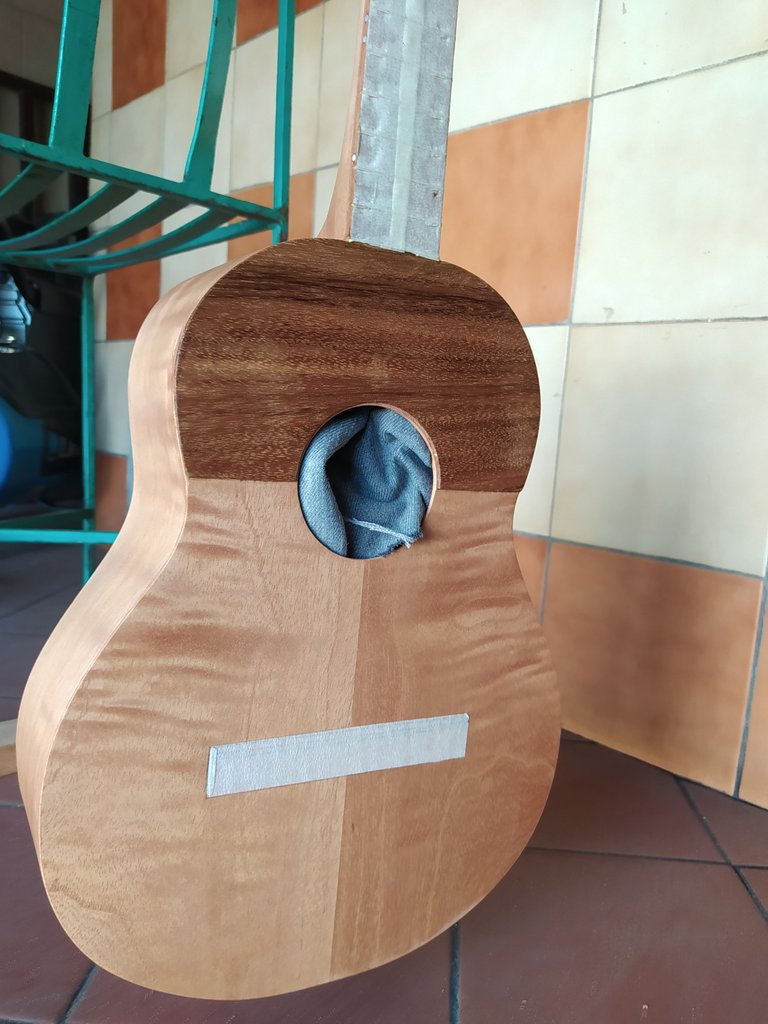
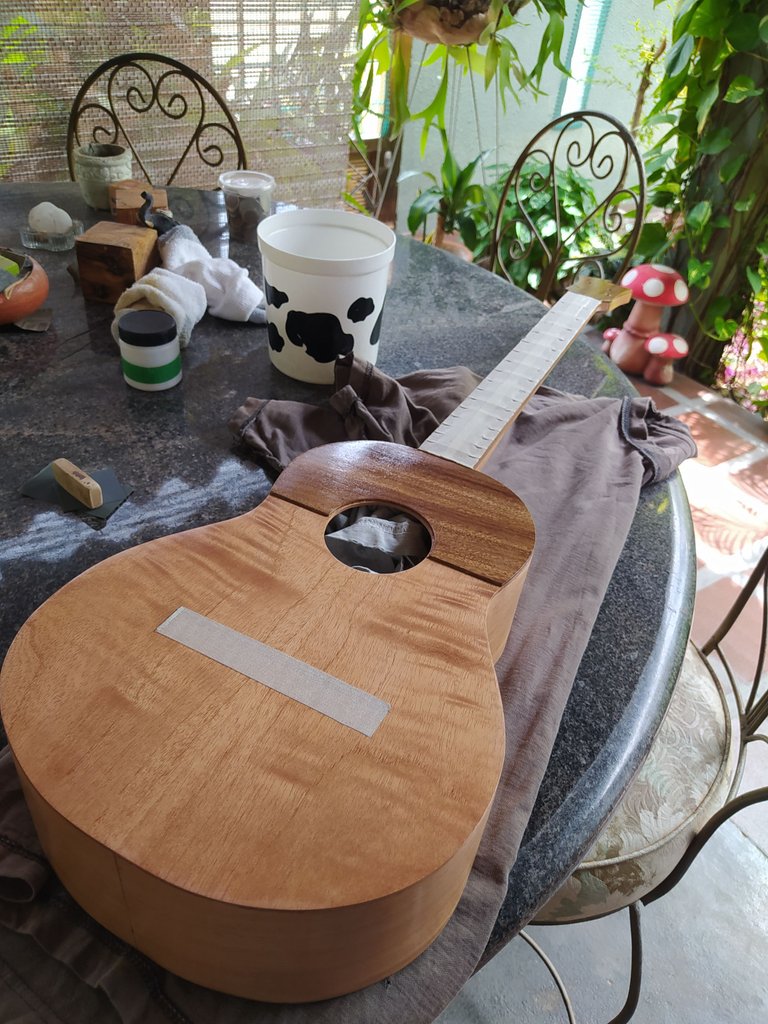
Fortunately, all this was avoided by working in a closed space and leaving the instrument there over night so the varnish could dry properly.
Bridge on
As the finish was ready, it was time to glue the bridge in place. Here I had prepared the are by using masking tape before applying varnish. This leaves is with a good area to work. We need to scrape the wood help the glue do its work. We mark the border with more masking tape to protect the finish and we use the tool of our choice for removing the sealant on this area.
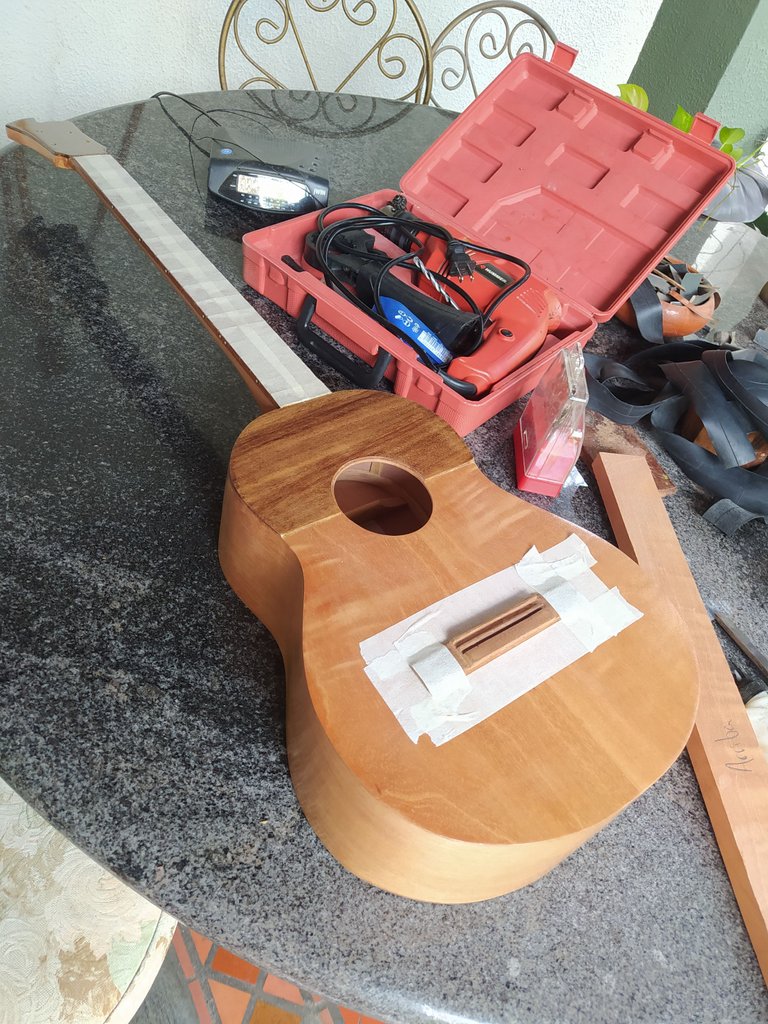
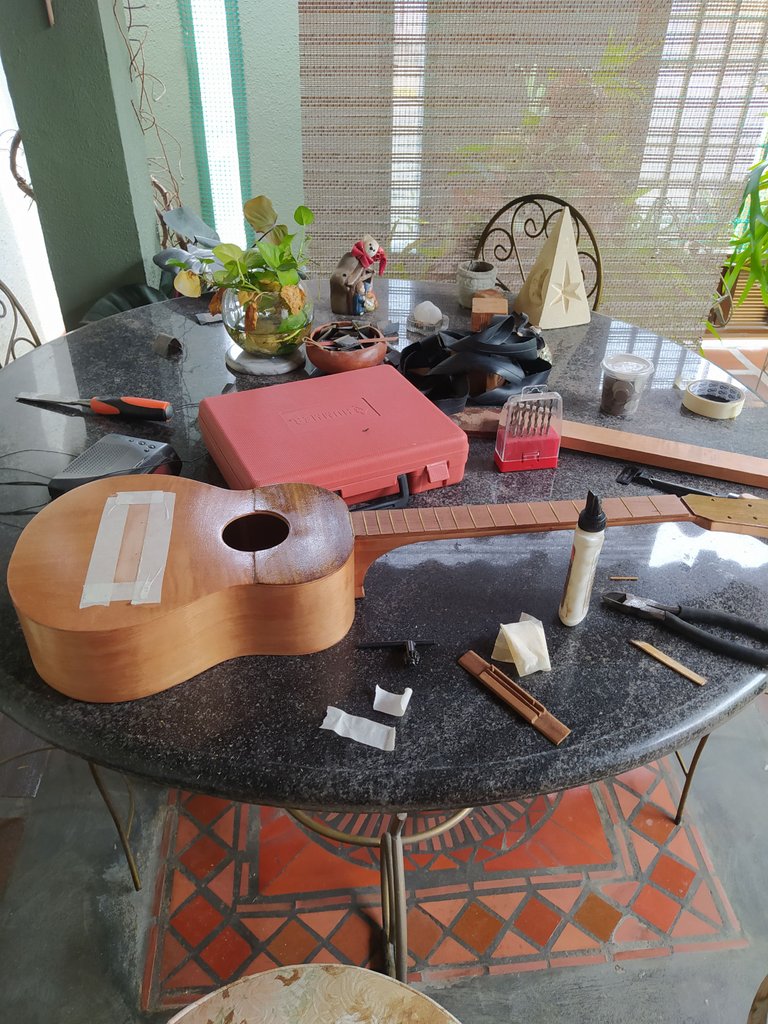
For this build I'm using pieces of toothpick as anchors to hold the bridge in place. This makes gluing easier. Once the anchors are in place and there are holes on the sound board, we apply glue and do our best to keep enough pressure on the bridge to make it glue properly but not too much as to bend the sound board.
Tuning machines and strings
This is the last part of the work. Once you install the tuning machines, the instrument is almost ready. All that's left are the strings. Also this is what will tell us of the bridge is glued well.
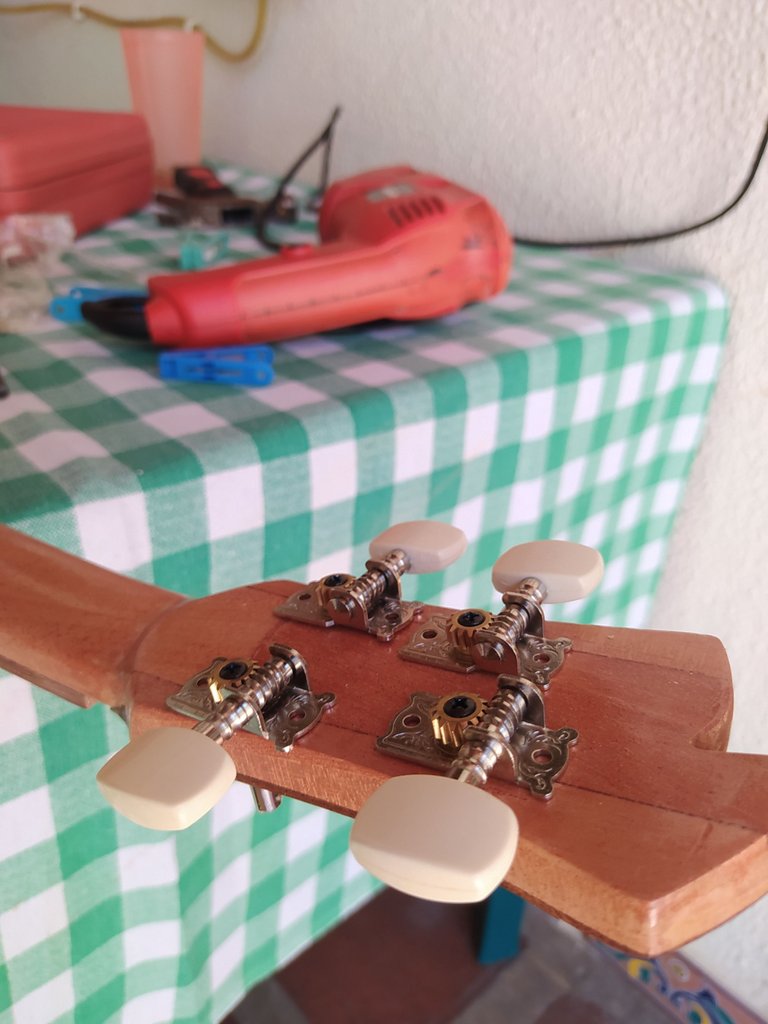
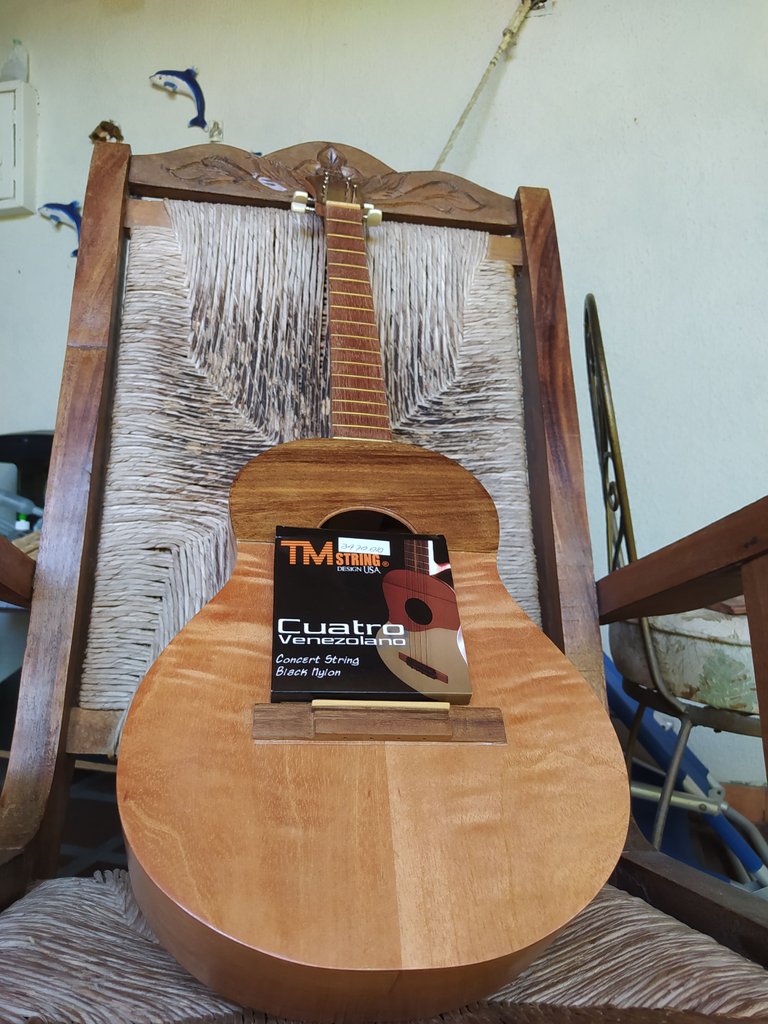
Once we have the strings in place we start tuning them. If the bridge is not placed properly, we will listen to some awful noise and will see as it raises. It's a relief this didn't happen here. The stirngs also take some time to retain the tuning. They are made of nylon after all. It is an elastic material.
Sound test
Here's a little sound test made at home to check this one. Enjoy.
Aftermath
This project gave me the chance to try some interesting things about string action, thickness of the neck and some other points in luthierie. This comes as a good step away from the design of NY teacher and into my own identity as a maker of instrument. Even when made in a hurry, a project like this teaches you s great deal of things. I'm already preparing more. You should see some updates coming srñind regarding all this work.
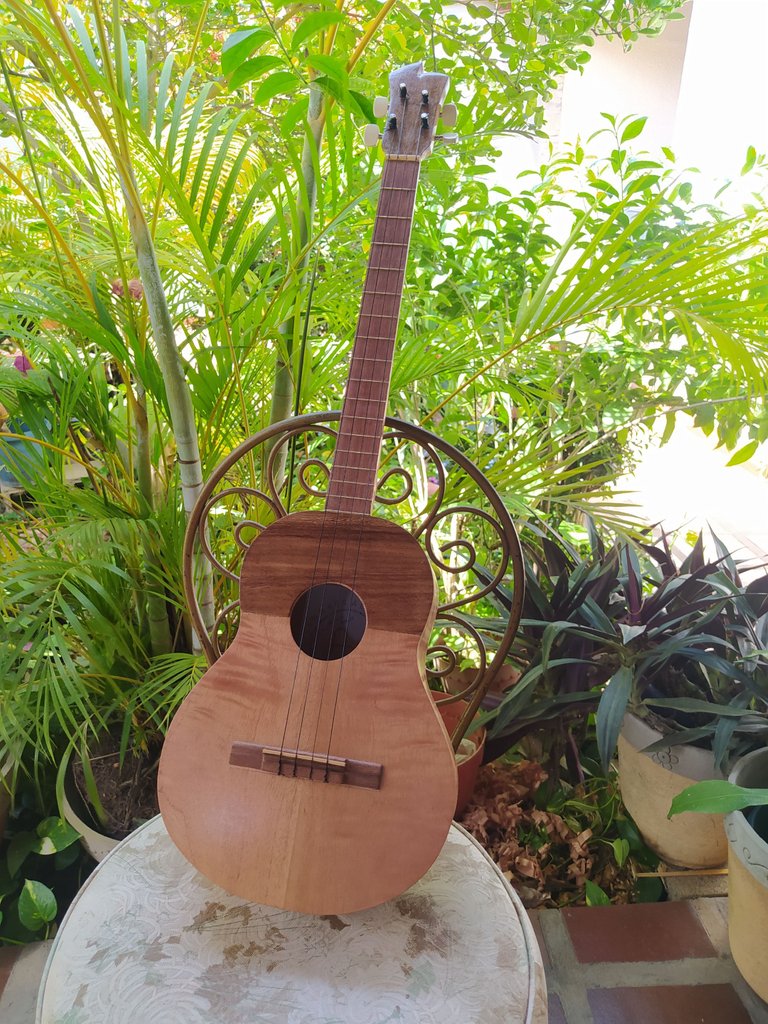
For now, I'm happy to see one of my instruments in hands of another lady. They are sincerely the best type of clients even when they get picky or have to change something, they are always sure of what they want.
Nothing more to say but wish "Herr Vier" a safe travel to Berlin!
On a side note, this instrument might not get to its destination thanks to airline new pesky rules about luggage. Also, I'm sure a picture with her owner will come by in some years. A bummer for all the work made for this instrument, but it isn't in my nature to be remind people of stuff. Otherwise, I'd be working as a teacher!


