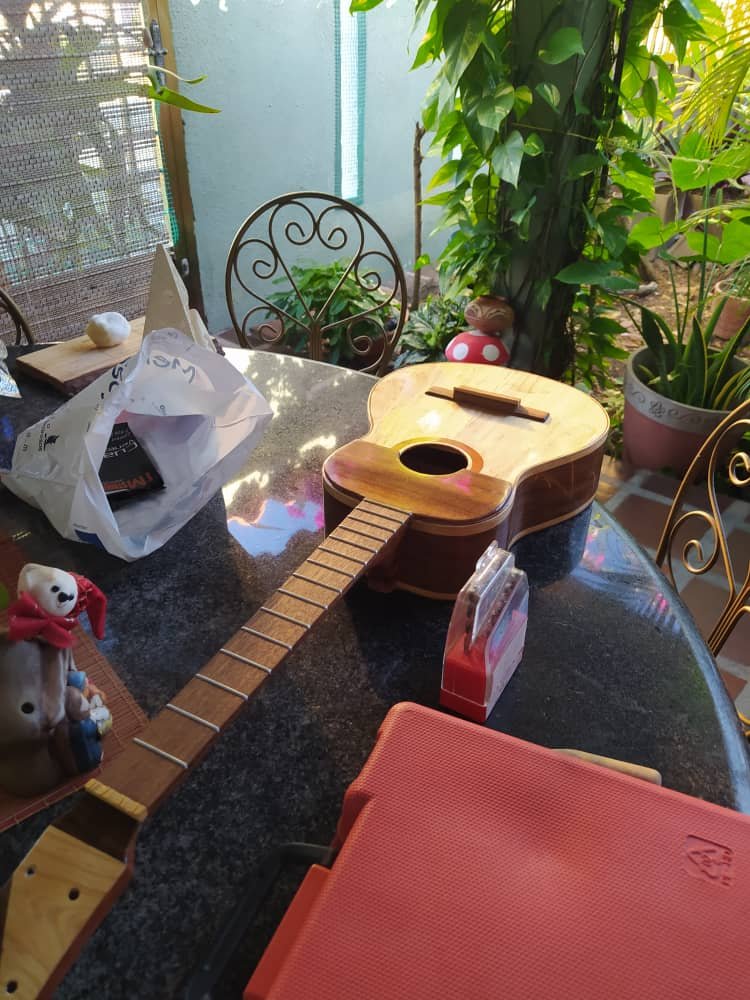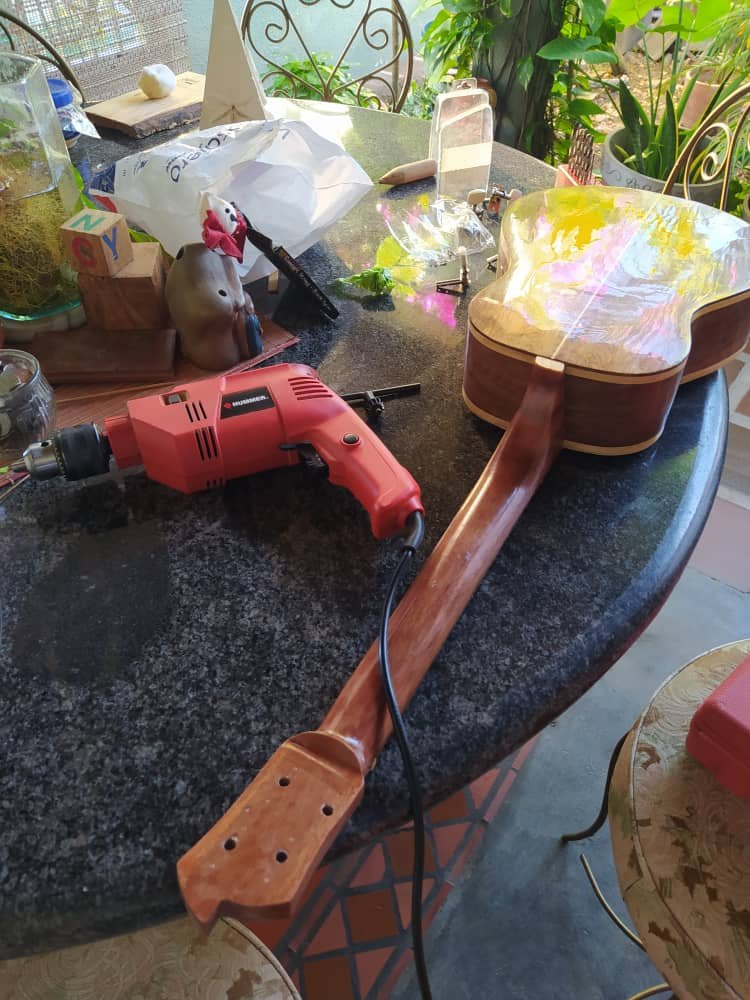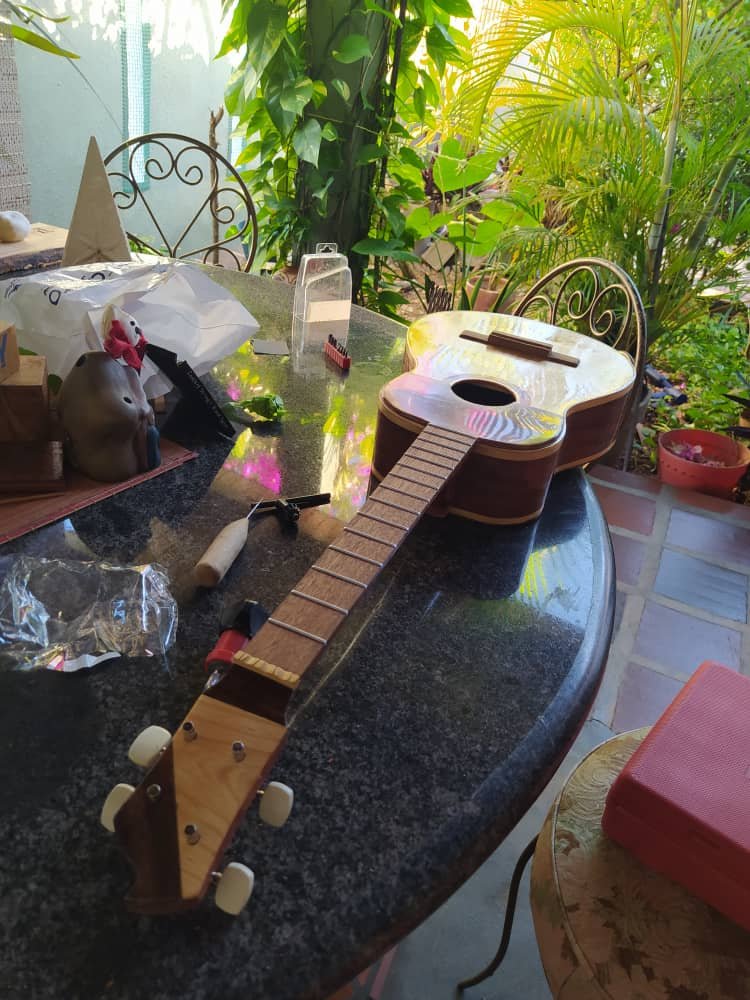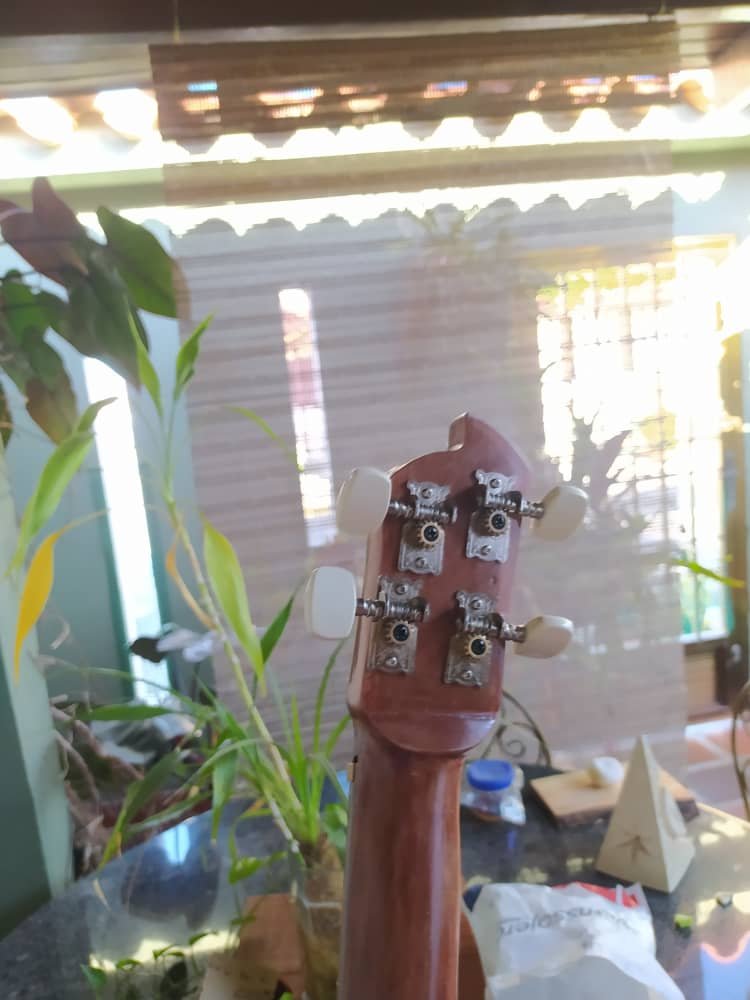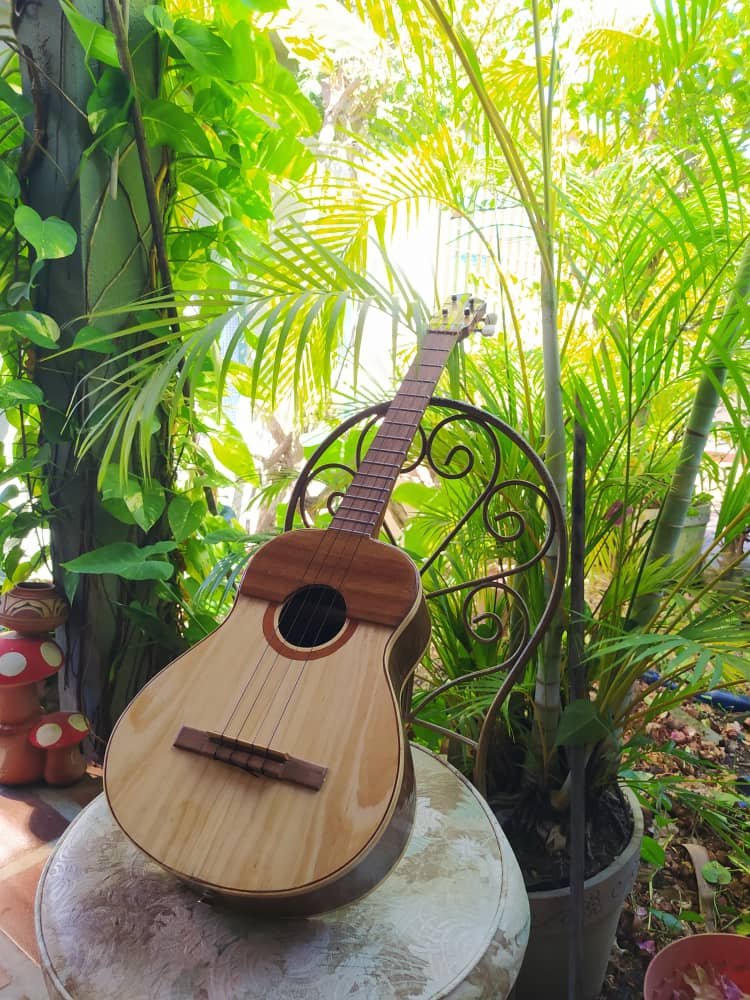
Isn't it lovely?
English
Alas, we've come to the end of the road. You can check the previous one by clicking here.
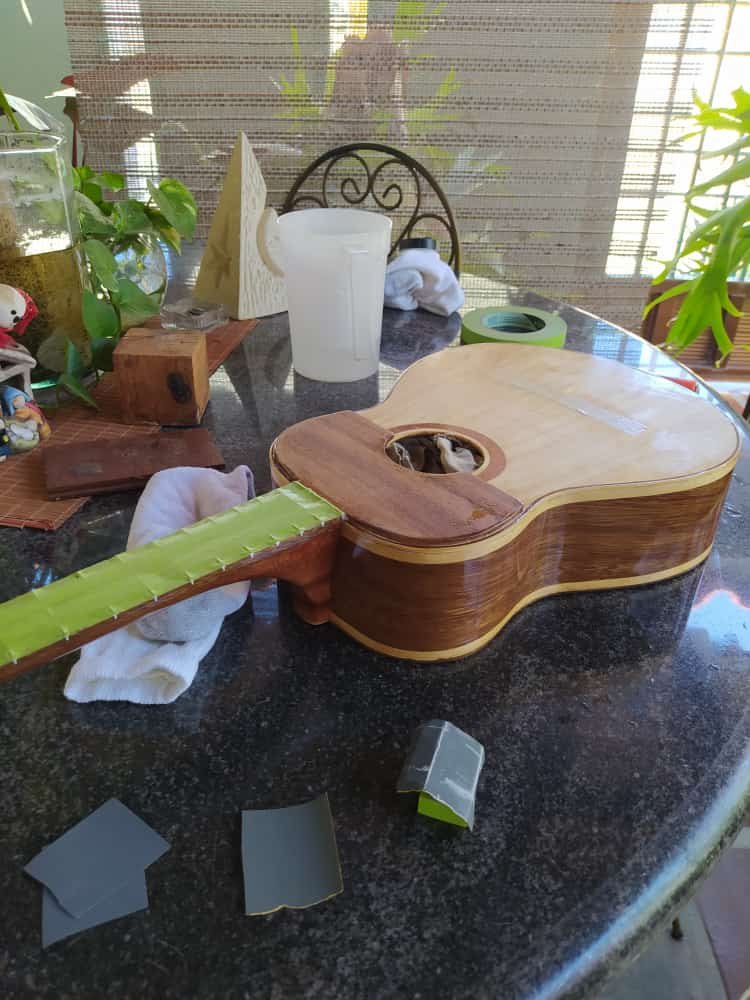
There weren't many things to do. I had to re-sand the whole thing to get rid of the bad varnish layer. Then, I went to the workshop. By the moment you read this, I've already bought a Gravity Paint Gun. I have no compressor yet, but that'll come on the next big investment.
I tested the gun and the results are marvelous. Sanding and polishing the instrument was a breeze.
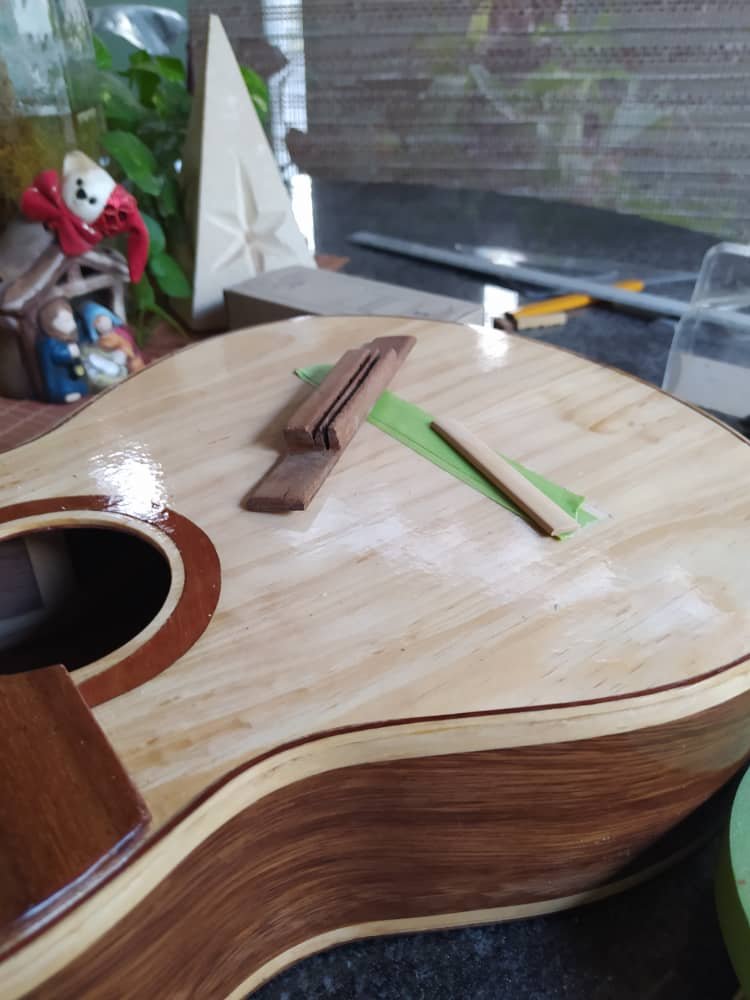
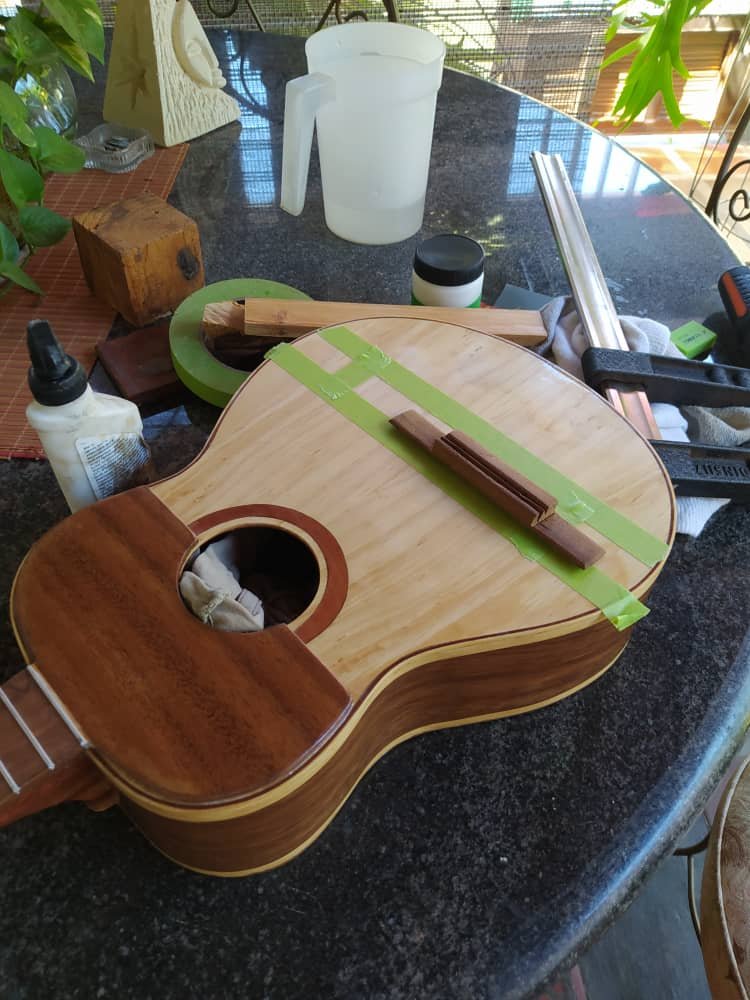
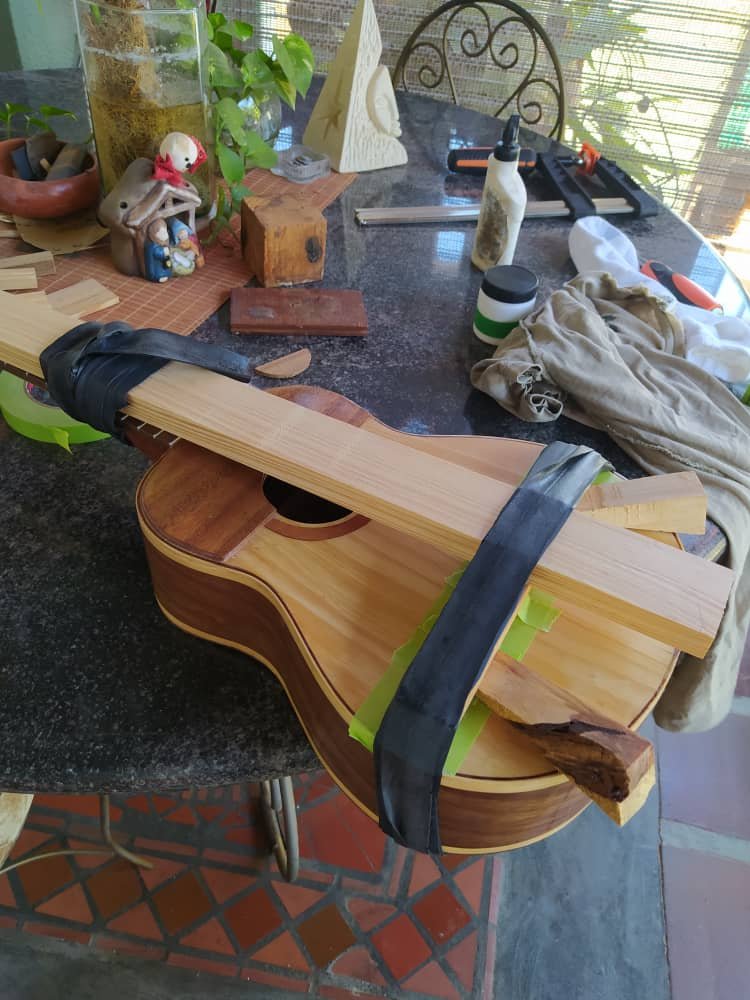
Then, it was time to glue the bridge in place. Another piece of cake, half of the work had been done already. With this pieces on, only the tuning machines and strings were missing. These are the easiest things to do when building an instrument. I took my time yesterday to install them.
However, when the thing was in place, there was a vibration on the 4th string. This instrument gave the chance to understand how to fix this issues with a mobile nut. I took it off and started to sand both ends of the 4th string's slot. I did this and tested until the vibration disappeared. And well, the instrument is ready.
Needless to say her owner is ecstatic with the results. But before I send it on its merry way, I'm missing a sound test that will come on Wednesday. Those are the days I go to soloist classes. Then, I'll now if there's anything else to be done with this one.
I hope you have enjoyed this process. I'm already working on Venezuelan Cuatro #7. Those photos and process will come in due time. Here you can see some photos of this process and a little video to showcase the finishing of the instrument.
Spanish
Hemos llegado al final de este proyecto. Puedes ver la entrada anterior haciendo click aquí.
No quedaba mucho por hacer. Tuve que lijar todo otra vez para remover la capa de barniz que había quedado mal. Luego, pude ir al taller a hacer el acabado de nuevo. Cuando leas esto, ya estaré en posesión de mi propia pistola de gravedad. Todavía no hay compresor, pero eso vendrá en la próxima inversión grande.
Pude probar mi aquisición nueva y los resultados fuera geniales. Lijar y pulir el instrumento fue un paseo en el parque.
Luego, había que pegar el puente. Pan comido. La mitad del trabajo estaba hecho. Al tener todo esto en su lugar, lo que restaba eran las clavijas y cuerdas. Estas son de las cosas más fáciles de instalar cuando se hace un instrumento. Así que me tomé mi tiempo para hacerlo.
Sin embargo, después de tener todo en su lugar, noté una vibración en la 4ta cuerda. Este instrumento me dio la oportunidad de trabajar en esto. Pude entender cómo trabajar la cejuela para remover este tipo de problemas. Ya que es movible, pude desmontarla. Luego, lije los bordes de la ranura de esta cuerda hasta eliminar la vibración. Y entonces, todo está listo.
No es necesario decir que la dueña de este instrumento está que salta en un pie con los resultados. Pero antes de enviarlo con ella, falta una prueba de sonido. Eso será el próximo Miércoles. En esos días voy a clases de música. Entonces, ese día sabré si hay otra cosa qué hacer.
Espero que hayan disfrutado de este proceso. Ya me encuentro trabajando en el cuatro venezolano #7. Esas fotos vendrán más adelante. Por ahora, aquí tienen un resumen fotográfico de lo que acabo de mencionar. Anexo a esto hay un video para alardear un poco del acabado de este instrumento.
