

(ENG)
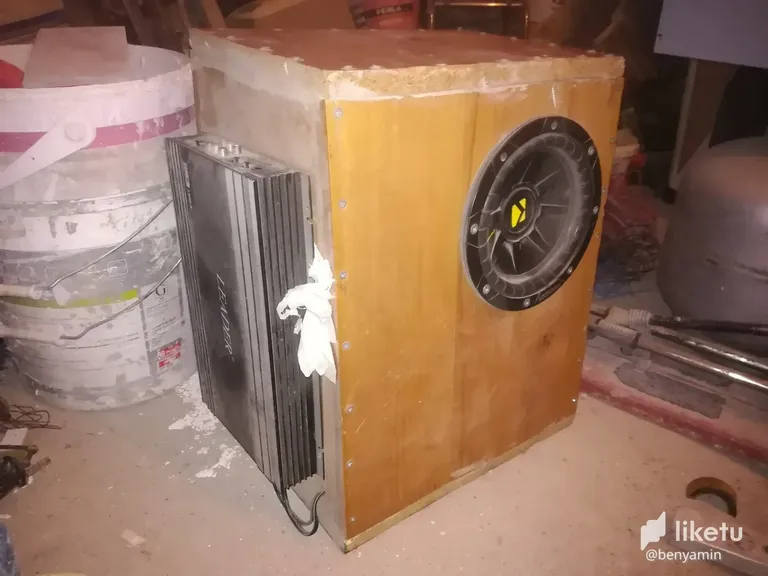
Hello everyone, friends, because it's Sunday, I decided to make the bass speaker that was big in the trunk of our car smaller before. Previously we had to dismantle the Cabinet to put the old material as it appears in the picture it was pretty big we couldn't fit in the trunk cabin luggage, when we put some bass to listen to what we're used to the sound without the bass half of my computer desk was great because it didn't look good so we stopped, and I decided to use that to make new cabin from the board.
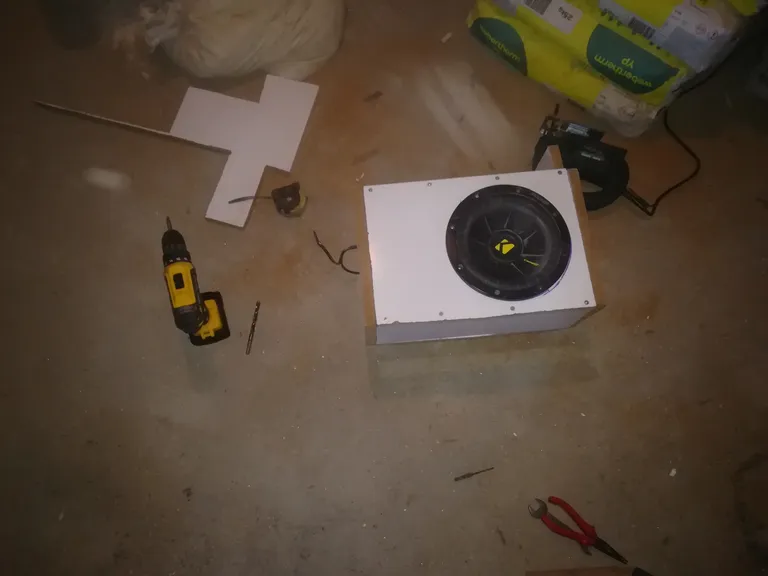
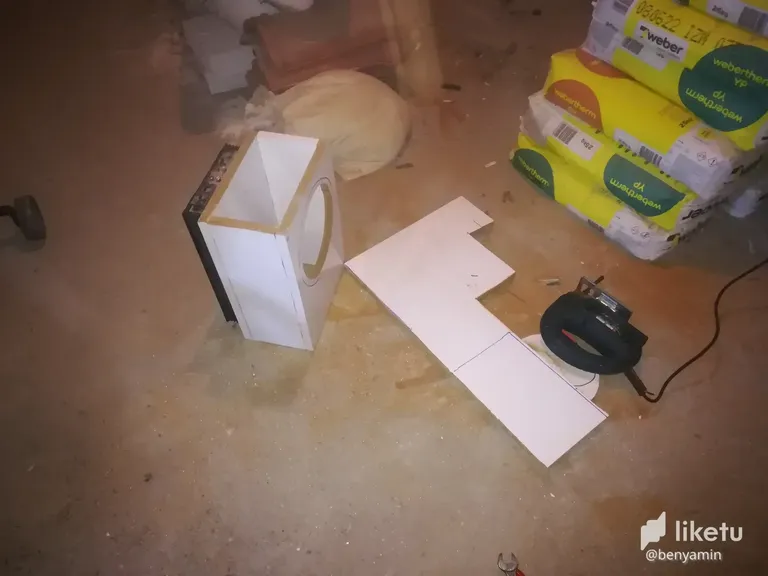
First, consider the part I'm going to put in the trunk I started by measuring to the cabin, the cabin because I don't want the amplifier to be big the size of my field until I got the width is too narrow, how little did I hand it was better for me I cut the throne with the machine, even if slightly crooked cut at home on the cheap I had to do this first and afterwards I cut the front to the back of the speaker that I had to set the width according to the width I needed to adjust the seat depth adjustment between approximately zero or unfortunately I made would fit in with the tube I set it an inch or two wider than the depth of the speaker.
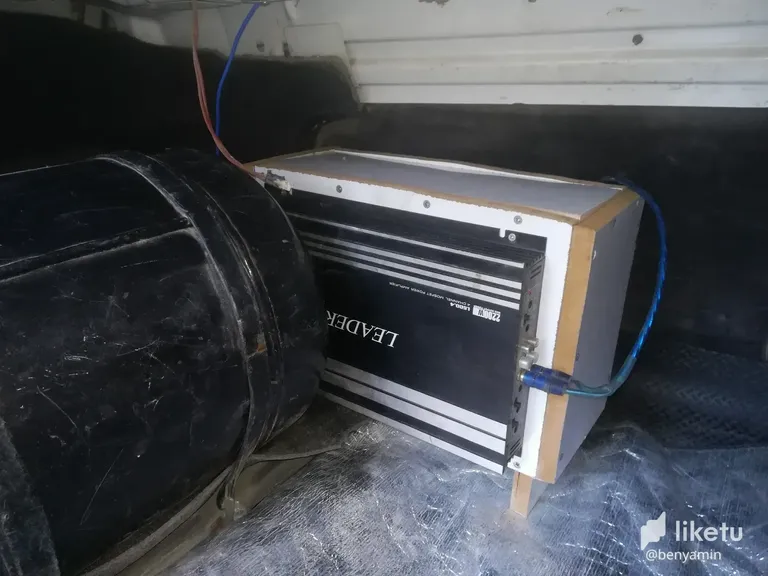
After you set up the front to the back, side and I put the parts together and tighten the screws of the speaker after circling the floor I the future, I cut a bit from the interior to replace the speakers and vidaladik after I cut the hole for the upper and lower lids opened and I ended up mounting the board vidaladim one speaker cable. Inside the car, I pulled the audio cables to the trunk because they were under the seat and made electrical connections after connecting everything, I tested it and everything works smoothly, I put the cabin in place exactly as I wanted, because the cabin remains on the iron, I made a support board on the side under the cabin, so it won't shake in place anymore, our speaker is ready, friends
See you in the next post, friends....
(TR)
Herkese selamlar dostlar bugün pazar olması sebebiyle daha önce arabamızın bagajına büyük gelen bass hoparlörünü daha küçük yapmaya karar verdim. Kabini daha önceden malzeme koymak için sökmek zorunda kaldık eski hali resim de göründüğü gibi baya bir büyüktü kabini koyduğumuzda bagaja eşya sığdıramıyorduk biraz da bass sesine alıştığımız için bass olmadan dinlemek güzel gelmemeye başladı o yüzden bilgisayar masamın yarısını büyük olduğu için kesmiştik ondan çıkan tahtayı yeni kabin yapmak için kullanmaya karar verdim.
İşe ilk olarak bagajın içinde kabini koyacağım kısmı göz kararı ölçerek başladım kabinin büyük olmasını istemediğim için genişliğini amfinin büyüklüğü kadar ayarladım alanım çok dar olduğu için ne kadar küçük yaptım benim için daha iyiydi tahtları ise el makinesi ile kestim normale göre biraz yamuk kesse bile evde ucuz yoldan bu işi yapmam gerekliydi ilk önce ön ve arka yüzünü kestim daha sonrasında ise genişliğini ayarlamam gerekti bunu da hoparlörün genişliğine göre ayarlamam lazımdı derinlik konusunda sıfır ayar yaptım yoksa tüp ile koltuk arasına maalesef sığmayacaktı yaklaşık olarak hoparlörün derinliğinden bir iki santim daha geniş ayarladım.
Ön ve arka yüzünü ayarladıktan sonra yan kısımları da birleştirdim ve vidalarını sıktım hoparlörün geleceği yeri ise çizerek daha sonrasında biraz iç kısımdan olacak şekilde kestim hoparlörünü yerine yerleştirip vidaladıktan sonra alt ve üst kapakları kesip vidaladım bir adet hoparlörün kablosu için delik açtım ve tahta montajım bitmiş oldu. Arabanın içinde ise ses kablolarını koltuğun altında olduğu için bagaja çektim ve elektrik bağlantılarını yaptım tüm her şeyi bağladıktan sonra test ettim ve her şey sorunsuz çalışıyor kabini yerine yerleştirdim tam istediğim gibi oldu kabin demirin üstünde kaldığı için kabinin yan alt tarafına bir destek tahtası yaptım bu sayede yerinde sallanmayacak artık hoparlörümüz de hazır dostlar
Bir sonra ki yazımda görüşmek üzere dostlar....
For the best experience view this post on Liketu