I hope you had a blessed day, may God keep you in health, peace and love.
Hoy quiero compartir con ustedes la confección de una Jardinera de Bebé, es una prenda hermosa y super tierna con muchos voladitos que hacen que sea muy bonita. Es una de las piezas más solicitadas en mi pequeño emprendimiento, la he elaborado en tela estampada y unicolor, atreviéndome a afirmar que en ambas luce preciosa.
Today I want to share with you the making of a Baby Romper, it is a beautiful and super cute garment with lots of ruffles that make it very pretty. It is one of the most requested pieces in my small business, I have made it in printed and solid color fabric, daring to say that it looks beautiful in both.
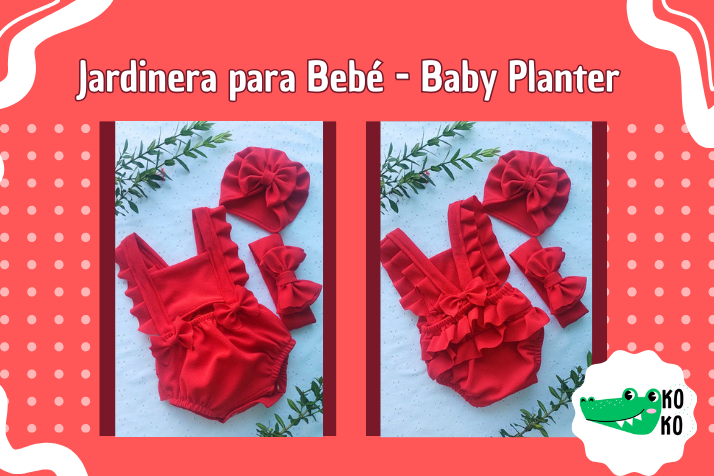
Este hermoso set es una belleza, me gusta generalmente combinarle en set de dos piezas, constando con una diadema de lazo. Más sin embargo para este set me encargaron 3 piezas, incluyéndose un gorro turbante. La tela que me gusta usar para este estilo de conjunto es Beverly, ya sea estampada o unicolor. Me gusta esta porque es lo suficientemente rígida para mantener los voladitos y a la vez strech, como para que tenga ese toque de ceder al ser colocada la pieza en la bebé.
This gorgeous set is a beauty, I usually like to pair it in a 2 piece set, consisting of a bow headband. However, for this set I was ordered 3 pieces, including a turban hat. The fabric I like to use for this style of set is Beverly, either printed or solid. I like this because it is stiff enough to hold the ruffles and at the same time stretchy, so it has that touch of give when the piece is placed on the baby.
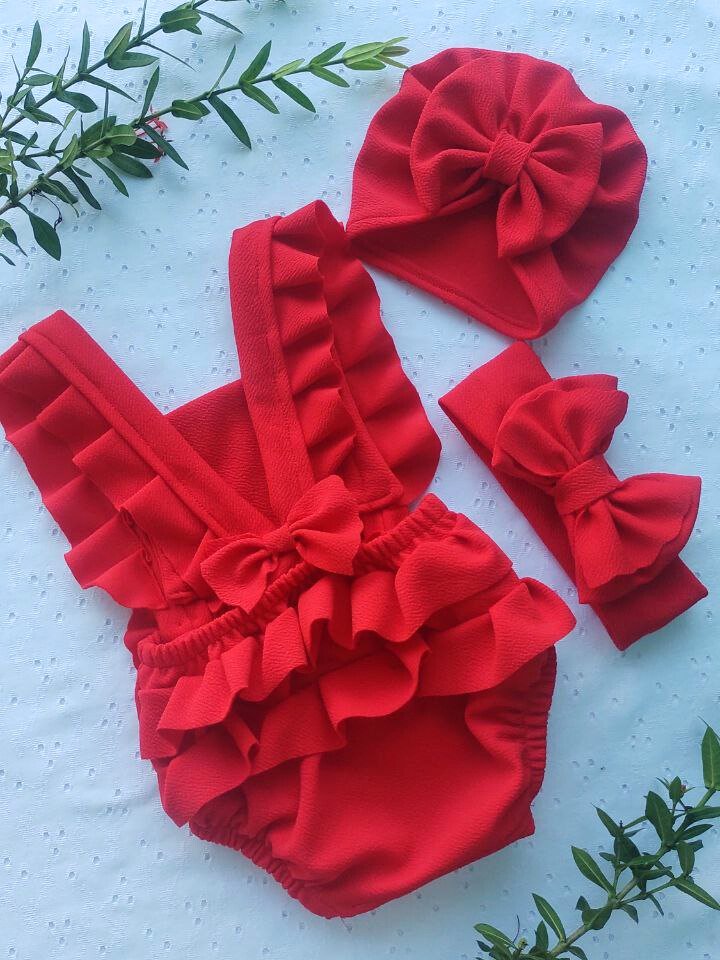
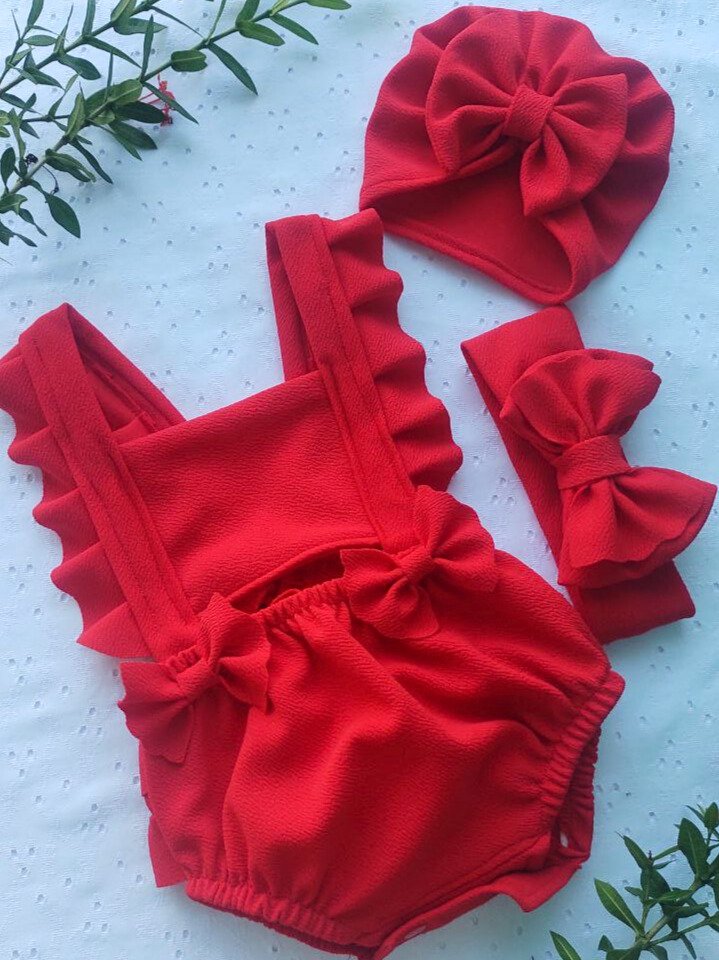
Creo que el resultado es una ternura, los detalles de los lazos en la parte frontal y en la parte trasera, sin duda lo hace más tierno. Para crear este set de 3 piezas he usado menos de 1 metro de tela, porque es talla de 2-4 meses. Además de tela, he usado elástico y broches, aparte lo esencial de costura incluyendo: patrón, cinta métrica, hilo, tijeras. Parecen mucho materiales, pero en realidad es poco, la magia la lograremos cosiendo.
I think the result is cute, the details of the bows on the front and back certainly make it more tender. To create this 3-piece set I used less than 1 meter of fabric, because it is a size 2-4 months. In addition to fabric, I used elastic and snaps, apart from the sewing essentials including: pattern, measuring tape, thread, scissors. It seems like a lot of materials, but in reality it is not much, we will achieve the magic by sewing.
❣️❣️❣️❣️❣️
Materiales
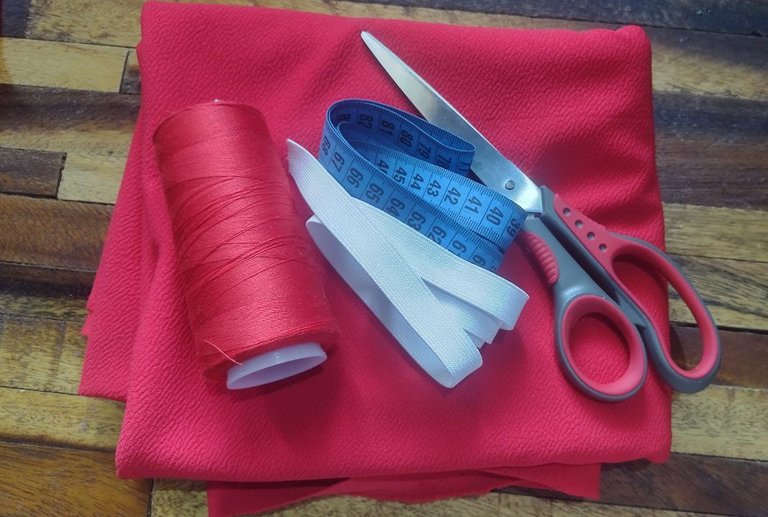
- 1 Metro de tela Beverly (aunque no usaremos toda, depende de la talla, esta ocasión es de talla 2-4 meses).
- Elástica, cantidad necesaria
- Pareja de broches - Alicate de presión para broches
- Máquina de coser, tijera, cinta métrica, hilo
Patrón, talla 2-4 meses
Materials
- 1 meter of Beverly fabric (although we won't use all of it, it depends on the size, this time it's size 2-4 months).
- Elastic, the amount needed
- Pair of snaps - Snap pliers
- Sewing machine, scissors, measuring tape, thread
Pattern, size 2-4 months
❣️❣️❣️❣️❣️
Proceso de Creación / Creation Process
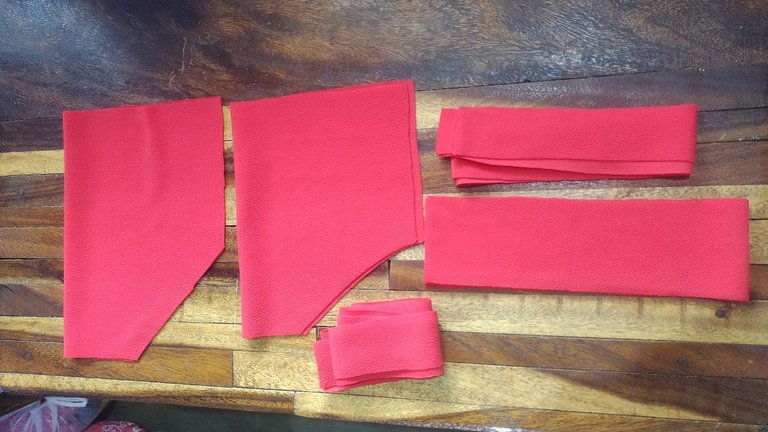
Comenzamos cortando las piezas necesarias, donde para la parte inferior son dos similares a los cubrepañales, marcamos diferencia entre el delantero y trasero. Cortamos dos tirantes de 7 x 57 cm. Para los voladitos, corté un alto de 7 cm por todo lo que da la tela a lo ancho y después corté a mitad de la misma. Aproveché y corté otra pieza de esta última, para los voladitos traseros.
We started by cutting the necessary pieces, where for the lower part there are two similar to the diaper covers, we marked the difference between the front and the back. We cut two straps of 7 x 57 cm. For the ruffles, I cut a height of 7 cm all the way across the fabric and then cut it in the middle. I took advantage and cut another piece of this last one, for the back ruffles.
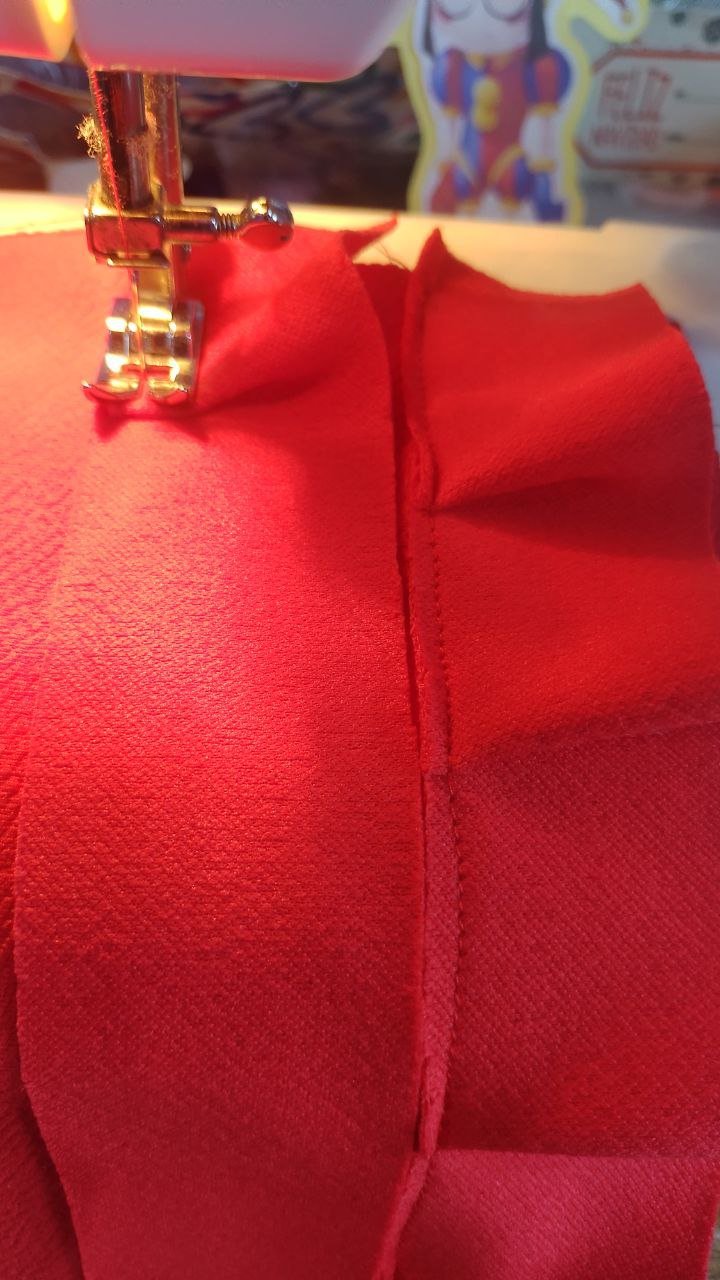
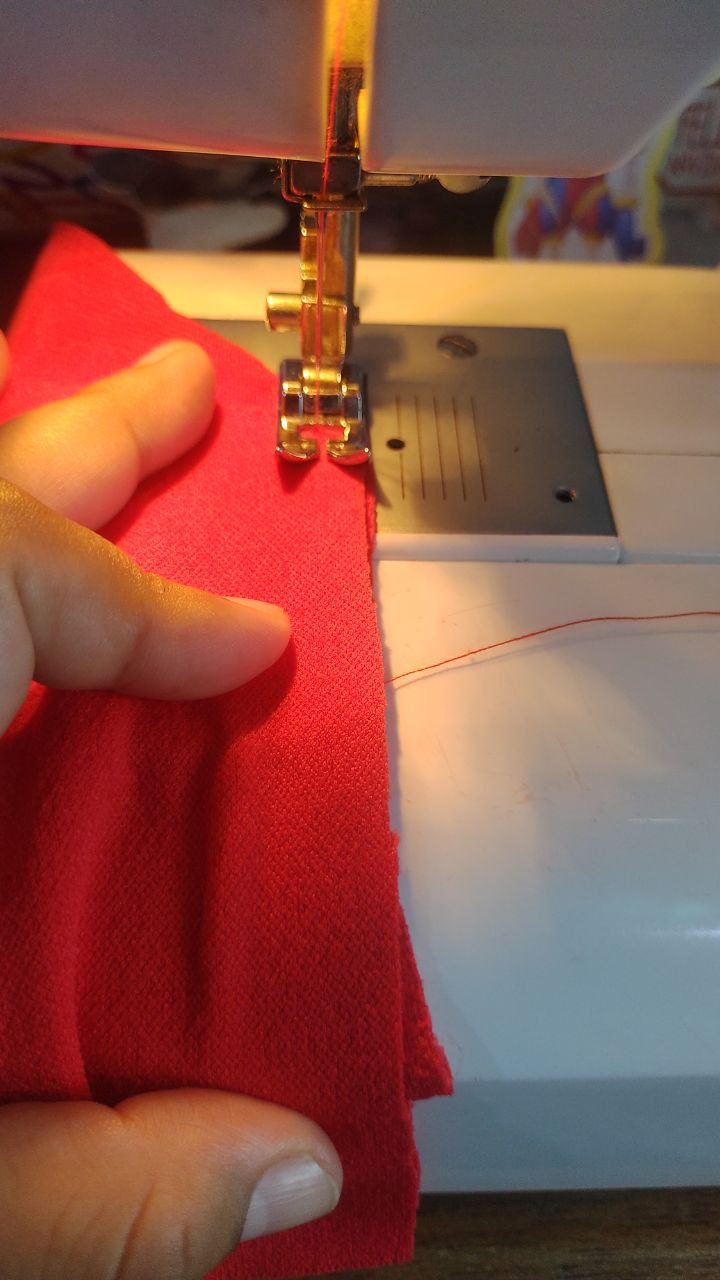
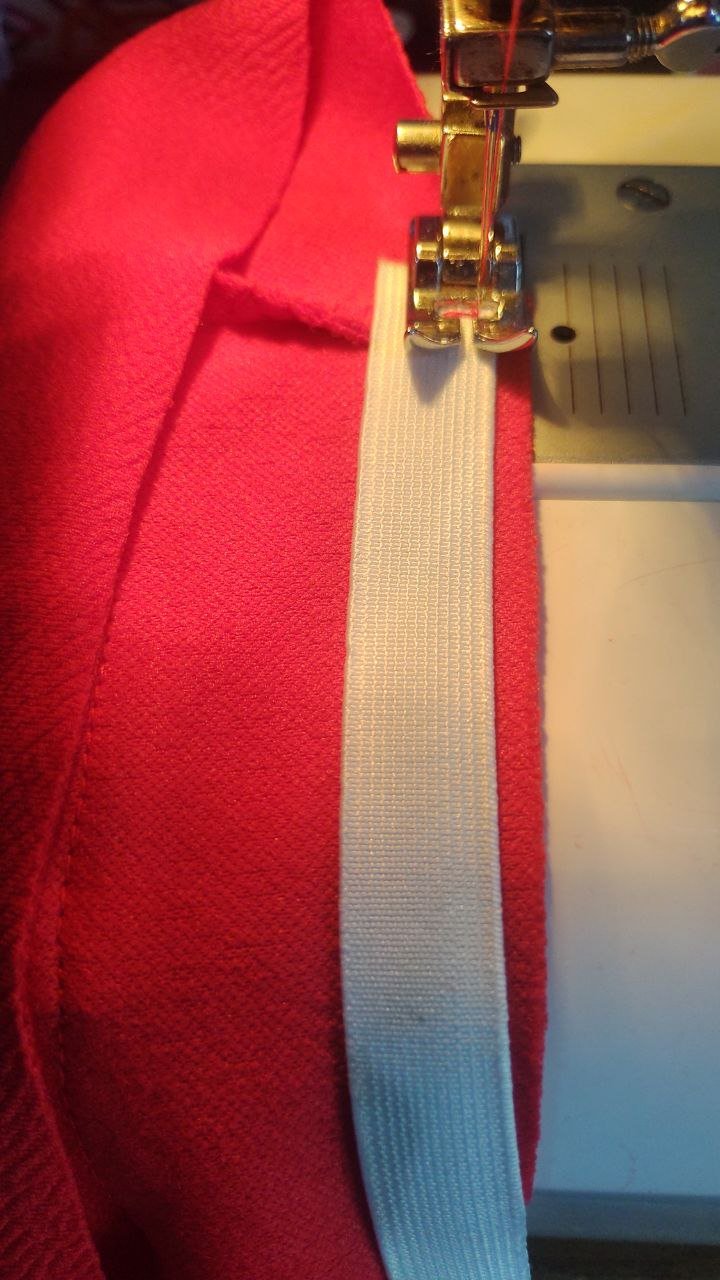
Para la confección, comenzaremos calculando el espacio que nos puede tomar colocar la elástica, para así determinar donde irán nuestra hilera de voladitos. Yo he ido cosiendo y haciendo pliegues, hasta llegar al otro extremo. He colocado dos, más pueden colocar las que gusten. Enfrentamos ahora derecho con trasero y cosemos los laterales. Procedemos a colocar la elástica, primero fijamos con costura de zigzag, doblamos hacia adentro y haremos una costura recta.
To make it, we will start by calculating the space it will take to place the elastic, in order to determine where our row of ruffles will go. I have been sewing and making pleats until reaching the other end. I have placed two, you can place as many more as you like. Now we face the right side with the back and sew the sides. We proceed to place the elastic, first we fix it with a zigzag stitch, fold it inwards and make a straight seam.
 |  |  |
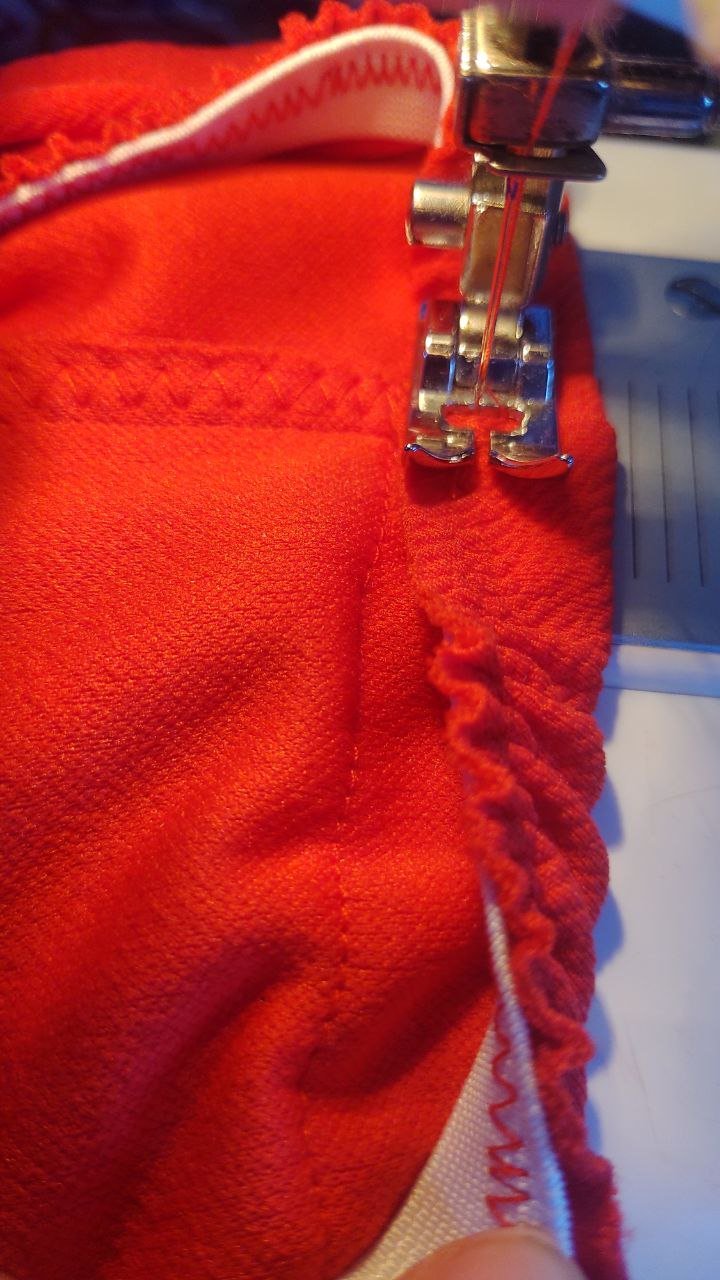
En este paso, la pieza lucirá así:
In this step, the piece will look like this:
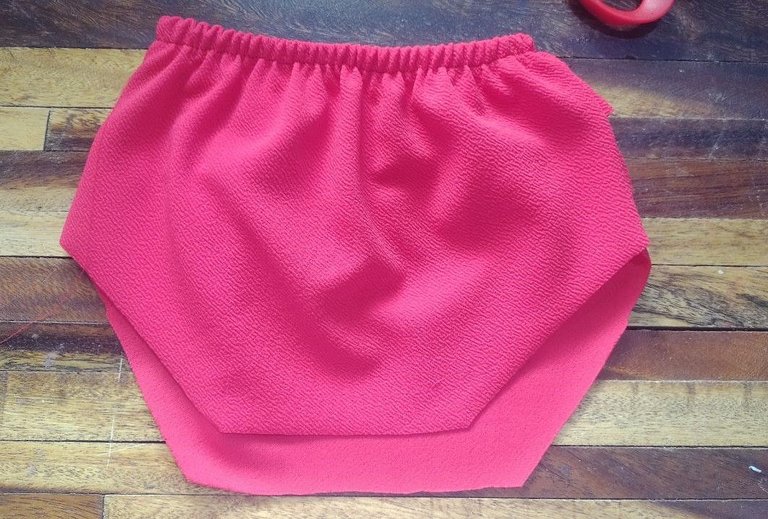 | 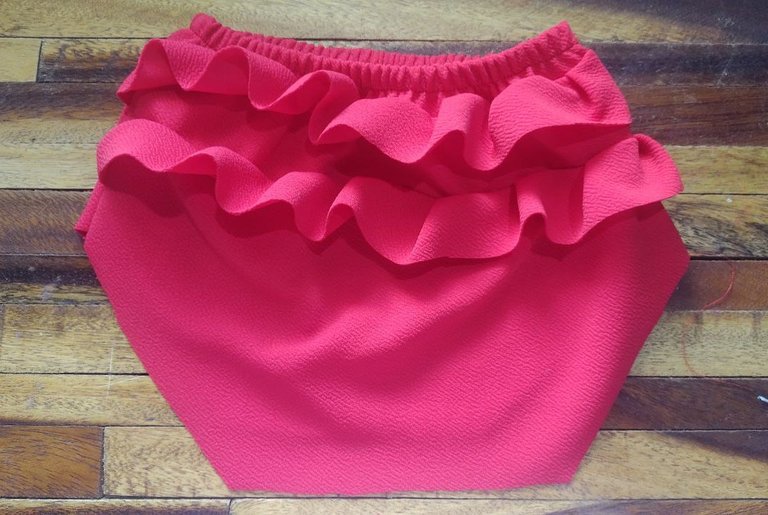 |
Ahora pasaremos a trabajar la entrepierna, donde colocaremos elástica por cada lado.
Now we will work on the crotch, where we will place elastic on each side.
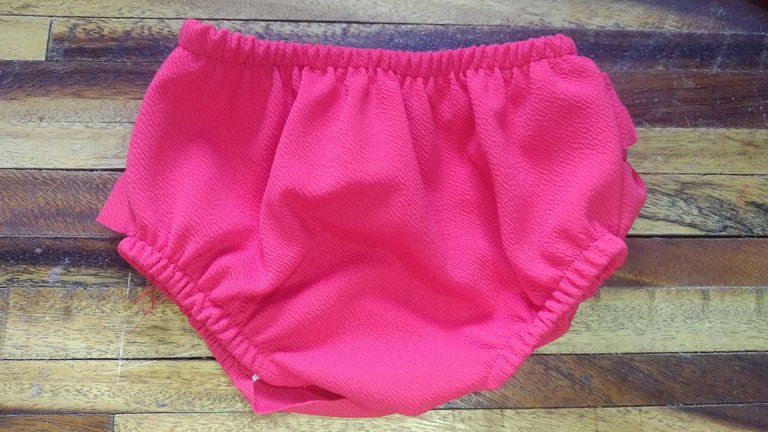
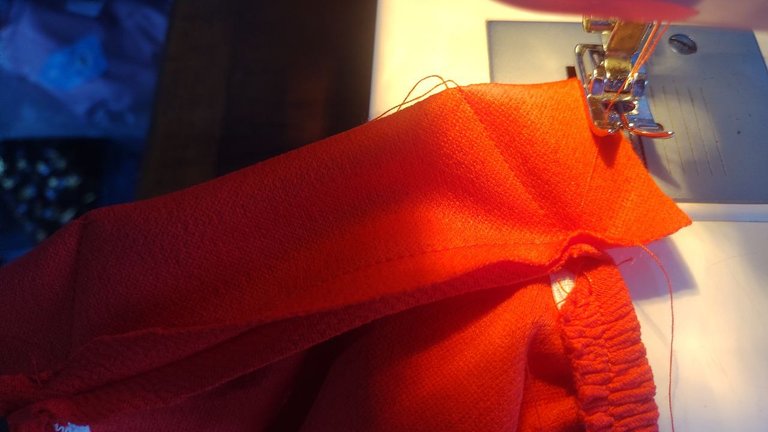
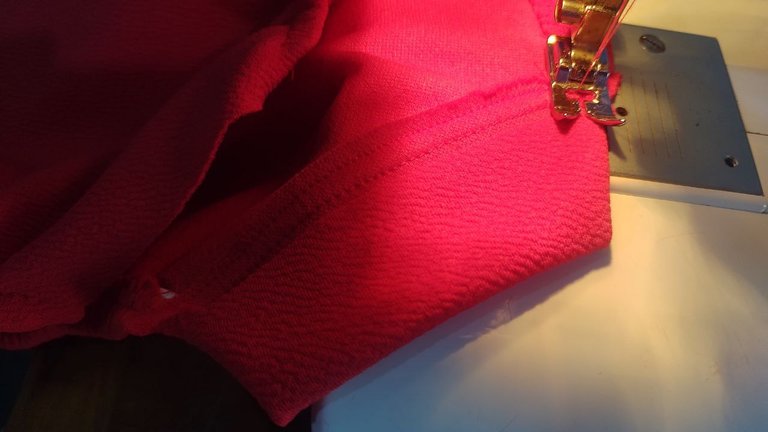
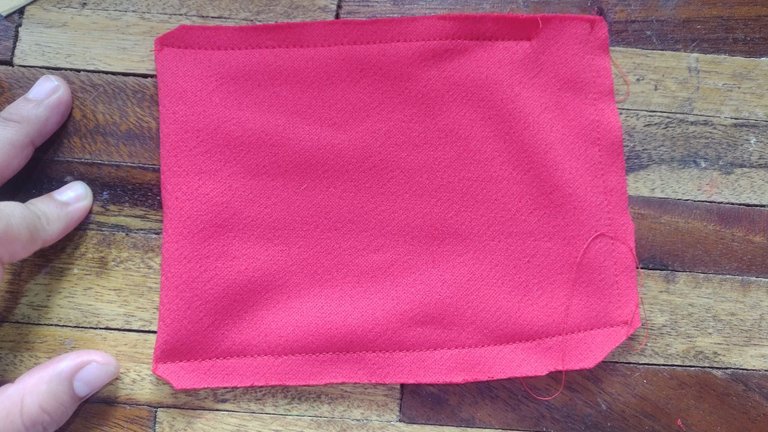
Cortaremos un par de rectángulos y le colocaremos de refuerzo en la zona media de la entrepierna. Allí es donde próximamente colocaremos los broches o botones.
We will cut a couple of rectangles and add reinforcement in the middle of the crotch. This is where we will soon place the snaps or buttons.
 |  |
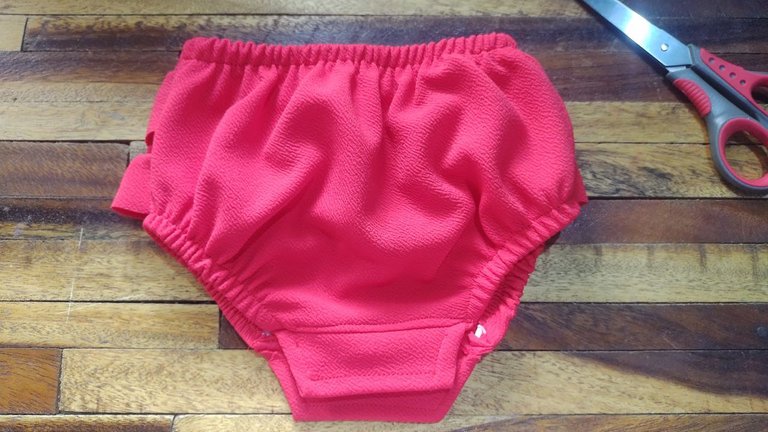
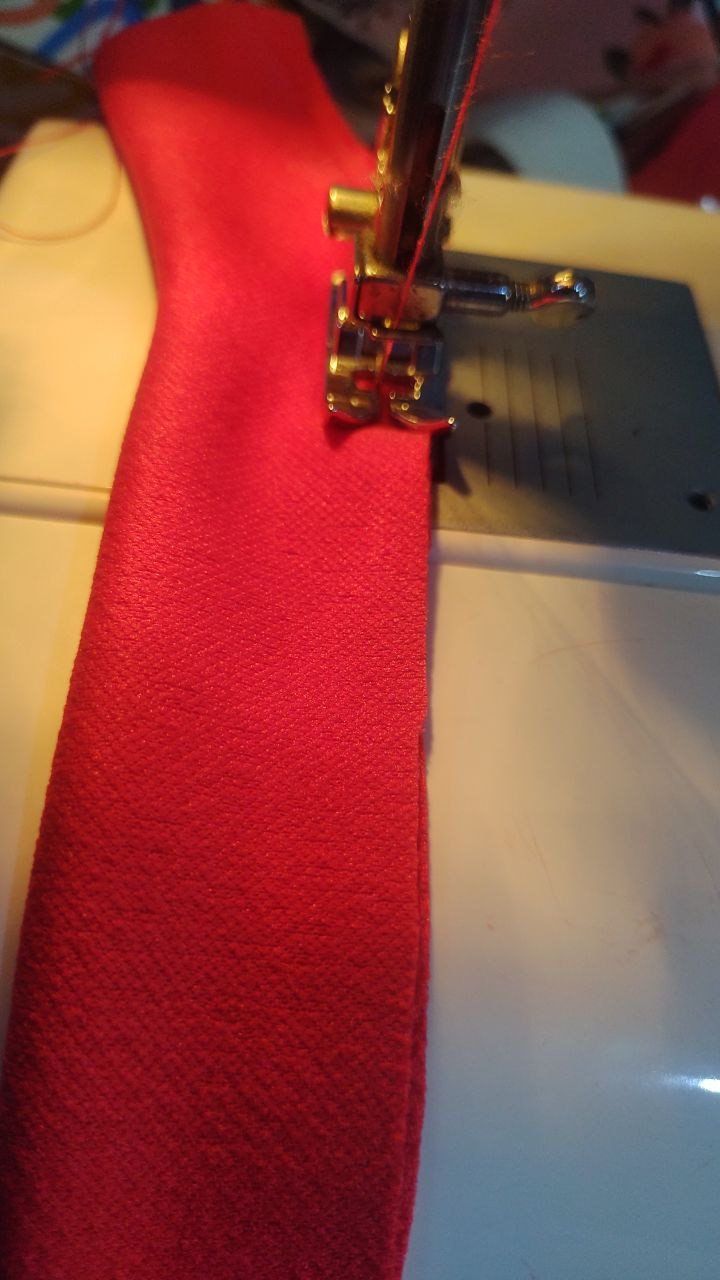
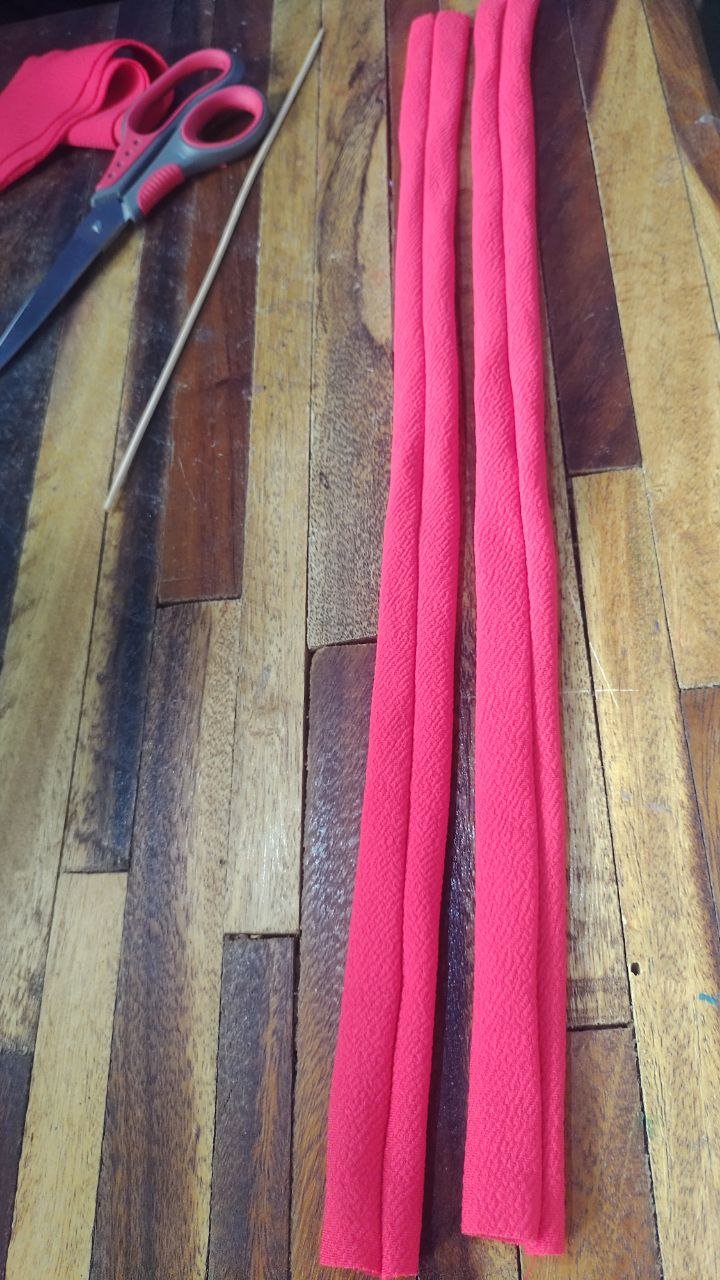
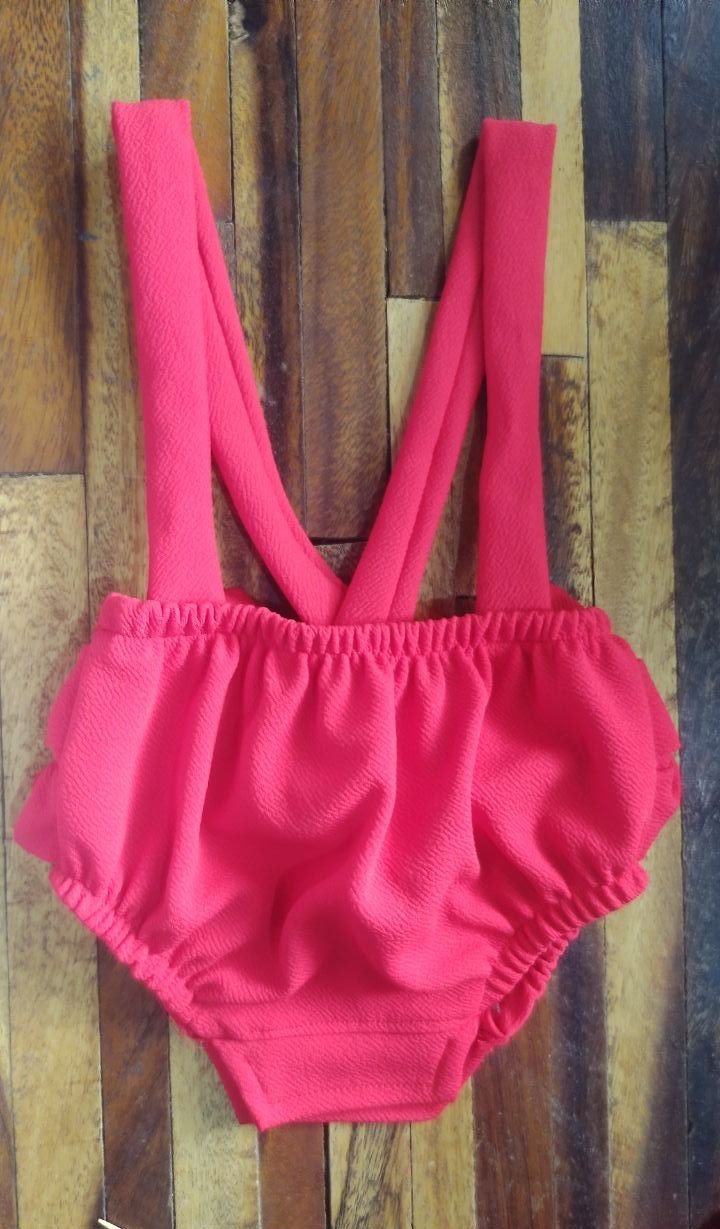
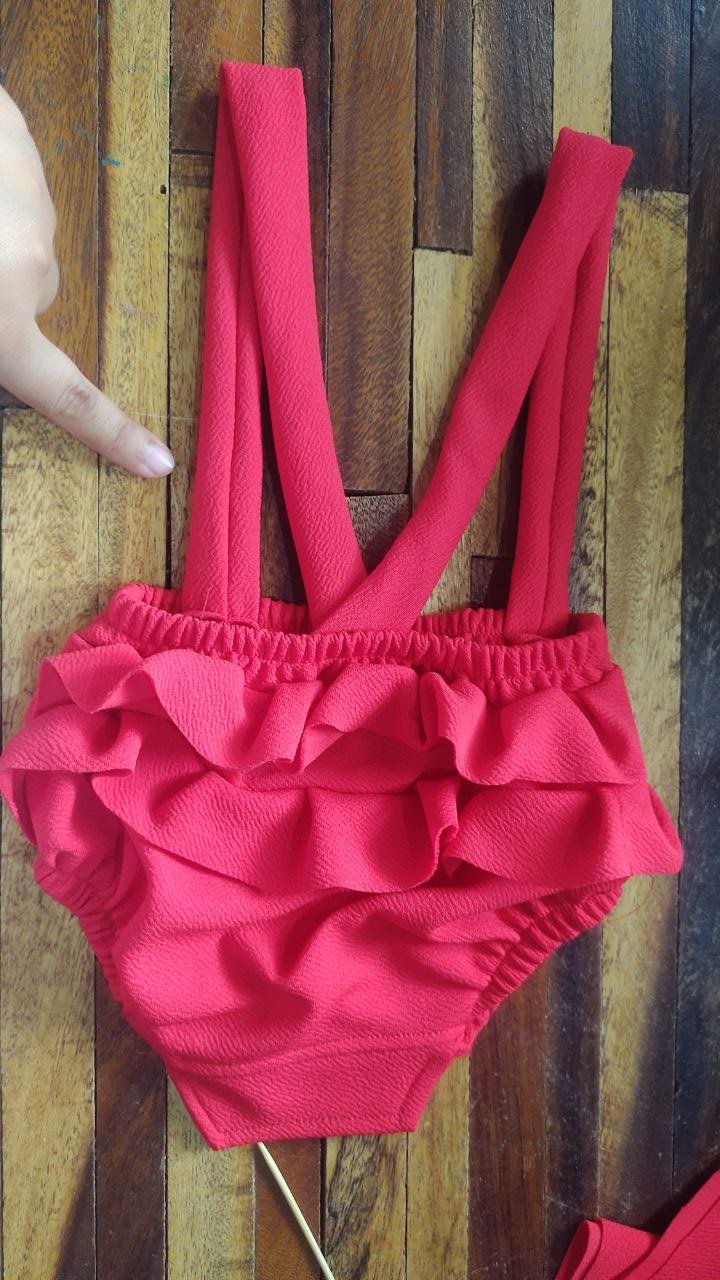
Pasaremos a trabajar los tirantes, donde cosemos lateral formando un tubo. Volteamos las piezas. Cosemos los tirantes a la parte inferior. Midiendo que queden ambas en el mismo sitio y estas se crucen en la parte posterior.
We will now work on the straps, where we sew the sides together to form a tube. We turn the pieces over. We sew the straps to the bottom. Measuring that they are both in the same place and they cross at the back.
 |  |
 |  |
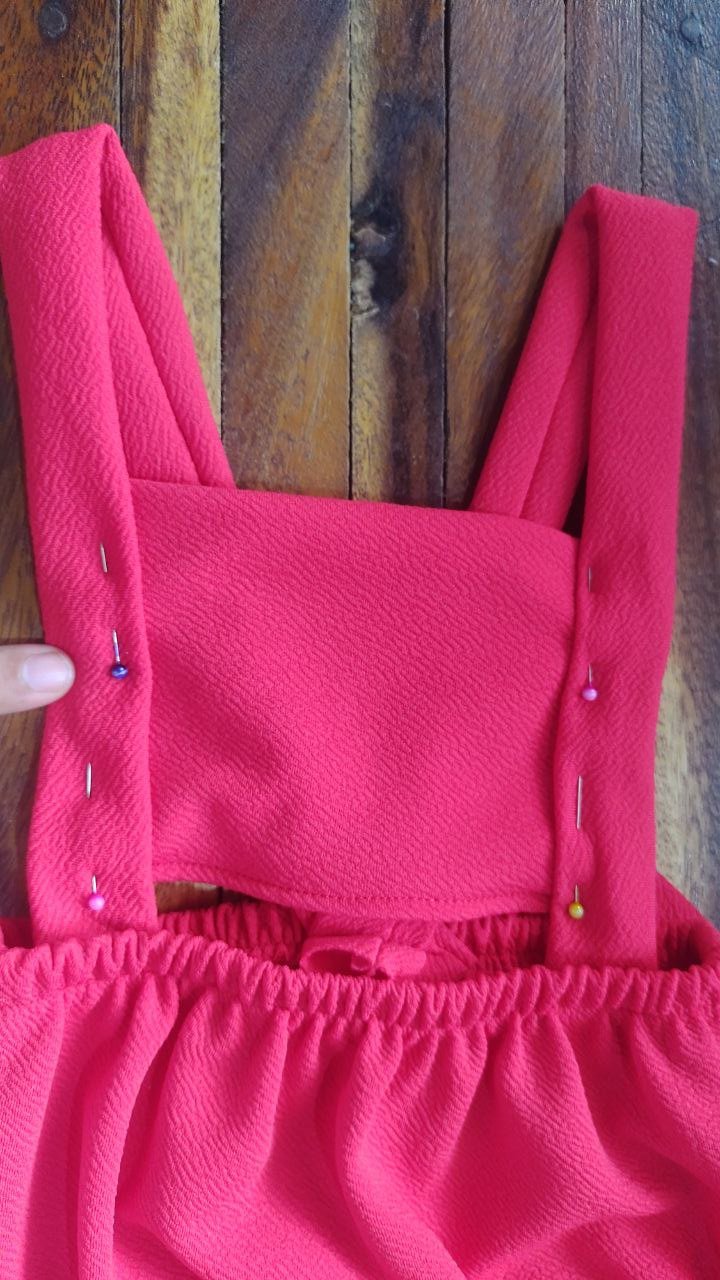
Ahora medimos el espacio central, es decir la parte de la pechera y al haber establecido las medidas que necesitamos, cortamos un rectángulo doble en la tela. Puede ser sencillo, pero me gusta doble para costurarlo por todo el contorno y dejamos un pequeño espacio para voltearlo. Después colocamos con alfileres, que quede centrado y pasamos costura en los laterales. Asimismo colocaremos los voladitos, que van por ambos tirantes.
Now we measure the central space, that is, the part of the chest and once we have established the measurements we need, we cut a double rectangle in the fabric. It can be simple, but I like to double it so that we can sew it all around and leave a small space to turn it over. Then we place it with pins, so that it is centered and we sew the sides. We will also place the ruffles, which go along both straps.
 |  |
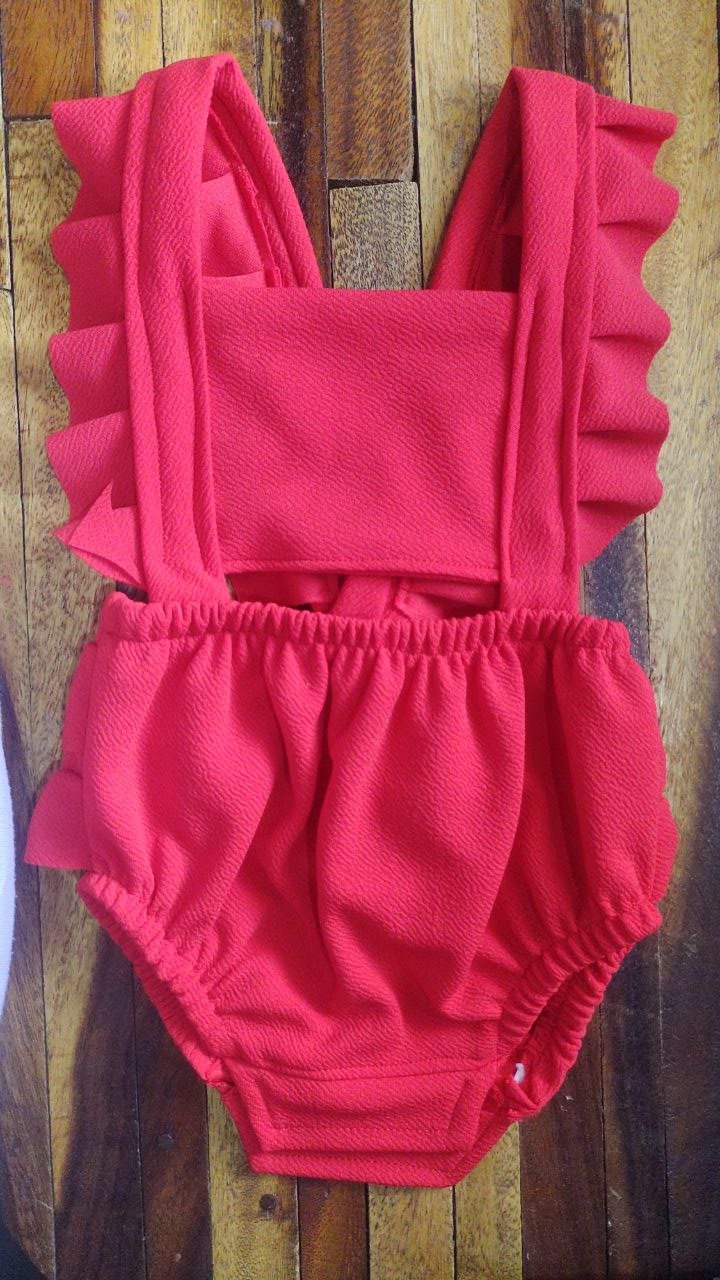
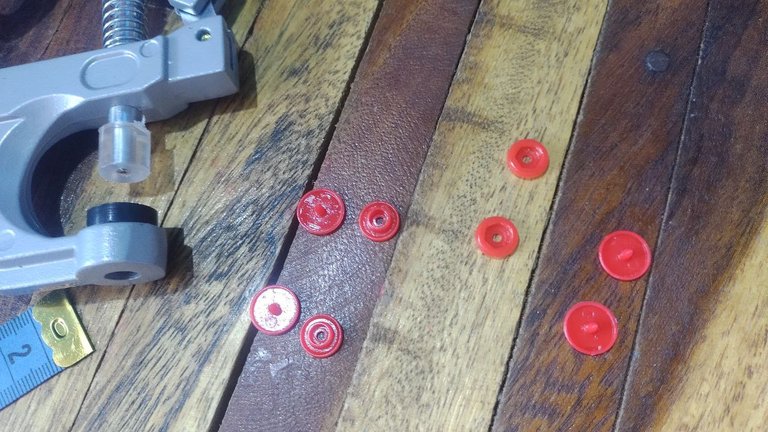
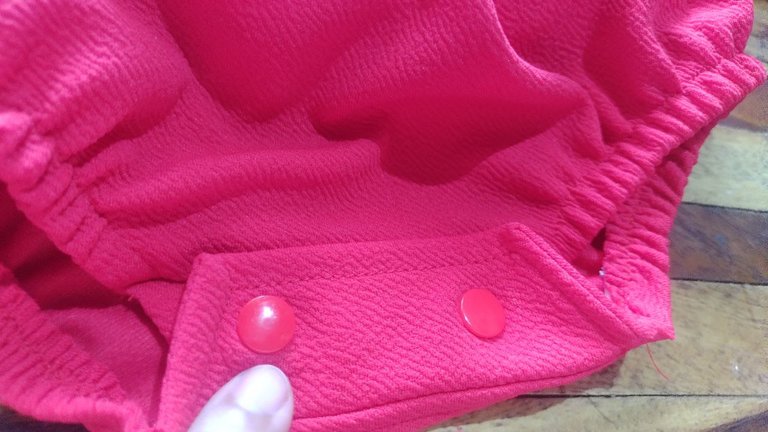
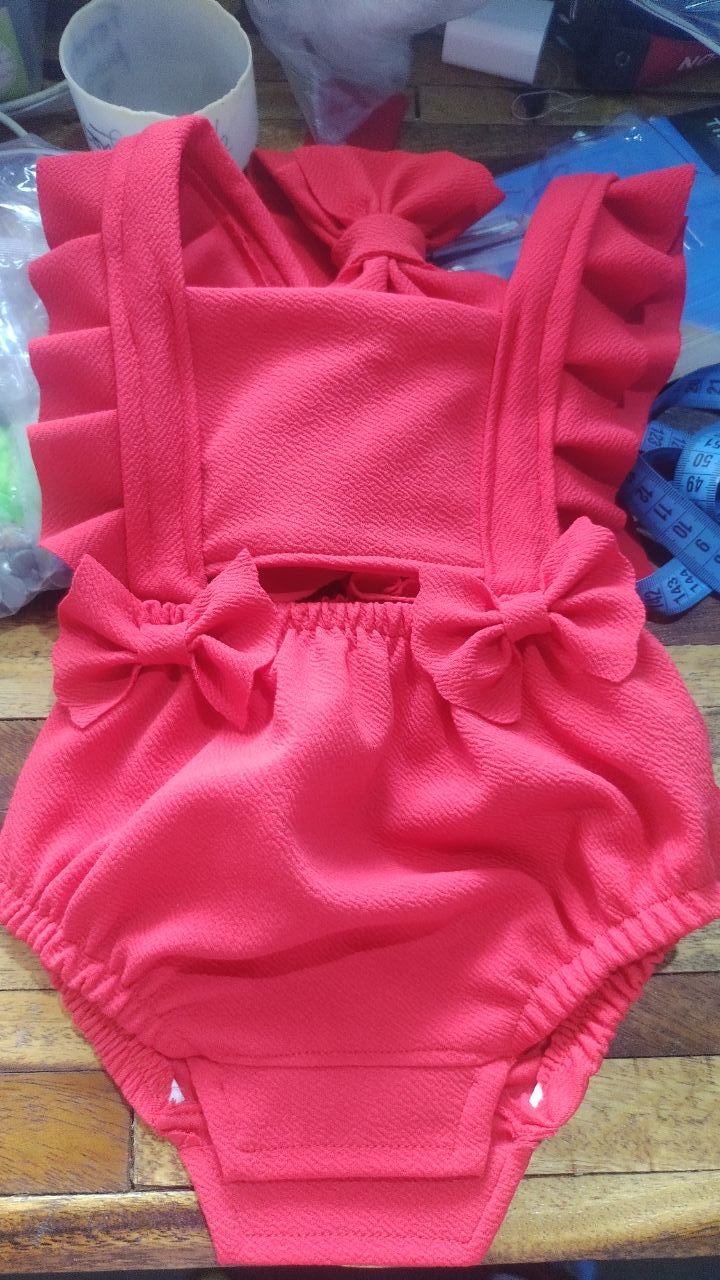
Pasaremos ahora a colocar los broches y los lazos.
Now we will move on to placing the clasps and bows.
 |  |
❣️❣️❣️❣️❣️
Resultado / Result :
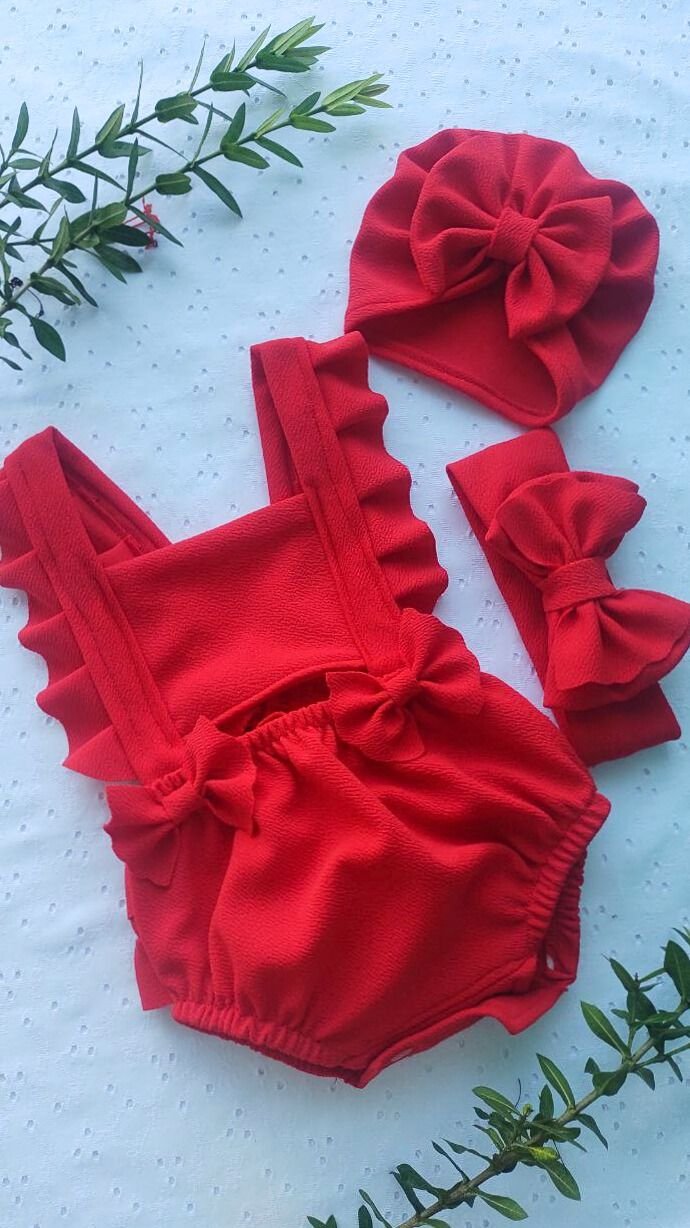
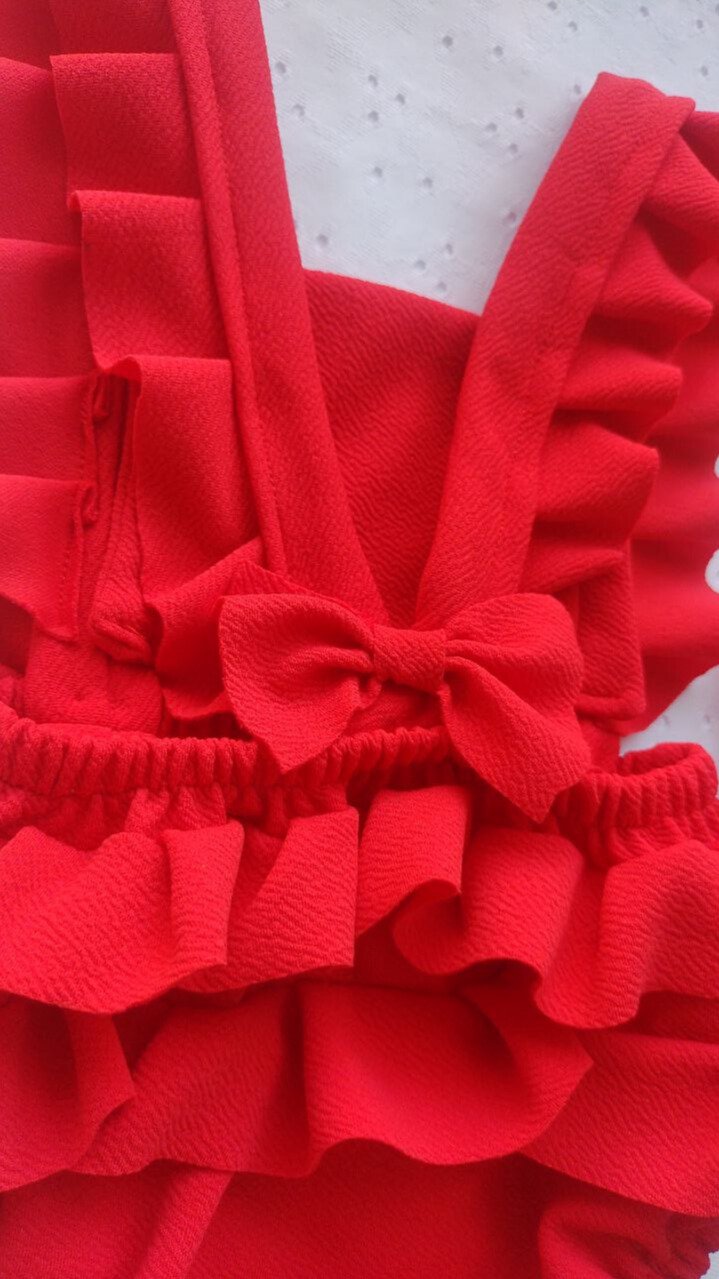

El proceso de corte, confección lleva unas cuantas horas. Más el resultado y la satisfacción de haber creado con amor estas piezas, compensa el cansancio y la energía gastada. La clienta quedó muy contenta y satisfecha, tanto que ha encargado otro modelo en set y unos zapatos en tela.
The cutting and sewing process takes a few hours. But the result and the satisfaction of having lovingly created these pieces make up for the tiredness and energy expended. The client was very happy and satisfied, so much so that she ordered another model in a set and some shoes in fabric.
❣️❣️❣️❣️❣️
¡Y hasta aquí el proyecto del día! Espero les haya gustado tanto como a mí.
Si tienes alguna duda o sugerencia, no dudes en dejar un comentario. Las fotos que he colocado a lo largo del texto, las he tomado desde mi móvil Infinix.
¡Hasta la próxima!, tengan todos un bendecido descanso cargado de salud, paz y amor.
And that's it for today's project! I hope you liked it as much as I did.
If you have any questions or suggestions, don't hesitate to leave a comment. The photos I've posted throughout the text were taken from my Infinix mobile.
Until next time, everyone, have a blessed rest full of health, peace and love.