Happy New Year friends! ☺
Me siento muy feliz por empezar este 2022 compartiendo una publicación en Hive . En esta oportunidad les traigo un sencillo tutorial donde aprenderemos a elaborar una flor de tela con la técnica “Kansanchi” que en pocas palabras consiste en unir piezas de tela con un encendedor, estas flores las podemos utilizarla para adornar vestidos, sombreros, corsages y cintillos para niñas, ¡Comencemos!
I am very happy to start 2022 by sharing a post on Hive. This time I bring you a simple tutorial where we will learn to make a fabric flower with the "Kansanchi" technique, which in a few words consists of joining pieces of fabric with a lighter, these flowers can be used to decorate dresses, hats, corsages and headbands for girls, let's get started!
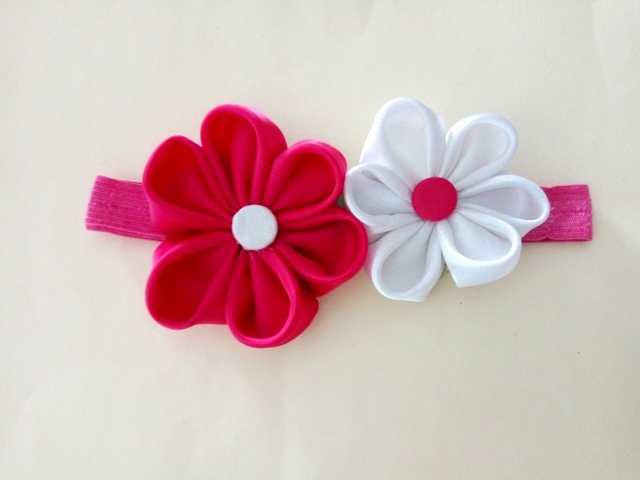
The materials we need are:
- Tela de razo
- Tijera
- Encendedor o vela
- Una Pinza
- Hilo y aguja
- 30cm de sesgo elástico
- Un trozo de foami
- Razo fabric
- Scissor
- Lighter or candle
- A Tweezer
- Thread and needle
- 30cm elastic bias
- A piece of foam
✃Step by Step ✃
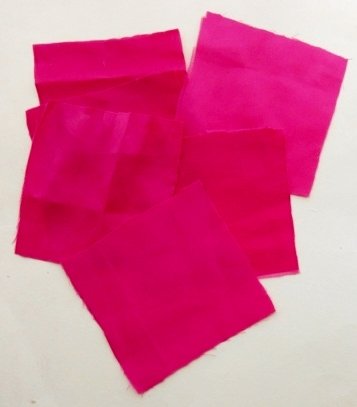
1.Recortaremos 6 cuadrados de tela de 5cm los cuales serán los pétalos de la flor. Si utilizamos tela de razo es necesario sellar los bordes de cada pieza con la ayuda de un encendedor ya que la mayoría de los tipos de tela razo se deshilachan bastante
1. We will cut 6 squares of fabric of 5cm which will be the petals of the flower. If we use razo fabric it is necessary to seal the edges of each piece with the help of a lighter since most types of razo fabric fray quite a bit.
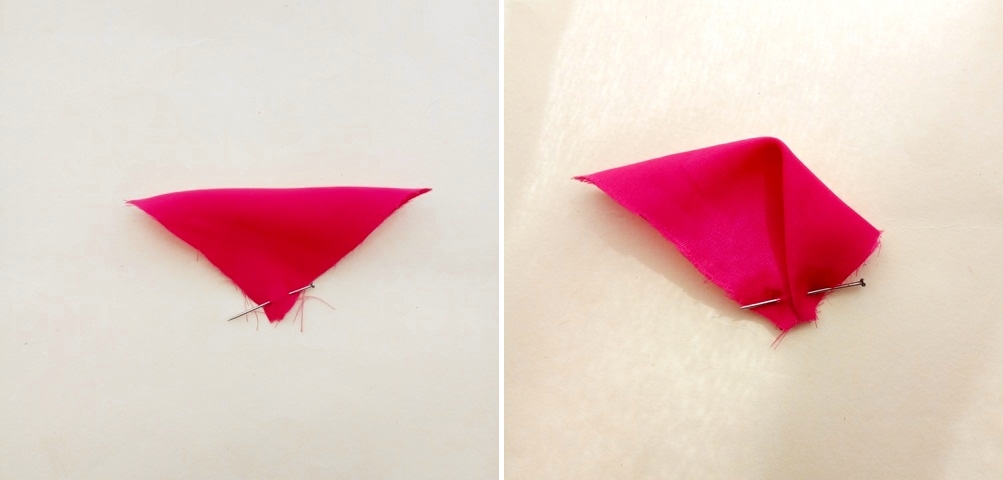
2.Para darle forma a los pétalos debemos tomar una pieza de tela y unir una esquina con otra y luego unimos las dos esquinas laterales:
2. To shape the petals we must take a piece of fabric and join one corner with another and then join the two side corners:
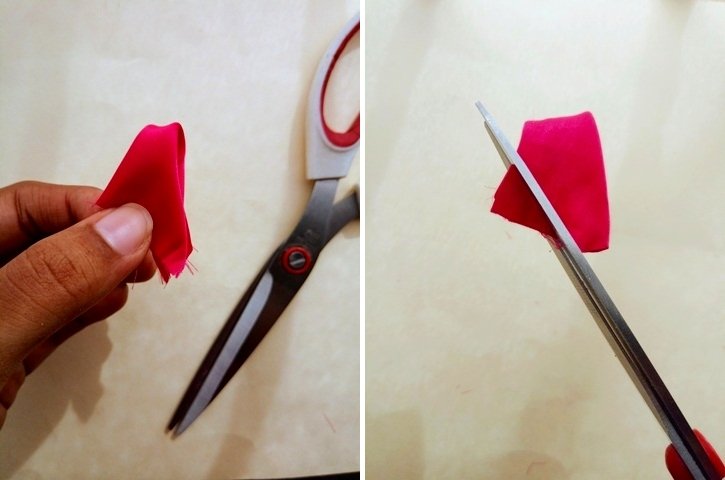
3. Doblamos las esquinas hacia atrás, luego recortamos y sellamos con encendedor ambos sobrantes de tela: La parte inferior la cortamos recta y el otro excendente de tela lo cortamos de forma diagonal no olvides sellar las aberturas con un encendedor:
3.We fold the corners back, then cut and seal both excess fabric with a lighter: Cut the bottom part straight and the other excess fabric cut diagonally, don't forget to seal the openings with a lighter:
4. ¡Es hora de coser! Ahora utilizaremos aguja e hilo para unir cada pétalo y dar forma a una linda flor, recuerda realizar un nudo fuerte !
4.It's time to sew! Now we will use a needle and thread to join each petal and shape a beautiful flower, remember to tie a strong knot
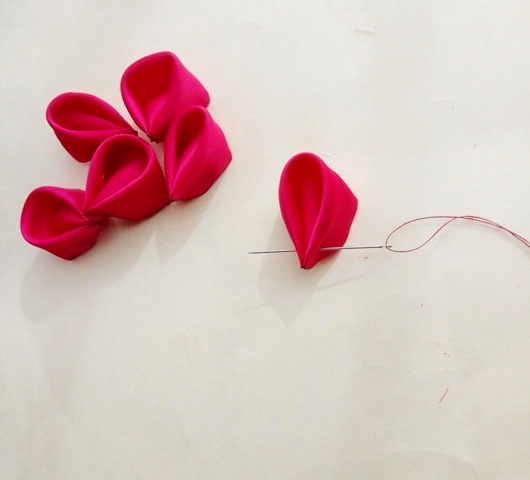
5.Para el cintillo de bebé tomamos el trozo de foami y preferiblemente con silicon caliente pegamos el sesgo eslatico en ambos lados. Seguidamente le pegamos las flores
5.For the baby headband we take the piece of foam and preferably with hot silicone we stick the slatic bias on both sides. Then we glue the flowers
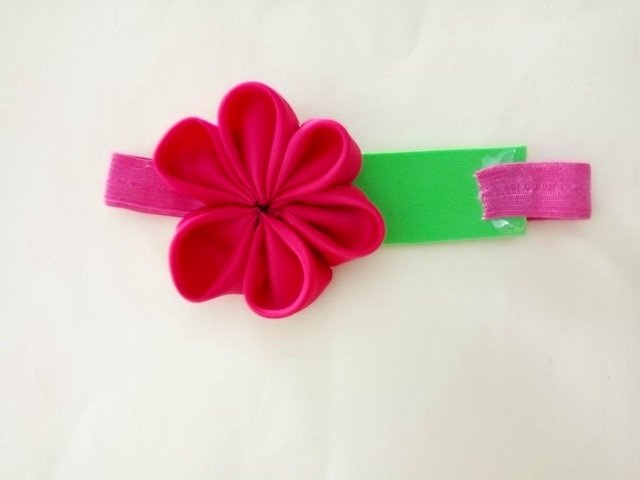
en este caso yo haré otra flor de un color diferente, para el centro de la flor podemos utilizar pedrería o también puedes forrar dos botones ¡y listo!
in this case I will make another flower of a different color, for the center of the flower we can use rhinestones or you can also cover two buttons and voila!

Muchas gracias por visitar mi publicación!❤ . Les deseo muchos éxitos en este nuevo año!☆☆. Hasta la próxima!
Thank you very much for visiting my post! ❤. I wish you all success in this new year! ☆☆. Until next time!


