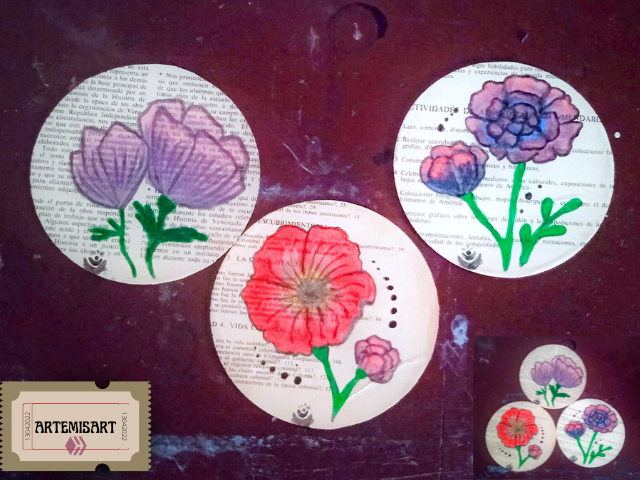


Greetings, hivsartics. In today's installment I want to share with you a piece made with paint (I hope later to be able to buy watercolor paints, as they are my goal). I simply wanted to create a piece and listening to music (Spotify on shuffle), I have let myself get creative.
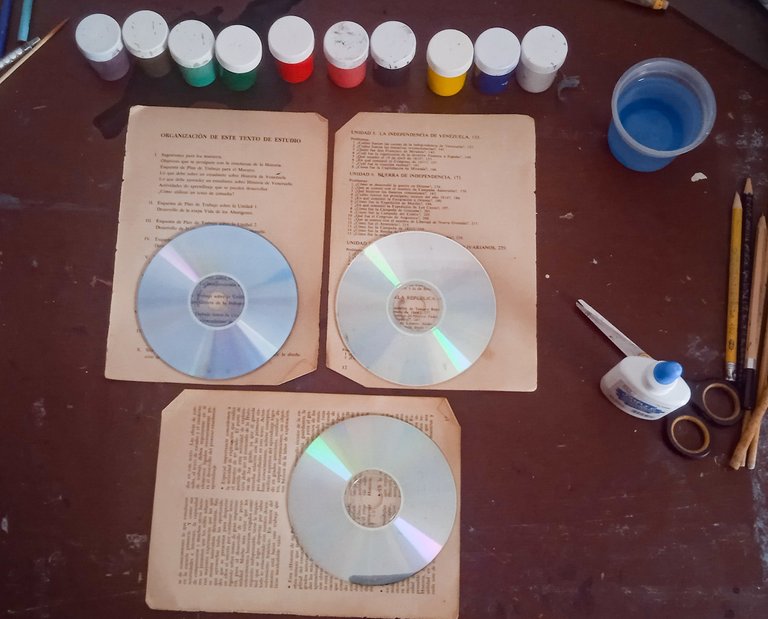
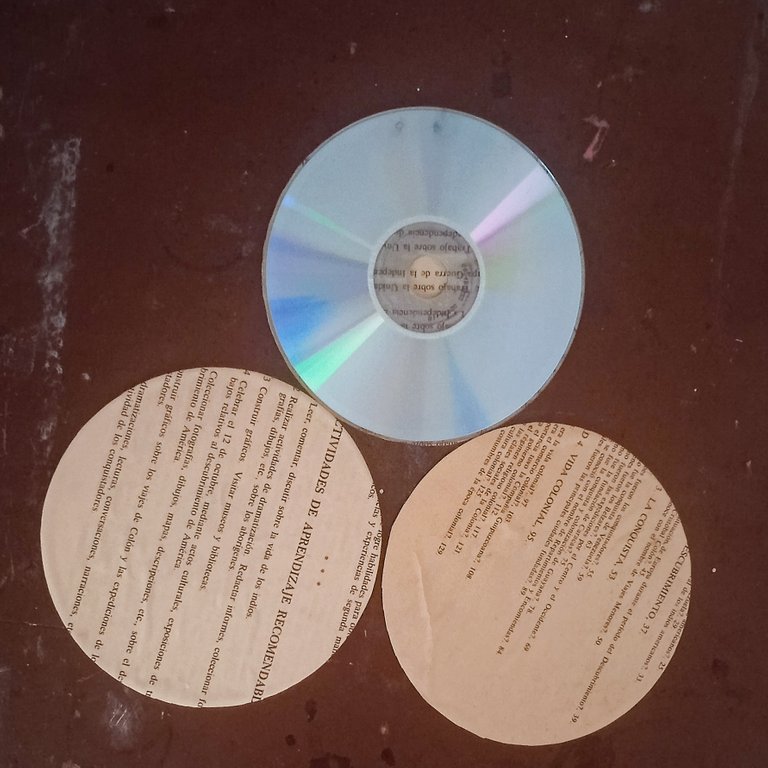
The reason why I am talking about book leaves is because I own many books (some of them complete and some of them stripped) in deplorable conditions that have been damaged by humidity and even some rodents, but knowing their condition I decided to keep them, recycle their leaves and make art with them, apart from the one they already are. Because each book is a portal to learning, adventure or love. In addition, for this new line of art I also used old, scratched and deteriorated cd's. The idea certainly yielded a very colorful result and I was in loved, so I think I'll be doing this for a while.
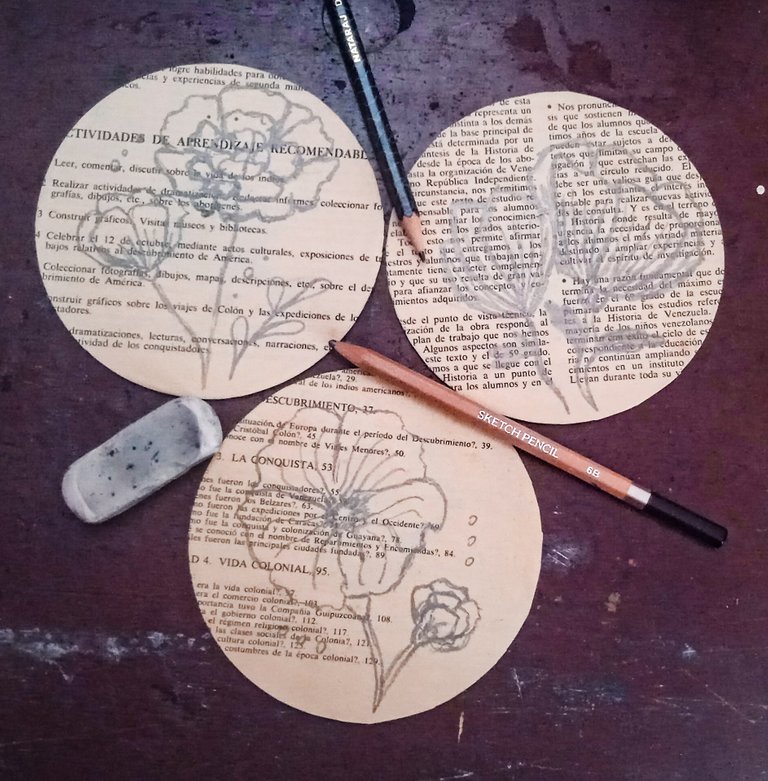
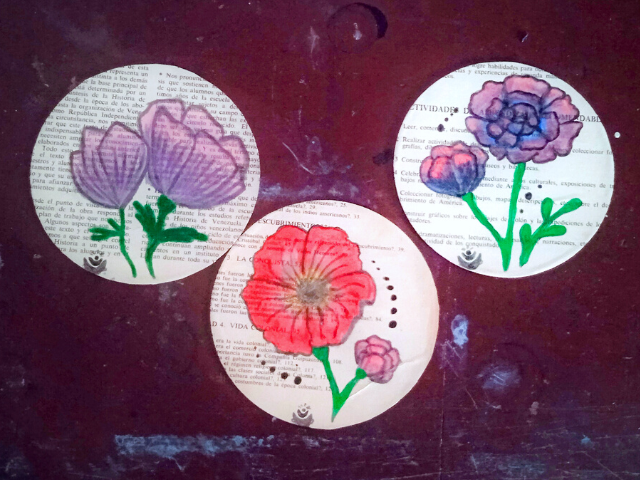
For this installment N° 1 of "Painting CD's", I present you a few flowers, on old book pages attached to old cd's. A complete work of recycling turned into art. I loved the result, it's simple but beautiful, I hope you can enjoy it too.
Saludos, hivsarticos. En la entrega de hoy quiero compartir con ustedes una obra hecha con pintura (espero más adelante poder comprar las pinturas de acuarela, ya que son mi objetivo). Simplemente quise crear una pieza y escuchando música (Spotify en aleatorio), me he dejado llevar por la creatividad.
El porqué sobre hojas de libros es debido a que poseeo muchos libros (algunos completos y algunos deshojados) en estados lamentables que se han dañado por la humedad e incluso algunos roedores, pero sabiendo su estado decidí quedarmelos, reciclar sus hojas y hacer arte con ellos, aparte de la que ya son. Porque cada libro es un portal a la enseñanza, a la aventura o al amor. Además, para esta nueva línea de arte también utilicé cd's viejos, rayados y deteriorados. La idea sin duda arrogó un resultado bastante pintoresco y quedé enamorada, por lo que creo que haré esto por un tiempo.
Para esta entrega N° 1 de "Pintando CD's", les presento unas cuantas flores, sobre hojas de libros viejos unidas a cd´s viejos. Un trabajo completo de reciclaje convertido en arte. Me encantó el resultado, es simple pero hermoso, espero que también lo puedan disfrutar. .

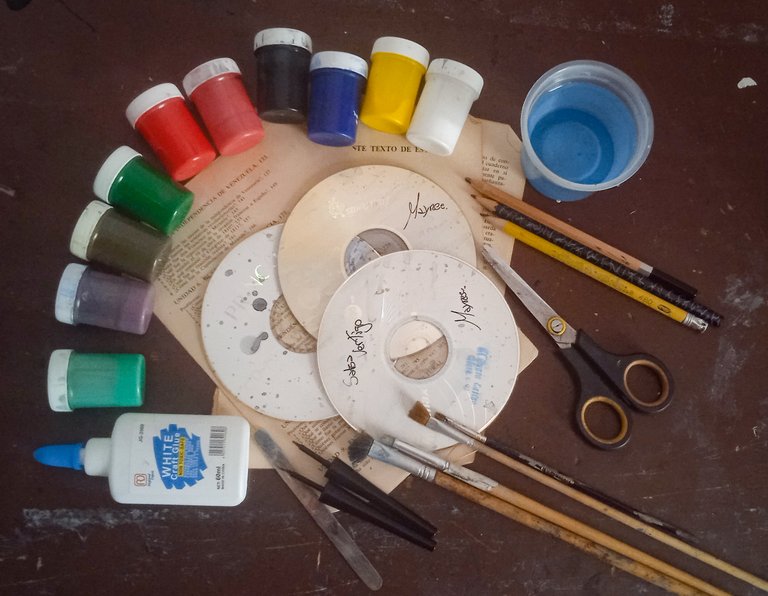
-Brushes
-A pencil
-Black, yellow, red, pink, purple, green and blue paint.
-Glue and scissors
-Pinceles
-Un lapiz
-Pintura negra, amarilla, roja, rosa, morada, verde y azul.
-Pegamento y tijeras

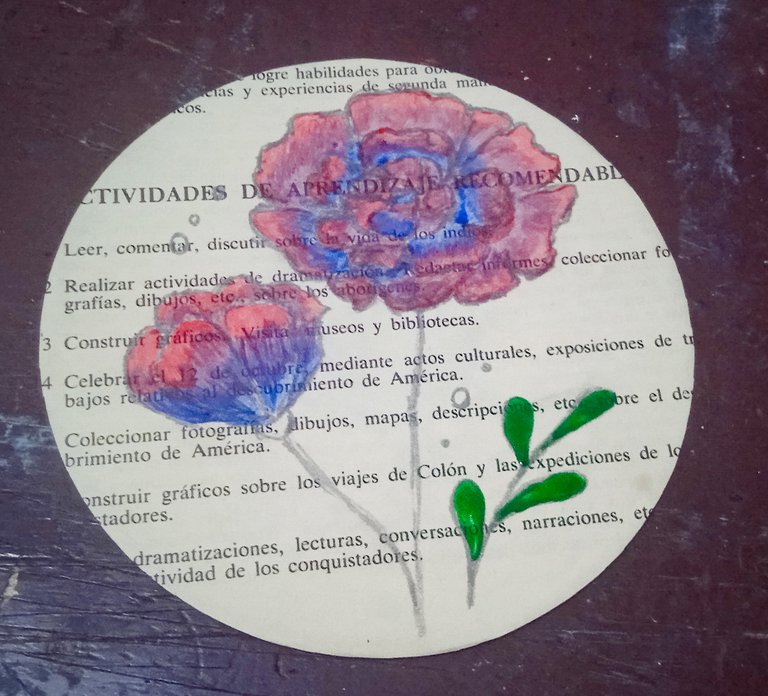
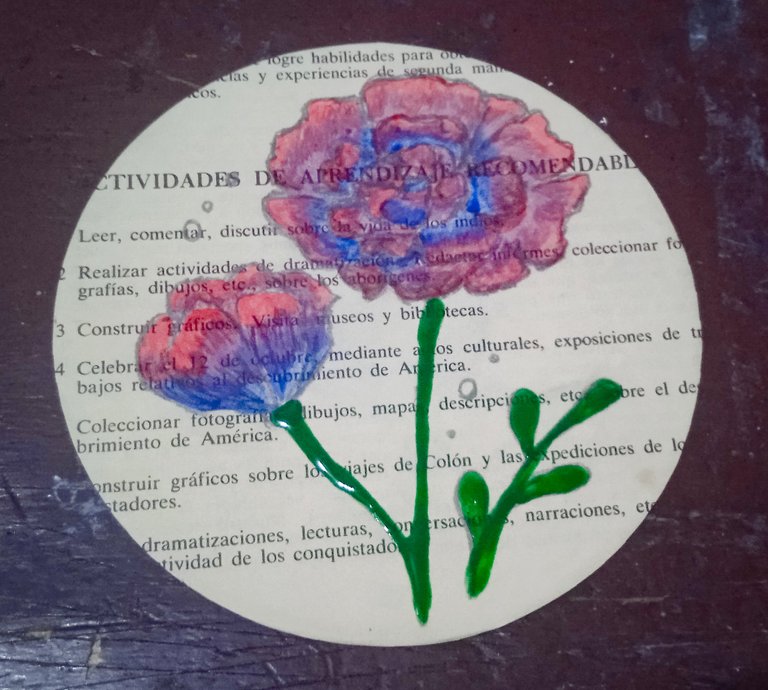
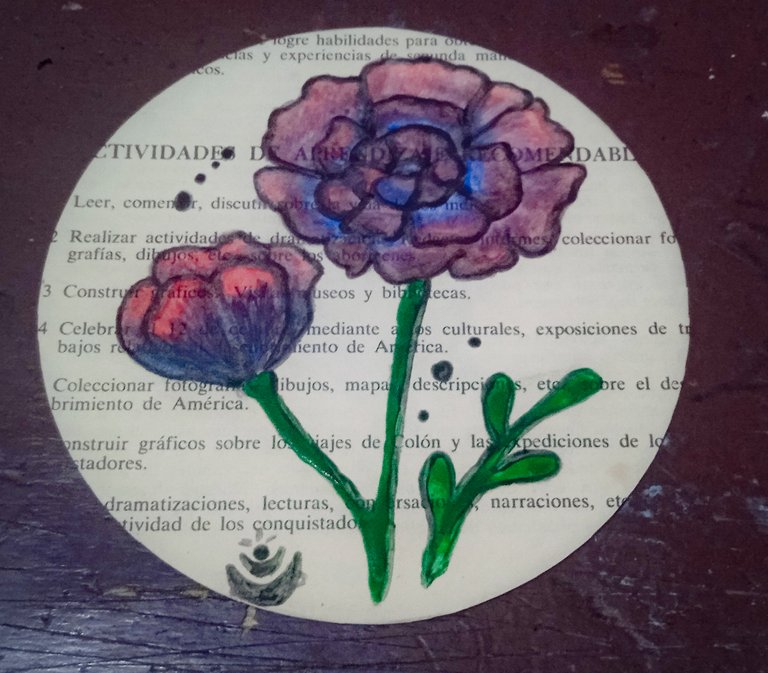
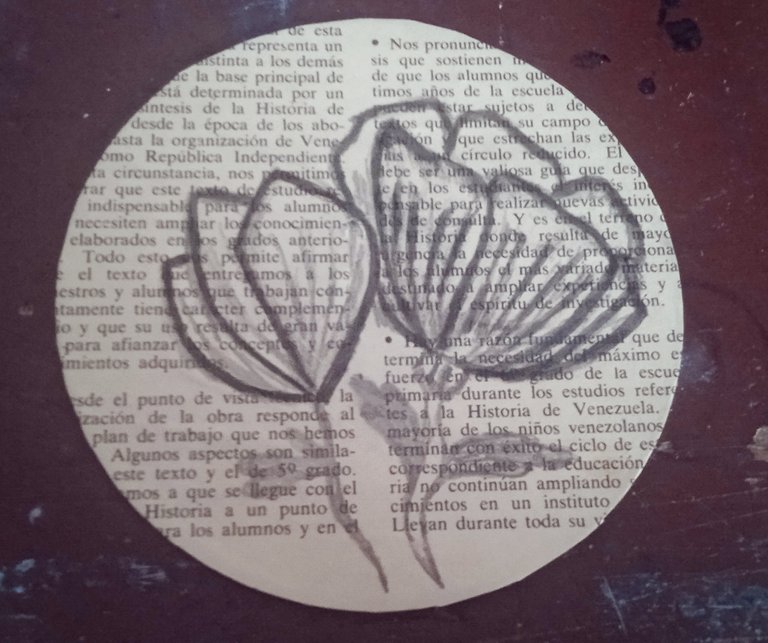
5. 2. Then I added the purple color moving upwards on the petals.
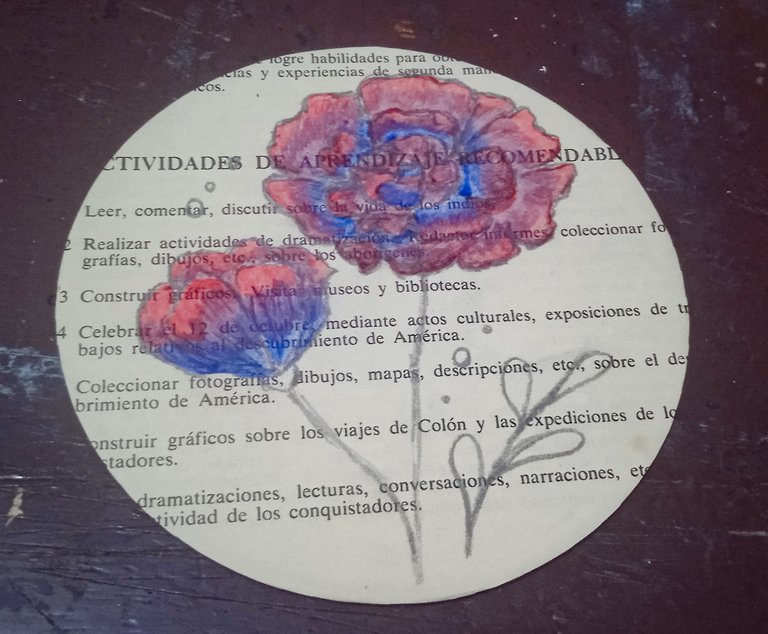
5. 3. Then I added the red paint on the tip of the petals, with the brush I subtly dragged a little bit of the blurred color along the petals and they flowed very well.
5. 4. Then I painted the small leaves of these beautiful flowers with green paint.
5. 5. To finish with this piece, I outlined the edges of each flower with black and tried to blend a little so it wouldn't look so heavy. I also added the Artemisart logo with black paint at the bottom of our painted cd.
5. 2. Luego agregué el color morado avanzando hacia arriba en los petalos.
5. 3. Luego agregué la pintura roja en la punta de los petalos, con el pincel sutilmente fui arrastrando un poco el color difuminado a lo largo del petalo y fluyeron muy bien.
5. 4. Luego pinté las pequeñas hojas de estas hermosas flores con pintura verde.
5. 5. Para finalizar con esta pieza, delineé los bordes de cada flor con negro e intenté difuminar un poco para que no se viera tan pesado. También agregué el logo de Artemisart con pintura negra en la parte inferior de nuestro cd pintado.
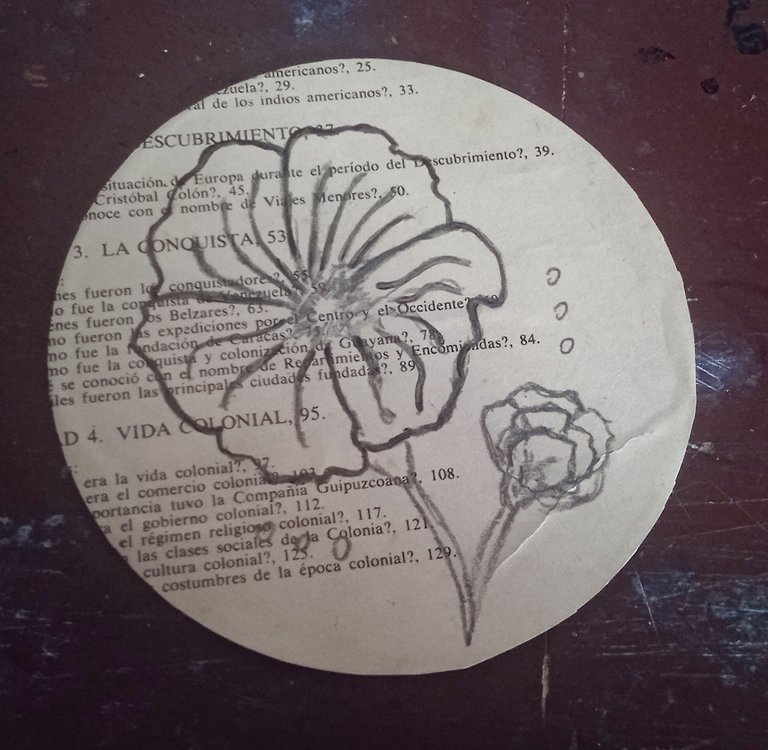
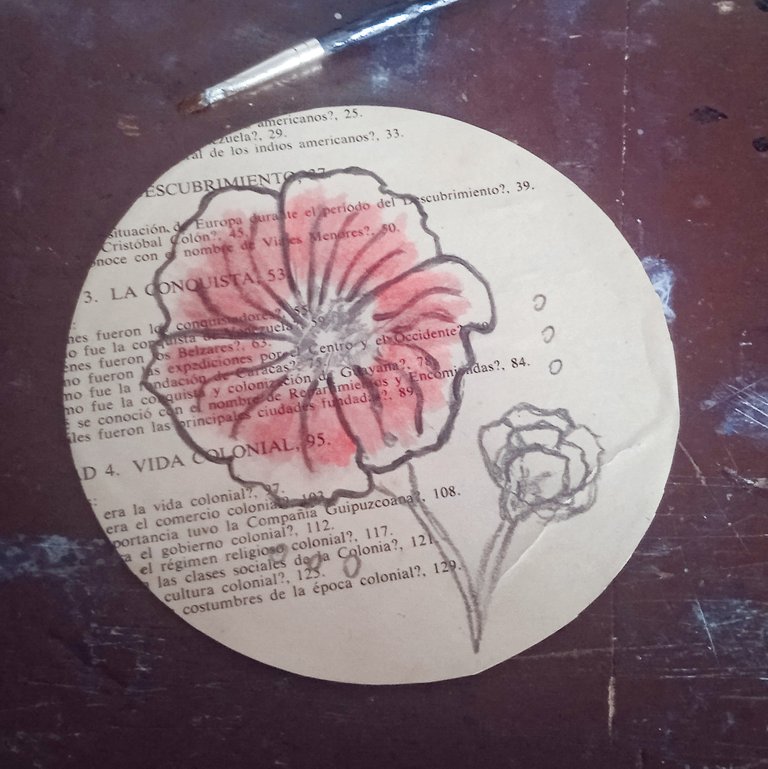
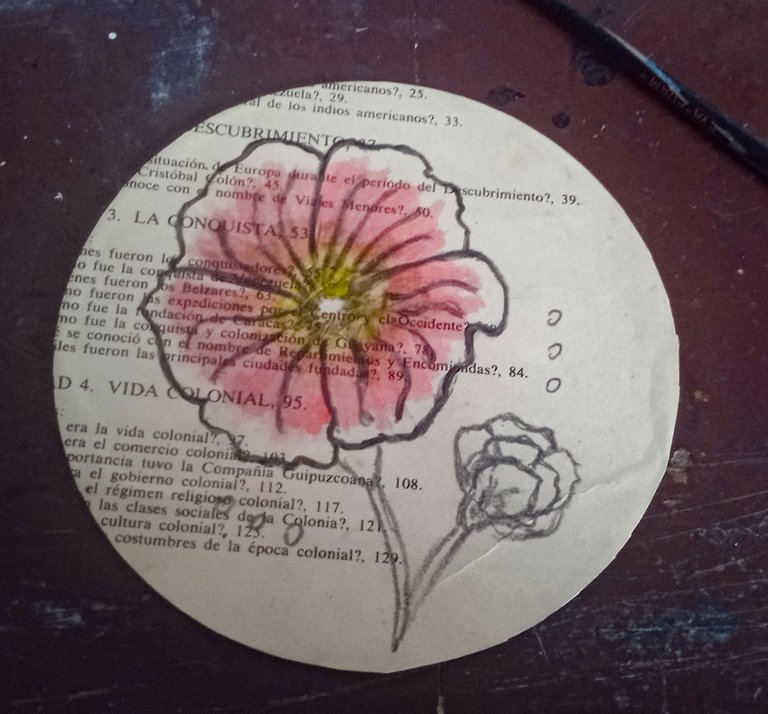
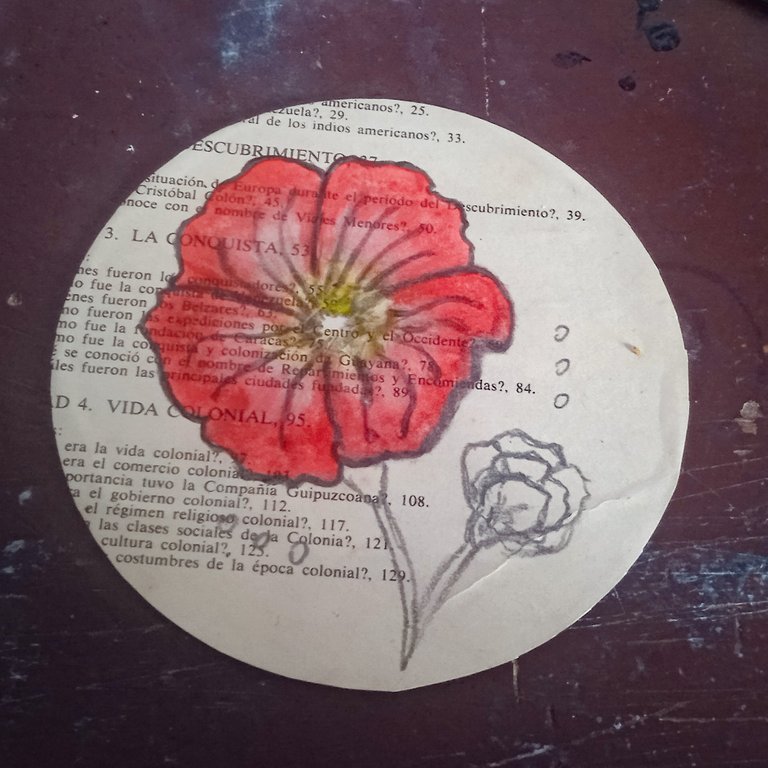
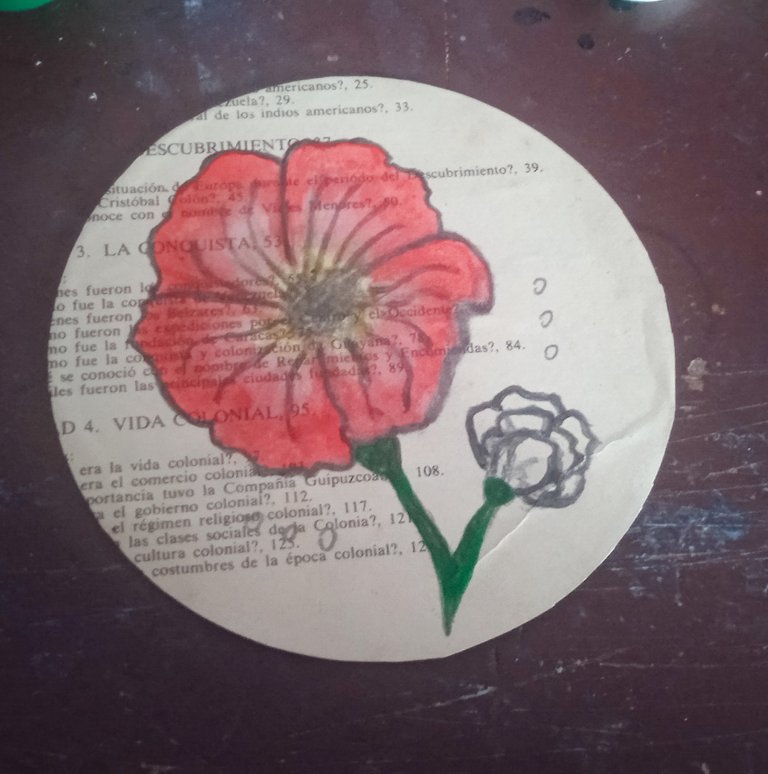
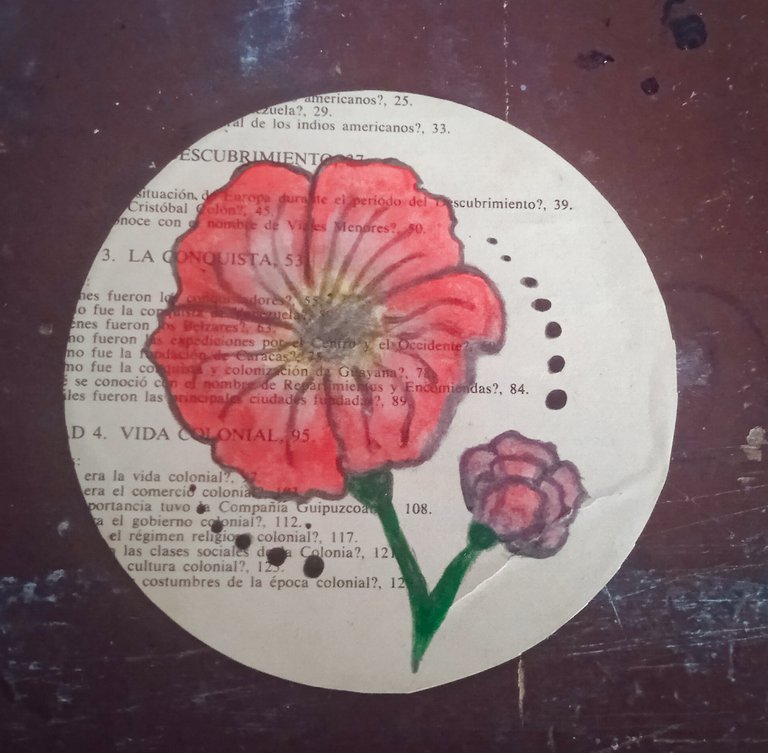
6. 2. Then with red paint a little diluted in water I proceeded to apply it in the middle of each of the petals of the flower.
6. 3. Then I added yellow paint for what would be the birth of the petals.
6. 4. Then with red paint I added on the tips of the petals, providing two coats to intensify the color.
6. 5. I then added a little black for the petal birth point and also used green for the stem.
6. 6. I then painted the smaller flower with the same range of colors and added some black dotted details around it.
6. 2. Luego con pintura roja un poco diluida en agua procedí a aplicarla en el medio de cada uno de los petalos de la flor.
6. 3. Luego añadí pintura amarilla para lo que sería el nacimiento de los petalos.
6. 4. Luego con pintura roja añadí en las puntas de los petalos, proporcionandole dos capas para que se intensificara el color.
6. 5. Luego añadí un poco de negro para el punto de nacimiento de los petalos y también usé verde para el tallo.
6. 6. Luego pinté con la misma gama de colores la flor más pequeña y añadí unos detalles en puntos negros alrededor.

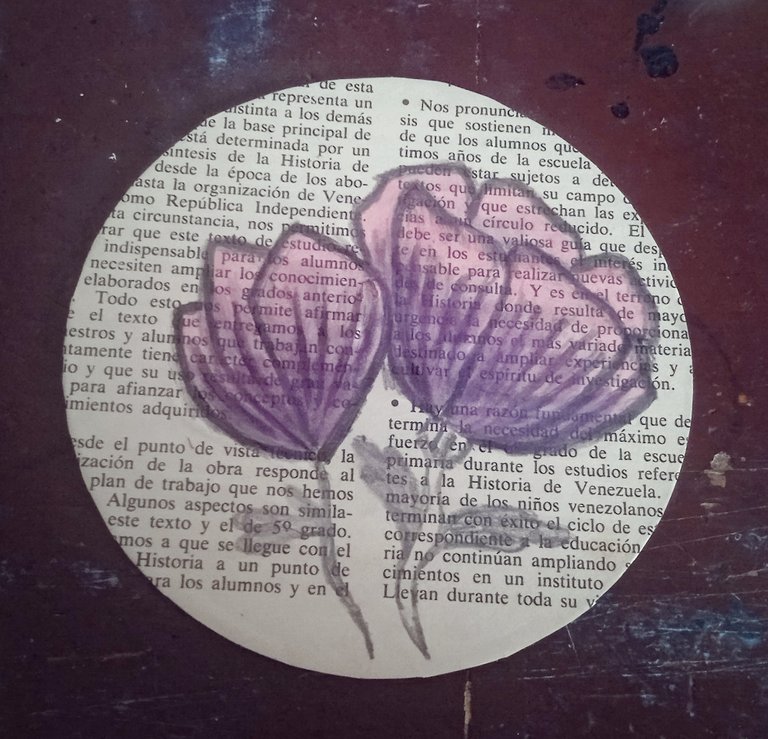
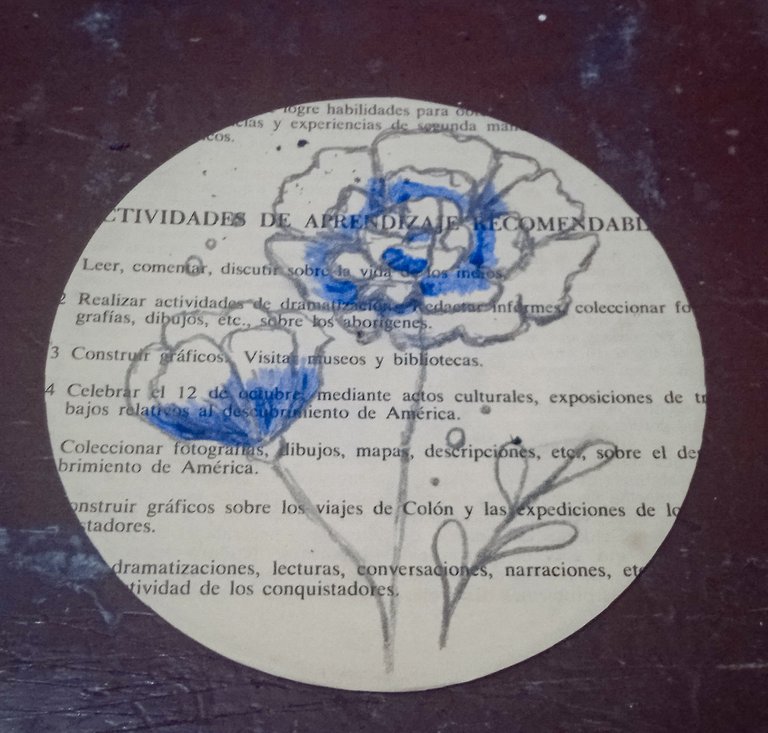
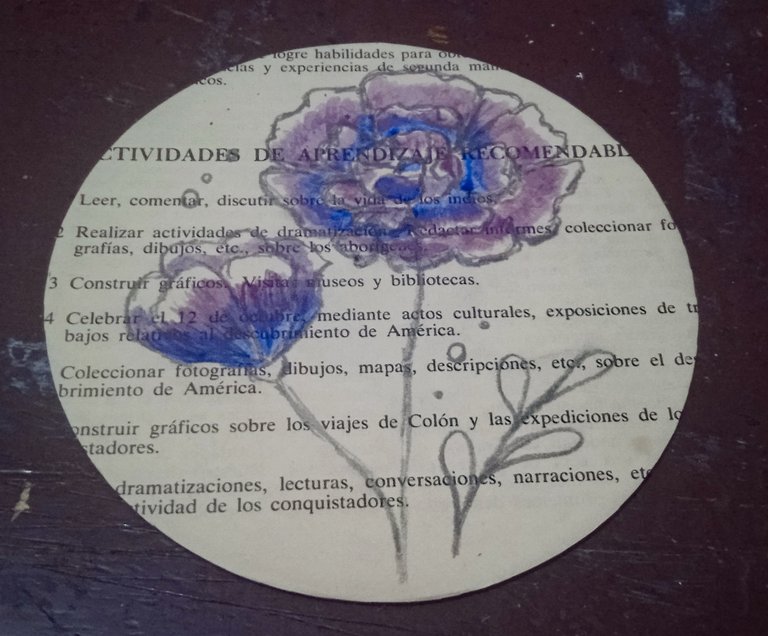
7. 2. Then I added purple paint from the beginning of the petal upwards, but before reaching the edge.
7. 3. Then for the tips I added pink paint and the gradient looked very nice.
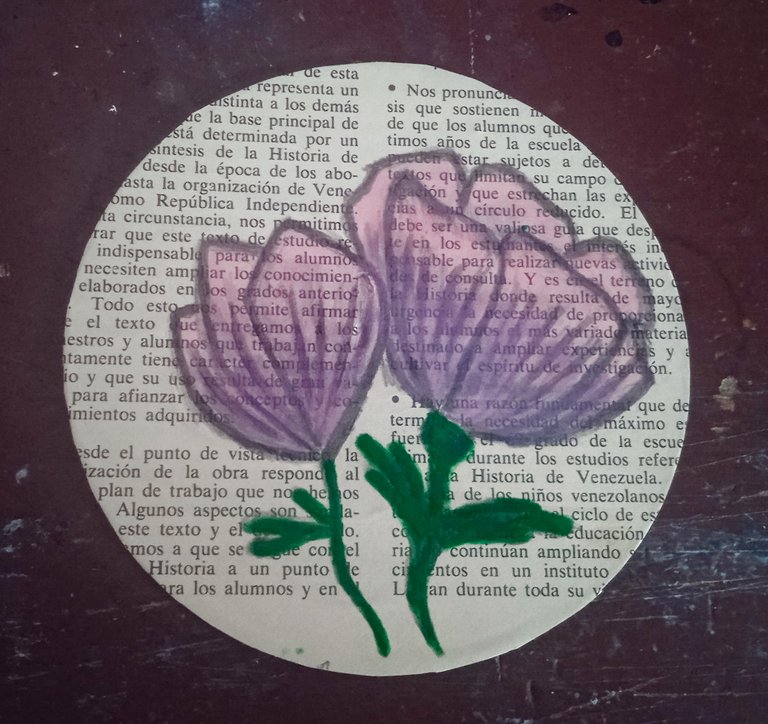
7. 4. Then with green paint I added color to the leaves and stem.
7. 2. Luego añadí pintura morada desde el inicio del petalo hacia arriba, pero antes de llegar al borde.
7. 3. Luego para las puntas añadí pintura rosa y se veia muy bonito el degradado.
7. 4. Luego con pintura verde añadí color a las hojas y el tallo.

I hope you like it and enjoy the music.
Espero les guste y puedan disfrutar de la música.

Nota: All the images used in this post are my own, taken with my Redmi 9A cell phone, modified in the Lightroom app and (to the cover) the Artemisart stamp has been added in the Canva page, where the stamp was also made. On the other hand, the separator and the welcome and farewell banners were also made by me in Canva. I saw this on a couple of blogs and thought it looked beautiful, so I wanted to give it a try.
Nota: Todas las imágenes utilizadas en este post son de mi propiedad, tomadas con mi celular Redmi 9A, modificadas en la app de Lightroom y (a la portada) se le ha agregado la estampilla de Artemisart en la página de Canva, donde también se elaboró la estampilla. Por otra parte, el separador y los banners de bienvenida y despedida también fueron realizados por mi en Canva. Vi esto en un par de blogs y me pareció hermosísimo, así que quise intentarlo.


