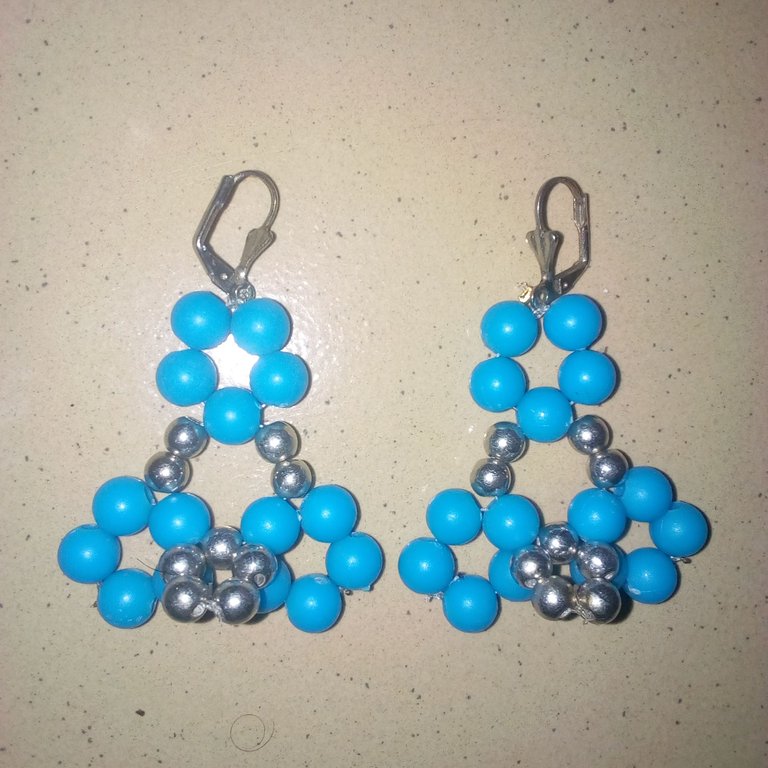
Hello, gorgeous #jewelry community members. I hope all is going well with you and your business this new week. Today, I made another good earring that I know you'll love to get the full gist of the tutorial. I made the earrings using only two colors of beads. The idea for the earring was something I didn't see coming today but I'm happy I later made an earring to show you all.
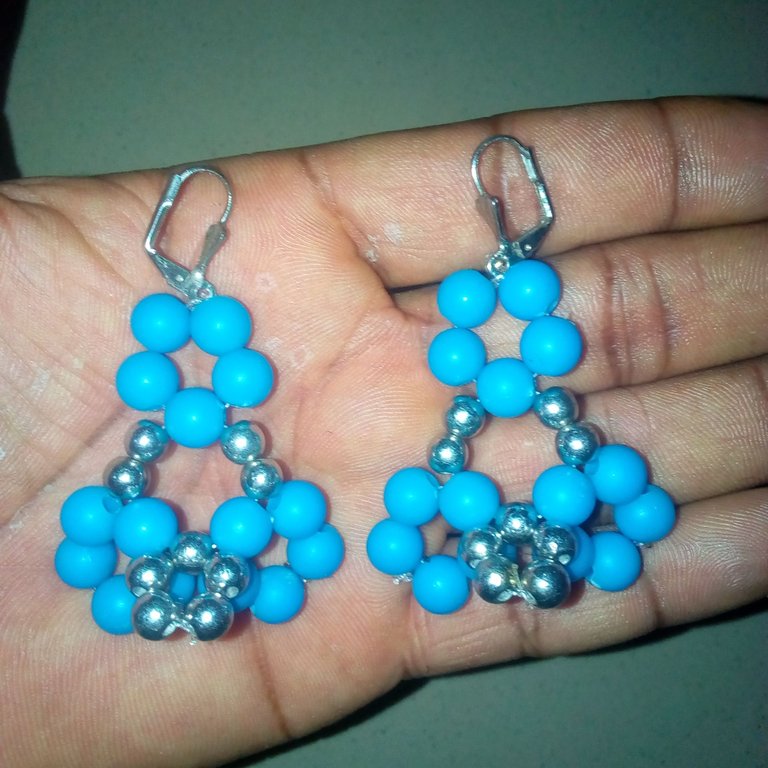
Today, I was thinking about the kind of earrings to make and show you members of the community. At first, it seemed all the idea to make earrings was lost but creativity which is a work of art can't be overlooked. Sometimes, when the Idea of creating any earring is lost, I end up making a great earring never made before. To make earrings today, I later decided to make earrings look like a toad. My imagination of making a look a like toad earring was never to get it exactly like a toad. I was only after something that would look like a toad's head and legs.
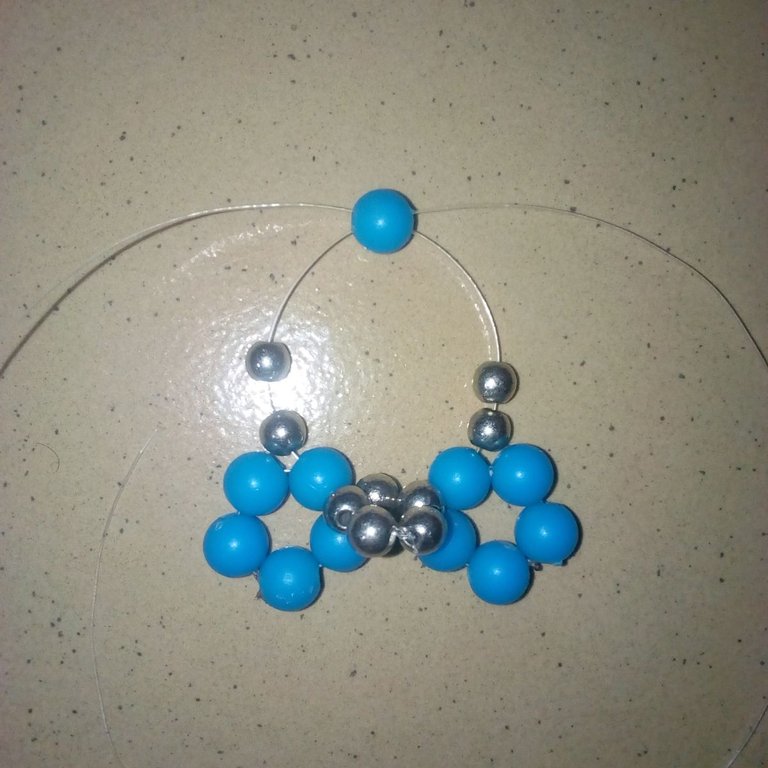
If you look at the earring closely, you'll see green rounded beads. The green rounded beads are in three different places in the earring. The three places are for the head and two others for the legs. I decided to add rounded aluminum pearl beads to the earring to give it another look. I can't really tell if the earring will end up catching people's attention.
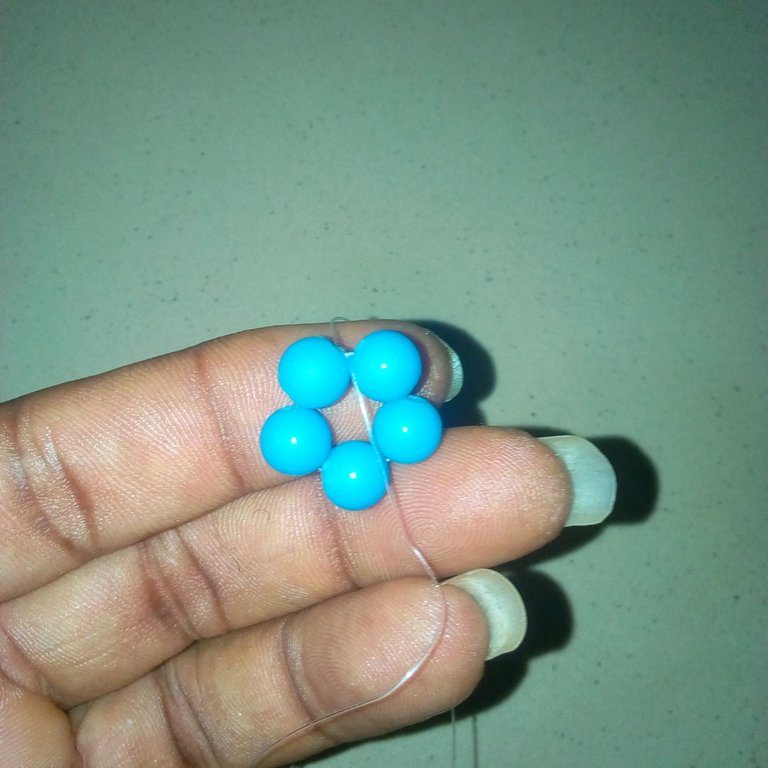
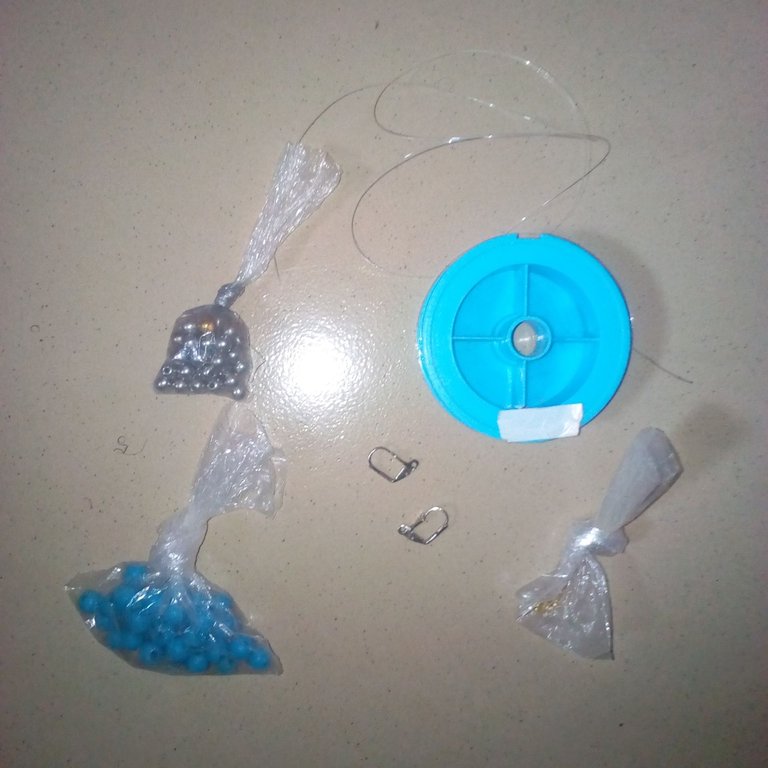
Materials that I considered for the making of the earring will be provided below:
Nylon line.
30 pieces of blue color pearl bead while 15 pieces will be used to make each side of the earring.
18 pieces of aluminum pearl bead while 9 pieces will be used to make each side of the earring.
Earring hook.
Bead stopper.
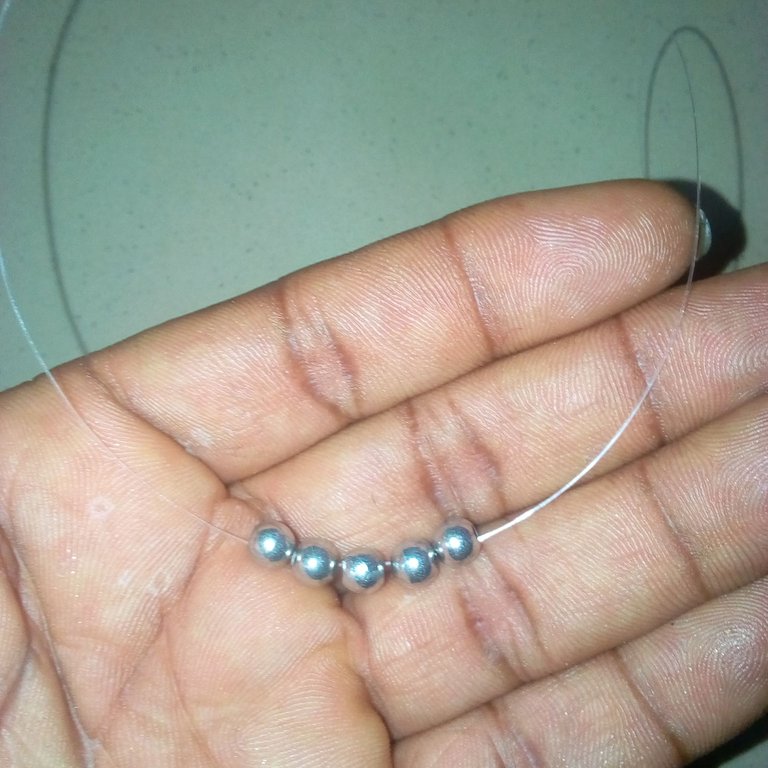
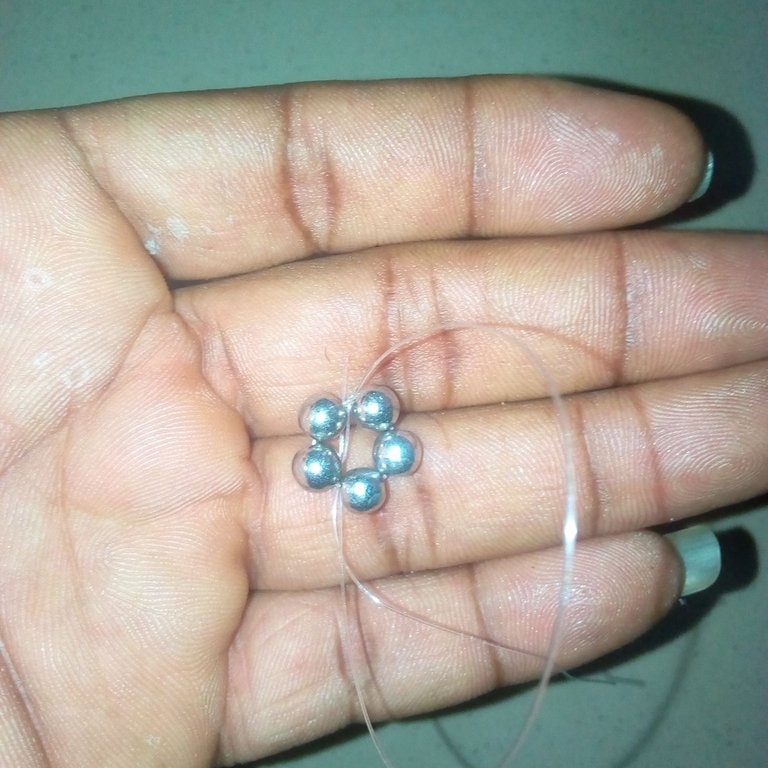
Procedures that I used for the making of the earring will also be talked about below:
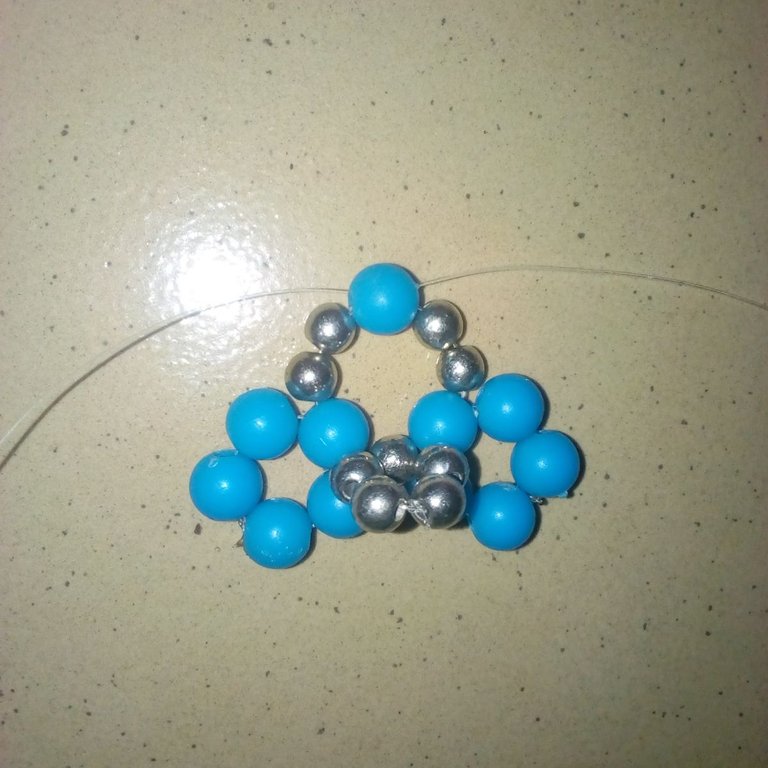
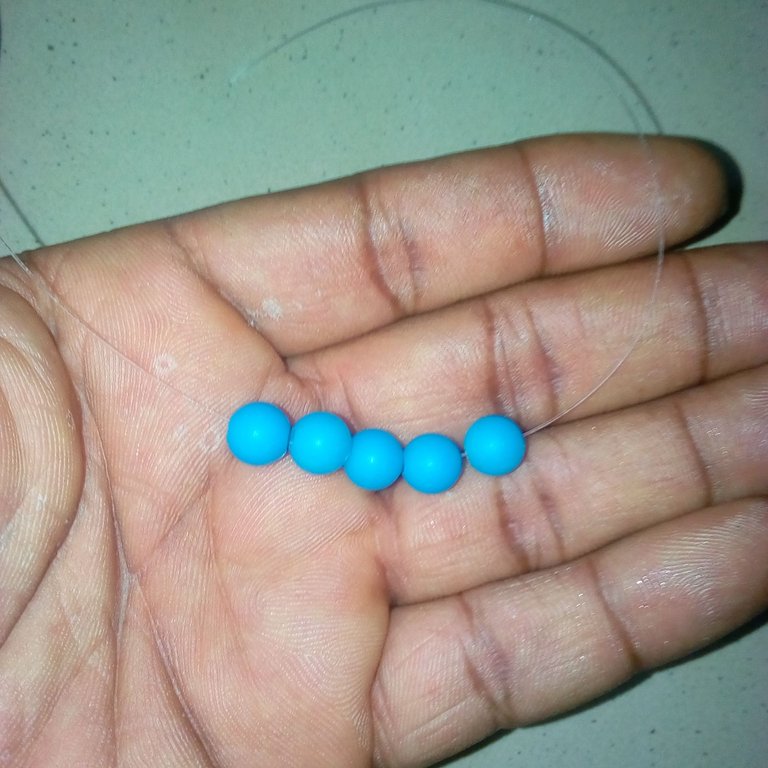
After I gathered the materials to be used for the making of the earring in one place, I cut a nylon line and then inserted 5 pieces of blue color pearl beads. I now tie the five blue pearl beads. It formed a rounded shape. I repeated the insertion of 5 pieces of blue color pearl beads into a nylon line and tie. I cut another nylon line inserted 5 pieces of aluminum pearl bead and then tied it to form another rounded shape.
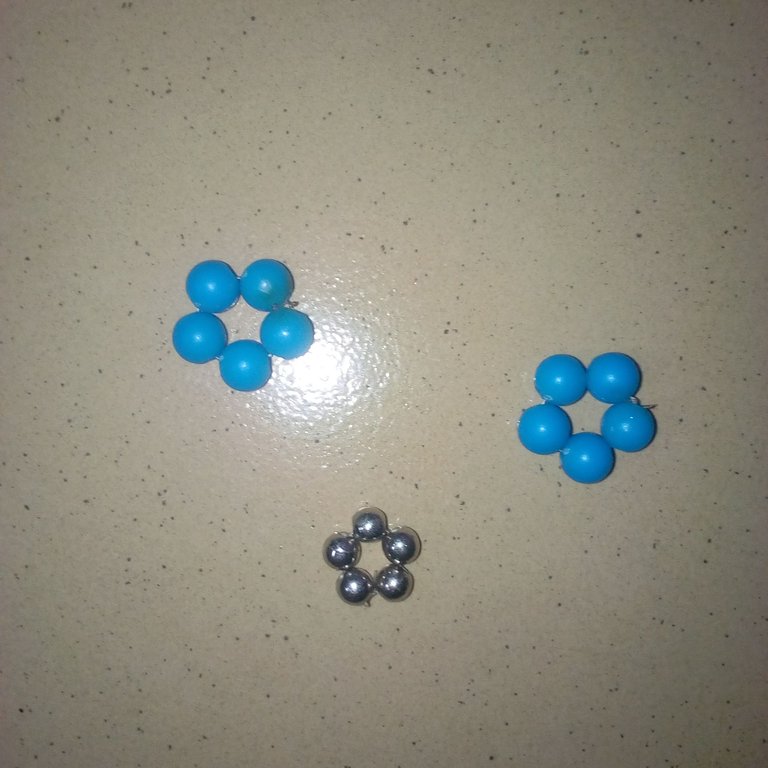
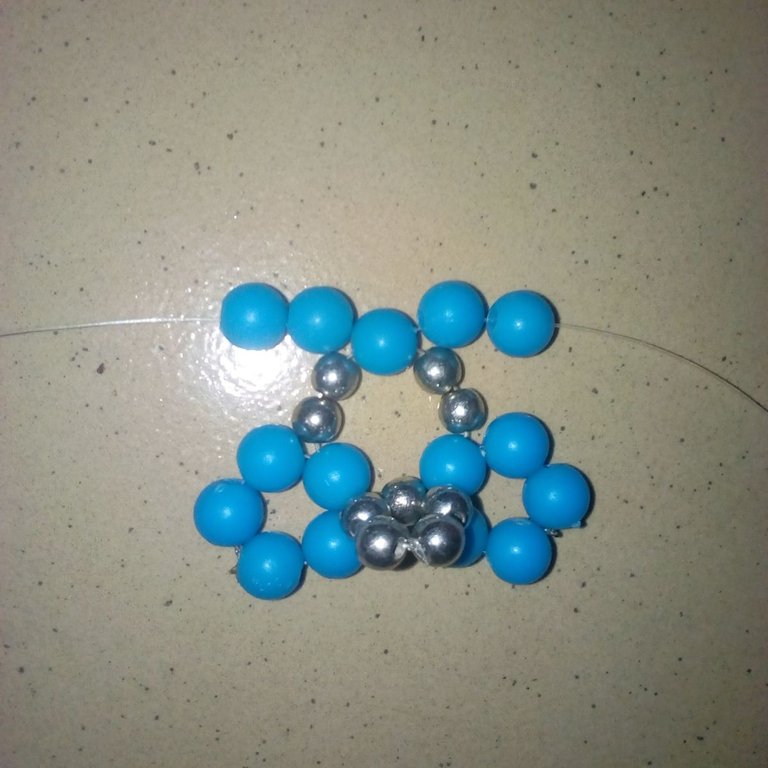
I cut another nylon line and then inserted the rounded formed aluminum pearl bead into it. I made it appear at the center of the nylon line. I now inserted another formed rounded blue color pearl bead into the nylon right line. I inserted the second rounded formed blue color pearl bead into the left nylon line.
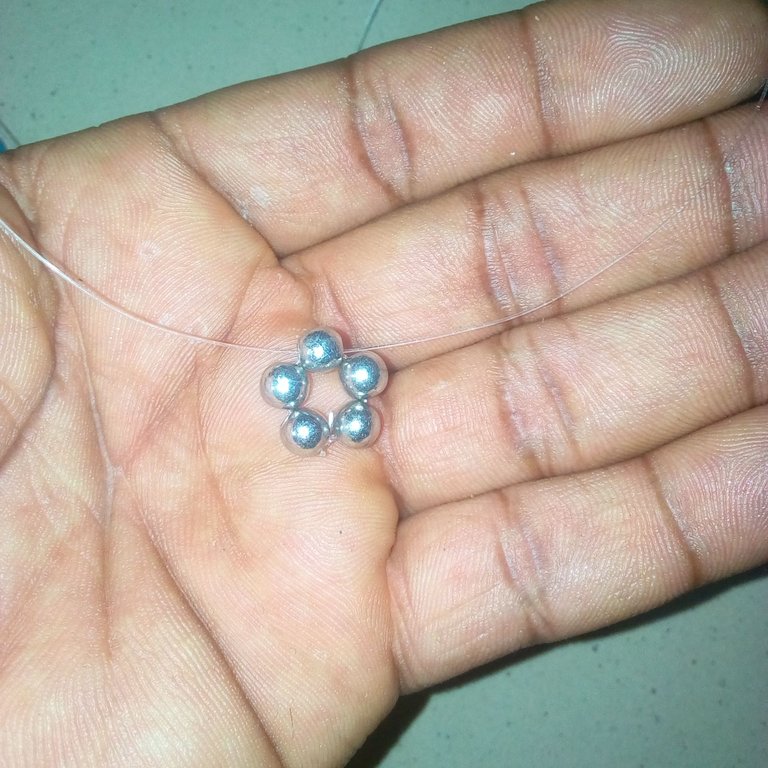
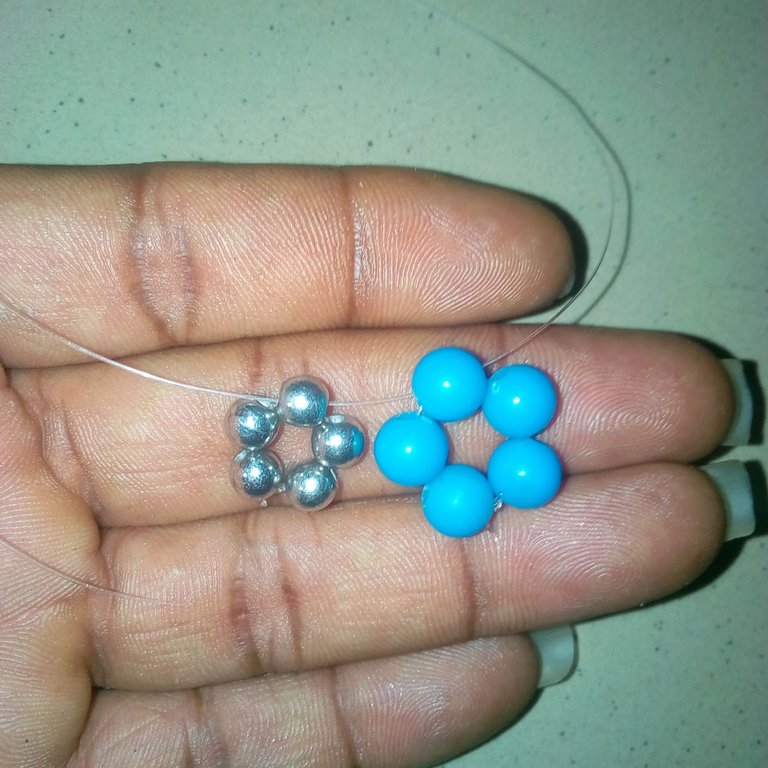
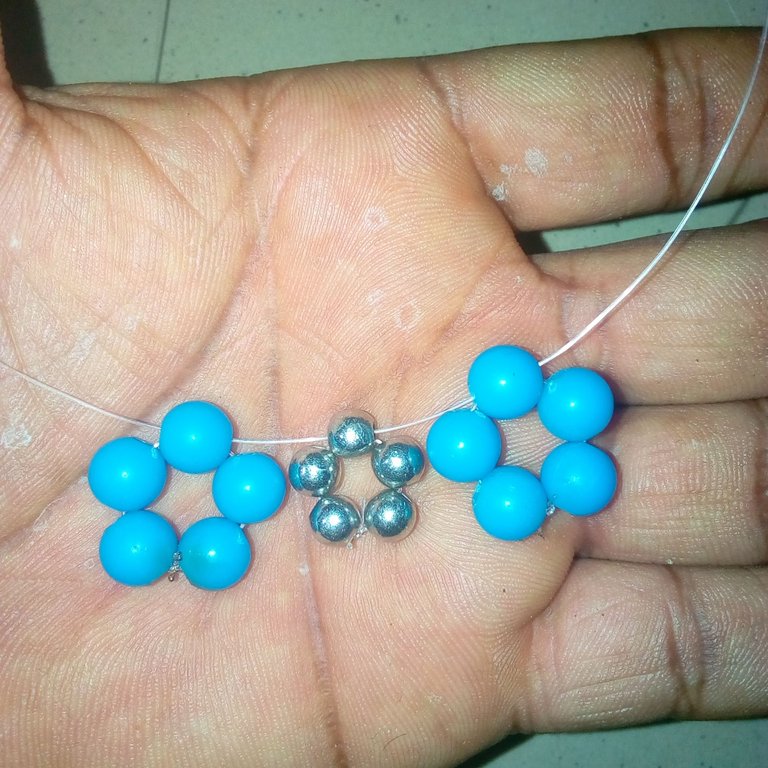
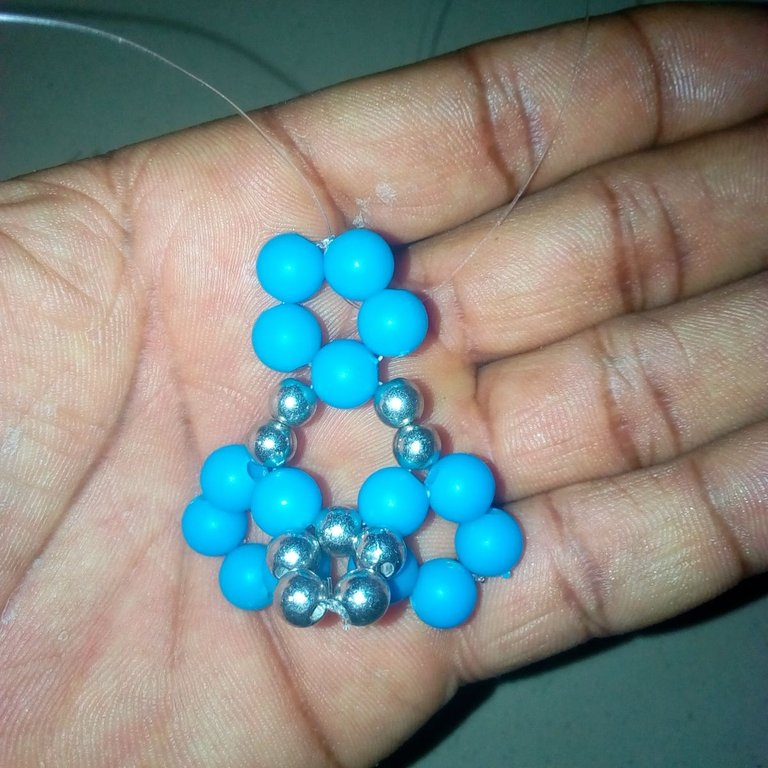
After I inserted the rounded formed beads into the nylon line, I inserted 2 pieces of aluminum pearl bead and 1 piece of blue color pearl bead into the left nylon line. I also inserted 2 pieces of aluminum pearl beads into the right nylon line. I now inserted the left nylon line into the right blue color pearl bead and drew both nylon lines.
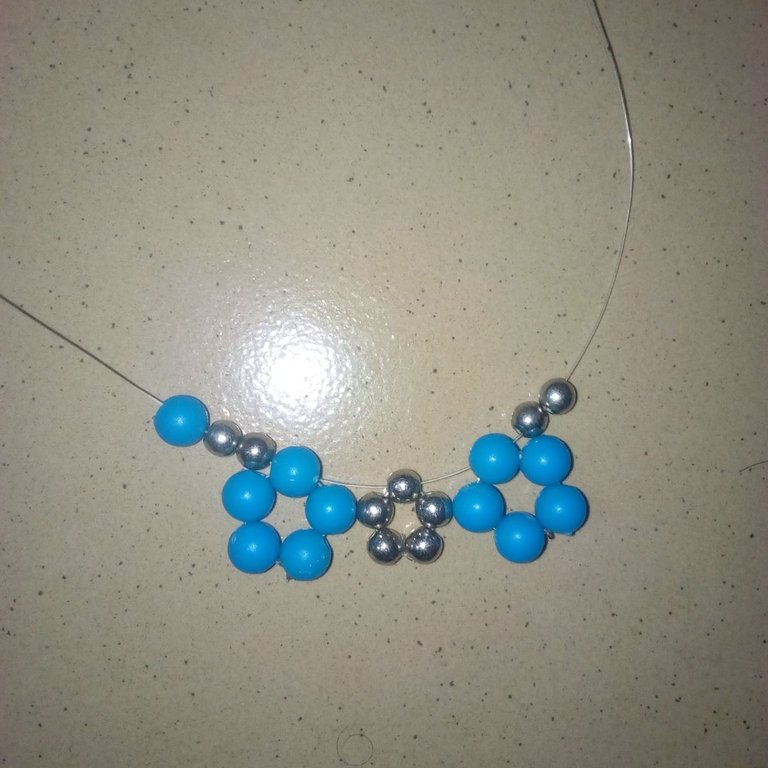
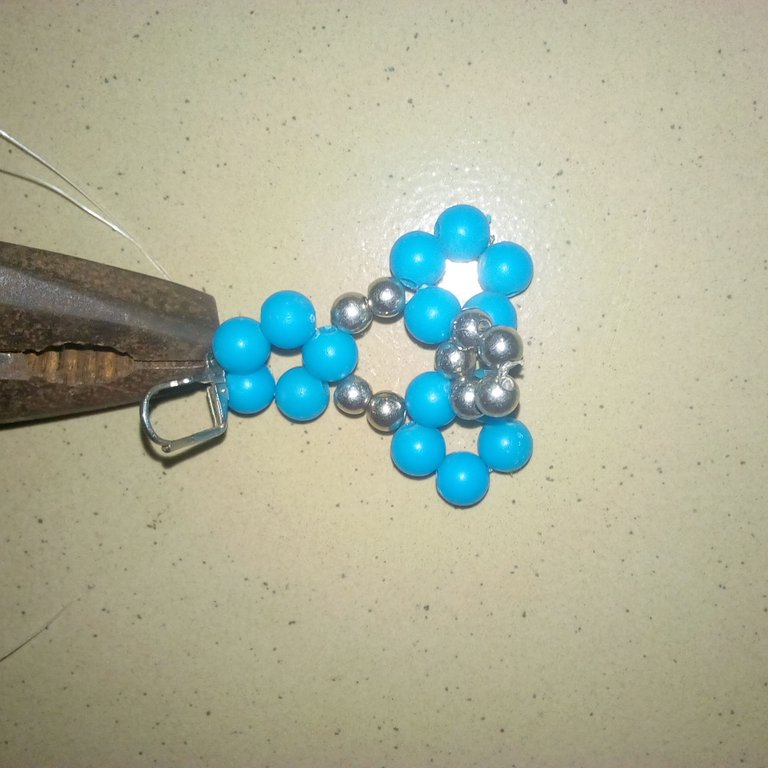
I now inserted 2 pieces of blue-colored pearl beads into the left nylon line and another 2 pieces of blue-colored pearl beads into the right nylon line. I now tie the nylon line. From the nylon line, I inserted an earring hook and tie. After the tying, I then used a bead stopper to hold it tighten.
After I finished making the earring, I used matches to dress the mouth of the earring to avoid losing it in the future.
