Greetings my friends from my beautiful community #Hivediy. I hope you are enjoying the religious events and the beautiful tourist spots you visit. Remember to bring garbage bags.
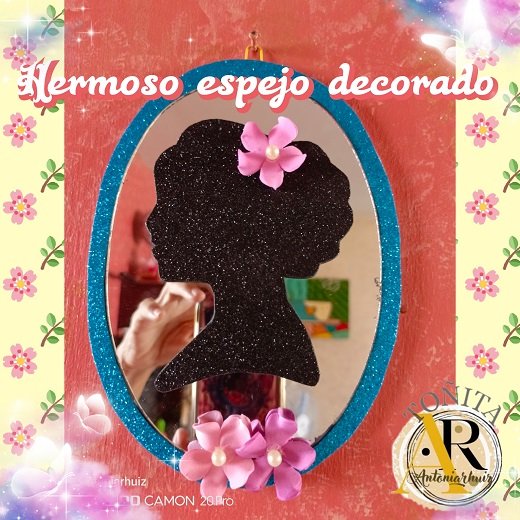
I had been thinking for some time about what to do with a mirror that had its frame broken. I had it saved for when I had the opportunity to create something with it and the time has come. May is approaching, the time machine is flying. I want to make some gifts as a detail for that day. So I have to start preparing now.
This is the first detail that I prepare for that occasion. For this publication I decorated the mirror with foami details. It is easy, simple and uses little material. In this case I have the material at home because every time I can, I buy and save it for any occasion; in addition to the scrap material that I also keep.
Decorated mirror
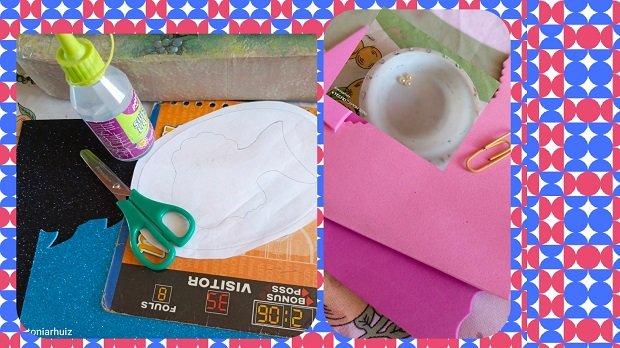
Materials: mirror, liquid silicone, blue and black frosted foami, pink foami, white foami, a paper clip and a piece of thin cardboard.
PROCEDURE
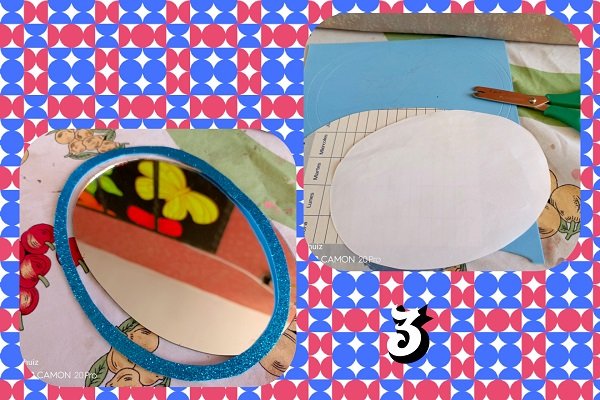
1- Make the design on a sheet of paper with the oval shape of the mirror. Obtain the oval on a piece of cardboard with an excess of approximately 5 cm.
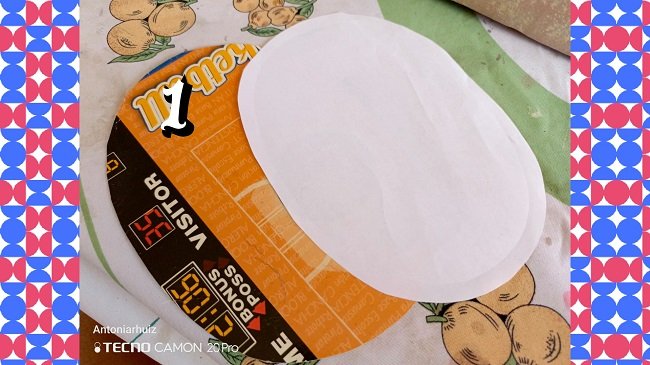
2- Transfer the oval to the white foami.
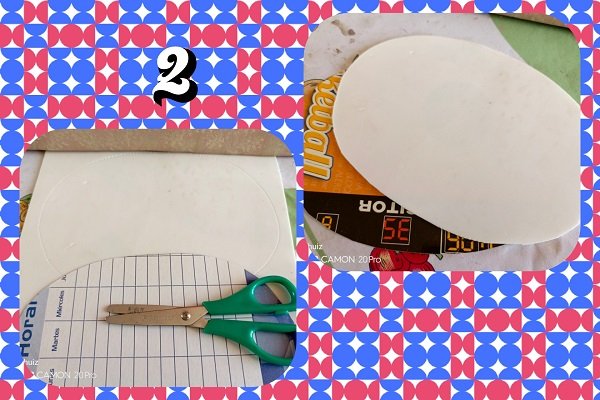
3- Cut out an oval ring the width of the excess on the blue frosted foami.
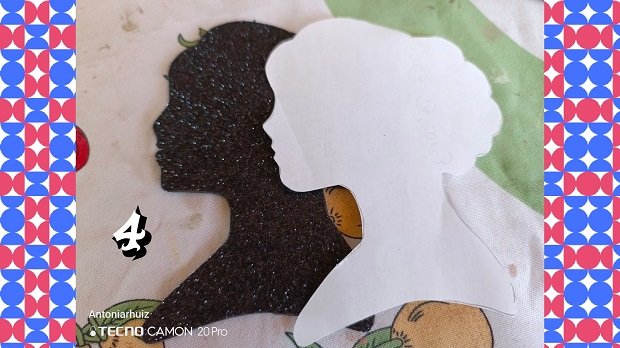
4- Transfer the design that goes in the center of the mirror to the black frosted foami.
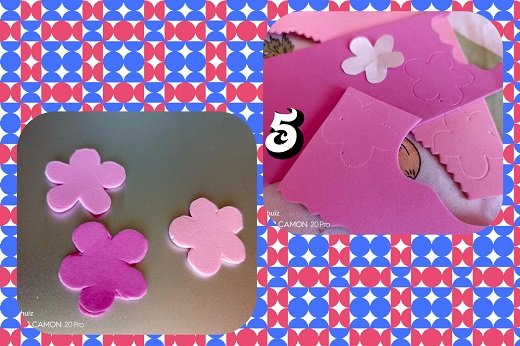
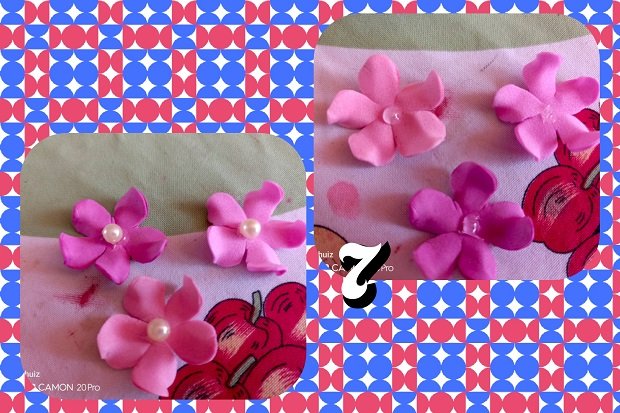
5- Draw a flower on each pink foami.
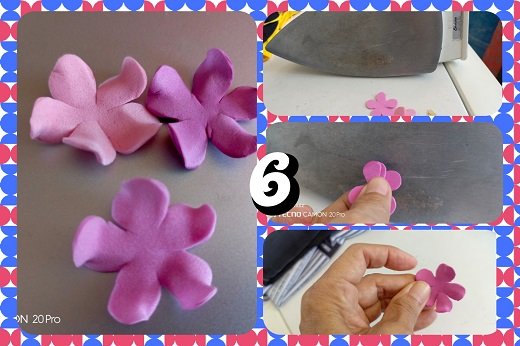
6- Thermoform with the iron. Heat the edge of each flower and fold a little to give it shape.
7- Place a pearl in the center of each flower.
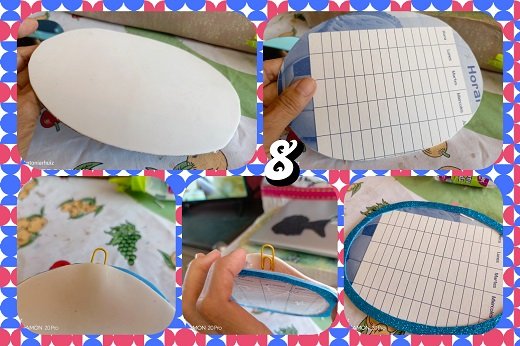
8- Assemble the mirror frame and place the clip.
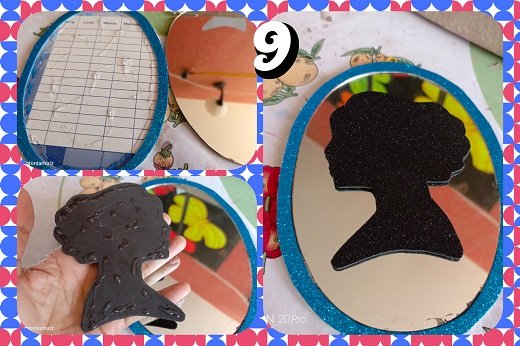
9- Glue the mirror and the design.
10- Decorate with the flowers. One on the bow and the others on the mirror to cover a small damage.
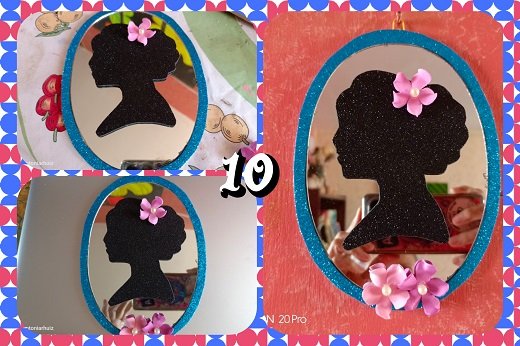
It was so pretty! I was fascinated by the simplicity of the piece. This time I learned a new technique to give movement to the flowers. I hope this project awakens the best comments and that you dare to develop this idea and personalize it. See you next time friends.
! [SPANISH]
Saludos mis amigos de mi linda comunidad #Hivediy. Espero que se encuentren disfrutando de los actos religiosos y de los hermosos rincones turísticos que visiten. Recuerden llevar bolsas para la basura.
Llevaba tiempo pensando en qué hacer con un espejo que se le rompió el marco. Lo tenía guardado para cuando tuviera la oportunidad de crear algo con eso y el momento ha llegado. Se acerca el mes de mayo, la máquina del tiempo va volando. Quiero hacer algunos obsequios como detalle para ese día. Así que hay que comenzar desde ya a prepararse.
Este el primer detalle que preparo para esa ocasión. Para esta publicación decoré dicho espejo con detalles en foami. Es fácil, sencillo y se usa poco material. En este caso tengo el material en casa porque cada vez que puedo, compro y guardo para cualquier ocasión; además del material de desecho que de igual manera conservo.Espejo decorado
Materiales: espejo, silicón líquido, foami escarchado de color azul y otro negro, foami en tonos rosa, foami blanco, un clip y pedazo de cartón delgado.
PROCEDIMIENTO
1- Hacer el diseño en una hoja con la forma ovalada del espejo. Obtener el óvalo en un cartón con un excedente de 5 cms aproximadamente.
2- Transferir el óvalo al foami blanco.
3- Recortar un aro ovalado del ancho del excedente en el foami escarchado de color azul.
4- En el foami escarchado de color negro se transfiere el diseño que va en el centro del espejo.
5- Sacar una flor en cada foami de tono rosa.
6- Termoformar con la plancha. Calentar la orilla de cada flor y doblar un poco para darle forma.
7- Colocar en el centro de cada flor una perla.
8- Armar el marco del espejo y colocar el clip.
9- Pegar el espejo y el diseño.
10- Decorar con las flores. Una en el moño y las otras en el espejo para tapar un pequeño desperfecto.
Quedó tan bonito! Me fascinó la sencillez de la pieza. En esta oportunidad aprendí una nueva técnica para darle movimiento a las flores. Espero que este proyecto despierte los mejores comentarios y se atrevan a desarrollar esta idea y a personalizarlo. Hasta una próxima entrega amigos.

|Información| Information|
|Todas las fotos son propias| All photos are my own|
|Imagen editada en GridArt del teléfono Tecno Camon 20 Pro| Imagen editada en GridArt del teléfono Tecno Camon 2 Pro|
|Traducción en traductor Deepl versión gratuita| Deepl translator free versión|

