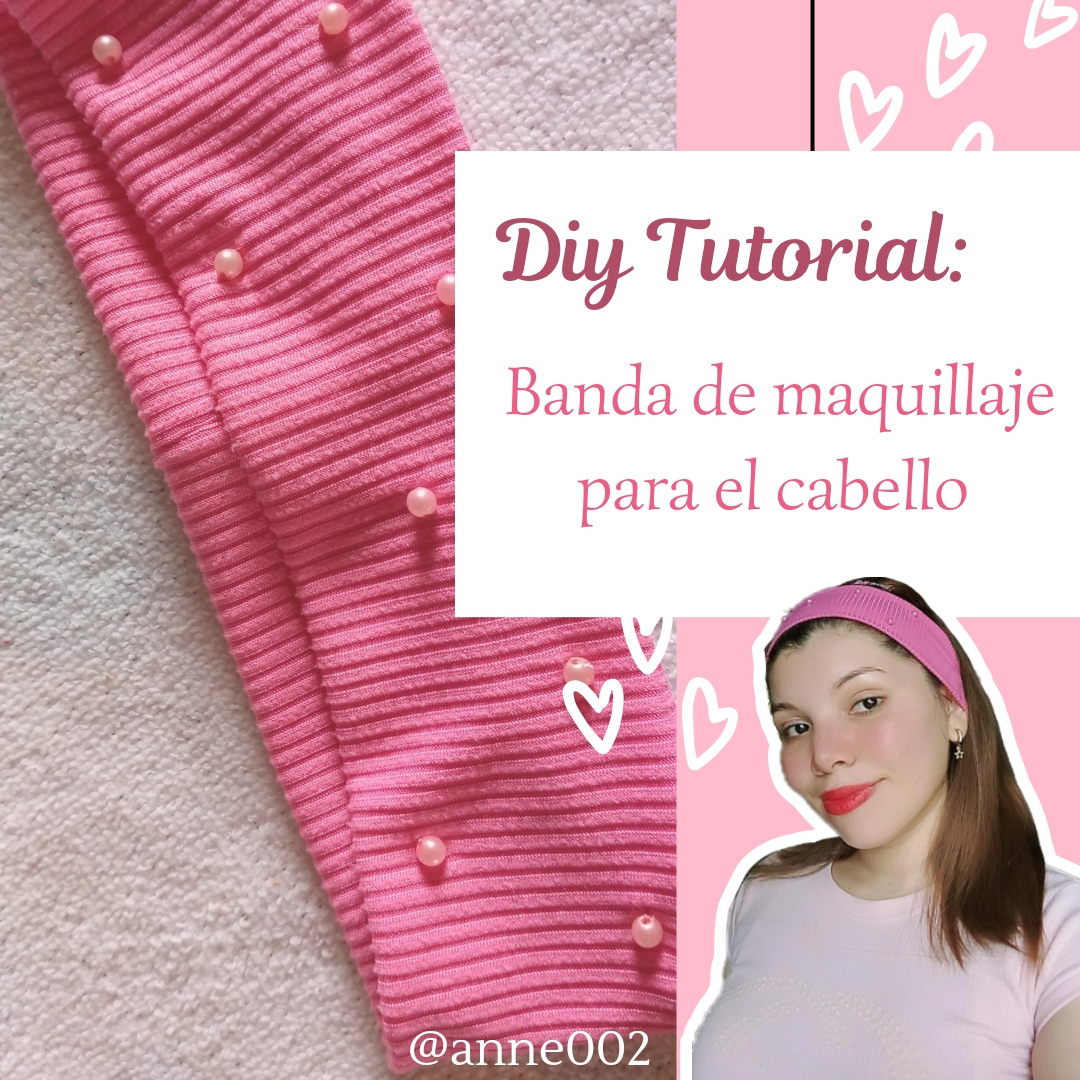
💆🏻‍♀️💕Tutorial sencillo de una banda de maquillaje para el cabello//Simple Makeup Hair Band Tutorial💆🏻‍♀️💕[Esp~Eng]

in #hive-1279114 months ago

Picsart_24-07-29_14-48-44-483.jpg

Picsart_24-06-14_18-51-45-771.jpg

Bonita tarde mis amigos creativos amantes de las agujas de nuevo estoy de vuelta en esta hermosa comunidad que me ha brindado su apoyo asi como las otras comunidades compartiendo de nuevo mis manualidades y costuras,les he traido un trabajo muy sencillo y fácil de elaborar veamos de que se trata.

Nice afternoon my creative friends who love needles, I am back in this beautiful community that has given me their support as well as the other communities by sharing my crafts and sewing again, I have brought you a very simple and easy work to make, let's see that is.

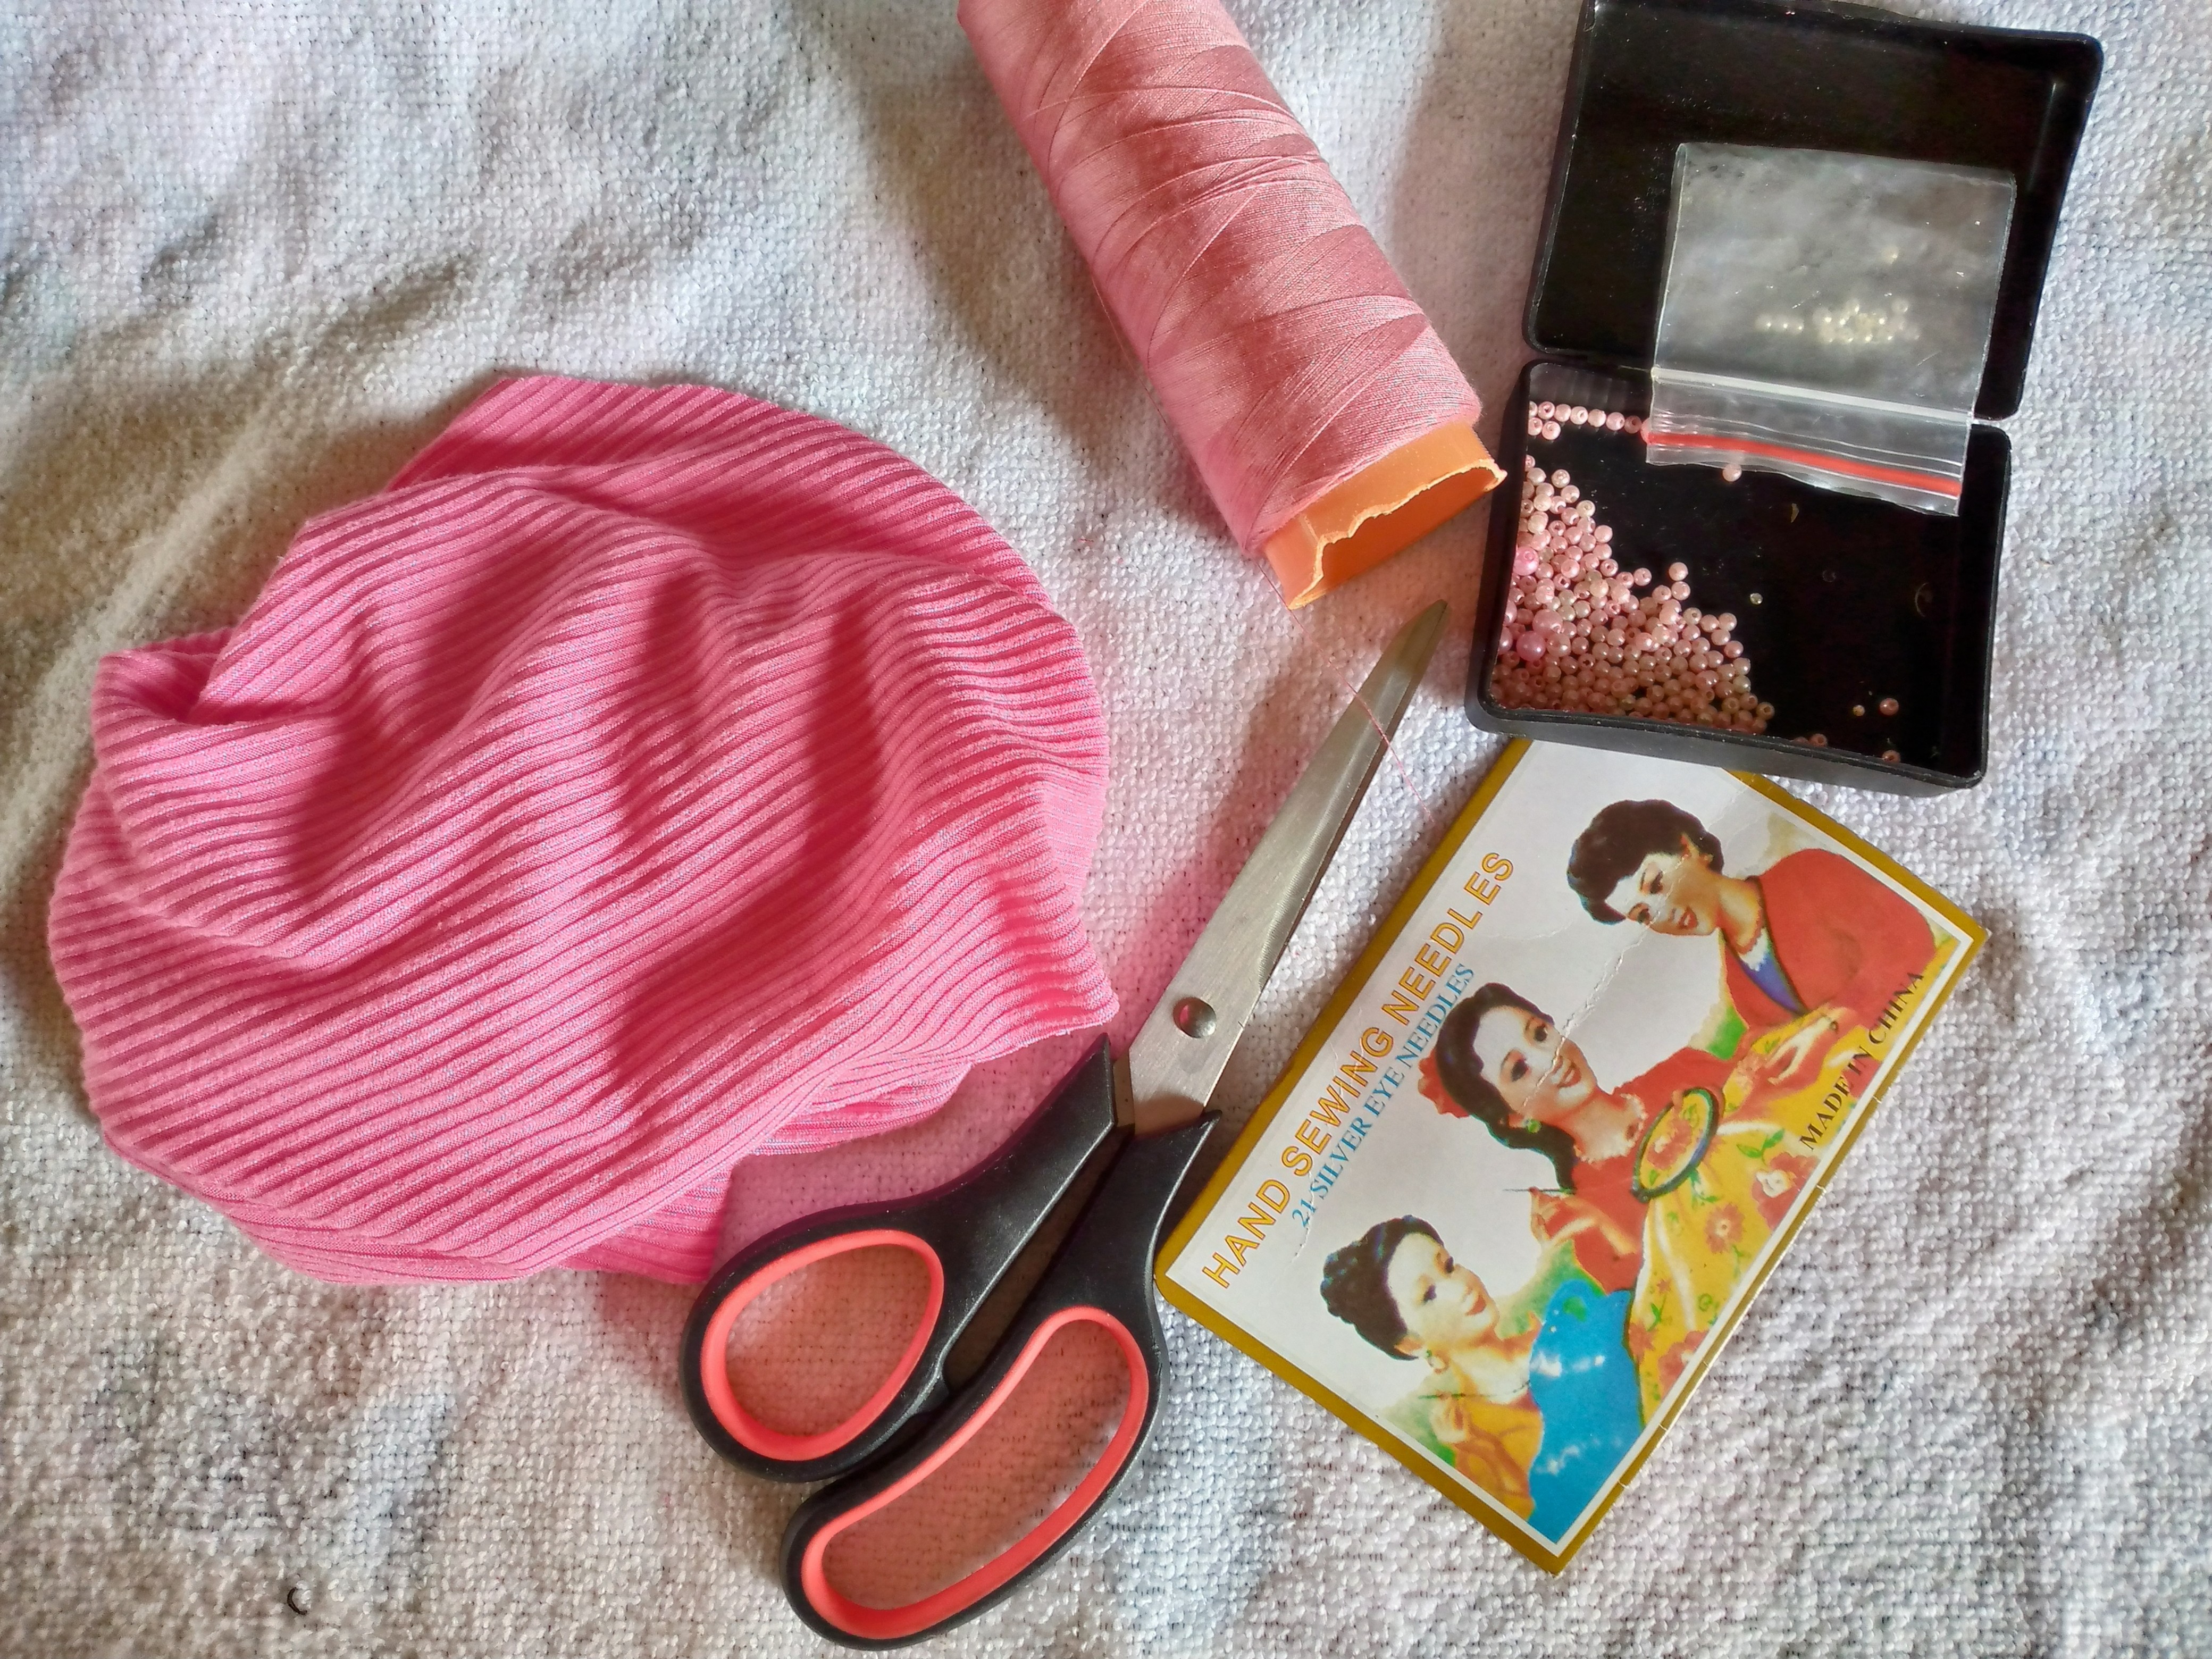
En ocasiones cuando queremos maquillarnos en el caso de nosotras las chicas a veces queremos recogernos el cabello para poder hacerlo y es que aunque lo recojamos siempre hay cabellos del frente que se nos escapan y maquillarnos nos molestan un poco , entonces he decidido hacer esta banda o bandana para recogernos esos cabellitos que se intentan escapar,es súper sencilla la verdad de hacer con cualquier trozo de tela que estire y que tu tengas en casa puedes hacerla sin necesidad de gastar dinero solo porque no tienes una y si amas las costuras yo se que este tutorial te va a servir muchísimo si deseas realizarla ,a continuación te muestro lo que usé para hacerlas con unas lindas perlas como decoración.

Sometimes when we want to put on makeup, in the case of us girls, sometimes we want to put our hair up to be able to do it and even if we put it up there are always hairs in the front that escape us and putting on makeup bothers us a little, so I have decided to make this band or bandana to collect those little hairs that try to escape, it is really super simple to make with any piece of fabric that stretches and that you have at home, you can do it without having to spend money just because you don't have one and if you love sewing, I know that This tutorial will help you a lot if you want to make it, below I show you what I used to make them with some pretty pearls as decoration.

IMG_20240729_123551_131 (1).jpg

Picsart_24-06-14_18-51-45-771.jpg

💕Materiales que usé:💕

Materials i used :

Picsart_24-06-14_18-51-45-771.jpg

  • Trozos de tela
  • Tijeras
  • Agujas
  • Hilo
  • Perlas decorativas
  • Máquina de coser

  • Pieces of cloth
  • Scissors
  • Needles
  • Thread
  • Decorative beads
  • Sewing machine

Picsart_24-06-14_18-51-45-771.jpg

💕Pasos a seguir:💕

Steps to follow:

Picsart_24-06-14_18-51-45-771.jpg

Paso 01

Bueno mis amigas creativas comenzaremos cortando un rectángulo de 50 cm de largo x 8 cm de ancho si la deseas más ancha puedes agregarle mas cm de ancho pueden ser 10 o 12 siempre medidas estándar que se puedan dividir.

Step 01

Well, my creative friends, we will start by cutting a rectangle 50 cm long x 8 cm wide. If you want it wider, you can add more cm width. It can always be 10 or 12 standard measurements that can be divided.

IMG_20240729_125047_870 (1).jpg


Paso 02

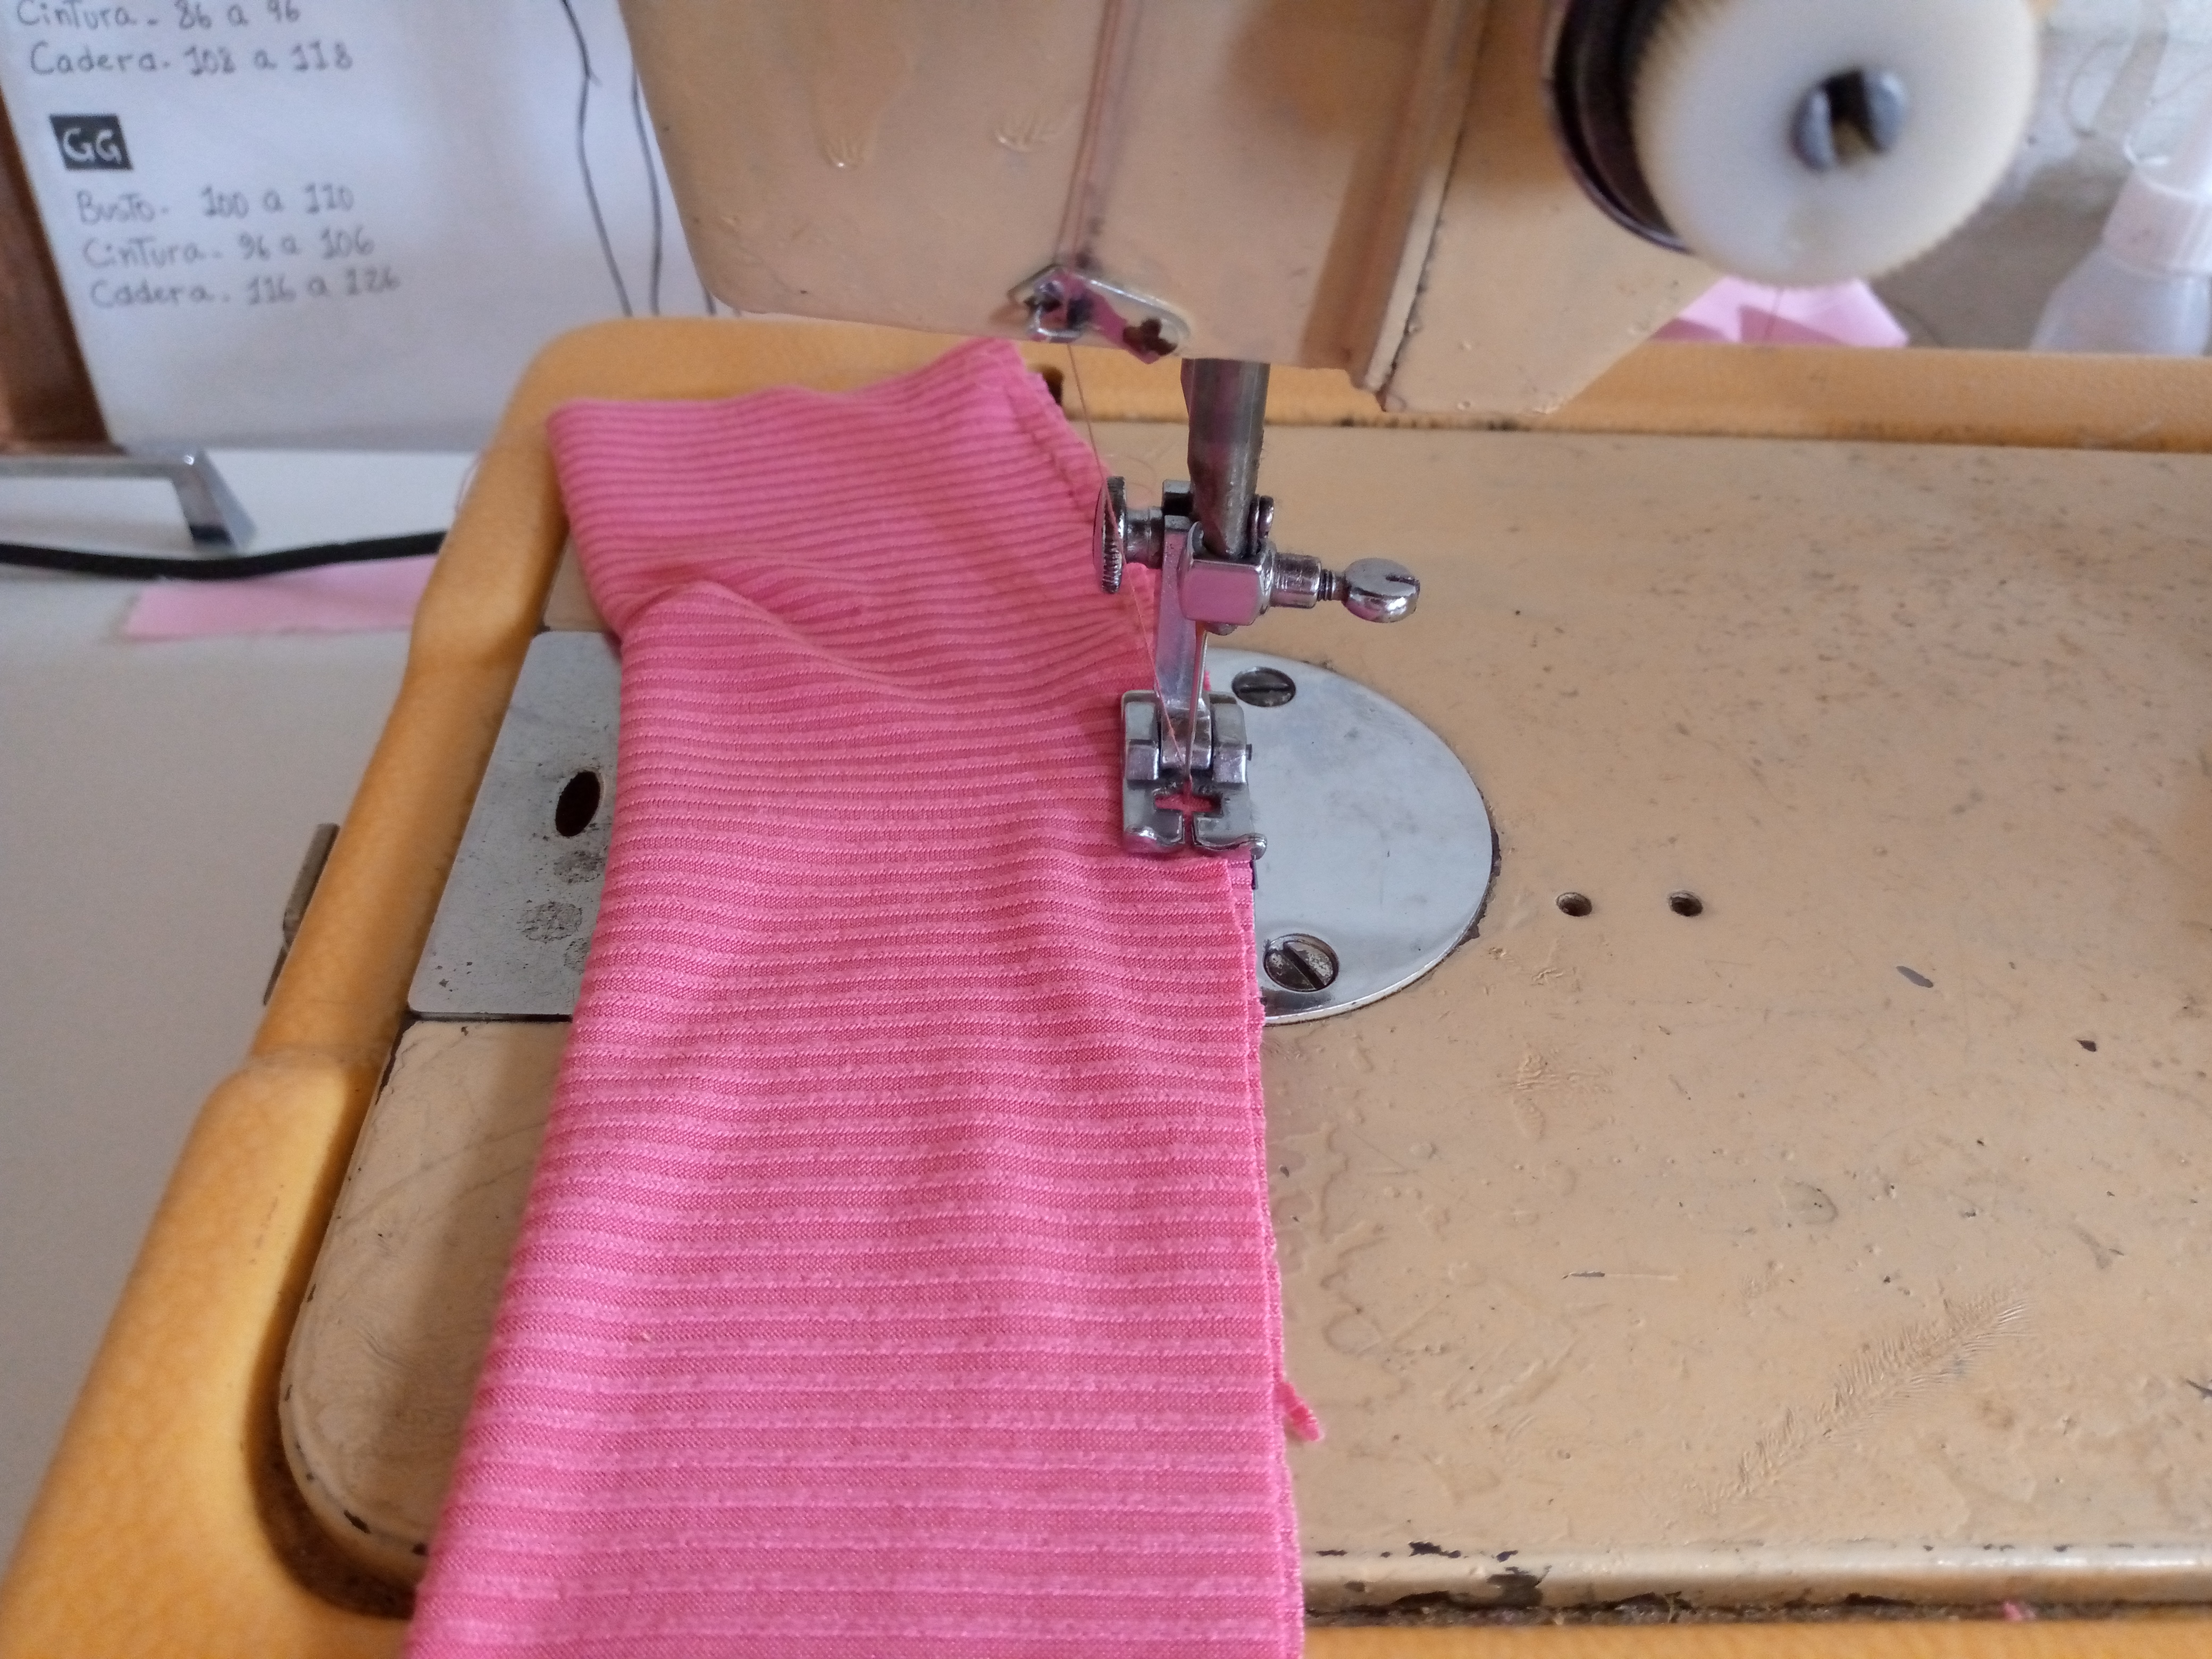
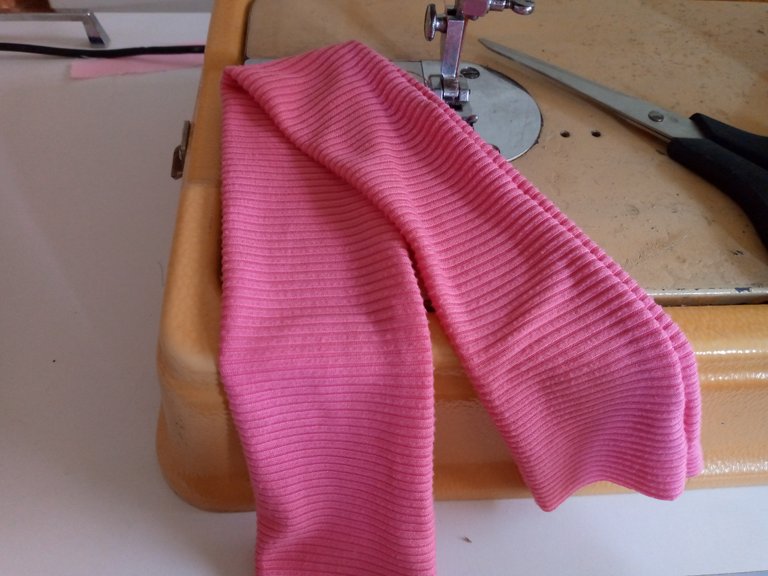
Como segundo paso con mi costura recta voy a coser por todo el borde del rectángulo dejando 1 cm de costura hacia afuera ,cosemos toda la pieza y procedo a voltearla a darle vuelta.

Step 02

As a second step with my straight seam, I am going to sew along the entire edge of the rectangle, leaving 1 cm of seam on the outside, we sew the entire piece and proceed to turn it over.
IMG_20240729_131231_051.jpg

IMG_20240729_131504_645.jpg


Paso 03

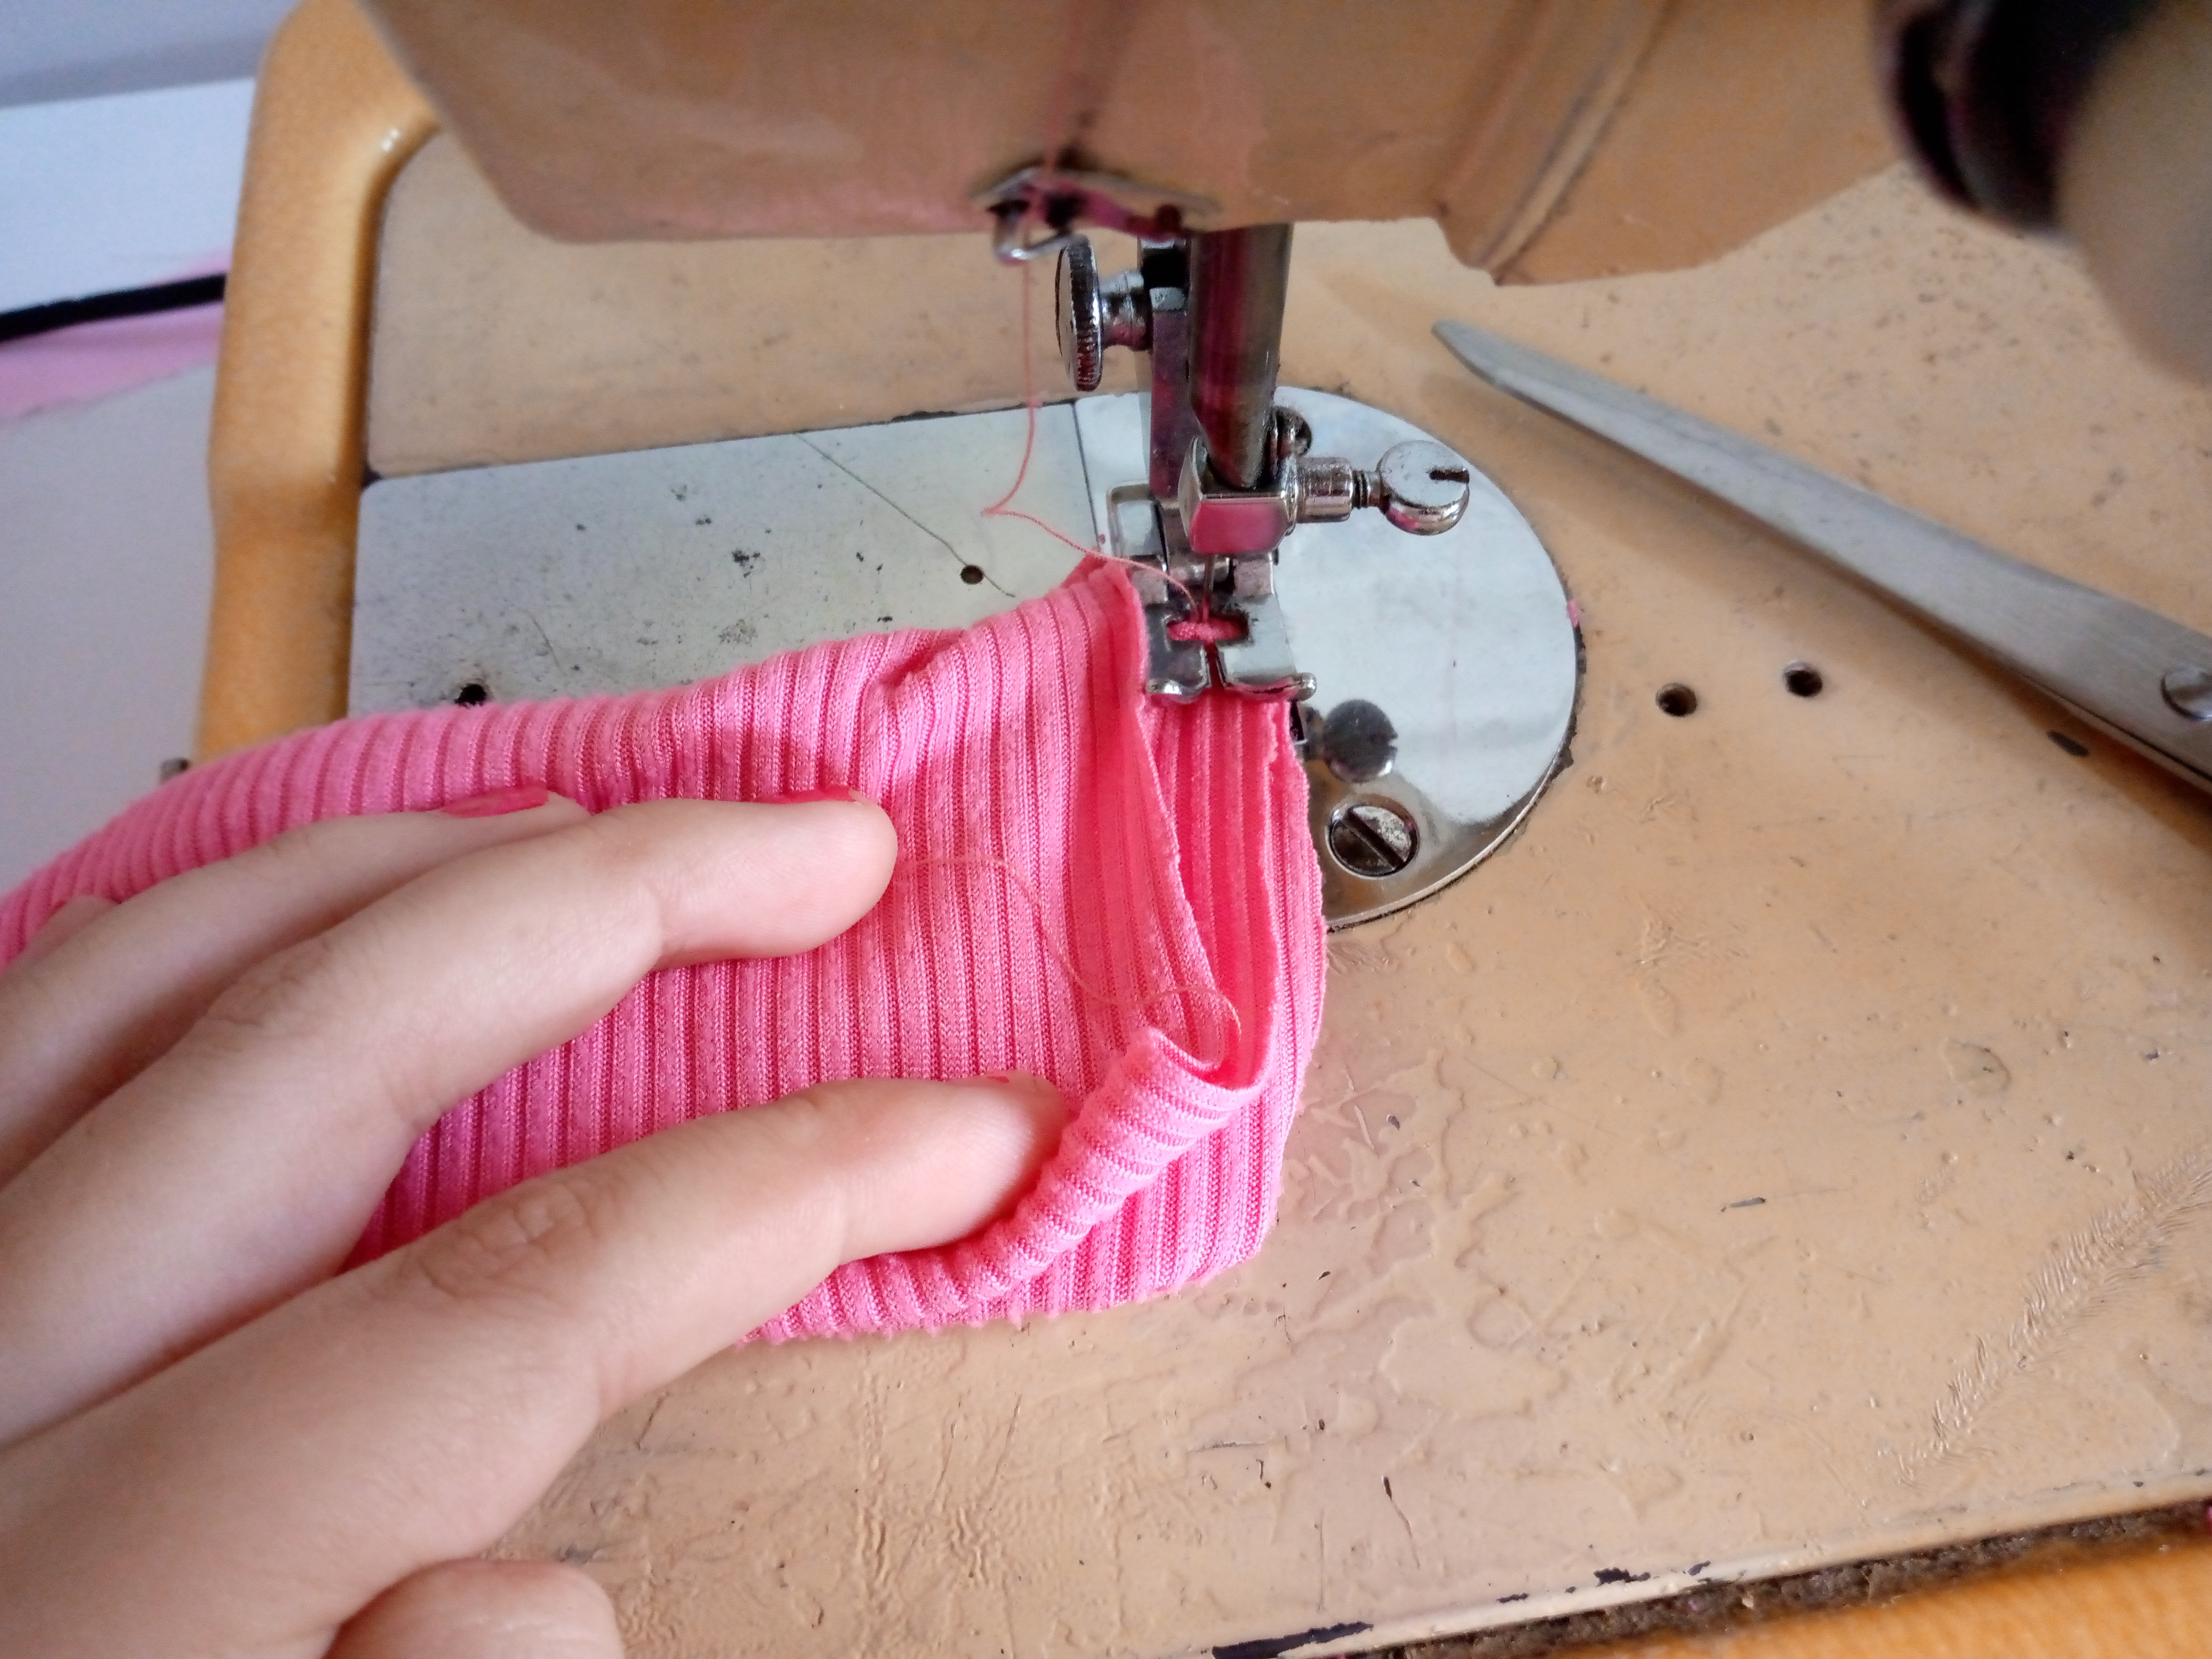
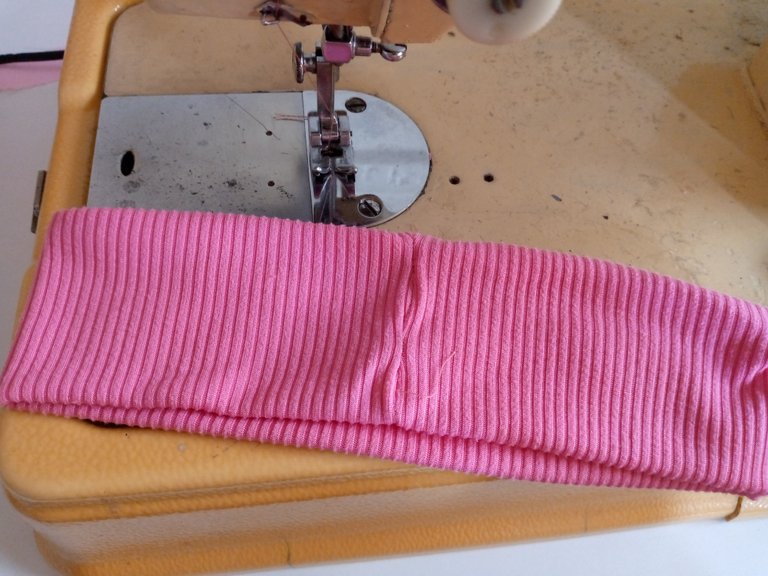
Ahora voy a unir cada extremo y cosemos por dentro con costura recta también esto lo hacemos para formar la pieza completa de la banda y lo volteo por el lado superior dejando así ver cómo ha quedado ésta parte.

Step 03

Now I am going to join each end and sew inside with a straight seam. We also do this to form the complete piece of the band and I turn it on the upper side, thus showing how this part has turned out.
IMG_20240729_131607_768.jpg

IMG_20240729_131727_498.jpg


Paso 04

Como en esta parte ha quedado un pequeño agujero que fué por dónde hemos volteado la pieza allí le voy a pasar una pequeña costura recta para sellarlo.

Step 04

Since there is a small hole in this part that was where we turned the piece, I am going to sew a small straight seam there to seal it.

IMG_20240729_131844_311.jpg


Paso 05

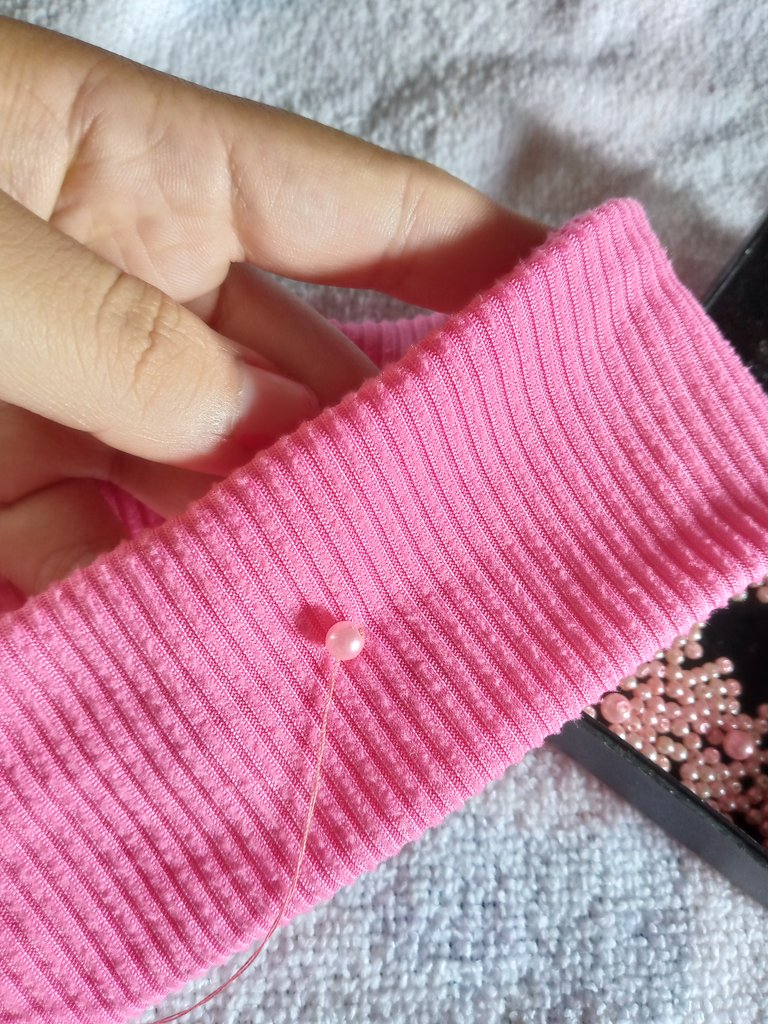
Para decorarla les he dicho que he usado éstas lindas perlas medianas que compré en tiendas de mercerías les he colocado varias en forma de zig zag para darle un toque aleatorio y bonito a la bandana ,tu puedes colocarle mas diseños que te gusten y de tu preferencia así la he terminado.

Step 05

To decorate it, I have told you that I have used these beautiful medium-sized pearls that I bought in haberdashery stores. I have placed several of them in a zig zag shape to give a random and beautiful touch to the bandana. You can place more designs that you like and of your preference so I have finished it.
IMG_20240729_132103_217.jpg

IMG_20240729_133035_716.jpg


Picsart_24-06-14_18-51-45-771.jpg

💕Resultado:💕

Result:

Picsart_24-06-14_18-51-45-771.jpg

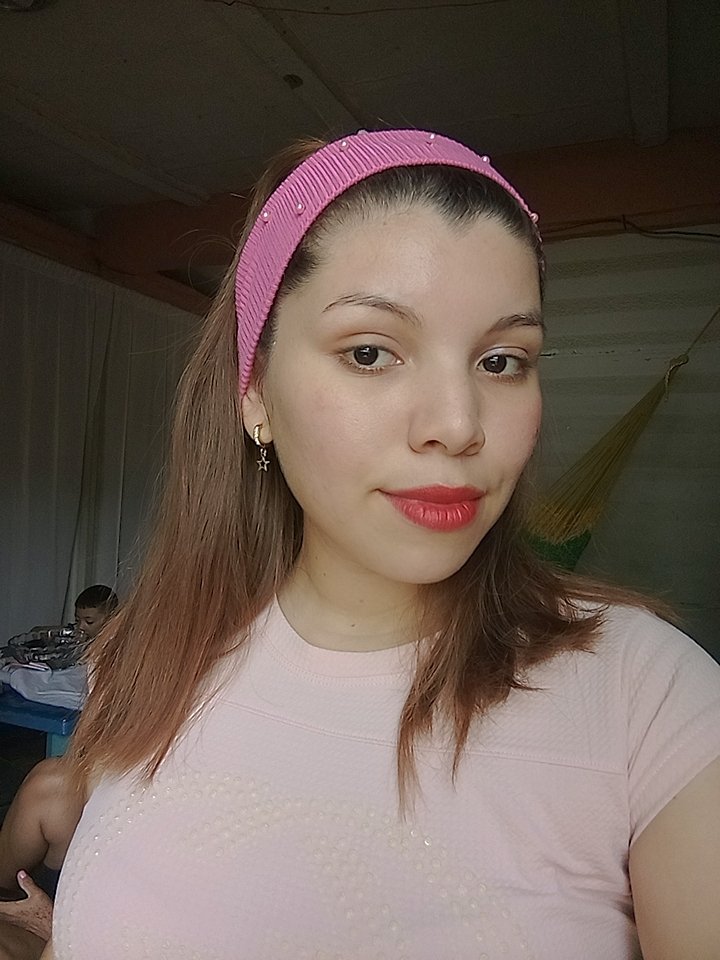
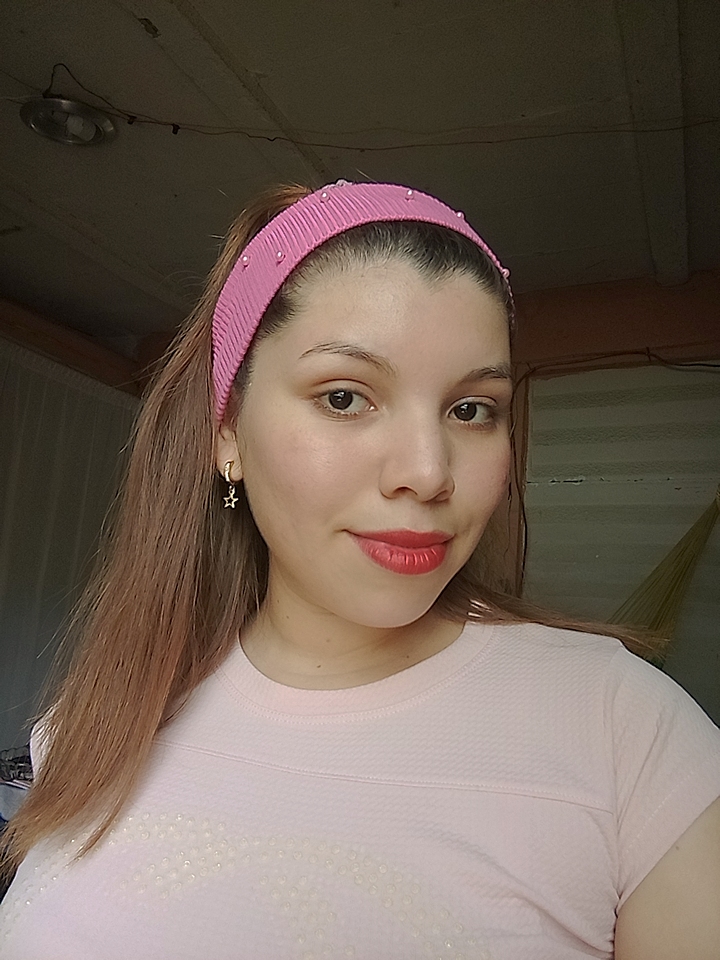
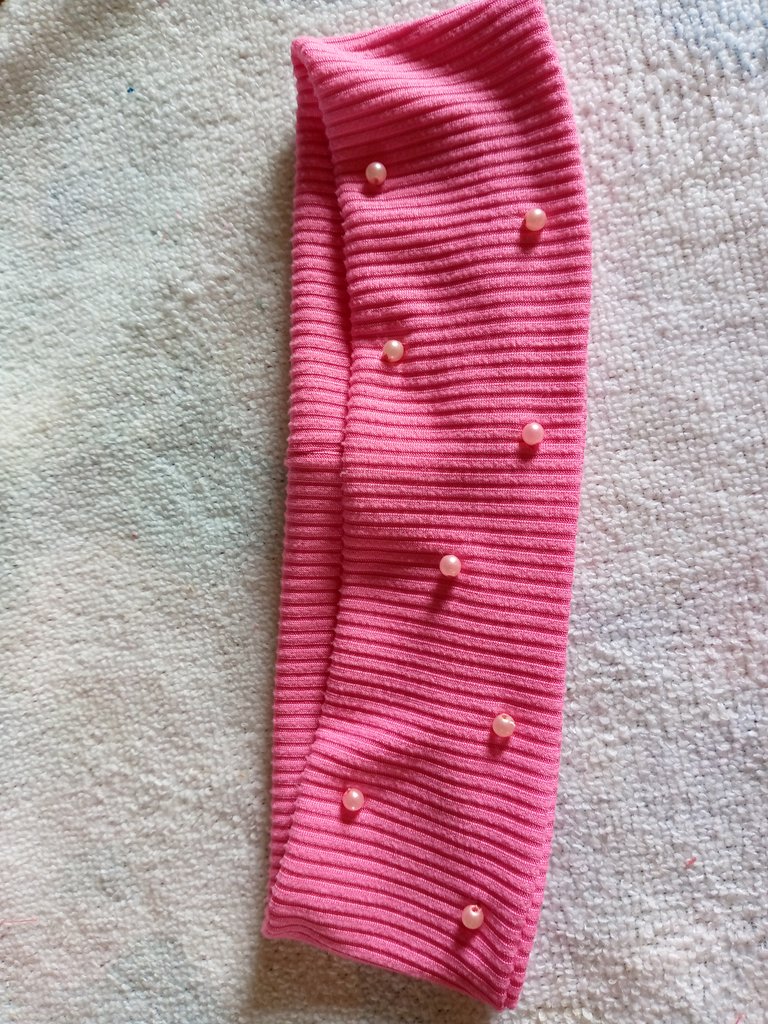
Me ha encantado como ha quedado y es que la tela de este material es muy suave y se adapta ,por si se lo preguntan esta tela la pueden conseguir con el nombre de tela acanalada en las tiendas de tela del país,me alegraría saber que este tutorial haya sido de tu agrado , también te agradezco por llegar al final de este tutorial y te animes a realizar una banda para el cabello,nos vemos en otro proximo blog amigos ,me despido de ustedes tiernamente y les dejo fotos aca del resultado final ,nos vemos hasta pronto!!.

I loved how it turned out and the fabric of this material is very soft and adapts, in case you are wondering, you can get this fabric under the name of ribbed fabric in fabric stores in the country, I would be happy to know I hope you liked this tutorial, I also thank you for reaching the end of this tutorial and you are encouraged to make a hair band, see you in another next blog friends, I say goodbye to you tenderly and I leave you photos here of the result final, see you soon!!.
IMG_20240729_133813_538.jpg

IMG_20240729_133814_733.jpg

B612_20240729_134514_897.jpg

B612_20240729_134524_012.jpg

🦋✨Todas las imágenes de esta publicación son de mi autoria ,📱tomadas con mi celular TecnoSpark8C |📸Fotos editadas en PicsArt y Canva. Texto traducido en el traductor de Google.

🦋✨ All the images in this publication are my author ,📱taken with my TecnoSpark8C cell phone |📸Photos edited in PicsArt and Canva. Text translated in Google Translate.


Post de Instagram Podcast Beige Neutro _20240517_133002_0000.png


Sort:  

Congratulations @anne002! You have completed the following achievement on the Hive blockchain And have been rewarded with New badge(s)

You got more than 500 replies.
Your next target is to reach 600 replies.

You can view your badges on your board and compare yourself to others in the Ranking
If you no longer want to receive notifications, reply to this comment with the word STOP

Check out our last posts:

Hive Power Up Day - August 1st 2024

El tipo de tela reo que es muy apropiado para este tipo de bandanas, el color me parece muy lindo y el detalle con las perlitas la hace lucir muy coqueta y delicada. Muy buen trabajo @anne002, gracias por compartir con nosotros. Saludos 🤗

@kattycrochet hola amiga muchas gracias feliz noche ,me alegra te gustara está banda ,imagina a mi también me encantó los resultados 😍💕 gracias por el apoyo 😊

Es una idea muy bonita y práctica. Las perlitas la hacen lucir delicada y femenina.
Este tipo de bandas no pueden faltar en nuestro bolso para maquillaje, también nos pueden sacar de un apuro usándola como accesorio para el cabello.

@karen.art muchas gracias amiga así es no pueden faltan y a mí me hacía falta una 🤭😁ya me sacará de apuros

Me encanta el color!! Los detalles con perlas quedan hermosos!!🌷

@imena holi amiga gracias 💕🥺me alegra te guste esta banda de este color ,saludos bendiciones para ti