.jpg)
Happy and beautiful afternoon friends, welcome to a new craft tutorial with me.☺️🧵🎨
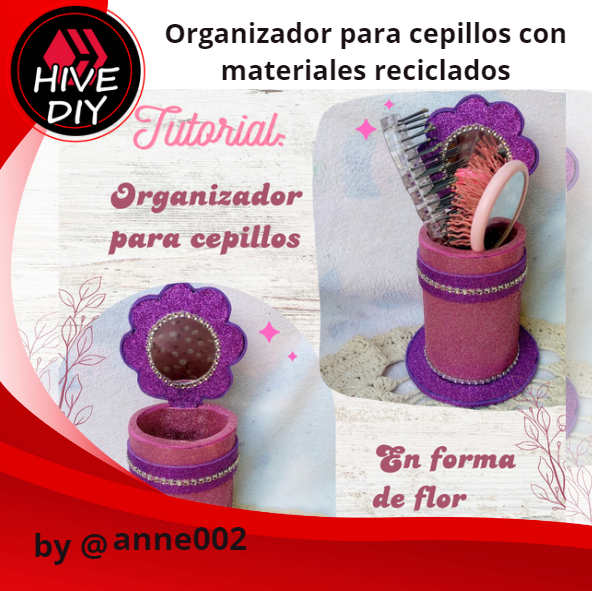
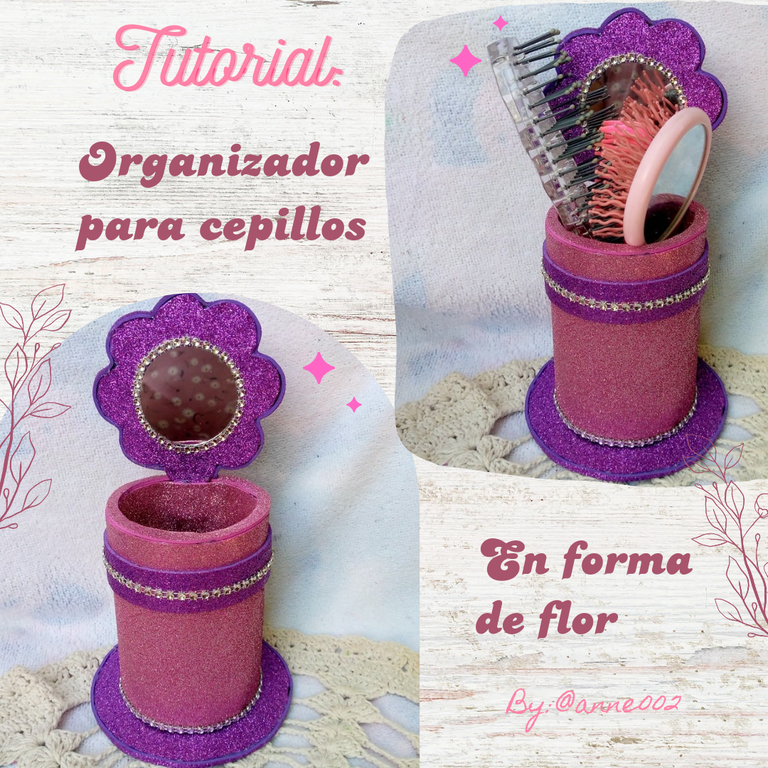
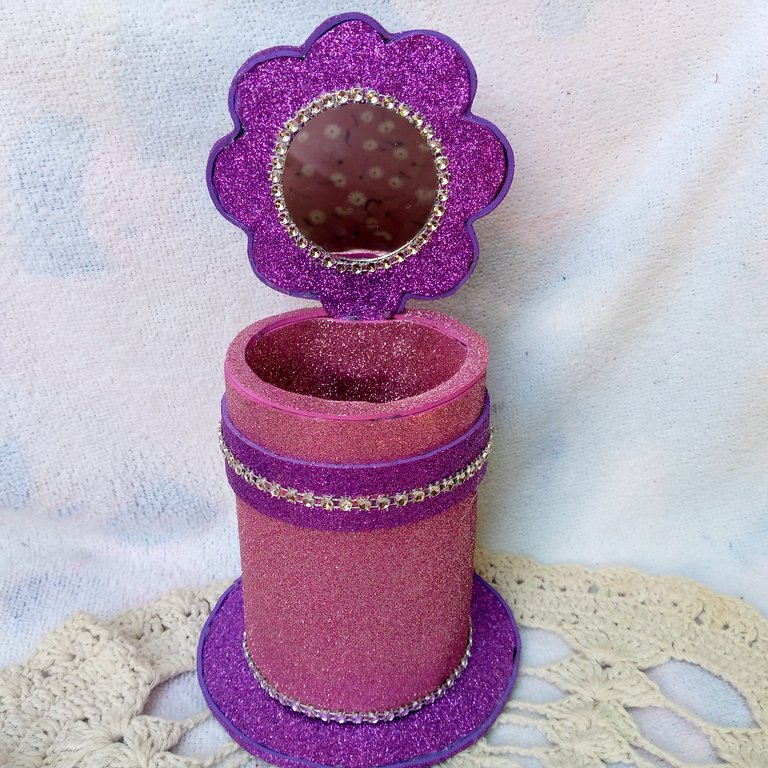
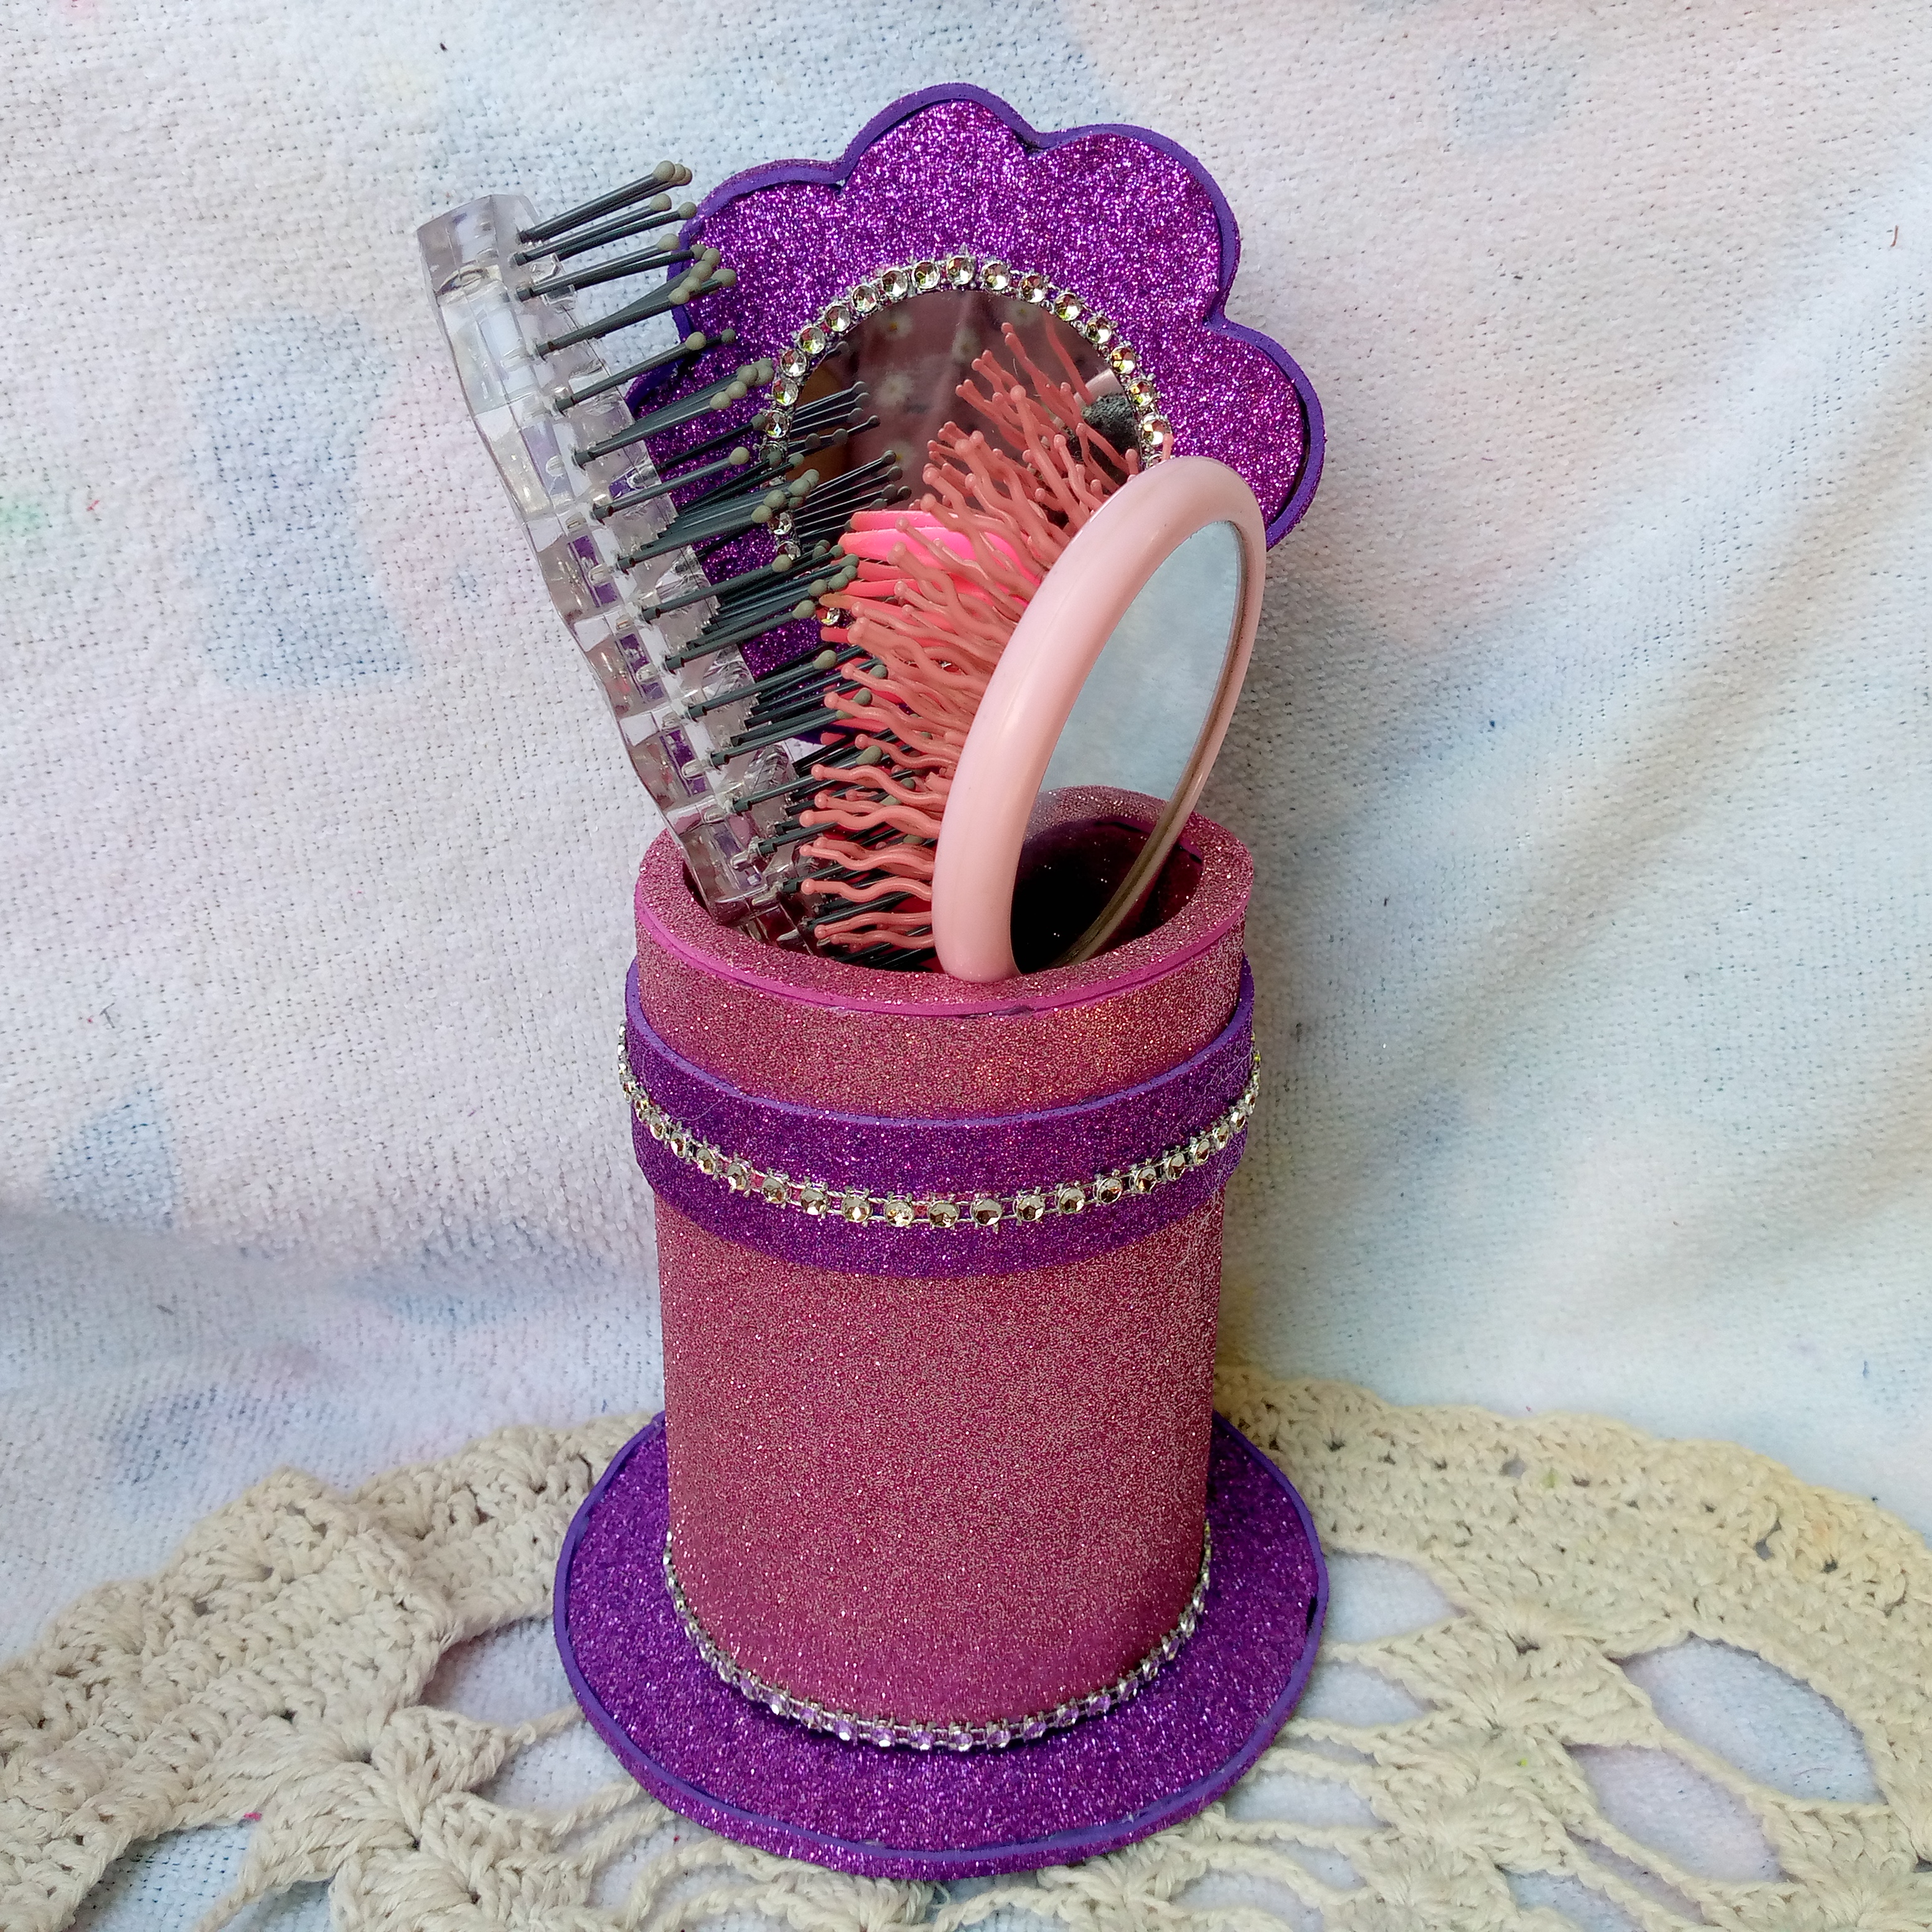
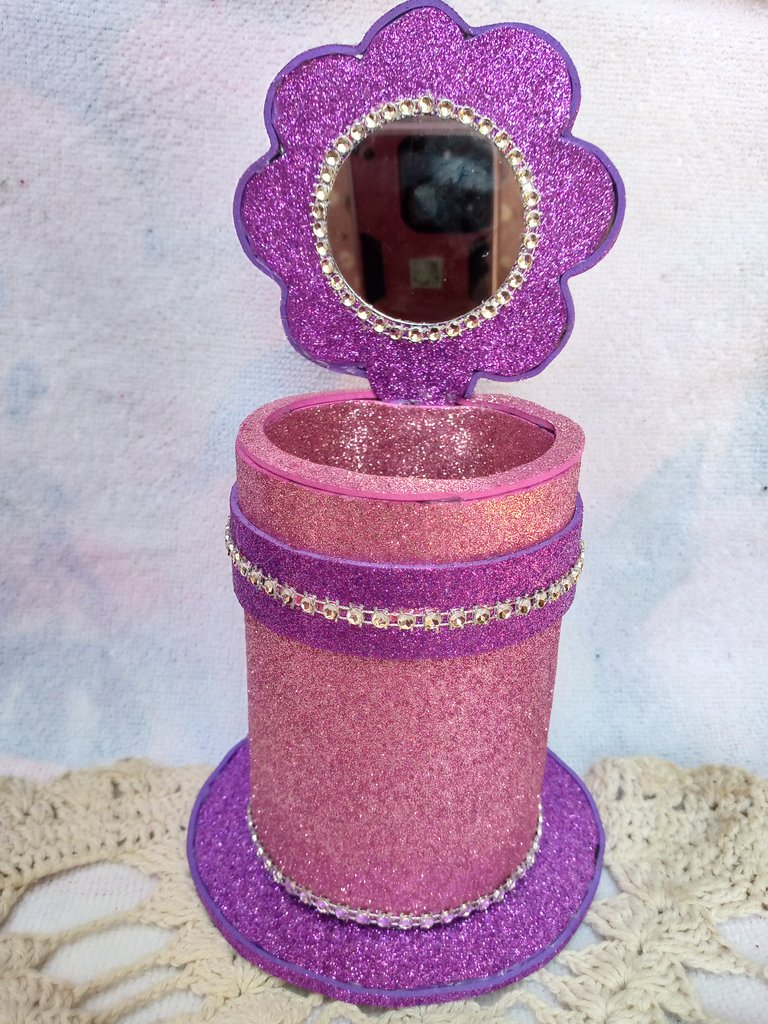
Today we are going to be making this cute accessory to organize our brushes and any little things you want, because if you put it inside it can be used as a centerpiece and even to give to a friend or someone special to you, they might really like this detail, but today I will be making it especially to store my brushes, although I have few, they no longer fit in the place I used to keep them, so it occurred to me to recycle these rolls of kitchen towels that I had stored here and since I said it would be useful for something, I will be using them to make the round base of the organizer.
It is super easy to make with shiny foam that I bought a few days ago. I decided to cover it with this color, which is my favorite color, violet ☺️💜. When I saw this color of foam in the store, I couldn't resist buying it. I also matched it with another shiny pink one and the combination was perfect and I loved it a lot. But hey, let's let the process show us how I did it. I hope you like it a lot and are encouraged to make this cute, cool organizer, so go ahead with the materials and the process.
.jpg)
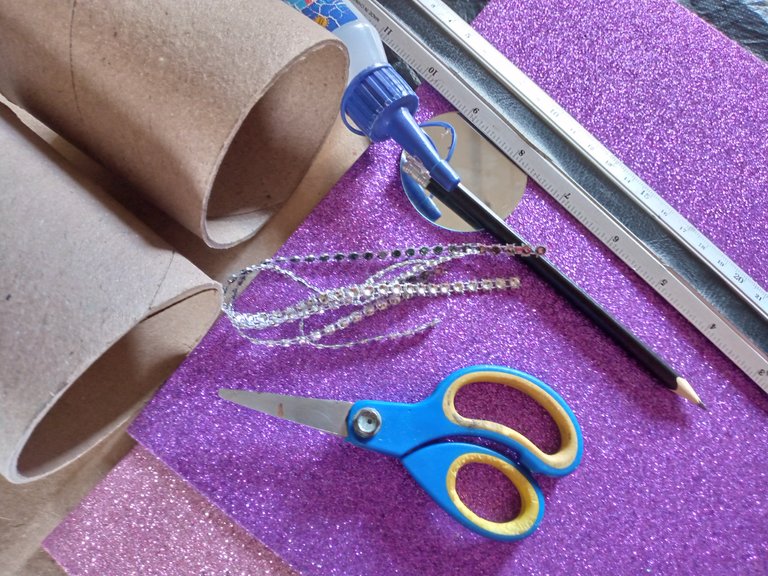
💗Materiales:// Materials:💗
- Fomi brillante de dos colores en este caso usé rosa y violeta pero podéis usarlo del color de tu preferencia
- Tijeras
- Cartón para la base y la flor
- 2 Rollos de toalla de papel para cocina
- Lápiz
- Regla
- Silicón
- Cinta brillante para decoración
- Cúter
- Espejo de polvo compacto que no uses
- Two-color glitter foam, in this case I used pink and violet but you can use the color of your choice
- Scissors
- Cardboard for the base and the flower
- 2 Rolls of kitchen paper towels
- Pencil
- Ruler
- Silicone
- Glitter tape for decoration
- Cutter
- Compact powder mirror that you don't use
.jpg)
💗Pasos a seguir:// Steps to follow:💗
Paso 01
Step 01
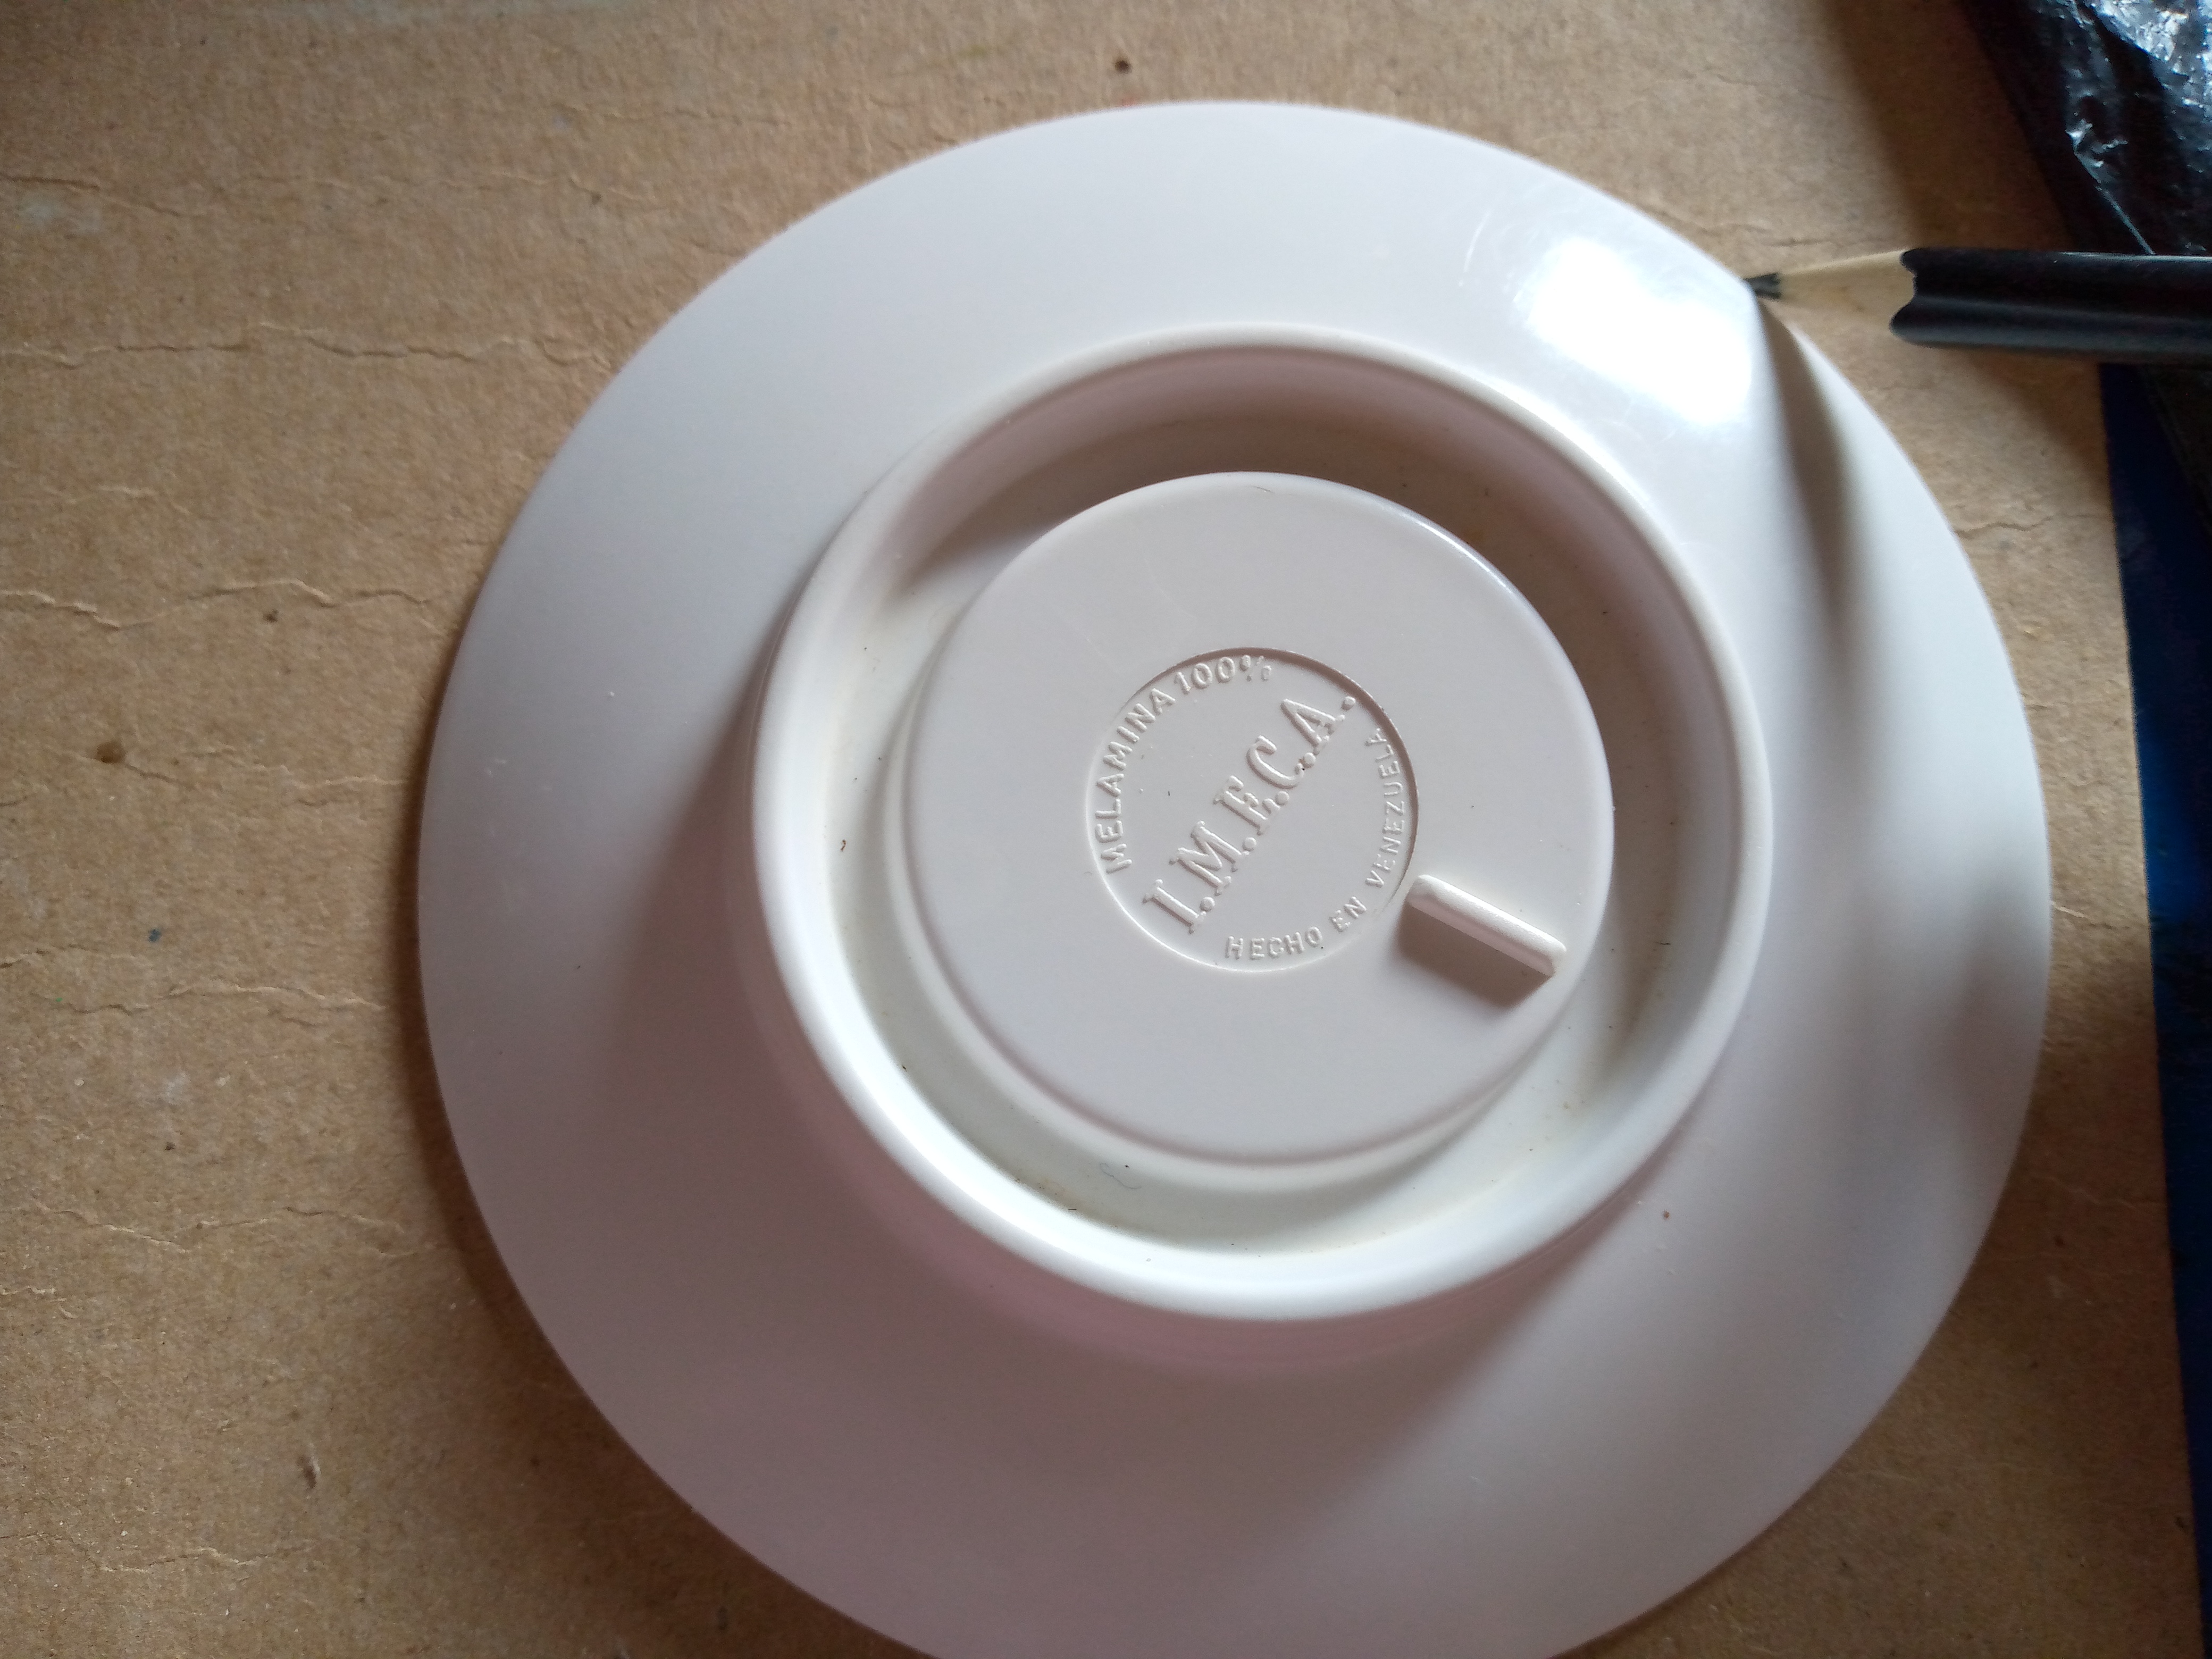
So creative friends, to start I have decided to cut the most important thing for this, the base where I will be placing the cylinders to assemble the organizer, I have gotten a round plate from my mother's pot that is not so big and I have simply marked it around the edge with my pencil and cut it out.
%20(1).jpg)
Paso 02
Step 02
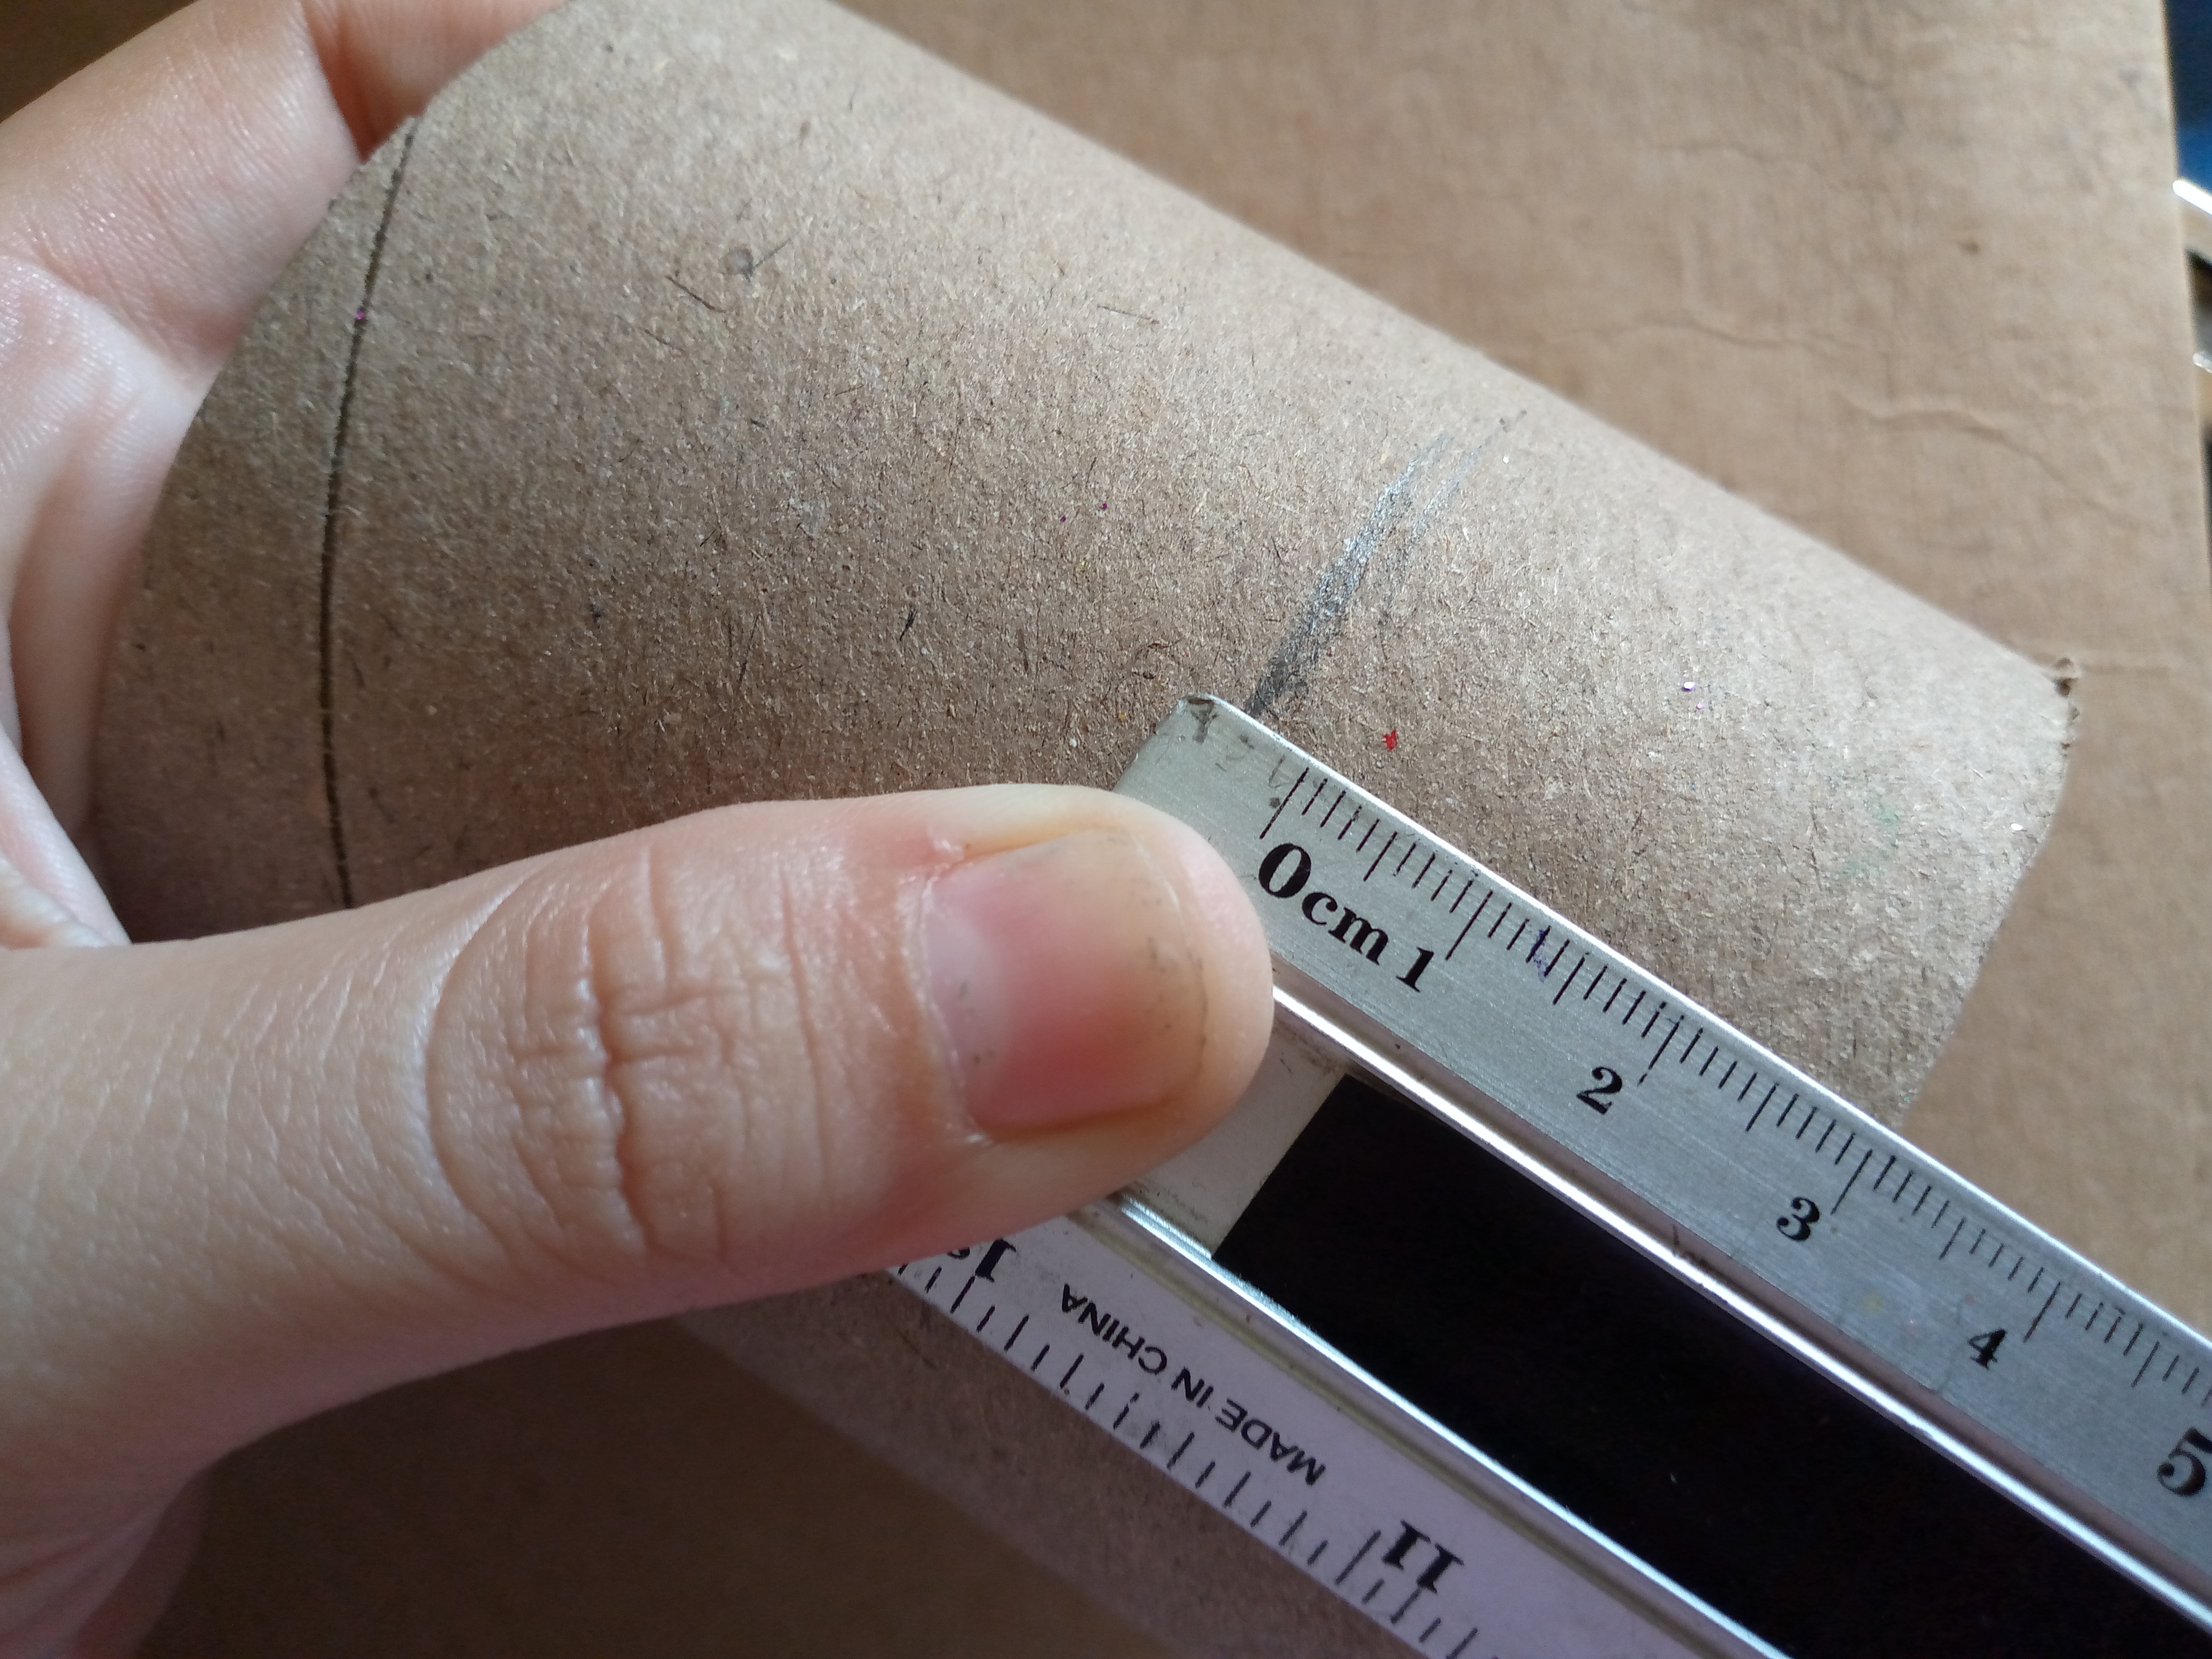
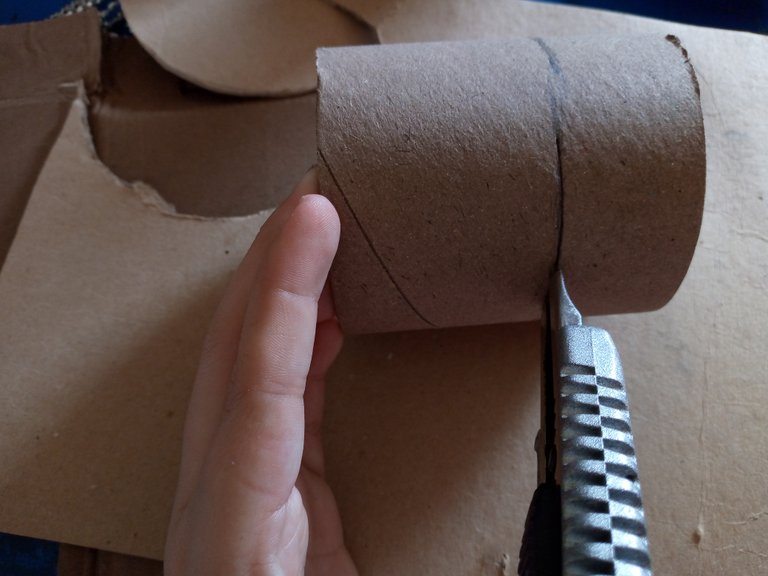
We proceed to mark the cylinder 3 cm upwards because we are going to be gluing or joining those 3 cm of cardboard cylinder to the other one. This is to make the organizer a little longer. So once we have cut it with our cutter, being extremely careful, I proceeded to glue it with silicone to the other cylinder.

Paso 03
Step 03
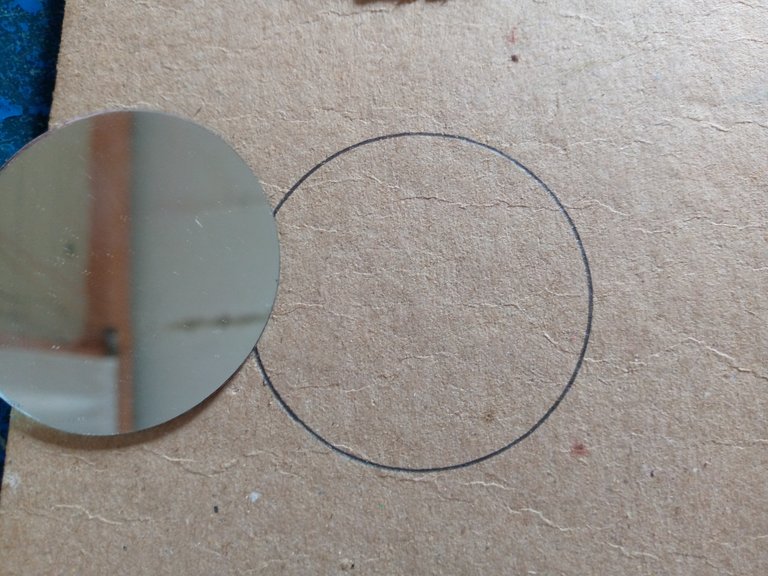
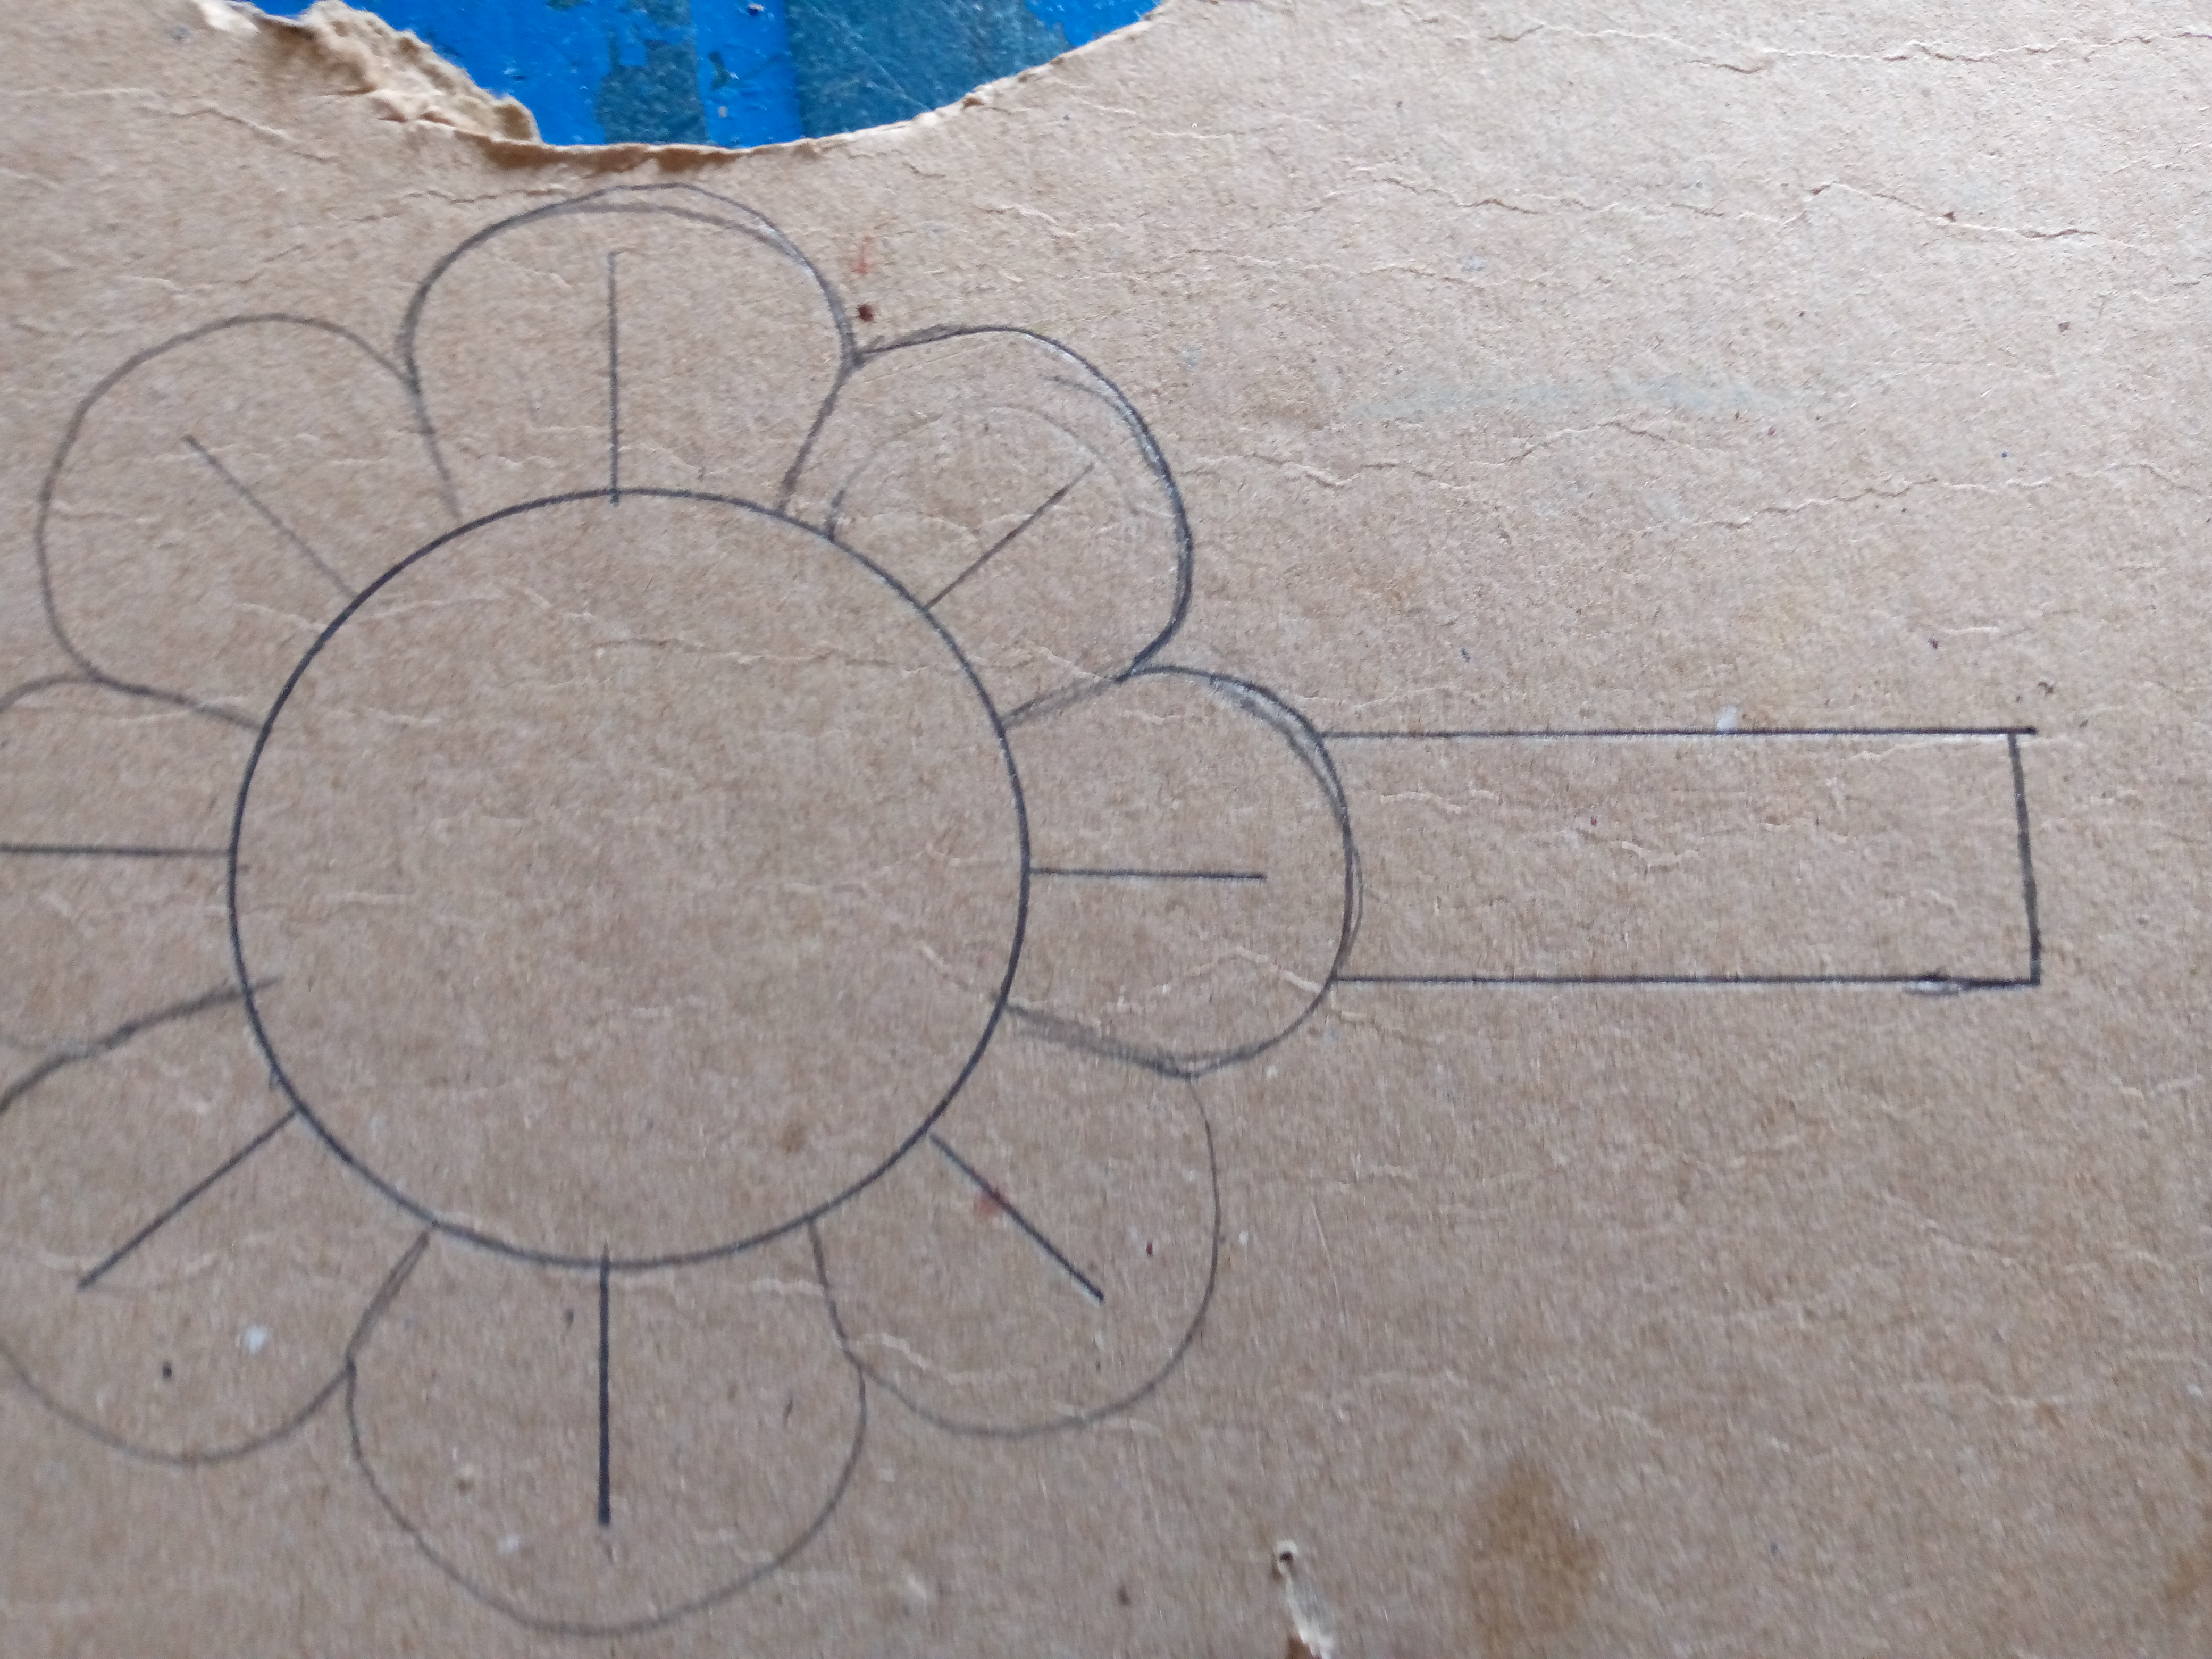
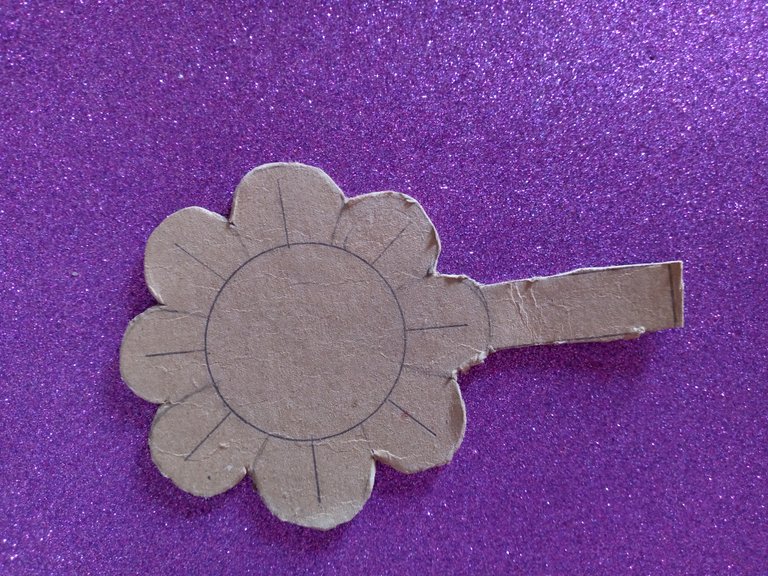
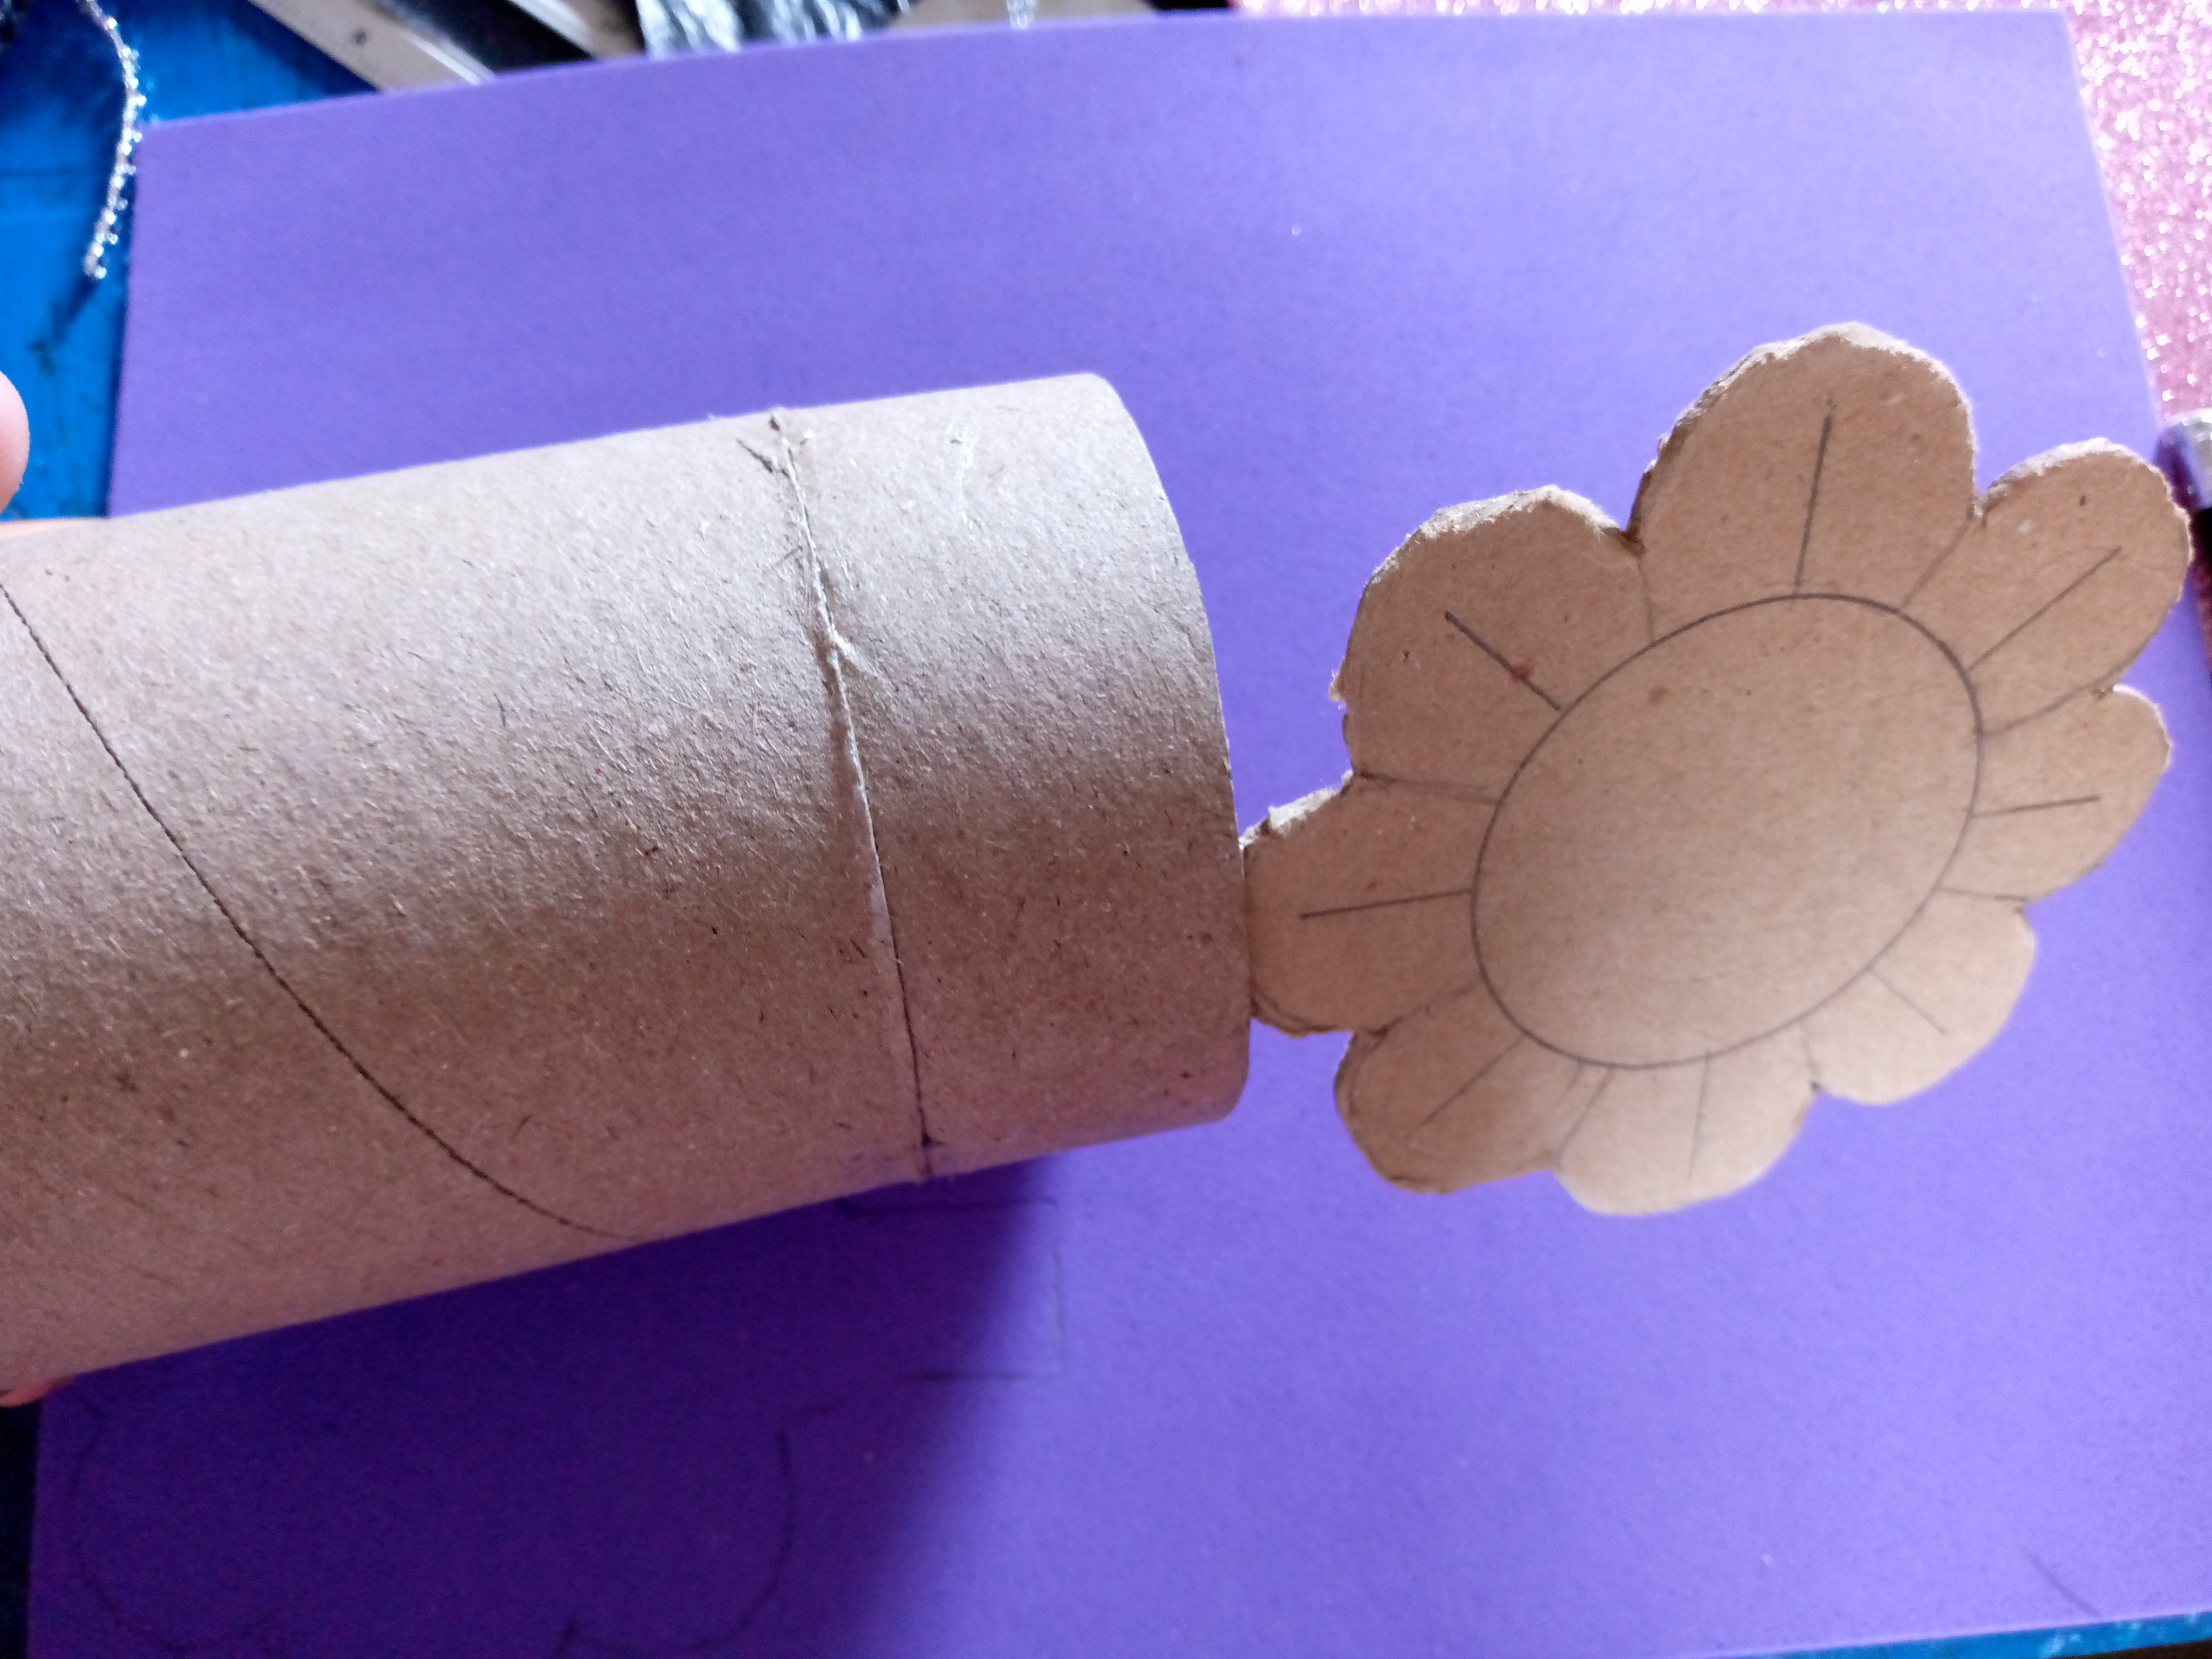
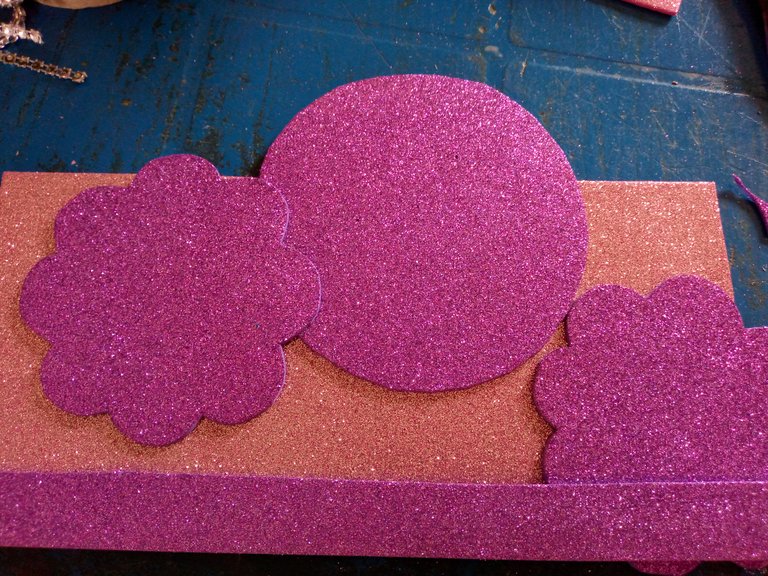
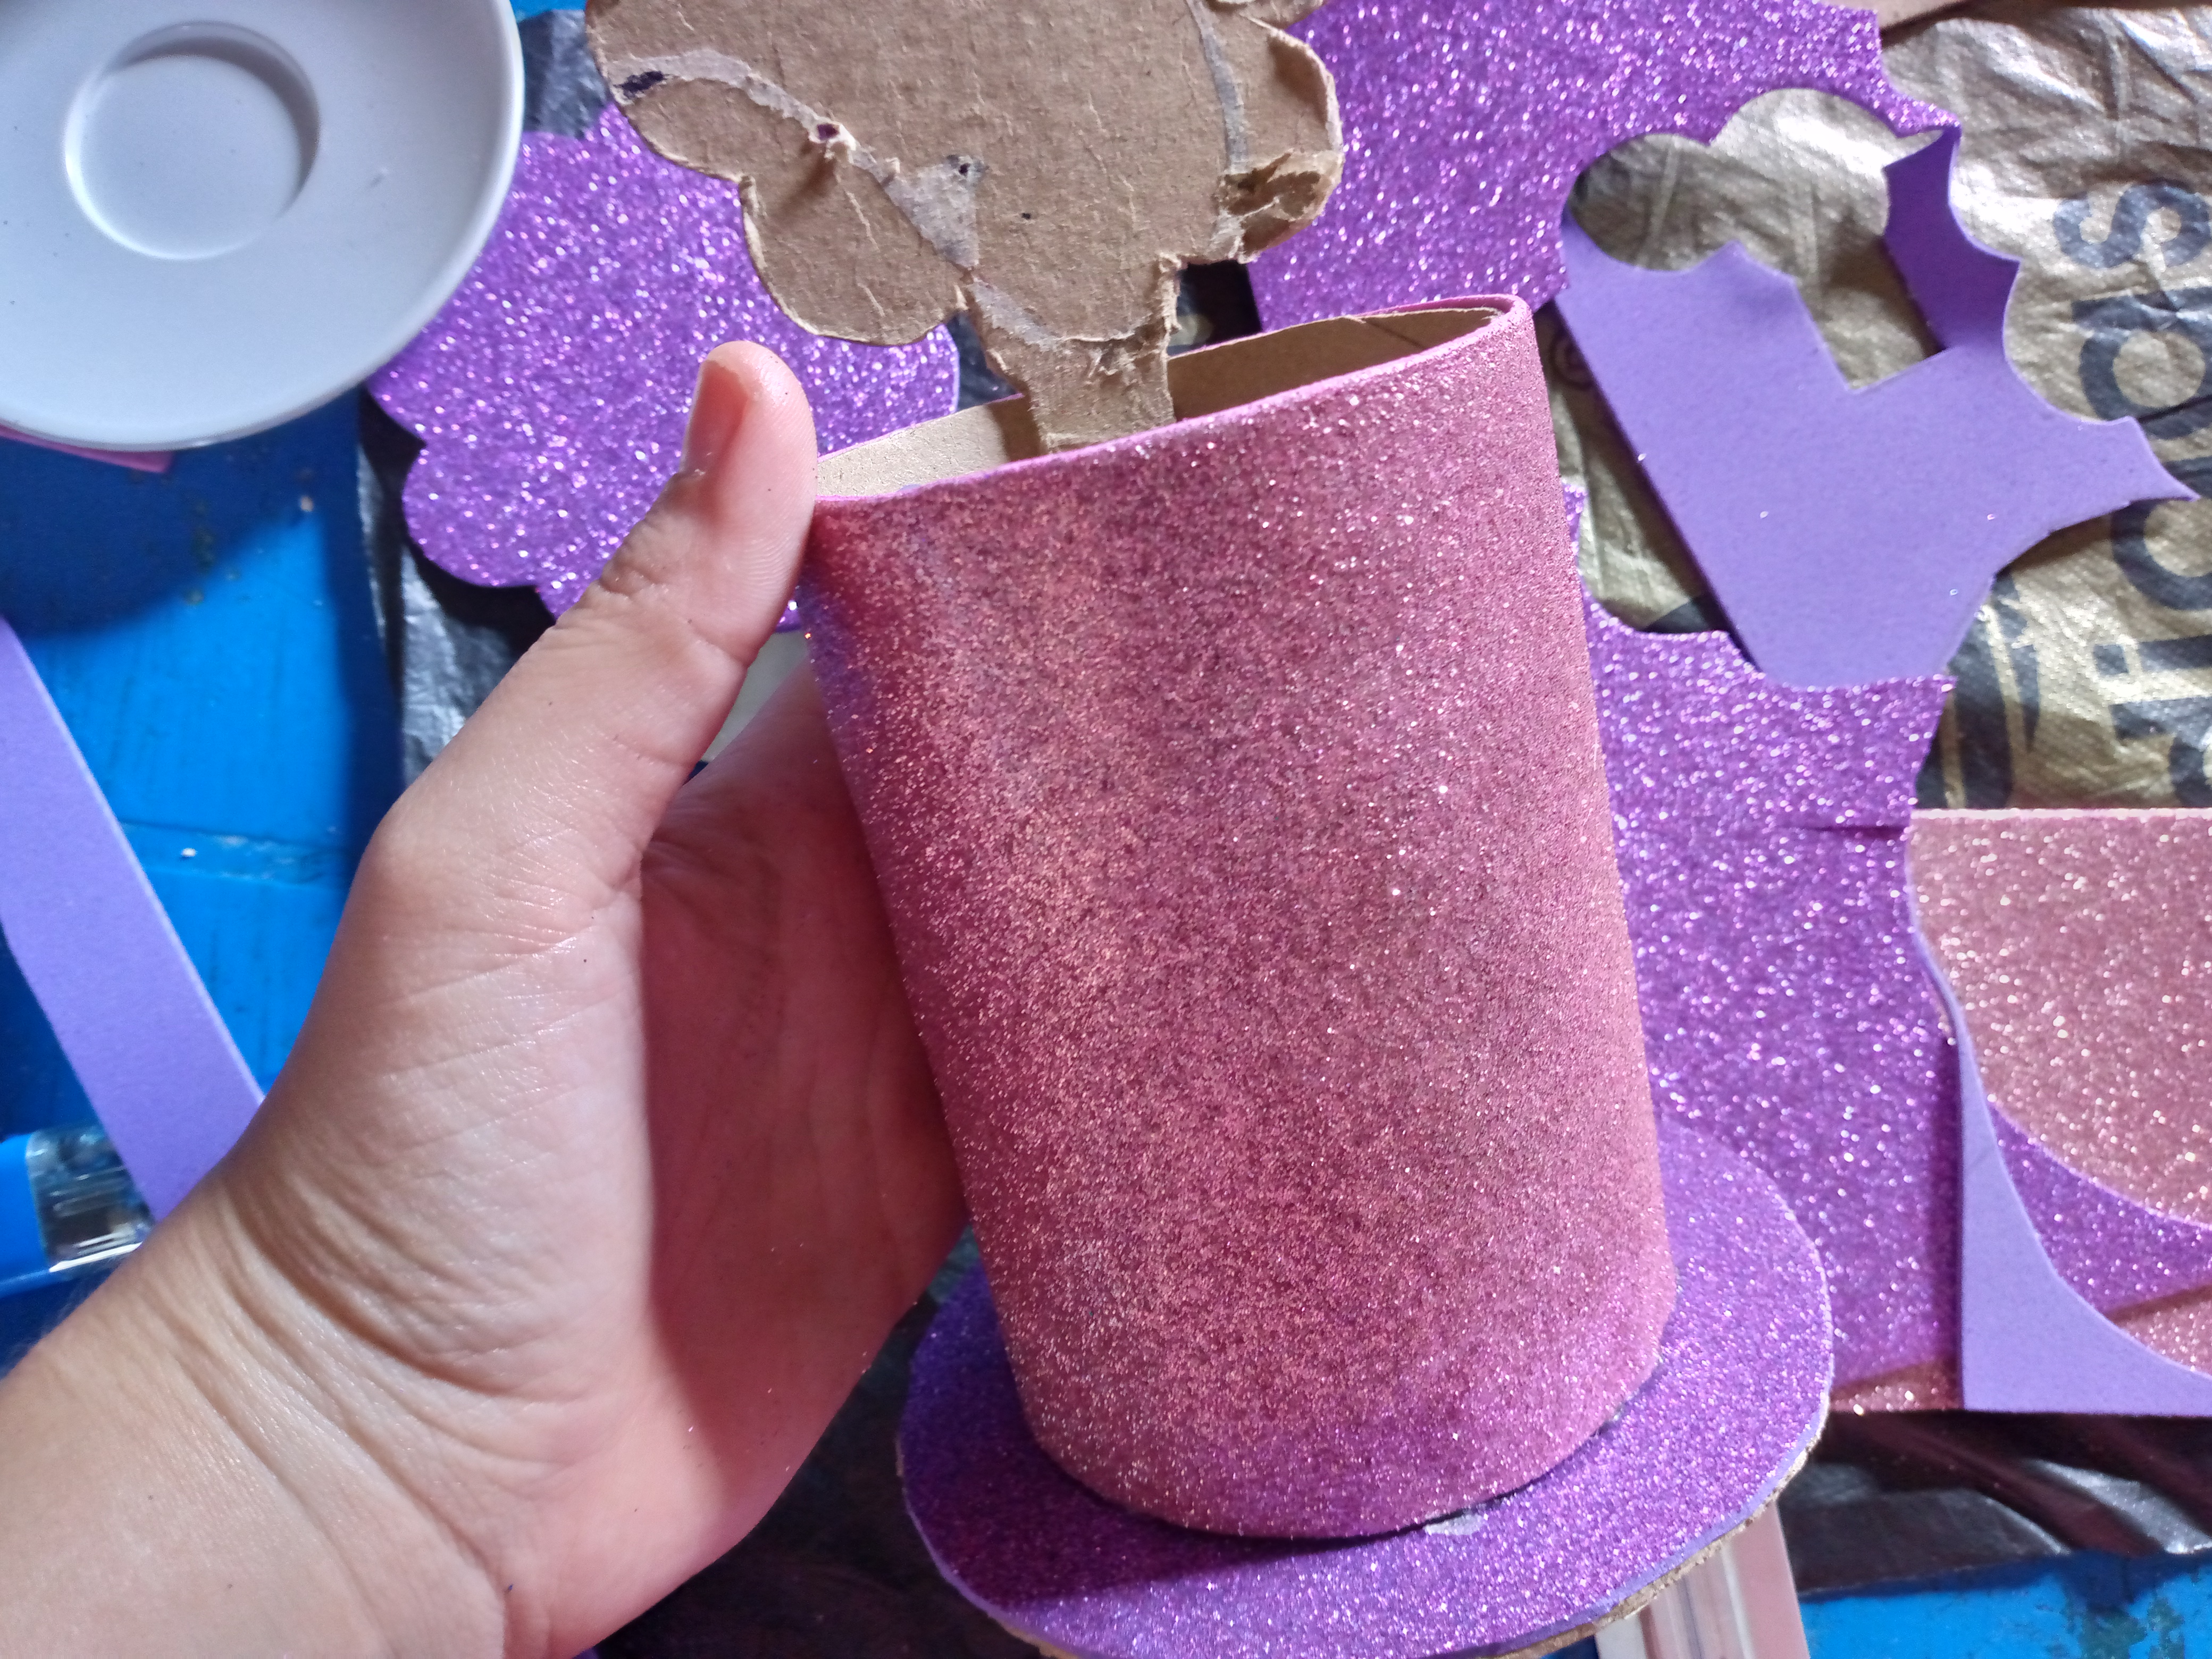
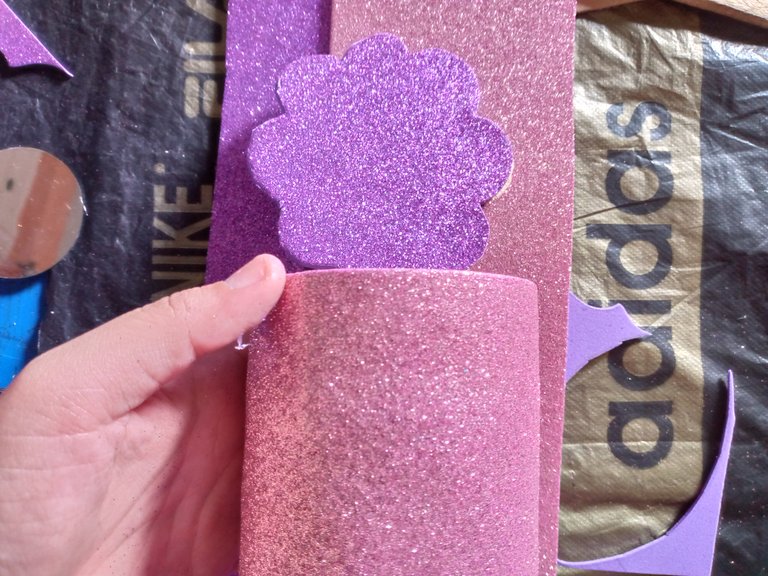
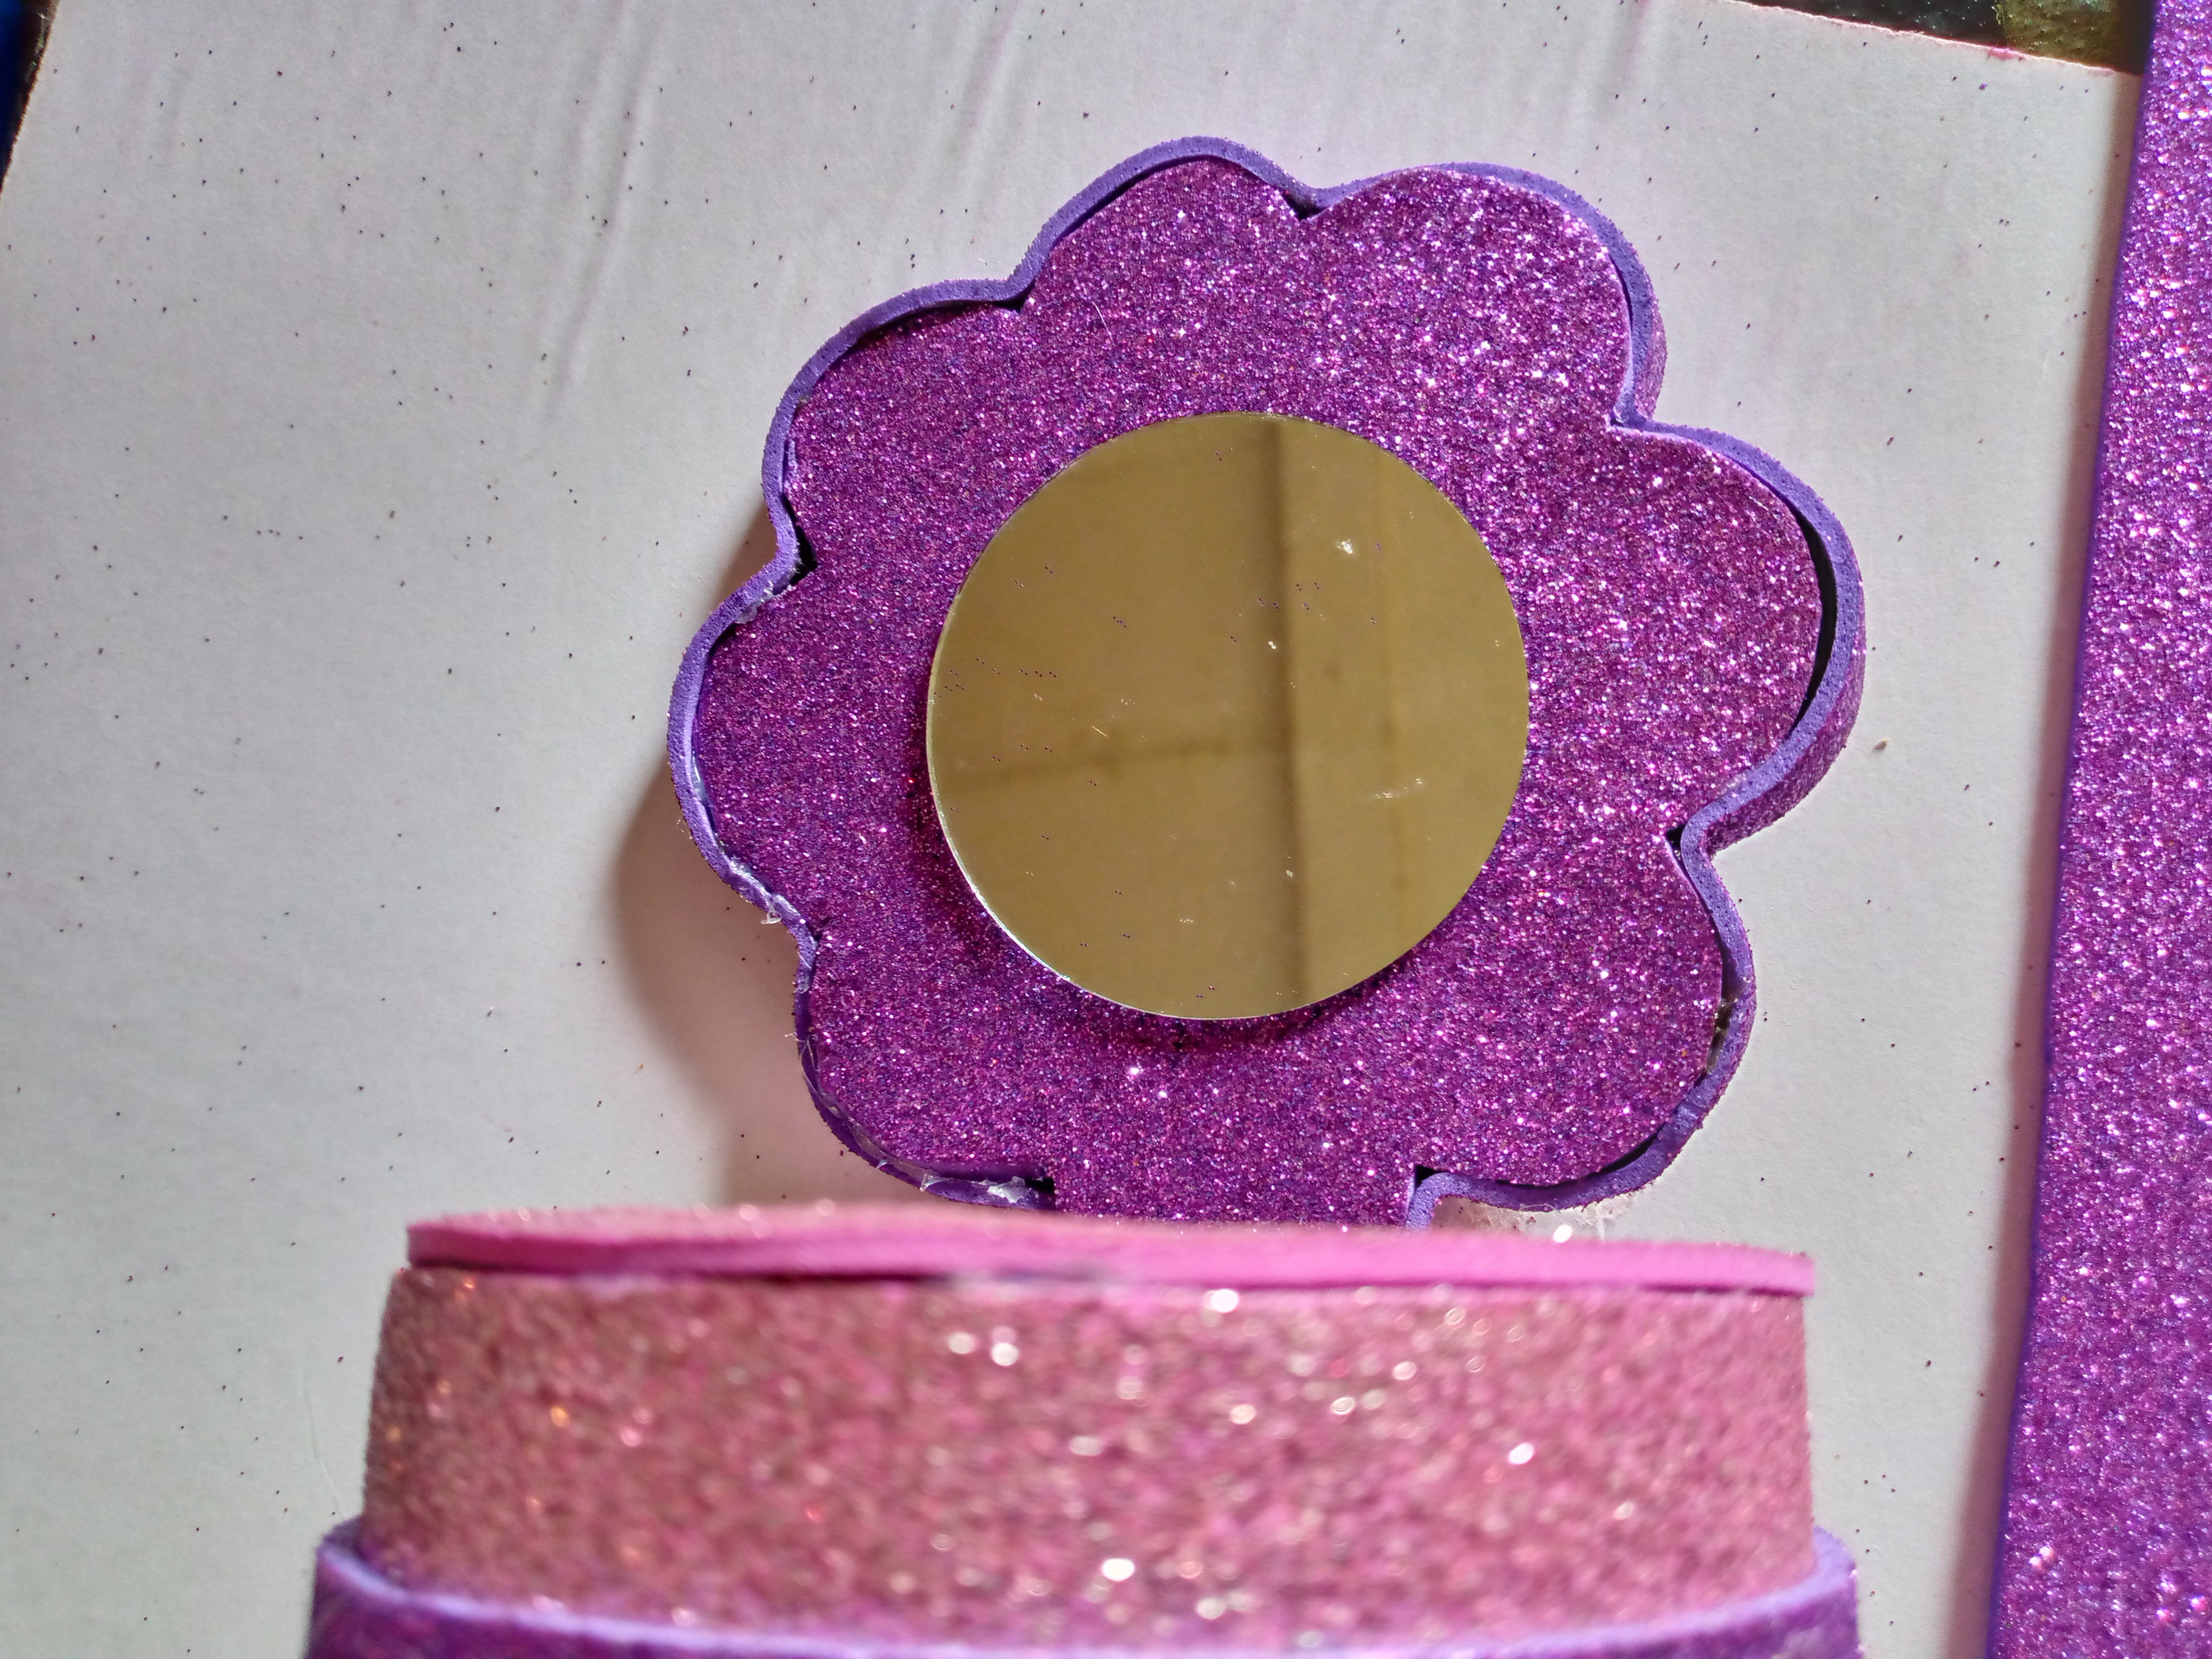
As a next step, on the leftover cardboard I will be marking the edge of my mirror and making some lines approximately 2 cm long because this guide will help me make the petals. I will make the petals of my flower and I will make a small, somewhat long stem with the same cardboard. I will proceed to cut it and glue our stem inside the cardboard cylinder. The flower should be right at the edge of the cylinder at the top. This is so that the flower does not fall and is firmly glued with our silicone. Then I will be cutting the pieces in our shiny foam to cover the cardboard pieces. We start with the base and then glue the cylinder to the base and cover the cylinder with pink foam.
Paso 04
Step 04
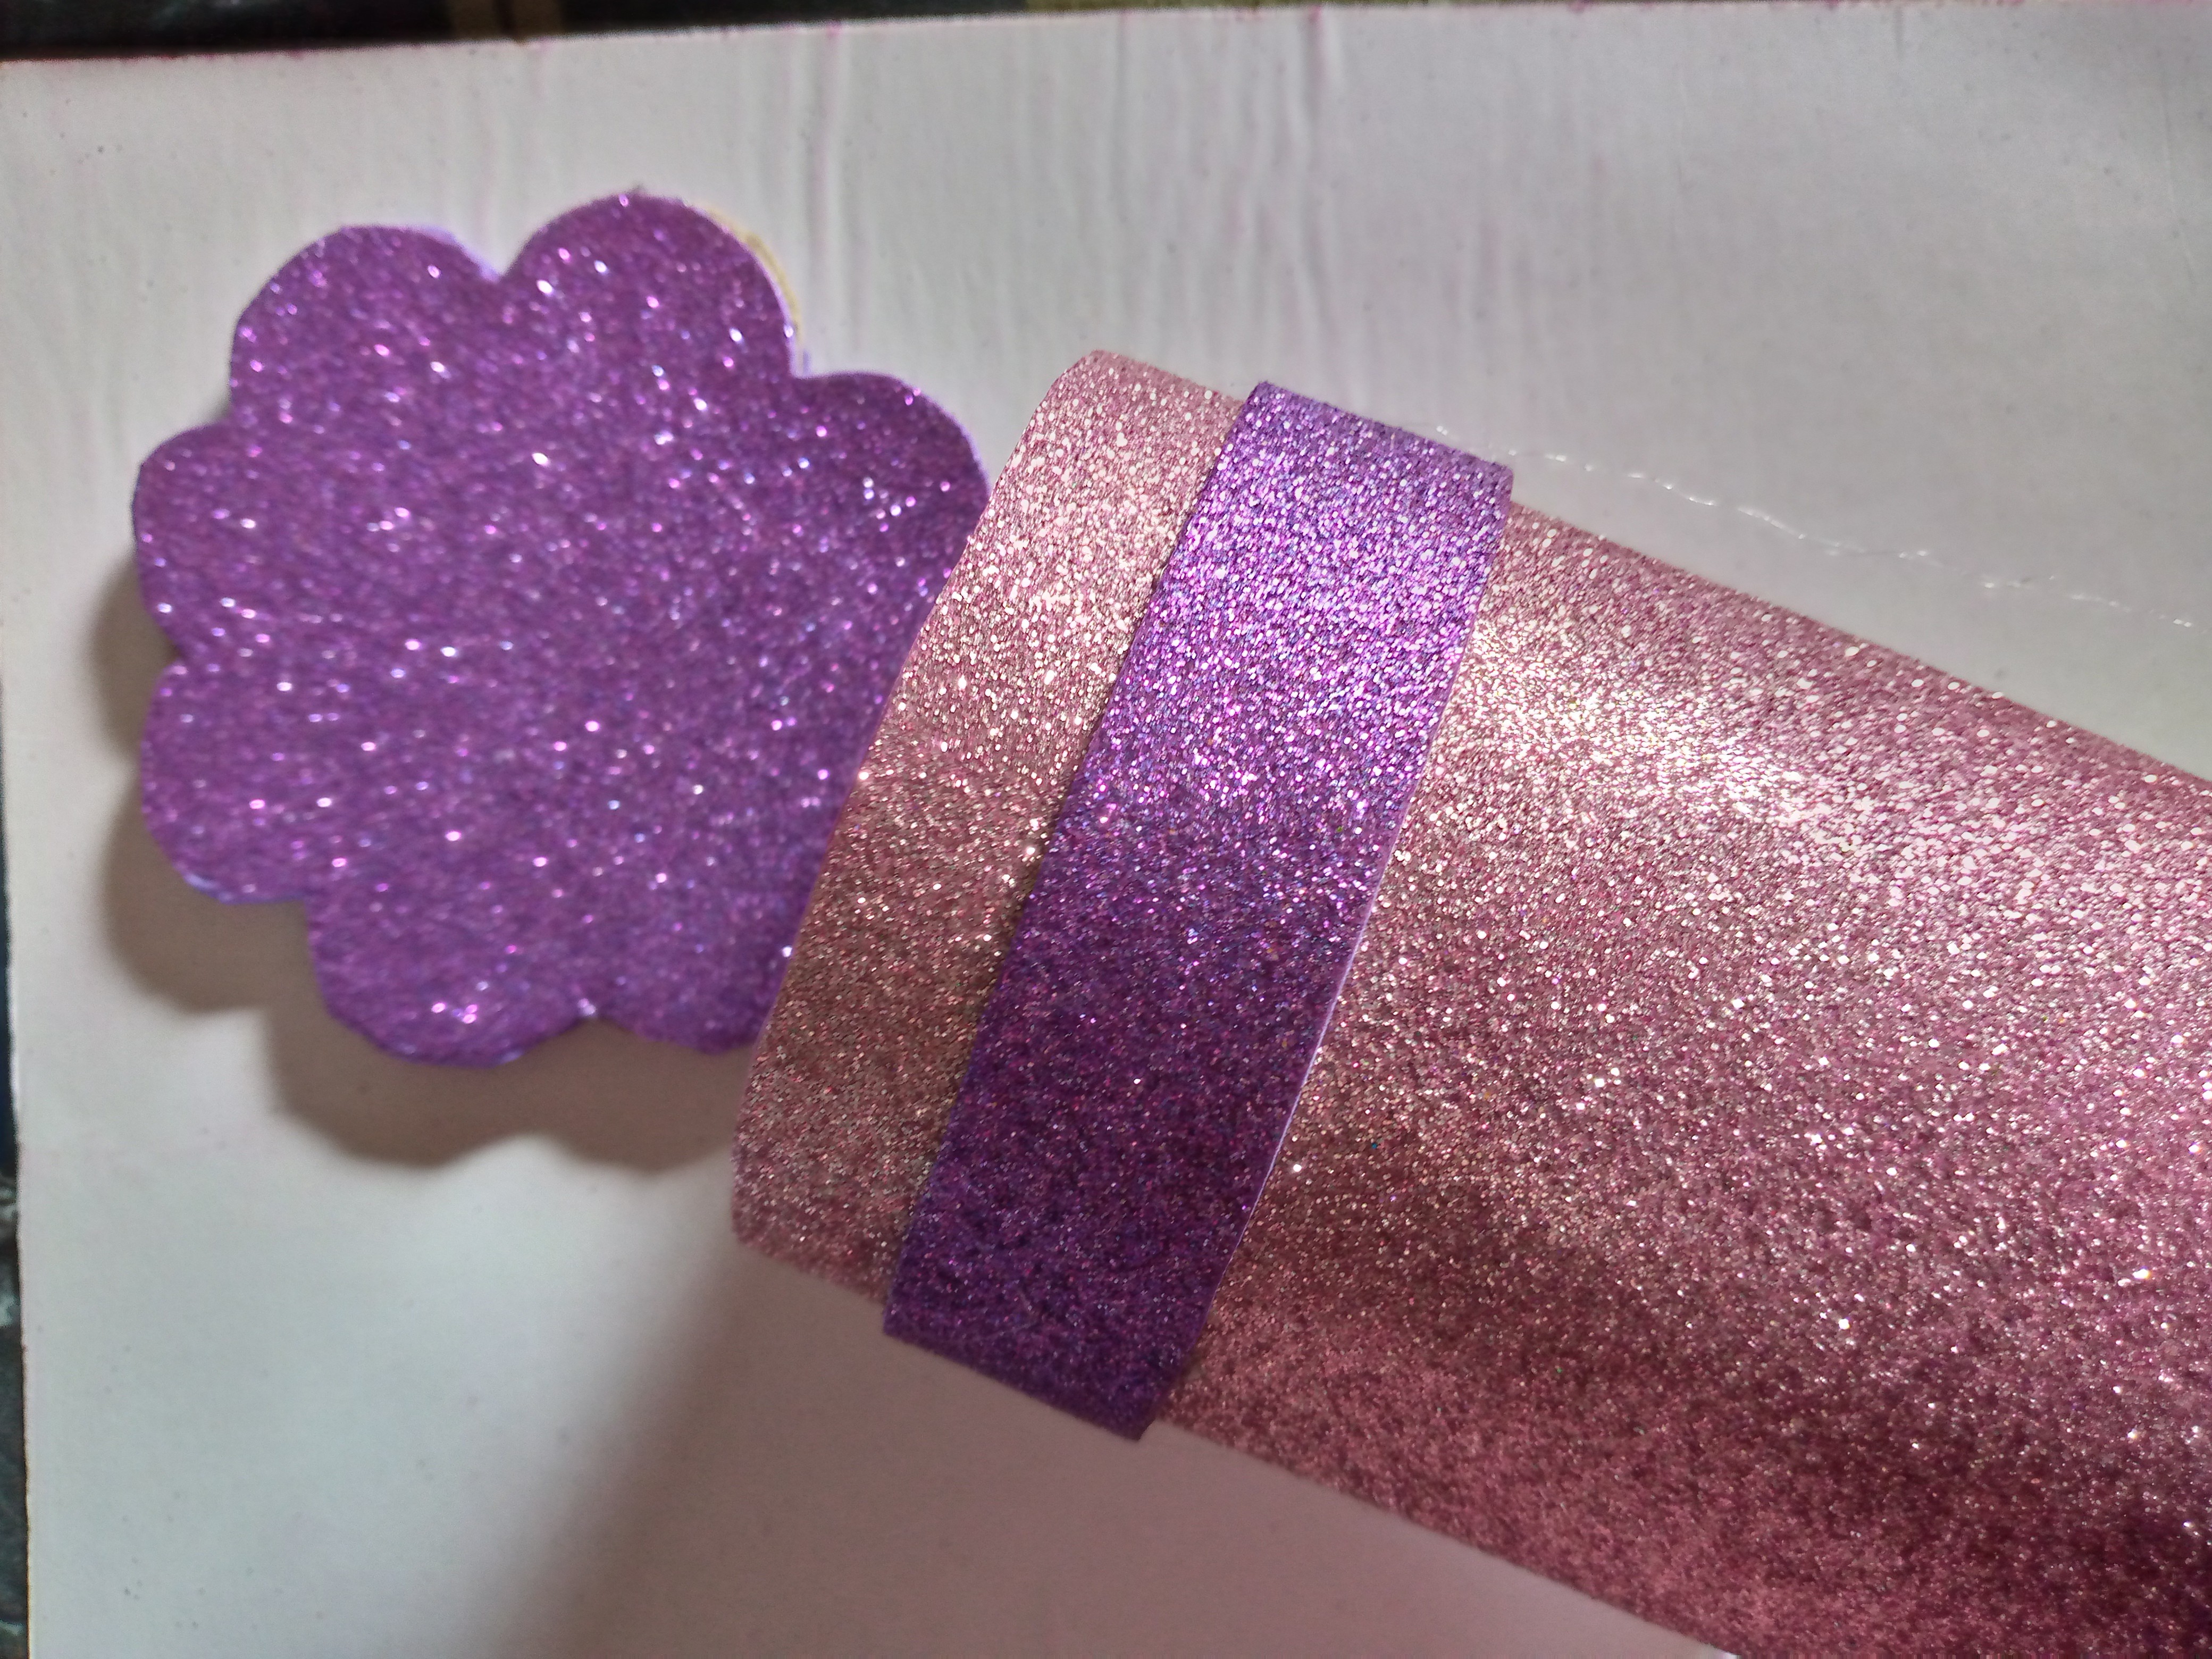
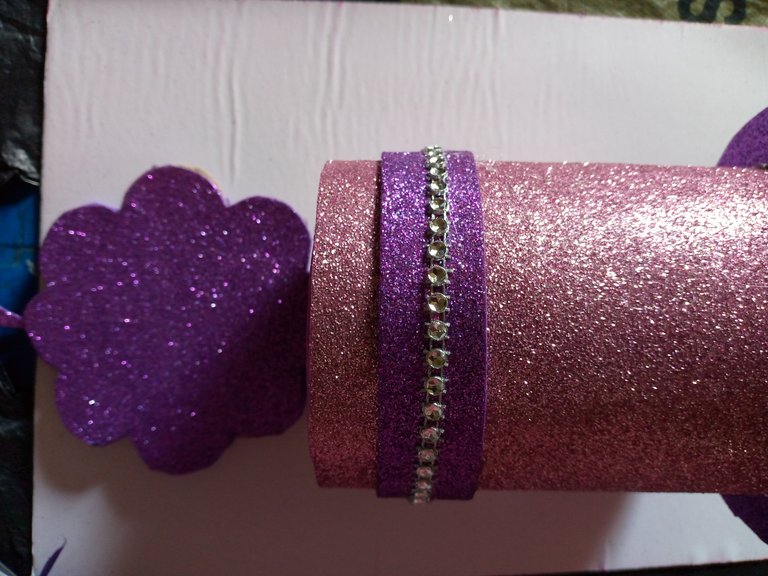
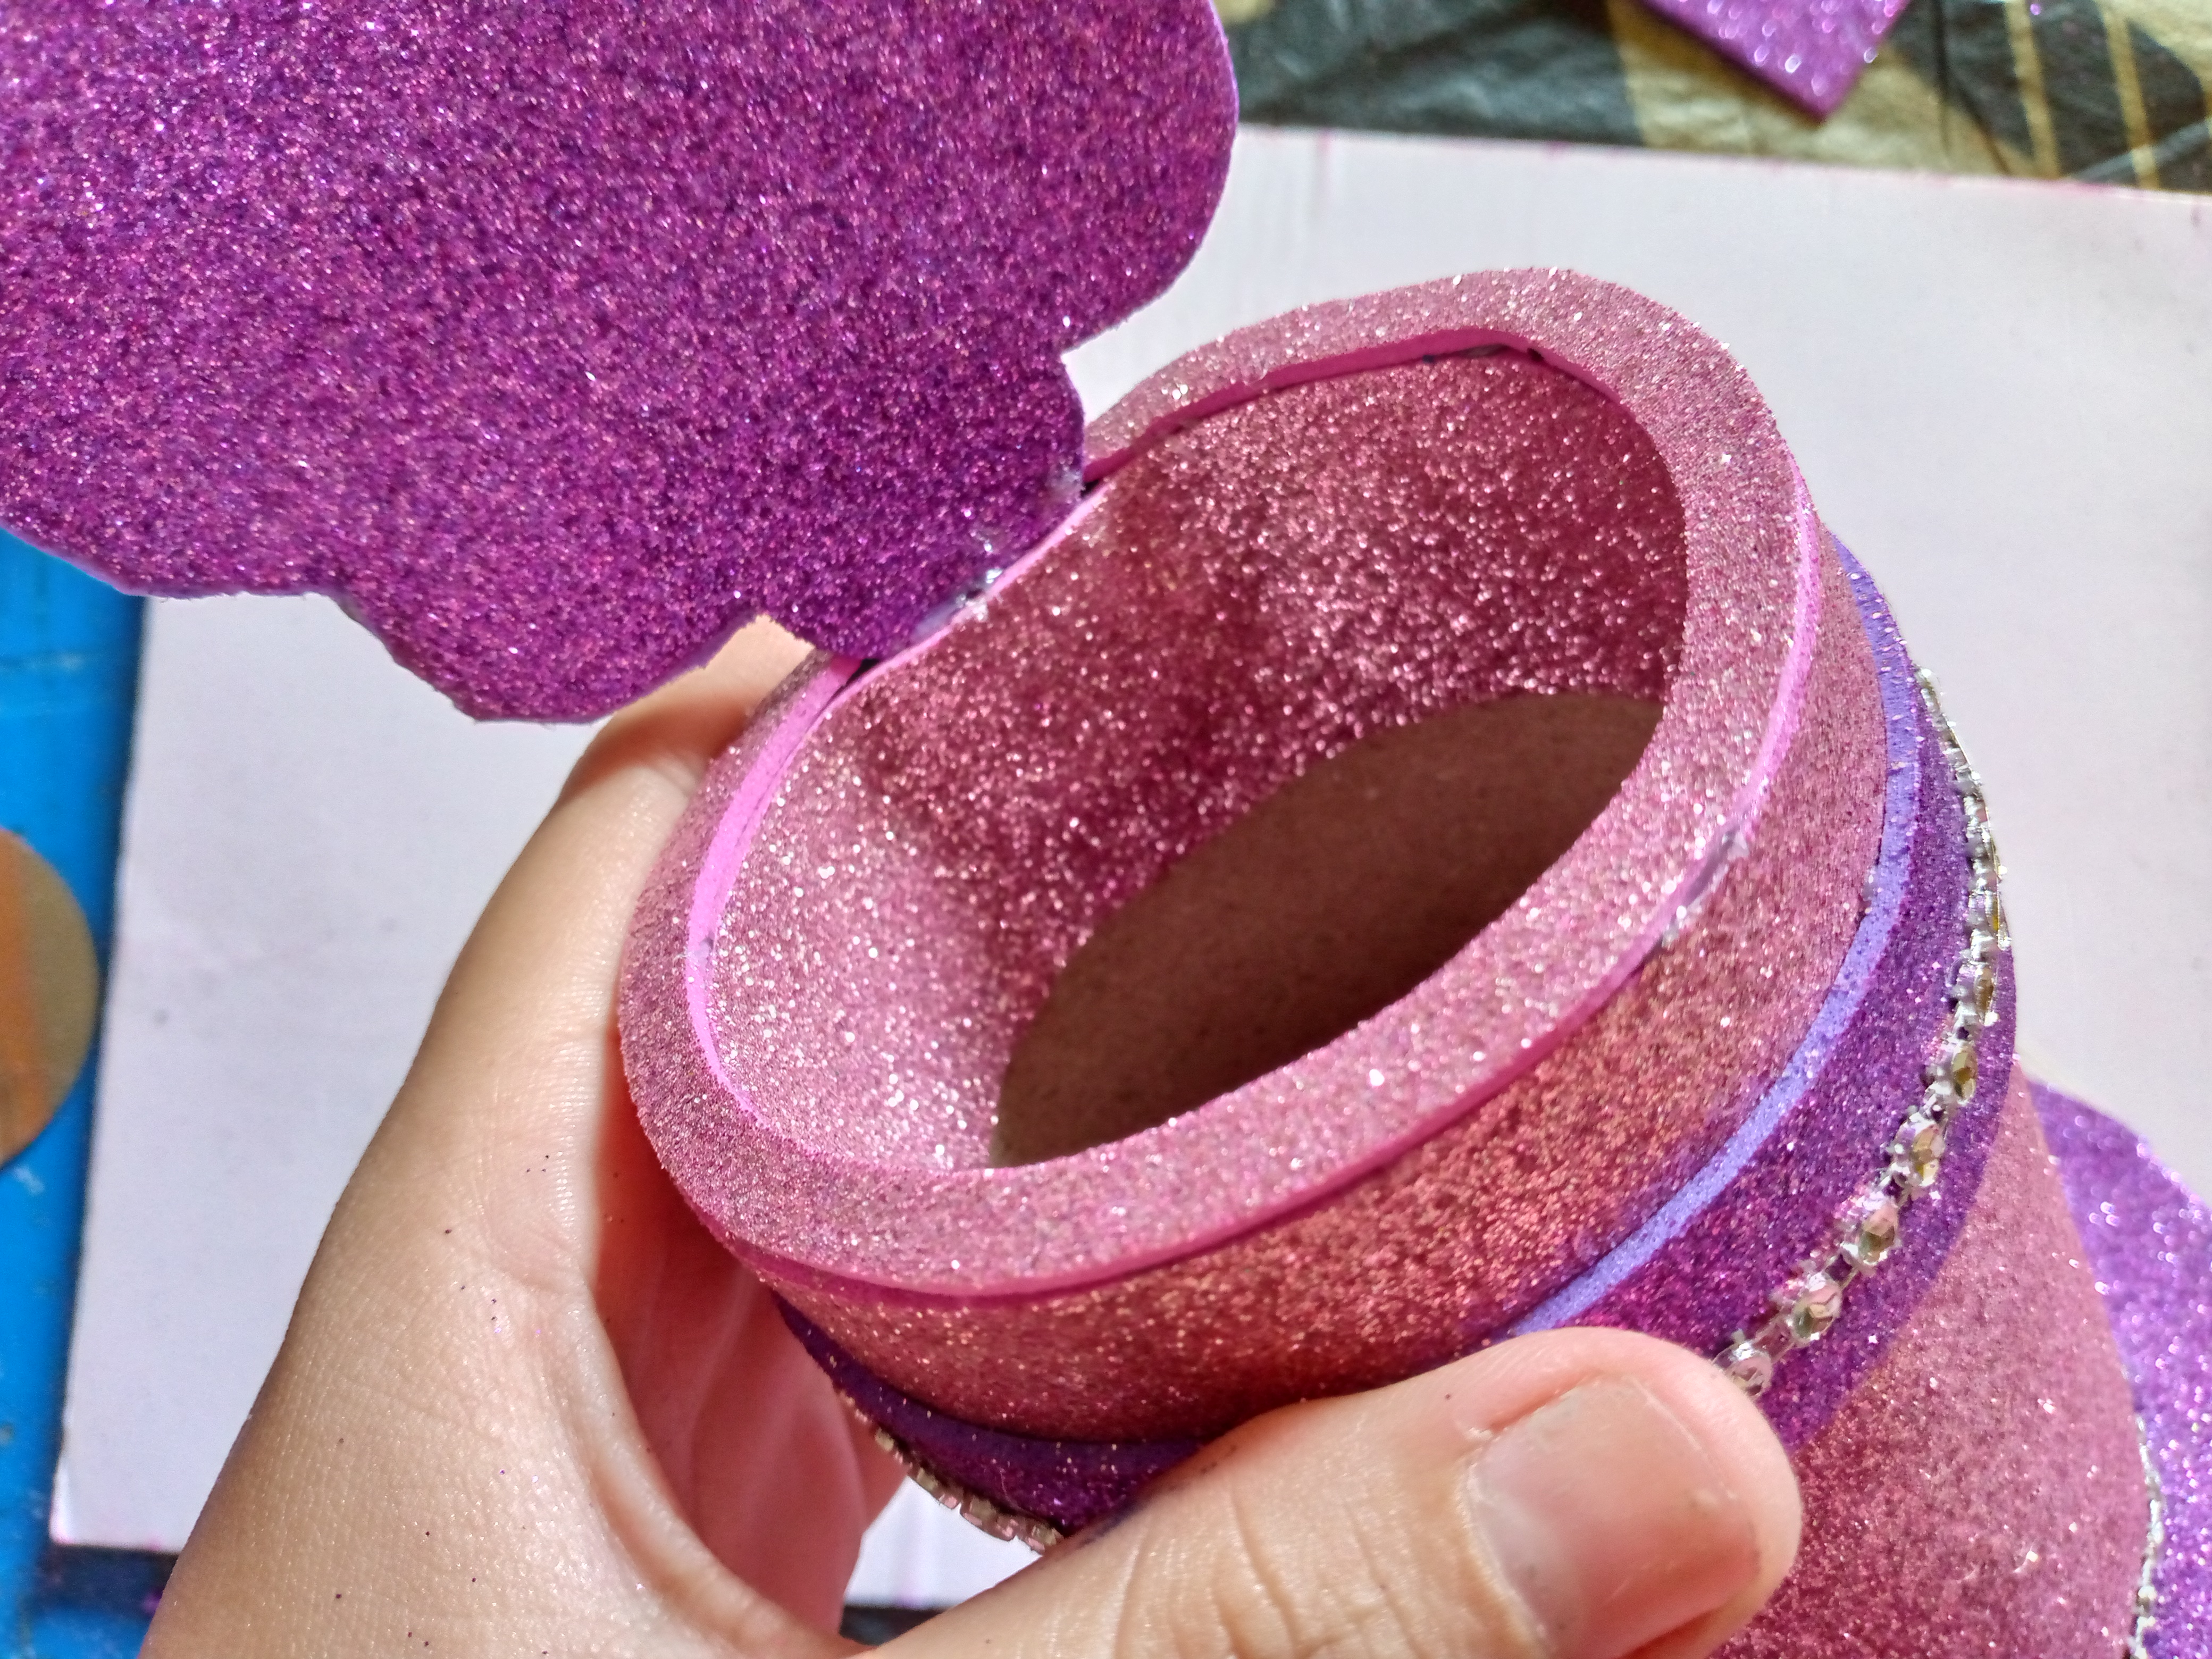
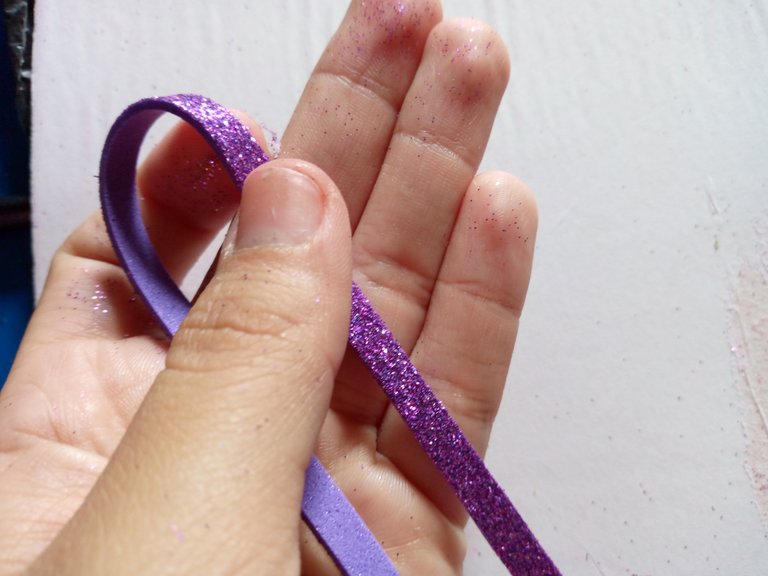
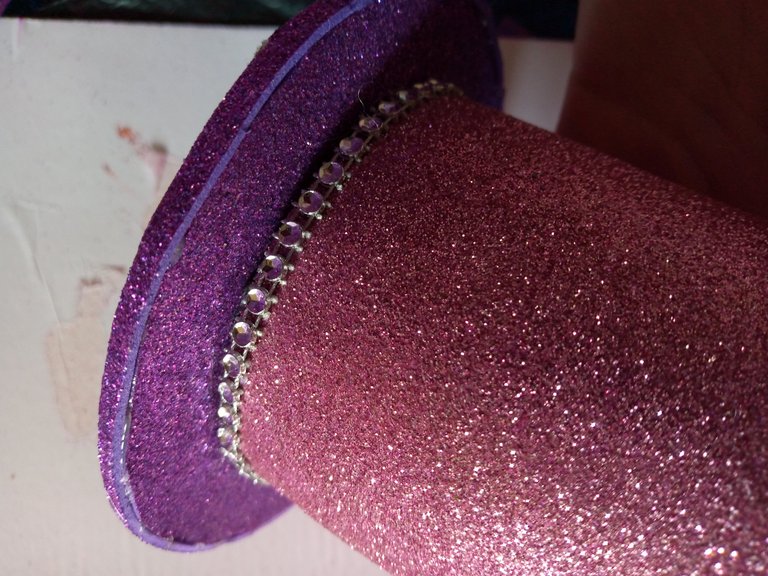
We continue covering the flower with violet foam color and I will be placing a violet foam ribbon on the base part and I will be using my shiny decorative ribbon to stick it right in the center of the foam and this detail will look very nice, I will go on to cut somewhat thin strips of foam and I will be gluing them along the edges of the cylinder where the cardboard is still visible, we are going to cover it, also along the edge of the flower I will be placing this strip and gluing it well so we cover these parts.

Paso 05
Step 05
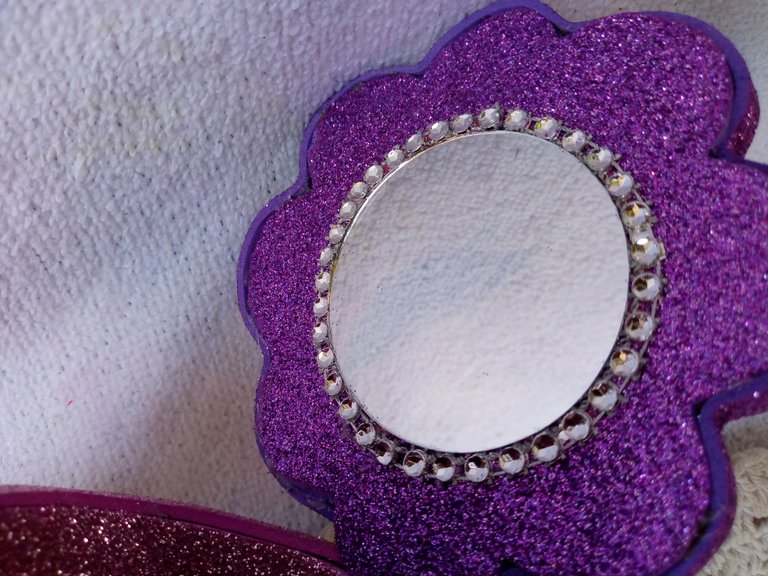
At the bottom of our cylinder I will also be gluing shiny tape so that the cracks cannot be seen and to decorate it I feel that in that part I could not miss placing the tape, once it dries we can glue our mirror right in the center of the flower on the top, that is, in the front, I will also be decorating it around the edge with the decorative tape when I finished gluing it I could not stop looking at how pretty it looked, this way we finished it.
.jpg)
💗Resultado //Result:💗
The process of drying the liquid silicone is somewhat slow, so I recommend that if you work with it, let the pieces dry for a while and then continue working like this, our ornament will be well glued and with a good finish, with that there is no more tip to tell you and the most anticipated moment has arrived "The results", this is how it looks super cute with the brushes inside and only without the brushes, I loved it a lot and I hope you do the same, comment what you thought and if you had seen this type of organizer made with recyclable materials, I leave you these beautiful photos and with that I say goodbye to you wishing you a happy afternoon, see you friends. 💜✨

.jpg)
Creating things with love 🌷❤️
🦋✨ All the images in this publication are my author ,📱taken with my TecnoSpark8C cell phone |📸Photos edited in PicsArt and Canva. Text translated in Google Translate.
Follow me for more content 📌
