.png)
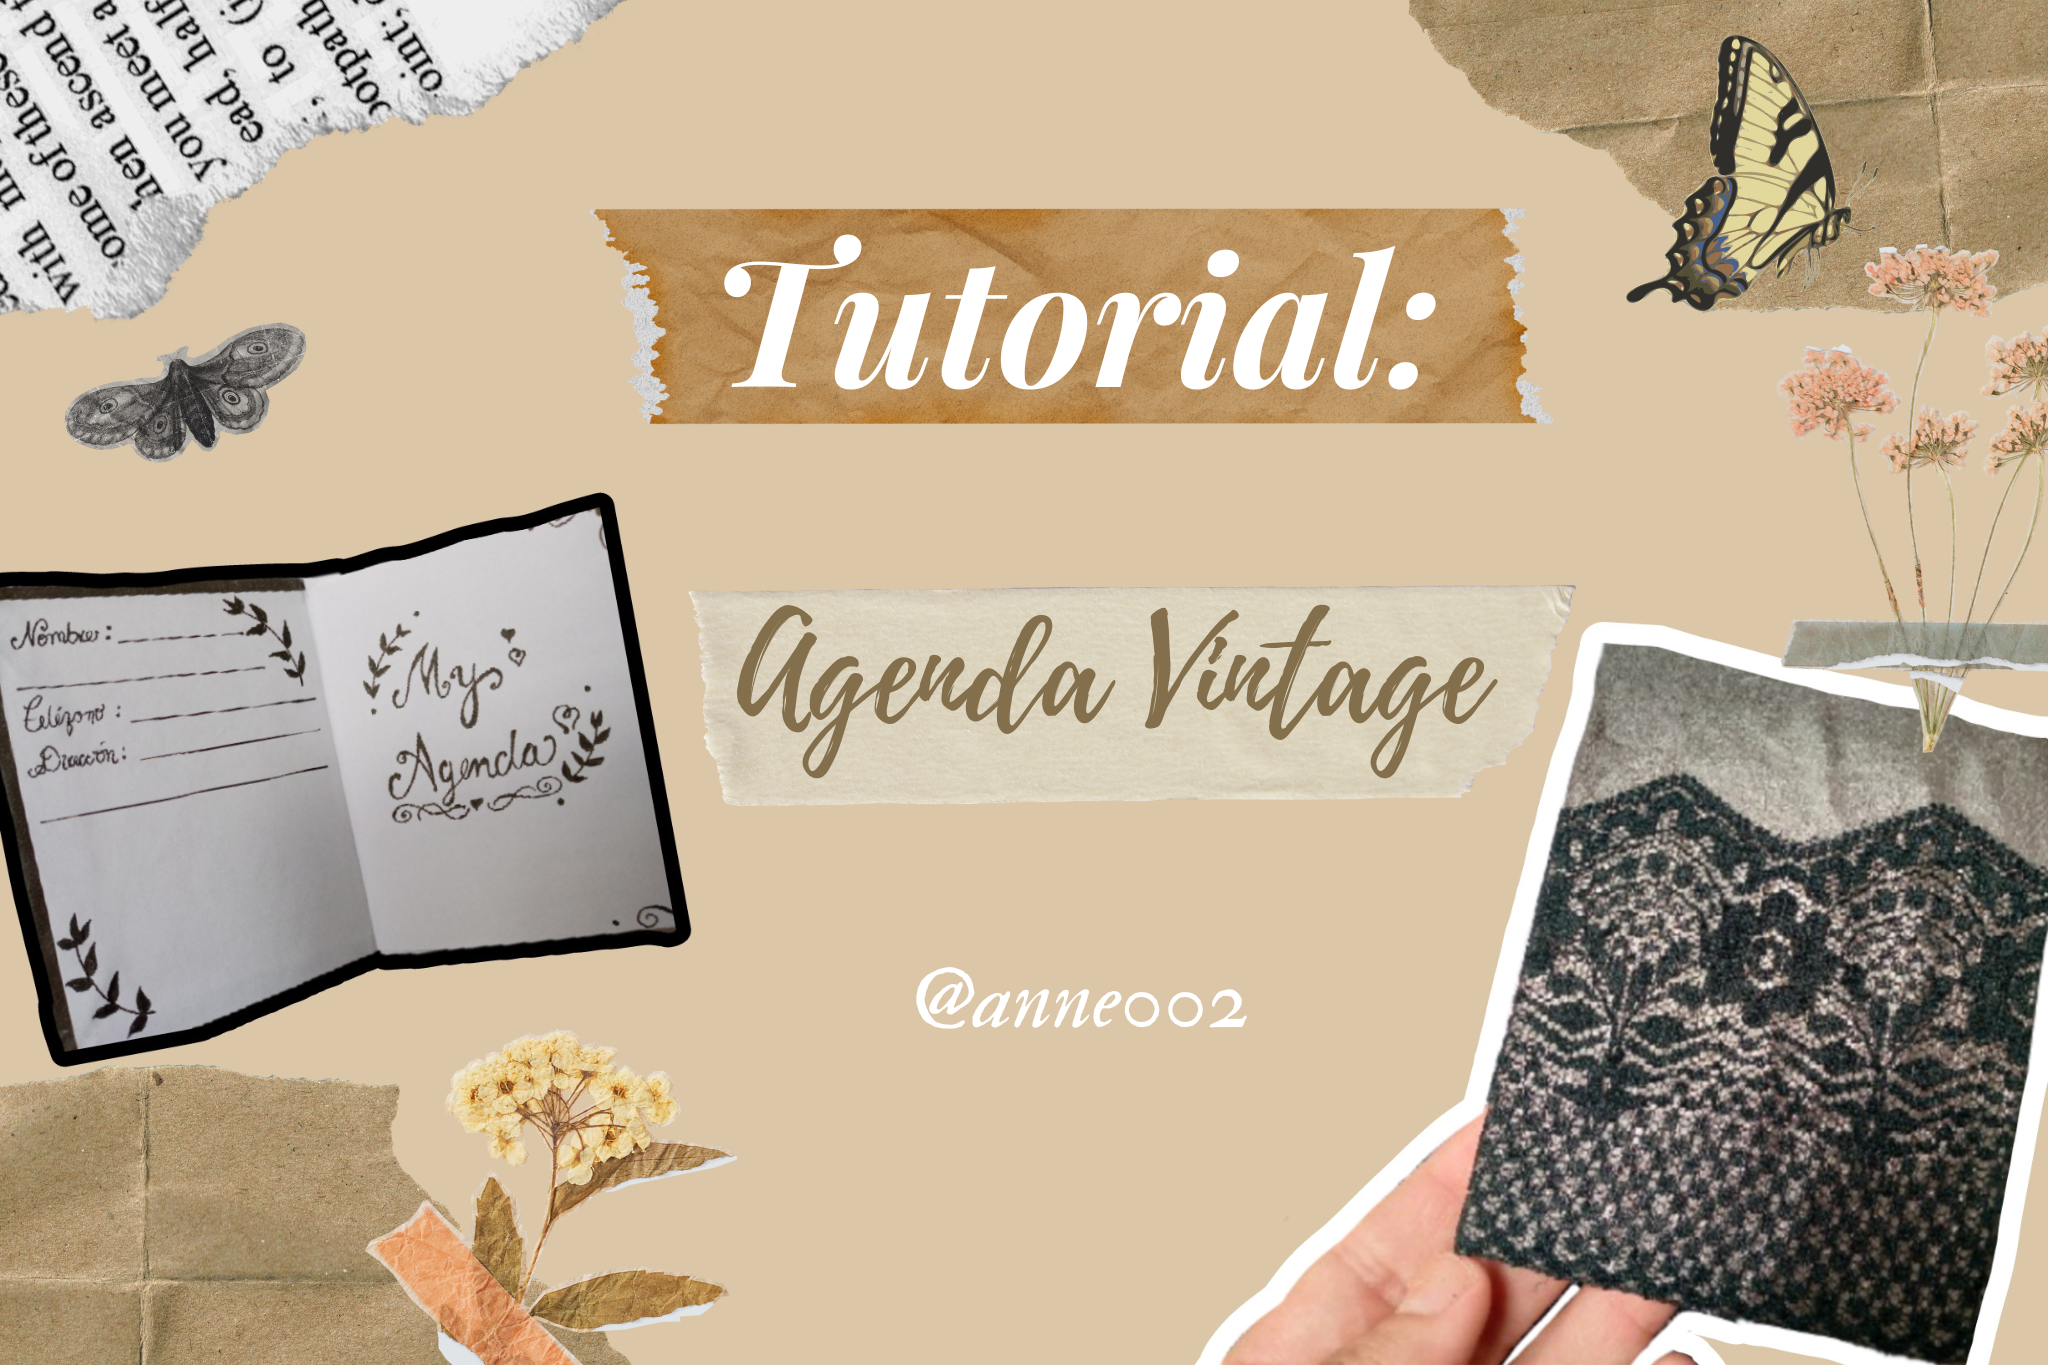
Good afternoon my dear readers, I welcome you on this occasion to my creative blog, 😊 where I will be teaching you how to make this cute little book-type notebook with just a few materials so that it is easier to carry your notes in a small diary like this one. I really love this type of little notebook since I can carry it in any small bag.
If you want to know how I made it, I invite you to watch the step by step and I know you will like the final result very much and I hope it serves as an idea for you to make this type of notebooks and other larger ones, so let's go with the materials.
.jpg)
.png)
Materiales que usé:
Materials i used:
.png)
- Trozo de cartón delgado
- Pega y silicón líquido
- Lápiz
- Regla
- Hojas blancas
- Tijera
- Pinturas por si deseas decorar tu libreta
- Encaje del color de tu preferencia
- Papel en forma de semicuero o cartulina
- Piece of thin cardboard
- Glue and liquid silicone
- Pencil
- Ruler
- White sheets
- Scissors
- Paints in case you want to decorate your notebook
- Lace in the color of your choice
- Semi-leather or cardboard-shaped paper
.png)
Pasos a seguir:
Steps to follow:
.png)
Paso 01
Step 01
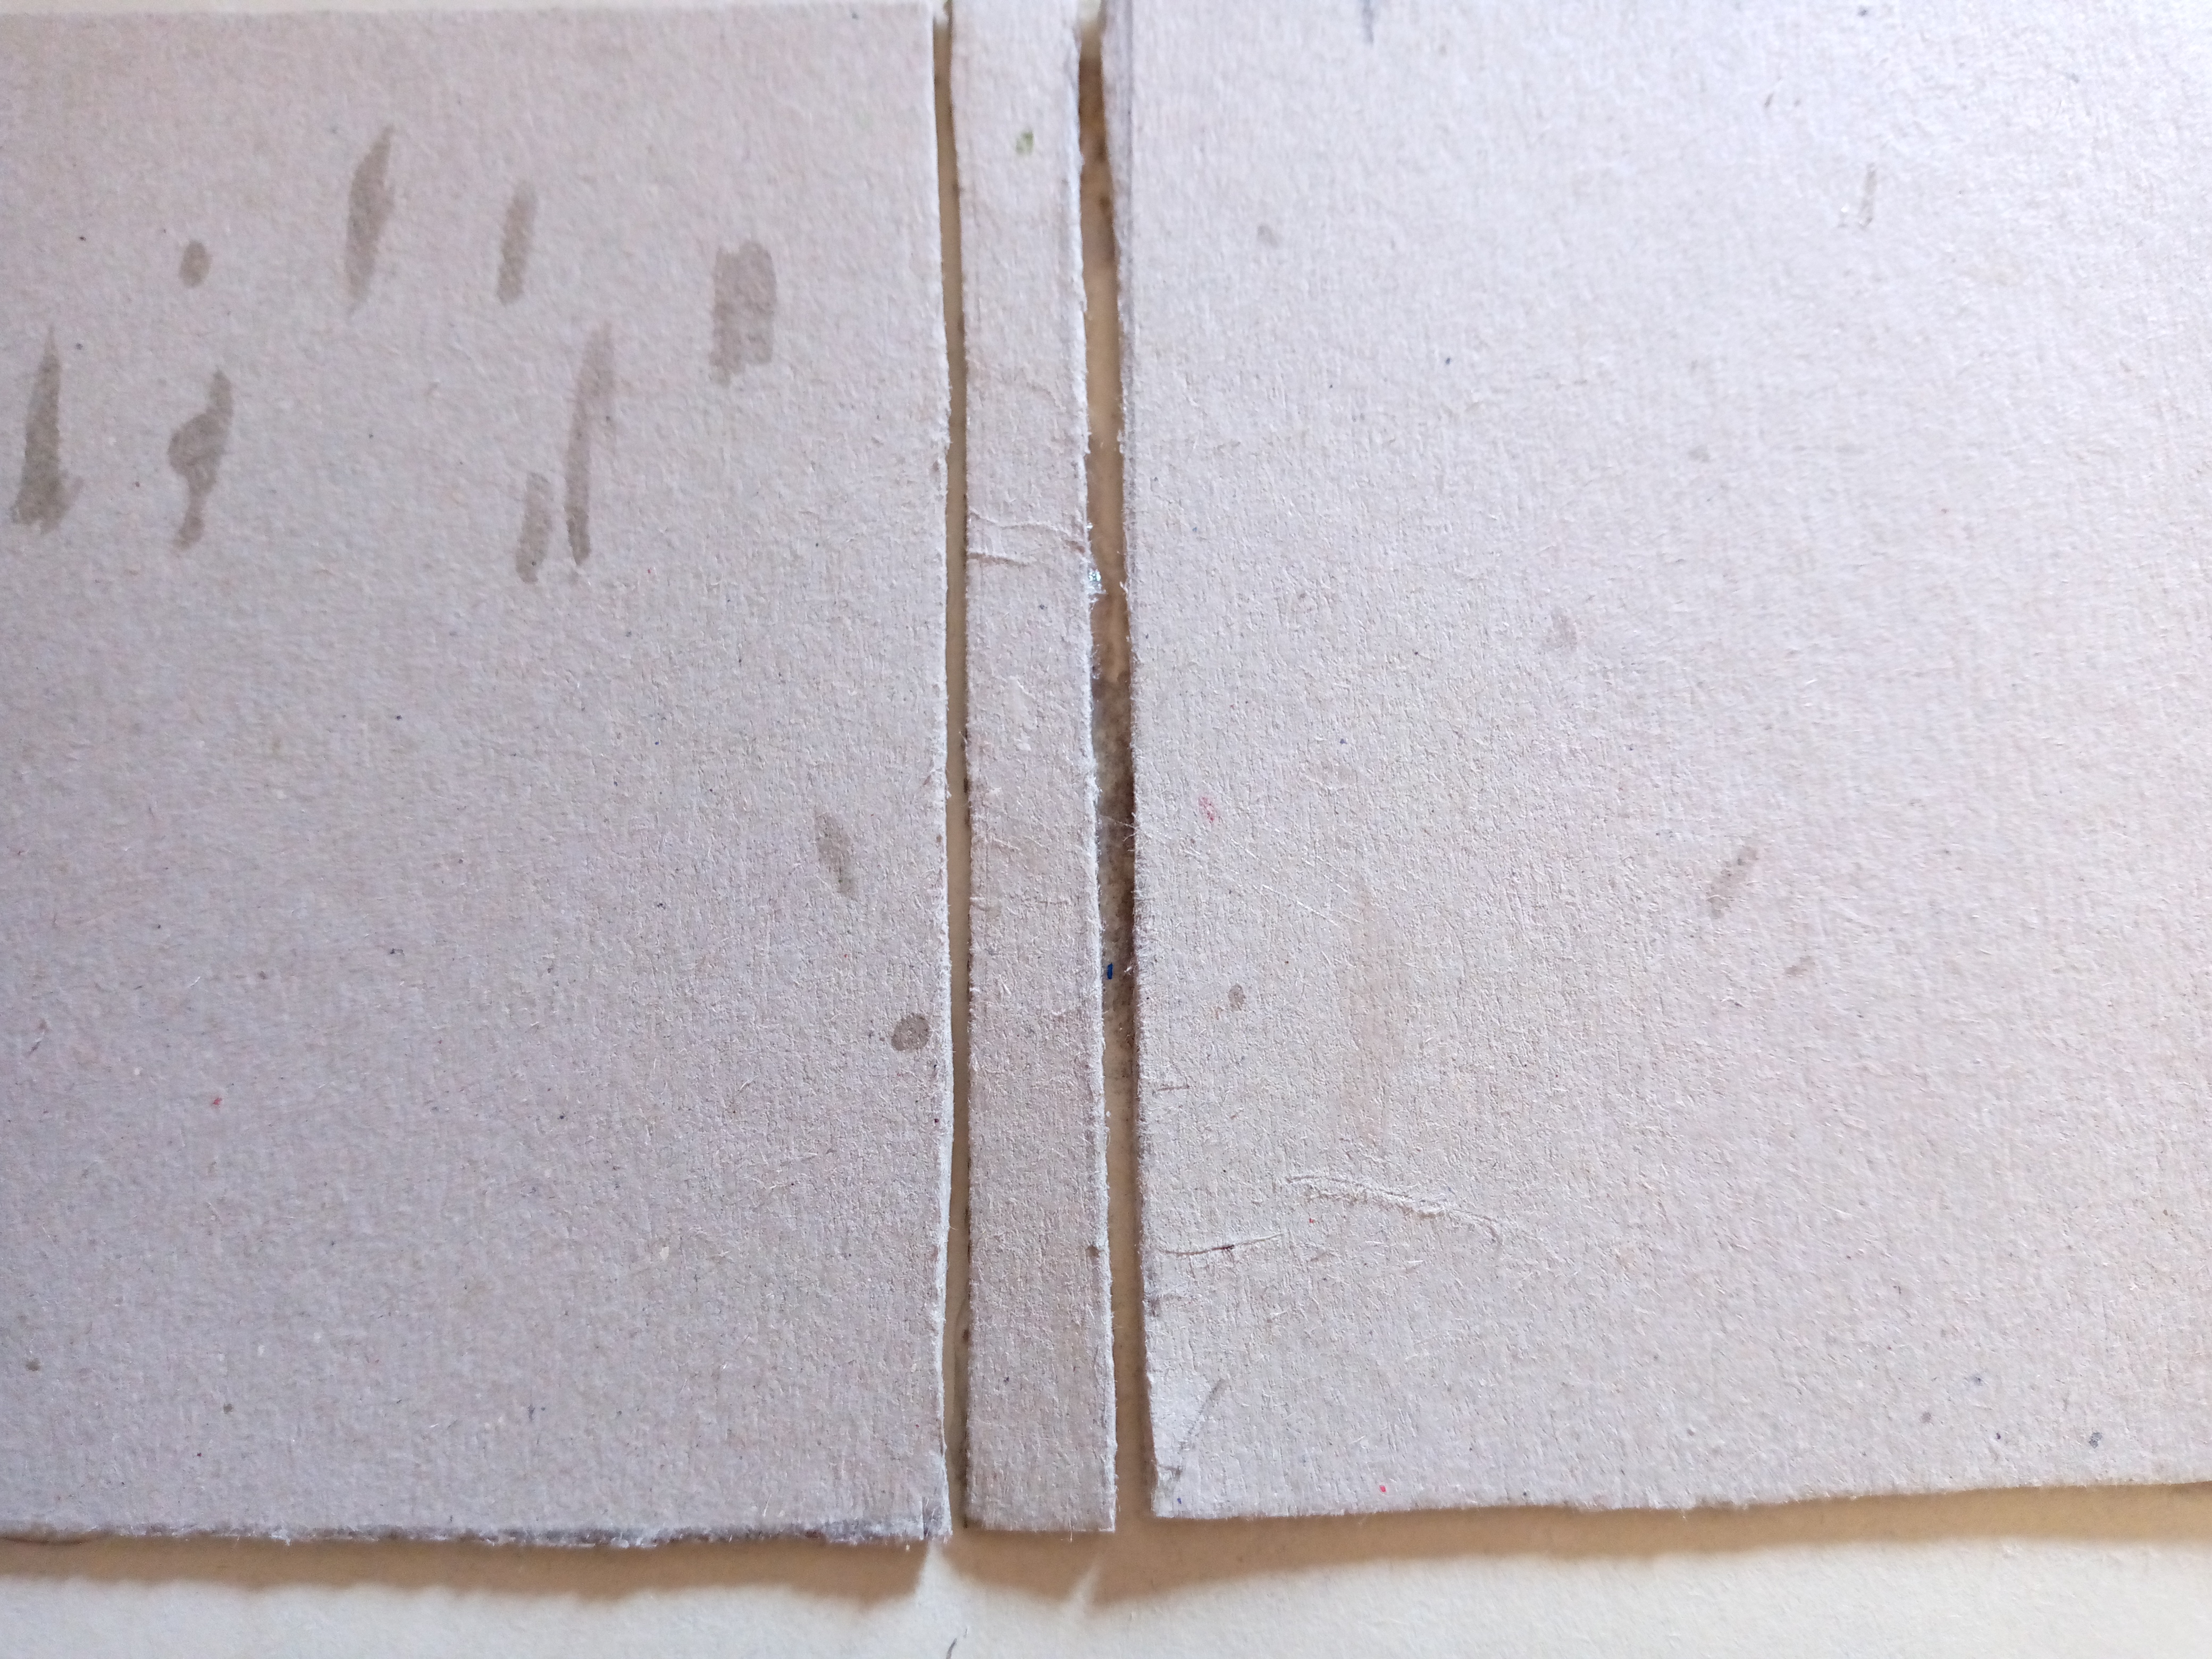
Well friends, the measurements I used for this little notebook are the following: 10 cm long x 8 cm long each piece of the front and back of the notebook, the ribbon in the middle is 1 cm wide x 10 cm long. We are going to mark these measurements on the cardboard that we will use as a base for the covers of the notebook and I will proceed to cut it.
.jpg)
.jpg)
Paso 02
Step 02
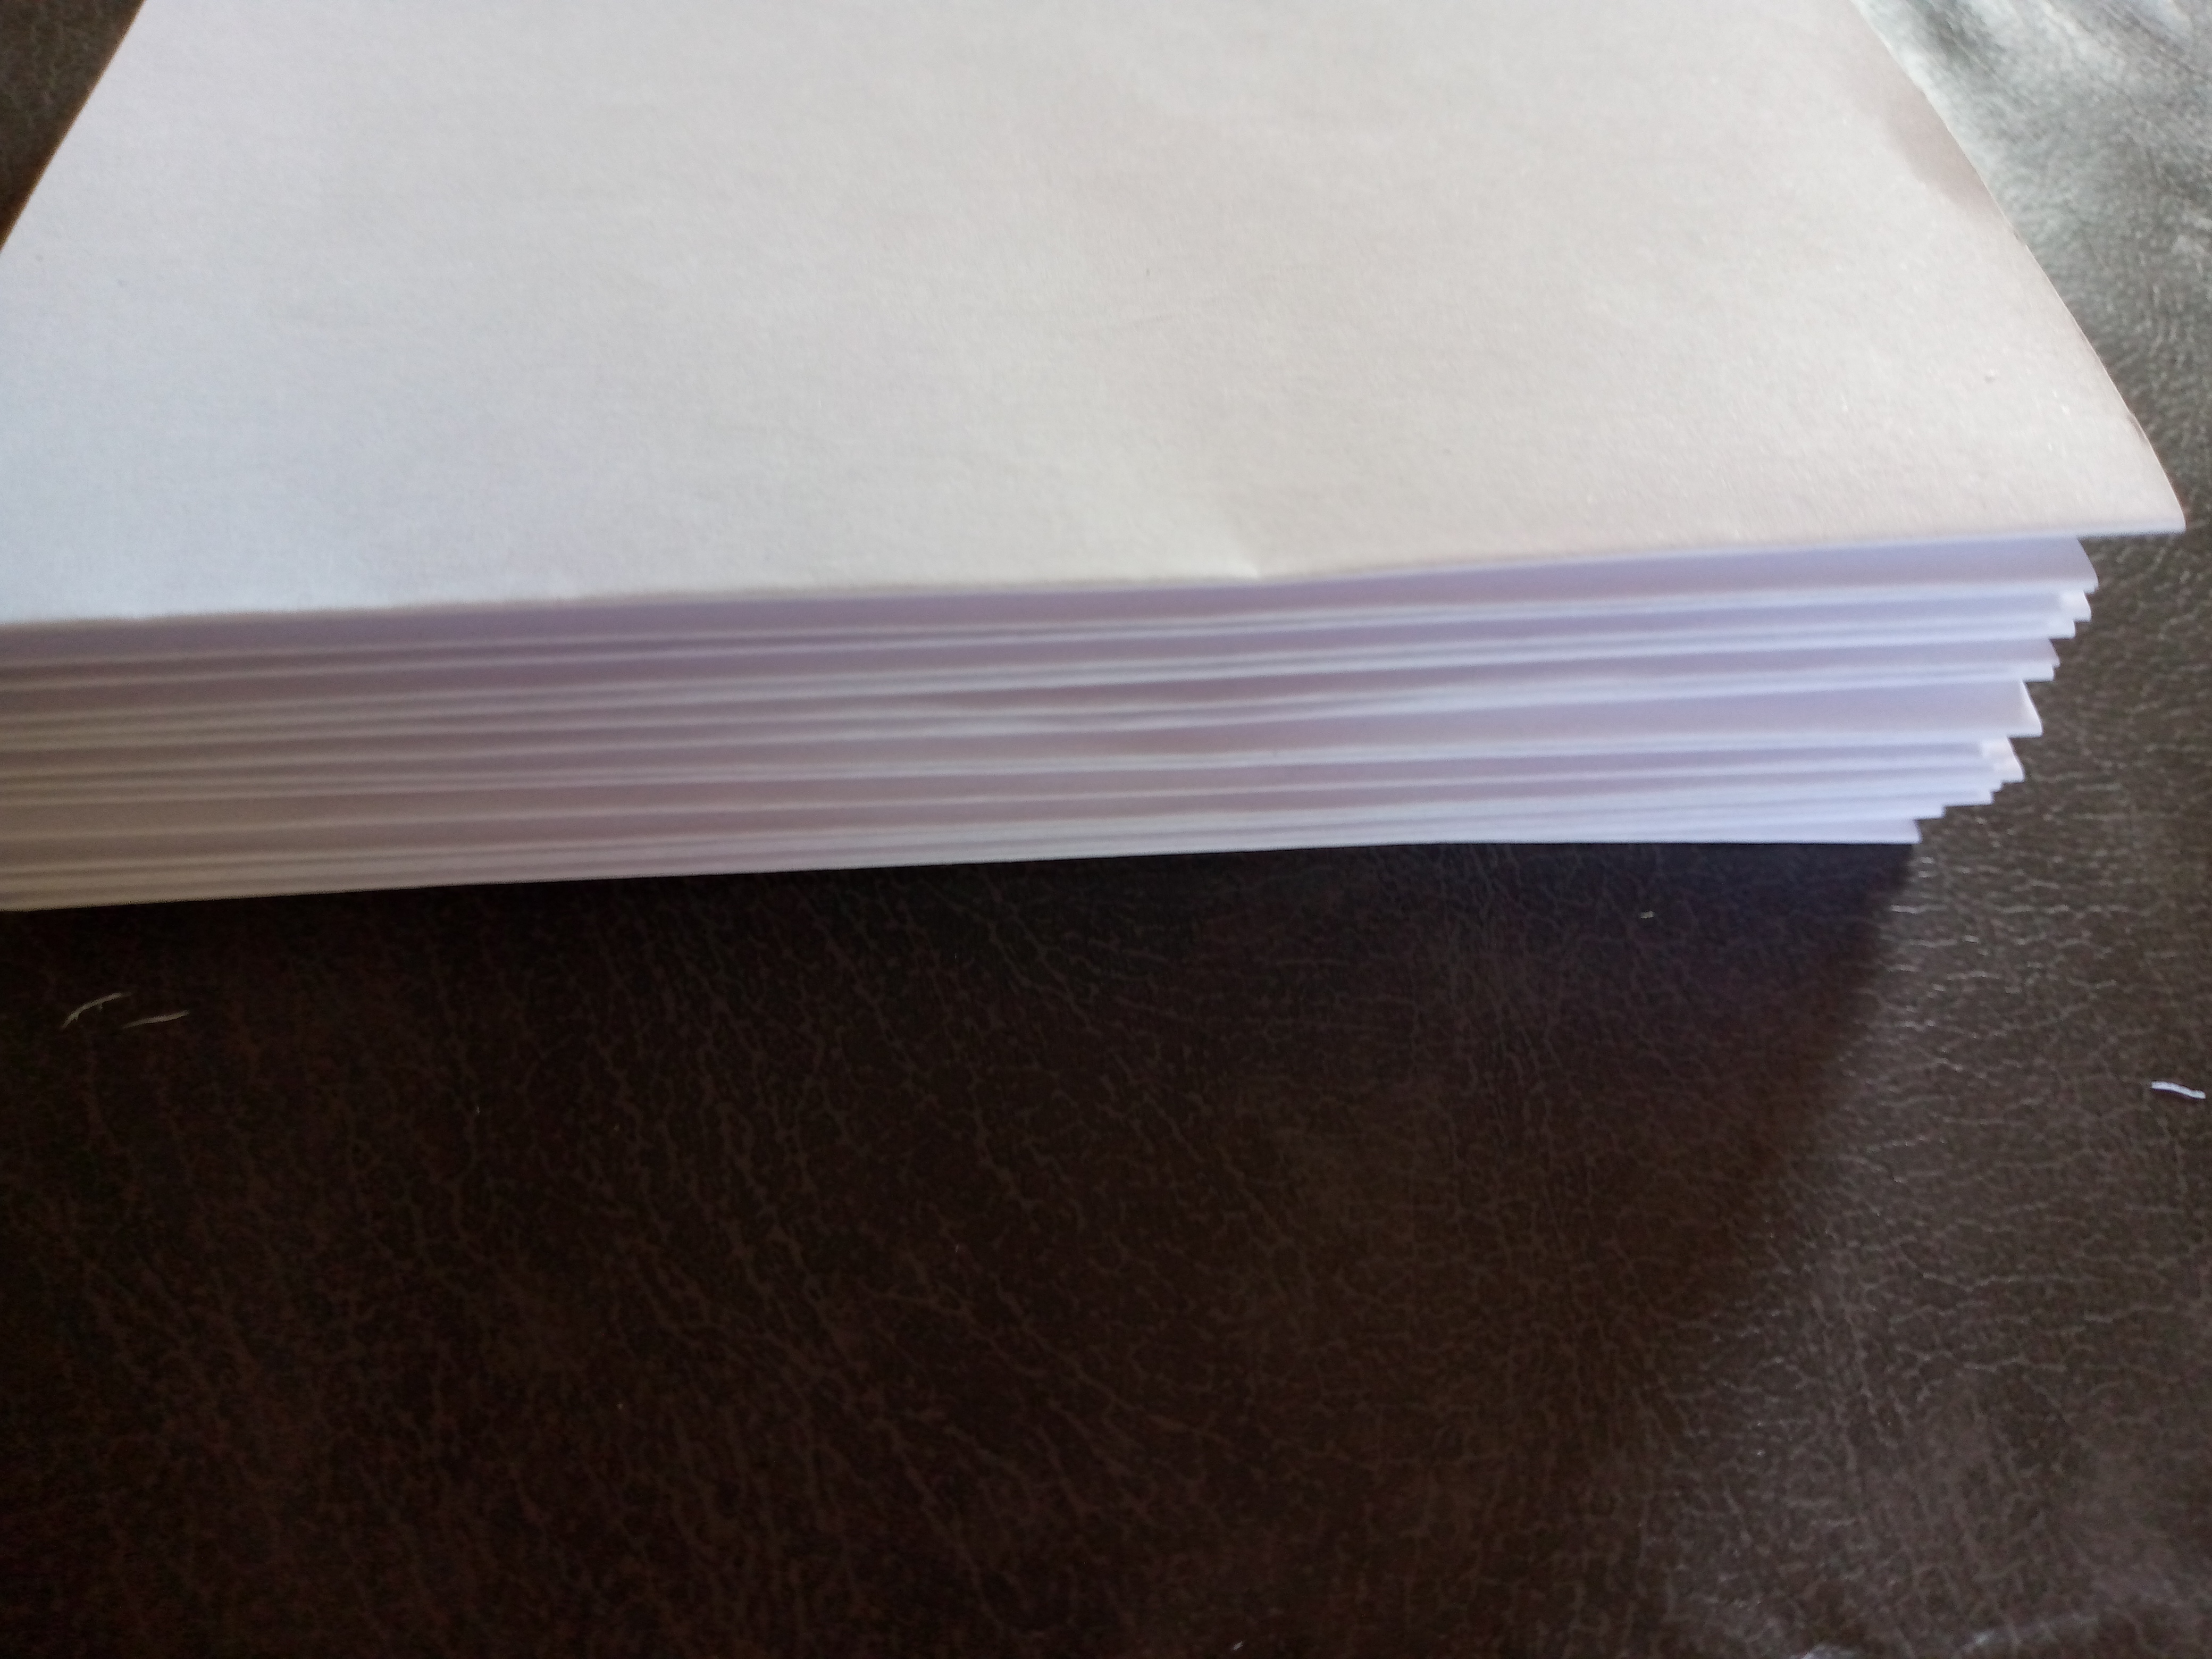
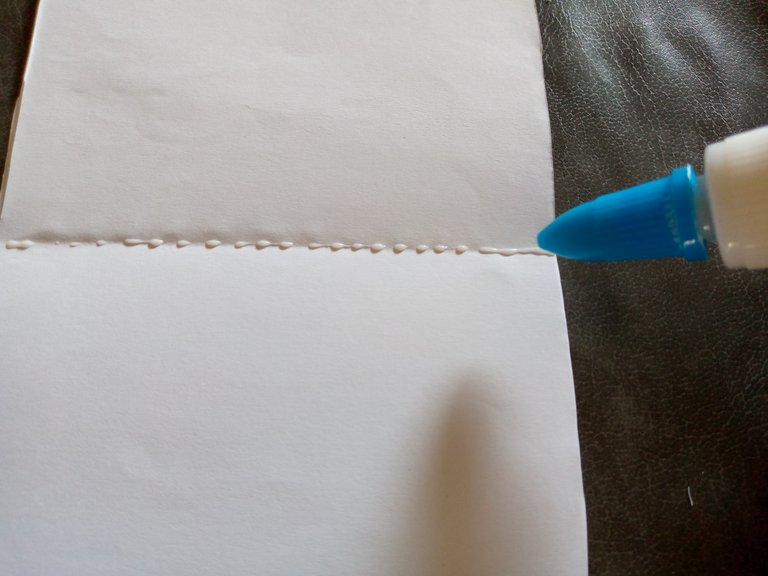
As a next step, it is important that we first cut the sheets to the size of the cover that we will use for the notebook and we will fold each one and glue them in the center, forming small booklets of three sheets each. In total, I made nine booklets of three sheets each.
.jpg)
Paso 03
Step 03
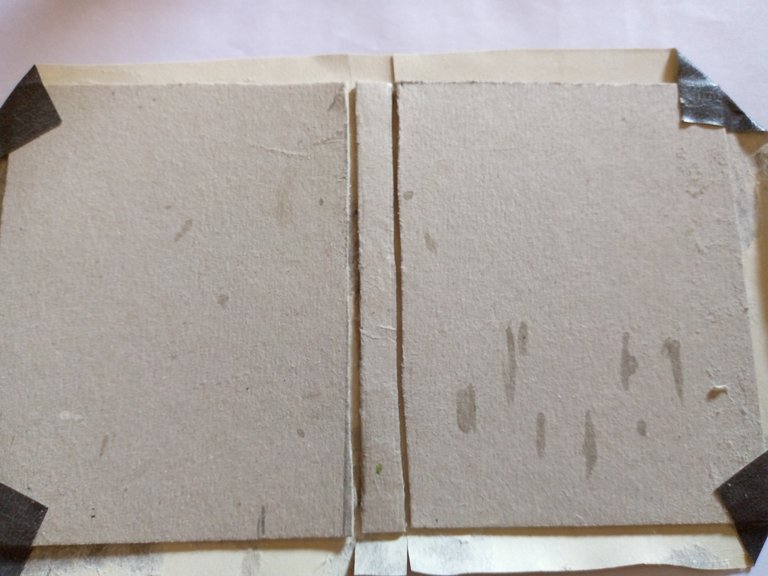
I proceed to glue the cardboard pieces to the semi-leather-shaped paper or your cardstock. We are going to glue the pieces with silicone, separating them from the center tape so that it can be folded well. Then we cut the edges of the cardstock, leaving 1 cm of the cardstock and then what we will do is pour a little of our silicone along the edge and we will seal and glue, folding the corners inwards, then the other parts.
.jpg)
Paso 04
Step 04
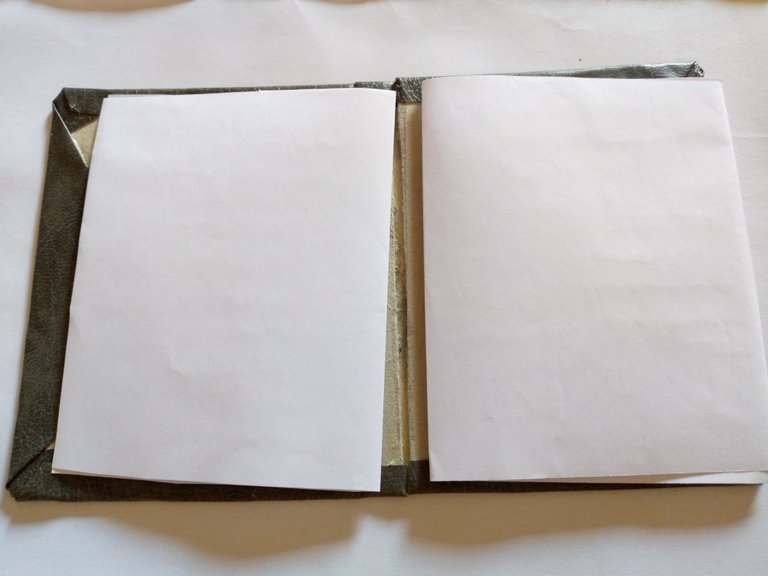
Now we will glue two papers on each side that we have left from the notebooks and in the center we will only glue the notebooks to the cardboard strip in the middle of the notebook. To ensure that this adheres well to the cardboard we will use two clothes pins to press both sides so that the paper can stick.
.jpg)
Paso 05
Step 05
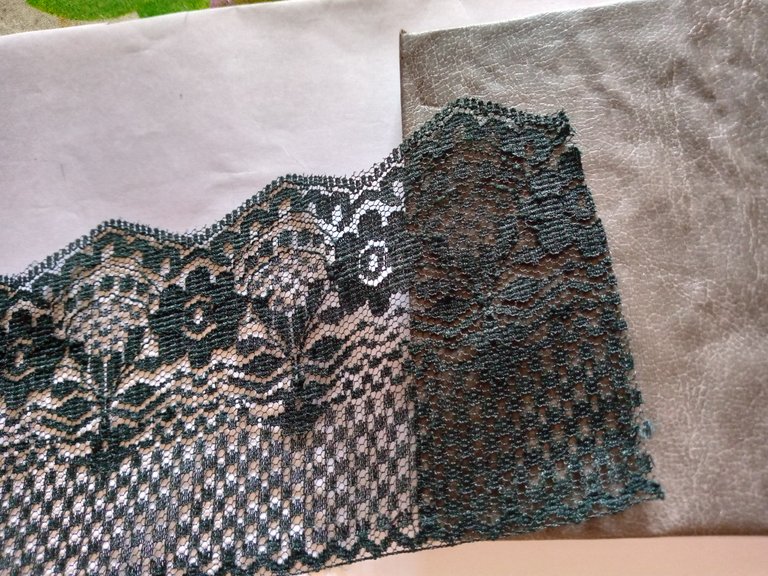
Once the notebook is dry, we proceed to glue our lace along the entire bottom edge of the notebook and on the back so that it looks very vintage and thus we have finished this beautiful notebook.
.jpg)
.png)
Resultado:
Result:
.png)
This is the final result, super easy and simple to make. I would love to make a bigger one to write down more things since I write a lot 🤭but it will be another time, friends. I hope you liked this little vintage-style notebook that I made and if you liked it, I would like to know. I wish you a happy and beautiful afternoon and blessings to you, greetings!!!😍🦋✨.
.jpg)
.jpg)
.png)


