.jpg)
Hey! 🥰 Greetings fellow artisan friends, I send a warm greeting to each and every one of you on my behalf, I am resuming my handmade work again and I love to share it with you here in this appreciated community that always welcomes me with a cheerful and comfortable welcome, these days I have been sewing a little bit of everything, I made pajamas, girls' clothes and clothes for myself because I am running out of clothes and sometimes I can't find the model that I want and sometimes the clothes in the stores do not exceed my expectations because they can be very daring and the truth is I go for the simple, comfortable and more formal, also for fresh colors because it has been hot here lately.
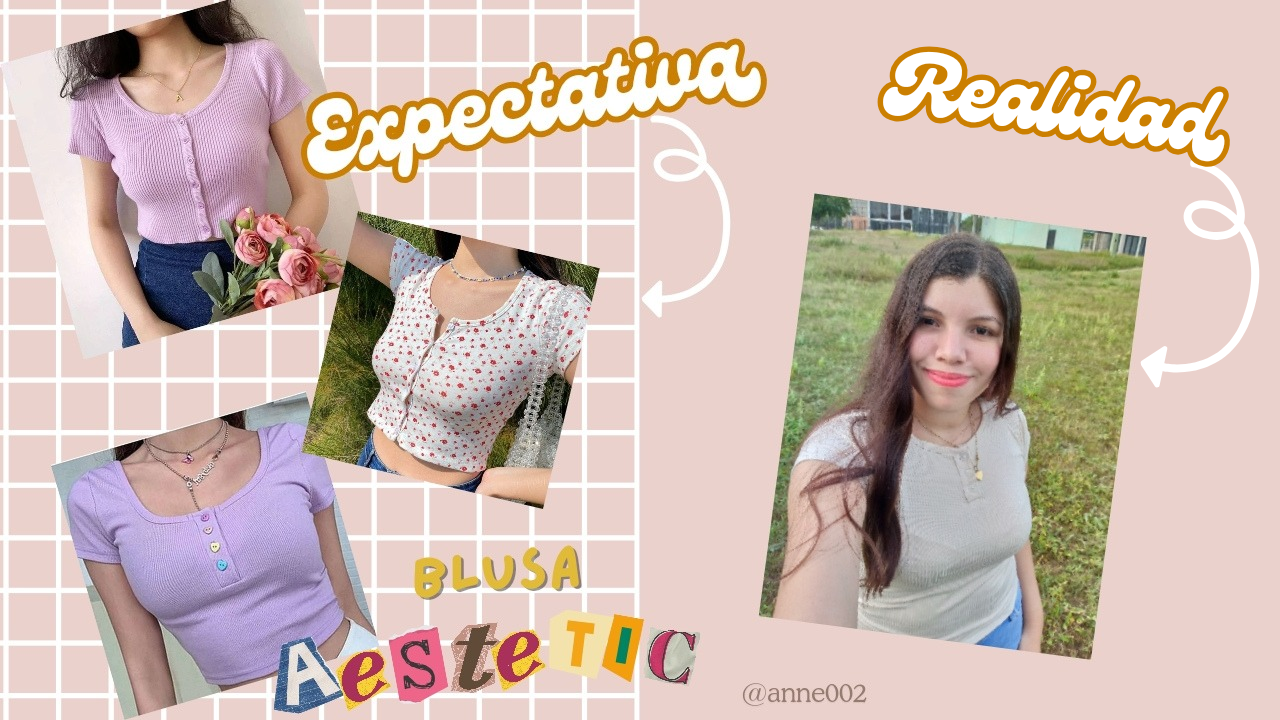
I have taken as a reference photos from Pinterest as a model to make a blouse something similar to that style and aesthetic that I have always seen that looks so fresh those blouses and the fabric they use is also perfect to make them, I say that I will do something similar because I know that it will not come out the same, they are not the same patterns and the model is not exactly the same only similar, I have some fabric left over from another blouse that I shared a tutorial with you of how I made that blouse in the same fabric that by the way I liked a lot, so well I got to work and sewed this cute blouse I hope you like the result and stay to appreciate the simple process that it was to make it, let's go for the materials.
.jpg)
.jpg)
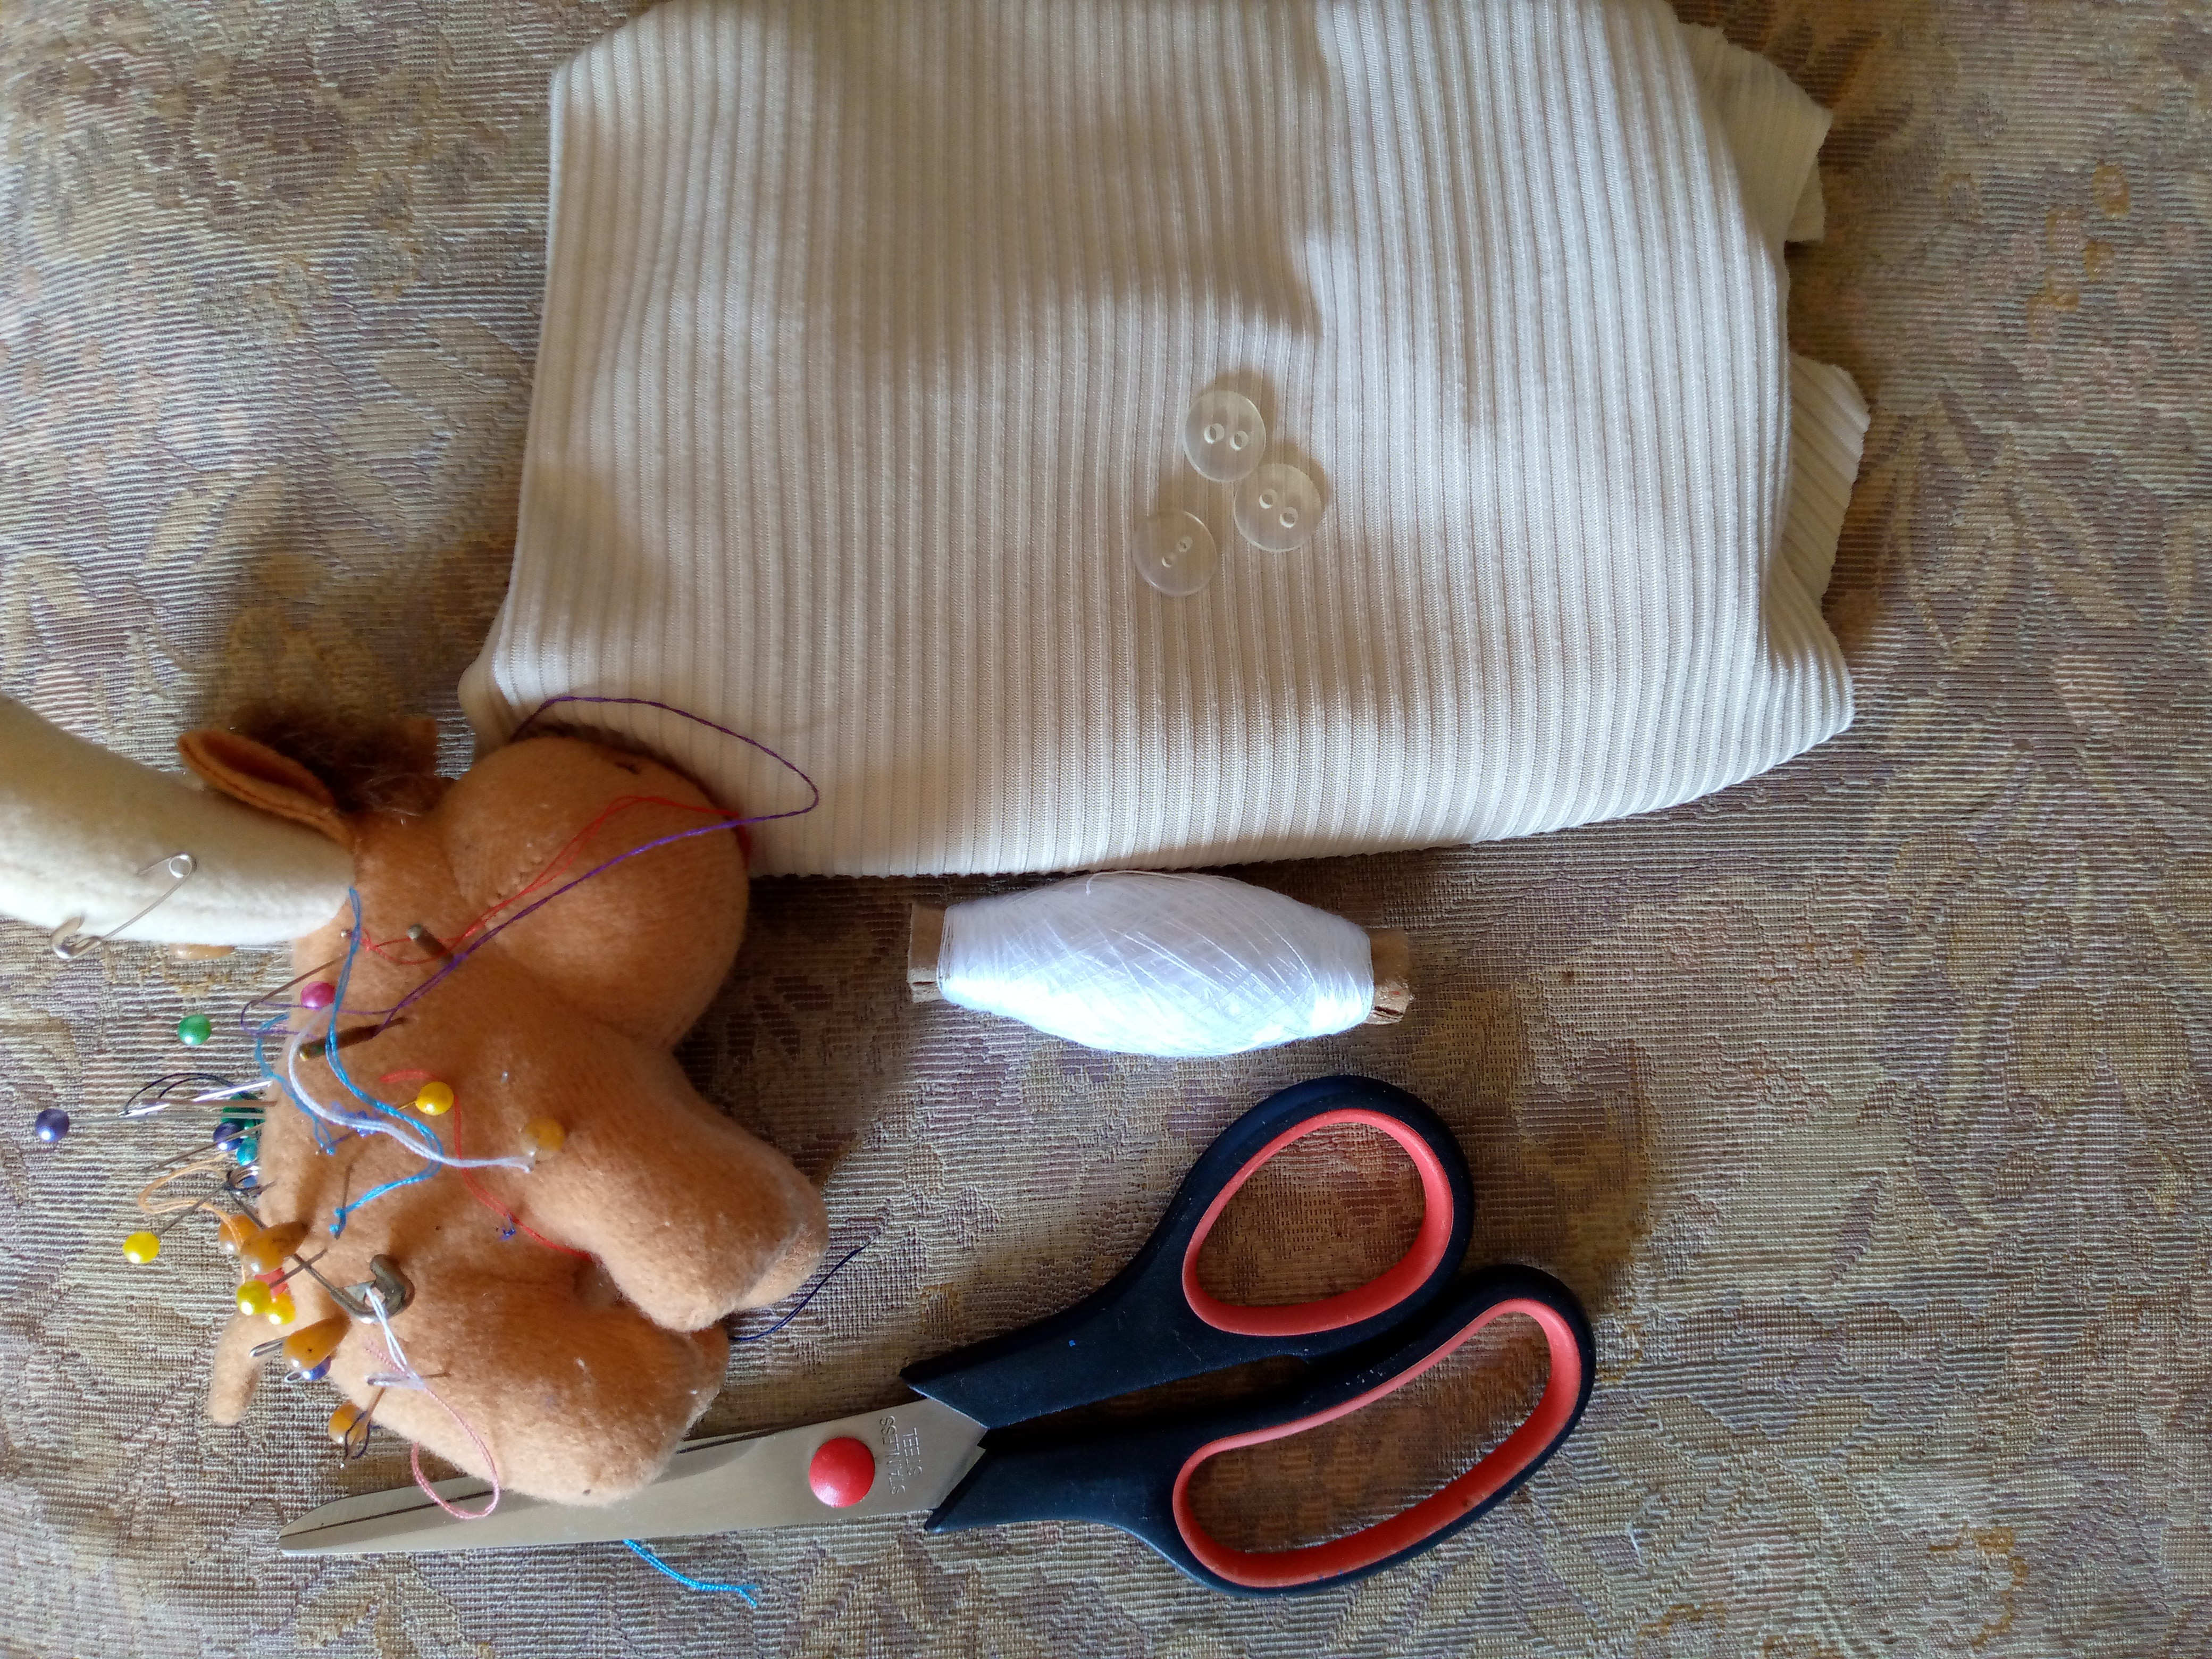
Materiales:// Materials:
- Trozo de tela tipo acanalada
- Tijeras
- Mis alfileres que no pueden faltar
- 3 botones
- Hilo y aguja
- Máquina de coser
- Piece of ribbed fabric
- Scissors
- My must-have pins
- 3 buttons
- Thread and needle
- Sewing machine
.jpg)
Pasos a seguir:// Steps to follow:
Paso 01
Step 01
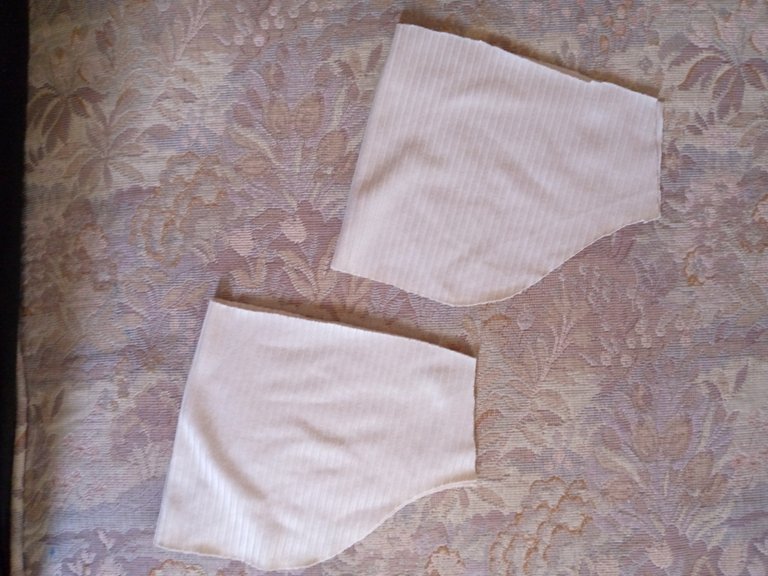
Well to start I will be cutting the corresponding pieces of the blouse as we always do before starting to sew, as this blouse is open in the front, we are going to be placing a design with three buttons on the bust that gives it a very nice touch and since I wanted the model to be similar to those blouses that I told you at the beginning that are from SheIn, then I will cut the front and back pieces, the two sleeves, the two pieces for the buttonholes and where the buttons go and the fabric ribbon for the bias of our neck.
.jpg)
.jpg)
.jpg)
Paso 02
Step 02
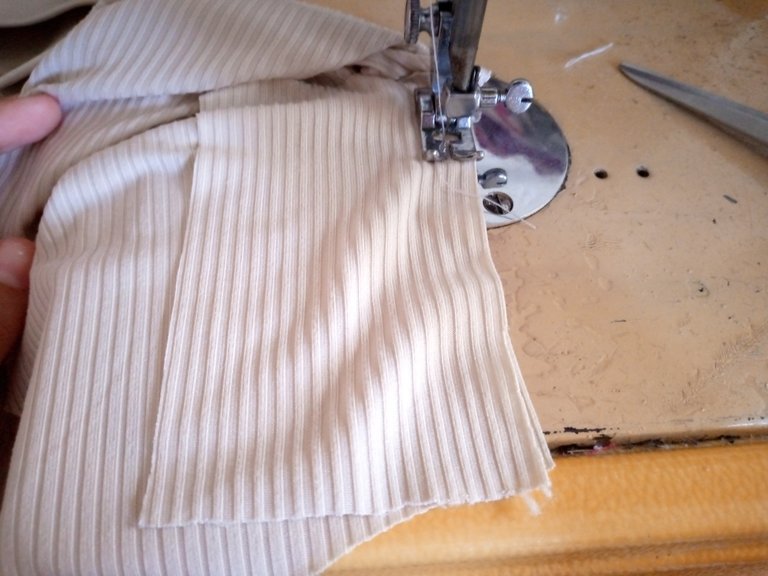
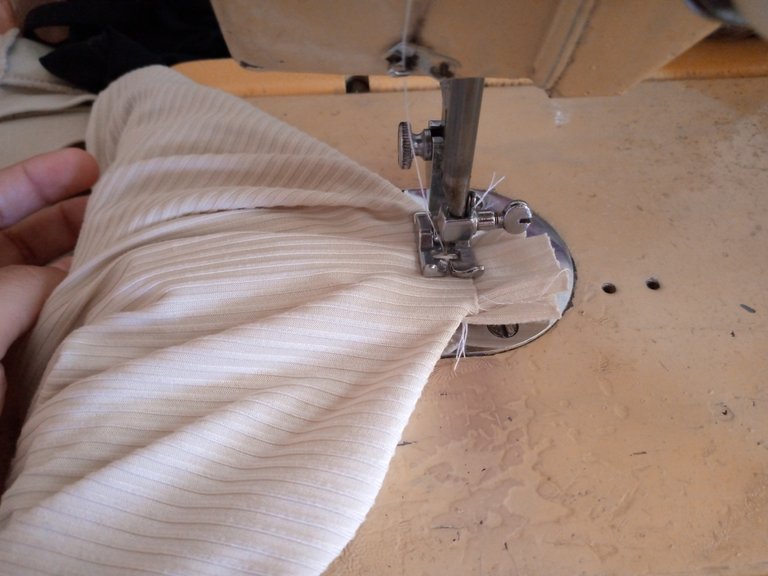
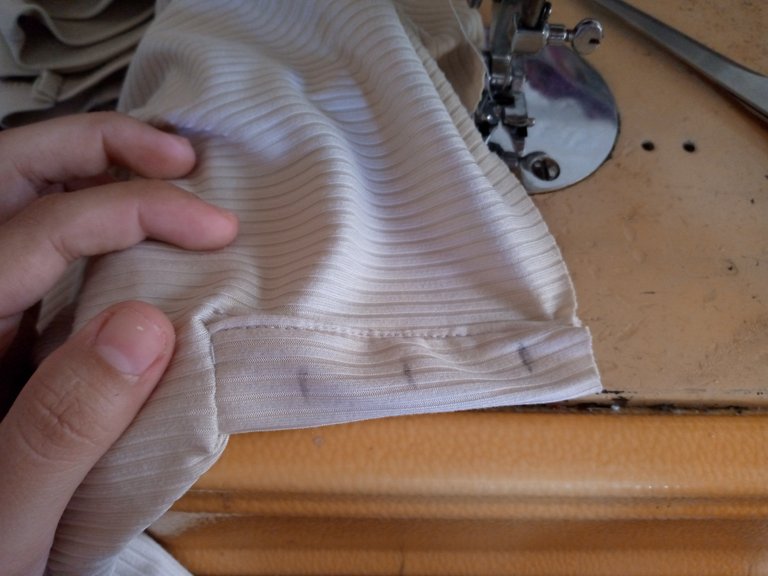
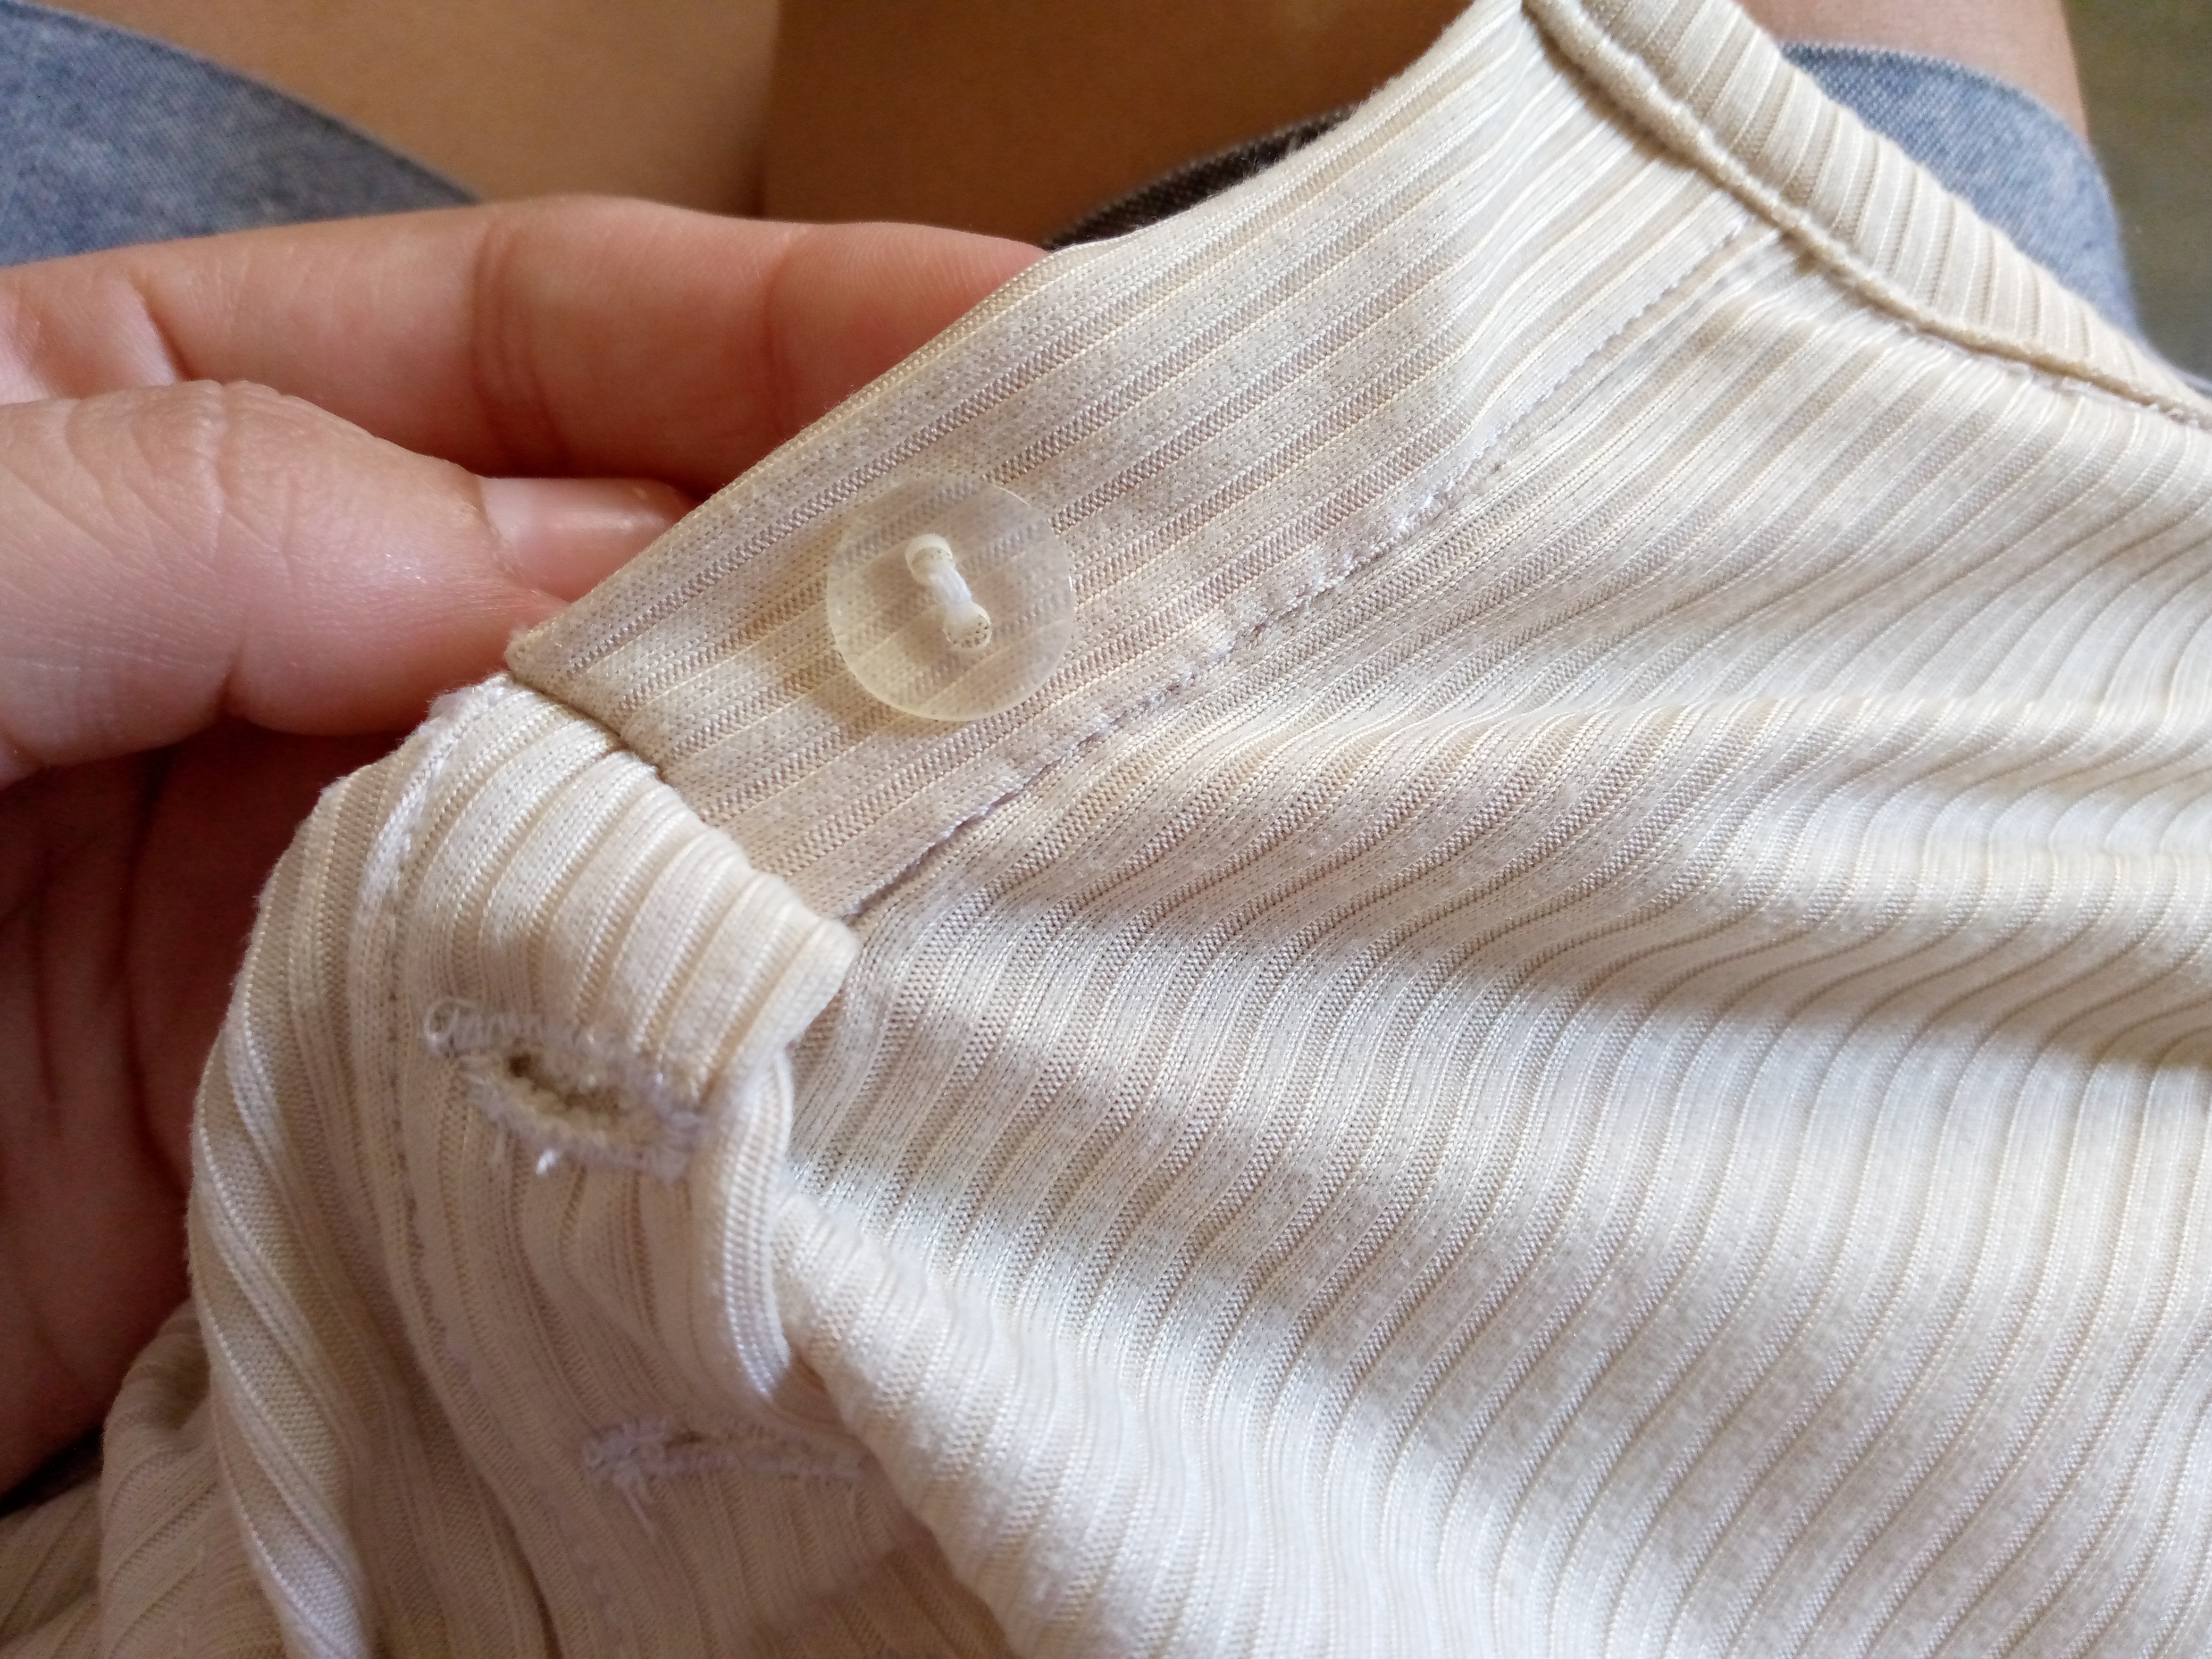
We then proceed to make our design for the bust part, for this I will sew the piece of one of the rectangles for the buttonholes, I will sew it from the bottom side to the top side to overlock above, I had to use a guide as a model to be able to sew it since I didn't know how to do this part much, then once we had the two pieces sewn there, I overlocked it and joined both pieces with the help of a pin, I hold it and sew both pieces together on the back, then I turn the piece over and overlock this part, to make the buttonholes I have marked with a pencil where I will make the three and I will sew them with a zig zag and I simply open a hole for our buttons to go through, not so wide because this fabric tends to stretch easily.


.jpg)
Paso 03
Step 03
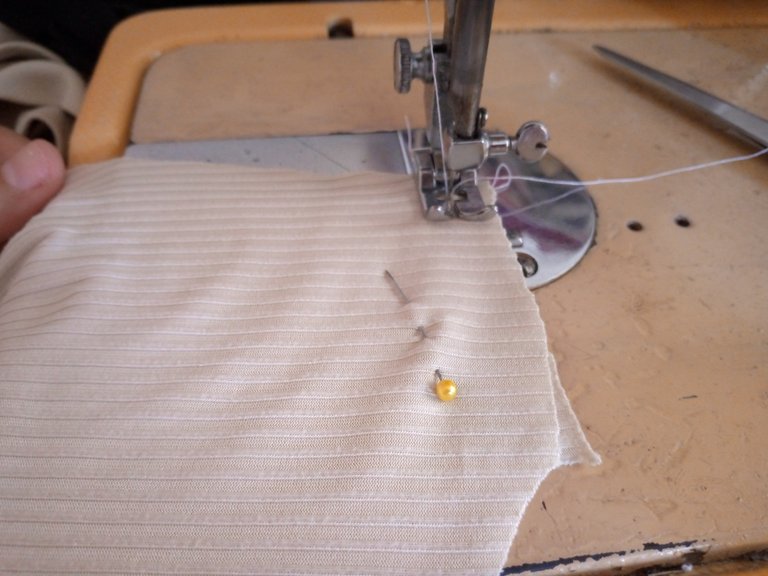
We will then sew the blouse with the help of a pin. I will hold both shoulder pieces and I will seal this part so that I can open it completely and sew the sleeves along both pieces in what is the armhole of the blouse. We sew with a straight stitch without forgetting to finish with a zig zag along our edge, then we seal the blouse along the sides.
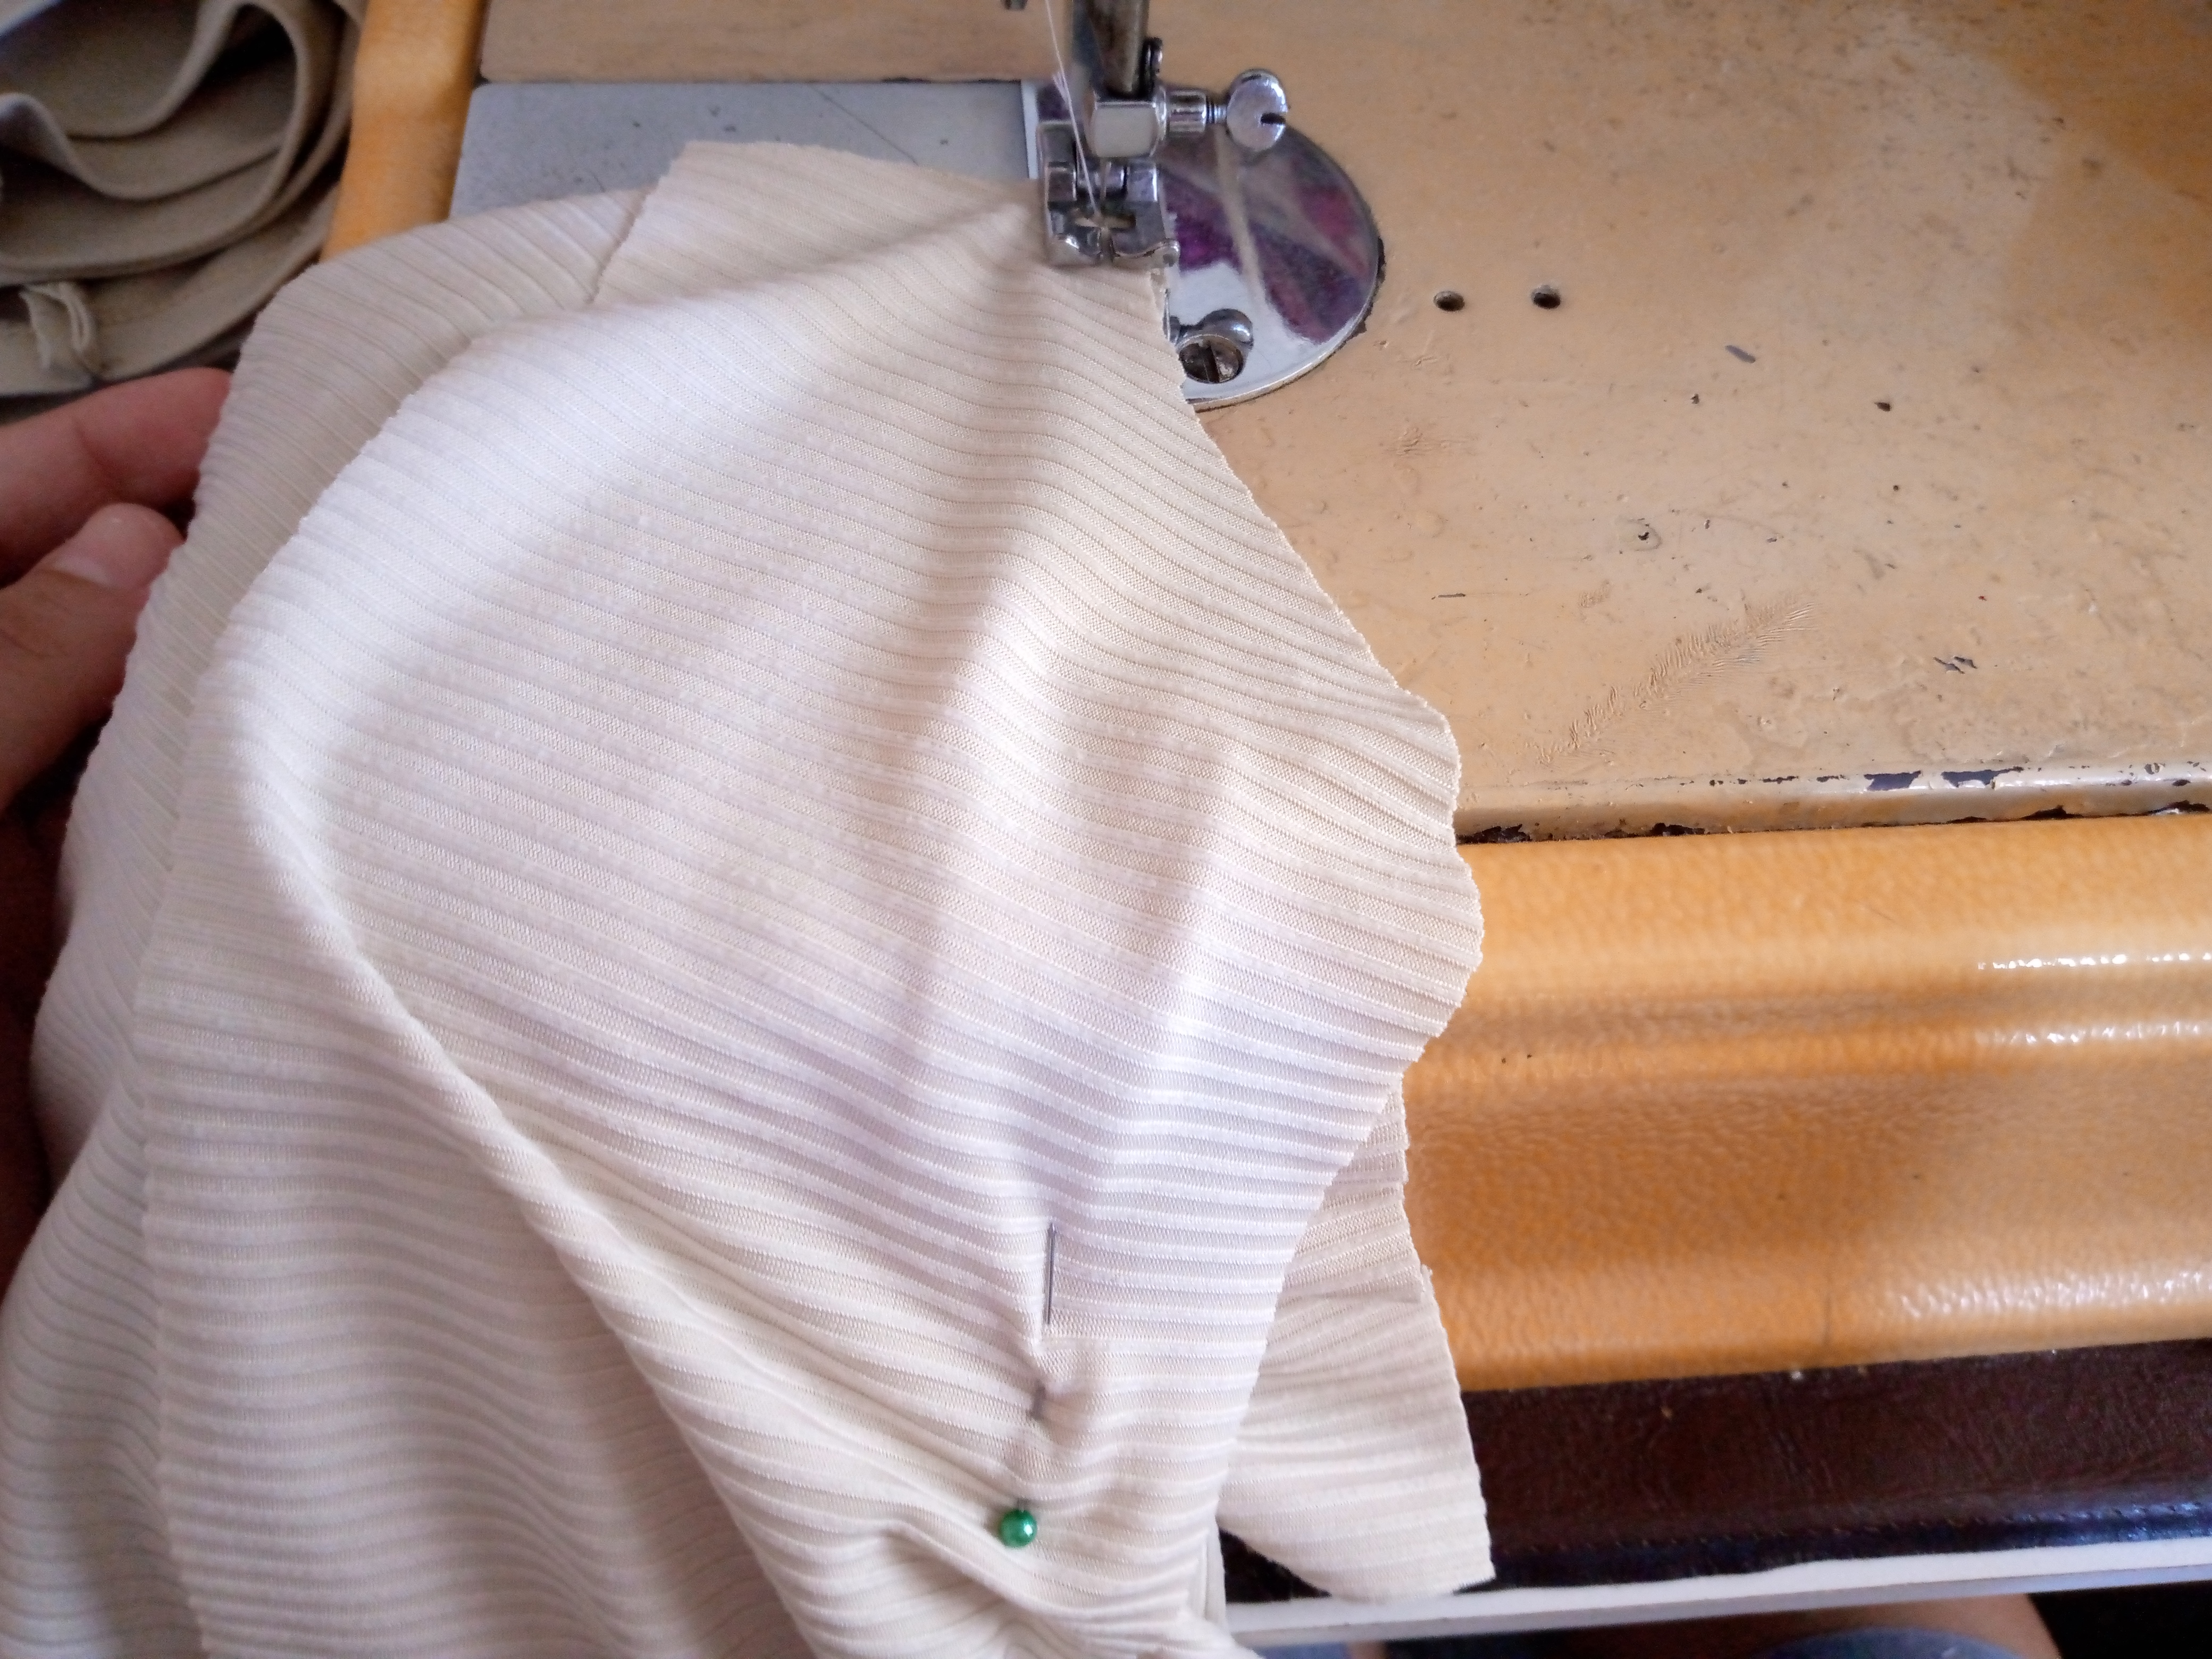
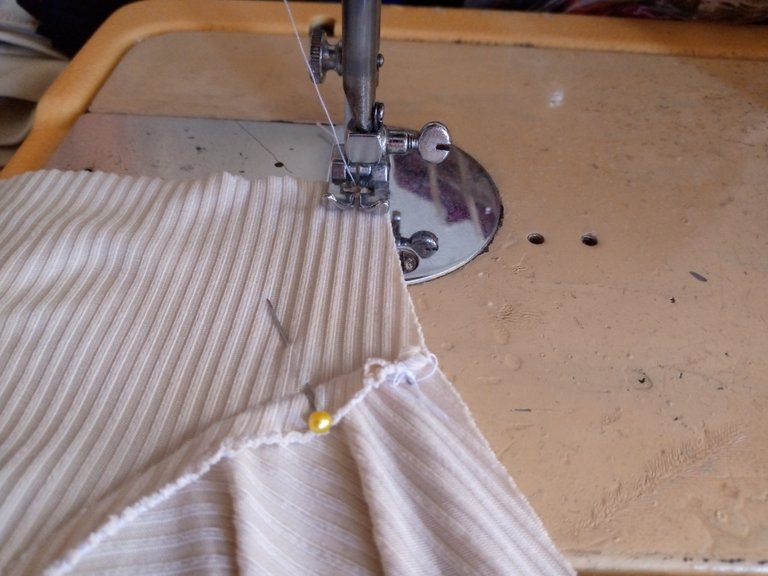

Paso 04
Step 04
We sew the bias of our collar starting from the bottom of one of the ends where the buttonhole piece is, we sew with a straight stitch, turn the piece towards the top and on top we overlay with another straight stitch, thus making the collar, I proceed to sew the buttons with needle and thread right where the buttonholes go.
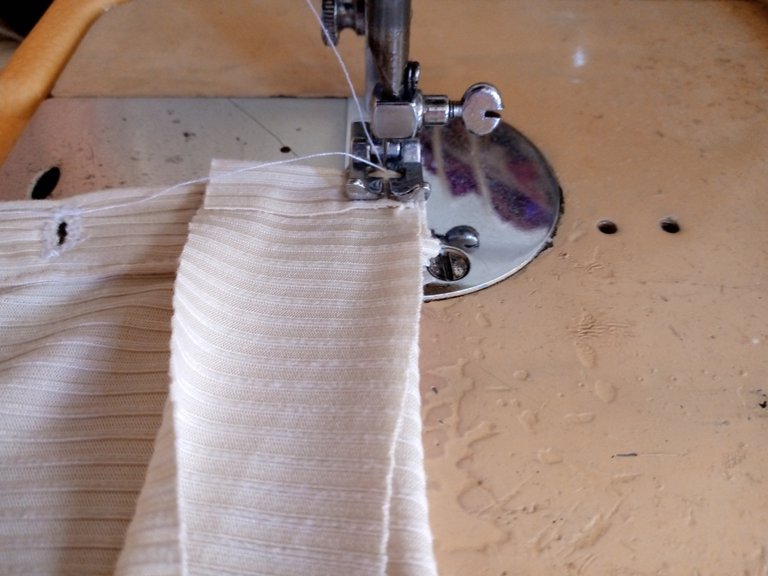

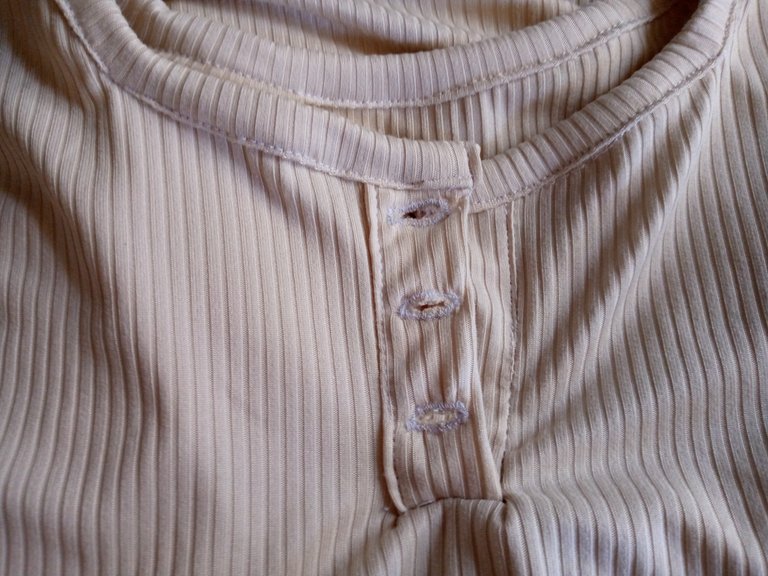
Paso 05
Step 05
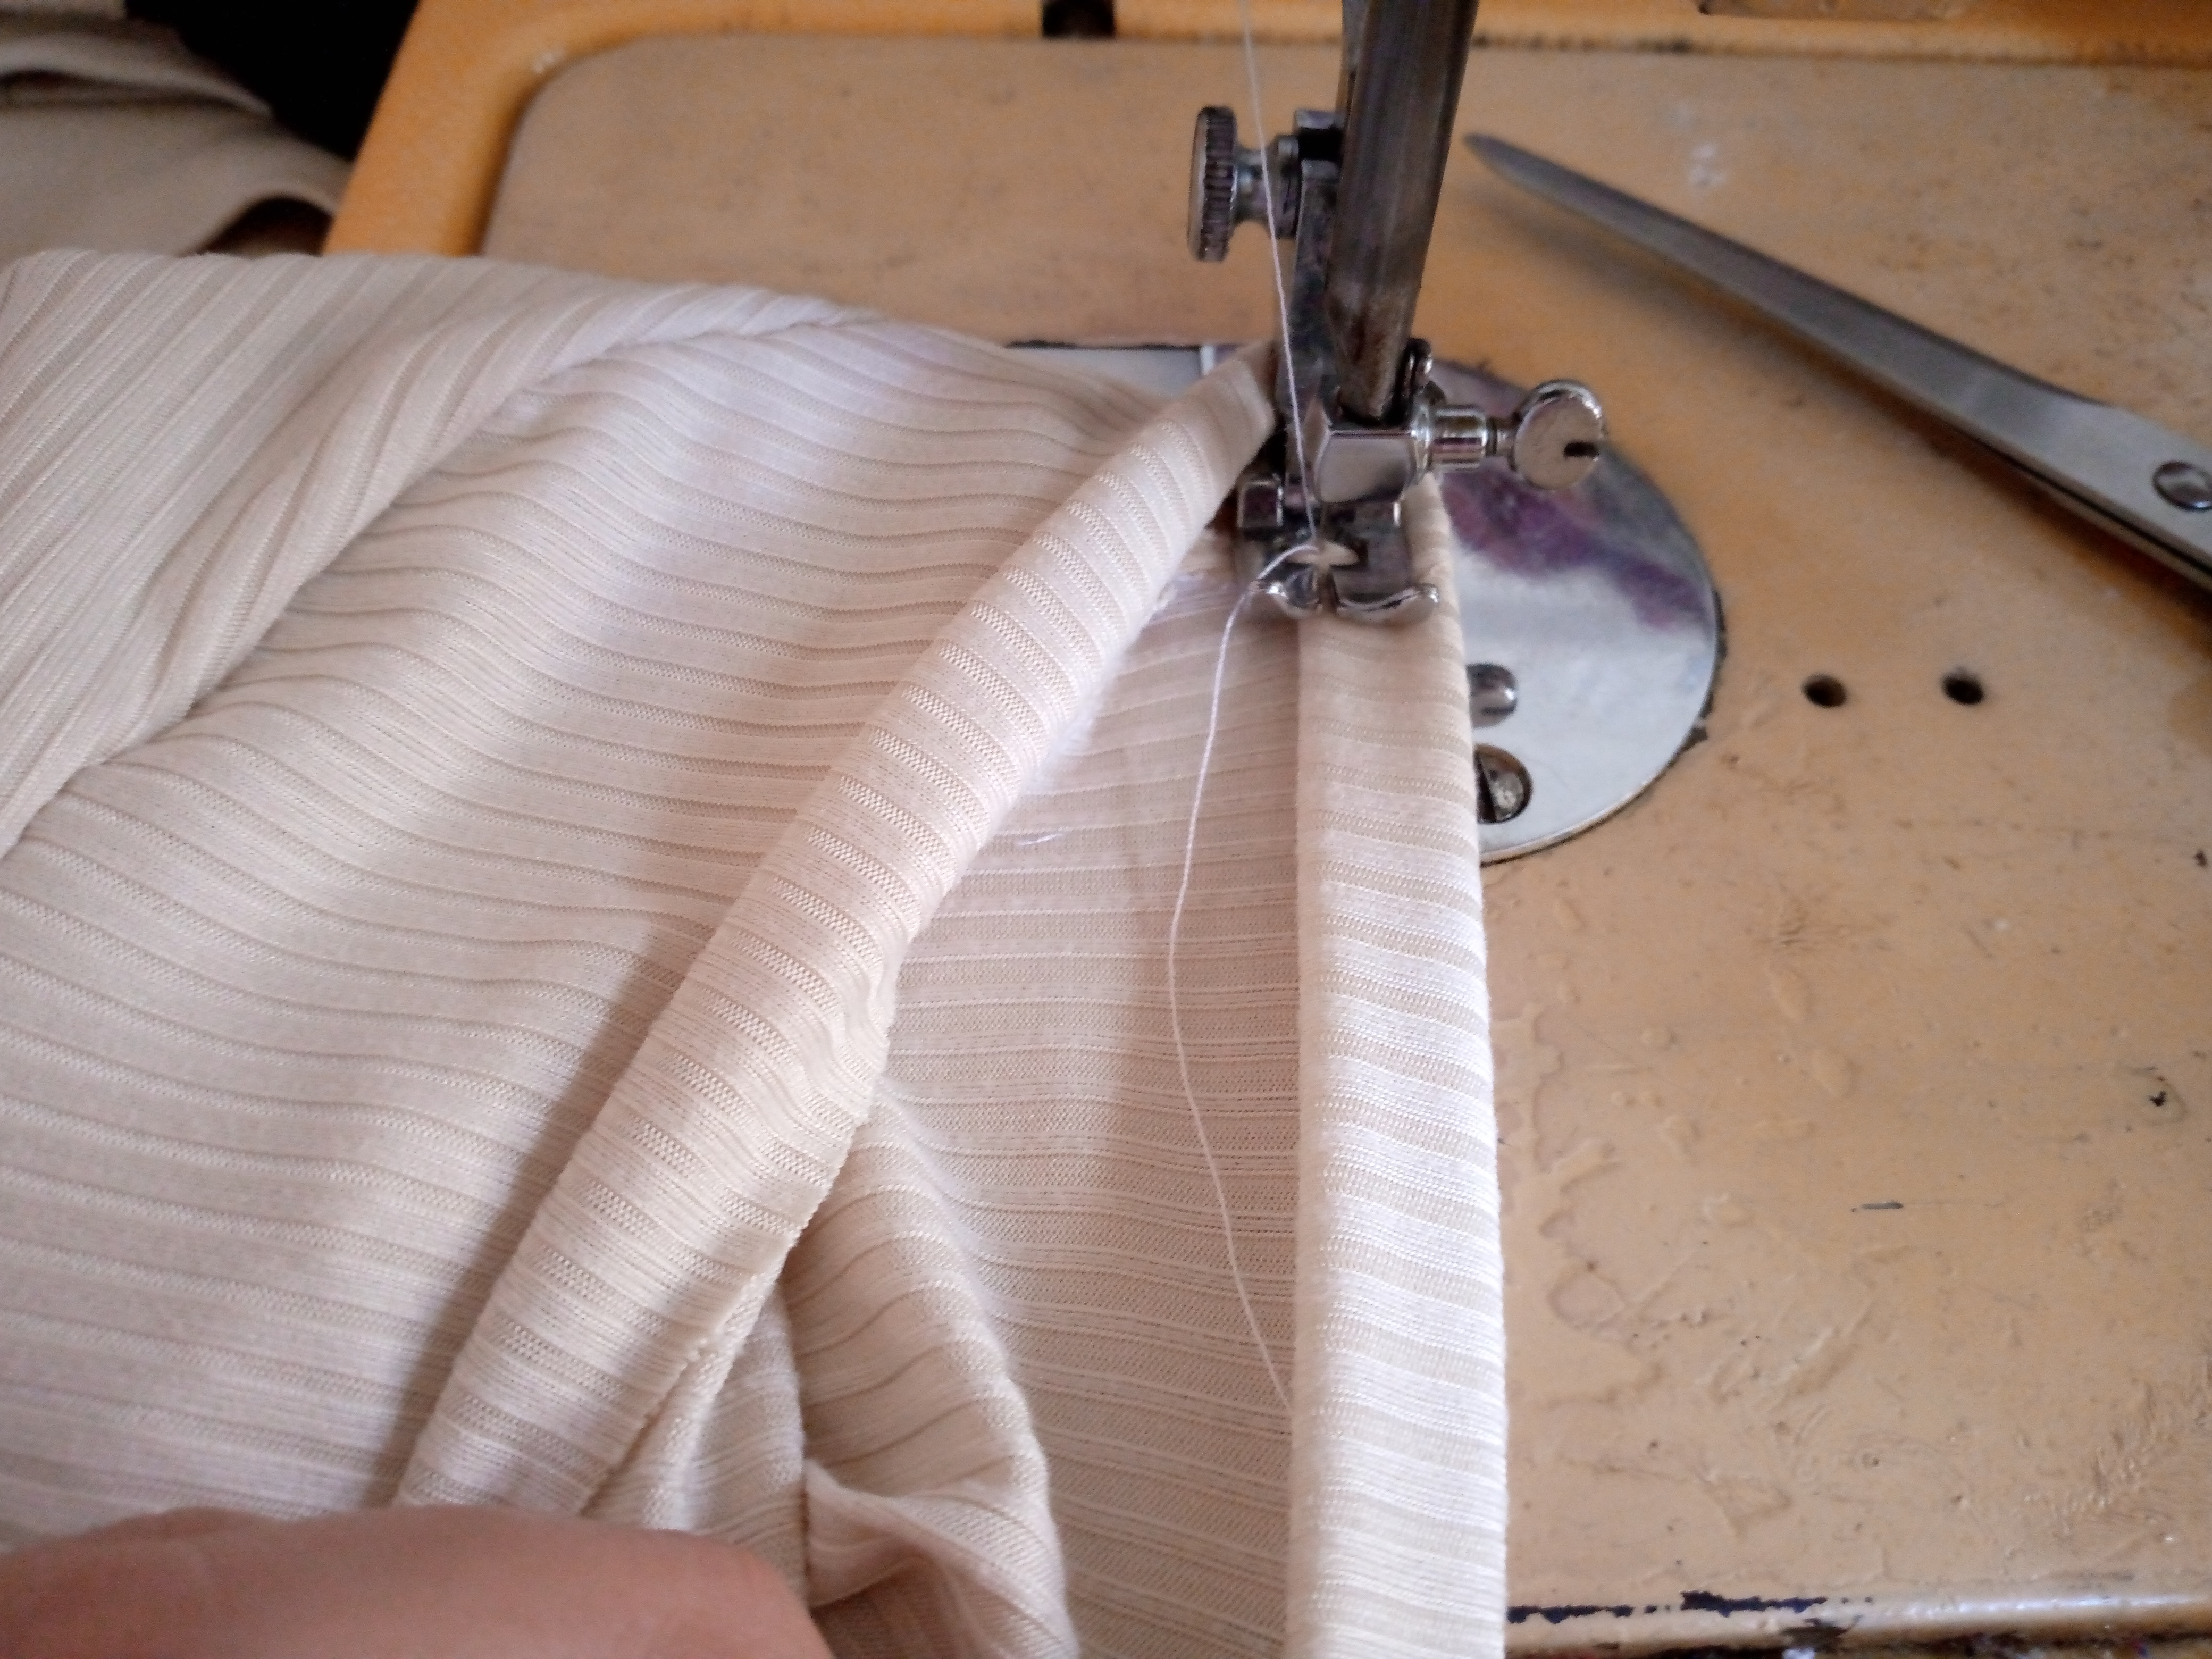
We finish at the bottom by sewing a small hem since I didn't want this blouse to be so short. We also sew the hem of both sleeves and that's it, this blouse is finished.
.jpg)
.jpg)
Resultado //Result:
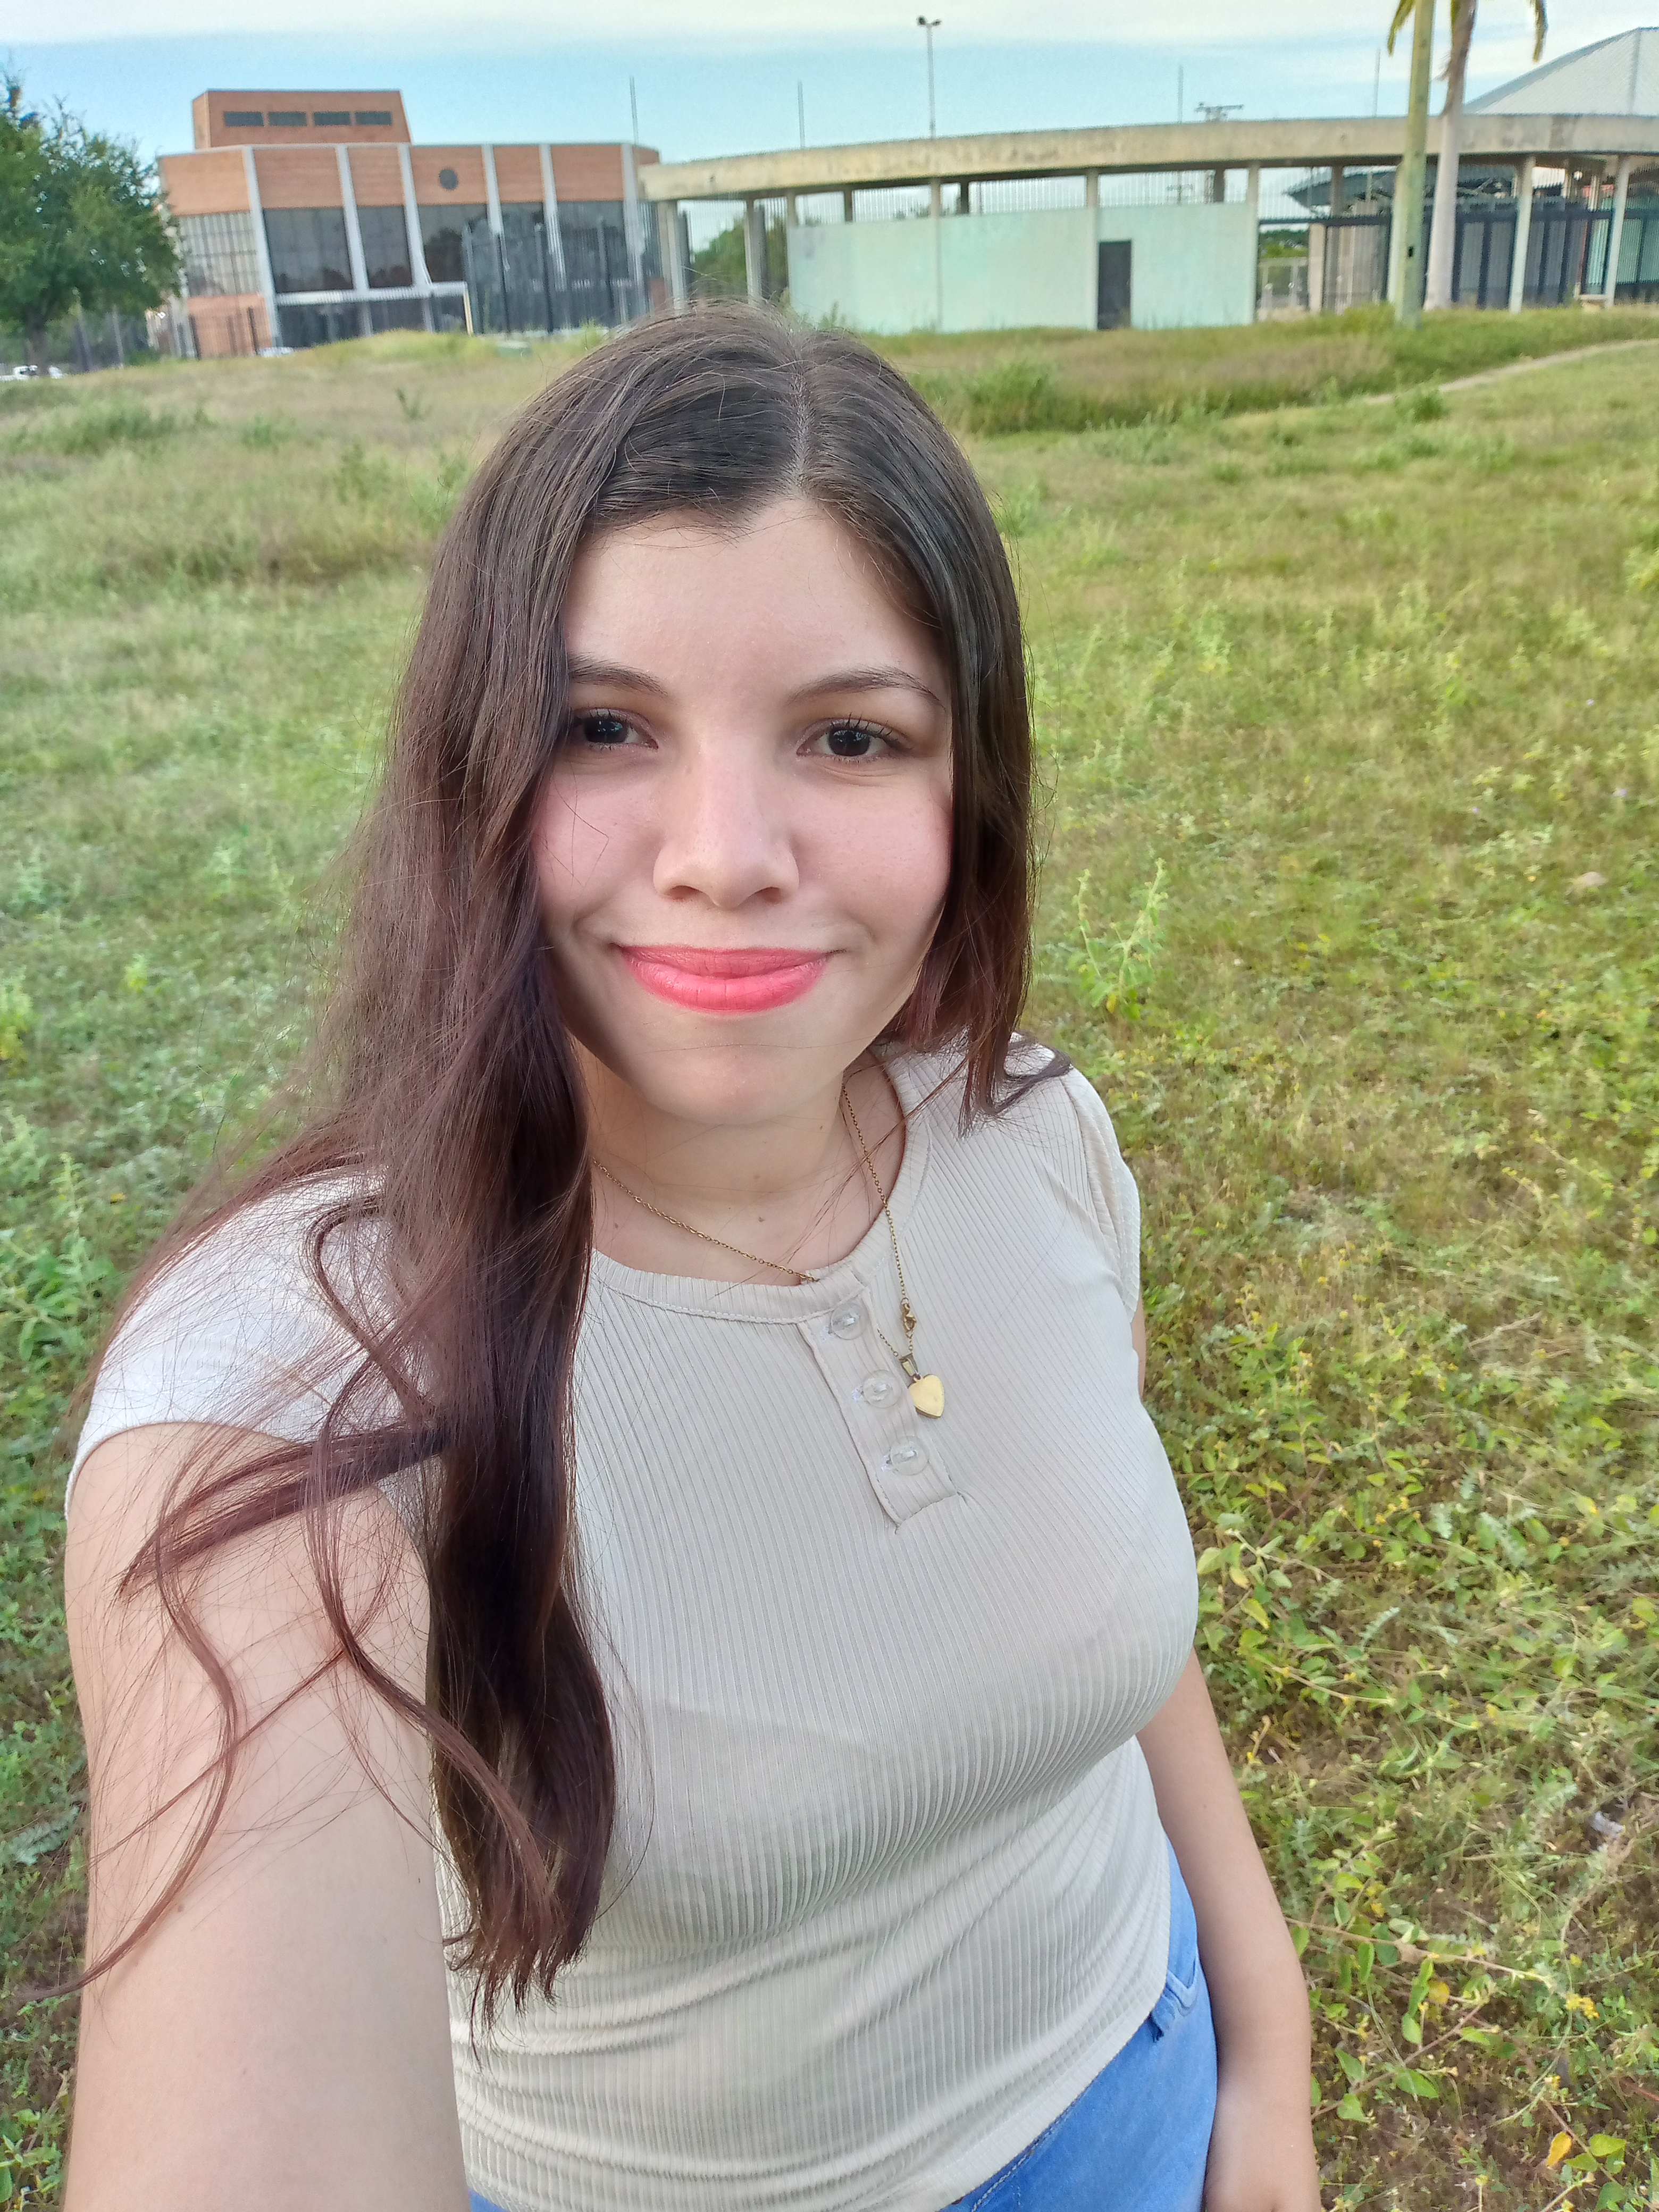
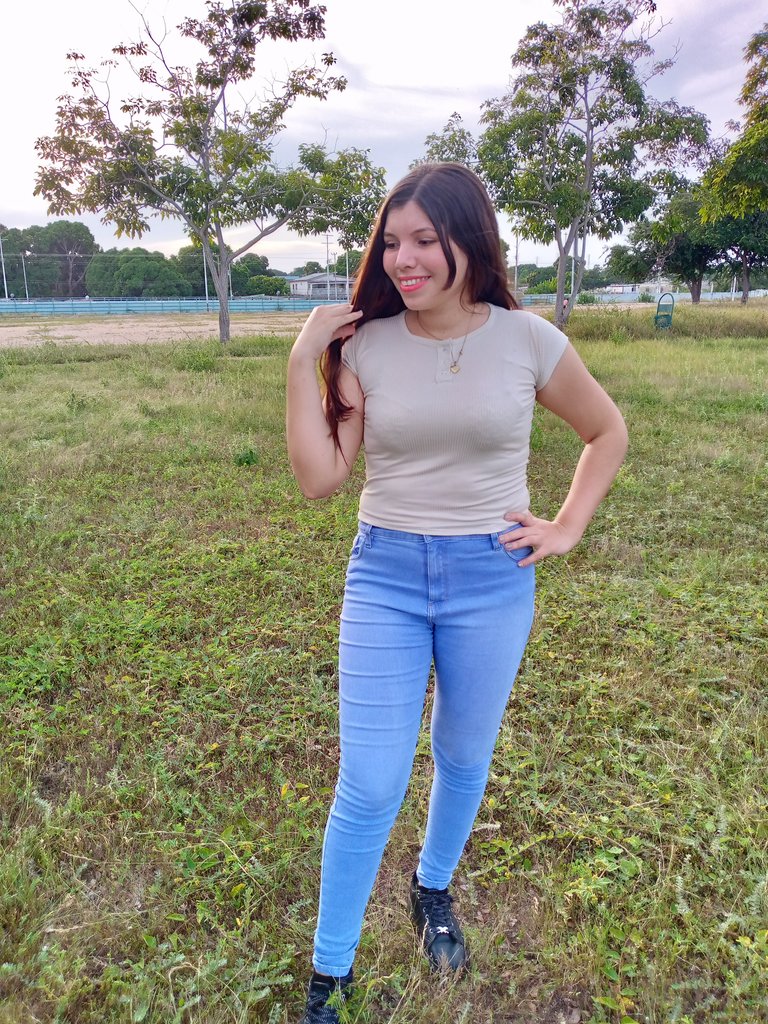
And well friends, after a while sewing this blouse I was finally able to put it on and well, appreciate how it looks. I feel that it was a bit tight but well, I didn't have enough fabric 🥺Next time I will make it a little looser, but I feel that with time this fabric will get bigger 😁 So well, that's how we finish this tutorial. I hope you liked it a lot, and I say goodbye to you wishing you a nice night. See you in another creative blog with more ideas.
.jpg)
Creating things with love 🌷❤️
🦋✨ All the images in this publication are my author ,📱taken with my TecnoSpark8C cell phone |📸Photos edited in PicsArt and Canva. Text translated in Google Translate.
Follow me for more content 📌
