Bienvenidos | Welcome 💕
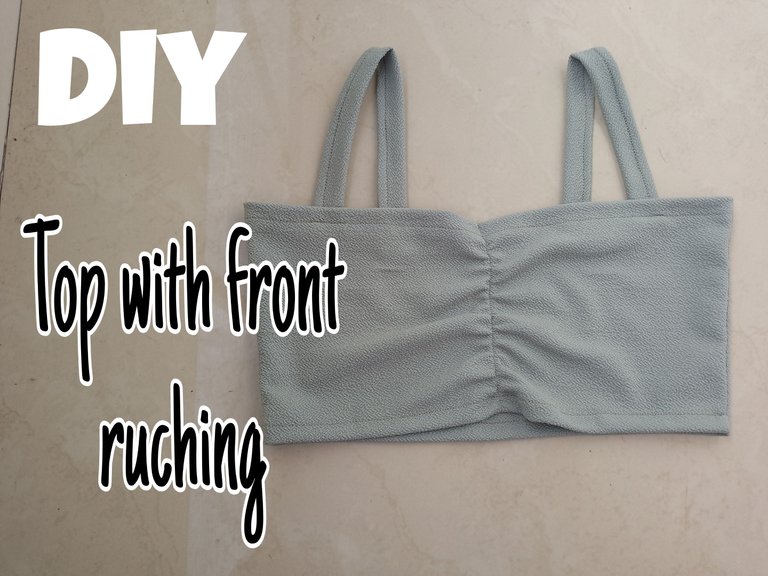
Hola Hivers ❤️ espero que se encuentren bien, ayer subi un paso a paso de una falda tubo, decidí hacer el conjunto con un top con un arruche en la parte delantera y le hice el paso a paso para compartirlo con ustedes. Es muy fácil pues me gusto y espero que a ustedes también. Comenzamos.
Hello Hivers ❤️ I hope you are well, yesterday I uploaded a step by step of a tube skirt, I decided to make the set with a top with a ruche in the front and I did the step by step to share it with you. It is very easy because I liked it and I hope you like it too. Let's start.

Paso a paso | Step by step
- Cortamos las piezas del top, la delantera, trasera y tirantes del top.
We cut the pieces of the top, the front, back and straps of the top.
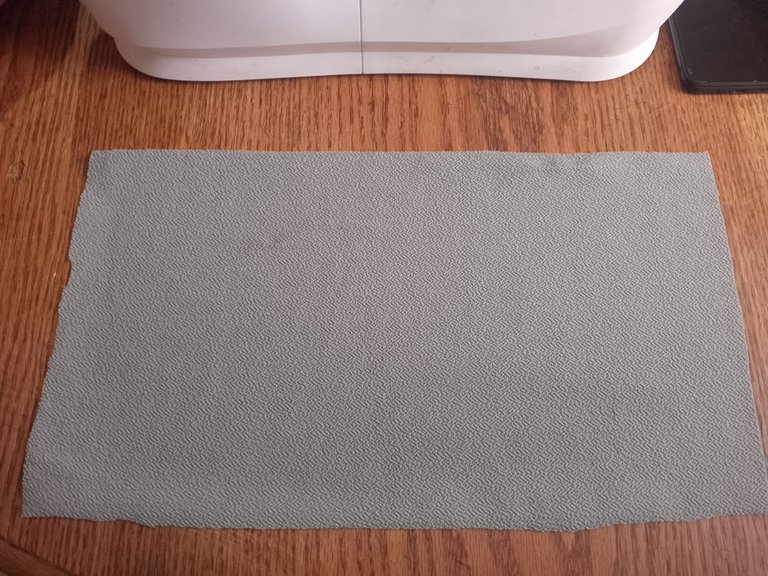
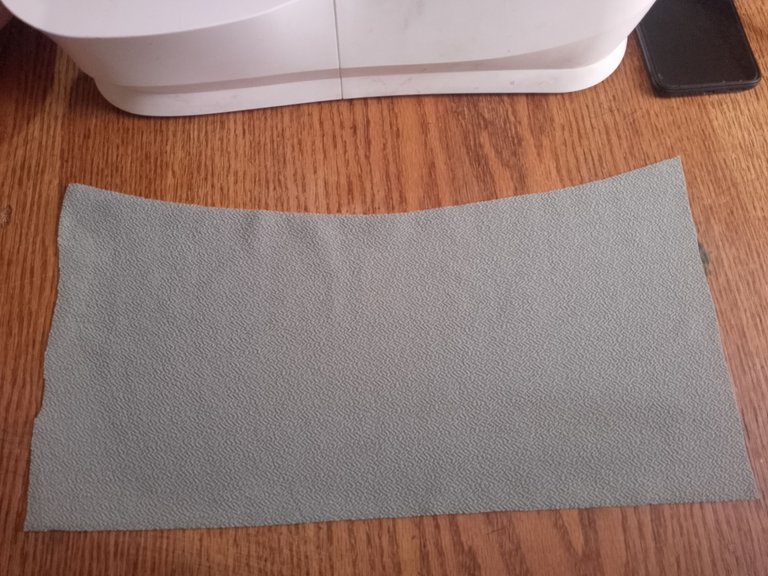
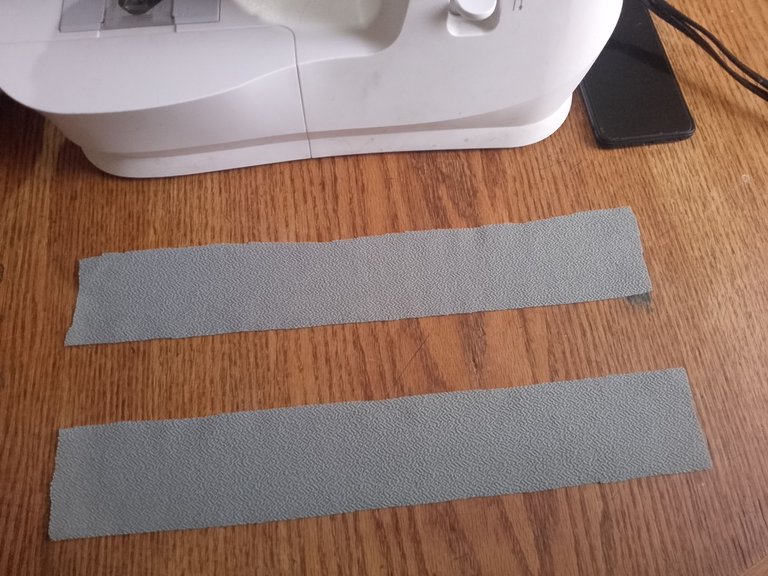
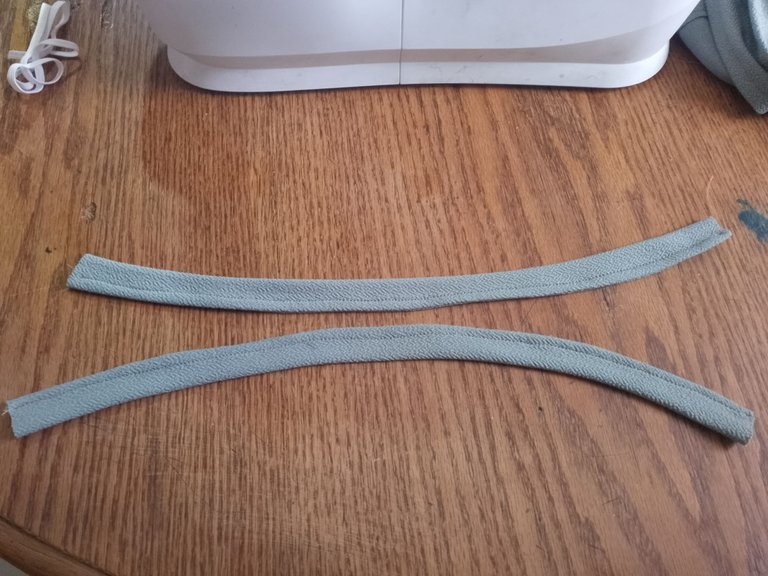
- Seguido cosemos los tiros para ya tenerlos listos y a la mano.
Next, we sew the straps so as to have them ready and at hand.
- Para ir formando el top le tome el ruedo de los escotes tanto de la parte trasera como la delantera. Luego uni por los extremos.
To form the top, I took the neckline of the front and back necklines. Then I joined at the ends.
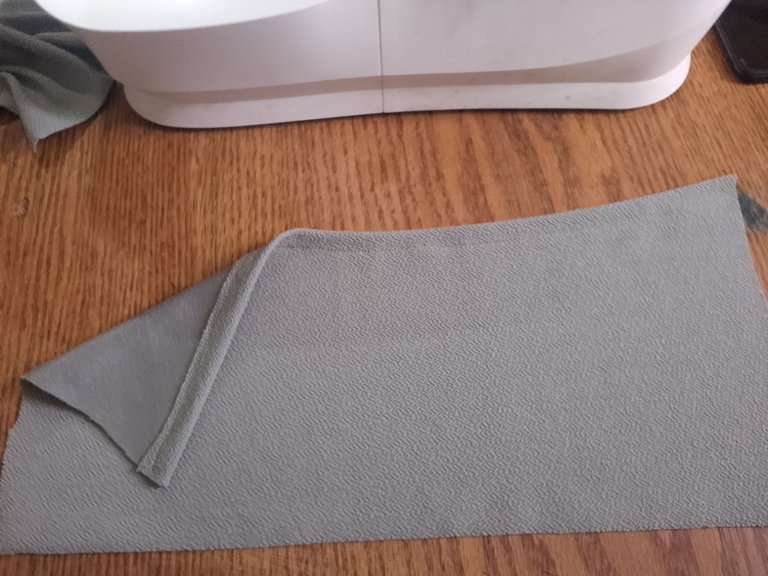
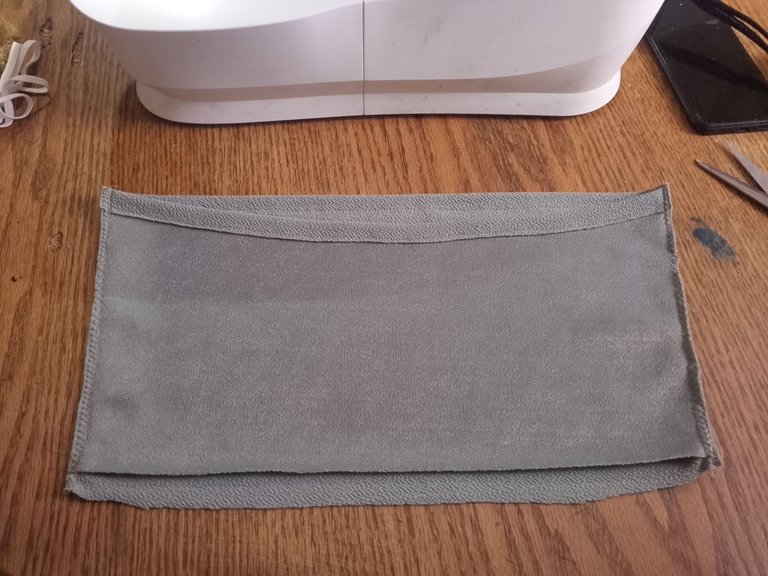
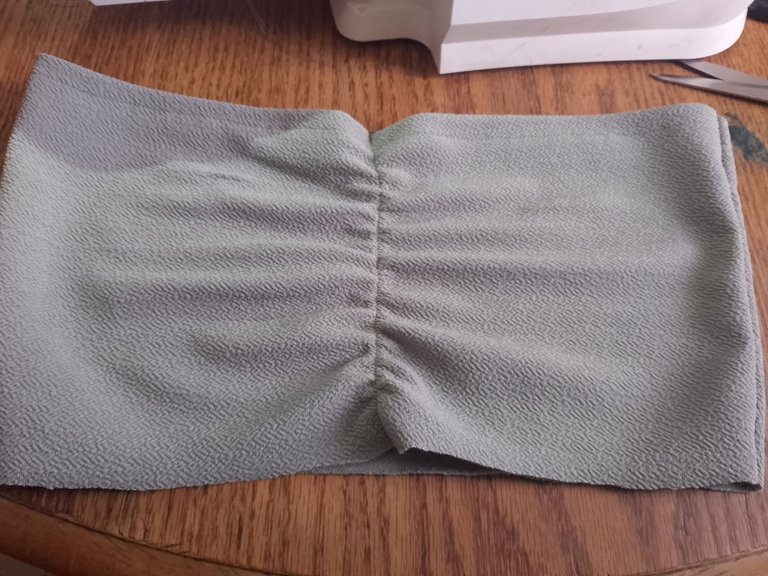
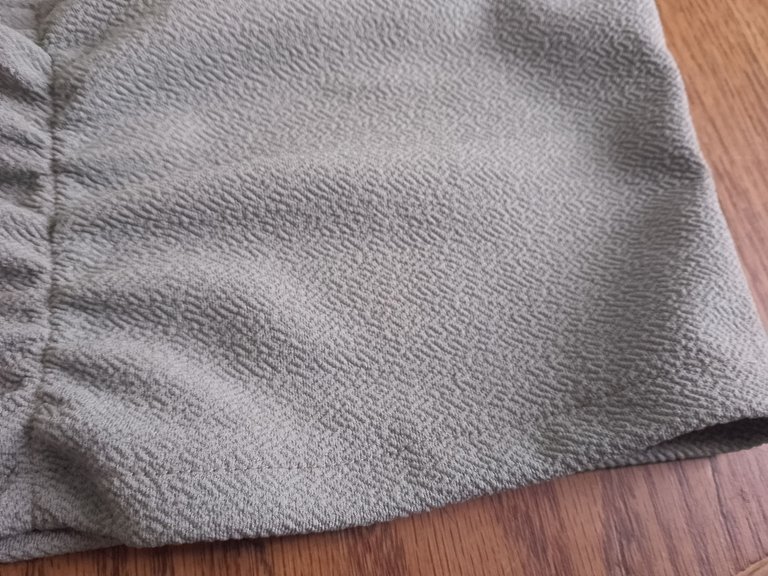
- Esto se me ocurrió ya a mitad del top, le coloqué una pequeña elástica en la parte del centro delantero del top para que quedara arruchada, primero la fijamos con alfileres luego al coser estiramos un poco.
This occurred to me halfway through the top, I placed a small elastic in the center front part of the top so that it would be ruffled, first we fixed it with pins and then when sewing we stretched it a little.
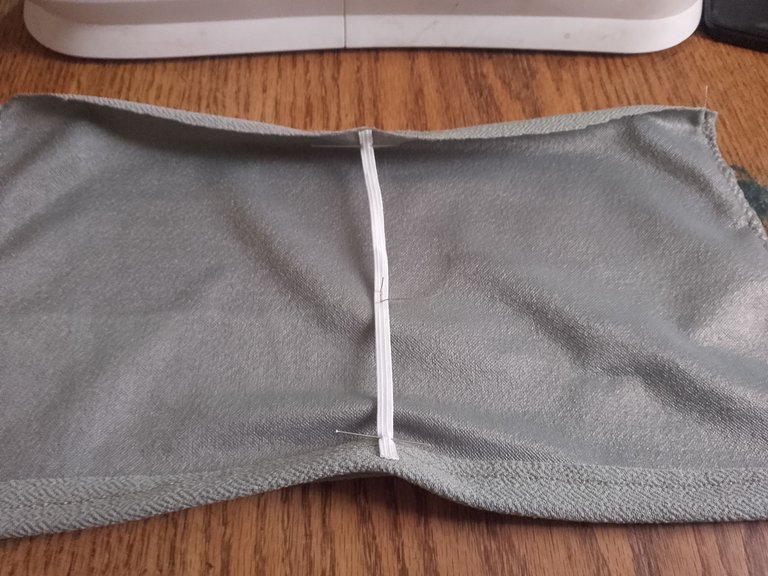
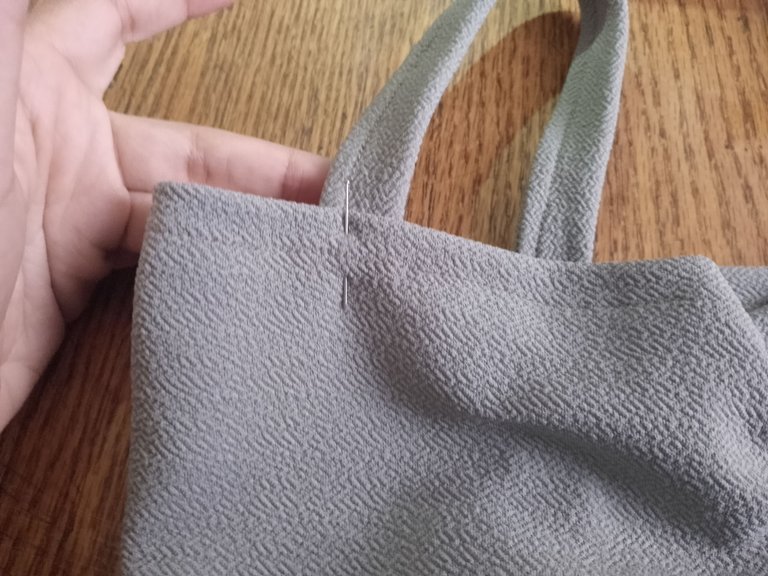
- Continuamos posicionando los tirantes para luego coser y finalizamos cosiendo el ruedo. ¡Sencillo!
We continue by positioning the straps and then sew and finish by sewing the hem. Simple!
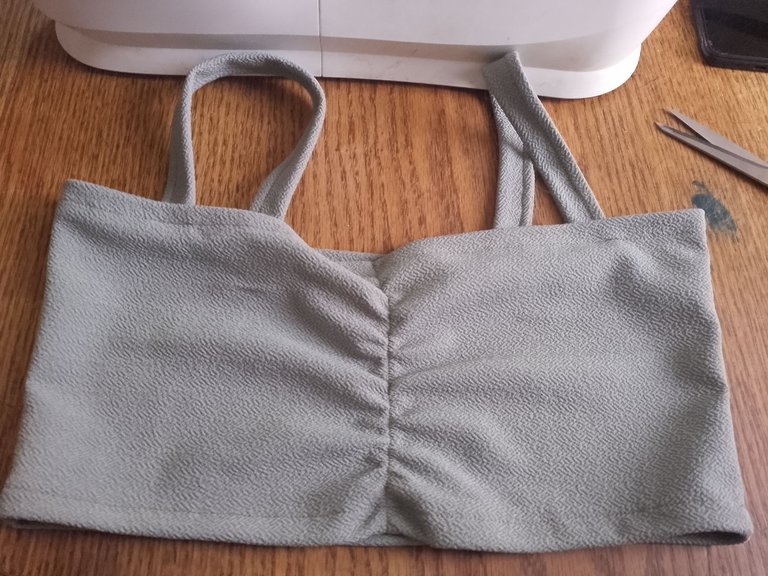
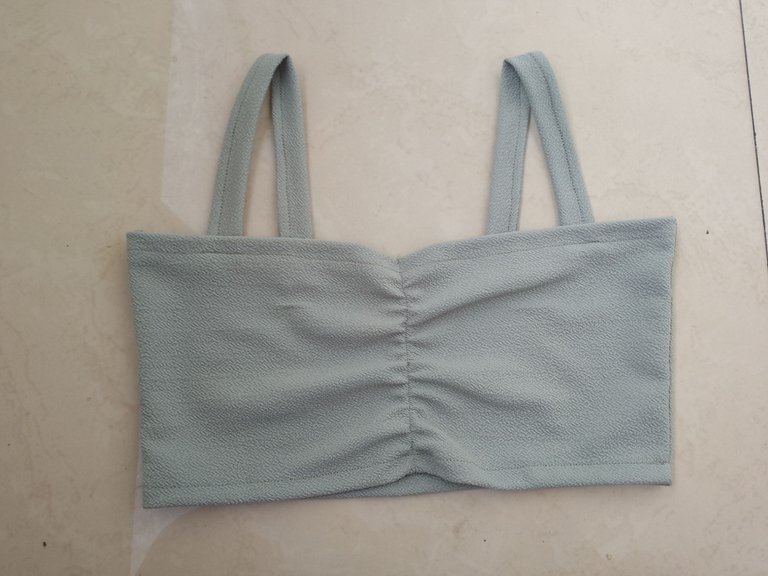
Y asi queda el top para acompañar a la falda que hice anteriormente, con poca tela si podemos sacar una ropa muy top. Espero les haya gustado.🤗
And so is the top to go with the skirt I made earlier, with little fabric if we can get a very top clothes. I hope you liked it 🤗.


♡ Imágenes y textos son propiedad del autor
♡ Edición: Canva - Picsart
♡ Traductor: DeepL
♡ Images and texts are property of the author.
♡ Editing: Canva - Picsart
♡ Translator: DeepL
