Bienvenidos | Welcome 💕
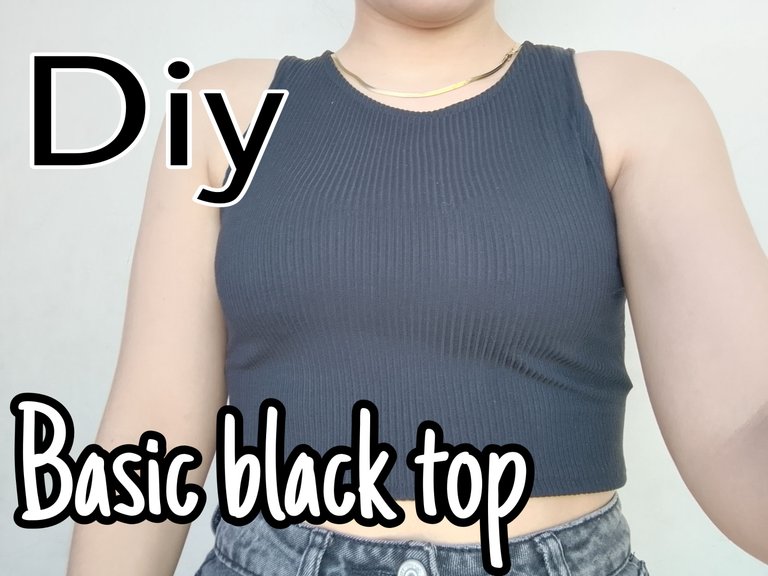
Hola Hivers. Hoy me acompañaran en el tutorial de un básico. Tener un top básico, una blusita negra corta en nuestro clóset es indispensable y hoy les mostraré como la hago súper rápido y de una manera fácil. Comenzamos
Hello Hivers. Today you will join me in the tutorial of a basic. Having a basic top, a short black blouse in our closet is a must and today I will show you how to make it super fast and easy. Let's start

Paso a paso | Step by step
- Cortamos las dos piezas, una parte delantera y las parte traseras.
We cut the two pieces, a front part and the back parts.
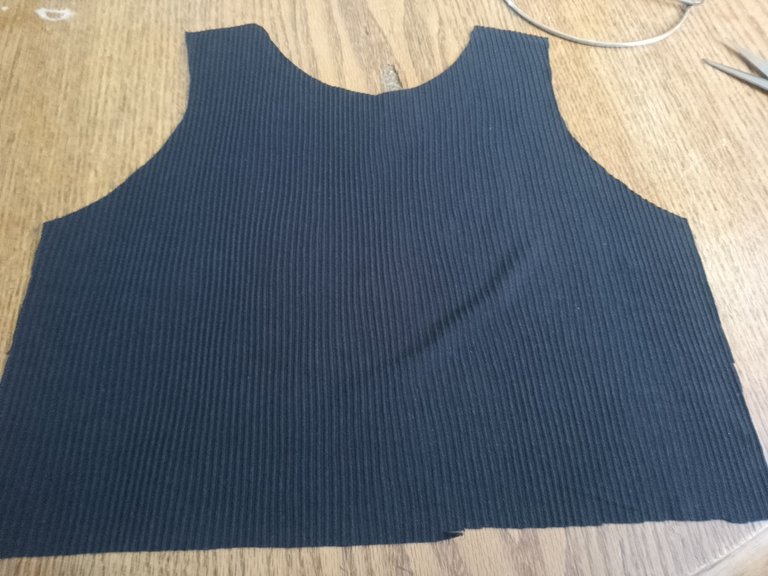
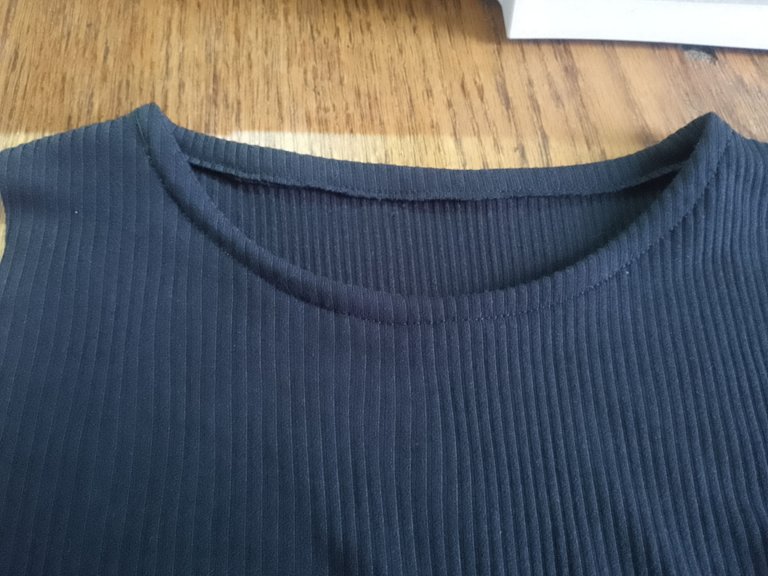
- Unimos estas dos piezas cosiendo en la parte de hombros, seguido cortamos una tira que seria nuestro sesgo para el escote, cosemos luego la doblemos hacia adentro y pasamos una costura, que esta costura sea derecha porque es la que queda visible.
We join these two pieces by sewing at the shoulders, then we cut a strip that would be our bias for the neckline, we sew then fold it inwards and pass a seam, this seam must be straight because it is the one that is visible.
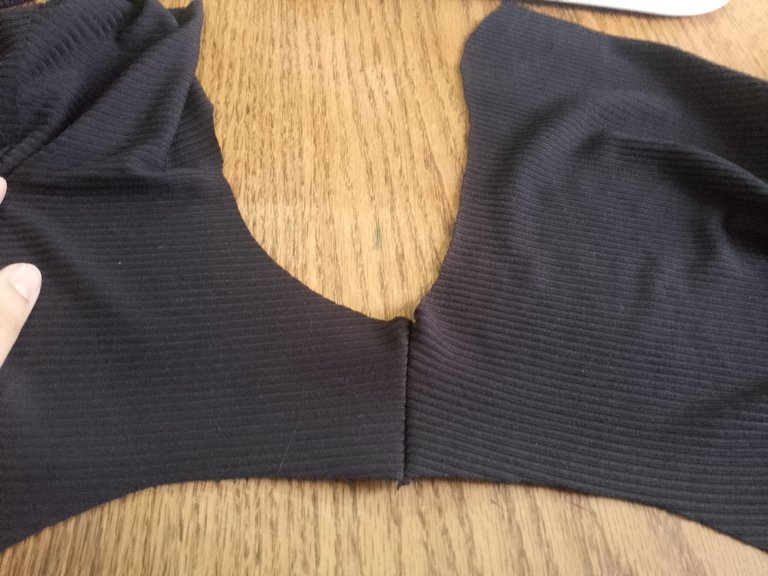
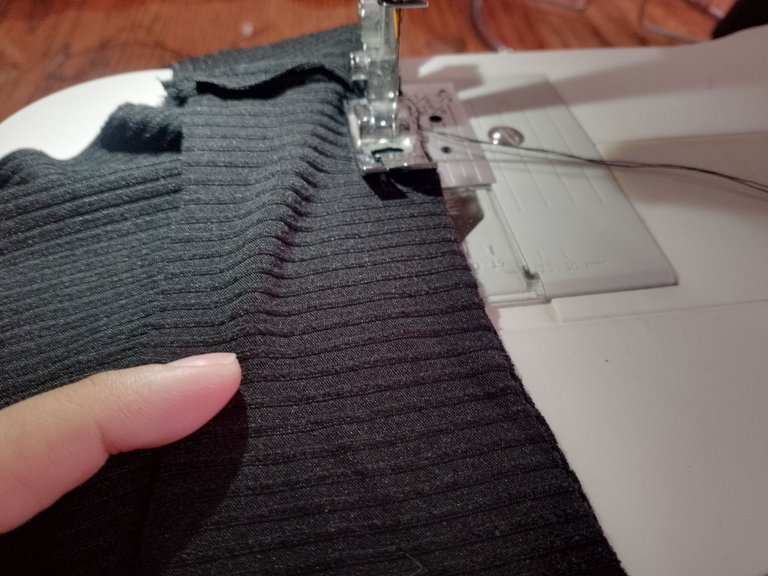
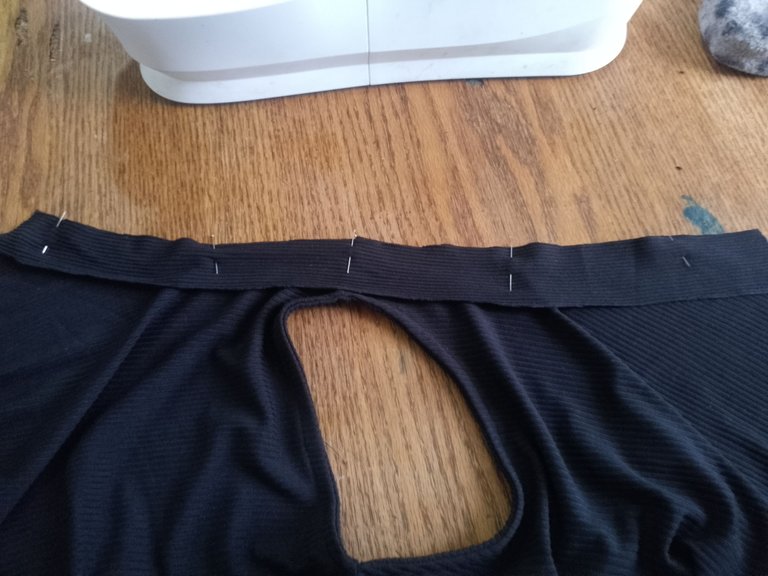
- En la parte de la sisa hacemos el mismo procedimiento, tomamos una tira larga que seria el sesgo y cosemos (al mismo tiempo estirando), luego de ya estar cosido lo doblemos hacia adentro de la blusa y pasamos costura.
In the part of the armhole we do the same procedure, we take a long strip that would be the bias and we sew (at the same time stretching), after being sewn we fold it towards the inside of the blouse and we sew the seam.
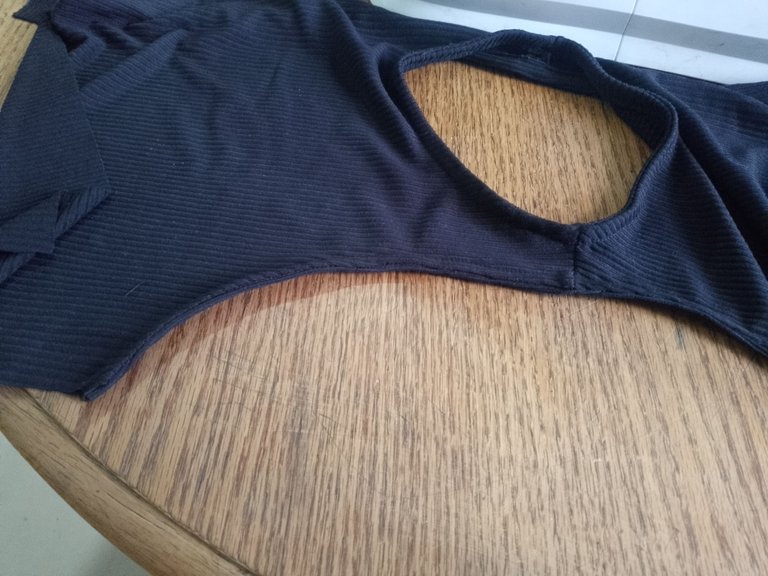
- Luego que tenemos el escote las sisas listas procedemos a cerrar la blusa cosiendo en los laterales.
After we have the neckline and armholes ready, we proceed to close the blouse by sewing on the sides.
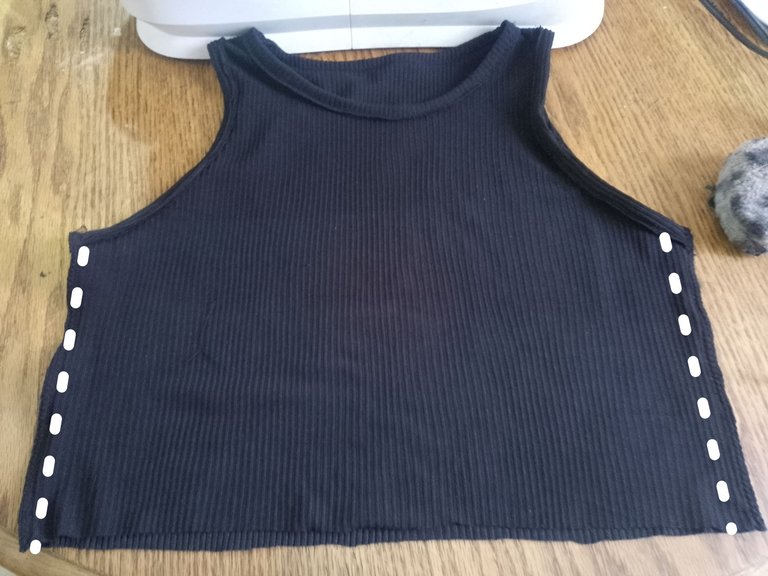
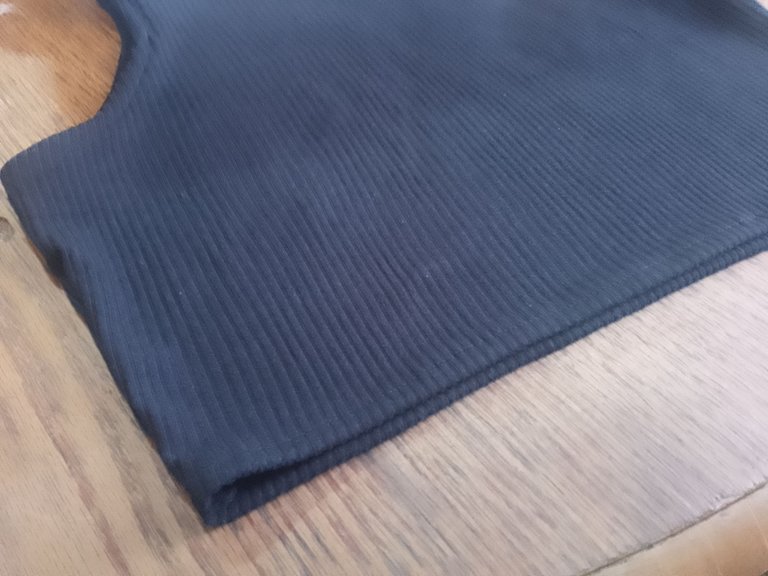
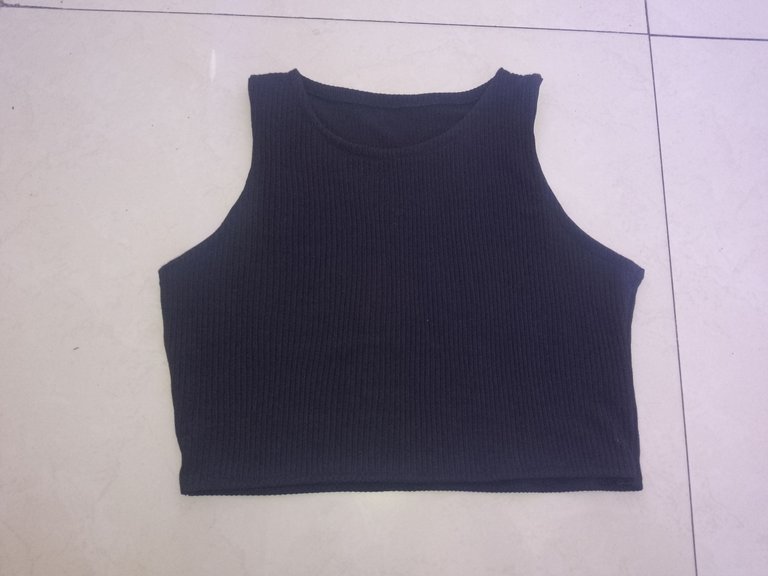
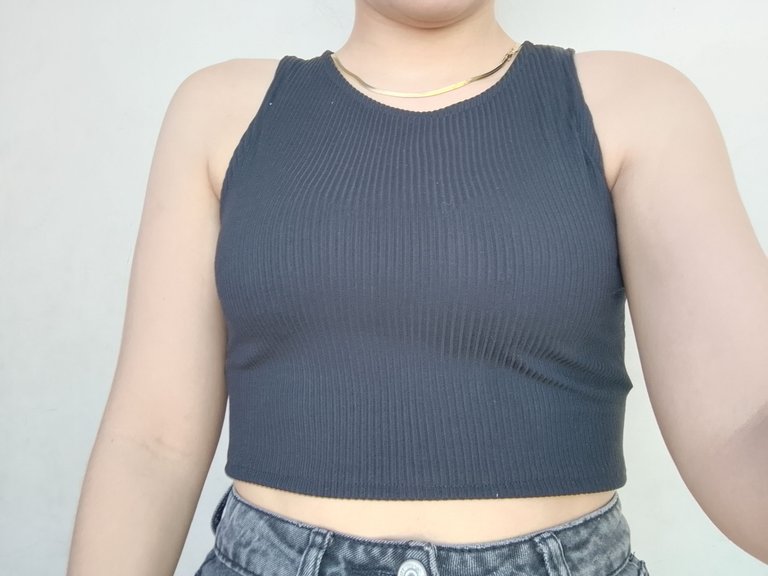
- Y asi queda la blusa corta. Muy rápida de hacer, espero les haya gustado este tutorial. Hasta el próximo post.
And this is how the short blouse looks like. Very quick to make, I hope you liked this tutorial. See you next post.


♡ Imágenes y textos son propiedad del autor
♡ Edición: Canva - Picsart
♡ Traductor: DeepL
♡ Images and texts are property of the author.
♡ Editing: Canva - Picsart
♡ Translator: DeepL

