
Good morning/afternoon growing enthusiasts! I hope everyone is ready for this week. Today I wanna talk about my self watering tubs that have helped me grow bigger and IMO better size buds than I've ever had.
I've had many people ask me how do I get the big stalks on my plants like I do so I thought I'd write a blog about it and if you like it give it a try.
My experience started out when I saw a friend use a five gallon bucket the same way. He showed me that you can cut the lid on a five gallon bucket to fit inside the bucket to separate the bottom which holds the water from the middle which will hold your soil and when your plant (his tomato plants at the time) gets big enough the roots will grow to the bottom and take up the water needed from the bucket.
It was an idea that I really wanted to try so when I got home that day I did a little research into it and there was a number of videos on how to make one. I got started building four of them for my outdoor veggie garden.
After a couple of years of trying it in my garden I wondered if my cannabis would respond the same way the tomato plants did as they grew huge and produced a lot of tomatoes. Only I wanted to do it with bigger pots because using a five gallon bucket with almost a third of it being used for the water it would not have enough soil room IMO to be efficient enough to grow a big cannabis plants.
One day at my local home improvement store I found these barrel tubs of all the same circumference but different gallon sizes. They had 30, 20 and 10 gallon sizes so I bought two 30 gallons and two ten gallon tubs. I thought this would be perfect to try and make some self watering tubs with these!
I went out and bought the pieces needed to make two tubs. I bought two 1'2" rubber grommets, two 1'2" 90 degree water connector and a 4' piece of half in. tubing.
First thing I did was drill holes in all the lower parts of the ten gallon bottom and then I cut the bottoms out. Don't throw the rest of the tub away as we will need more off of them. I cut two 5" holes in the bottoms on either side of the bottoms I just cut out.
I attached two 5" net pots to the bottom side of the cut out bottom with zip ties.
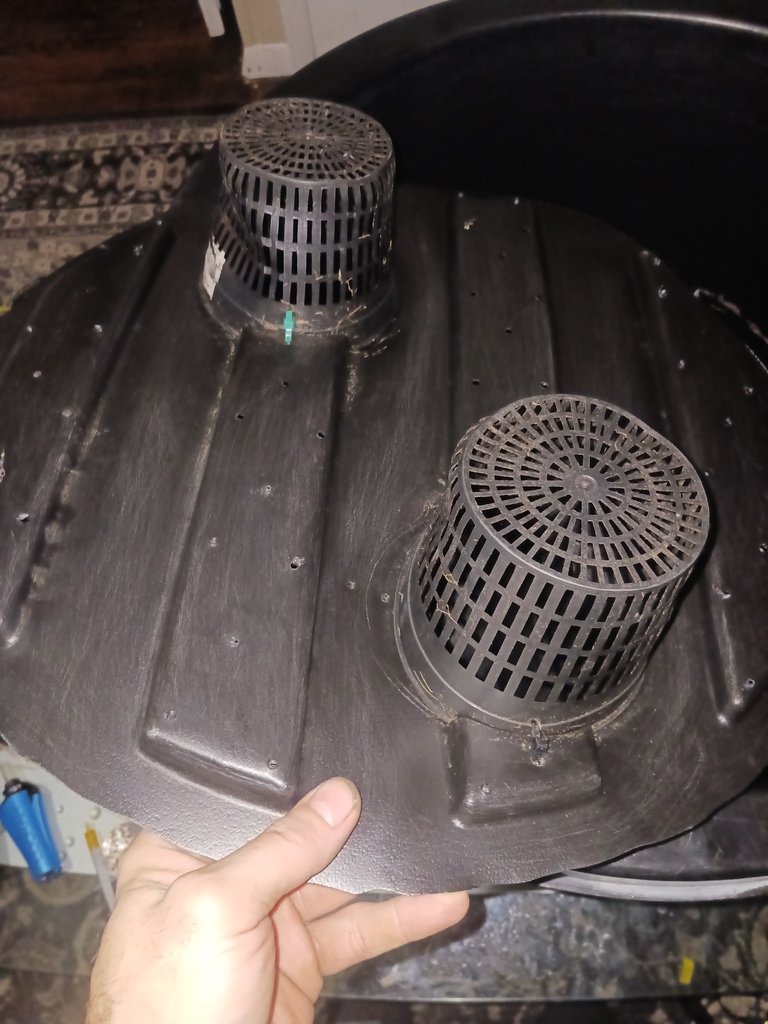
These will act as wicks to wick up the water from below.
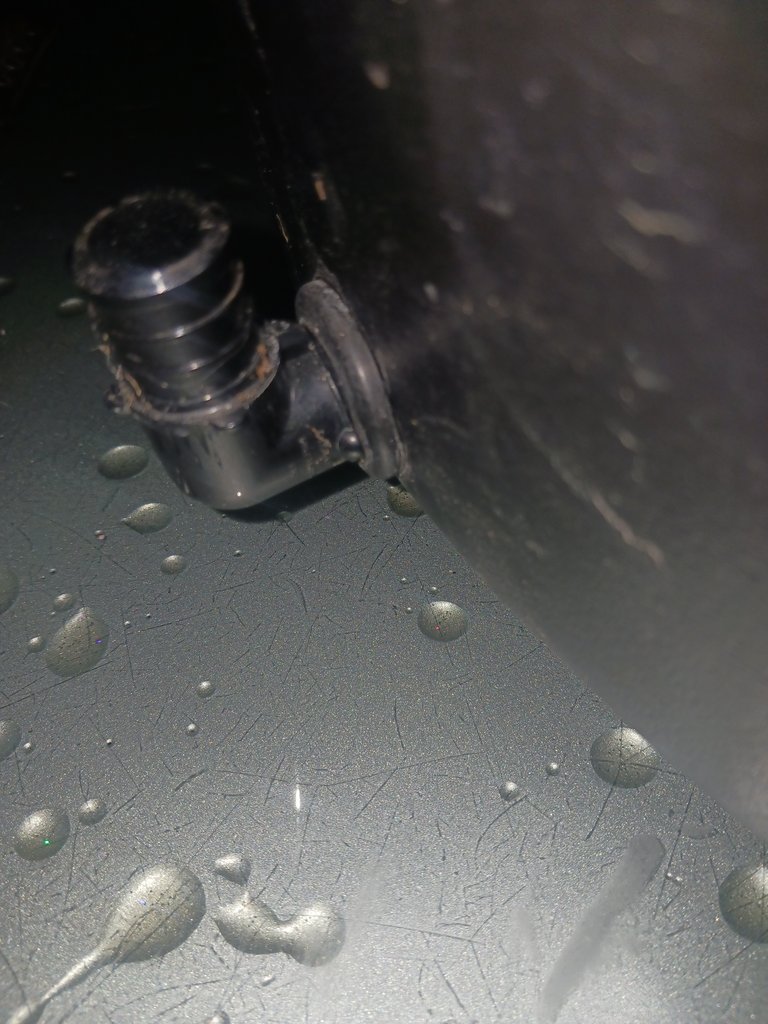
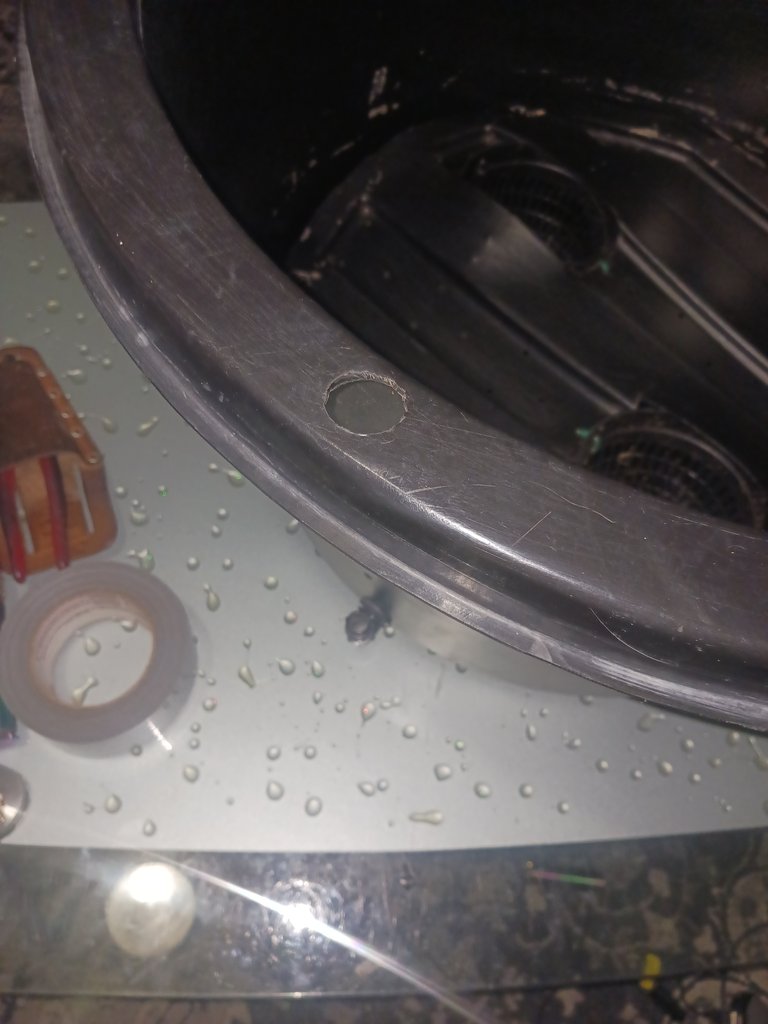
Next thing I did was to cut the fill hole and the tube holding hole. The fill hole is where your grommet and fill tube will go. This should be drilled at the bottom of your main tub. The grommet is a 1'2" grommet which means the middle will hold your half in. 90. So your hole to hold the grommet will have to be a bit bigger to hold the outside of the grommet.
It's been a while since I did these so I wanna say I used a 5/8" drill bit to hold the grommet. The other hole to hold the 1/2" tube was also drilled with the 5/8" bit on the top of the main tub on the rim.

The next thing I did was cut out a 5" wide piece from the 10 gallon tubs all the way around. This will serve as a stabilizer so your bottom won't sink down past where you want it to stay.
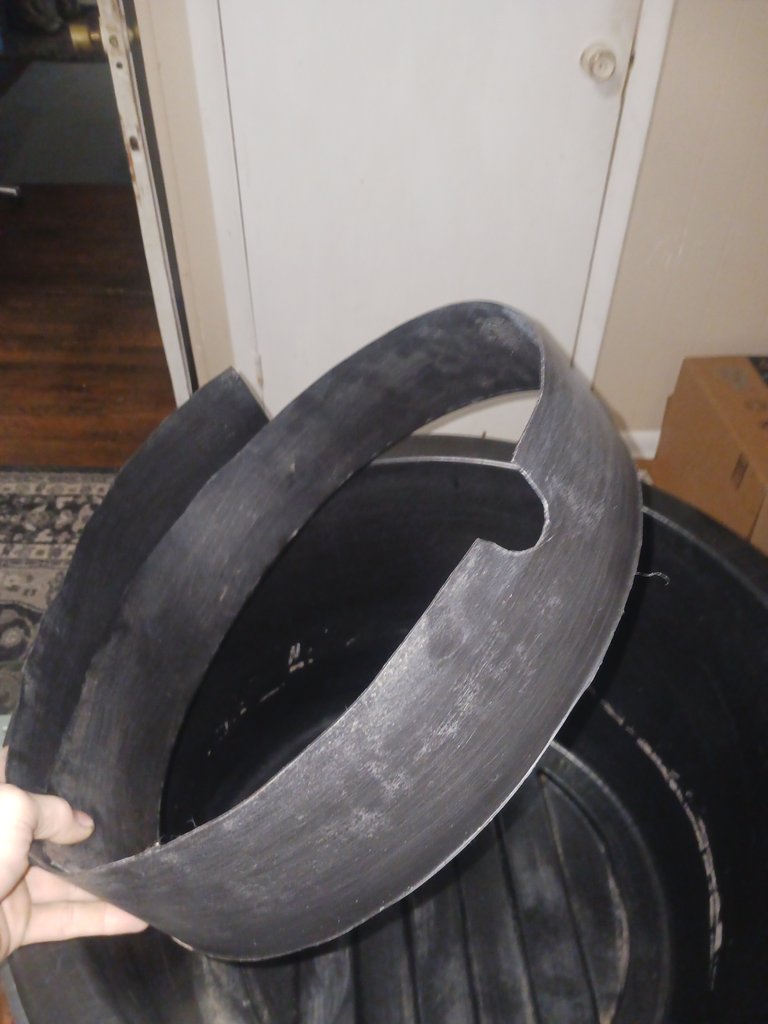
I also cut a little half circle out from the bottom part of the stabilizer piece so when filling with water it can flow unobstructed.
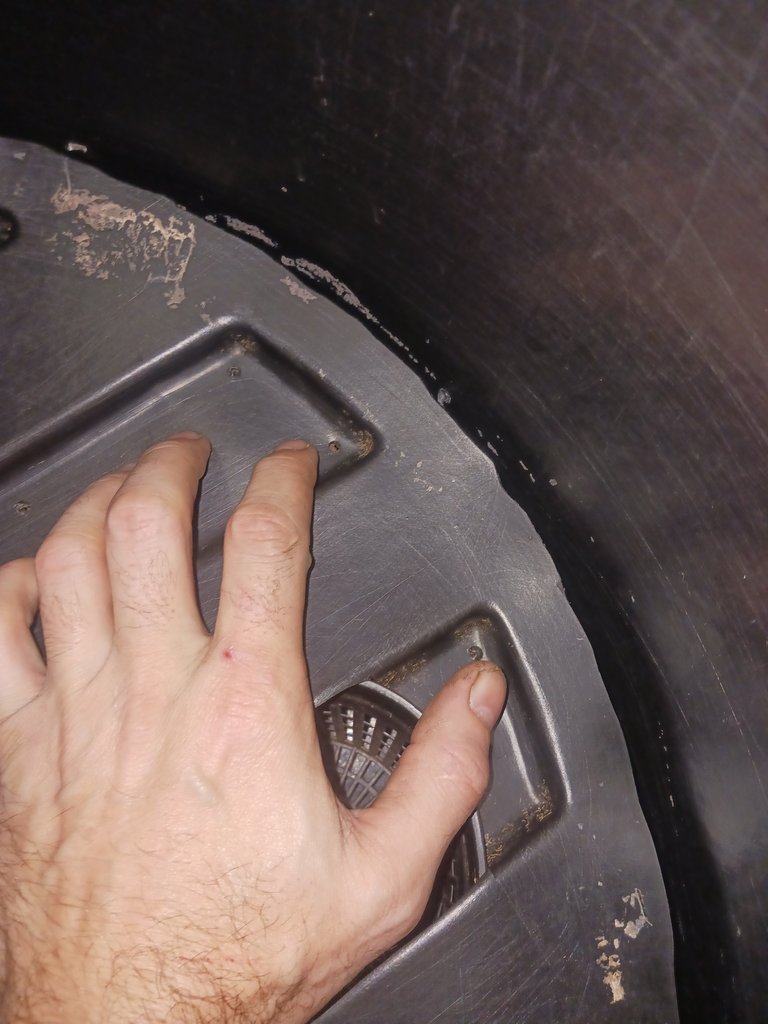
Next I flipped the bottom piece over and measured the stabilizer piece so it goes around the net pots almost to the edge and taped the joining ends with duct tape.
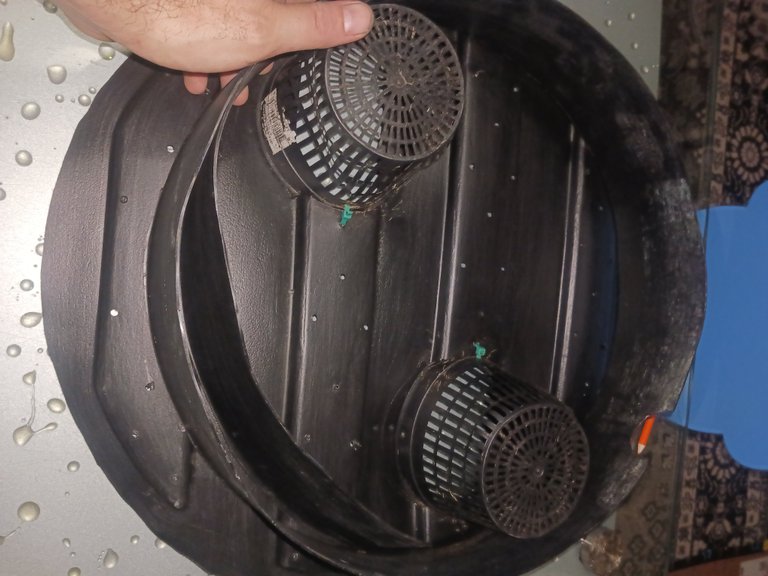

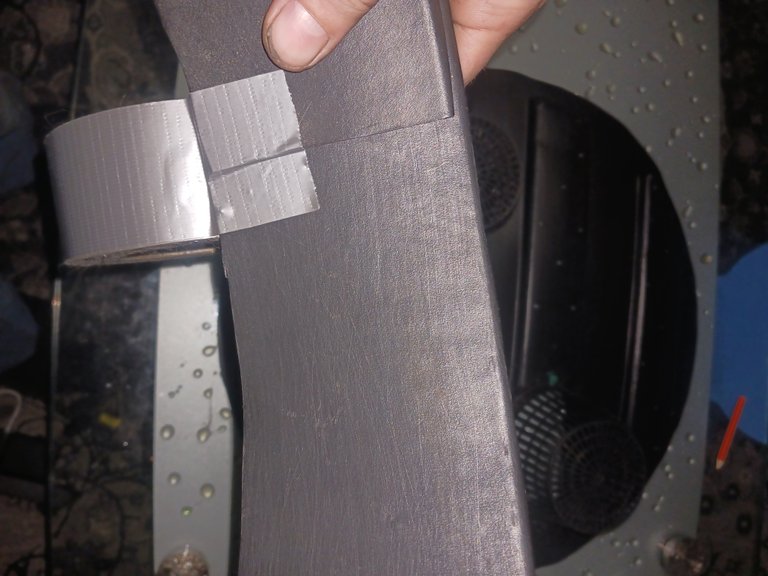

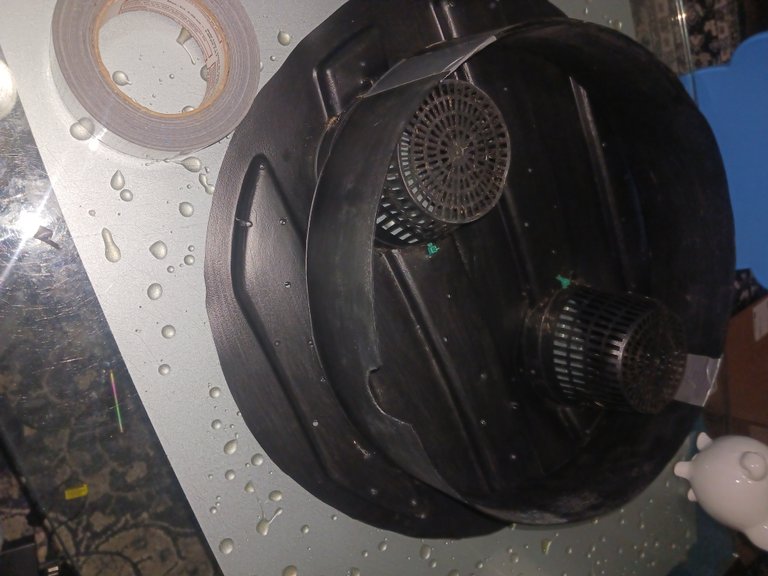

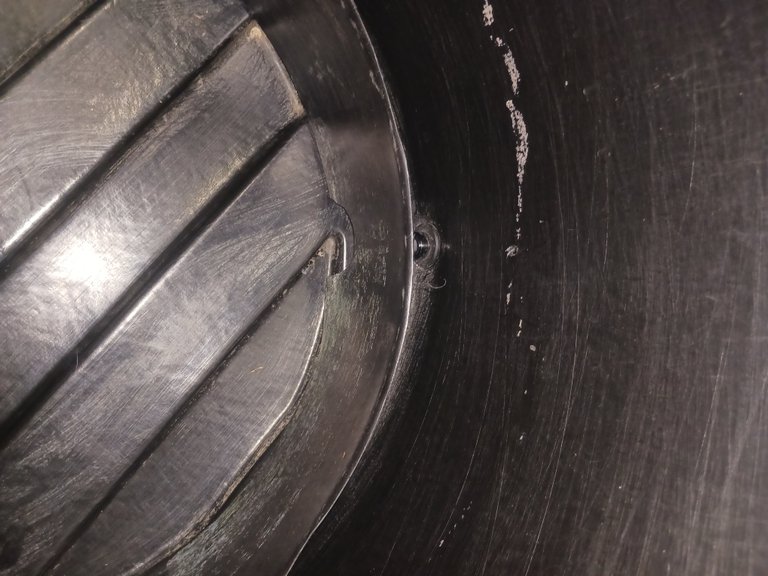
Next thing I did was put it together and see where the divider come to. Figure out a spot to drill your overflow hole. It should be just below where the divider comes to when pushed down and in the same area as the fill hole. I used a 1/4" drill bit for this.
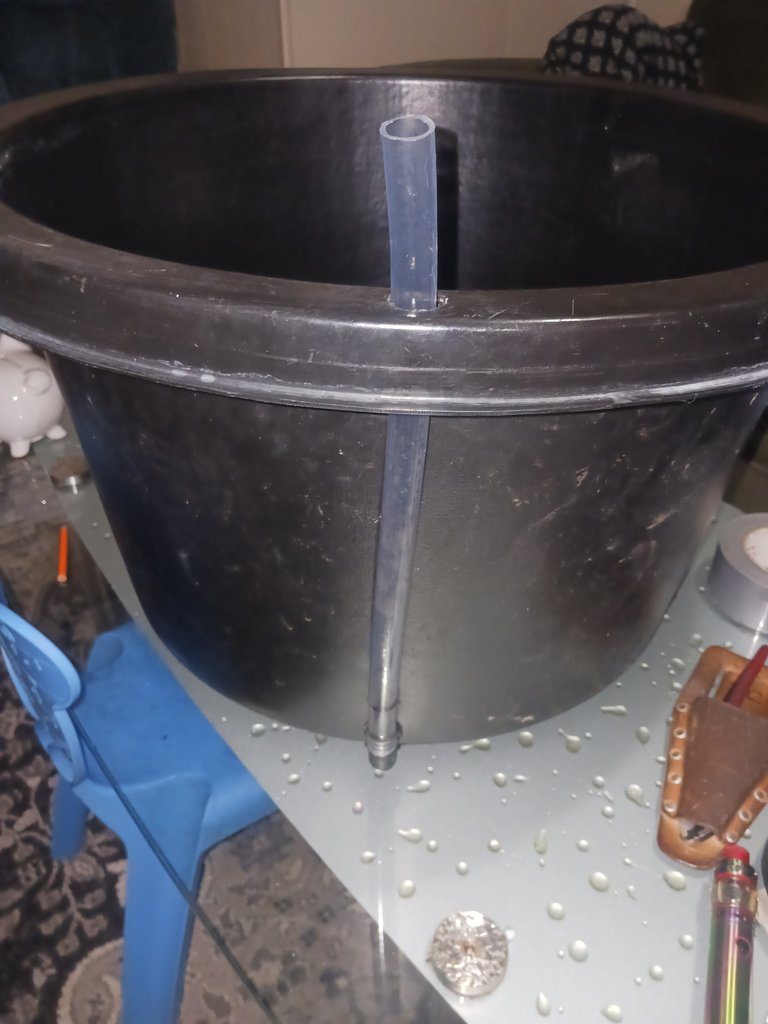
Next attach the 1/2" fill tube to the 90 and cut it so it comes just above the hole you made in the rim of the tub. Mark the fill tube with a marker just below where your overflow hole is. This will be your fill line.
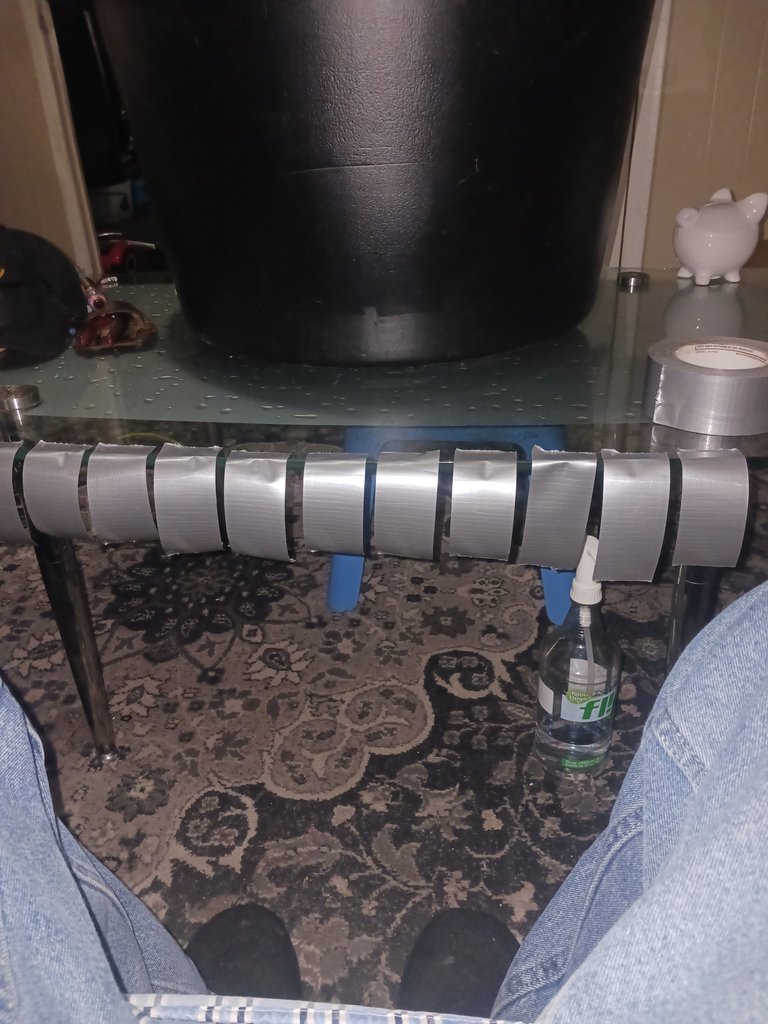
Next I took a bunch of small pieces of duct tape ans started taping the divider to the main tub.

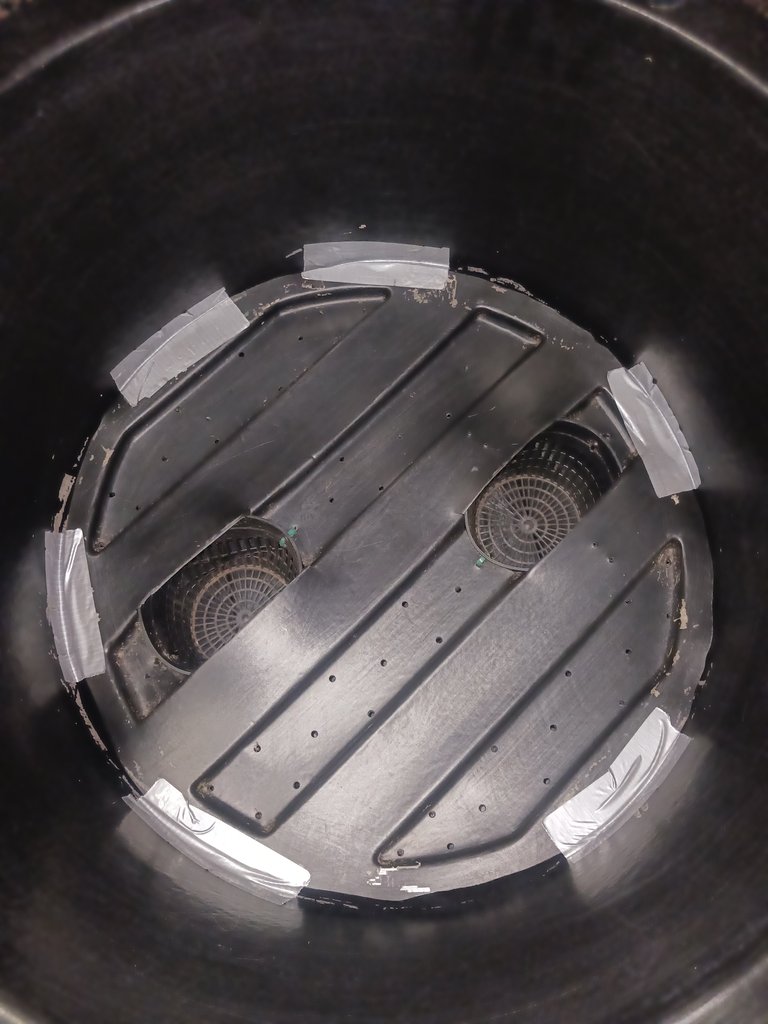

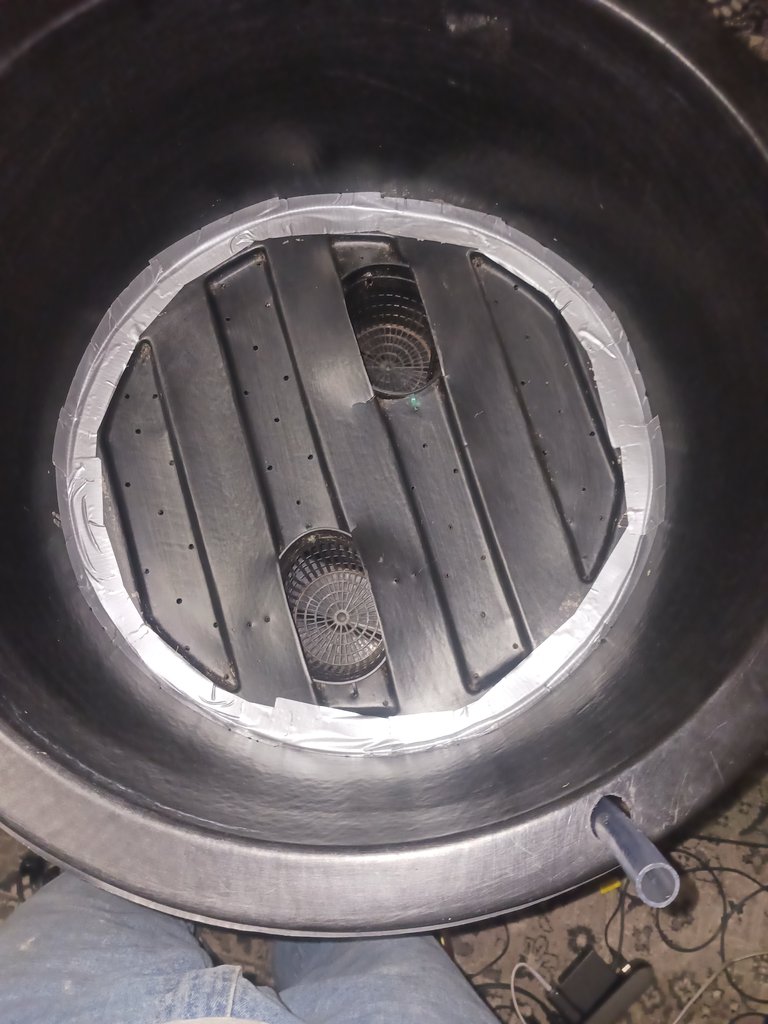
When filling the tub with dirt you'll wanna pack the soil really tight in the wicking net pots so when the water is added the soil will keep form instead of breaking apart when mixed with water.
Curiosity is getting the best of my cat! lol
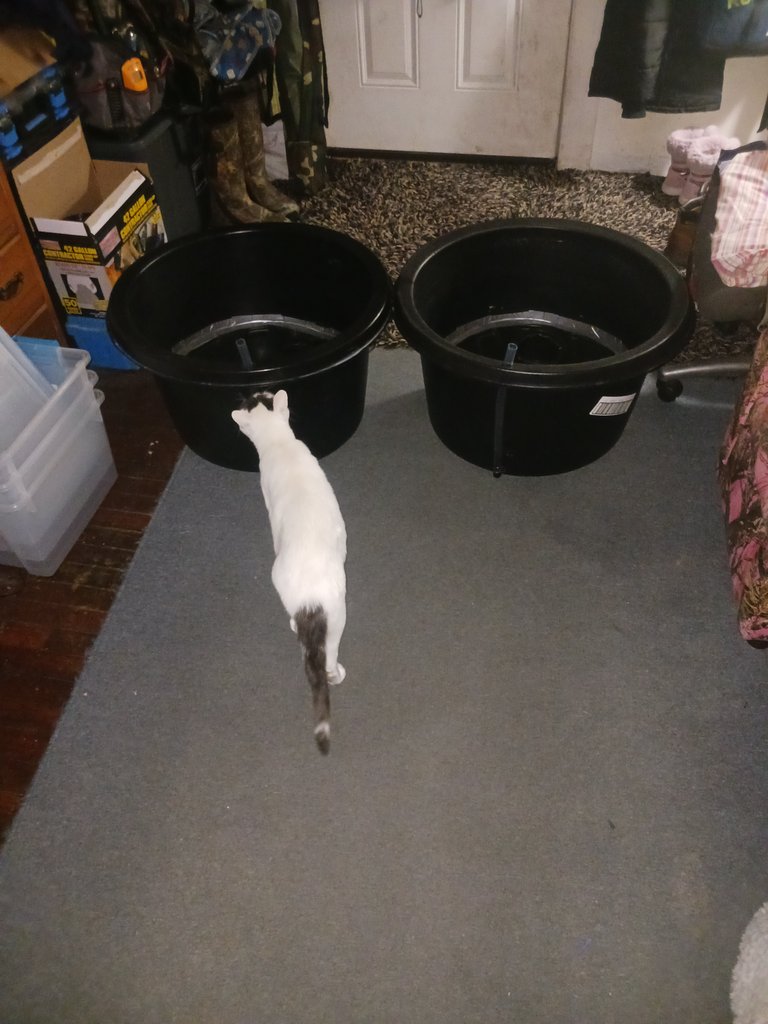
When I fill my tubs with water I use a long oil funnel that is perfect size when the scrog nets are up.
This process can be done with almost any size pot but in my experience the bigger the pot the bigger the plant. I hope this answers some of your questions and if you have any more feel free to ask.
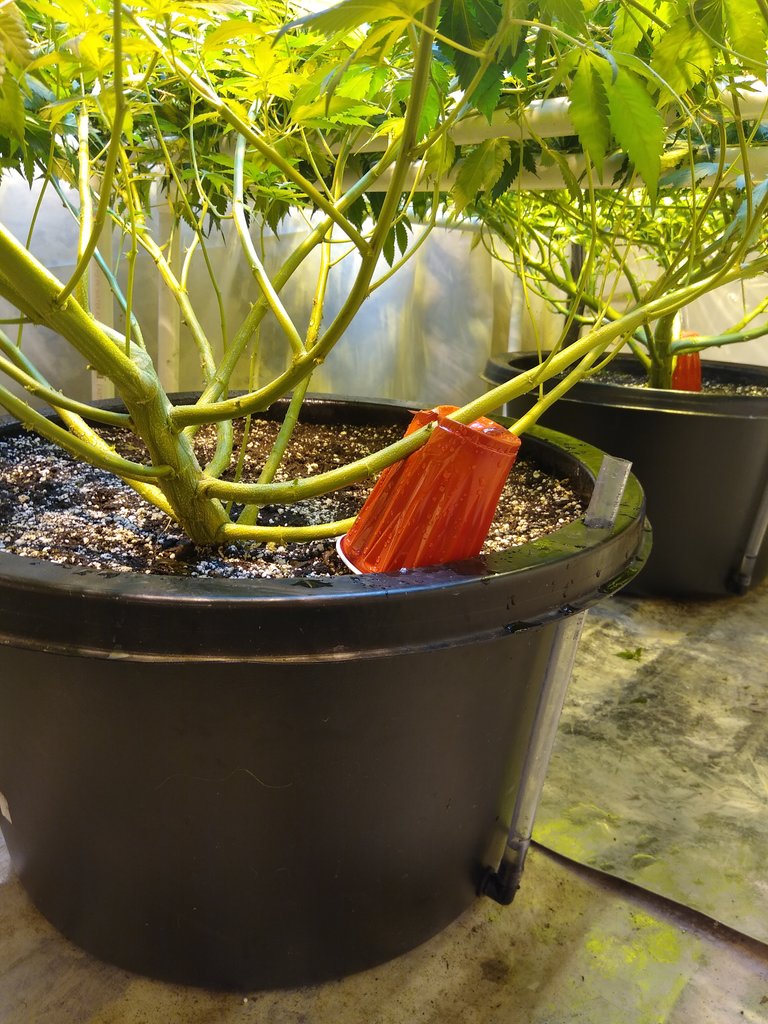
I hope you enjoyed my how to on my self watering tubs. Thank you for joining me and until next time, keep growing my friends!


