Un saludo cariñosos🦋! a los hivers creadores de #jewelry, esta extraordinaria comunidad que muestra, gran cantidad de talentosos artesanos dedicados a darle un toque especial a los accesorios.
A veces pensamos, que una hermosa prenda para accesorio, es aquella que más técnica tiene y más complicado es su elaboración, sin embargo la sencillez, nos demuestra todo lo contrario.
Combinar sencillez y belleza, también da hermosas prendas, además de darnos un look muy aireado, pero elegante.
Esta pulsera es una demostración de que en la sencillez, podemos destacar la belleza de los materiales utilizados.
Para realizar este sencilla y hermosa pulsera, usé los siguientes materiales:
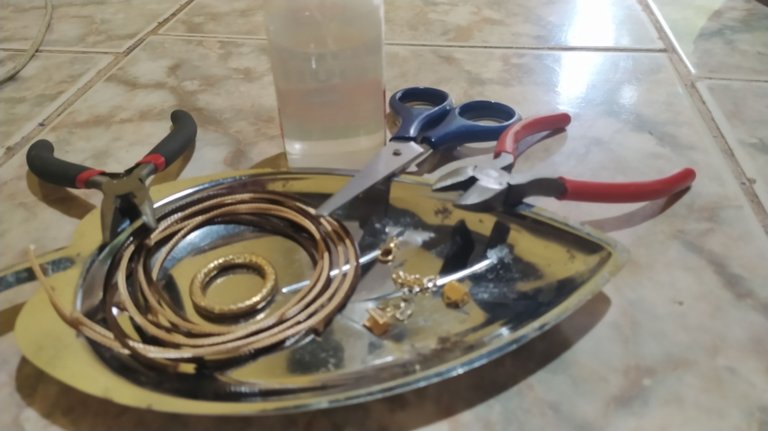
- Una argolla dorada de 2,5 cm de diámetro.
- 40 cm de cordón marrón oscuro.
- 40 cm de cordón beis.
- Dos cierres tipo cartera medianos color dorado.
- 5 cm de cadena dorada.
- Terminal en forma de mariposa.
- Tres argollas doradas.
- Un pasador tipo langosta color dorado.
- Silicón líquido.
- Tijeras.
- Pinzas.
- Yesquero.
Para darle forma a mi creación, seguí los siguientes pasos:
- Corté el cordón en partes iguales, con ayuda de la tijera.
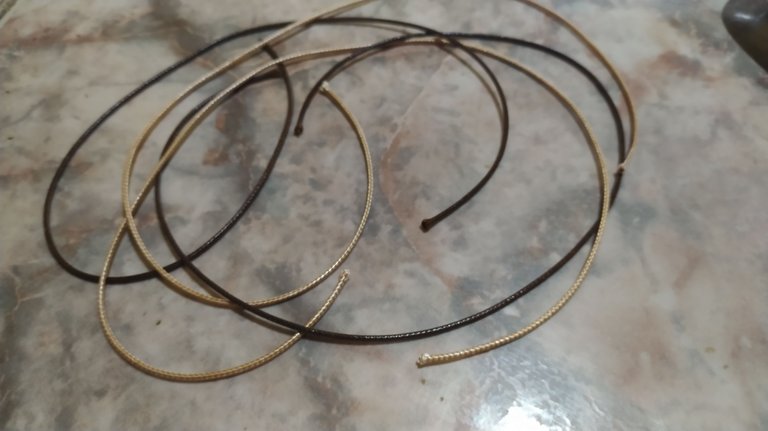
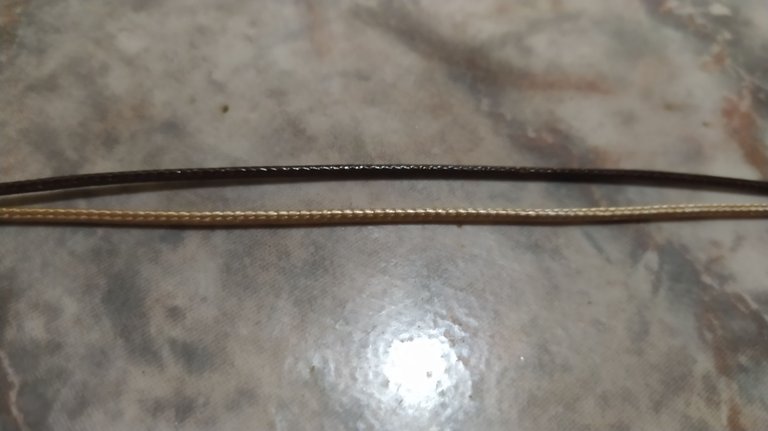
- Junté un cordón marrón oscuro y uno beige, para cada lado.
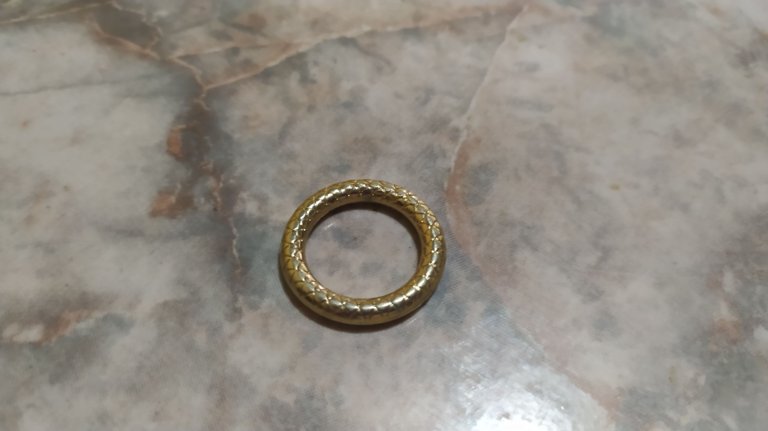
- Busque mi aro dorado, este está labrado, pero tú puedes escoger uno que te encante, su diseño.
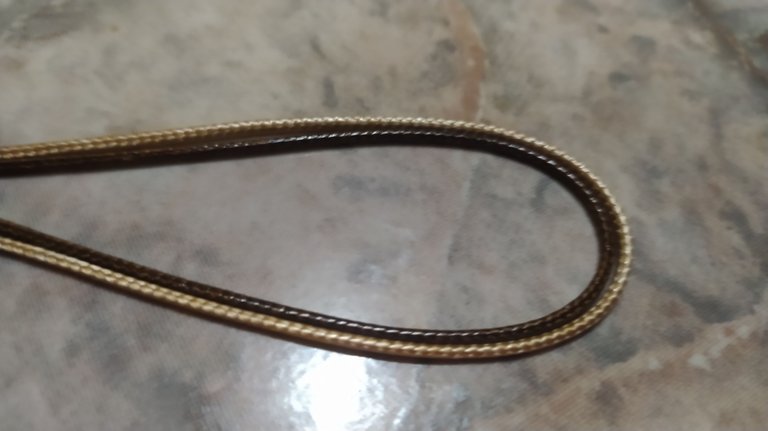
- Doblé a la mitad un par de cordones, justo a la mitad, formando una gasa.
- Introduje esa gasa de abajo, hacia arriba por el medio del aro, quedando cordón para ambos lados.
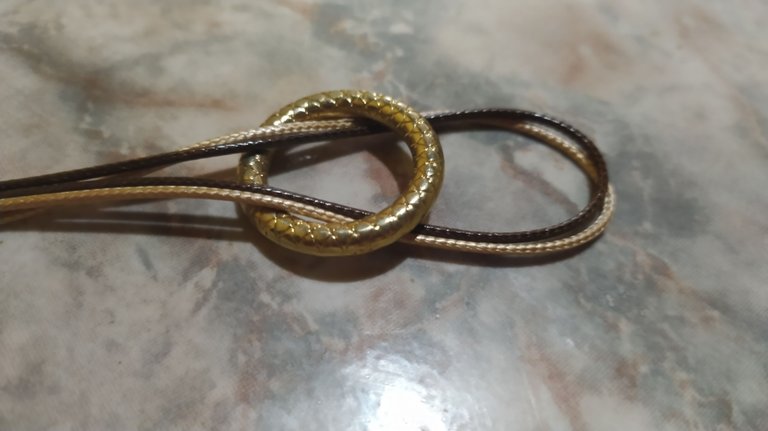
- Tomé los otros cordones y volví a hacer una gasa y la introduje por el medio de el aro, pero ahora de lado opuesto al otro.
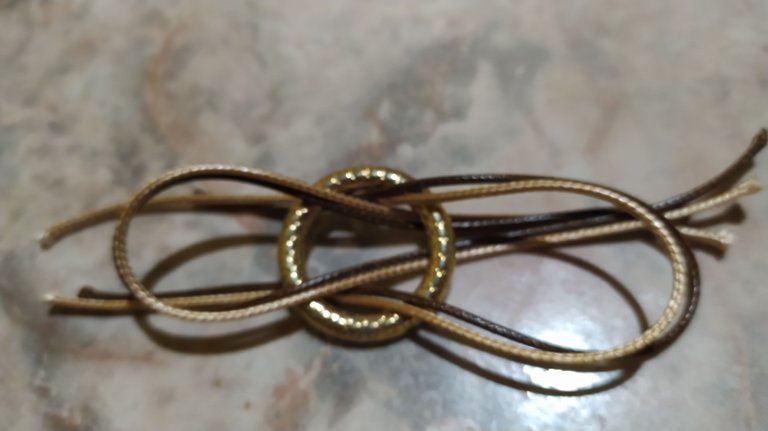
- En este paso, pasé las tiras sueltas , por el medio de la gasa , primero a un lado y luego al otro, fíjate muy bien en la imagen.
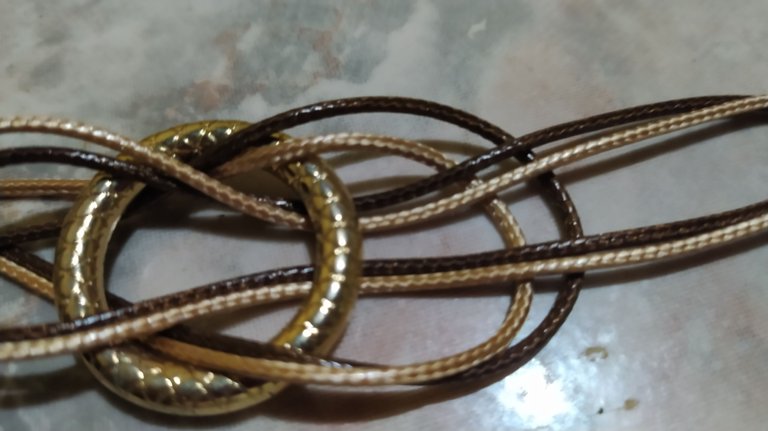
- hale con mucha delicadeza ambos lados logrando así, fijar con un hermoso nudo, el aro dorado.

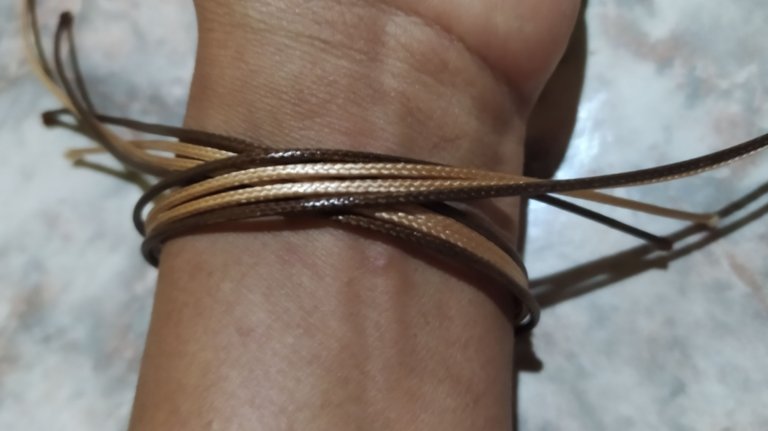
- Medí ambos lados, alrededor de mi muñeca, para cortar el sobrante.
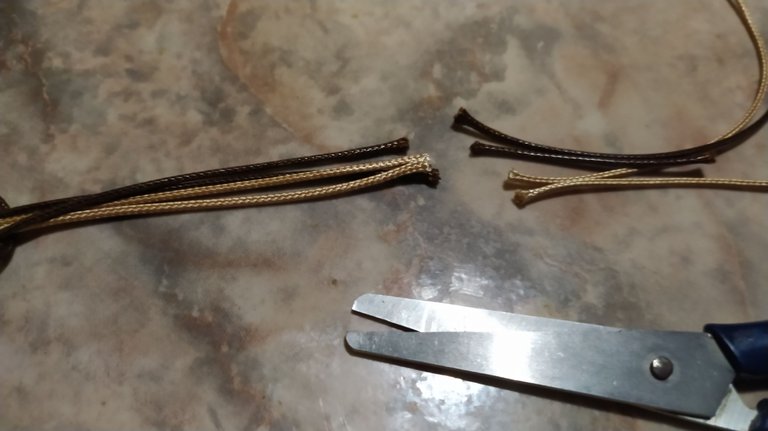
- Quemé las puntas con ayuda del yesquero.
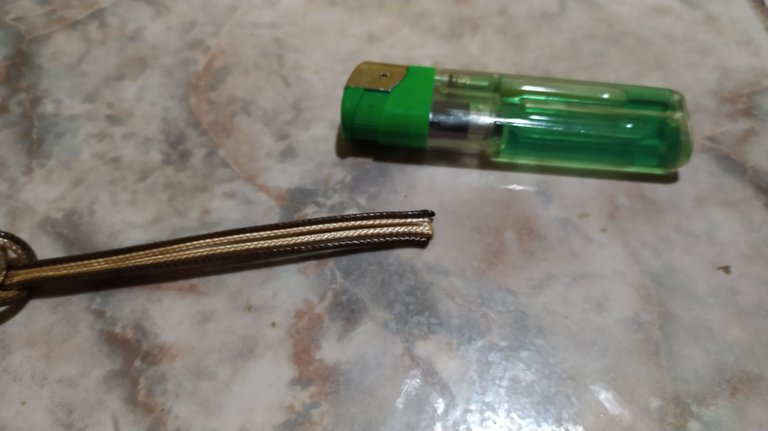
- Coloqué el silicón líquido en las puntas.
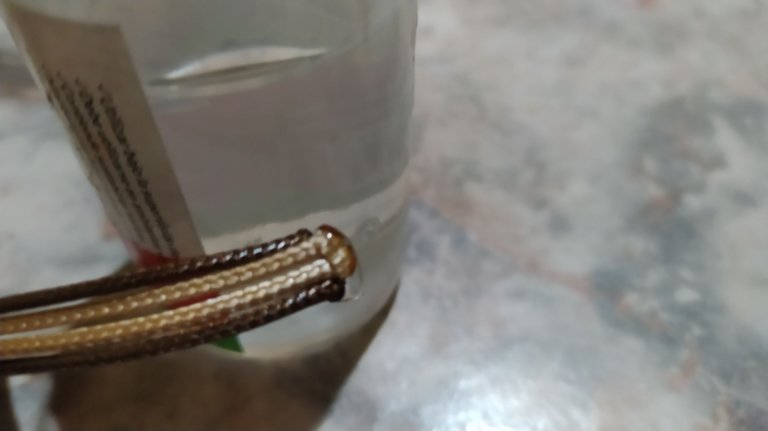
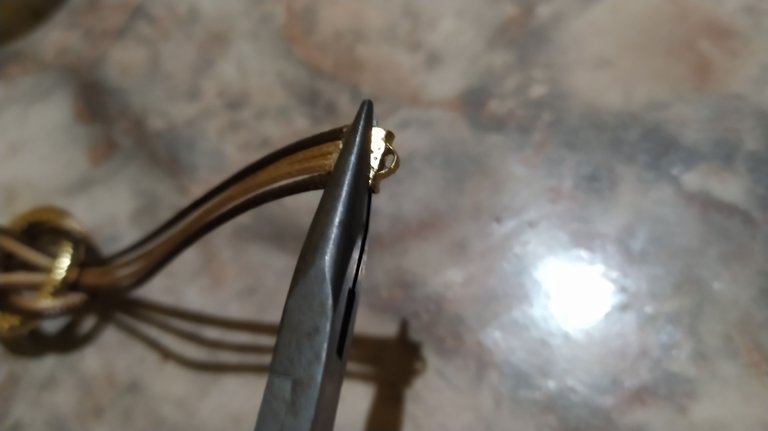
- Luego coloqué mi cierre tipo cartera, con ayuda de la pinza, lo presioné, para dejarlo bien fijo, esto lo hice para ambos lados.
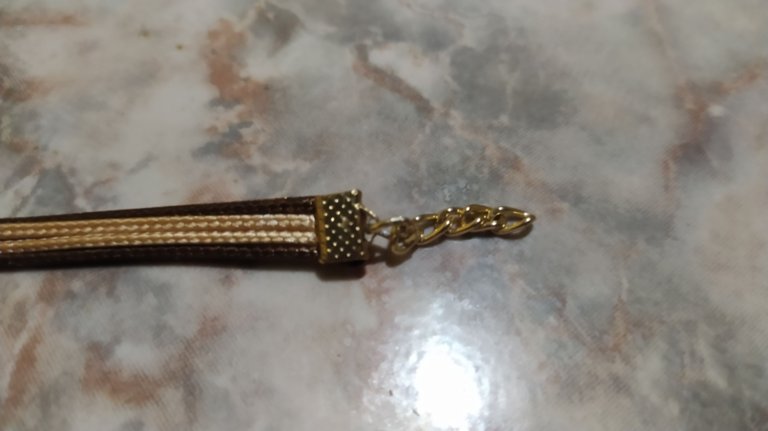
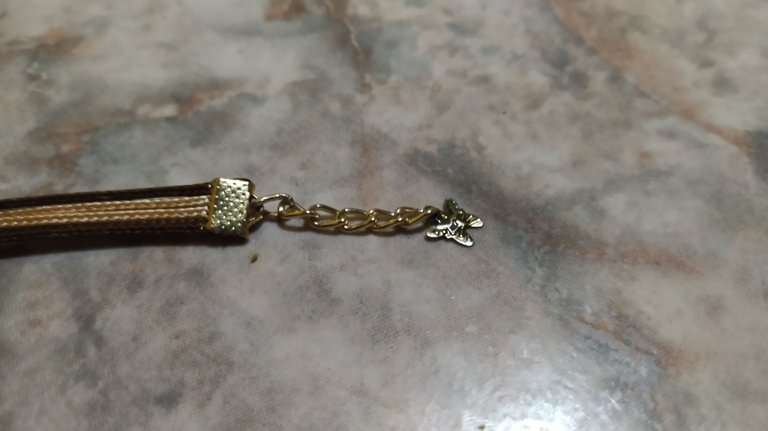
- Para ir finalizando mi pieza, coloqué una argolla, la cadena y el terminal en forma de mariposa con ayuda de otra argolla.
- En el otro extremo, coloqué la argolla y el pasador tipo langosta dorado.
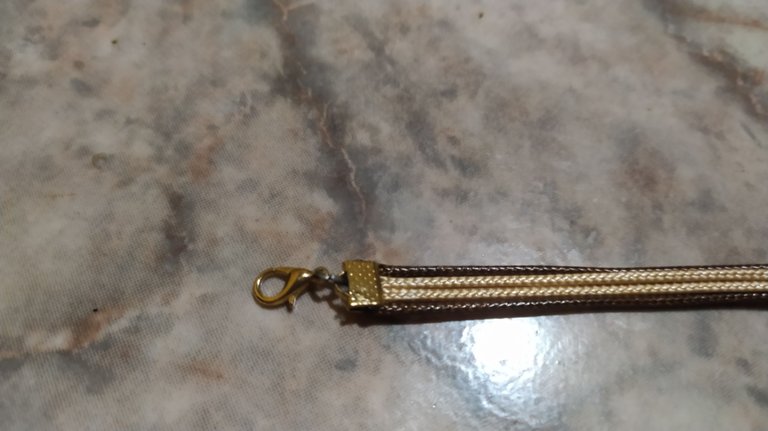
! Listo ! .
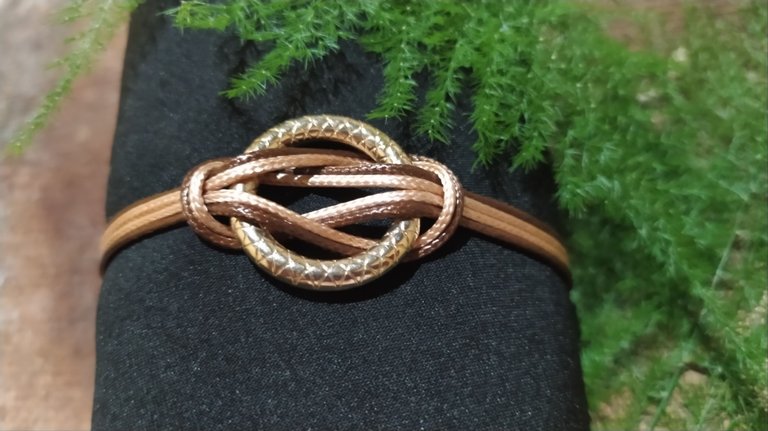
Mi hermosa y sencilla pulsera , está terminada.
Como vez , es de muy fácil elaboración y empleé muy poco tiempo.
Recuerda que esto fue una inspiración y con mi creatividad le di , un toque personal, para verme reflejada en esta creación.
Ten en cuenta que las cosas hechas a manos, salen del corazón de su creador hacia las manos de quien va a recibir esta obra de arte y poseen un toque de originalidad.
Anímate a crear y comparte con nosotros tus proyectos.
Un Mega Abrazo 🤗, con mucho cariño🥰 .



Simple and beautiful ring bracelet.
A warm greeting🦋! to the hivers creators of #jewelry, this extraordinary community that shows, a lot of talented artisans dedicated to give a special touch to accessories.
Sometimes we think, that a beautiful garment for accessory, is the one that has more technique and more complicated is its elaboration, however simplicity, shows us the opposite.
Combining simplicity and beauty, also gives beautiful garments, besides giving us a very airy, but elegant look.
This bracelet is a demonstration that in simplicity, we can highlight the beauty of the materials used.
To make this simple and beautiful bracelet, I used the following materials:

- A golden ring of 2.5 cm in diameter.
- 40 cm of dark brown cord.
- 40 cm of beige cord.
- Two medium sized gold-colored purse clasps.
- 5 cm of golden chain.
- Butterfly-shaped terminal.
- Three golden rings.
- One golden lobster clasp.
- Liquid silicone.
- Scissors.
- Tweezers.
- Tinder.
To shape my creation, I followed the following steps:
- I cut the cord into equal parts, with the help of the scissors.

- I put together a dark brown and a beige cord for each side.

- I looked for my gold hoop, this one is carved, but you can choose one that you love, its design.

- I folded a pair of cords in half, right down the middle, forming a gauze.

- I fed that gauze from the bottom, up through the middle of the hoop, leaving lace for both sides.

- I took the other cords and made a gauze again and inserted it through the middle of the hoop, but now on the opposite side of the hoop.

- In this step, I passed the loose strips through the middle of the gauze,
first on one side and then on the other, look closely at the image.

- I pulled very delicately both sides of the gauze, thus fixing the golden ring with a beautiful knot.

- I measured both sides, around my wrist, to cut the excess.


- I burned the ends with the tinder.

- I placed the liquid silicone on the ends.

- Then I placed my wallet clasp, with the help of the clamp, I pressed it, to leave it well fixed, I did this for both sides.

- To finish my piece, I placed a ring, the chain and the butterfly terminal with the help of another ring.


- At the other end, I placed the ring and the golden lobster clasp.

Done!

My beautiful and simple bracelet is finished.
As you can see, it is very easy to make and I used very little time.
Remember that this was an inspiration and with my creativity I gave it a personal touch, to see myself reflected in this creation.
Keep in mind that things made by hand, come from the heart of its creator to the hands of the person who will receive this work of art and have a touch of originality.
Cheer up to create and share with us your projects.
A Mega Hug 🤗, with love🥰 .

Translated .
Fotografías y texto propiedad de la autora.
Separadores libres, Pixabay .
Banner y edición de fotos CC Express.
