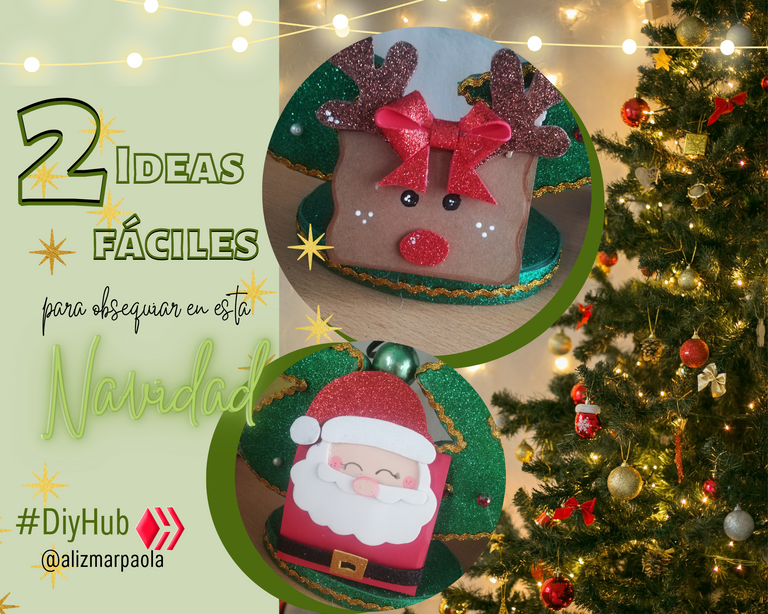
No se si solo me este pasando a mi, pero ¿No creen que estas navidades han pasado super rápido? ya estamos próximos a 24 de Diciembre, y por lo general acostumbro a dar algún detalle a los seres amados. Este Diciembre entre una cosa y otra se me ha ido el tiempo volando, y por mi comodidad decidí dar de obsequio algo de dinero, quizá no sea mucho pero, se que sirve para que ese ser especial cubra alguna necesidad. Peeero, más no, por obsequiar dinero lo daré así de simple..
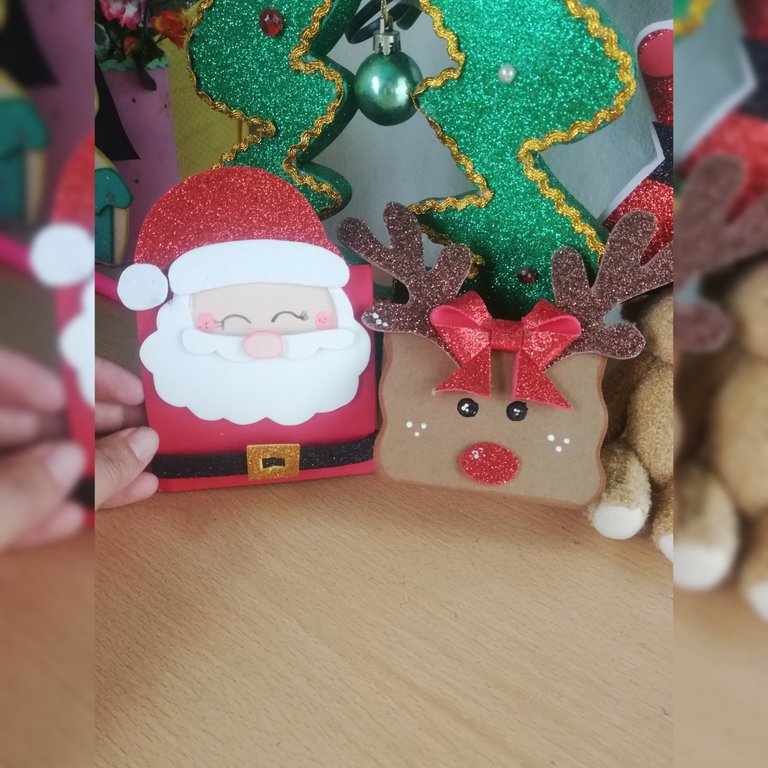
¡Así que Quédate!, aquí te muestro dos lindas opciones de empaque para obsequiar dinero.. 💗✨
I don't know if it's just me, but don't you think this Christmas has gone by so fast? It's almost December 24th, and I usually give a little something to my loved ones. This December between one thing and another time has flown by, and for my comfort I decided to give some money as a gift, maybe not much, but I know that it is useful for that special person to cover some need. But, no more, for giving money as a gift, I will give it as simple as this..
So Stay!, here I show you two nice options of packaging to give money... 💗✨

Materiales | Materials
Hoja de Cartulina color rojo
Hoja de Cartulina color marrón
Hoja de Cartulina color blanco
Foami escarchado rojo, blanco, negro y dorado (retazos)
Retazo de foami color piel
Silicón líquido
Tijera, lápiz y regla
Sheet of red cardboard
Sheet of brown cardboard
Sheet of white cardboard
Foami frosted red, white, black and gold (scraps)
Piece of skin colored foami
Liquid silicone
Scissors, pencil and ruler

Elaboración | Elaboration
- Empaque de Santa | Santa Packing🎅🏻
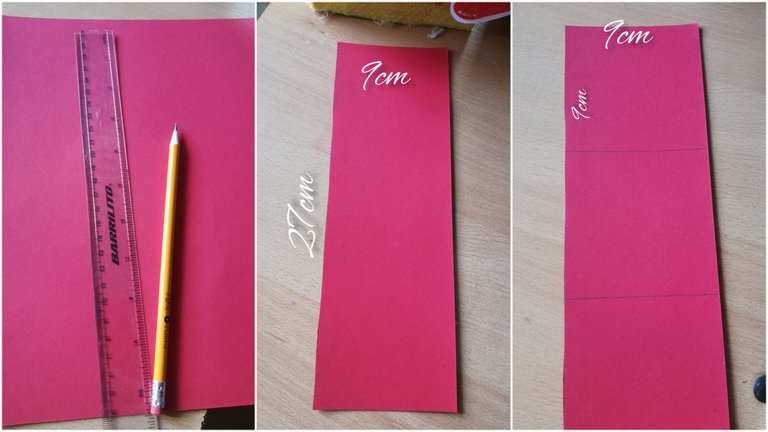
✨ Tomé la hoja de cartulina roja y medi un rectangulo de 9cm × 27cm y recorte, para luego hacer divisiones a los 9cm y a los 18cm, resultando así tres cuadros de 9cm × 9cm cada uno.
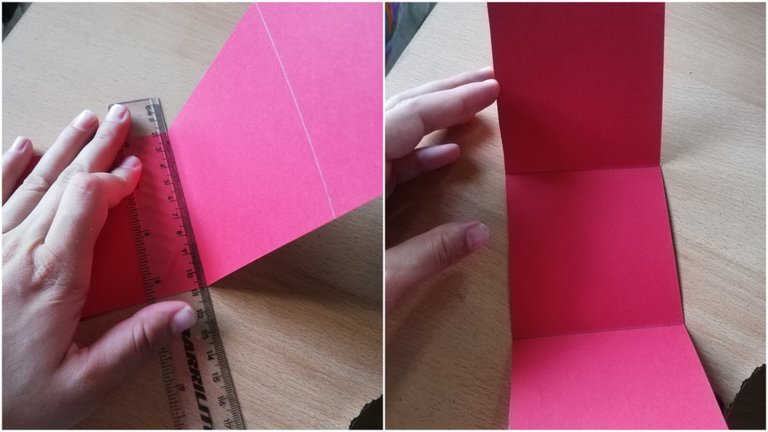
✨Luego, me ayude con una regla para hacer los doblez en cada división.
✨ I took the sheet of red cardstock and measured a rectangle of 9cm × 27cm and cut out, then made divisions at 9cm and 18cm, resulting in three squares of 9cm × 9cm each.
✨Then, I used a ruler to make the folds in each division.
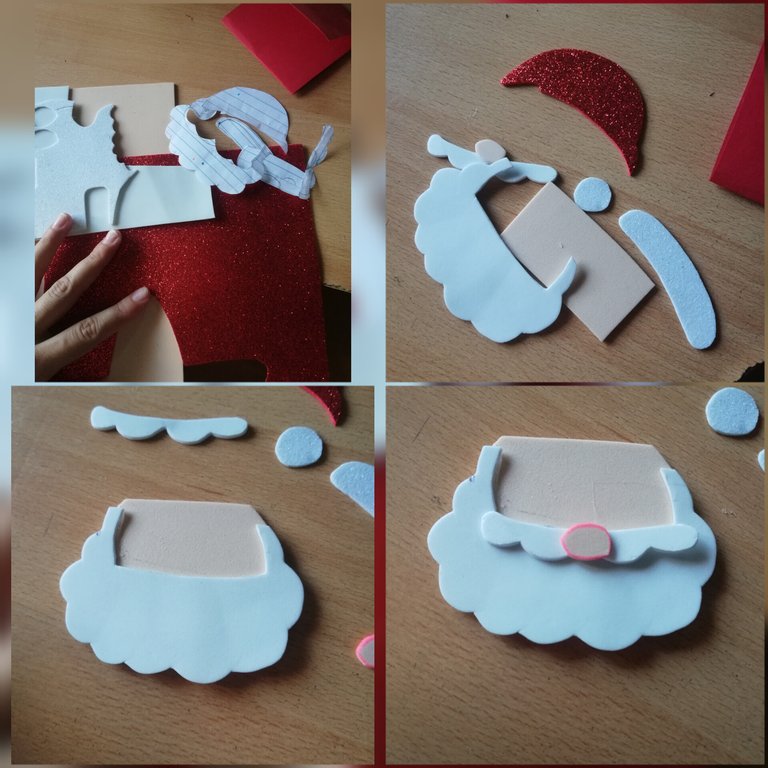
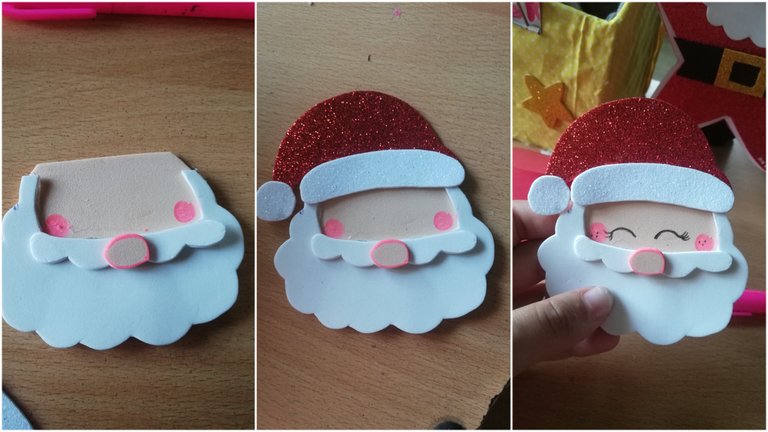
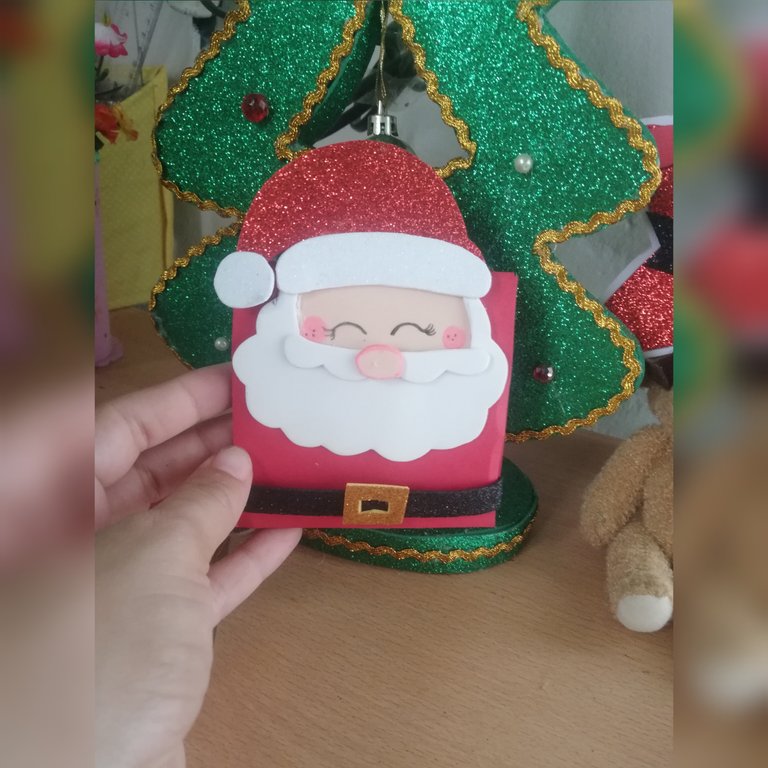
✨ Realicé patrones de una cara de Santa, procedi a marcarlos en el foami correspondiente a cada color y recortarlos, para luego comenzar a armar la cara de Santa.
✨ Con un marcador fucsia le hice las mejillas y con un lápiz le marque los ojos..
✨I made patterns of a Santa's face, I proceeded to mark them on the foami corresponding to each color and cut them out, and then I started to assemble Santa's face.
✨With a fuchsia marker I made the cheeks and with a pencil I marked the eyes.
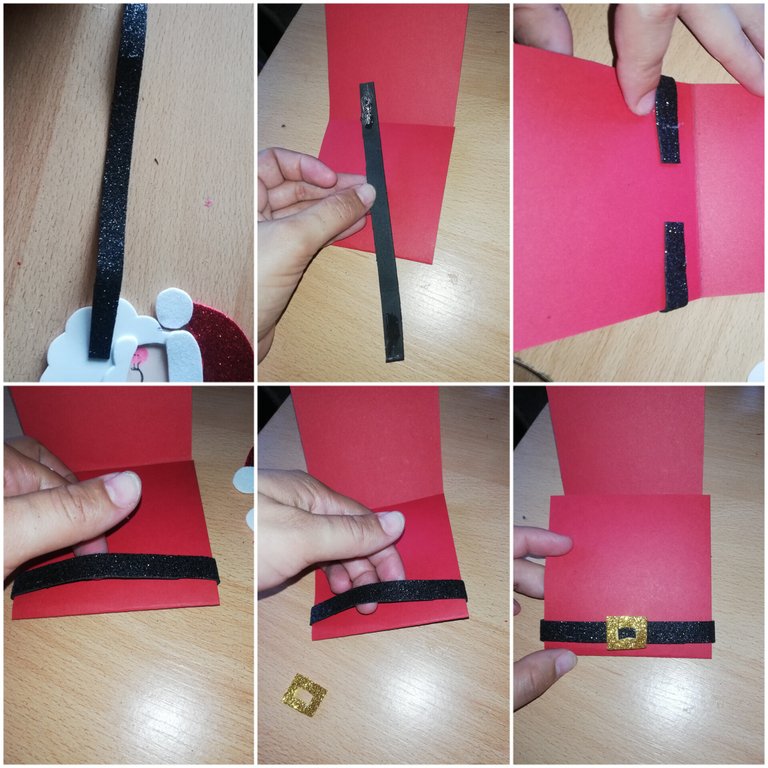
✨ Una vez hecho el rostro de Santa, dispuse de una tira en foami negro de 1cm por un aproximado de 16cm. Luego pegue solo las puntas en el interior de uno de los cuadros (dejando este como cuadro inferior, y los otros dos como un centro y un superior), luego corte un cuadro pequeño en foami dorado y pegue en el centro de la tira negra, para simular la correa de Santa.
✨Once Santa's face was made, I had a strip of black foami of 1cm by 16cm approximately. Then I glued only the tips on the inside of one of the squares (leaving this as the bottom square, and the other two as a center and a top), then cut a small square in gold foami and glued in the center of the black strip, to simulate Santa's strap.
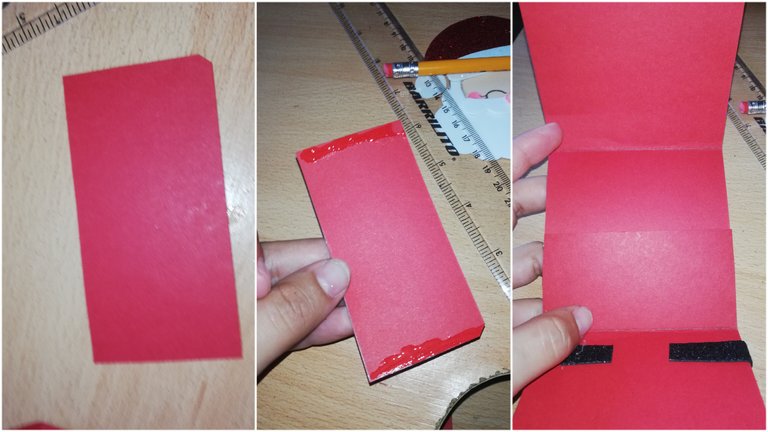
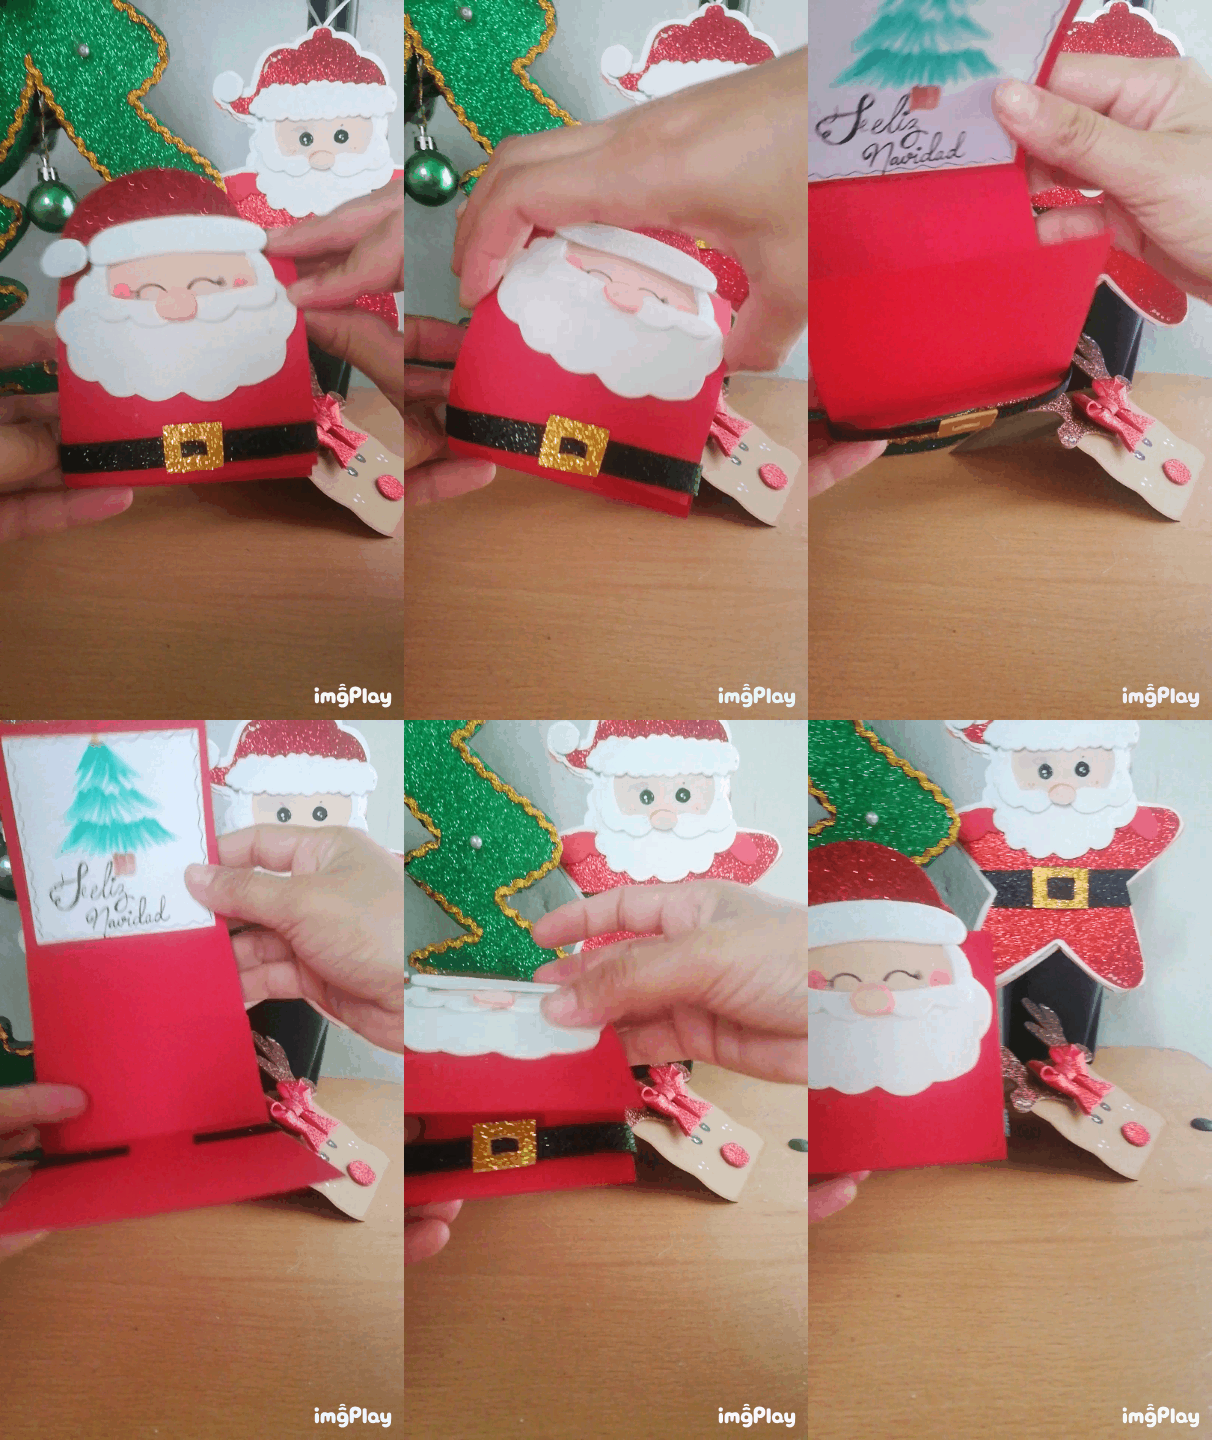
✨ Corte otro rectangulo de 9cm × 4cm y pegue (solo por los laterales) en el cuadro del centro, para simular un bolsillo (allí vas a asegurar el dinero).
✨ Cut another 9cm × 4cm rectangle and glue (only on the sides) in the center square, to simulate a pocket (there you will secure the money).
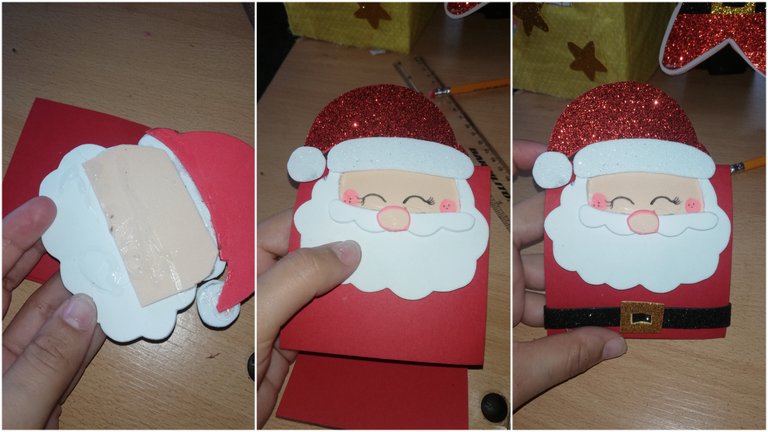
✨ Por último, pegue la cara de Santa en el cuadro superior, el cual podemos insertar por la correa y quedará de la forma como se aprecia en la fotografía.
✨ Finally, glue Santa's face on the top square, which we can insert through the strap and it will look as shown in the picture.
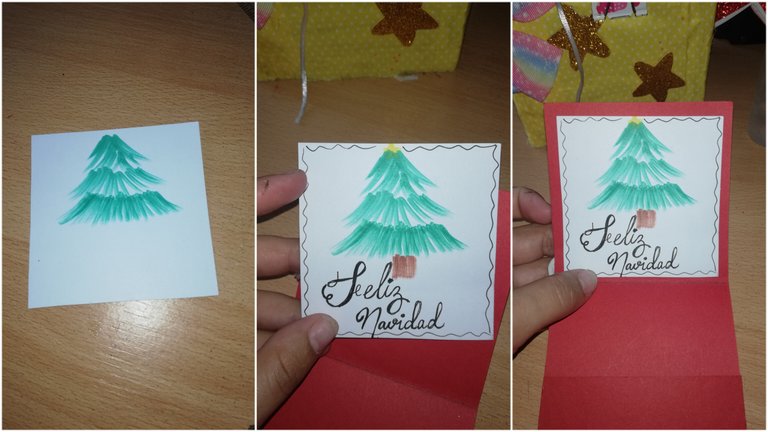
✨ Aunque en este punto ya me gustaba, no lo quise dejar así y corte un cuadro en cartulina blanca de 8cm × 8cm y dibuje un arbolito y escribí Feliz Navidad, hecho esto la pegue en la parte interna (justo detrás de la cara de Santa). Culminando así esta tarjeta-obsequio.
✨Although at this point I already liked it, I didn't want to leave it like that and I cut a square in white cardboard 8cm × 8cm and drew a tree and wrote Happy Christmas, then I glued it on the inside (just behind Santa's face). This is the end of this gift card.
- Empaque de Reno | Reno Packaging🦌
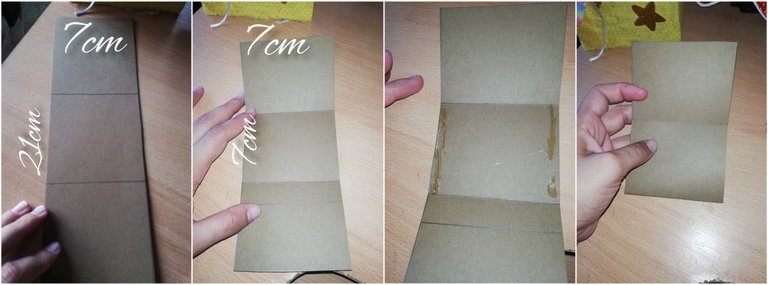
✨ Al igual que con el de Santa, para este realice medidas de 7cm × 21cm y luego hice divisiones a los 7cm y a los 14. Con una regla me ayude a hacer los boblez y pegue uno de los cuadros (solo por los laterales) al cuadro del centro, obteniendo así una especie de sobre.
✨As with the Santa one, for this one I measured 7cm × 21cm and then made divisions at 7cm and 14cm. I used a ruler to help me make the boblez and glued one of the squares (only on the sides) to the center square, thus obtaining a kind of envelope.
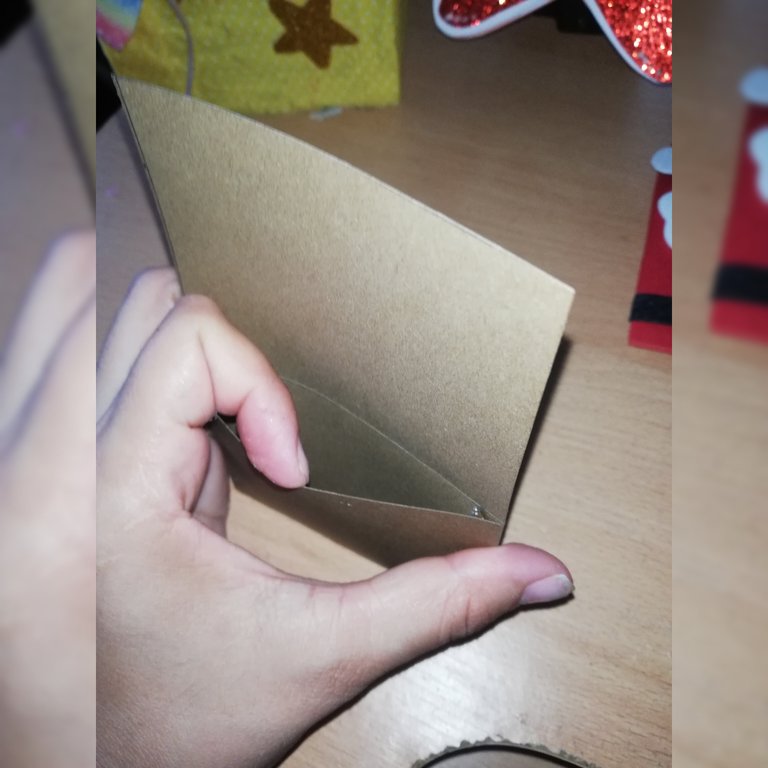
✨ Corte con forma de curvas los laterales de la tapa del sobre y delinee con marcador marrón, luego hice patrones de los cachos del reno y plasme en el foami marrón escarchado, recorté y adicional recorté también una nariz en foami rojo.
✨ Curve cut the sides of the envelope lid and outline with brown marker, then I made patterns of the reindeer's cheeks and shaped in frosted brown foami, cut out and additionally cut out a nose in red foami as well.
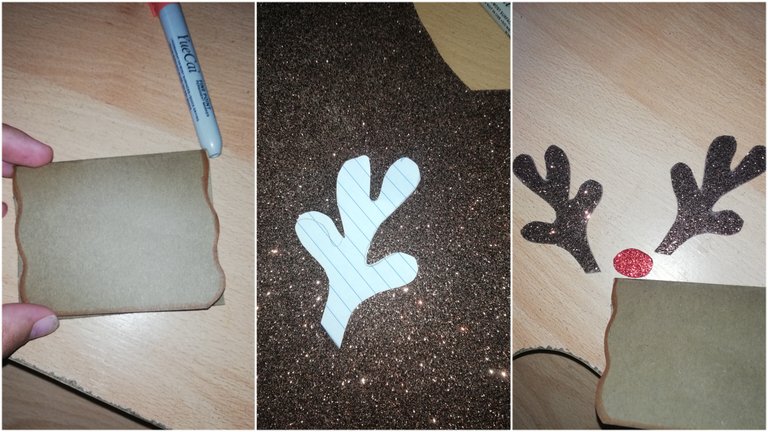
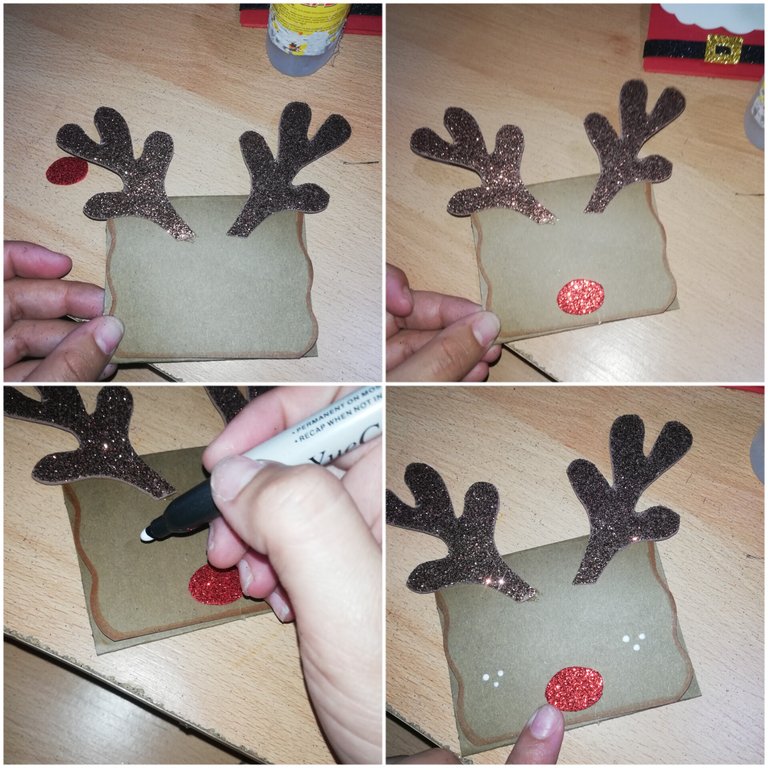
✨Pegué los cachos a la tapa del sobre y también pegue la nariz, con pintura blanca hice algunos puntos simulando las mejillas del reno.
✨I glued the cubs to the lid of the envelope and also glued the nose, with white paint I made some dots simulating the cheeks of the reindeer.
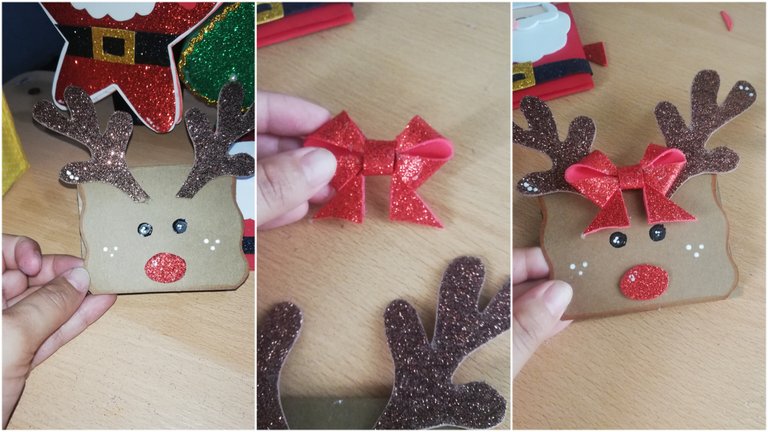
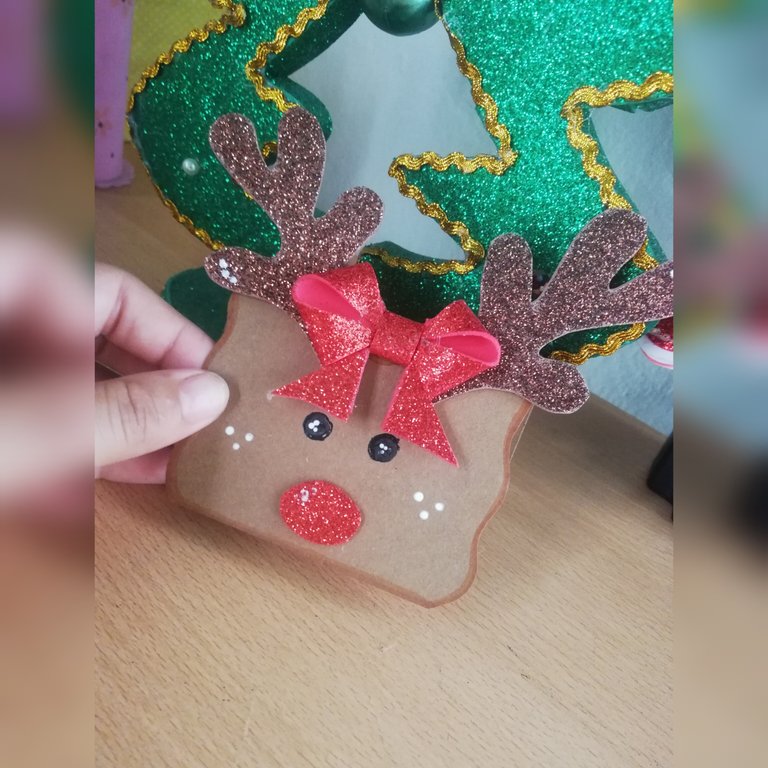
✨ Le realice los ojos e hice en foami rojo un pequeño lazo el cual pegue en el centro de los cachos, culminando asi esta segunda opción para regalar dinero.
✨I made the eyes and made a small bow in red foami which I glued in the center of the horns, culminating this second option to give money as a gift.
Resultados | Results


Espero les guste esta publicación, hasta pronto💗
I hope you like this post, see you soon💗
Ediciones en Canva y Picstar | Editing in Canva and Picstar
Traducciones en Deepl.com | Translations in Deepl.com