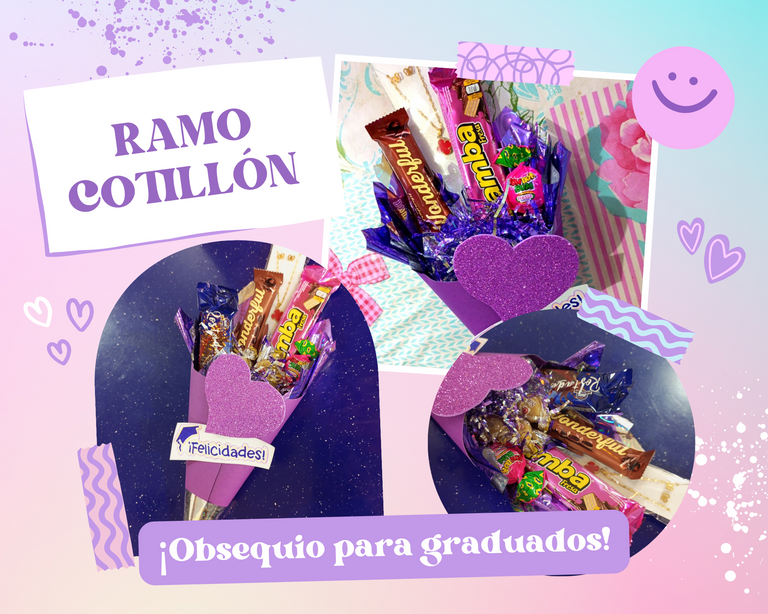
¡Hola queridos amigos!
Estamos en fechas de graduados👩🎓🎓🎉🎉 y muchos amigos y conocidos están logrando una de tantas metas.
El ser bachiller aquí en Venezuela es parte de la educación obligatoria, y finalizarla con éxito es un orgullo para muchas personas, es por esto que quisimos hacerle un pequeño obsequio a una sobrina de mi esposo que también se unió a las filas de los bachilleres de la república. 🤭
Hace mucho tiempo mi hermana, quien sabe mucho de manualidades y arreglos, me enseñó algunas técnicas para realizar estos arreglos y pude recordar cómo hacerlo además de inventar un poco pues tenía pocos materiales, pero aún así estoy muy satisfecha con el resultado. 😄
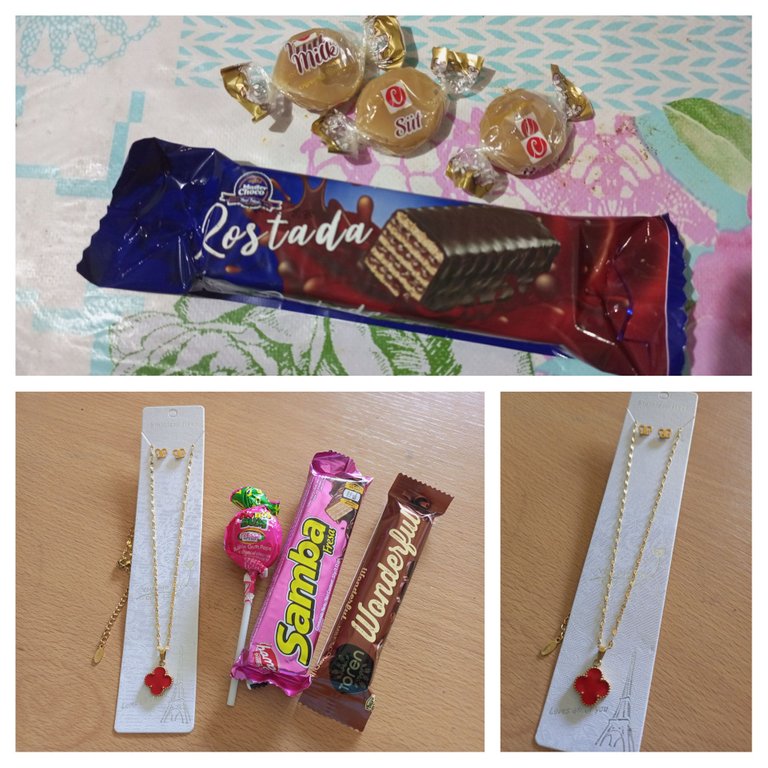
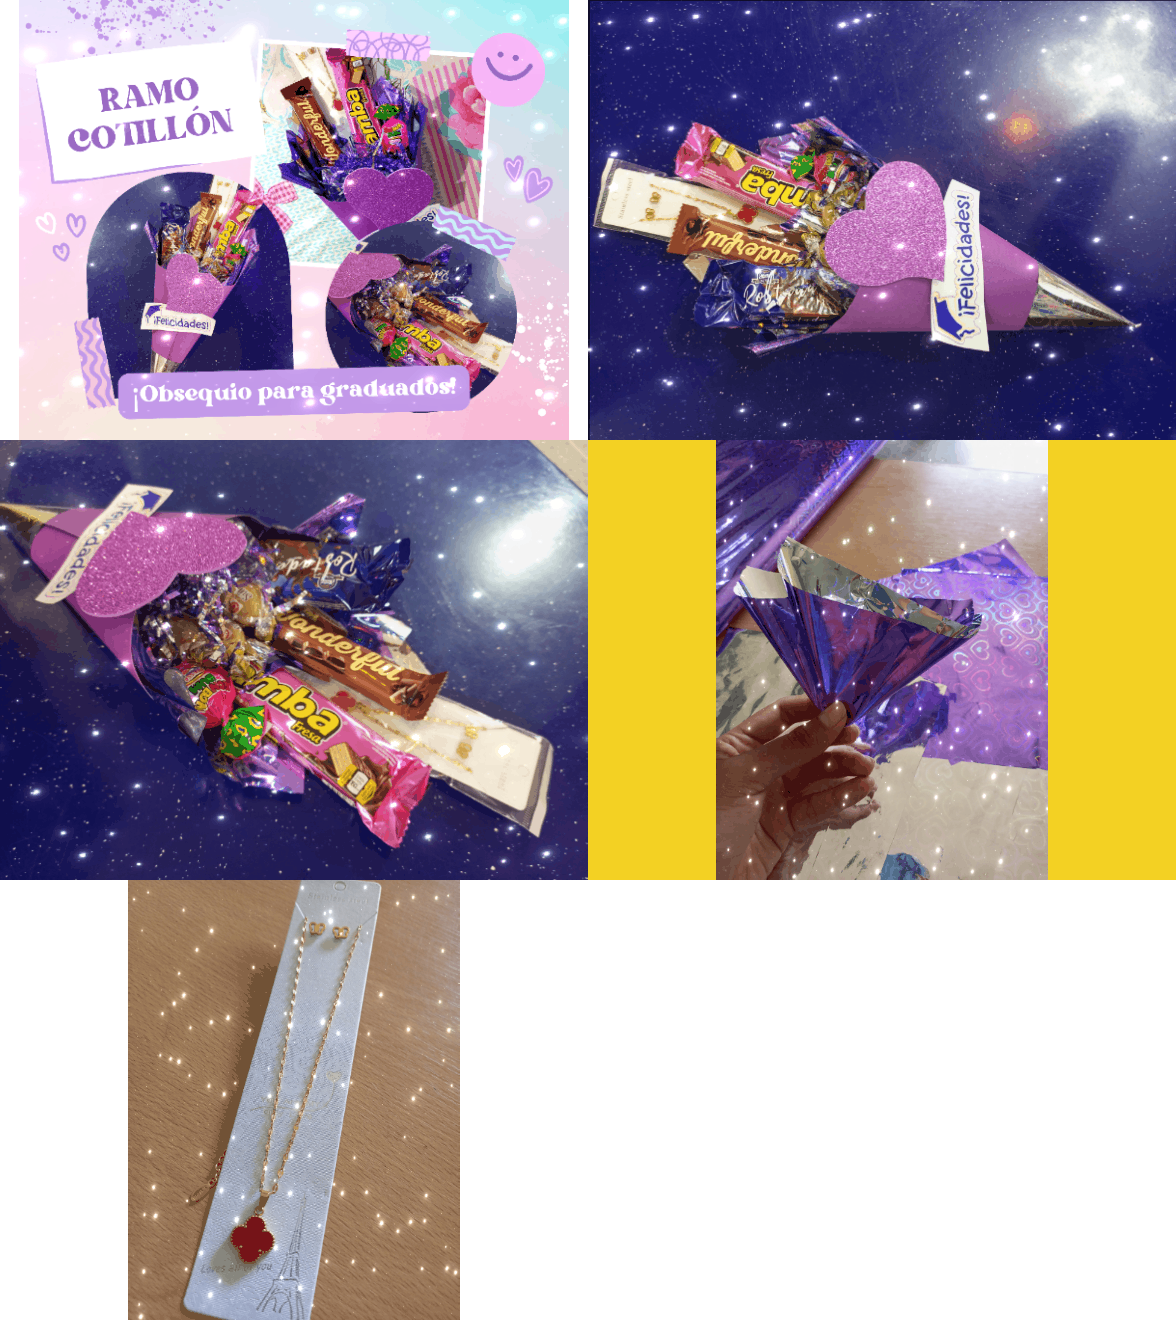
Les explicaré paso a paso como hice este ramo-cotillón como le llamo yo, pues lo hice estilo bouquet pero con algunas chucherías y un lindo collar y aretes que hacen juego como detalle que le compramos.
Hello dear friends!
We are on graduation dates👩🎓🎓🎉🎉 and many friends and acquaintances are achieving one of many goals.
Being a high school graduate here in Venezuela is part of compulsory education, and completing it successfully is a source of pride for many people, which is why we wanted to make a small gift to a niece of my husband who also joined the ranks of high school graduates. the Republic. 🤭
A long time ago my sister, who knows a lot about crafts and arrangements, taught me some techniques to make these arrangements and I was able to remember how to do it in addition to inventing a little because I had few materials, but even so I am very satisfied with the result. 😄
I will explain step by step how I made this bouquet-party favors as I call it, because I did it bouquet style but with some trinkets and a nice matching necklace and earrings as a detail that we bought for her.
Materiales:
- Cartulina de color morado
- Papel celofán
- Cinta adhesiva transparente
- Golosinas
- Foami
- Hoja blanca
- Lápiz
- Tijera
¡Empecemos!
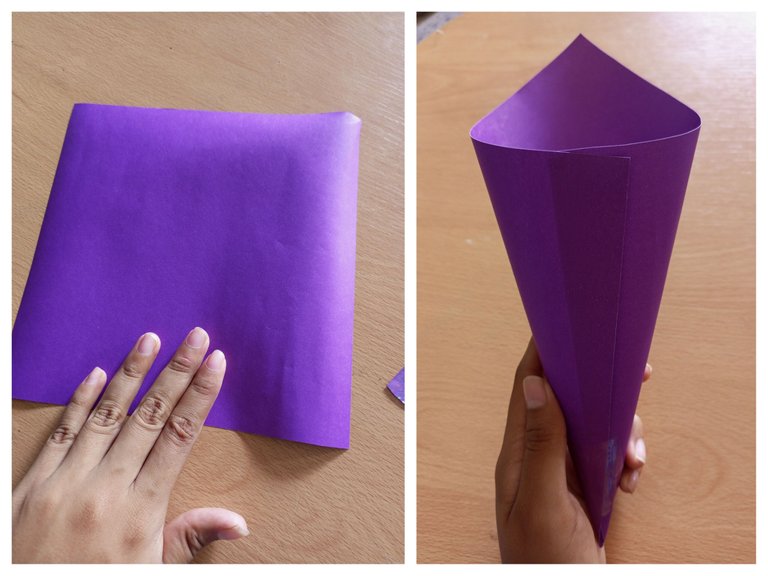
Lo primero que hice fue cortar un cuadrado en una cartulina, todo depende del tamaño que usted desea hacer el cotillón, yo lo terminé haciendo de unos 20 x 20 cm.
Luego en una de las esquinas empecé a enrollar encontrando las esquinas de los lados haciendo la forma de cono, como se ve en la imágen, usted lo puede pegar con silicón, yo usé cinta adhesiva para todas las situaciones pues el silicón se me acabó.
# Materials:
- purple cardstock
- Celofan paper
- Transparent tape
- Candies
- foami
- white sheet
- Pencil
- Scissors
Let us begin!
The first thing I did was cut a square out of cardboard, it all depends on the size you want to make the party favors, I ended up making it about 20 x 20 cm.
Then in one of the corners I began to roll up finding the corners of the sides making the shape of a cone, as you can see in the image, you can stick it with silicone, I used adhesive tape for all situations because the silicone ran out.
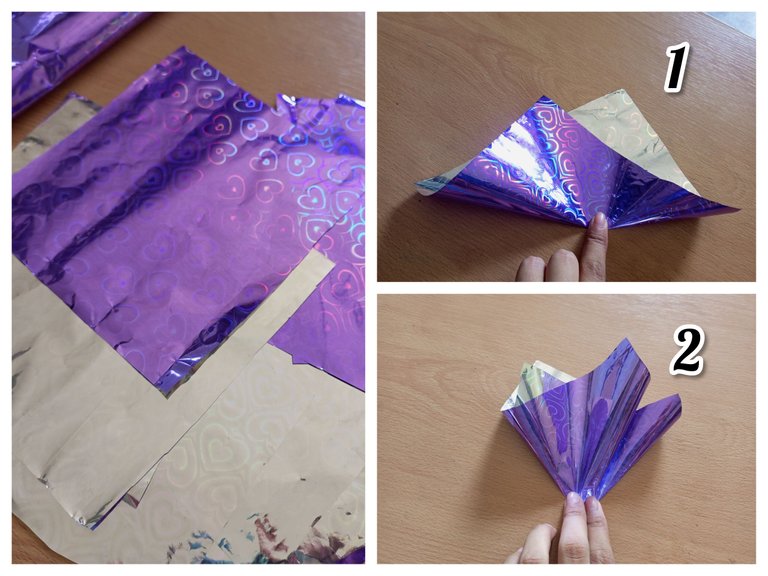
El papel celofán lo corte en pequeños cuadrados y le hice dobleces para usarlo como decorativo, pueden ver en la imágen como hice los dobles de manera que quedó un diseño triangular.
I cut the cellophane paper into small squares and I made folds to use it as a decoration, you can see in the image how I made the folds so that a triangular design was left.
Para fijar las golosinas lo ideal es utilizar palitos de altura, pero como no tenía, utilice alambre, lo fue cortando a medida que lo vi necesario.
To fix the treats, the ideal is to use tall sticks, but since I didn't have any, I used wire, cutting it as I saw it necessary.
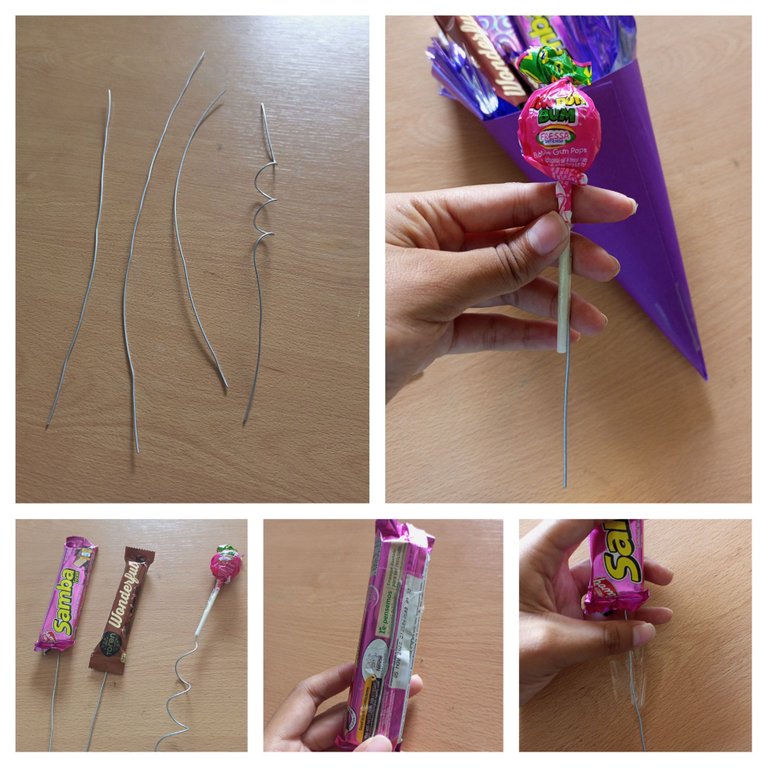
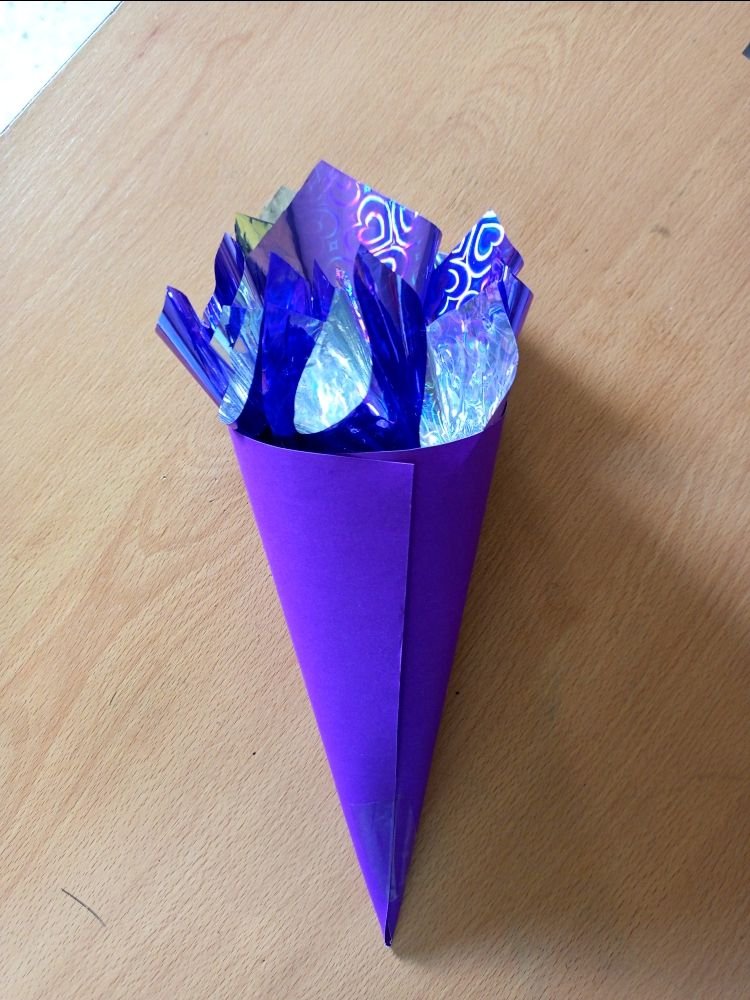
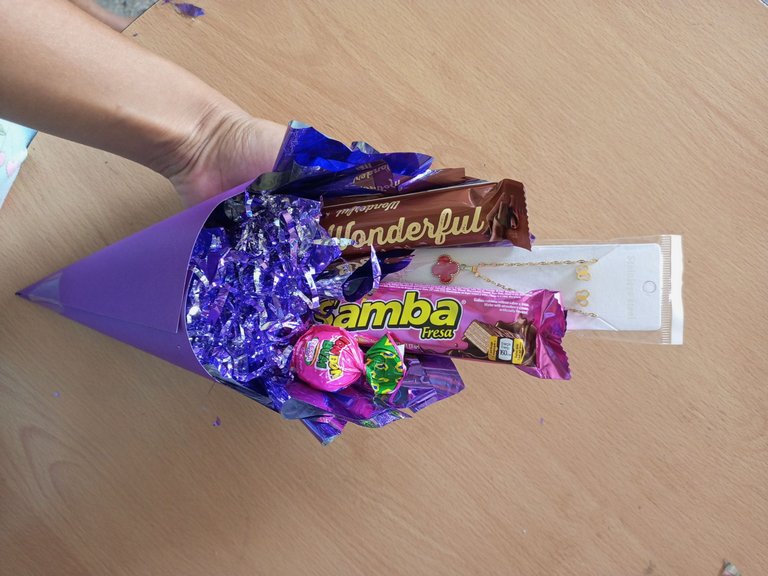
Luego fui colocando cuidadosamente el papel celofán dentro del cono y después las golosinas.
Then I carefully placed the cellophane inside the cone and then the candy.
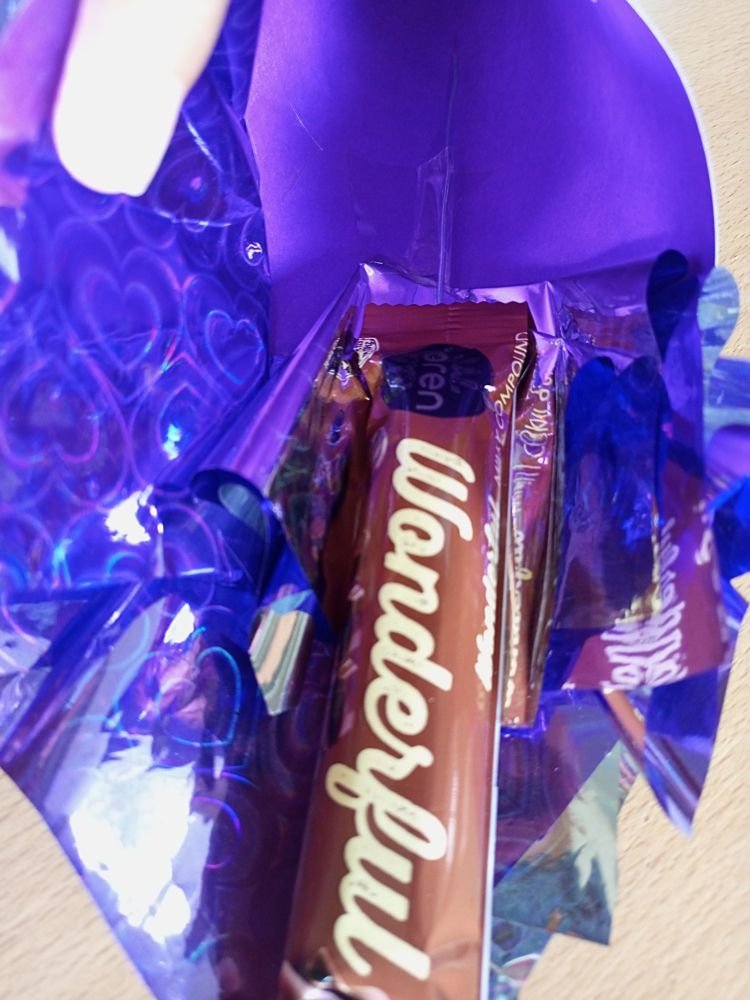
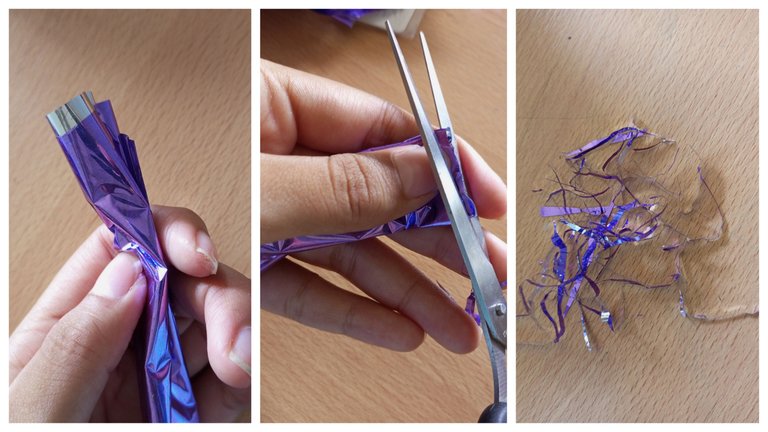
Para darle más volúmen y dar relleno al arreglo, corté una viruta con pequeñas tiras de papel celofán, de lo retazos cuadrados que corte anteriormente, lo doble y apreté en mi mano haciendo un tubo y luego fui cortando de poquito, como se muestra a continuación.
To give more volume and fill the arrangement, I cut a shaving with small strips of cellophane paper, from the square remnants that I cut previously, I folded it and squeezed it in my hand making a tube and then I cut little by little, as shown below .
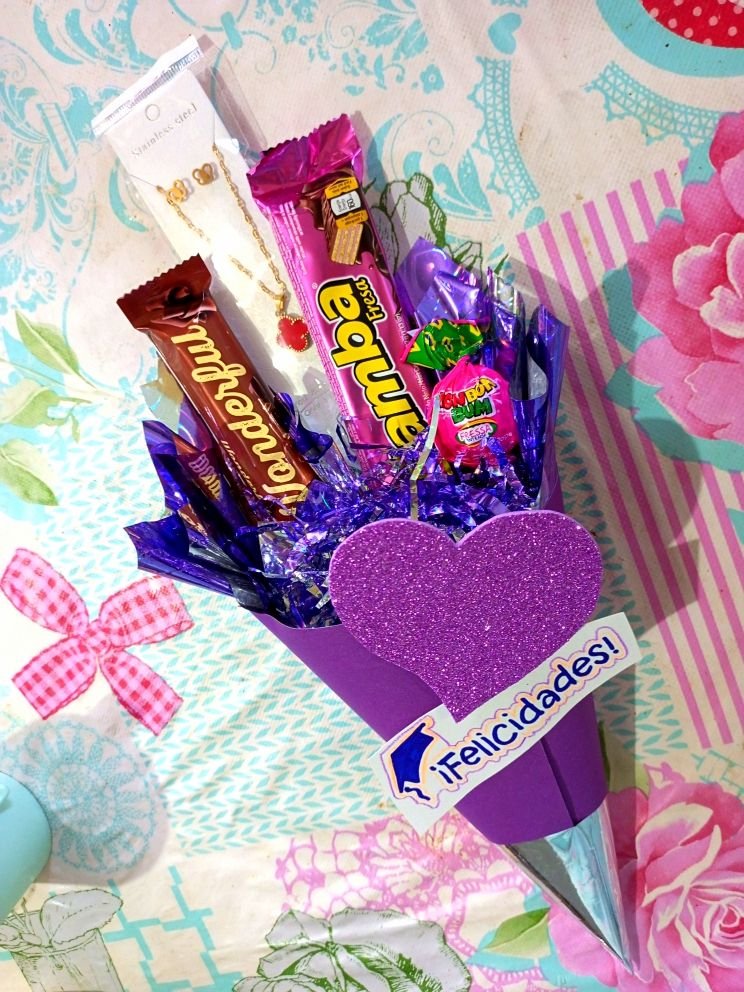
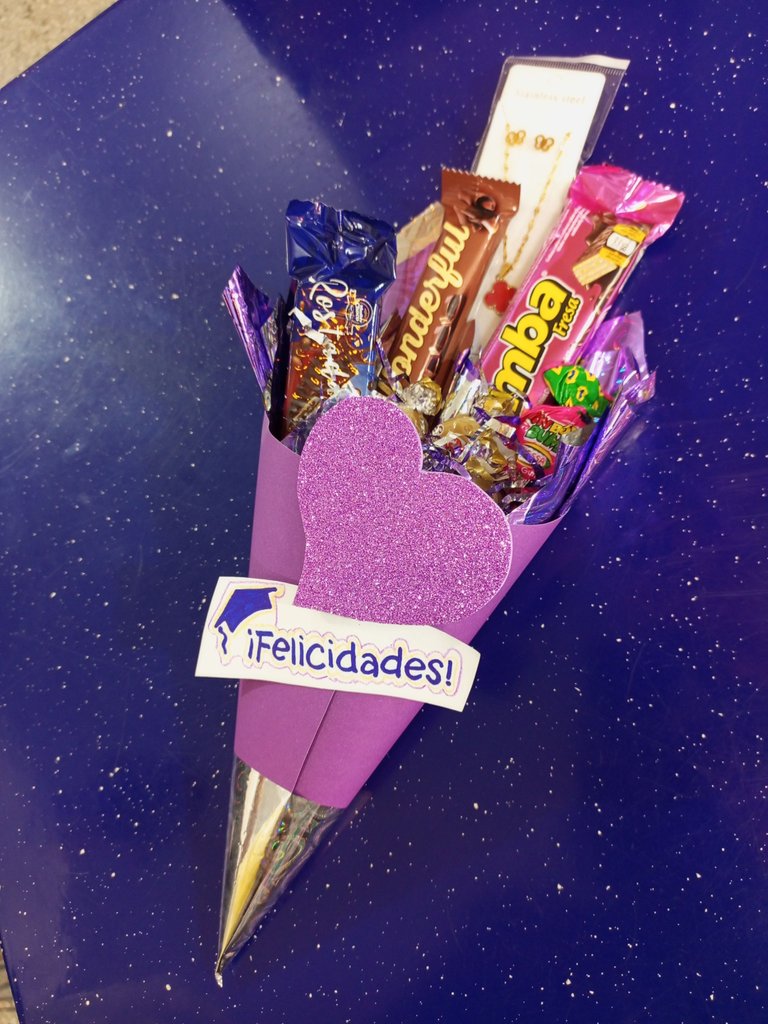
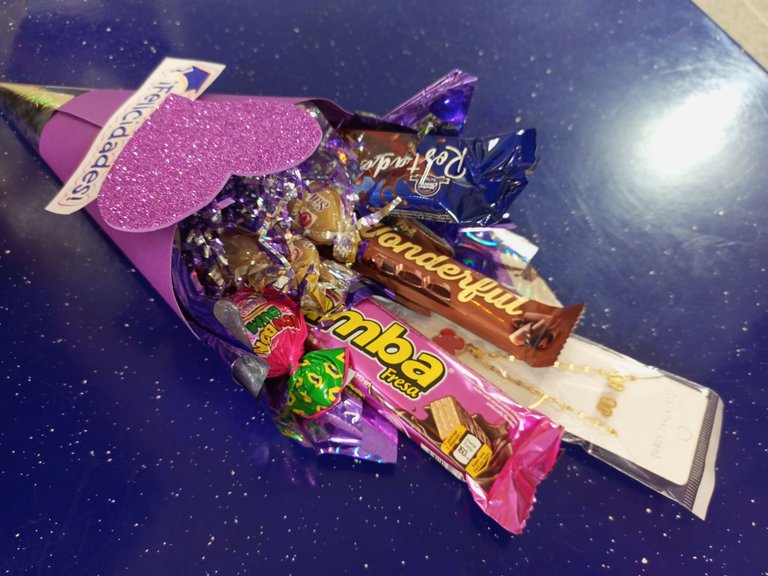
Para terminar corte un corazón con foami escarchado y dibujé unas letras con un birrete que dicen "¡Felicidades!" Además, en la punta del cono le pegue un poco de papel celofán para darle más brillo.
To finish, I cut a heart with frosted foami and drew some letters with a cap that say "Congratulations!" Also, on the tip of the cone I glued some cellophane paper to give it more shine.
Bueno amigos y amigas, les confieso que este fue mi primer arreglo, y me gustó mucho cómo quedó. ☺️☺️
Lo hice con pocos materiales y unas cuantas golosinas, inicialmente solo pensábamos regalar un collar con una pequeña tarjeta pero cuando fuimos a pagar ví una samba 🍫 y quise comprar más dulces, así que finalmente decidí hacer algo un poco más elaborado pero sencillo.
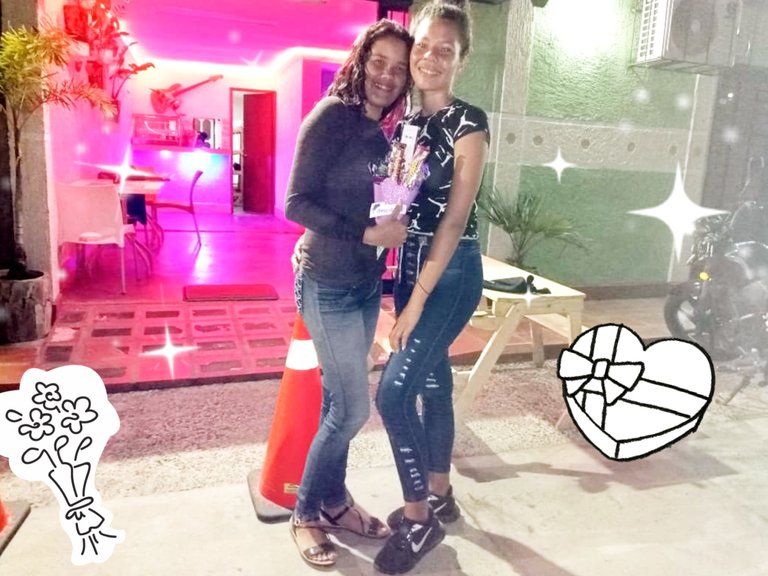
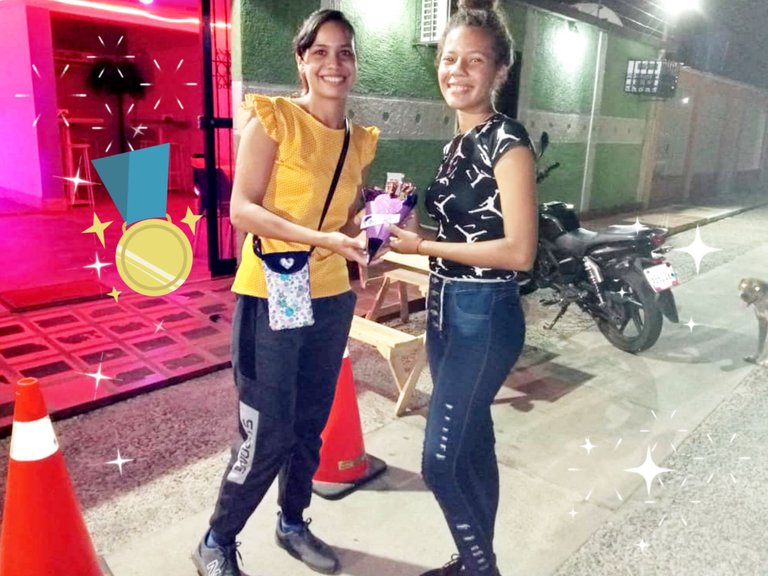
Hoy le entregamos el pequeño presente a la joven, y estaba muy feliz.😁
Si usted desea hacer un obsequio esta es una genial idea, además de ser económica, no es necesario que compre una bolsa de regalo muy cara, con una cartulina de color y papel celofán puede decorar su obsequio haciendo de algo simple, un presente muy bonito solo hace falta un poco de imaginación y creatividad. 😉
Gracias por acompañarme has acá amigos, ¡Hasta la próxima!🙋🏻♀️
Well friends and friends, I confess that this was my first arrangement, and I really liked how it turned out. ☺️☺️I made it with few materials and a few sweets, initially we only thought to give a necklace with a small card but when we went to pay I saw a samba 🍫 and I wanted to buy more sweets, so I finally decided to do something a little more elaborate but simple.
Today we gave the little present to the young woman, and she was very happy.😁
If you want to make a gift this is a great idea, besides being cheap, you do not need to buy a very expensive gift bag, with colored cardboard and cellophane you can decorate your gift by making something simple, a very nice present it just takes a little imagination and creativity. 😉
Thanks for joining me here friends, until next time!🙋🏻♀️
¡Hasta la próxima! Gracias por visitar mi blog. Todas las imágenes son de mi propiedad. | Until next time! Thank you for visiting my blog. All images are my property.


