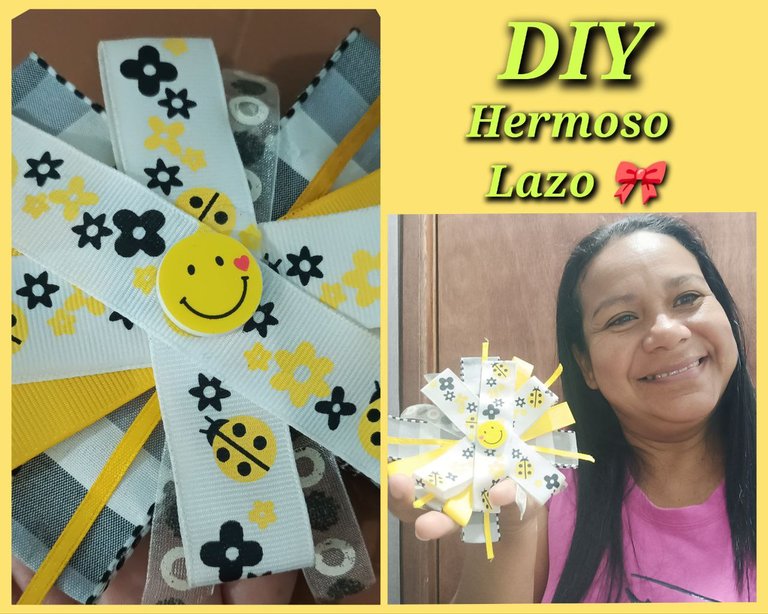
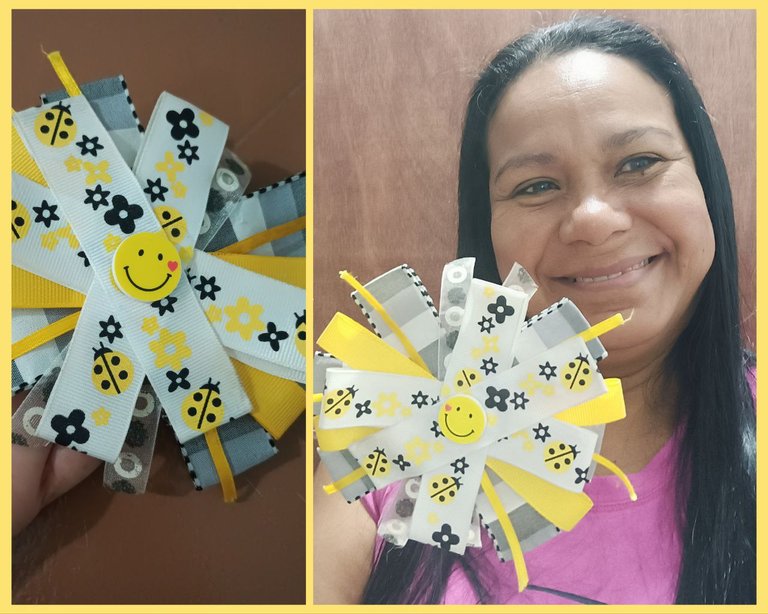
Saludos amigos de #Hivediy hoy quiero mostrarle como prepare un lindo tierno lazo para niña, en realidad este lazo está creado después de conocer los colores del vestido con el que se combinará el lazo. Por esa razón, los colores elegidos de las cintas son blanco, amarillo y grises. Aunque en la actualidad esta de moda los lazos coquette, la ocasión amerita un lazo de cintas de colores múltiples.
Greetings #Hivediy friends today I want to show you how to prepare a cute bow for girl, actually this bow is created after knowing the colors of the dress with which the bow will be combined. For that reason, the chosen colors of the ribbons are white, yellow and gray. Although at the moment it is fashionable to use the the occasion calls for a multi-colored ribbon bow.
- 75 cm de cinta de 2,5 cm de ancho, tricolor tonos grises.
- 50 cm de cinta de 0.5 cm de ancho, color amarillo.
- 25 cm de cinta de 1 cm de matizada con círculos blancos y negros.
- 60 cm de cinta de 1.5 cm de ancho, color amarillo.
- 75 cm de cinta de 2.5 cm de ancho, mariquitas amarillas.
- 01 adorno plástico de emoji sonriente.
- Tijera.
- Regla.
- Lapicero.
- Silicona líquido.
- Pinza.
Materials used..
- 75 cm of ribbon 2.5 cm wide, tricolor gray tones.
- 50 cm of ribbon 0.5 cm wide, yellow color.
- 25 cm of ribbon 1 cm wide, shaded with black and white circles.
- 60 cm of ribbon of 1.5 cm wide, yellow color.
- 75 cm of ribbon 2.5 cm wide, yellow ladybugs.
- 01 plastic ornament of smiling emoji.
- Scissors.
- Ruler.
- Pencil.
- Liquid silicone.
- Tweezers.
Ahora verán un procedimiento que se trata de básicamente de medir las cintas, cortar, y unirlas consecuentemente hasta terminar el lazo.
Procedure:
Now you will see a procedure that basically involves measuring the ribbons, cutting them, and joining them consistently until the loop is finished.
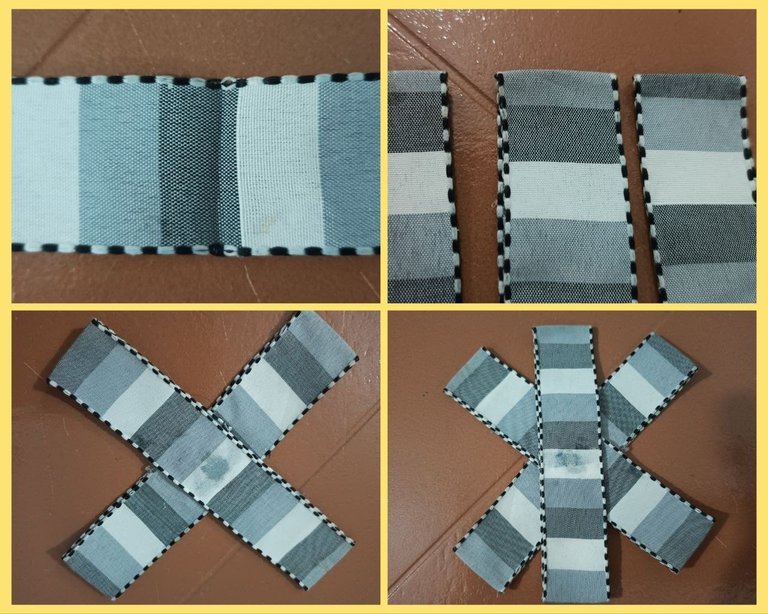
Inicie con la cinta de tonos grises que mide 2,5 cm ancho y medí para cortar tres piezas de 22 cm de largo. Para luego pegar con la silicona cada pieza, y tener las tres lista, continuar pegando uno encima del otro, primero forme una X y le pegue otro parte encima.
Step 1:
I started with the gray ribbon that measures 2.5 cm wide and measured to cut three pieces of 22 cm long. Then I glued each piece with the silicone, and having the three pieces ready, I continued gluing one on top of the other, first I formed an X and glued another piece on top of it.
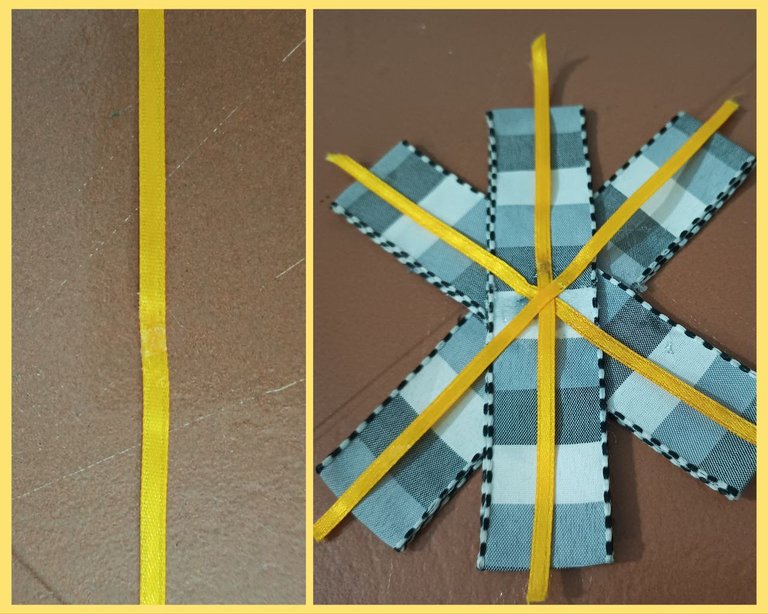
Usando la regla medí corte tres piezas de 14,5 cm de largo de la cinta de color amarillo de 0,5 cm de ancho. Luego pegue en la misma dirección de la cinta de tonos grises.
Step 2:
Using the ruler I measured cut three 14.5 cm long pieces of yellow ribbon 0.5 cm wide. Then glue in the same direction of the gray-toned tape.
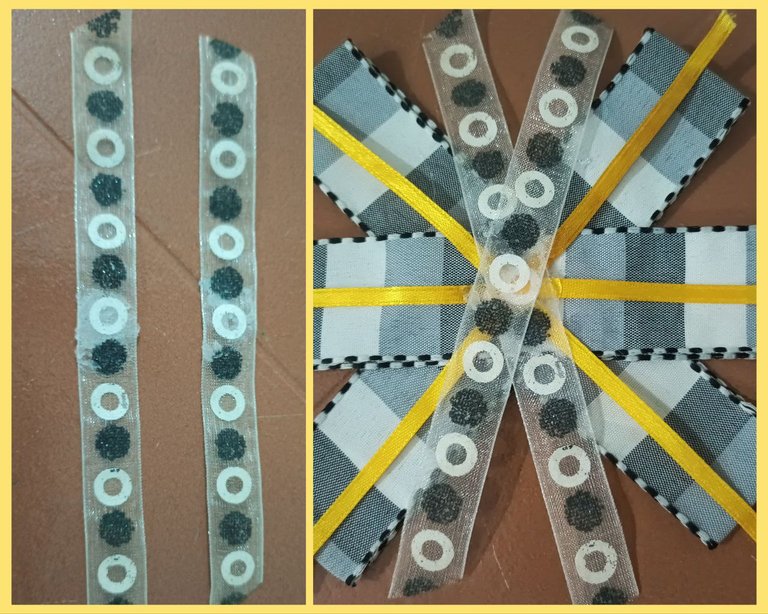
Igualmente usé la regla para medir 2 tiras de 12 cm de largo de la cinta de 1 cm ancho que tiene detalles de círculos de color blanco y gris oscuro.
Step 3:
I also used the ruler to measure 2 12 cm long strips of the 1 cm wide ribbon that has white and dark gray circle details.
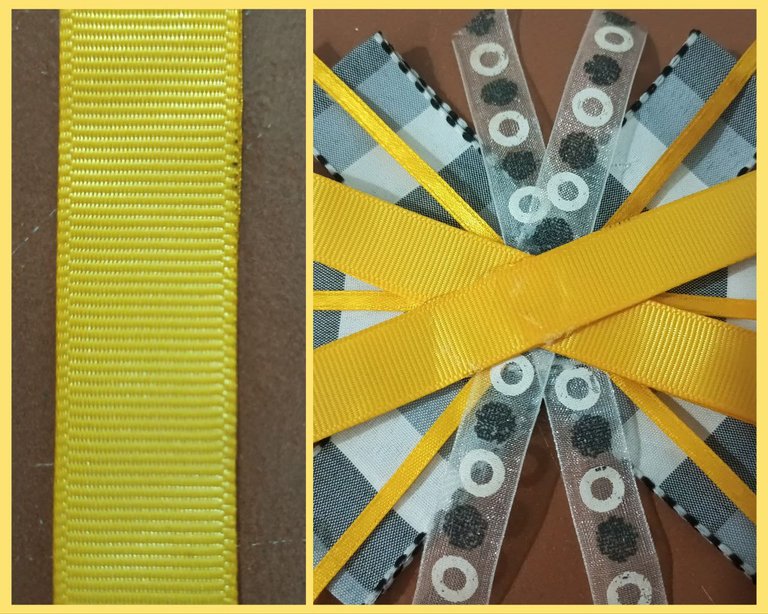
Como pueden ver he usado hasta ahora cinta de rayos, unicolor pero delgado, y estampada, ahora le daré un toque más amarillo, con esta cinta amarilla unicolor que mide 1.5 cm de ancho y corte dos piezas por 26 cm de largo. Las pegue y luego las pegue delicadamente encima de forma cruzada.
Step 4:
As you can see I have used so far lightning ribbon, unicolor but thin, and printed, now I will give it a more yellow touch, with this yellow unicolor ribbon that measures 1.5 cm wide and cut two pieces by 26 cm long. Glue them together and then glue them delicately on top in a criss-cross fashion.
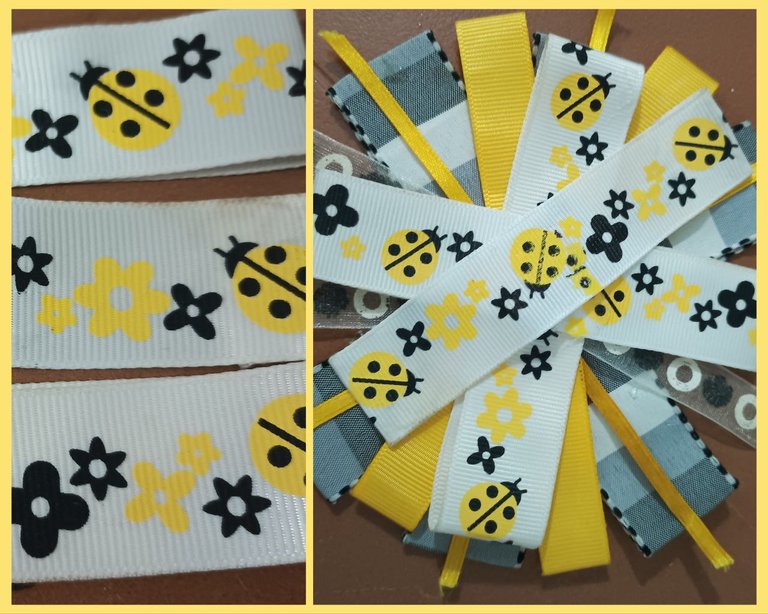
En este paso he colocado la cinta protagonista del lazo, esta cinta estampada con mariquitas amarillas y flores negras y amarillas. De la que corte tres piezas de 2.5 cm de Ancho por 23 cm de largo. Las pegue con la silicona y la pegue encima de las otras cintas que viene conformando el lazo.
Step 5:
In this step I have placed the main ribbon of the bow, this ribbon printed with yellow ladybugs and black and yellow flowers. I cut three pieces of 2.5 cm wide by 23 cm long. I glued them with the silicone and glued it on top of the other ribbons that make up the bow.
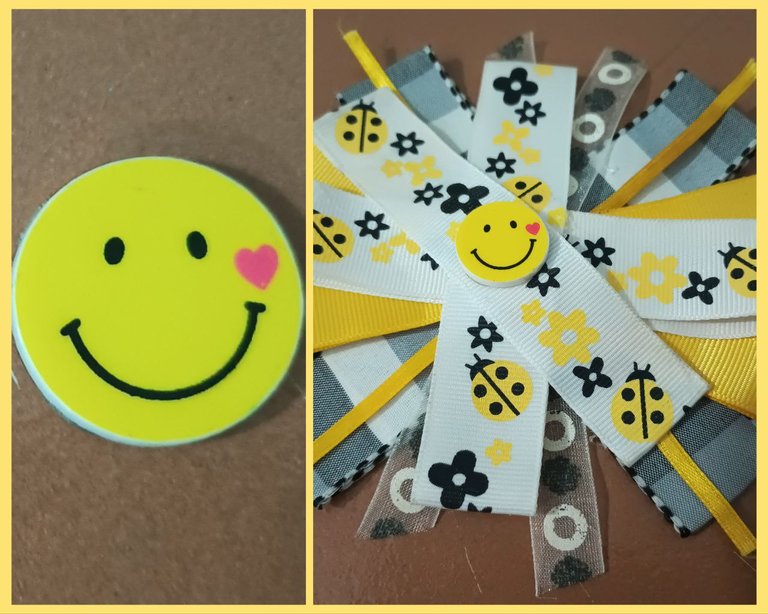
En esta paso final le pegue el detalle del centro del lazo, se trata de una adorno de emojis y por la parte trasera le pegue la pinza con la que la dulce niña se puede colgar en el cabello este lindo lazo.
Step 6:
In this final step I glued the detail in the center of the bow, it is an emoji ornament and on the back I glued the clip with which the sweet girl can hang this cute bow in her hair.
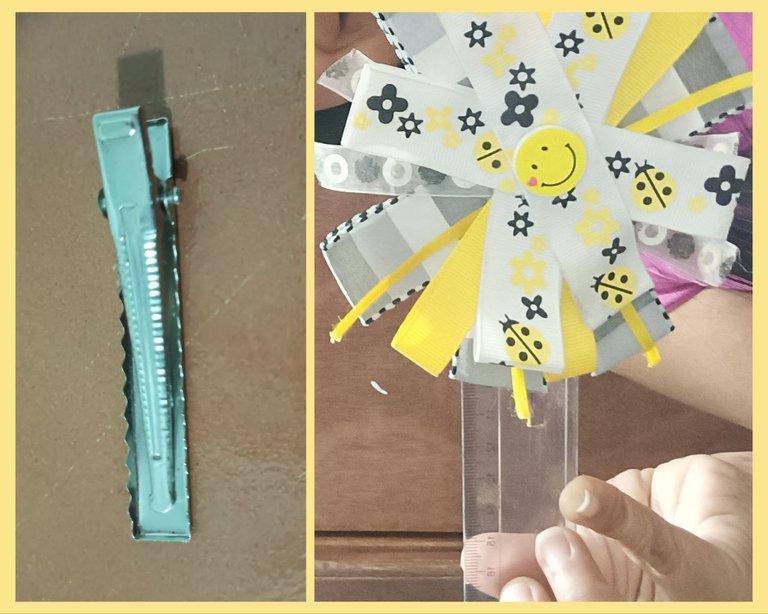
Les muestro el lazo terminado, para ello lo he colgado en la regla y poderles mostrar como se ve colgado.
Final Work:
I show you the finished ribbon, for this I have hung it on the ruler to show you how it looks hung.
Todas las fotos son de mi propiedad tomadas con las camaras de mi Tecno Canon 18P. Editadas con la aplicación GridArt.
Traductor usado Deepl.com versión gratuita.
Muchas gracias por leer y visitar mi post. Soy Alida Gómez

All photos are my own taken with my Tecno Canon 18P cameras. Edited with the GridArt application.
Translator used Deepl.com free version.
Thank you very much for reading and visiting my post. I'm Alida Gomez


