Saludos Querida Comunidad!!!
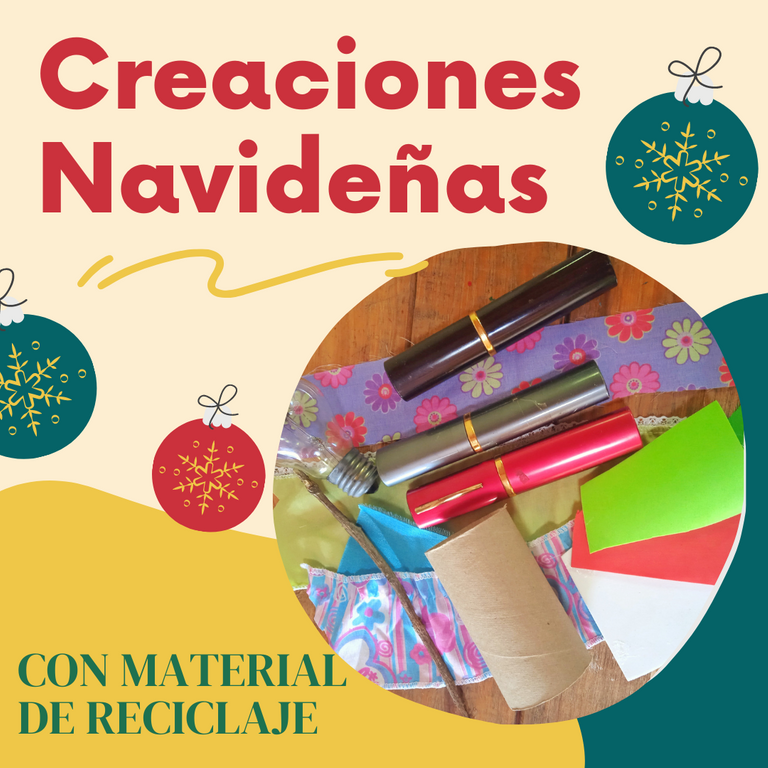
La Navidad es una época maravillosa llena de magia, especialmente para los niños. Podemos utilizar los materiales que tenemos en casa y que ya no usamos para transformarlos en bonitas creaciones.
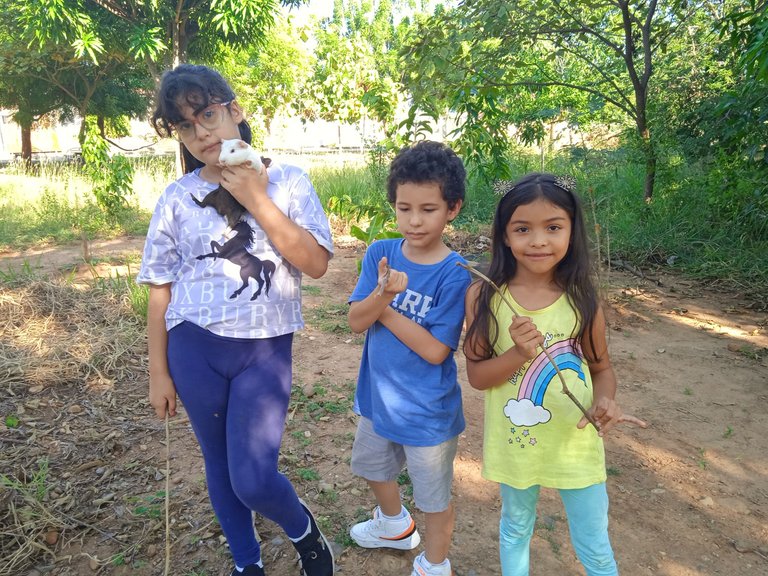
Para empezar, buscamos algunas ramas secas, ideales para una de las manualidades que haremos con los niños.
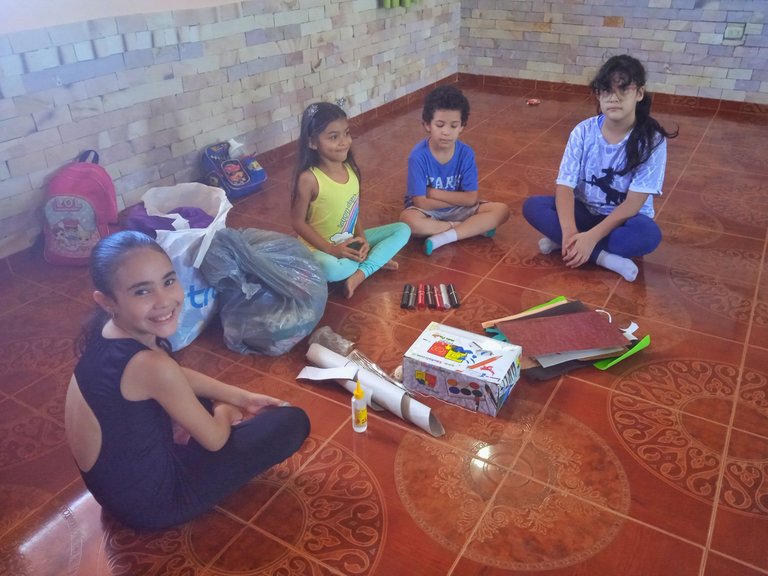
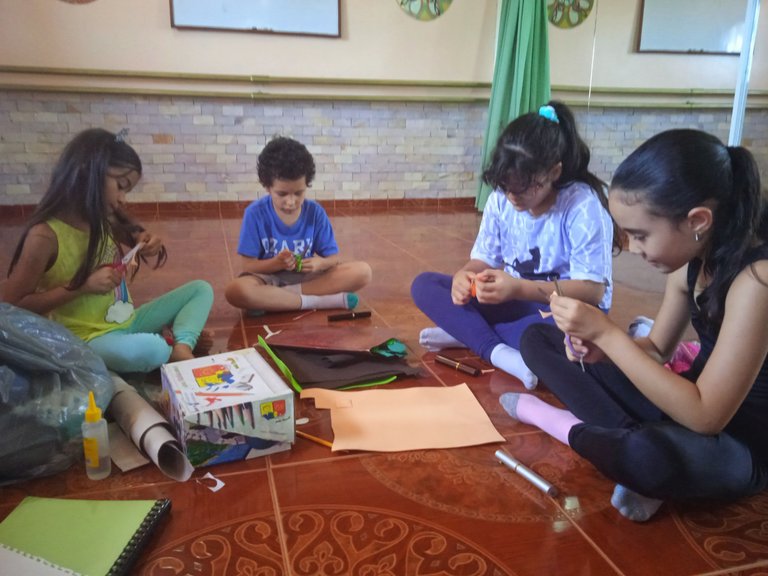
Uno de los representantes nos regaló unos recipientes donde se colocan las lentes, que transformaremos en personajes navideños.
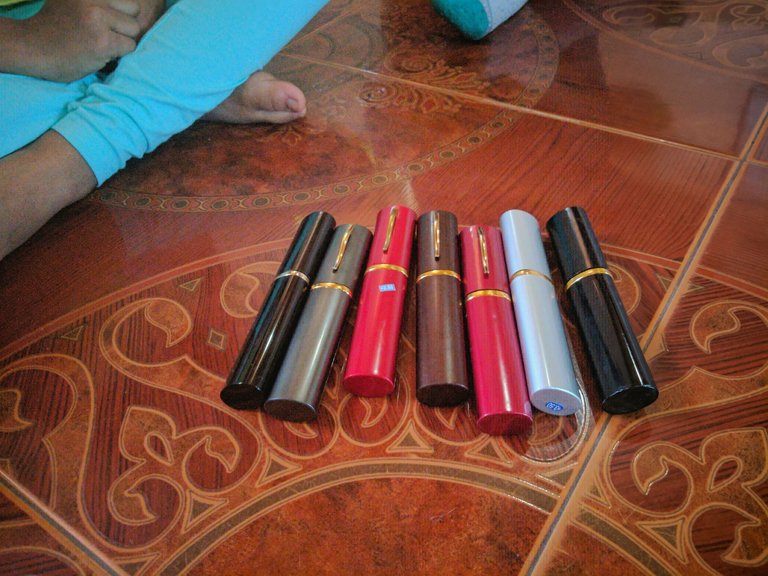
No sólo los utilizaremos para hacer un adorno, sino también para guardar nuestra carta de deseos para el próximo año.
Empezamos por la cara. Así que utilizaremos la tapa como cabeza de nuestro personaje.
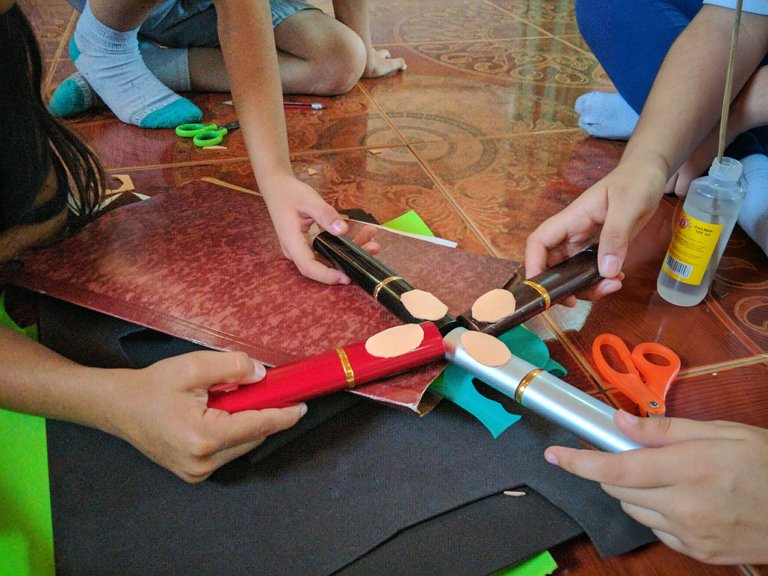
Los niños escogieron el color de su envase así que a partir de allí elaboraremos los distintos personajes.
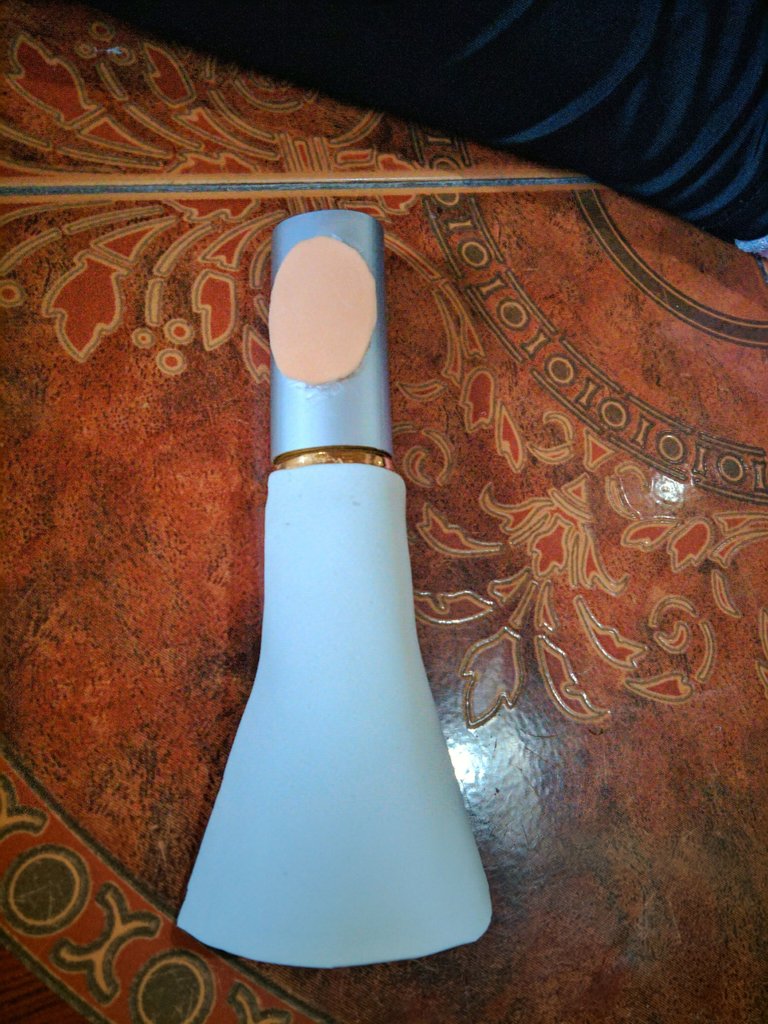
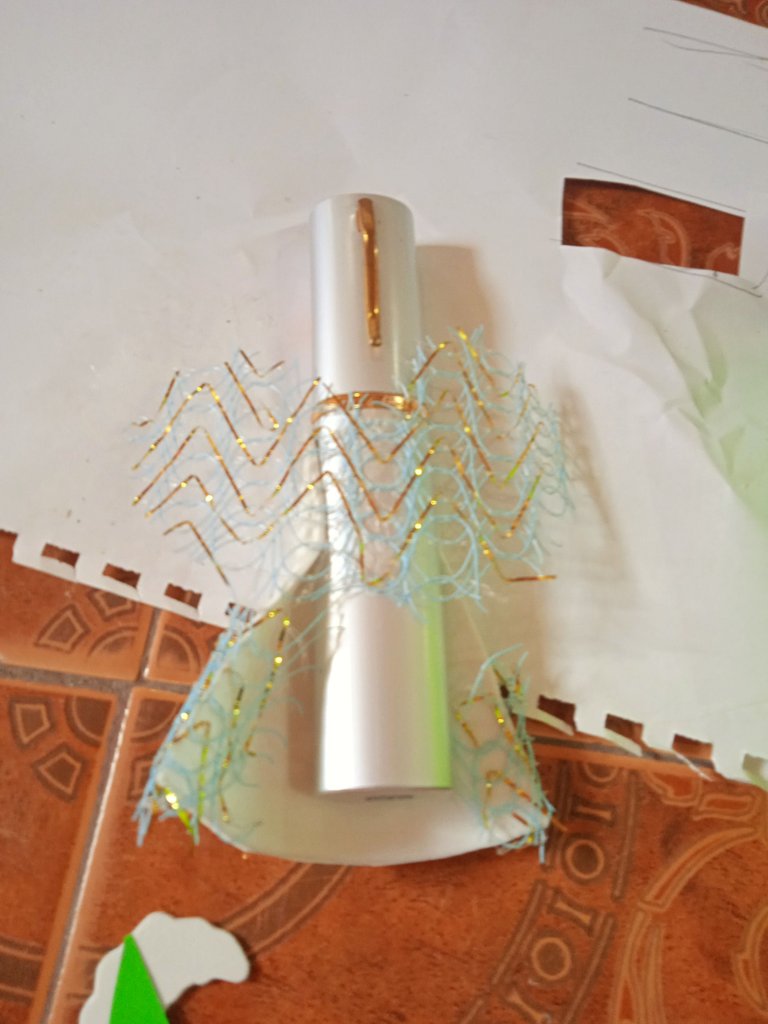
Para el blanco haremos un angelito, así que haremos su vestido con papel blanco o foami. Con una malla que teníamos le pusimos detalles en el vestido y le hicimos las alas.
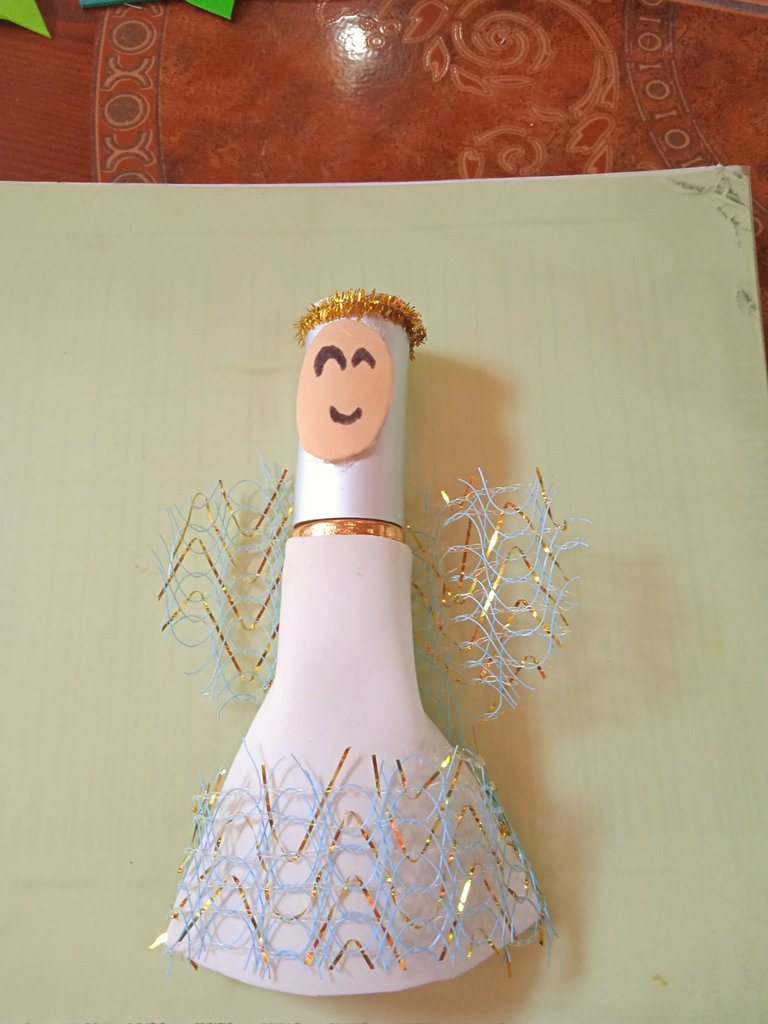
Para terminar le añadimos el detalle de su corona y sus ojos y boca.
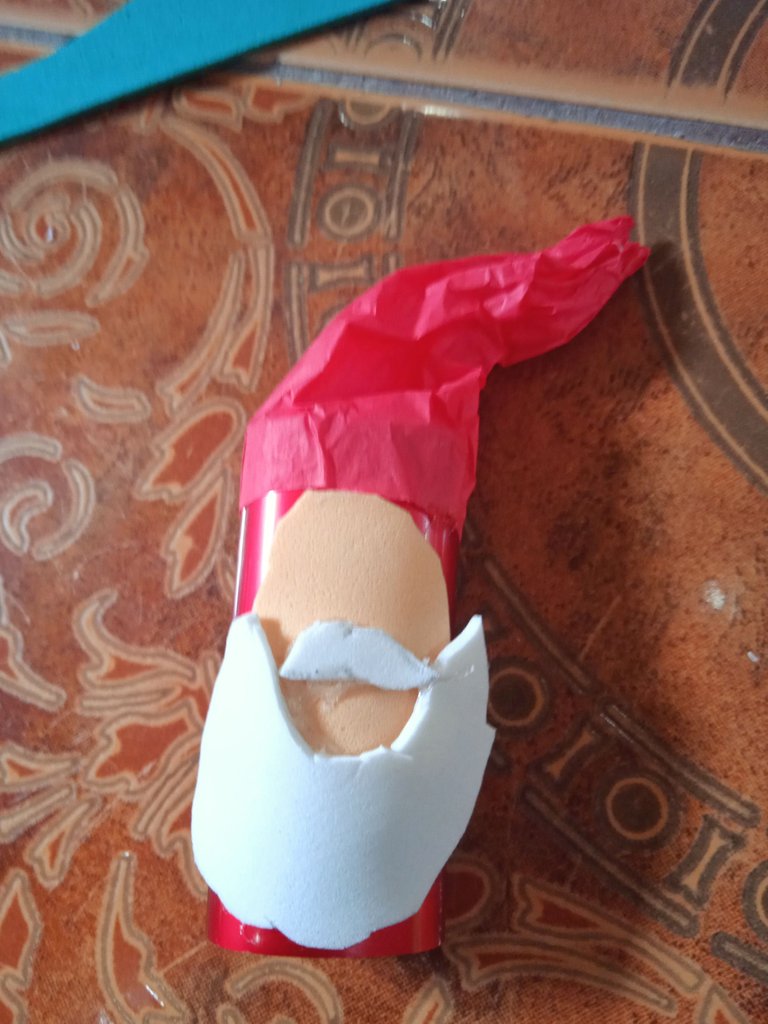
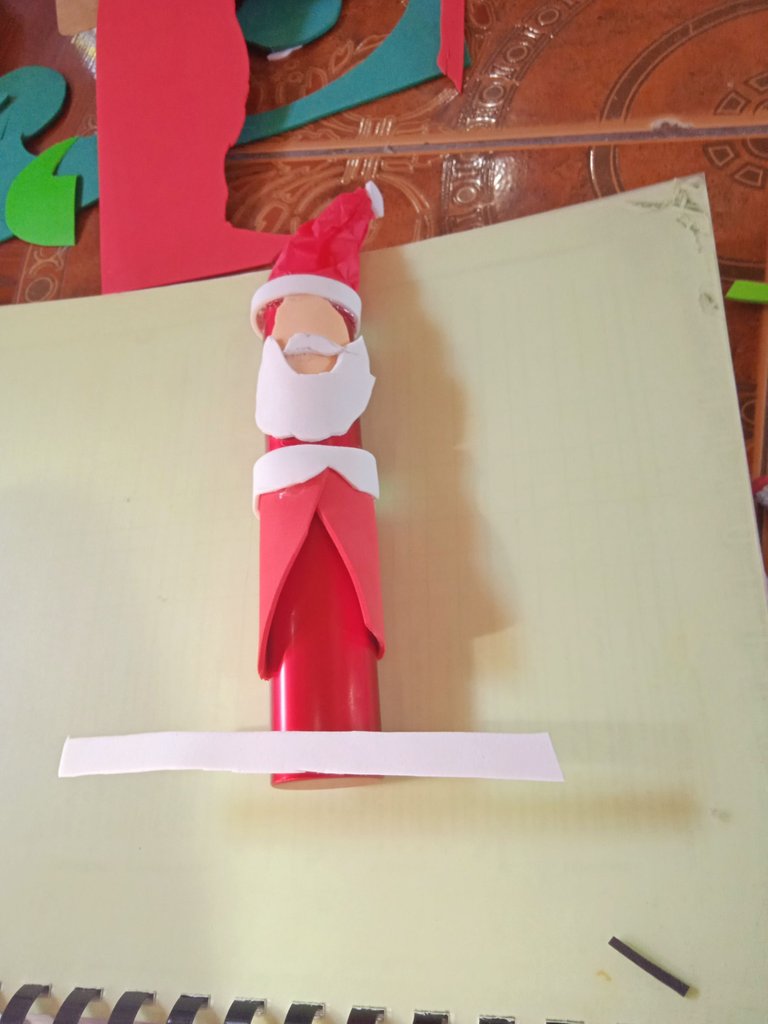
Para el color rojo seleccionamos a Santa. Con foami blanco, rojo, negro, un trocito de papel de seda rojo, hicimos nuestro diseño, también puedes hacerlo con cualquier papel y pintarlo.
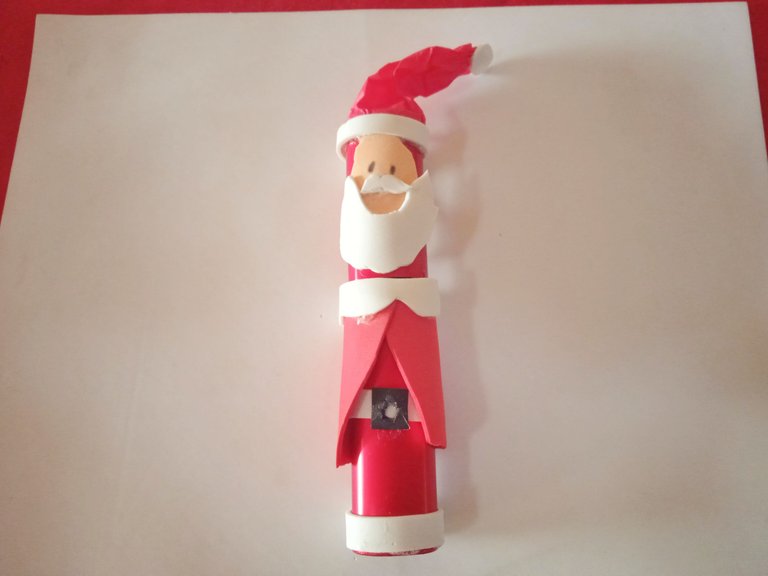
Pegamos con silicona líquida todas las partes y nuestro Santa estaba listo.
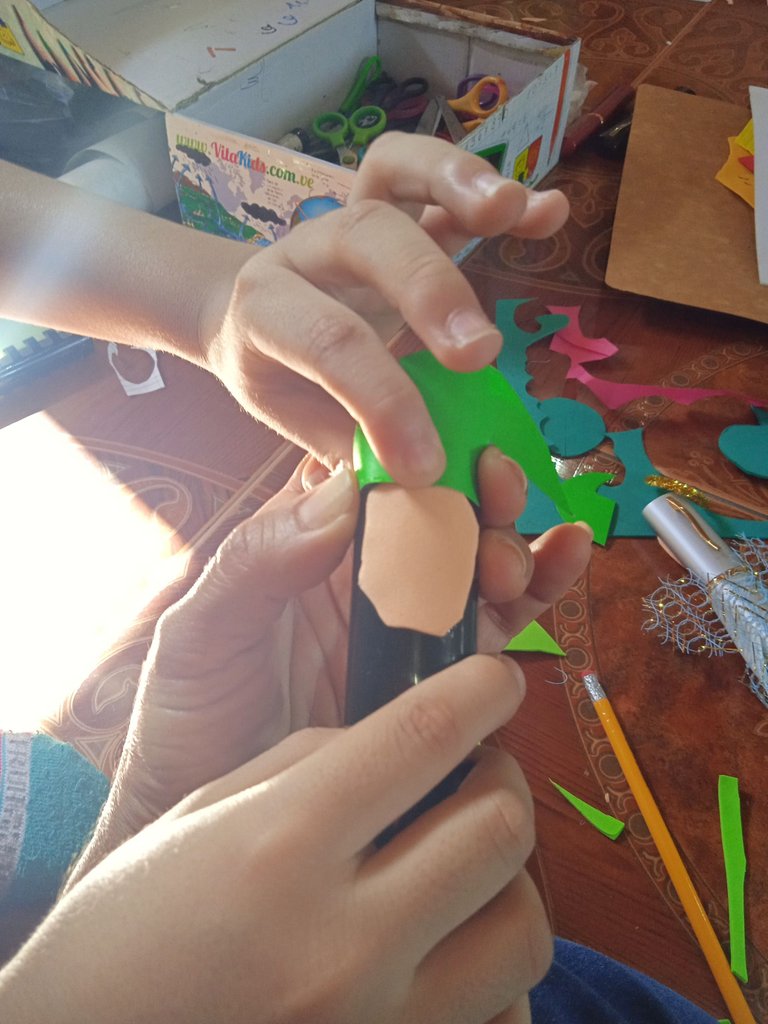
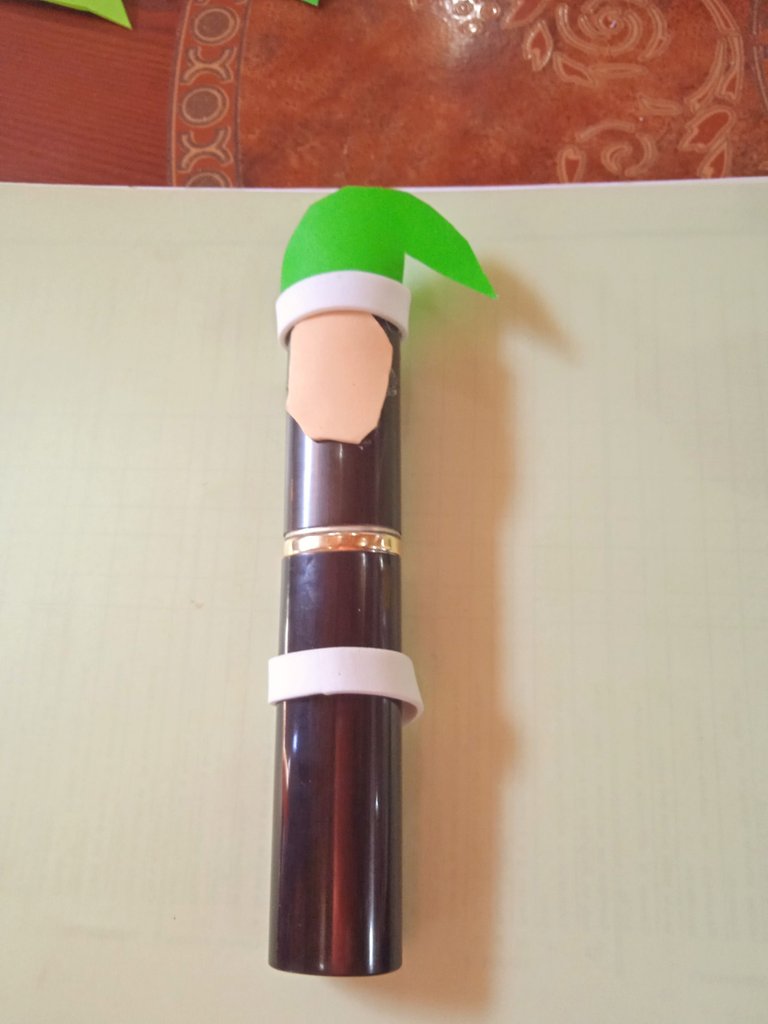
Otro personaje fue un duende con un trozo de papel verde, foami verde, blanco, negro, pegamos todas sus partes.
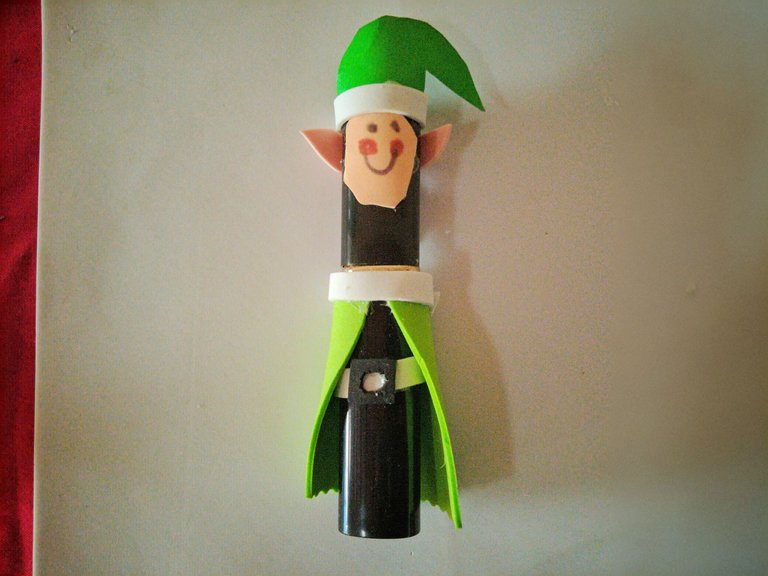
Y así quedó nuestro duende.
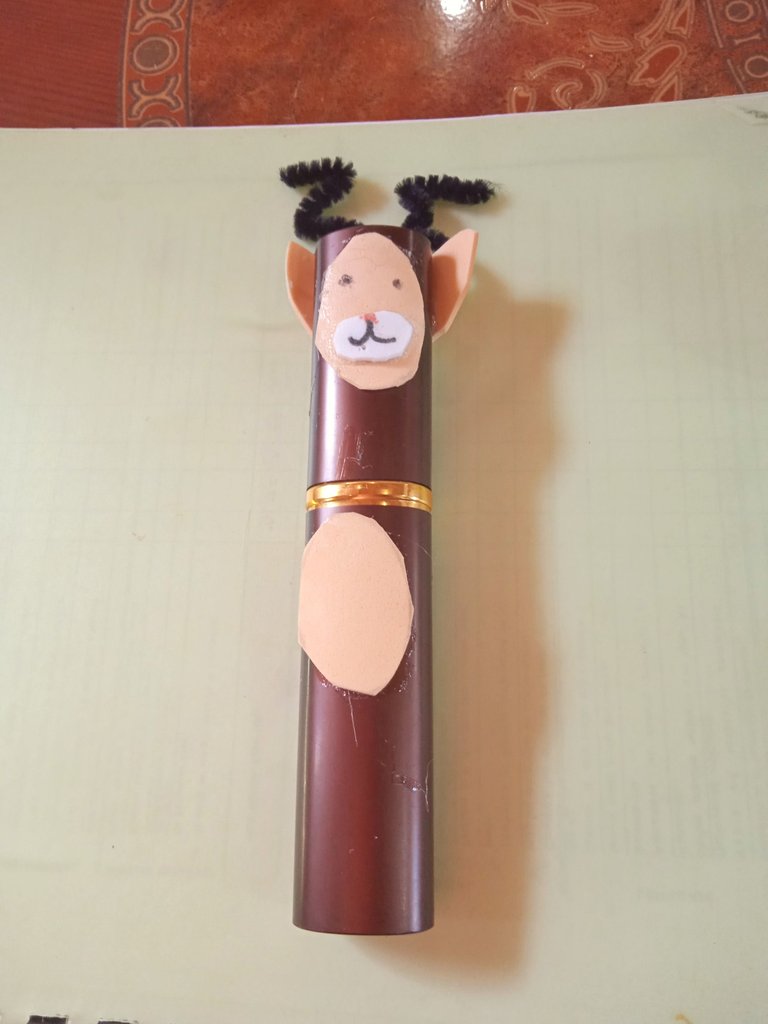
Para el color marrón, hicimos un reno y para ello utilizamos sólo el foami color piel, un trocito de blanco y el detalle para los cuernos.
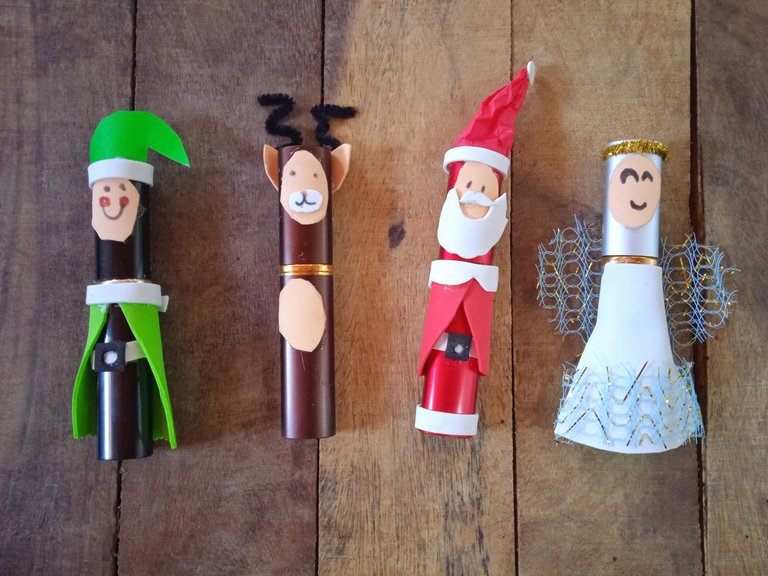
Y así creamos nuestros simpáticos personajes navideños donde guardaremos y llevaremos nuestros deseos.
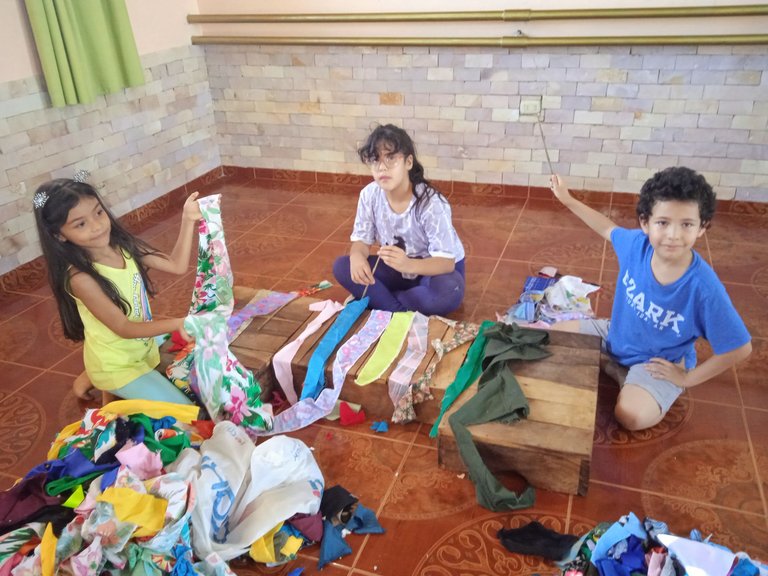
Otro de los materiales que tenía eran retazos de tela, así que los niños seleccionaron las tiras que más les gustaban para nuestra próxima creación.
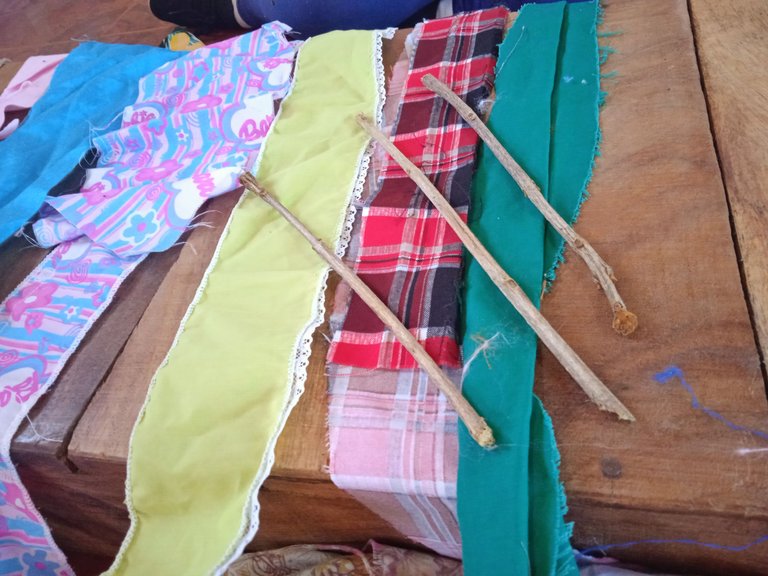
Con su palo de madera y los retazos de tela haremos un árbol de Navidad.
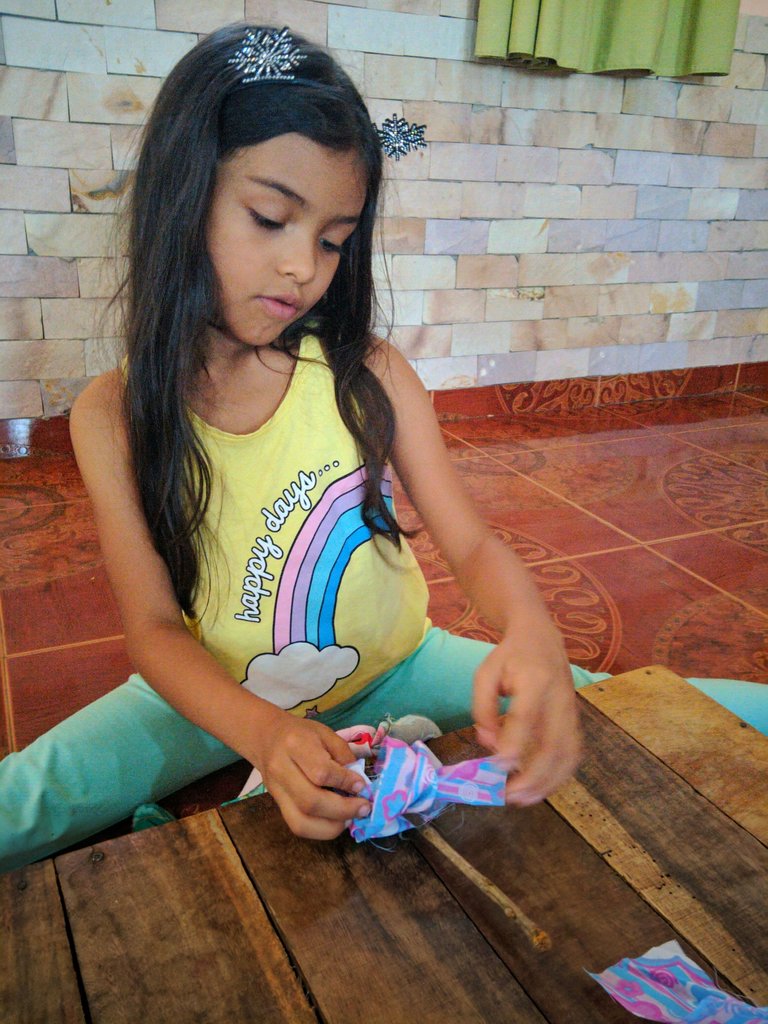
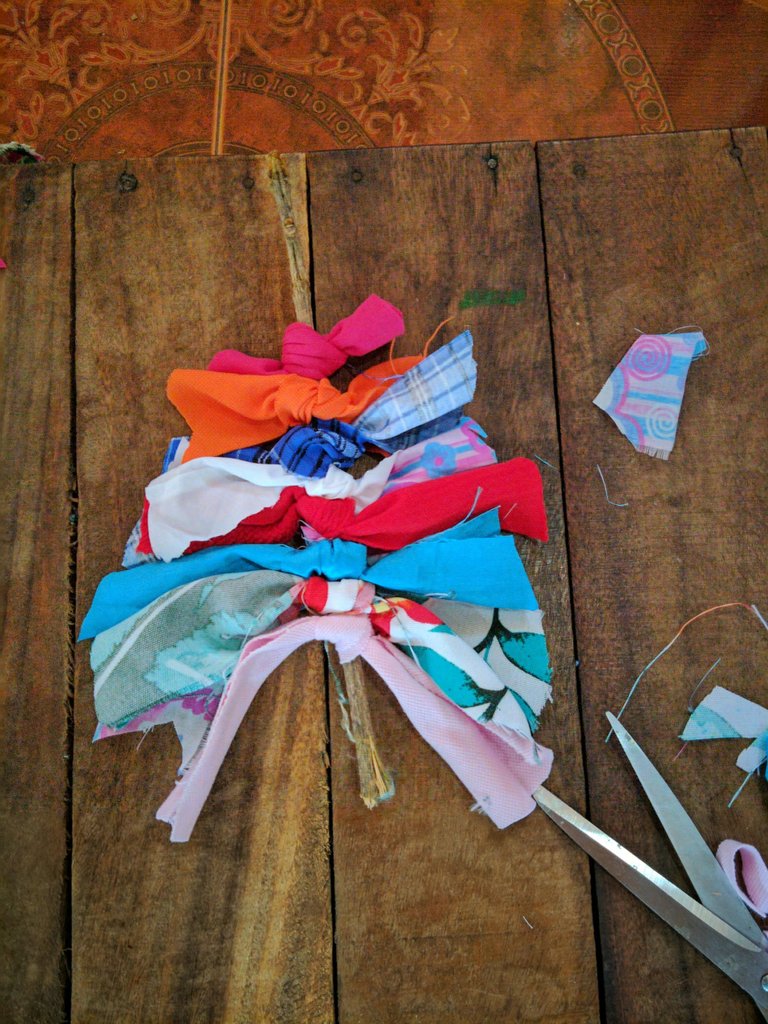
Para ello sólo tienen que atar las diferentes tiras en el palo de madera.
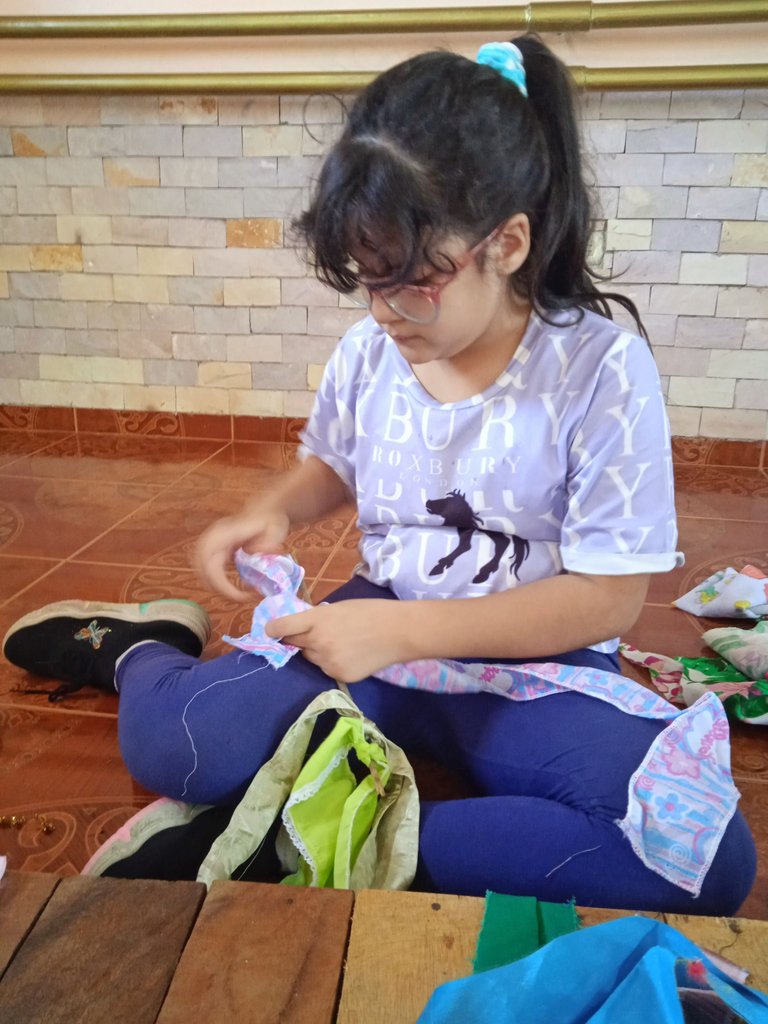
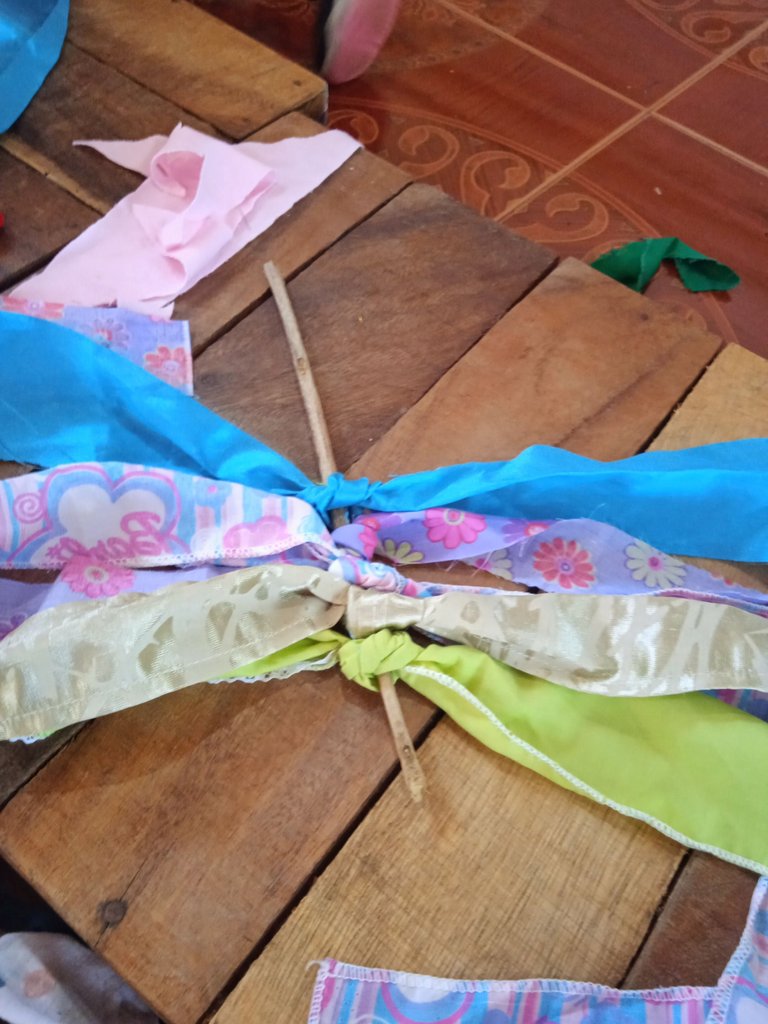
Los niños son maravillosos, se entregan con facilidad y disfrutan de las experiencias.
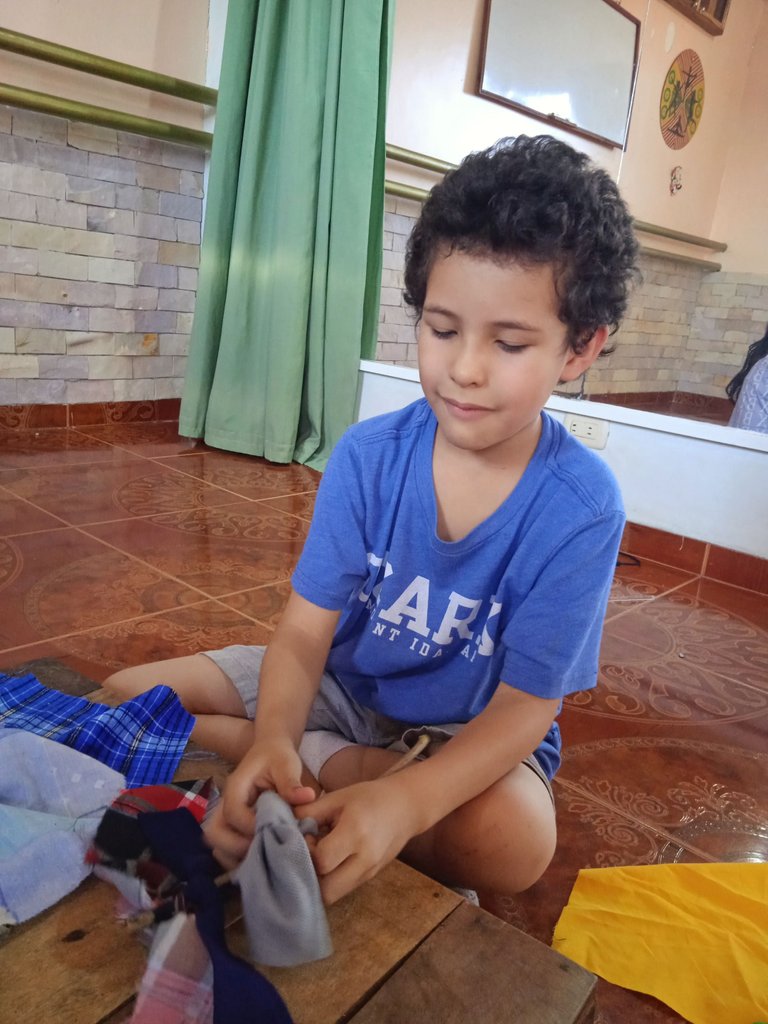
Cuando terminaron de atar sus tiras, estábamos listos para cortar y dar forma al árbol.
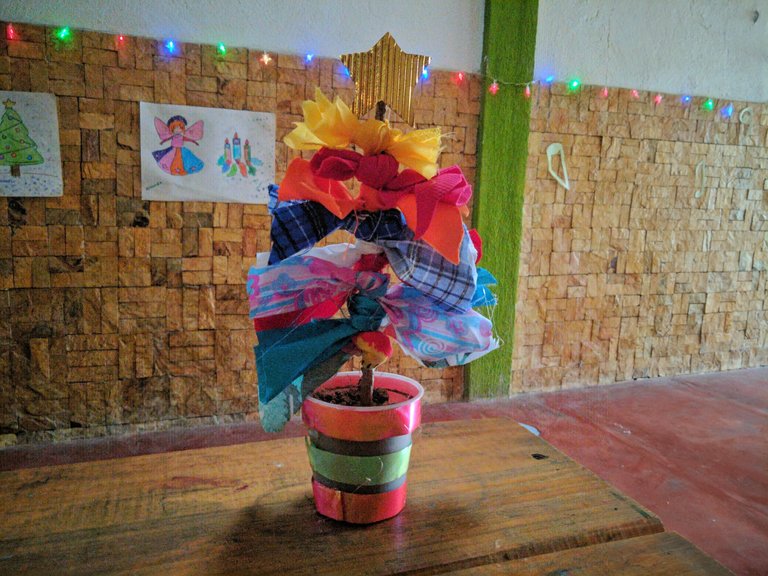
Con las diferentes bases que teníamos a mano, un recipiente de plástico, recipientes de vidrio de compotas, los llenamos de tierra y allí colocamos nuestros árboles.
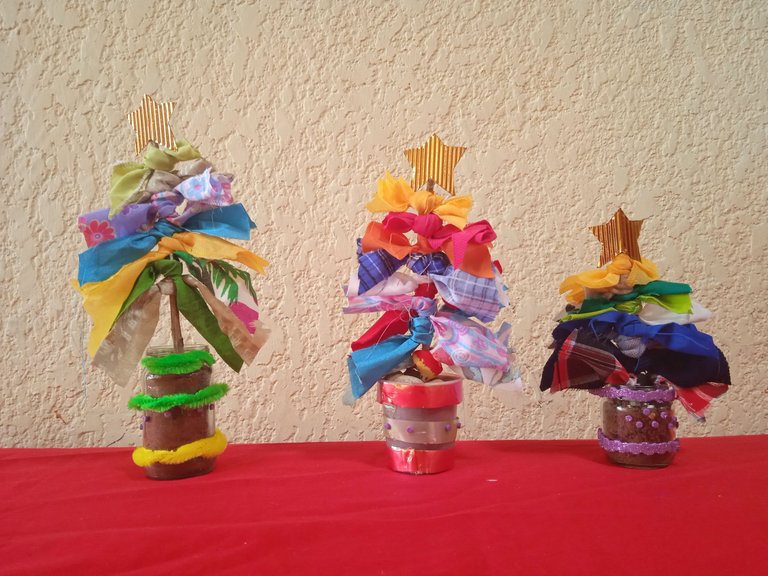
Y así quedaron los árboles hechos por los niños, que creo que son muy bonitos para decorar.
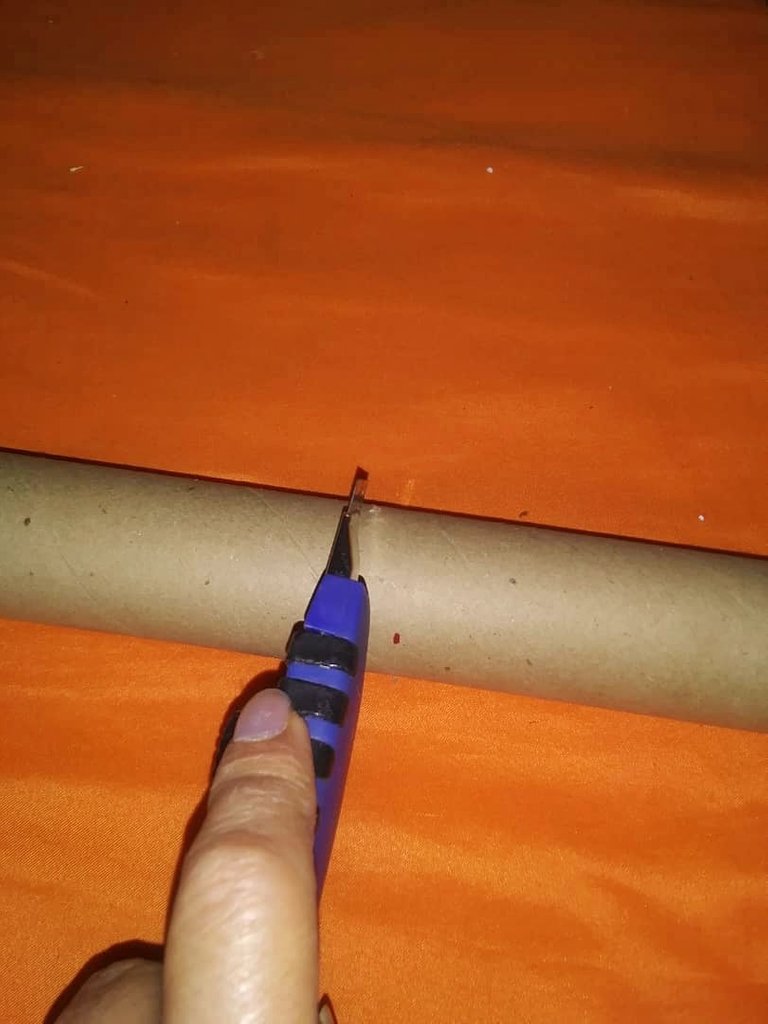
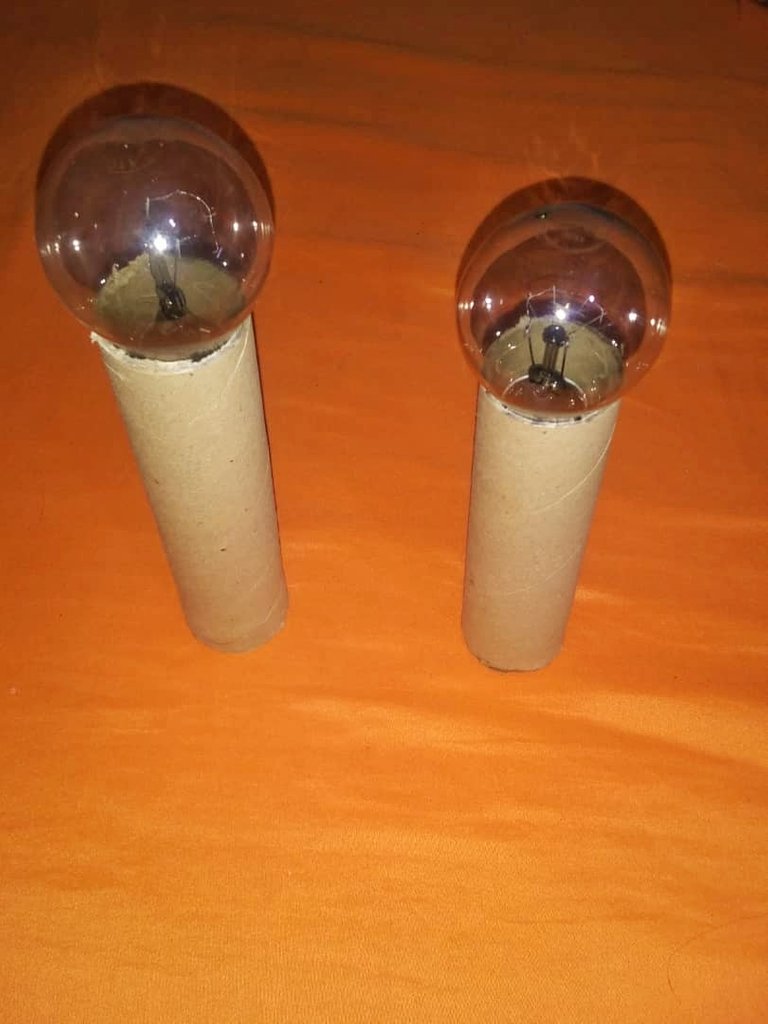
Y si queremos un nacimiento bonito sólo tenemos que buscar rollos de papel, bombillas, tela o fieltro, pintura, pinceles y muchas ganas de crear.
Cuanto más resistente sea el rollo de papel será mucho mejor, de los que vienen largos cortamos uno más largo y otro un poco más pequeño.
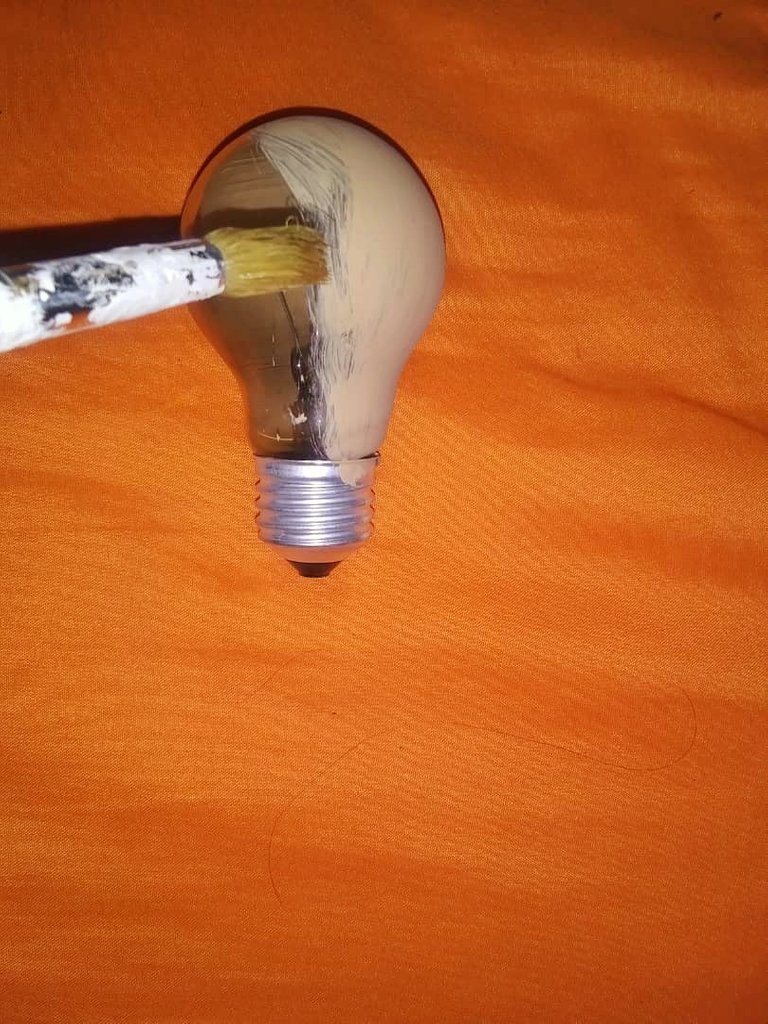
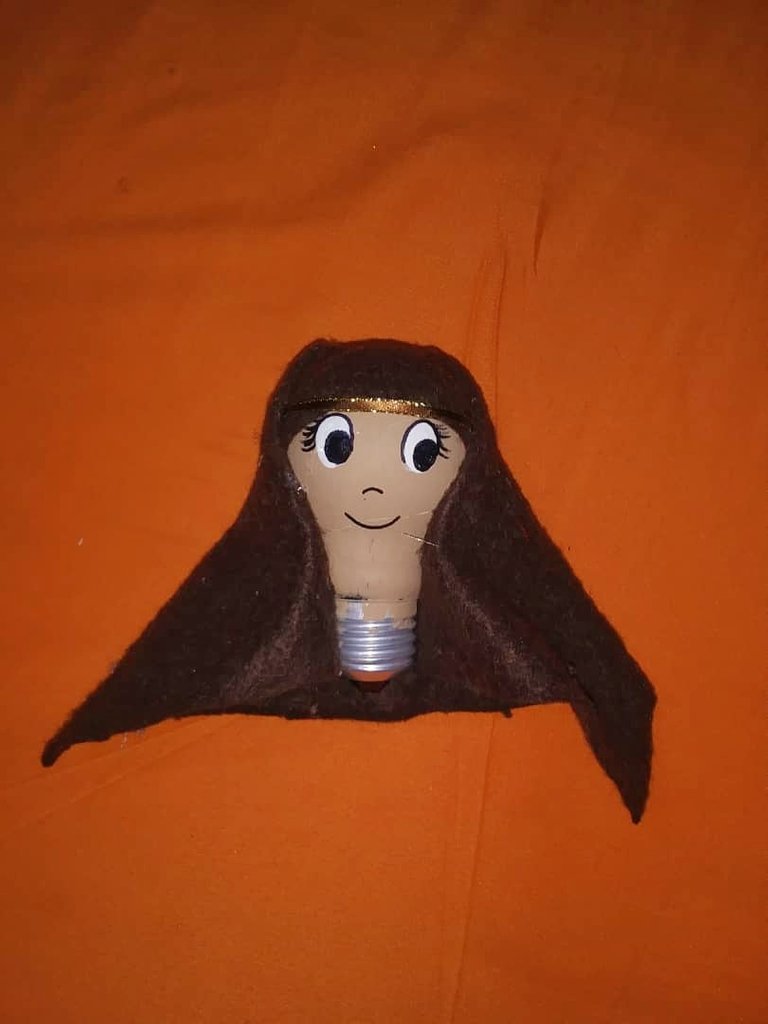
Pintamos el bombillo y decoramos la cara, colocando su túnica con tela o papel.
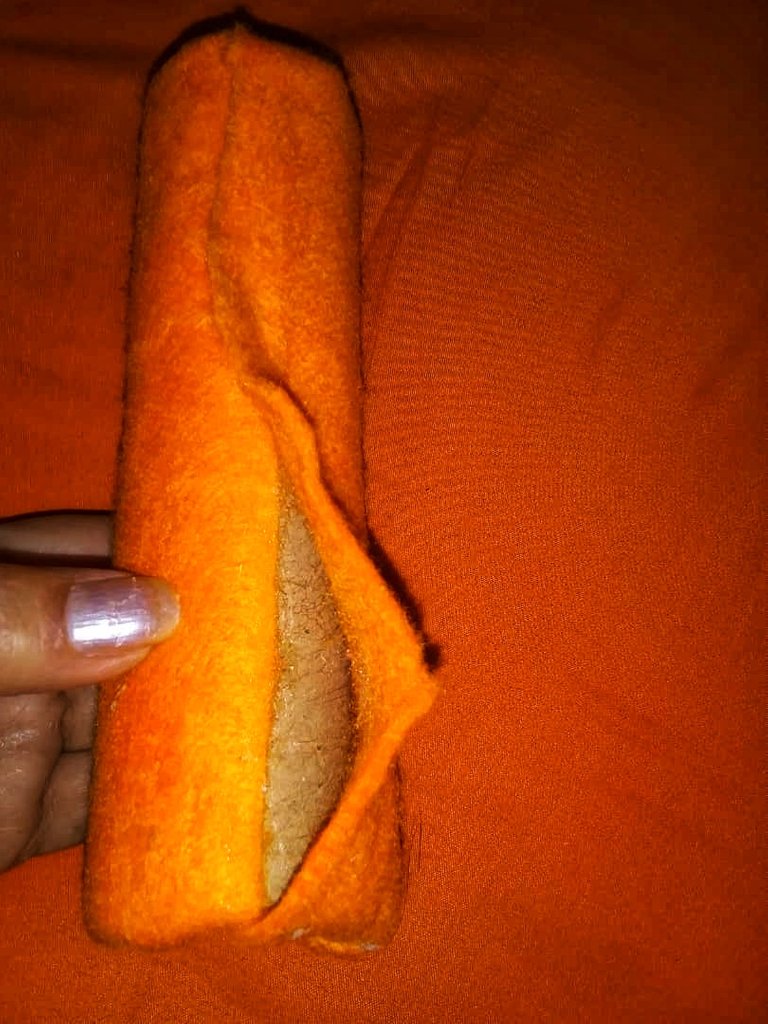
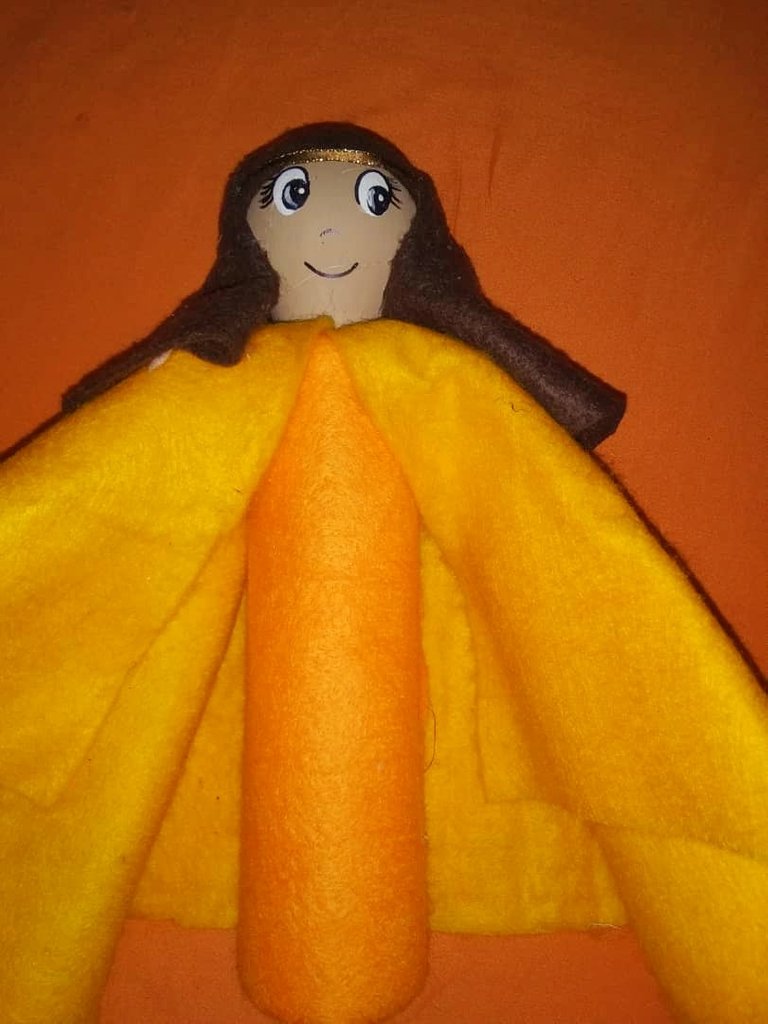
Cubrimos el cuerpo con tela o papel y listo.
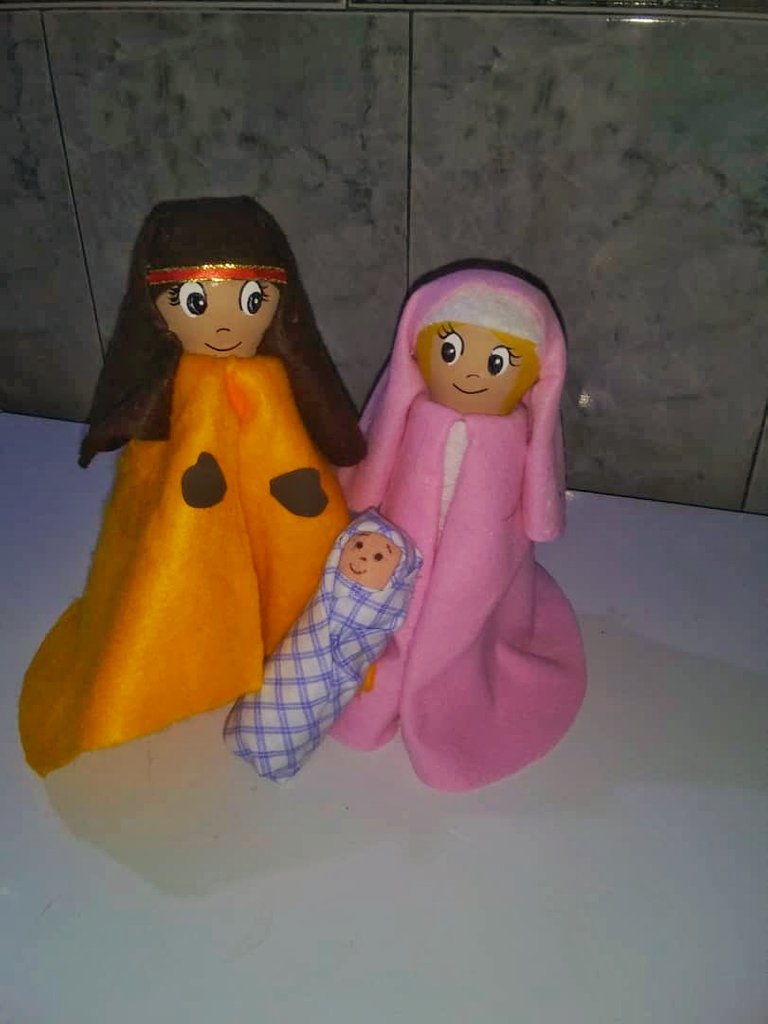
Y así repetimos con cada personaje, el resultado es un precioso nacimiento casero.
Las manualidades son maravillosas, nos agilizan y activan la mente, despiertan los sentidos y a los niños les permite desarrollar y ejercitar su motricidad fina, la coordinación visomotora, estimulando su inteligencia y creatividad.
¡Gracias por leer!

- Fotos tomadas por @aldara desde su telefonoRedmi.
- Recursos gratuitos utilizado de canva .
- Imágenes editadas con photoshop
English version
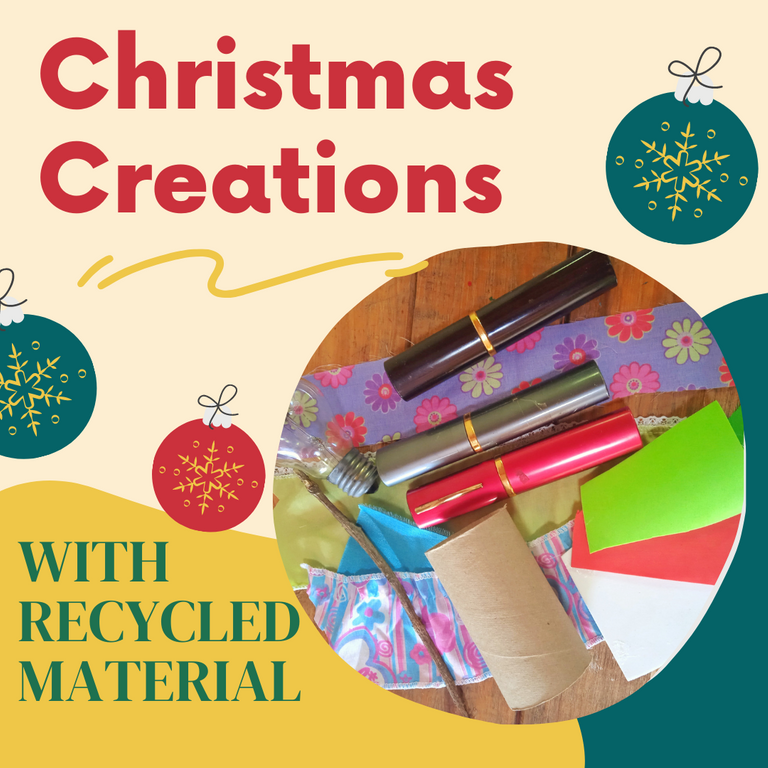
Christmas is a wonderful time full of magic, especially for children. We can use materials we have at home and no longer use to transform them into beautiful creations.

To begin with, we looked for some dry branches, ideal for one of the crafts we will do with the children.

One of the representatives gave us some containers where they keep the lenses that we will transform into Christmas characters.

Not only will we use them to make an ornament, but also to store our wish list for next year.

We start with the face. So we will use the lid as the head of our character.

The children chose the color of their packaging so from there we will make the different characters.


For the white one we will make a little angel, so we will make his dress with white paper or foami. With a mesh that we had we put details on the dress and we made his wings.

To finish it we added the detail of his crown and his eyes and mouth.


For the red color we selected Santa. With white, red, black foami, a little piece of red tissue paper, we made our design, you can also make it with any paper and paint it.

We glued with liquid silicone all the parts and our Santa was ready.


Another character was an elf with a piece of green paper, green, white, black foami, we glued all its parts.

And so was our elf.

For the brown color, we made a reindeer and for this we used only the skin-colored foami, a little piece of white and the detail for the horns.

And so we created our cute Christmas characters where we will keep and carry our wishes.

Another material I had was fabric scraps, so the children selected the strips they liked best for our next creation.

With their wooden stick and the fabric scraps we will make a Christmas tree.


All they have to do is tie the different strips on the wooden stick.


The children are wonderful, they give themselves easily and enjoy the experiences.

When they finished tying their strips, we were ready to cut and shape the tree.

With the different bases we had on hand, a plastic container, glass containers of compotes, we filled them with soil and there we placed our trees.

And so were the trees made by the children, which I think are very nice to decorate.


And if we want a beautiful nativity scene, all we have to do is look for paper rolls, light bulbs, fabric or felt, paint, brushes and a lot of desire to create.
The more resistant the paper roll is the better, from the long ones we cut one longer and another one a little smaller.


We paint the light bulb and decorate the face, placing his tunic with fabric or paper.


Cover the body with fabric or paper and that's it.

And so we repeat with each character, the result is a beautiful homemade nativity scene.
Crafts are wonderful, they make us agile and activate the mind, awaken the senses and allow children to develop and exercise their fine motor skills, visual-motor coordination, stimulating their intelligence and creativity.
Thanks for reading!

- Photos taken by @aldara from her Redmi phone.
- Free resources used from canva.
- Images edited with photoshop