
Good day to you all here in the DIYhub community. It’s always a pleasure to be among people with a creative mindset. Every day would always be a day to learn something and gain additional knowledge to what one has learned before.
Today I would be sharing with the community my Hive to the MOON 🌙 Paperwork.
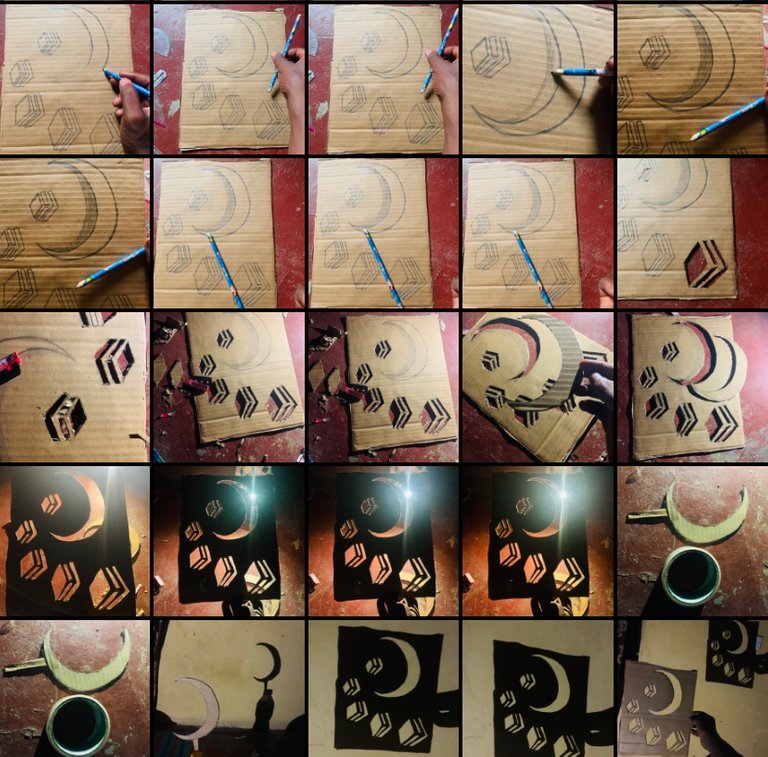
Group screenshot of my captures. All images are mine.
Follow me as we learn how it works.
MATERIALS
- RULERS
- RAZOR BLADE
- PLAIN CARTON
- PENCIL
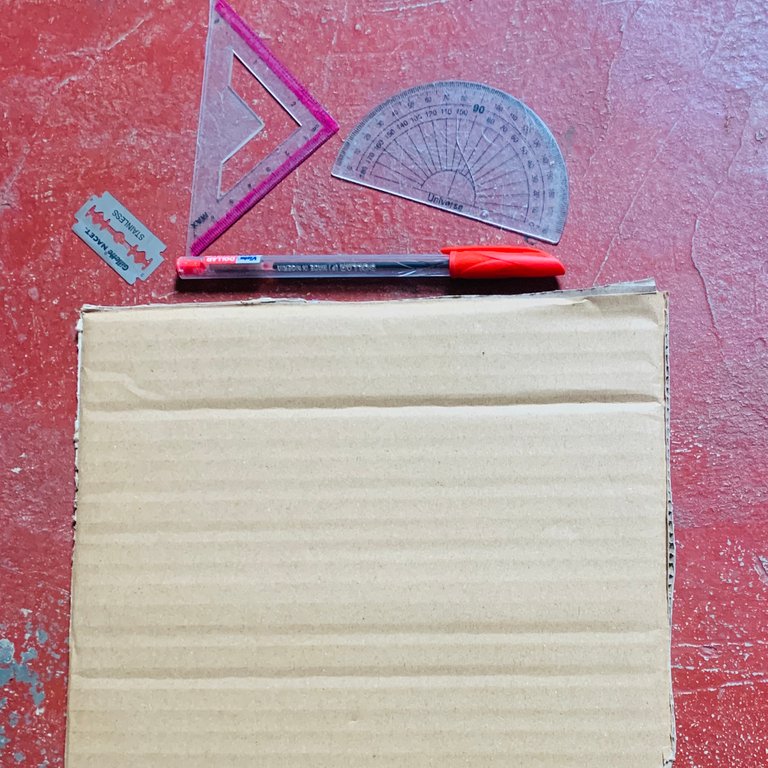
STEP-BY-STEP PROCESS
STEP 1: SKETCHING
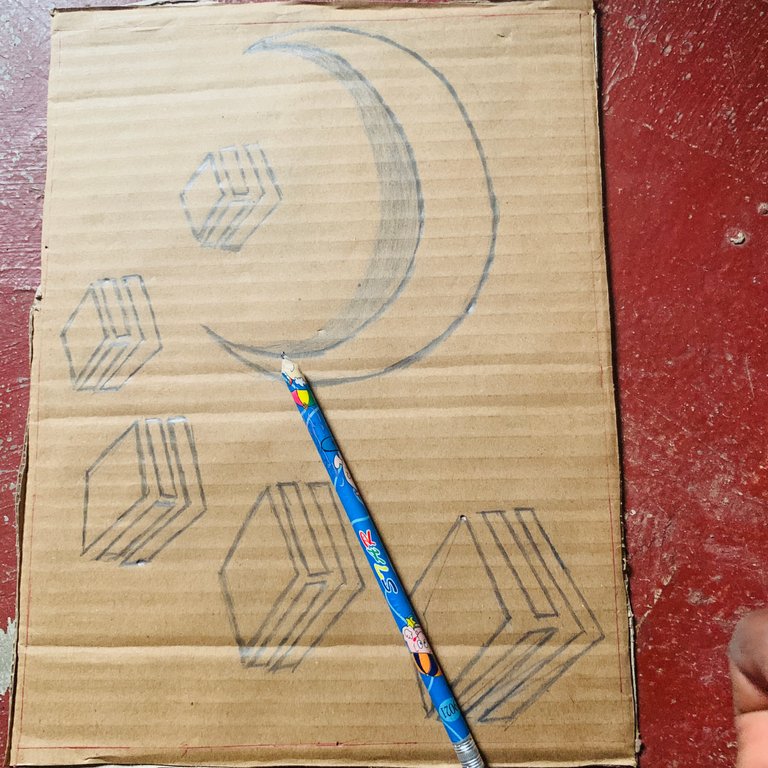
The first step I took towards accomplishing this was to make a raw sketch of the image. At first I already pictured the image in my mind and what’s left is to bring it to life. After picturing it I got my pencil and started making a light sketch ✍️ on the carton. I began with the drawing of the moon 🌙. Then next was the hive narrowing its way up to the moon.

STEP 2: TRACING AND EFFECTS
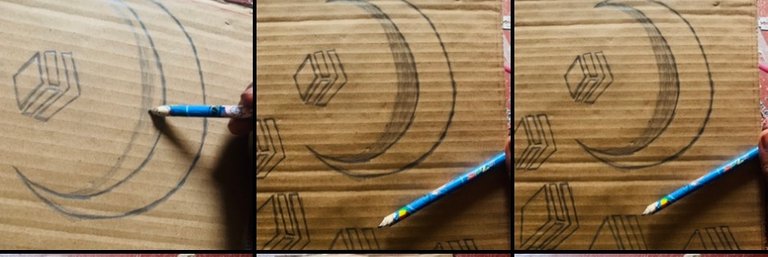
After a successful sketch of my pictured artwork the next thing is to make it clearer. So to make the view more visible I had to trace the sketch while trying all my best to avoid mistakes and sketched errors.

I started tracing from the hive logo up to the moon itself. Then after the tracing was clear enough. I felt like giving the moon some effect to make it look a little cool. So I added the shadow effect to moon 🌙.
STEP 3: CUTTING
It was a successful artwork there. I am glad my imagination finally came to life. The next step I took was to cut. This is indeed the most tedious and critical step of the work. And the reason is because once you make a mistake cutting then the outcome will not be as beautiful as expected.
I started cutting from the hive logo. I went from the hardest to the easiest. It took a lot of time for me to cut it out. I needed to be careful about it.
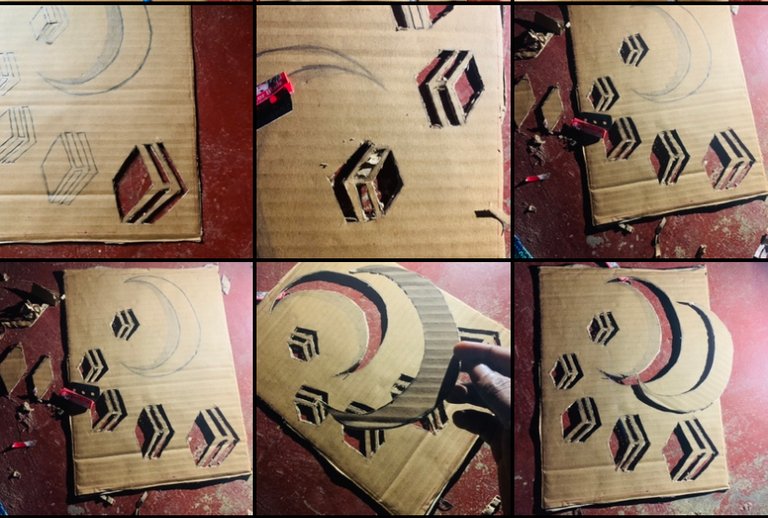
Cutting out the moon was the easiest and I was happy doing that. I did that with ease and held the moon 🌙. Wow! At last I am done with the cutting. What next??
STEP 4: MOON LIGHTNING
At this point all that I have left is showcasing my end result in different forms. Since the cutting was done. I thought of giving it a moon light effect. Maybe it just looks like some kind of effect from the sun ray shining against the moon.
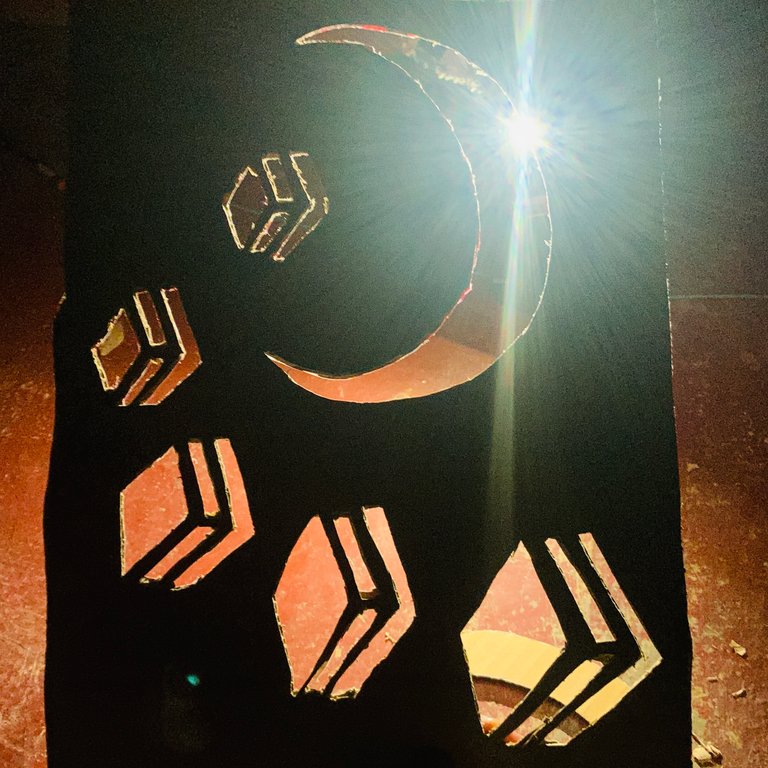
I placed my flashlight behind the artwork and set the moon at the point where it’s shiny. This symbolizes that hive would getting to the moon 🌙 and will bring a brighter future to all hivians
STEP 5: HIVE TO THE MOON SHADOW EFFECT
To do this, I had to wait till it was dark in the night. I put on my flashlight at a corner where it would give me a perfect reflection of myself and the artwork. So I took a good capture 📸
Finally! TOGETHER WE CAN GET HIVE TO MOON 🌙
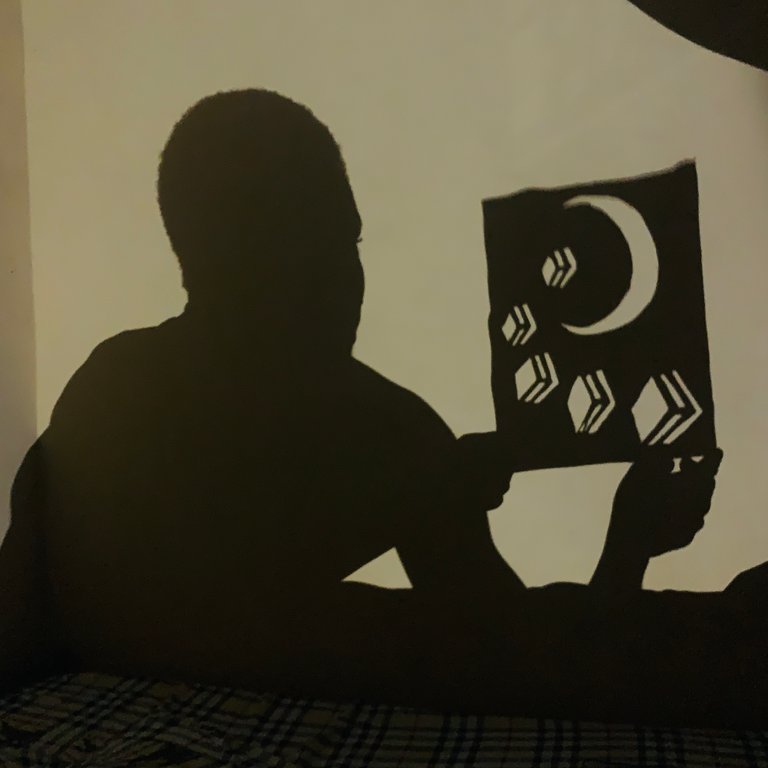
This is my entry to the DIYHUB COMMUNITY contest for FEBRUARY with the prompt MOON 🌙.
To participate in the DIYhub contest CLICK HERE


