When water storage and distribution becomes a problem that needs to be addressed, it can be a timely and costly affair, and after quite a bit of research I finally managed to find a solution that suits me in all its practical aspects as well as sits a bit better in the budget in relation to the more conventional water storage solutions.
When you live in sub Saharan Africa, or any other place where water scarcity and storage is a problem, it is imperative to survival to have enough space to accumulate any water that you might have to spare in the wet seasons. In this case we decided to acquire a Damsak for exactly those reasons.
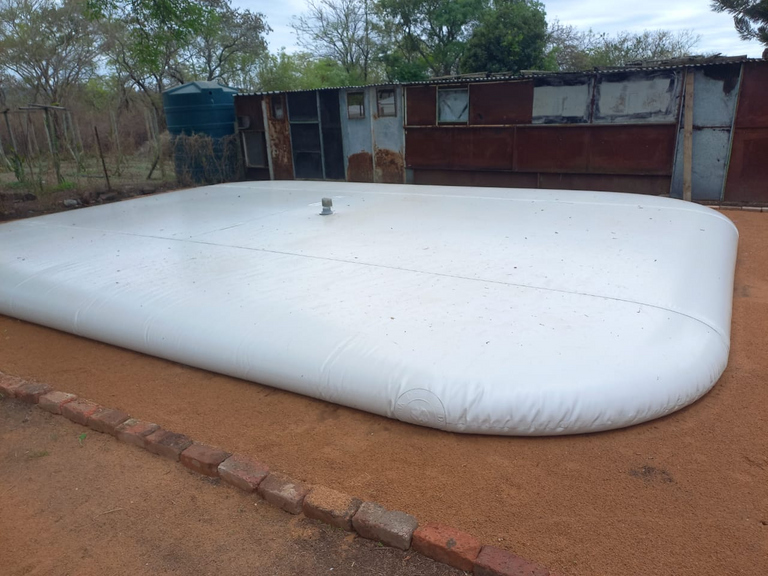
However before we could install the damsak, we had a few hoops to jump in order to get that done. First of all we needed to create an open section where we would let the water bladder stand. So we decided to clear and cut a section back behind the chicken coop (the recycled metal structure you can see in the background of the picture above) This called for us to cut back a mess of overgrowth and weeds strangling through a variety of reusable metal scraps, excess tiles and uncountable miscellaneous items such as old tools and rolls of barbed wire to name a few, lost and forgotten over time. Sadly I was silly enough not to take before pictures for comparison, but this in itself was a huge task for few hands.
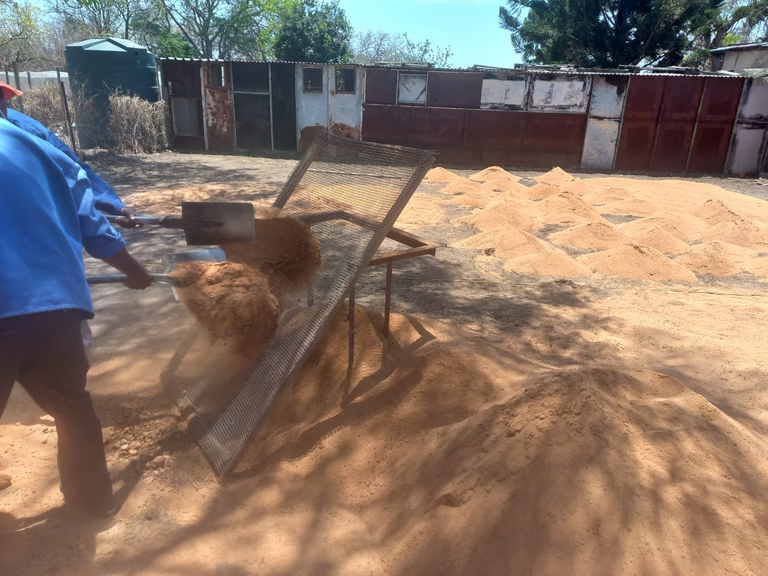
After that we needed to level out the soil roughly then pad and level the measured out section with river sand, which needed to be sifted in order to ensure that no sharp rocks or foreign debris got stuck between the base and the bag.
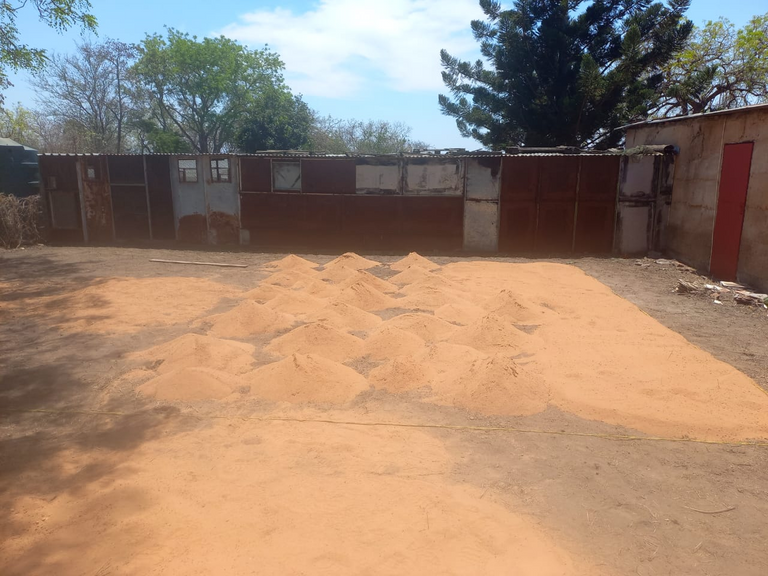
once the soil was sifted it was placed on piles in a marked off space allocated to the cause. thereafter it was scraped and leveled making use of line levels, then we curbed the lot of it in with some repurposed bricks we had laying around.
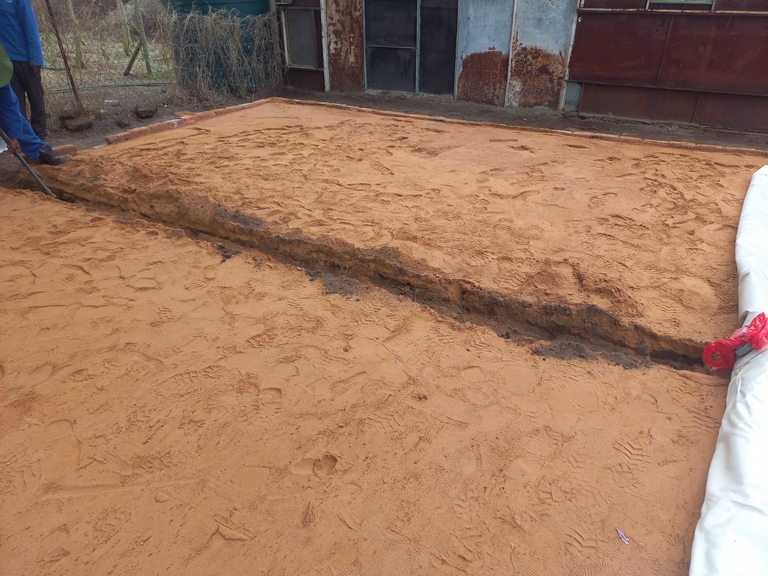
Once all of that was done, and the damsak was laid out in place, we realized that we overlooked one crucial detail... the inlet/outlet connector of the damsak was in fact not on the side of the bag as we had initially assumed, it was actually at the bottom of the bag, this meant that we would have to trench down into our leveled section in order to connect the fittings to the existing water lines. This meant quite a bit of folding and unfolding of the bag to get the placement exactly right without putting any stress on the connectors.
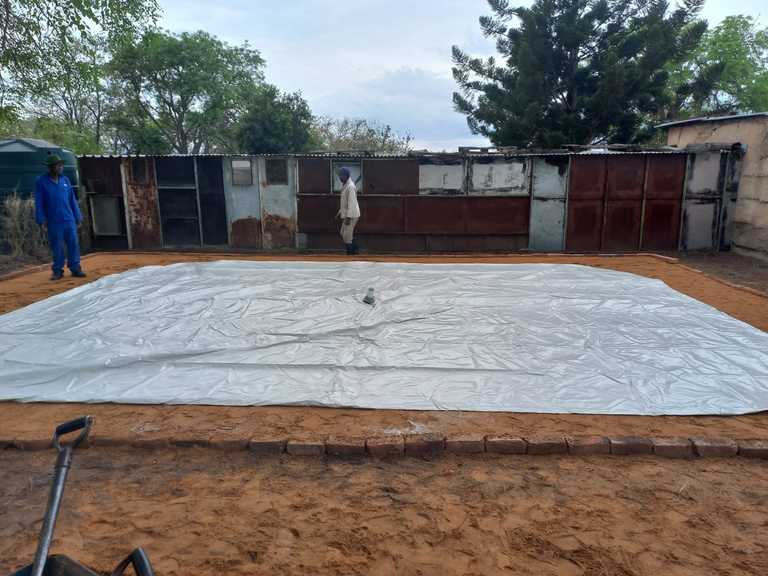
once that was done and our bag was in place, we could finally start filling the bladder, this of course being the most time consuming part as we were only using excess water that was mped from the the water wells, in other words, whenever the primary tanks and current reserve thanks were full, we would pump out just enough to make space for the water that was still being pumped, this left us with no more than 1000L /day that could be pumped into the damsak- and this water bladder has a 40000L capacity.
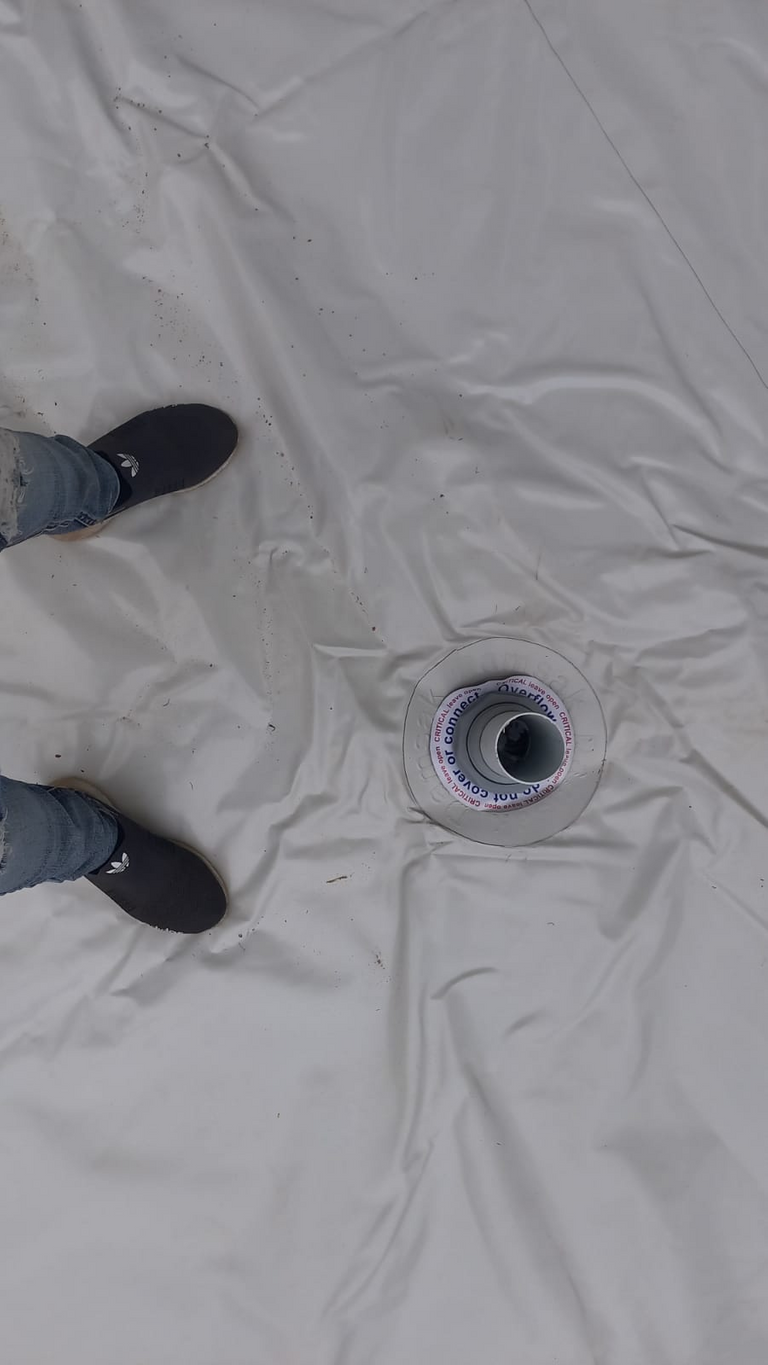
As you can see below, the damsak is starting to fill out nicely, once it is completely full it will stand at 1.8m high. The lovely thing is that the sealed unit discourages any algae or bacterial growth in the water, and at the same time it eliminates water evaporation once in the tank.
So far this process has been one step forward two steps back, as a few consecutive heat waves caused for above average water usage for the household, animals and plants, and as such we needed to make a few withdrawals from our water savings, but hopefully once the rainy season is in full swing, we will be able to get the tank full in no time...
