How do I make this card?
Actually it is very simple, using these layered stencils of these flowers it is very easy.
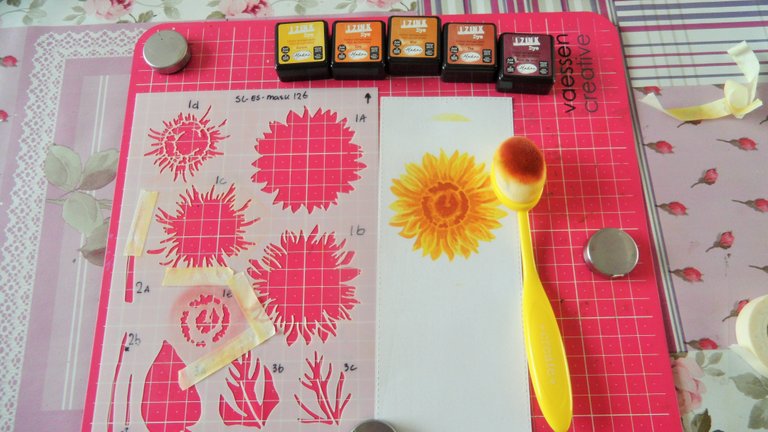
You lay the stencil on your piece of paper, roughly how you want the flower on your paper.

You make sure that all other “holes” in the stencil are covered, and also that the top or side is covered, so that you don't get any edges next to your flower.
Make sure that your stencil cannot shift! Take your brush or blender, take the color you want to give the flower, in this case 4 successive colors and rub your color on your paper, do it carefully so that your stencil cannot shift.
Repeat until you have your flower ready, so you start at 1a and go through eg 1st, or as much as your mask stencil indicates for this flower.

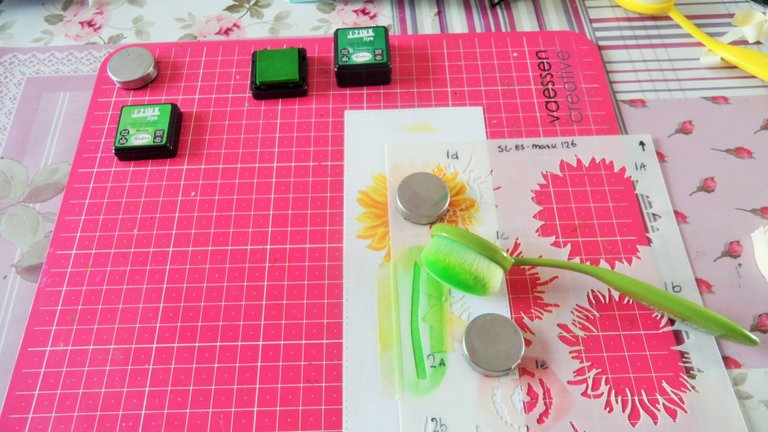
You do exactly the same with the stem, you make sure that your stem touches your flower slightly, and tape everything off again where necessary. Then take the brush / blender and rub the color over your stencil so that you form the stem.
Likewise with the leaf.
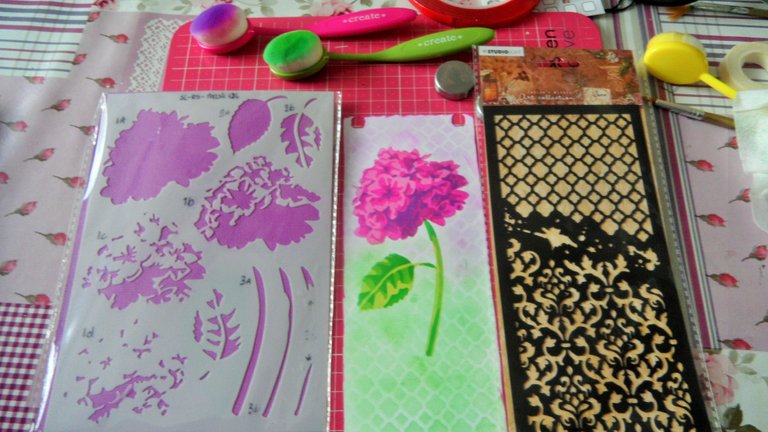
What I also used was a background stencil, and with this you do the same thing as with the flower. You place your stencil the way you want it and where you want to apply the background, rub carefully and lightly with the desired color over your stencil and see ....... your figure is on your paper as a background.

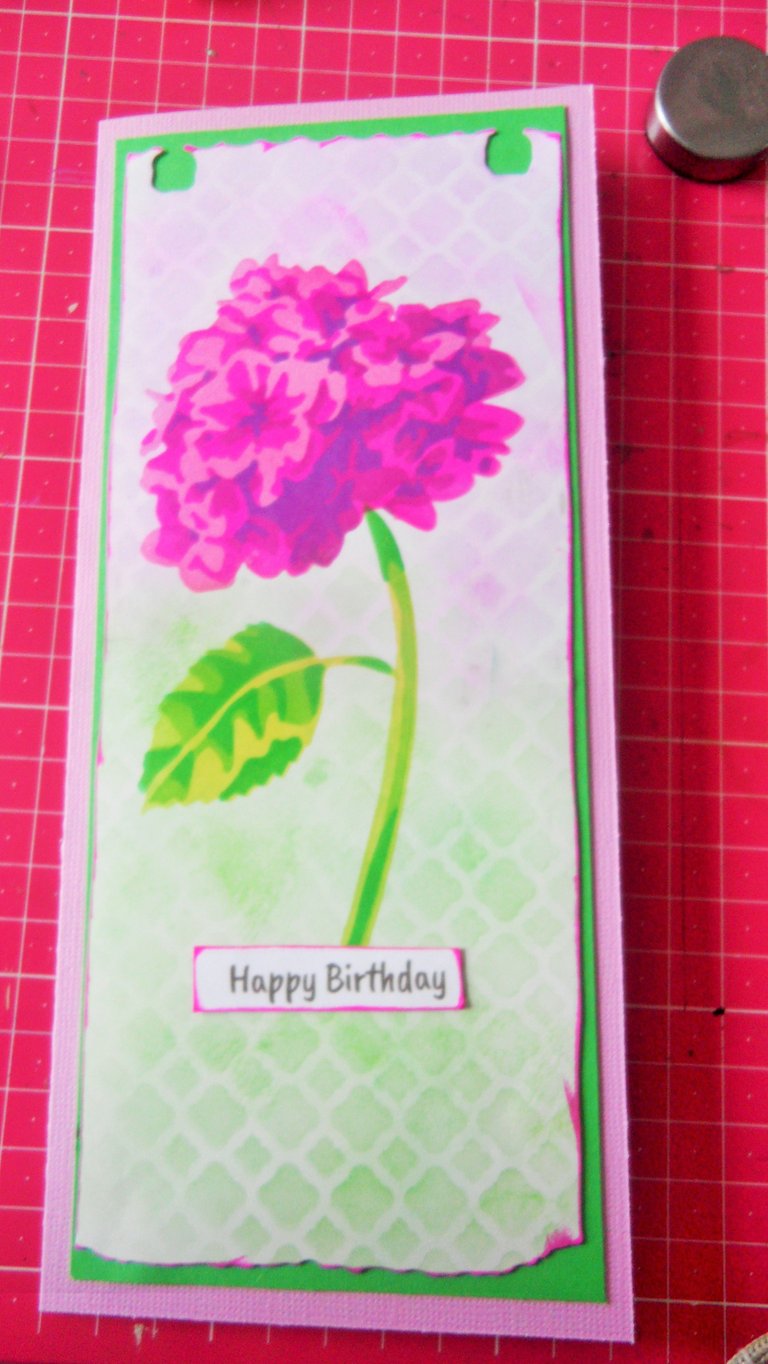
Cut or stamp a nice text, stick your paper on a matching color cardstock and if you like this, repeat this one more time. I made a double mat layer and a double card. The largest size of the card is 22 cm long by 10 cm wide.

I really liked writing this tutorial, and hope you enjoyed it too. Please let me know in the comments below! I'm looking forward to connect!