Hi friends, I greet you all in the name of the Lord, I know that we are doing just great and am sure you are having a good time with friends and family in this season of love and Jollification. For me, its been an awesome time with my siblings friends and relatives. I really want to say a big God bless you to the admin of the #homeedders community for giving us the privilege to share experience and also get inspired to do more than we have been doing before, I cant also forget the awesome friends that have bless my life so much, this community on hive have in many ways added value to my life, family and carrier in no small way,
Thank you.
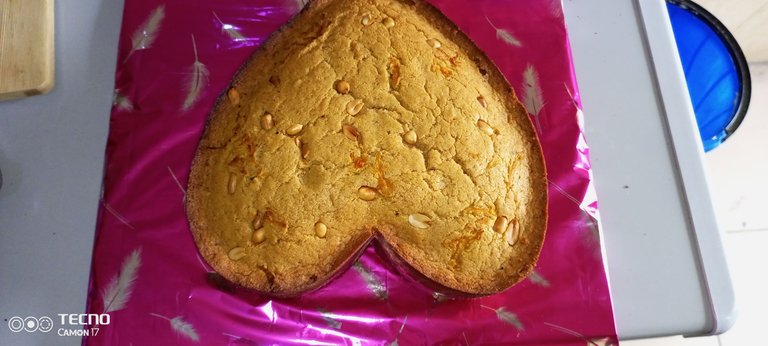
Today i will be sharing my experience on how my baby girl and my siblings were adding some culinary skills and in the area of cake making, it was an awesome experiences.
Below are the ingredient and my recipe as well for 1kg cake
- 1000g of butter
- 1000g of all purpose flour
- 13 big eggs
- 750g of Sugar
- 1 big seed of nut meg
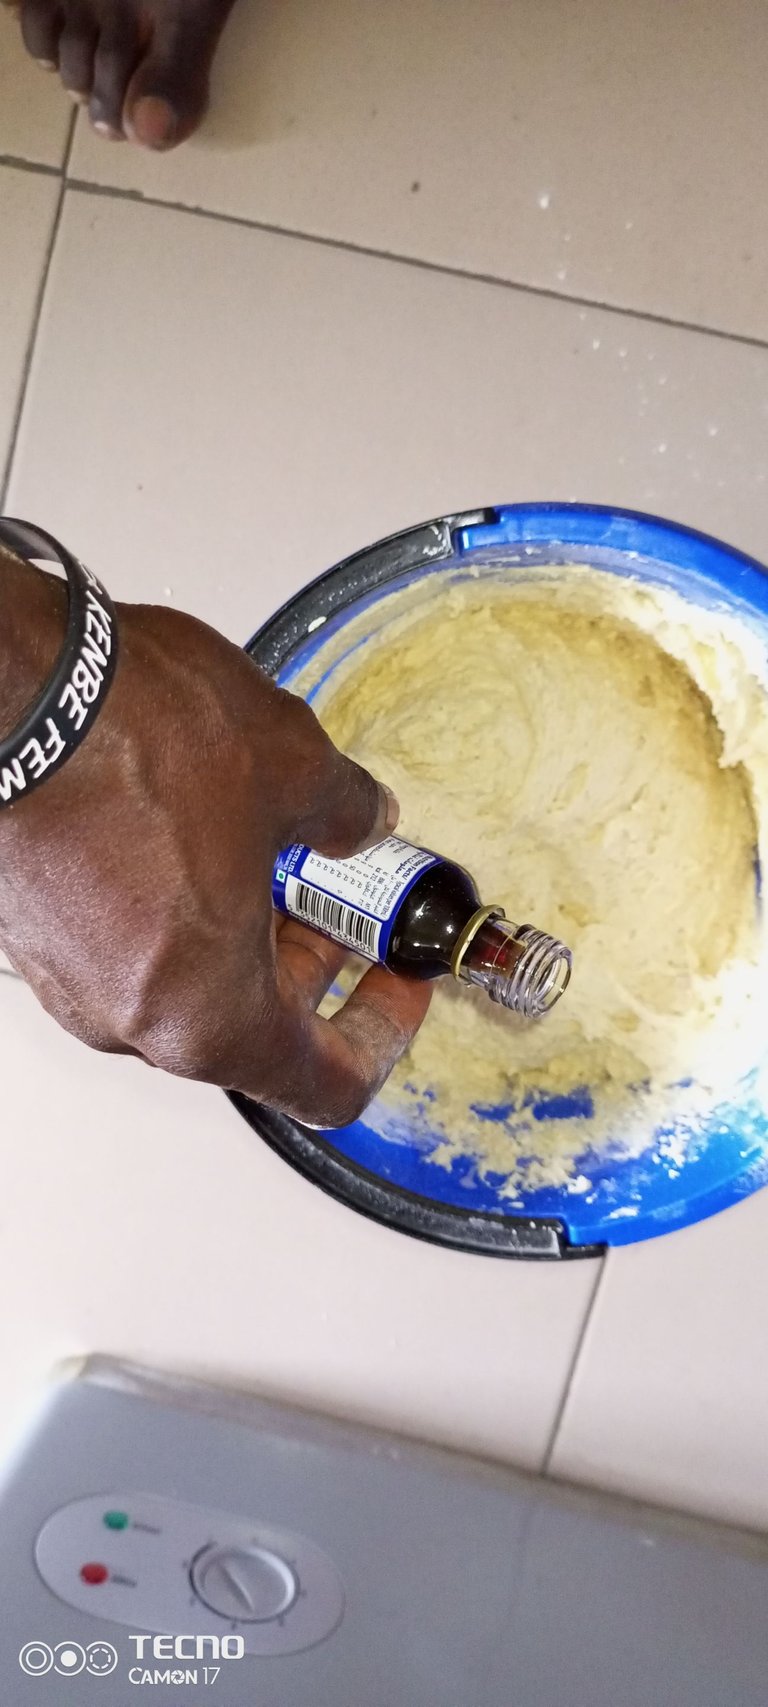
- vanilla extract
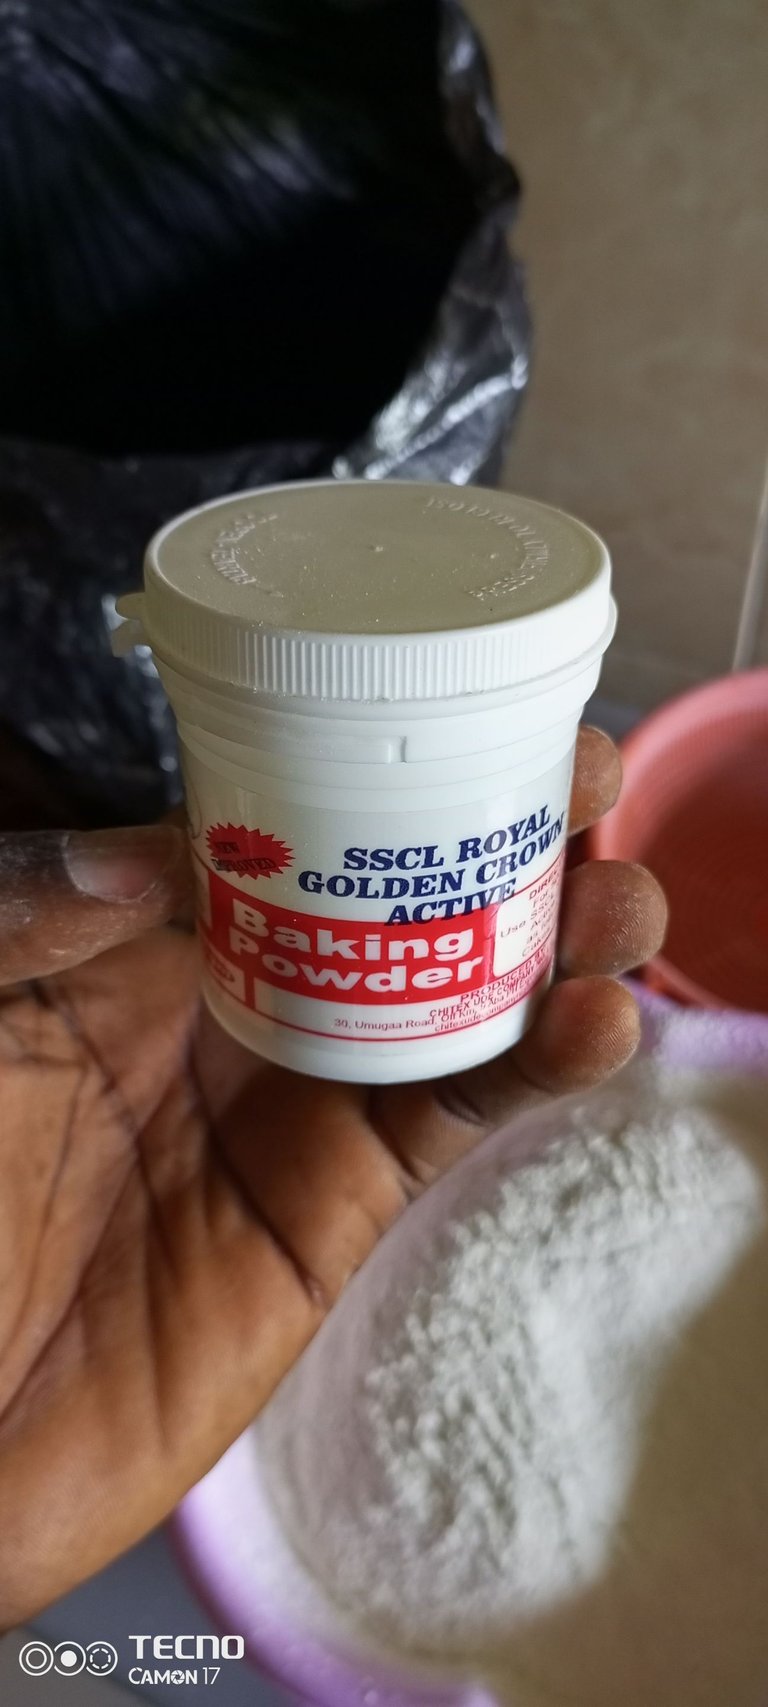
- 1.5 spoon of Baking powder
- 3 piece of carrot
- mixed fruit
- fried groundnut
- teaspoon of salt.
with the stated recipe, we will be engaging the process effectively
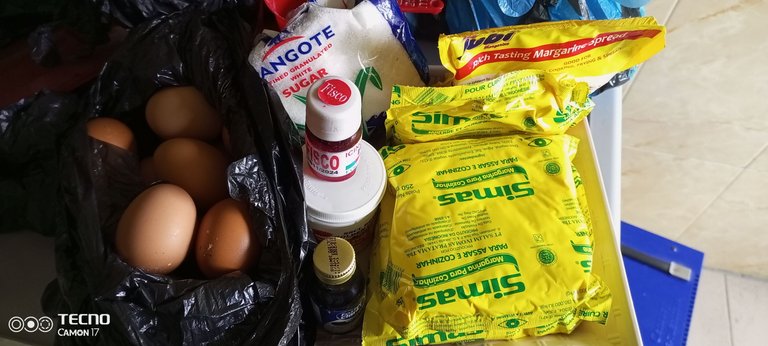
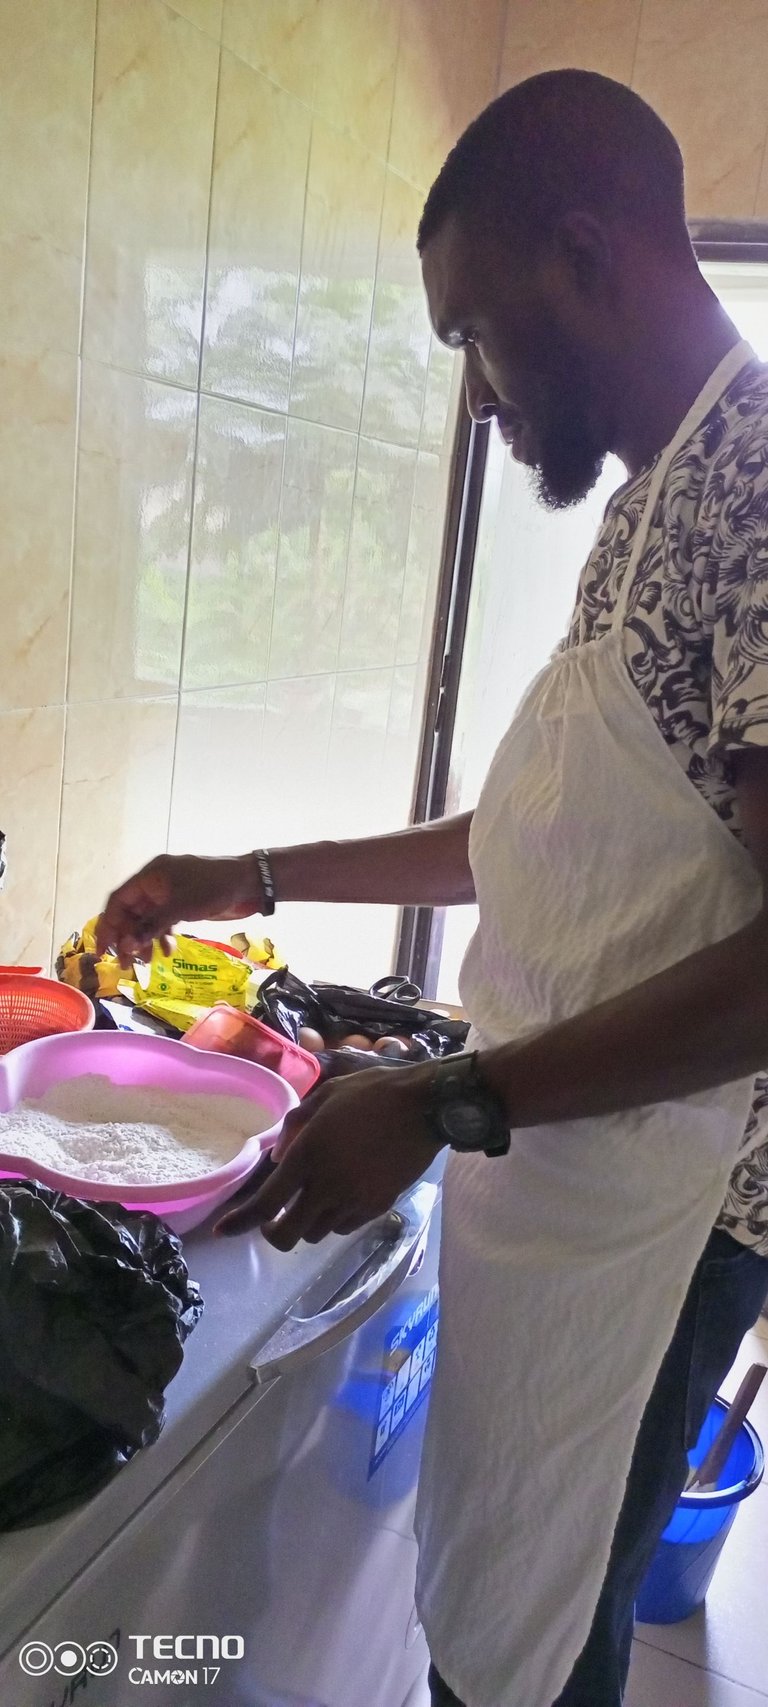
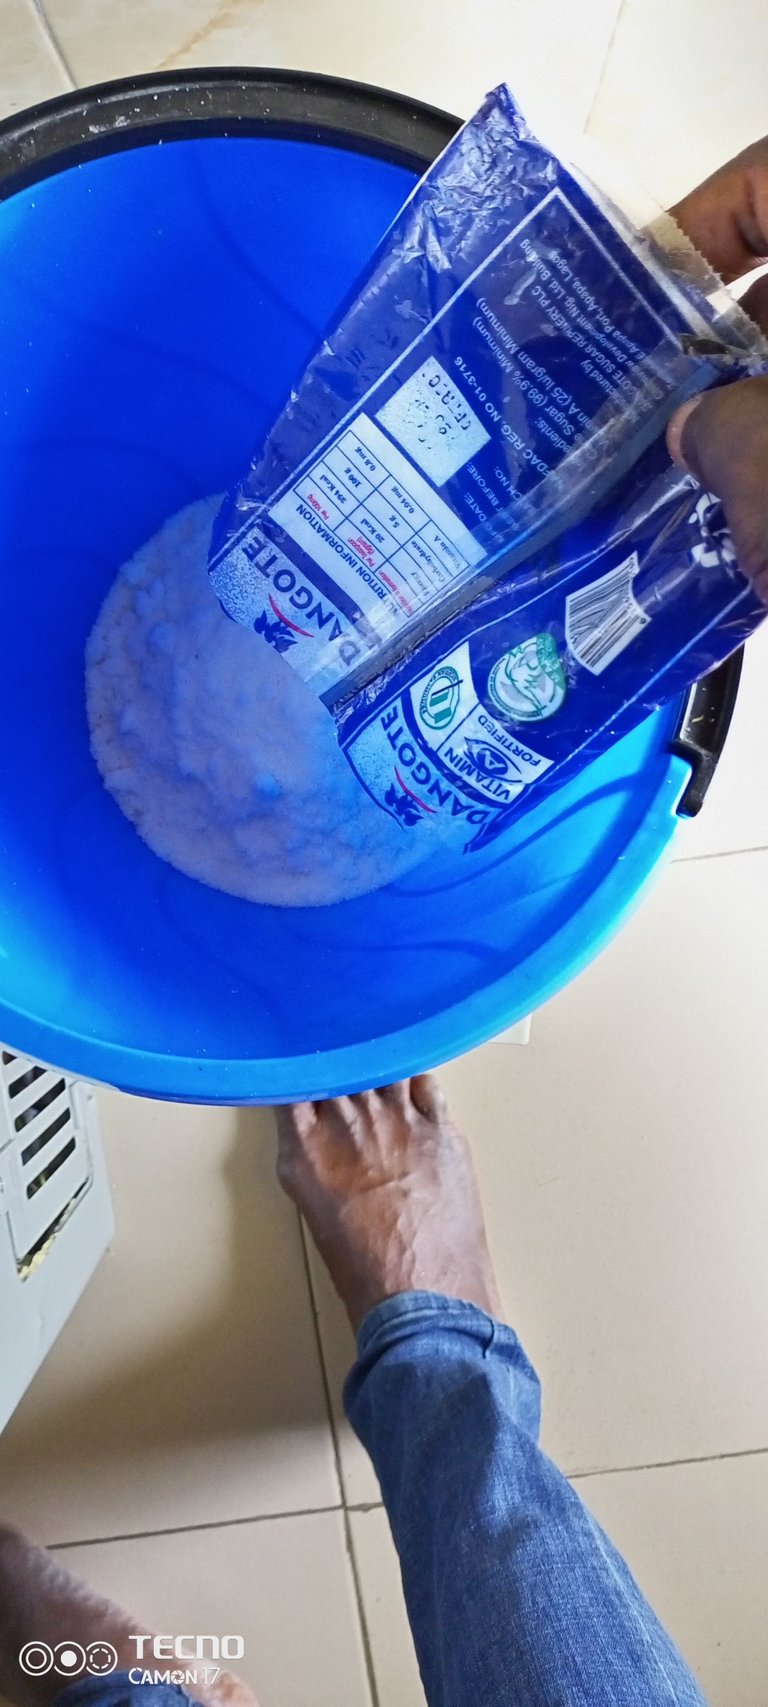
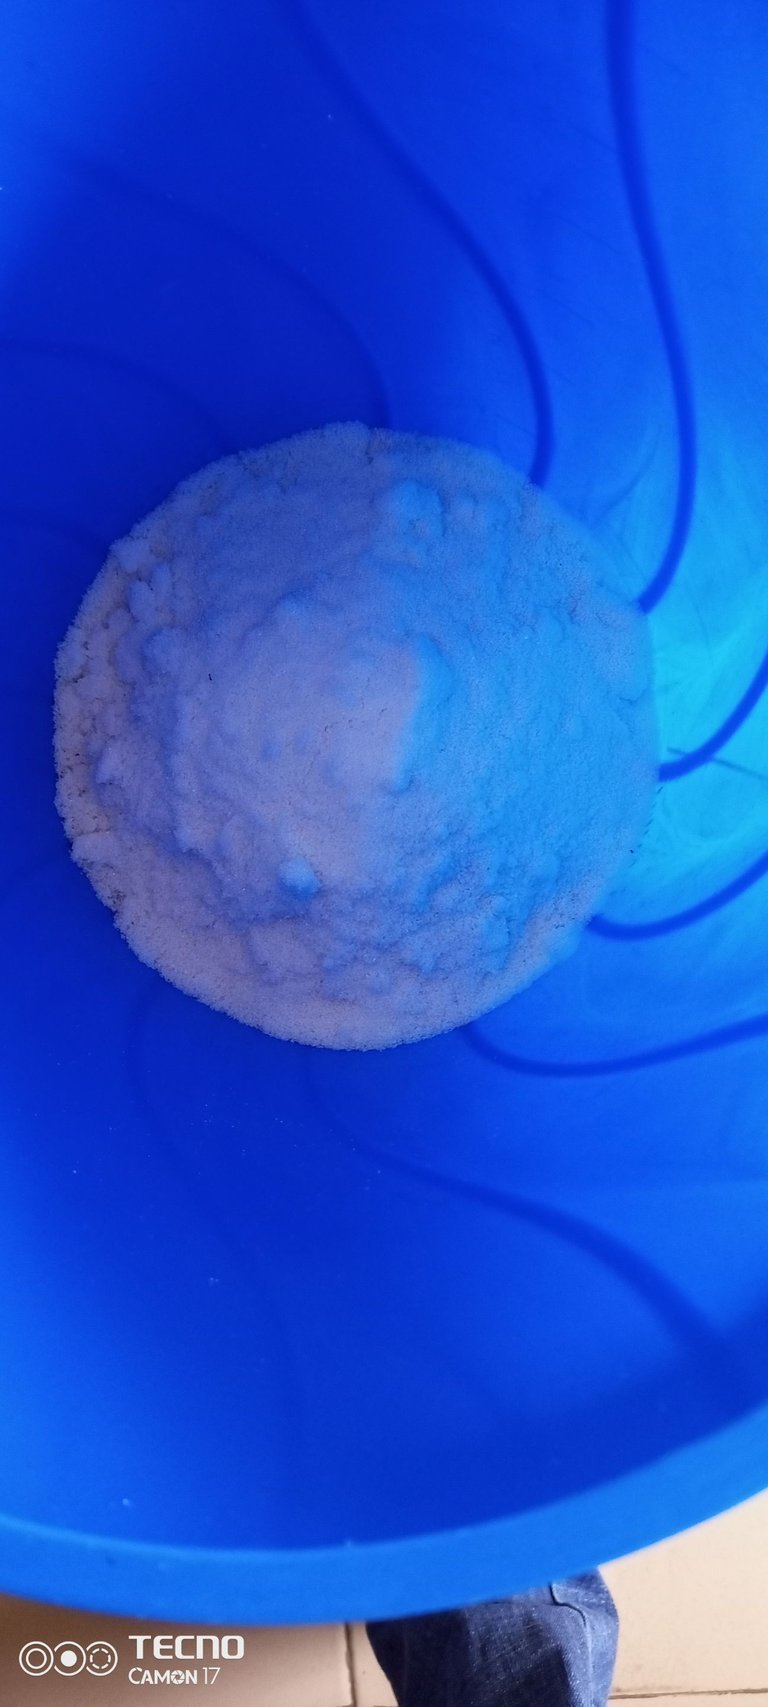
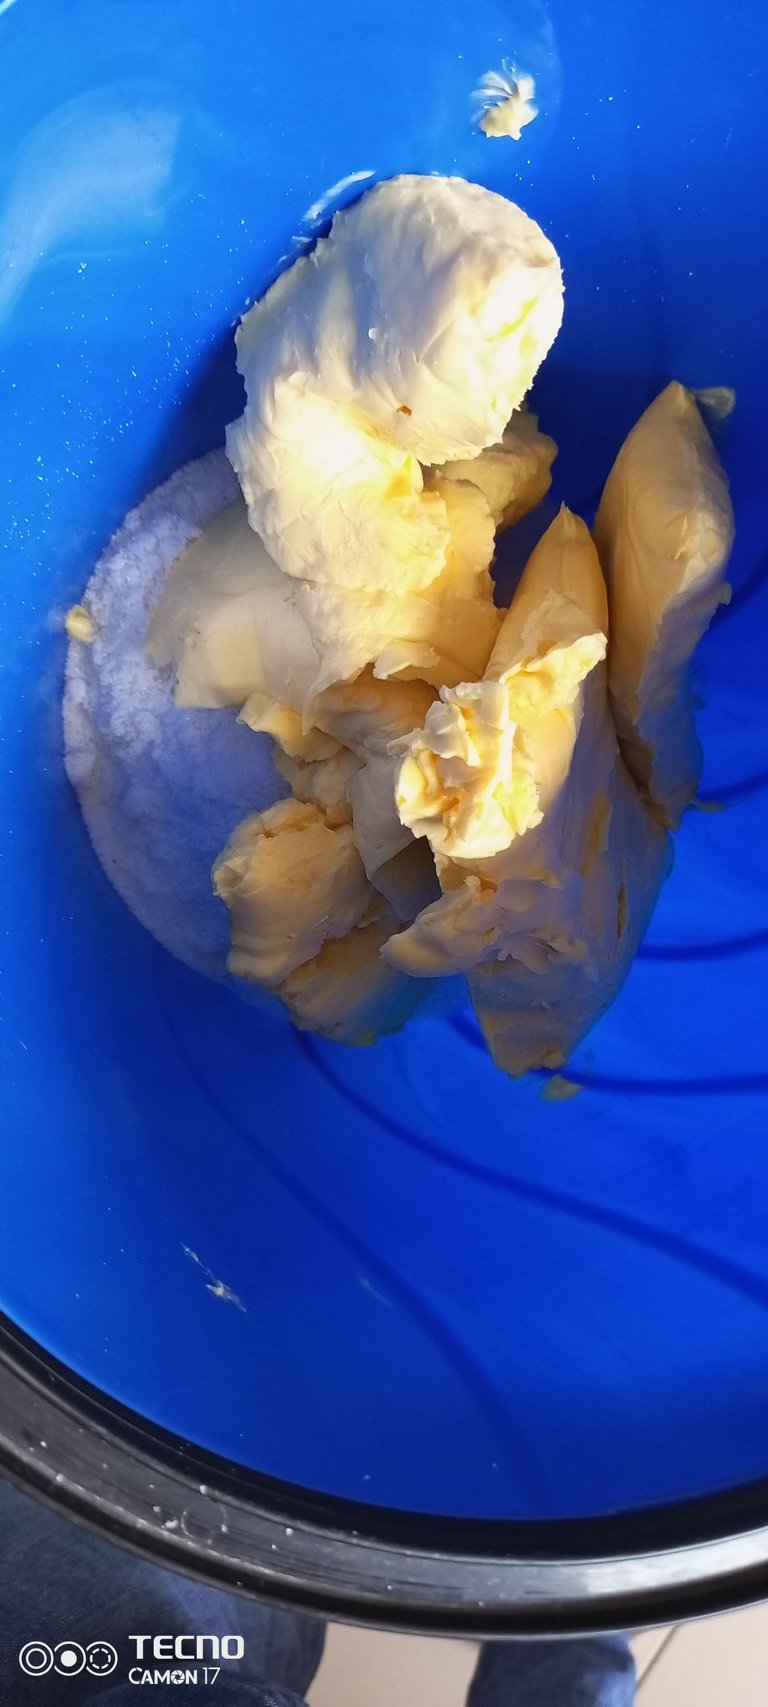
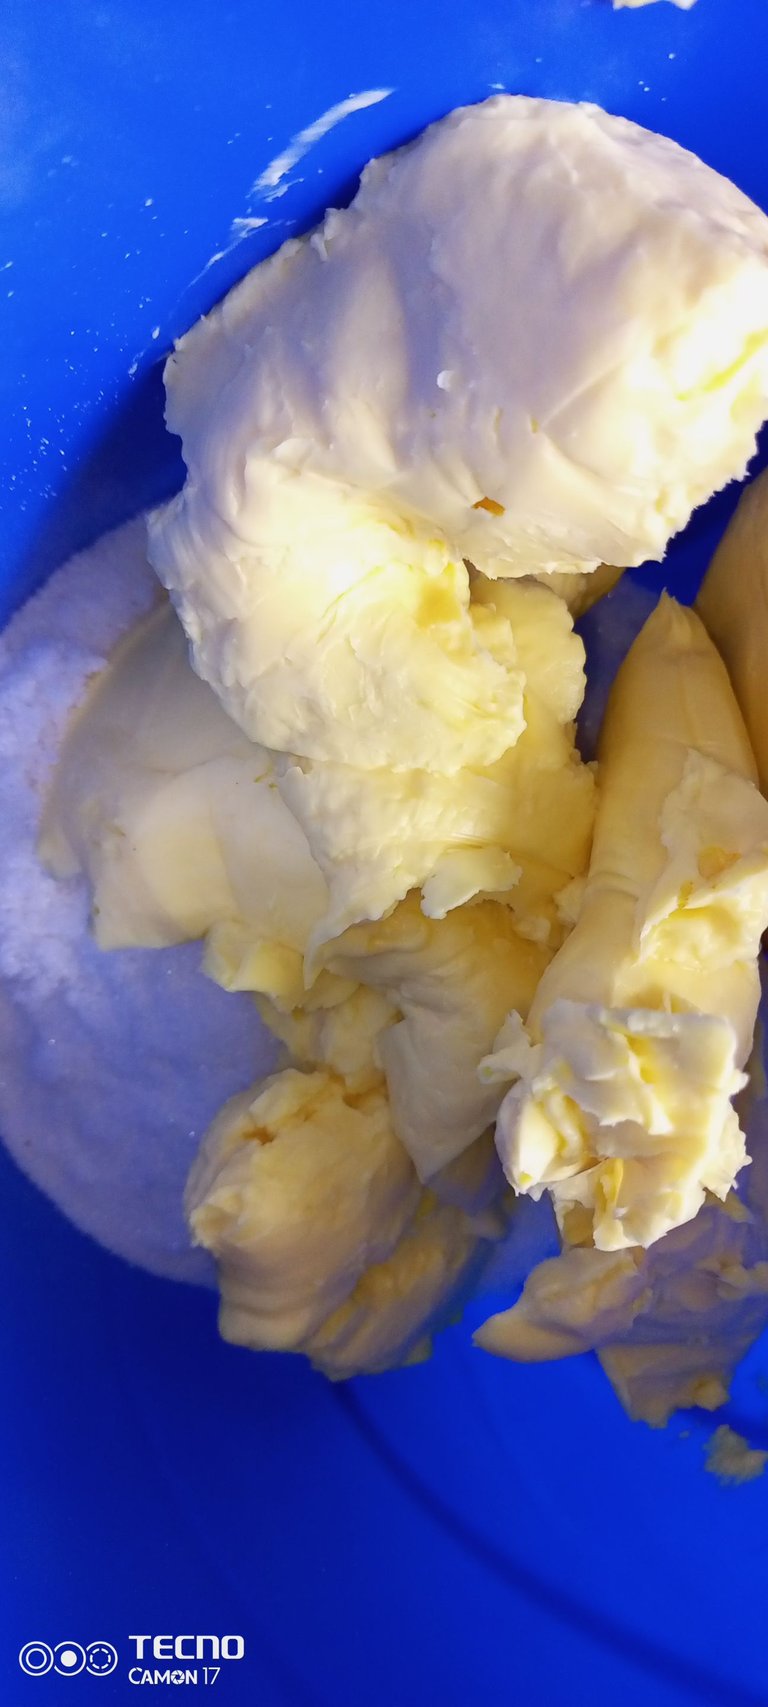
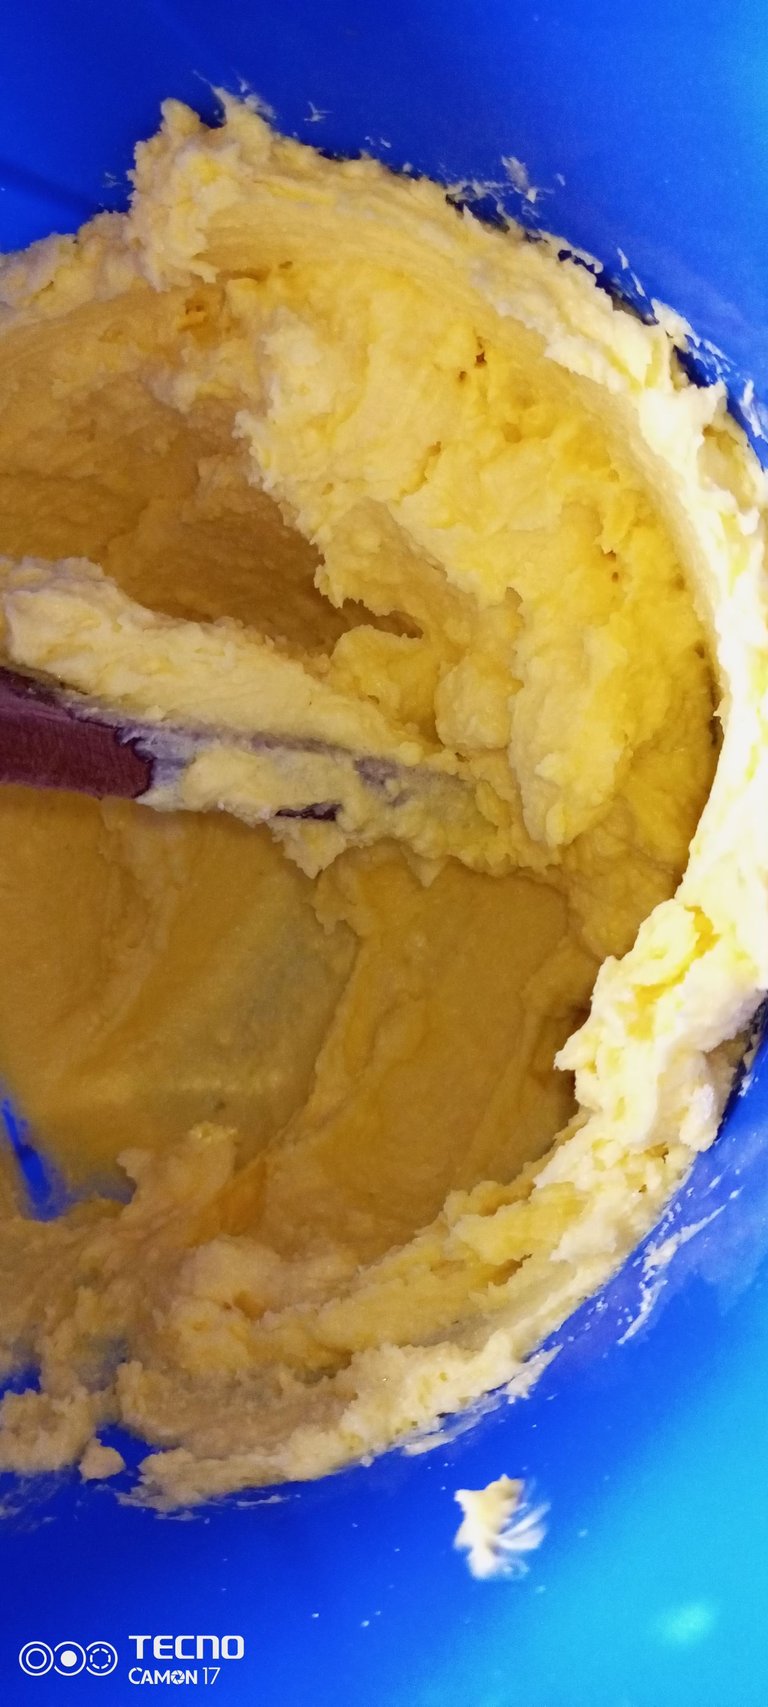
- creaming Process
This is the process of mixing the butter and sugar till it becomes creamy in nature, this can be done with the help of a mixer and can also be done manually, if done with a mixer it will take a few minutes to handle that and will be very easy and stress less but if done the manual way, you will sweat much before you can get it done.
We had to make use of the manual way because we do not yet have the mixer to use, so we engage it the manual way so as to get the work done. This happens to be the most difficult aspect of the process, it takes so much time and energy, before you can finish the creaming process, in fact your hands will experience some pains but we had to do so, because that was what we could afford at the time, still looking forward to when you will get a mixer.
We were privilege to have a few hive friends, who partaked in the creaming, among them were @duncanek, @peckypeace, @etorobong. they all found it interesting because every thing was manually done.
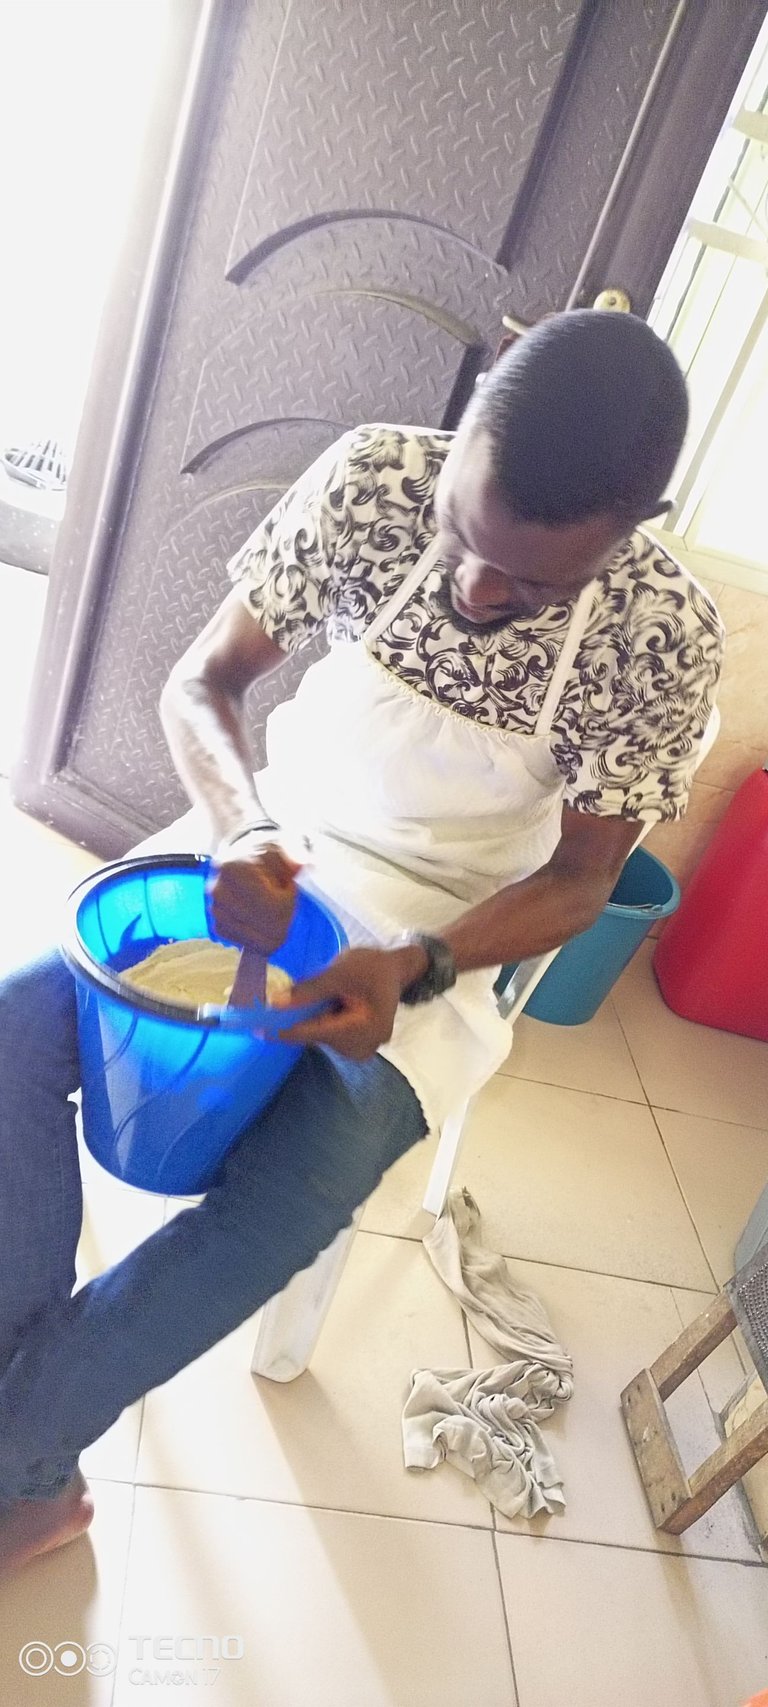
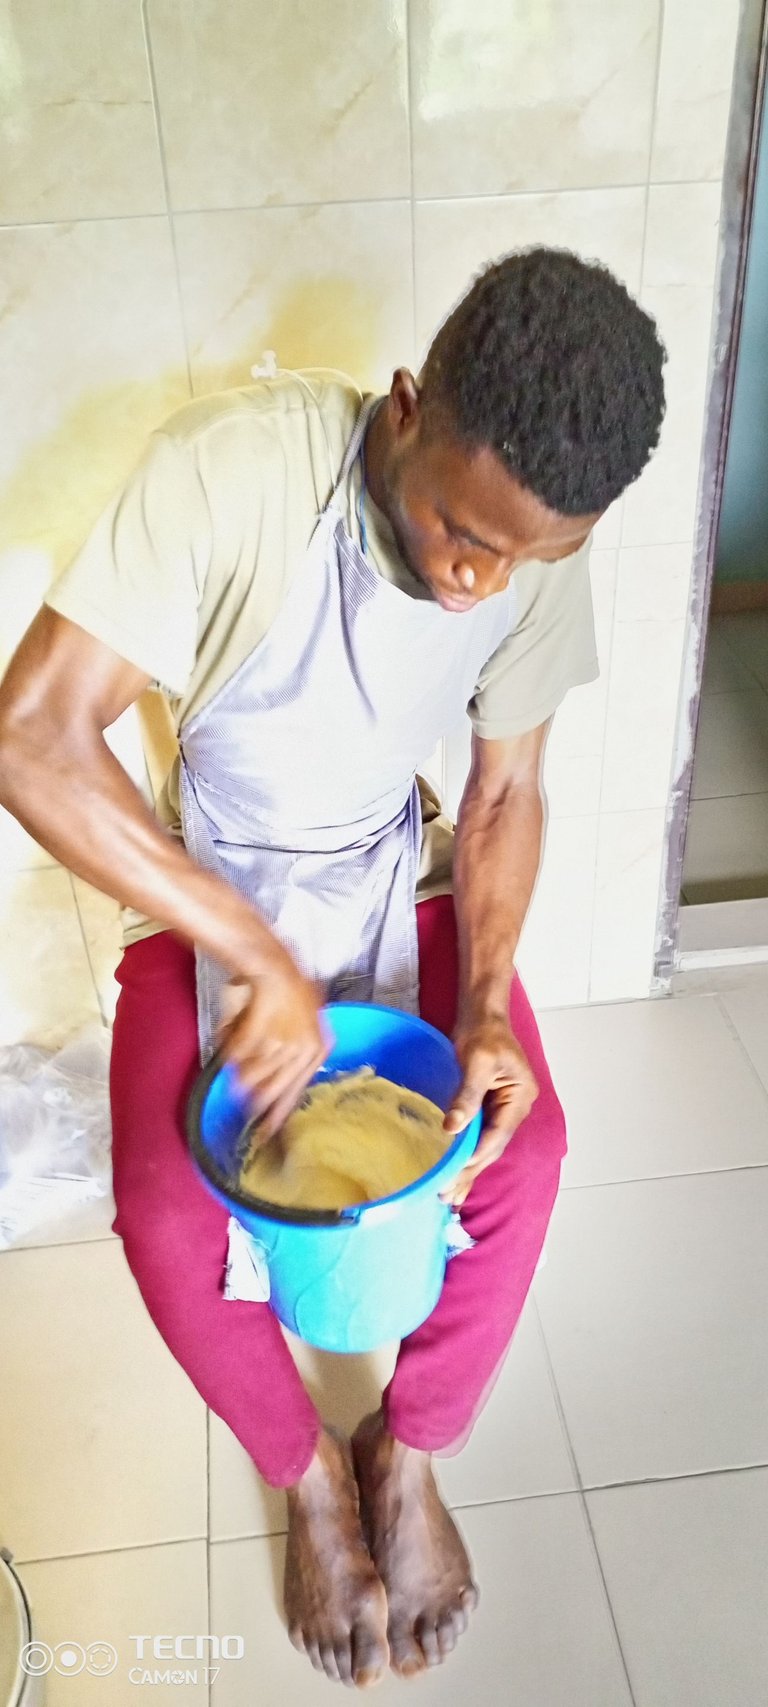
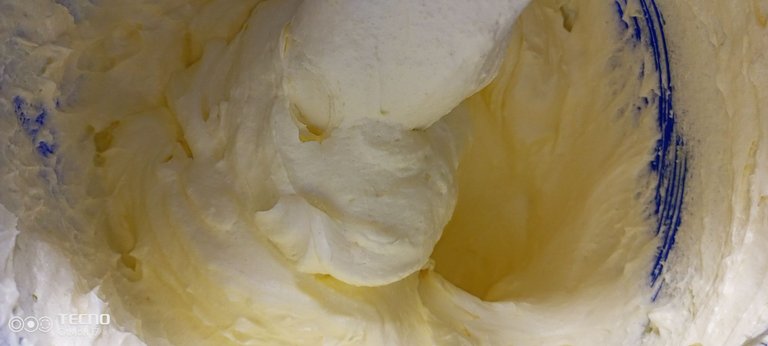
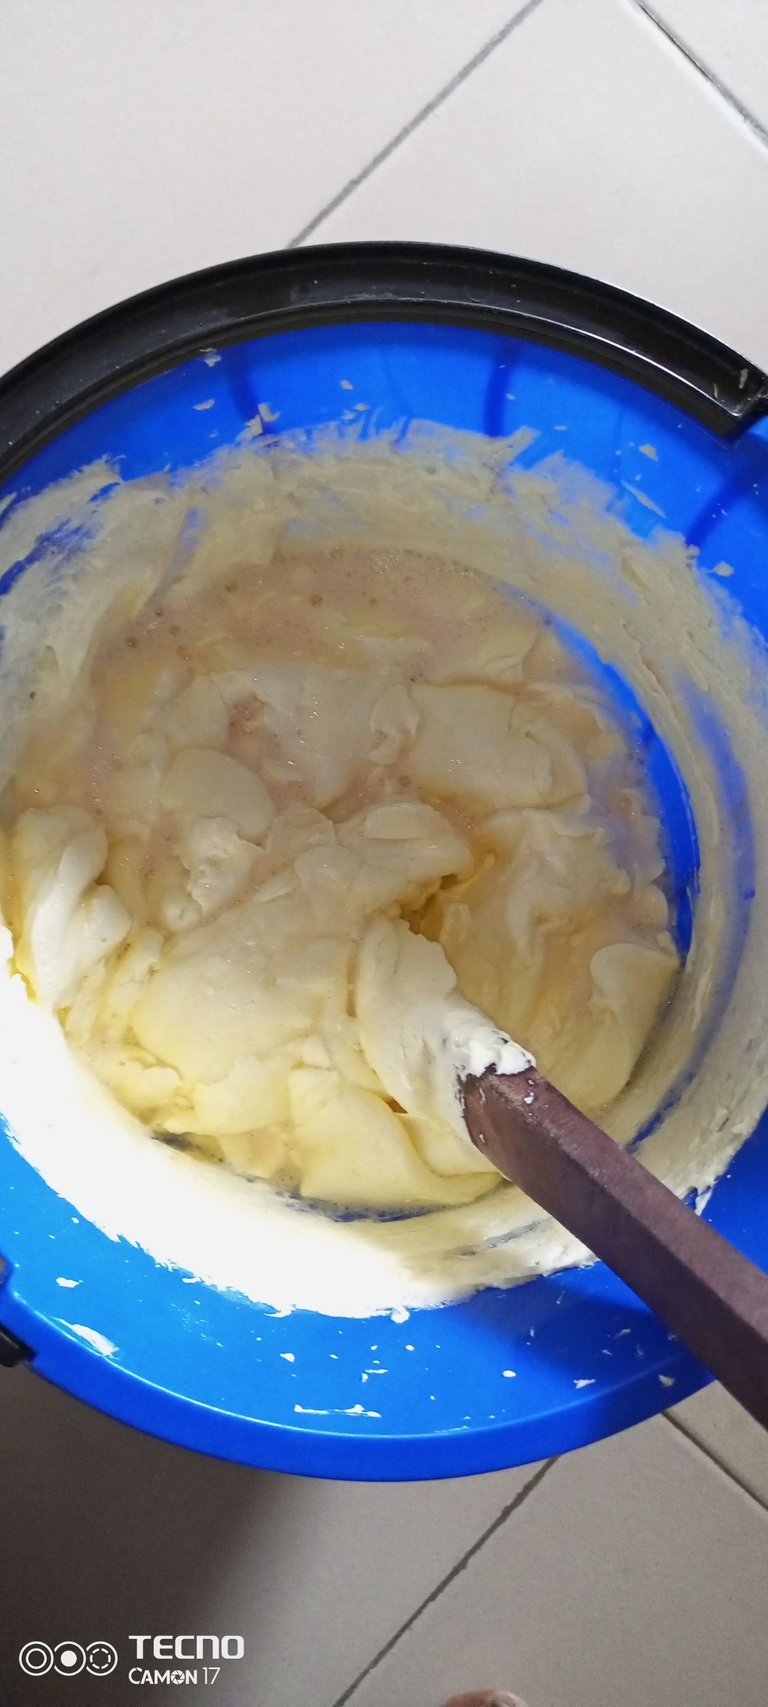
- Liquid ingredients
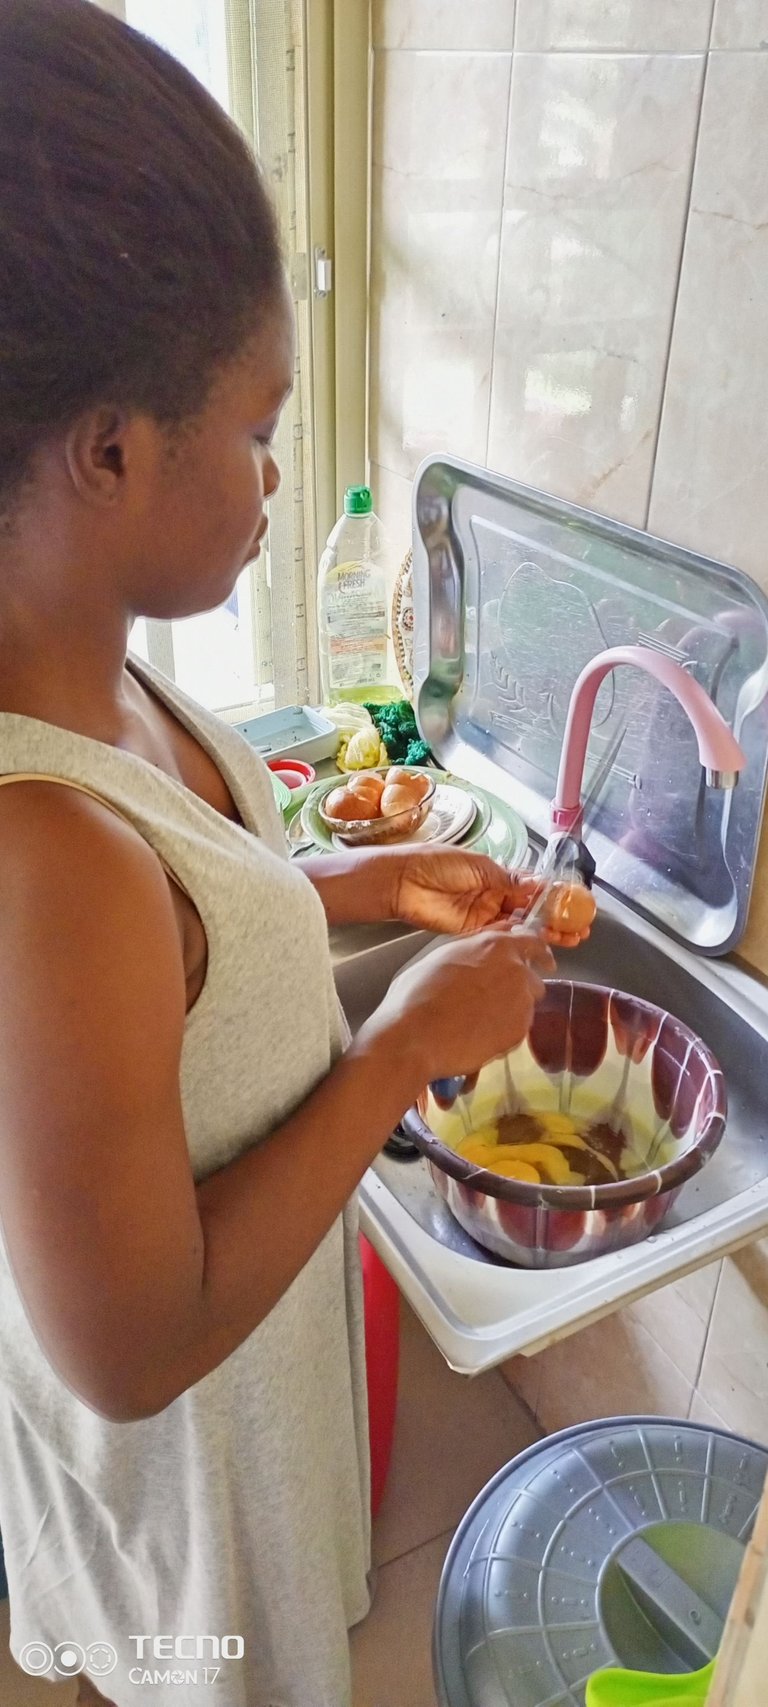
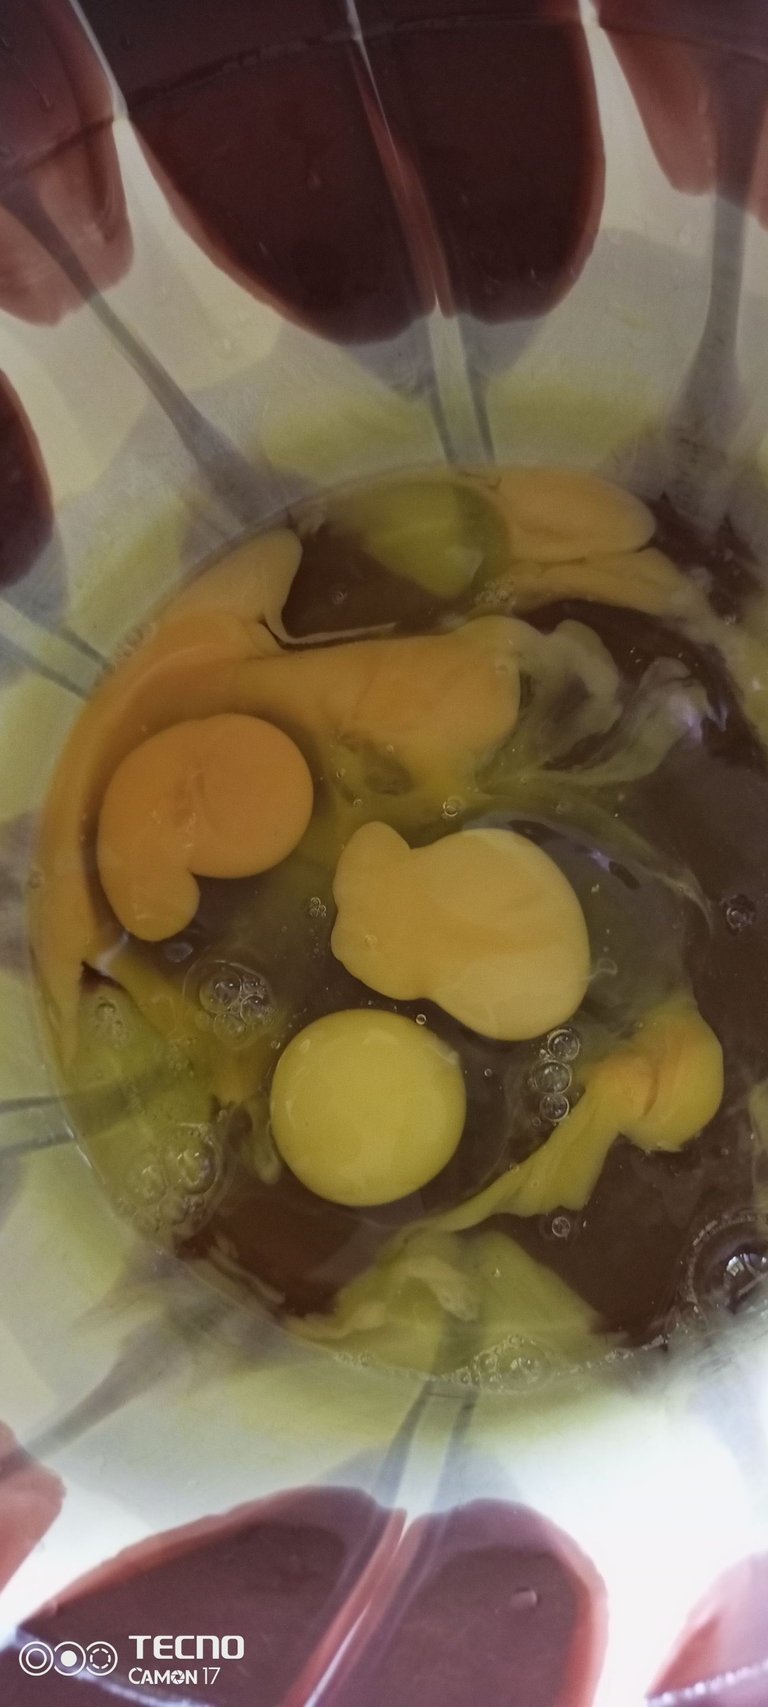
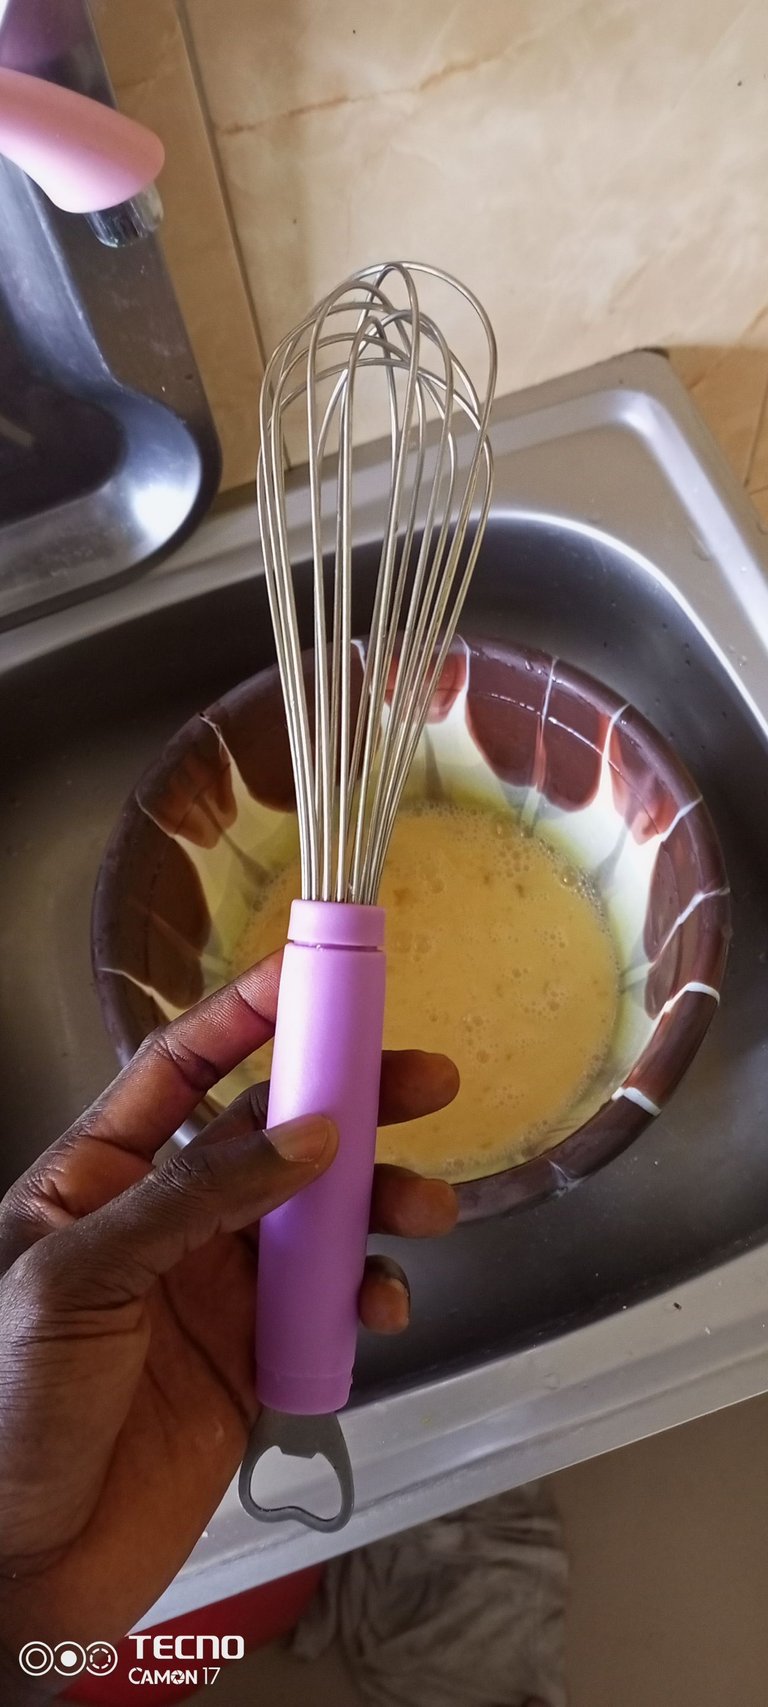
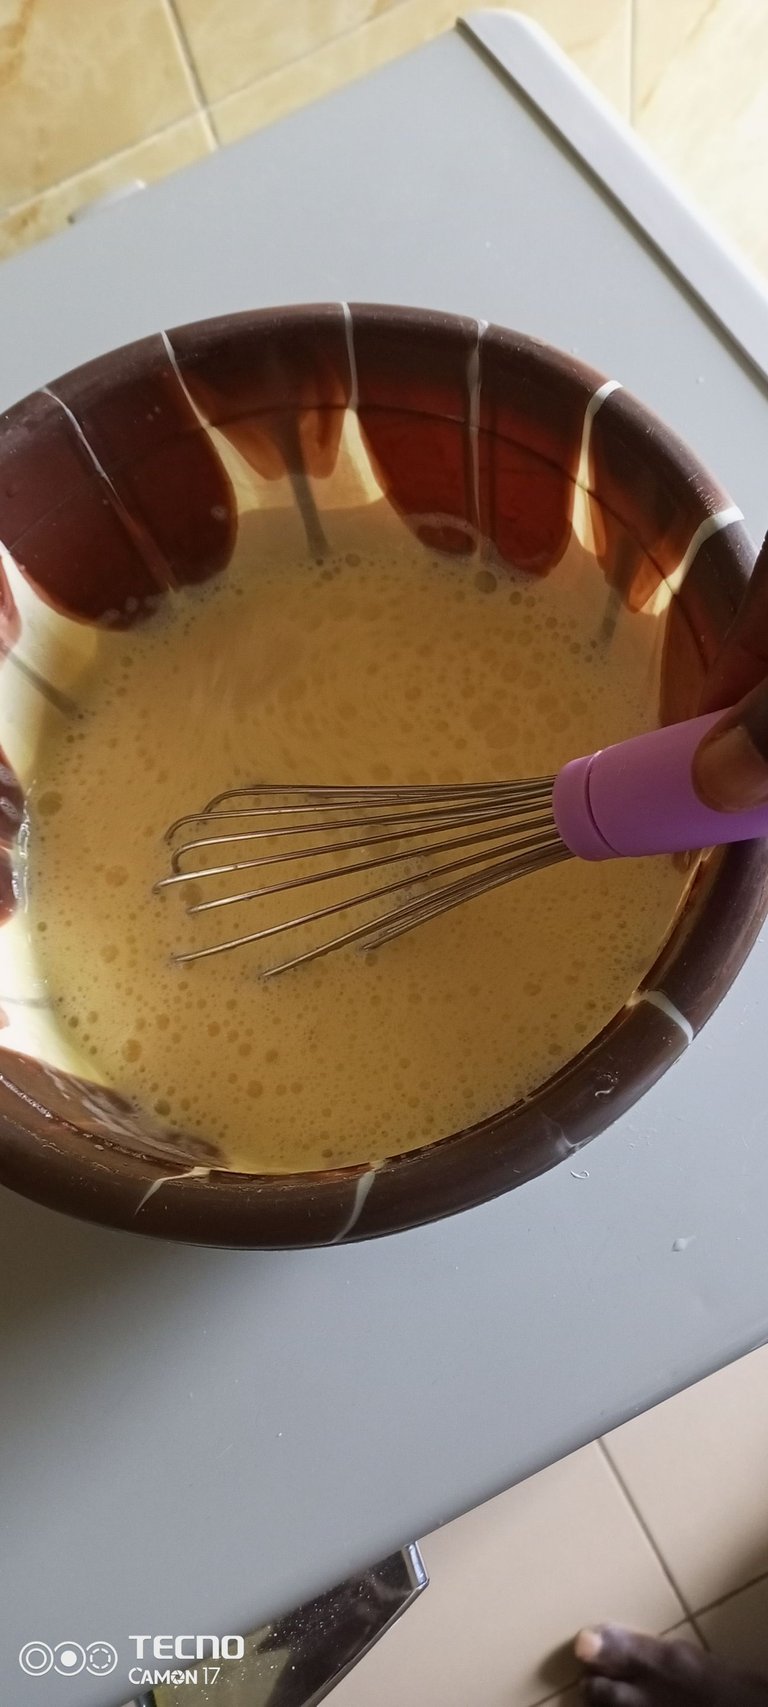
The first basic liquid ingredient is egg, so you have to blend the egg either by using an electric blender or you manually use the egg whisker to do so but the bottom line is that the eggs are blended, you will also add all liquid ingredients to the blended eggs for effective mixing in a separate container.

- Dry ingredients
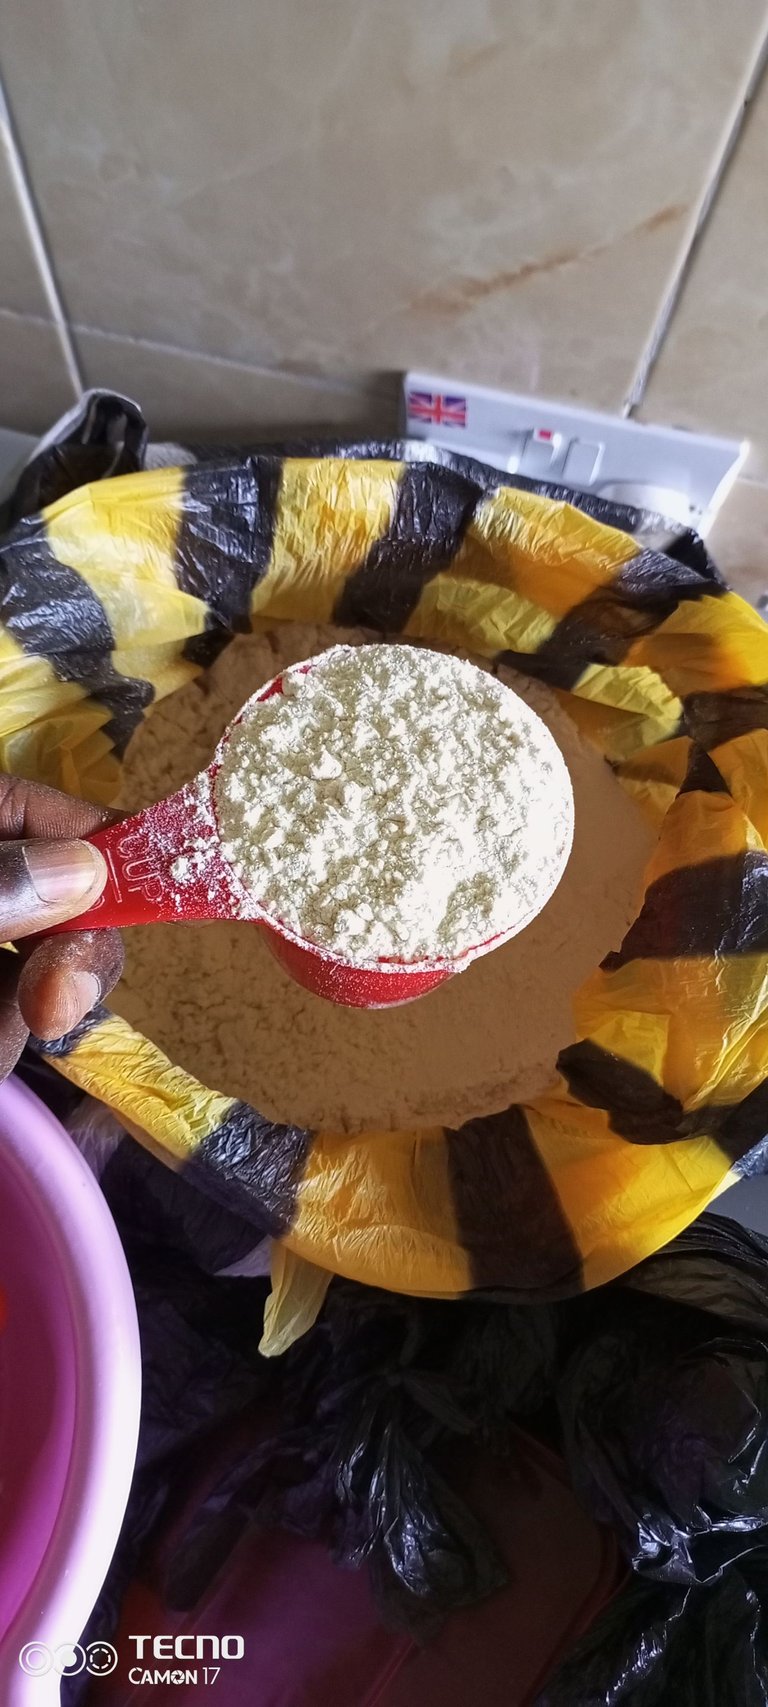
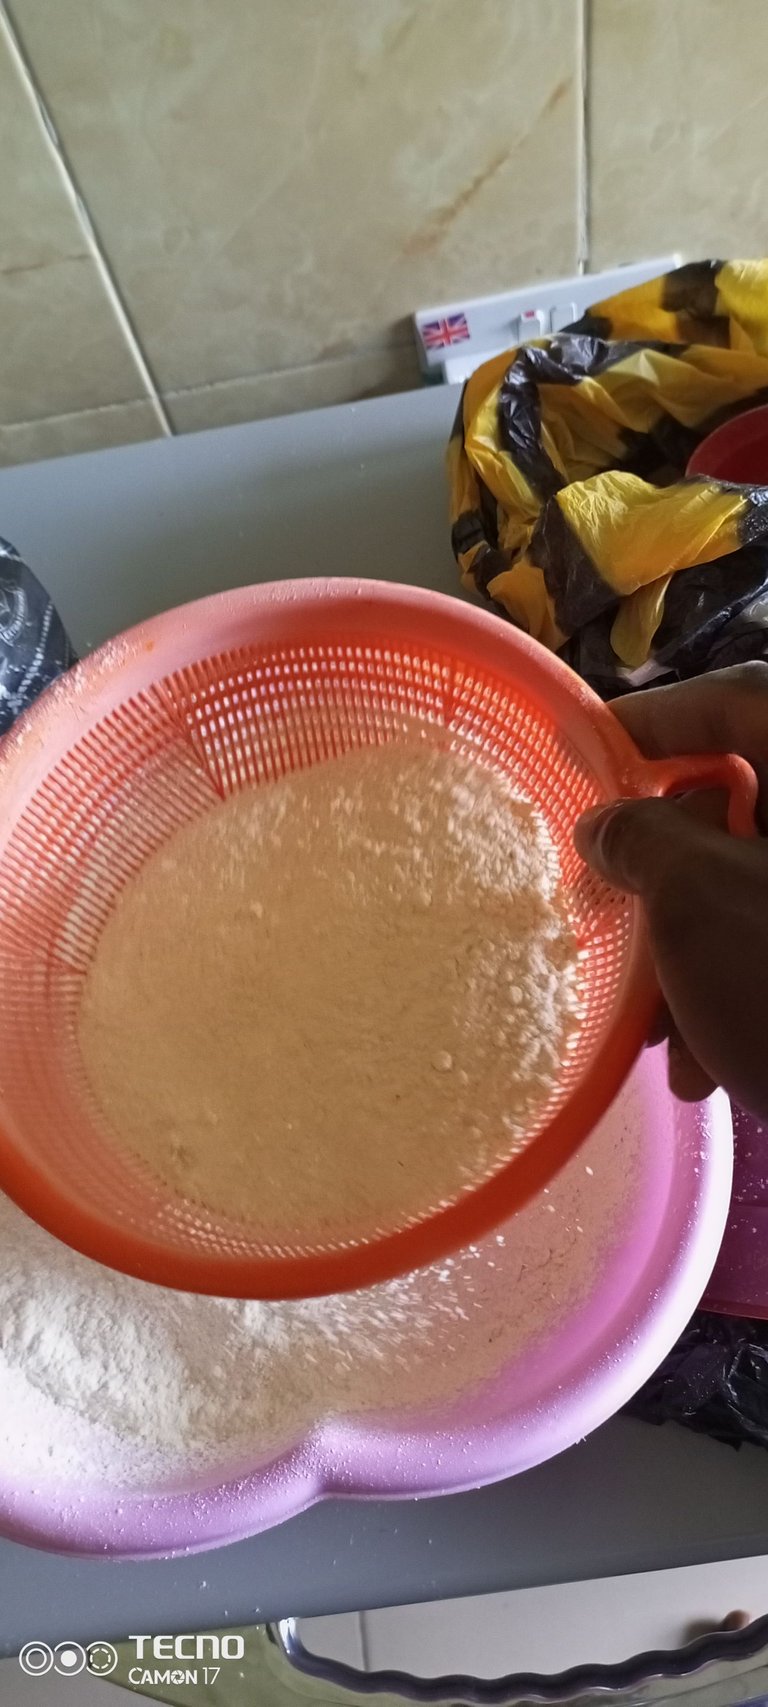
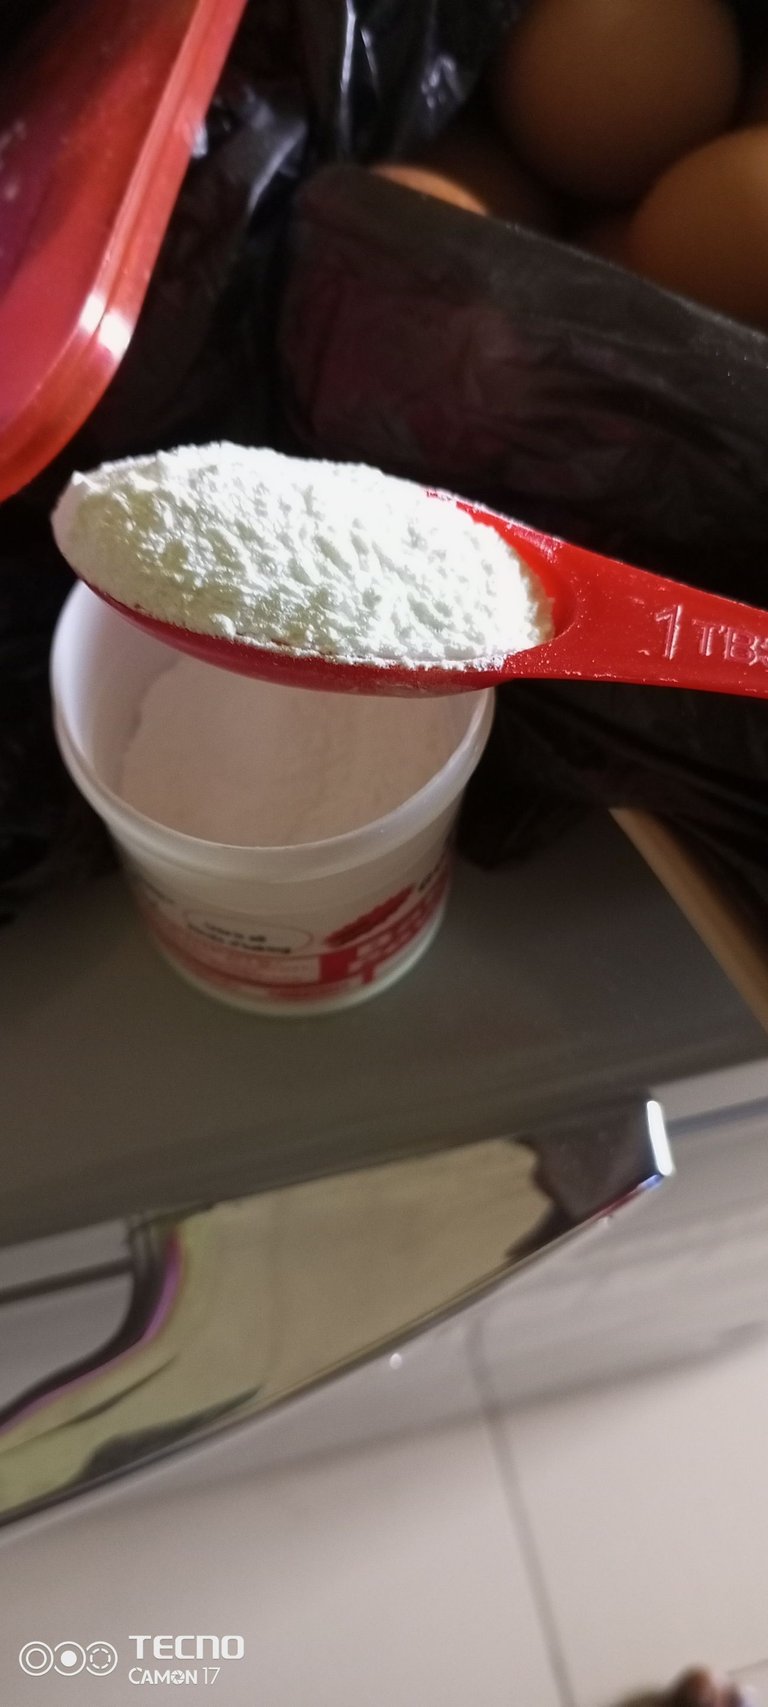
All the dry ingredients are mixed together in a separate container, but before mixing them you will take measurement of the required recipe, and after you have done that, you sieve the substance with the sifter to ensure that there is no lump or molecules in the mixture before being finally mixed together.
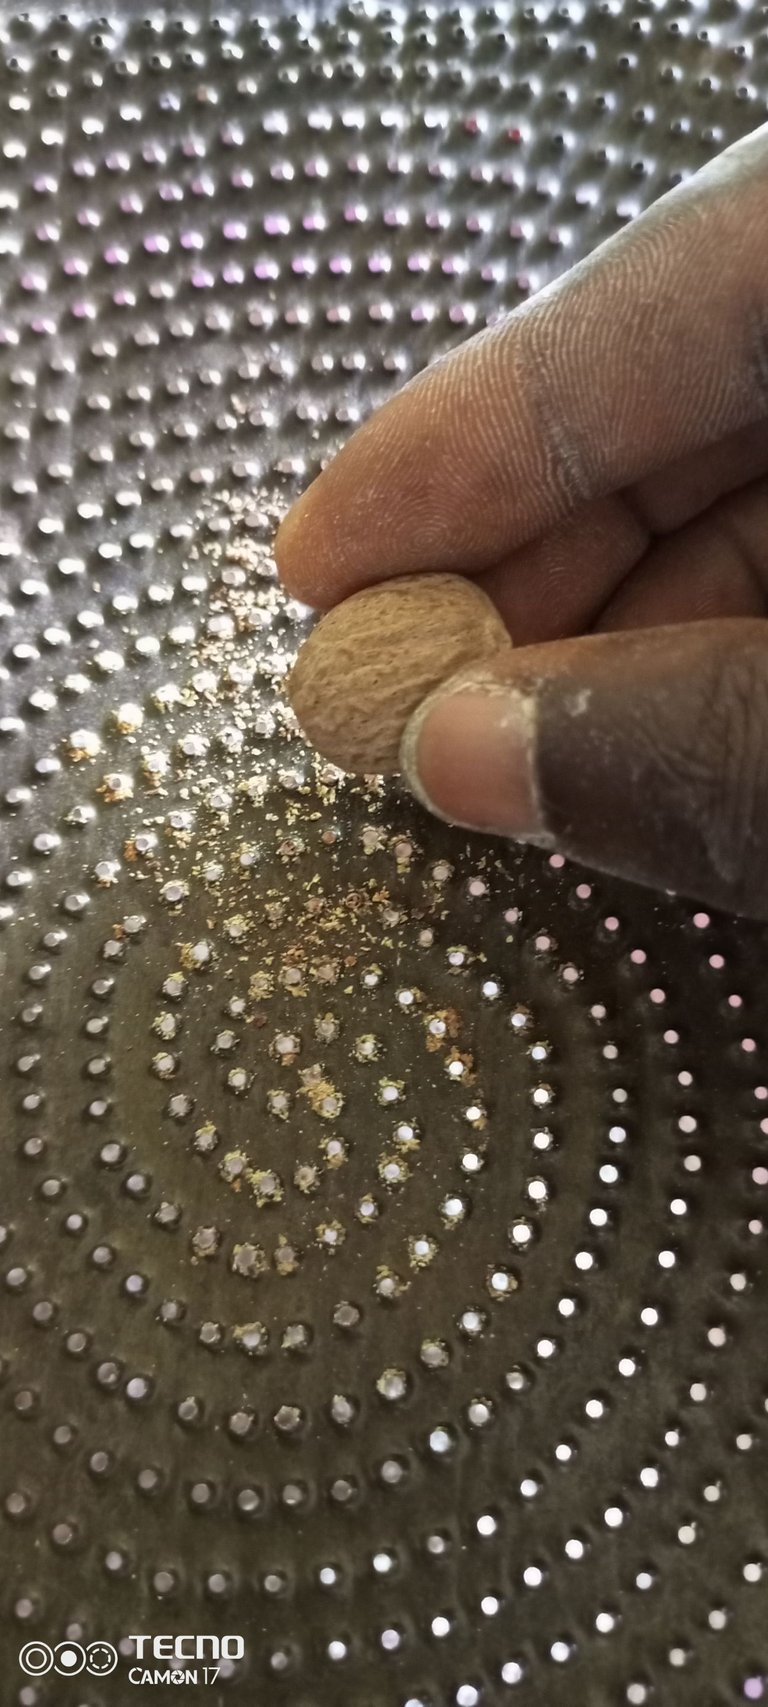
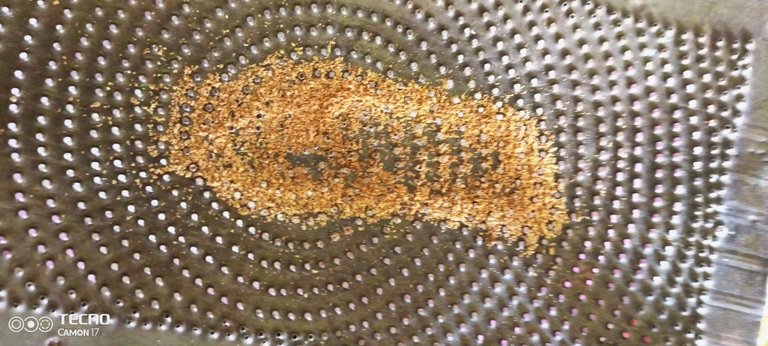
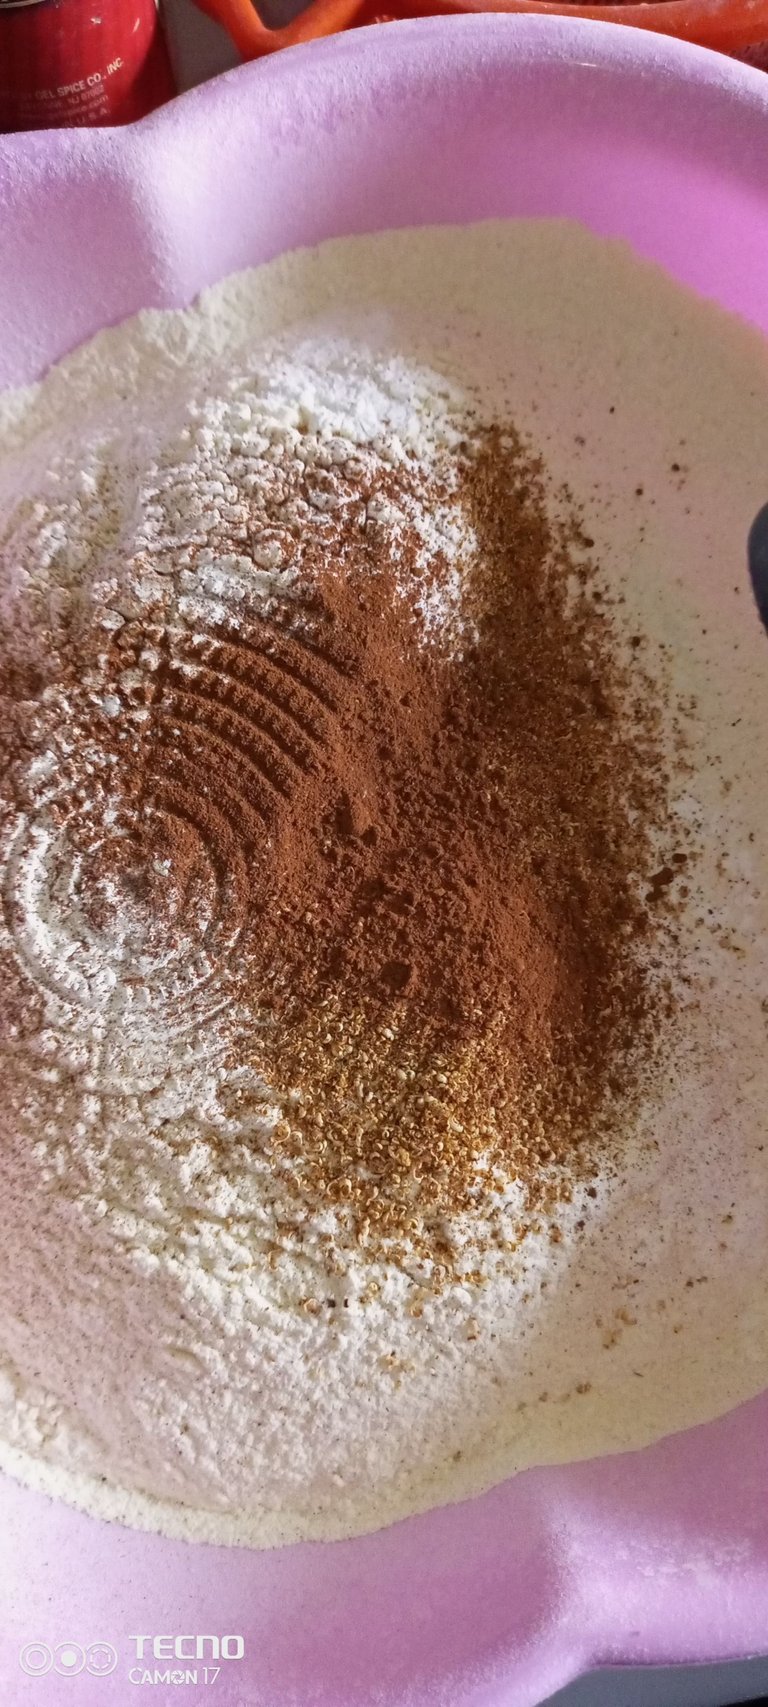
- Final mixture
This is when we had to bring all the three separate mixture together, and for the fact that we are dealing with kids, I had to break it down like this for their understanding to be fruitful and to make them flow with it easily,
liquid mixture,
dry mixture
the cream, mixture of sugar and butter.
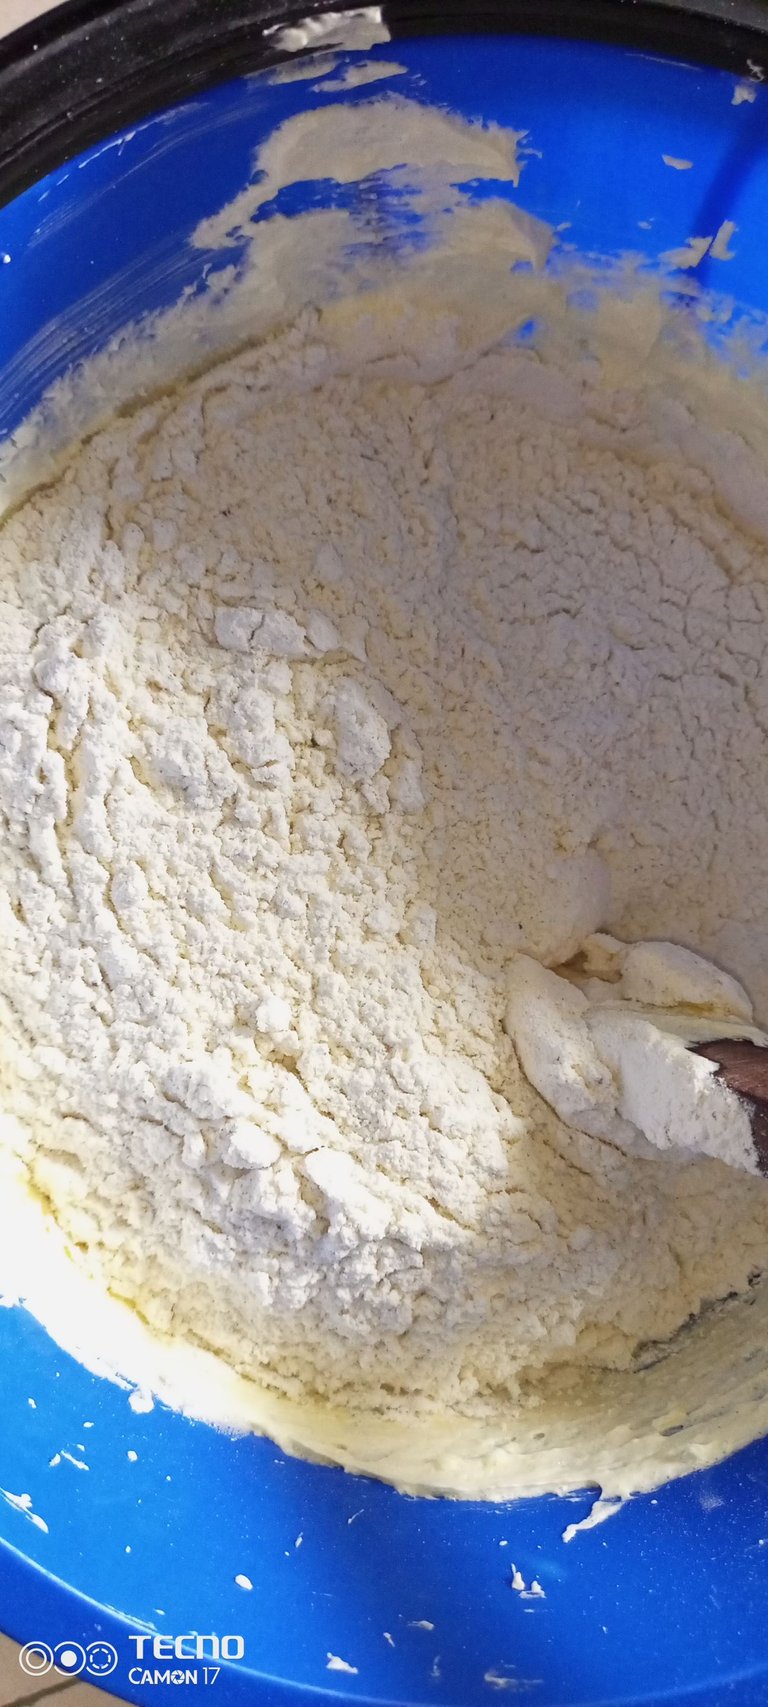
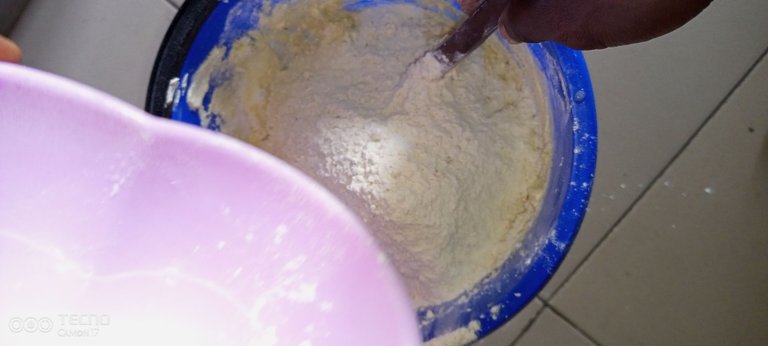
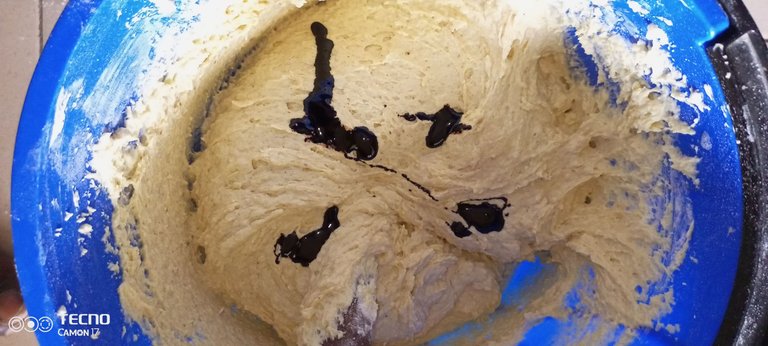
I had to turn about 70% of the liquid mixture into the cream container, as you turn it you will observe that the liquid substance will drain down the bottom of the mixture, but while you turn it, you will gradually add the dry substances to the mixture in small proportion until you have added all the dry substance and as well continue to turn it till you arrive at the desired texture.
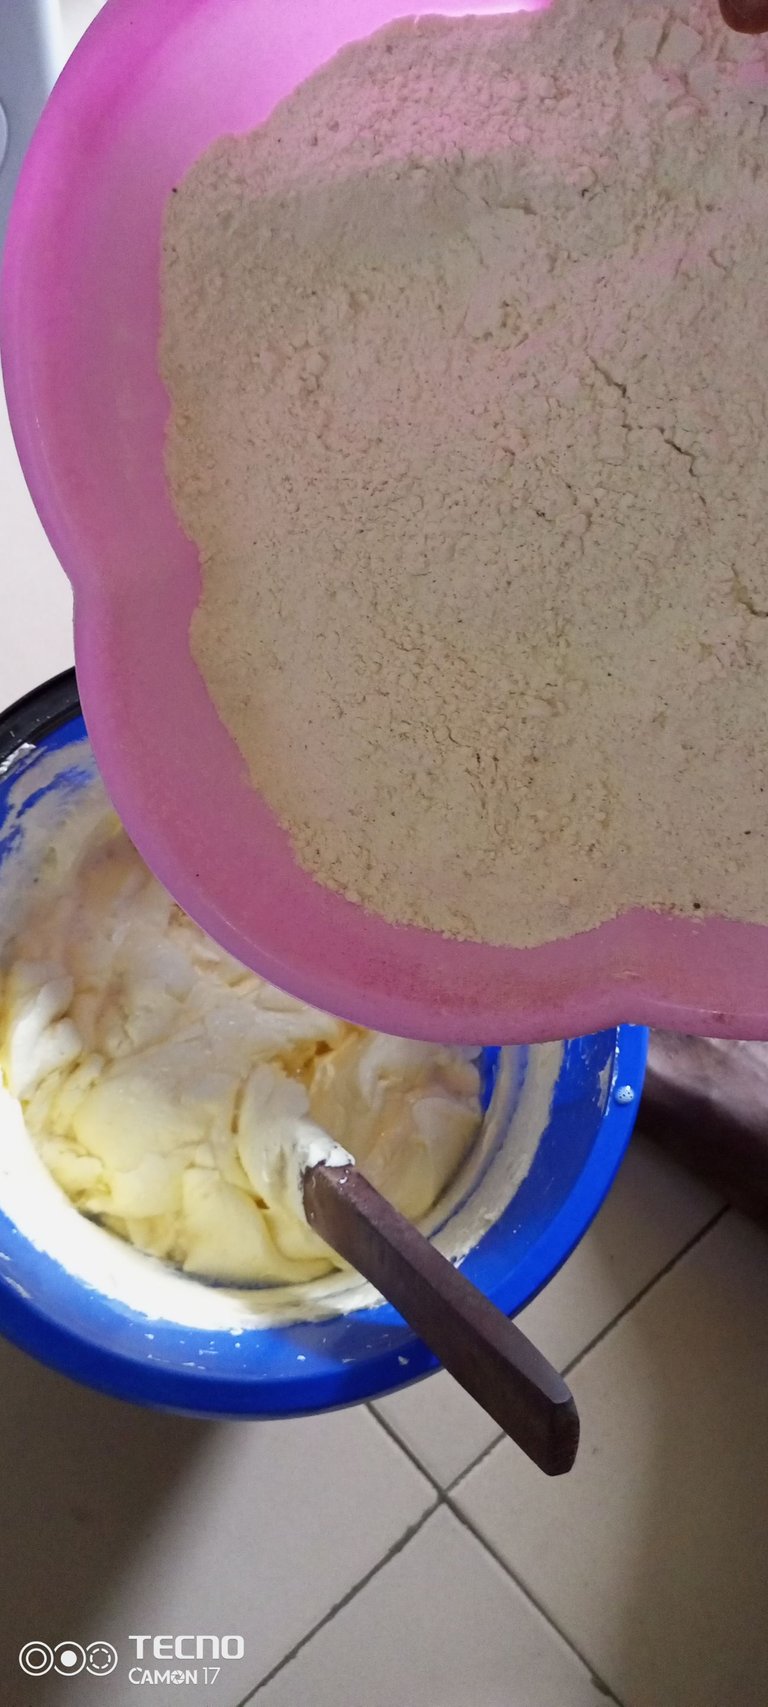
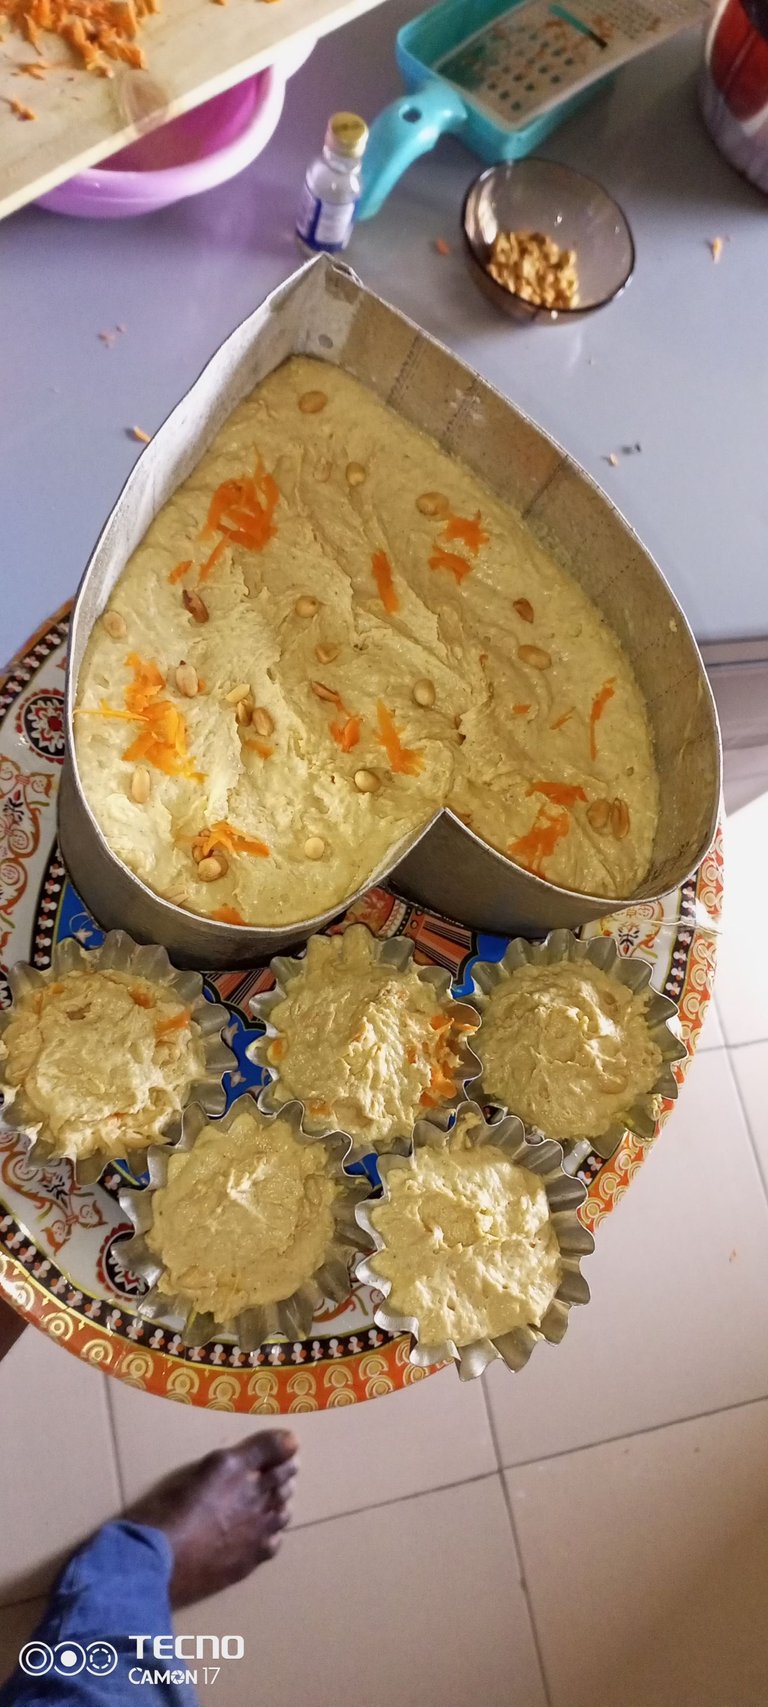
- The baking process
Baking with a locally Improvised oven
I always do believe that whatever we want to do can be possible if we determine to do it, we may not have what it takes in teams of materials but the technic can do even more than you can think off.
We could have waited till there is an availability of a modern oven, either electric or gas but we had to improvise so as to get the work done on time. We used a wrought Iron pot, firewood and sand.
We started by setting the fire, with the wood, filled the pot with sand, the essence and usefulness of the sand is to retained heat within the pot and make the inside of the pot to have a constant heat level, also inside the pot, that will help sustain the cake pan off the sand and so that the direct heat of the sand will not be on the cake pan to avoid getting burnt.
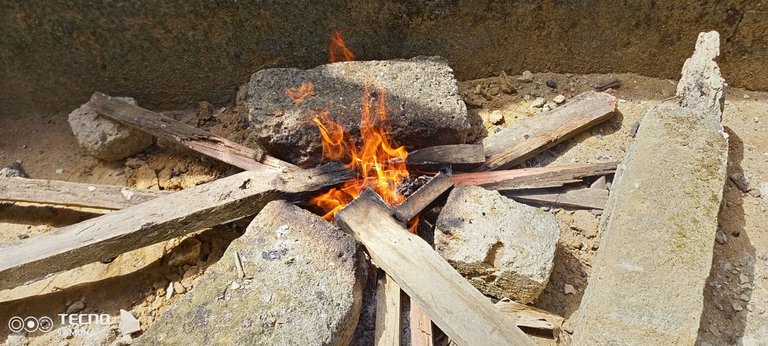
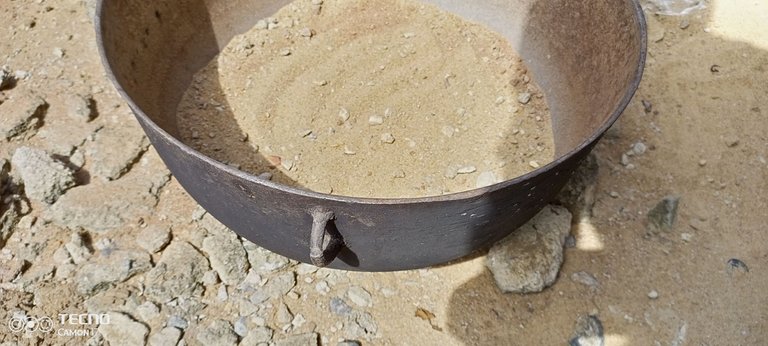
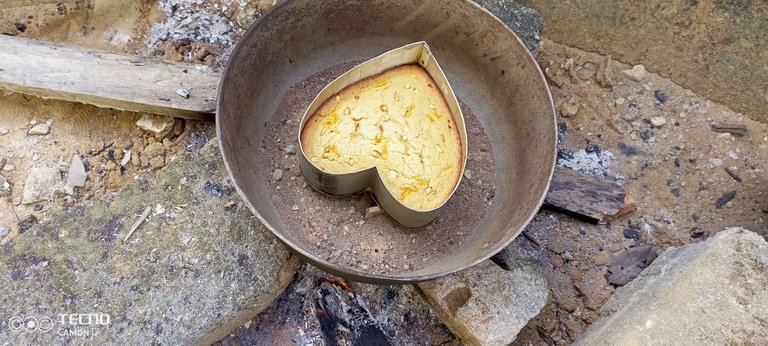


After that, we had to put the pot on the fire, to undergo the process of preheating which is normal with the modern oven. This is to enable the inside of the pot to generate heat to a certain level were the cake will be baked.
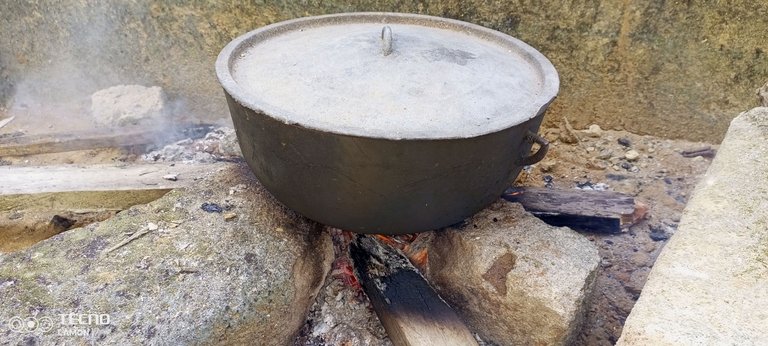
The pot must be will covered so much that air will not readily enter the pot , after like 20 minutes the oven is ready for the cake to be put inside the pot. Since we cannot know the heat level, so we had to check the pot after 20 to 30minute depending on the size of the cake pan and the content, to see whether the heat is normal or should increase or reduced.
You will be checking for like 3 times before the cake is done and ready to be removed. then you get down the pot or you remove the pan from the pot to avoid it getting burnt and then put in another cake or you let down the pot.
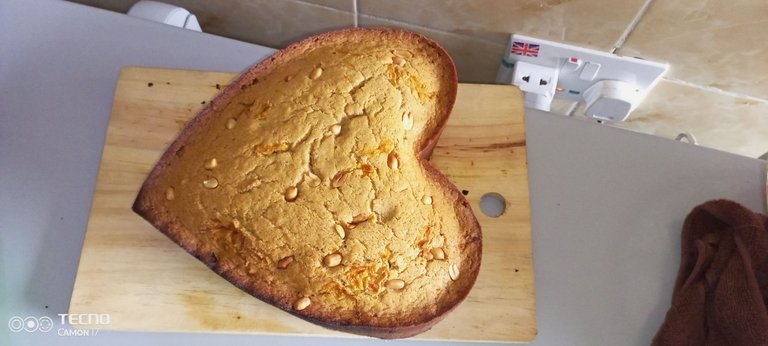
our cake is ready and it was a wonderful experience again, engaging cake making manually without using machines to aid the process. Thanks once again for always finding time to stop by my blog, a big thank you to #homeedders @canadiancoconut, @ocd and all my supporters for their massive, i don't take it for granted at all, Thanks for having me @ekotmordemy