Following on from my last post in which I described for you the reason why tensor rings work as frequency healing devices I am now going to show you how to make them yourself without any need for expensive or complicated welding equipment. Just some basic hand tools and a bunch of copper wire. Also worth noting at this point that if you want to make these as effectively as possible it will be useful to be open to the idea of being guided during your creation process by non physical entities such as Slim Spurling who has made himself available after death to assist us with this task specifically. He will work through you and you will will know what to do when this post does not have the answers.
Required tools
- Wire cutters
- Scissors or wire stripper
- Round pin nose pliers
- Flat pin nose pliers
- Power drill
Electrical copper wire
First up, get your hands on some copper wire.
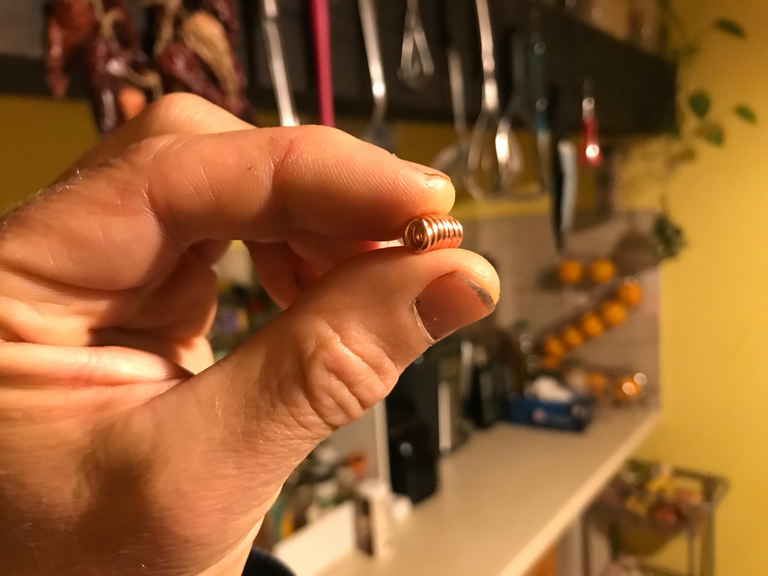
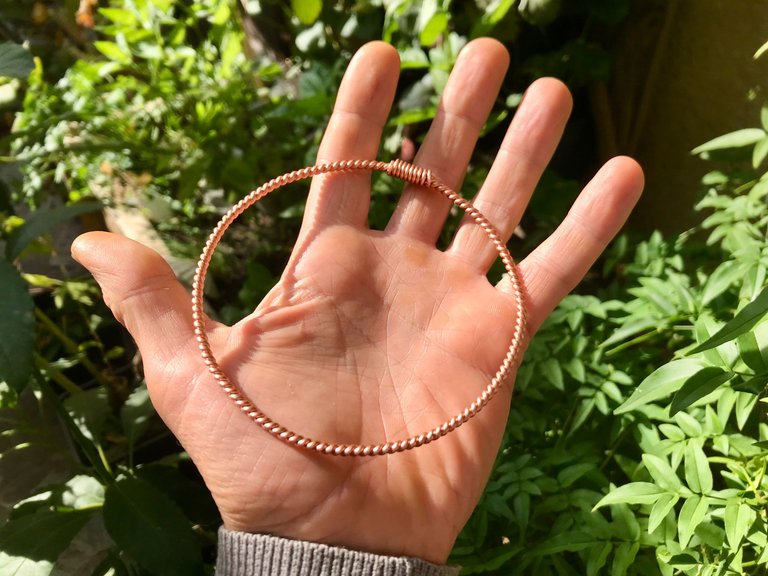
Around here it comes in two sizes, 1.5mm and 2.5mm, both of which will work for tensor rings. The reality however is that the bigger your circle or the thicker your wire, the more intense the effect of the ring will be, but while this may be true even a small 1/4 cubit ring made with 1.5mm copper does still have an effect.
I can confirm this because I gave the above tensor ring to a friend who meditates every day in a much more dedicated manner than myself, and she tells me the positive effects have been noticeable.
Cutting the wire
For the length it is a good rule of thumb to cut x3 times more than the total length of your (straight) final piece. So for example, if my tensor ring is to be 1m long (before it has been bent into a circle), I would cut 3m.
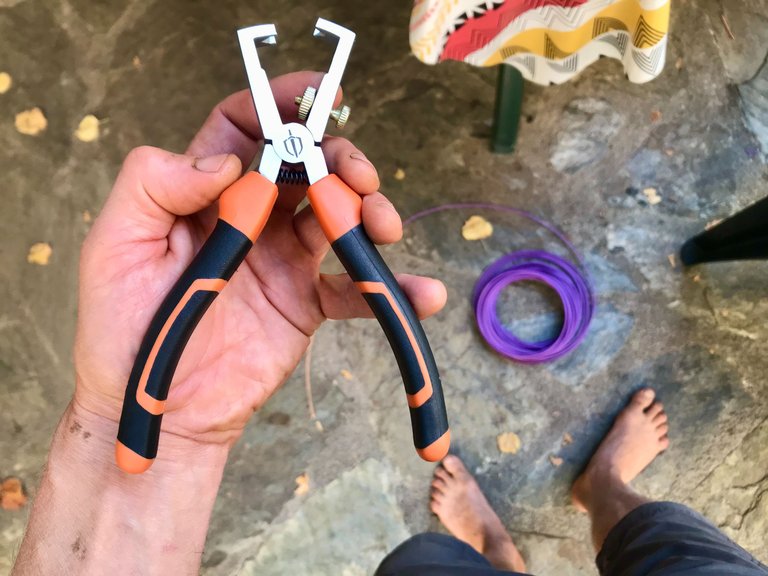
Next you will want to strip the plastic from the cable. You can do this carefully and slowly with a pair of scissors or you can buy one of these cable strippers which will help you complete the job faster with less marking of the copper.
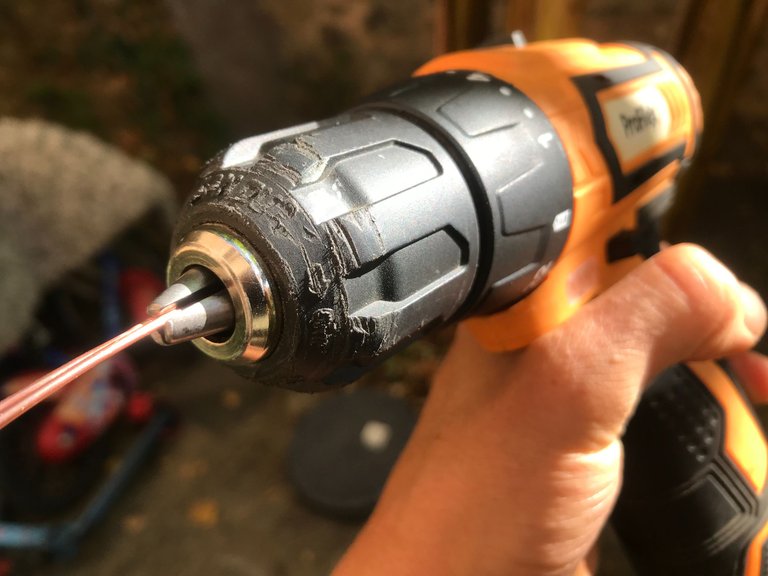
Fold your wire in the middle and find a suitable place to hook it through something and create a tension in order that you can twist the wires together using your drill.
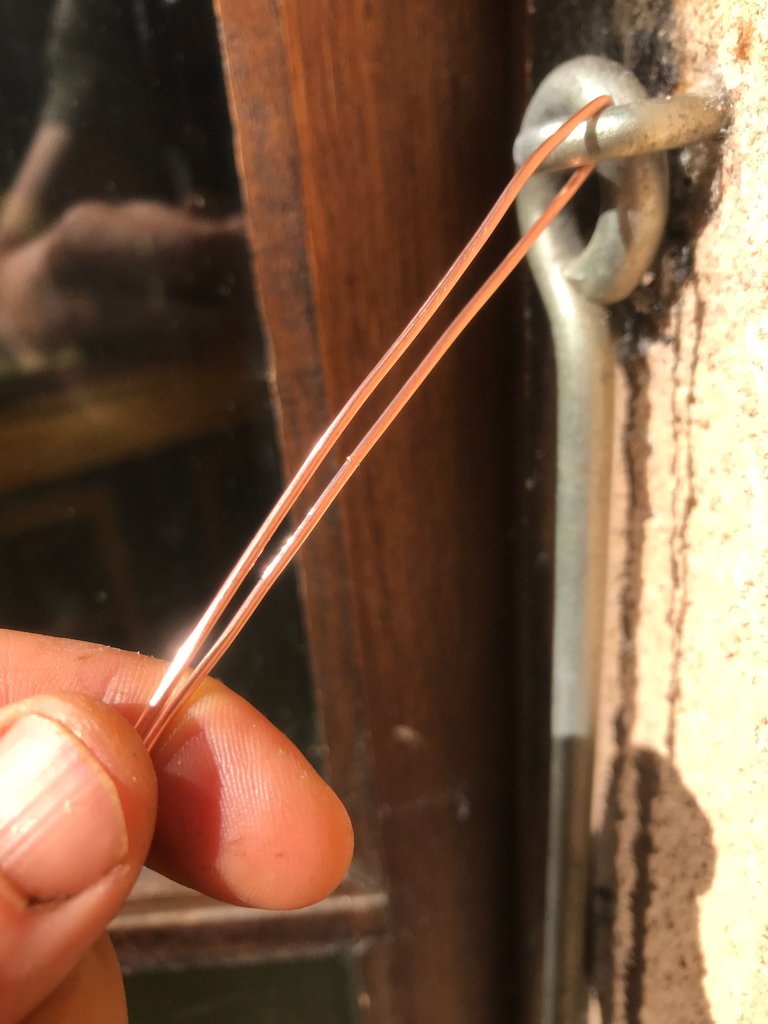
The two ends of the wire are bent over like this to give the drill more surface area to grip.
Tighten up the drill and create a tension in the wire by pulling gently against it.
Just prior to activating the drill (using a clockwise motion) one must consciously prepare themselves to infuse the required intentions. These can relate to cleansing, healing, chakra activation and plenty more so please check out my previous post to get a better idea of what is possible.
The Trinity Breath
As I mentioned in the intro, this is your opportunity to connect with the creator of these rings and also your Higher Guides to assist you on your mission.
If you feel it, please check out this video made in 2012, describing tensor rings and their construction process. A guided mediation is given at 29:06 which I found to be authentic. This will give us the ability to reach this same place (where Slim Spurling can be contacted) in three simple breaths which are to be taken just prior to the twisting process.
If you don't feel like doing that it's okay. Just focus on whatever the PURPOSE of your ring is while you do the twisting. If it is for health, imagine the person you are making it for in perfect health and imagine the wires glowing with life-force energy as you twist them. You will forever be connected to your device so whatever you do, please choose your thoughts carefully in this moment.
Twisting the wires
Holding the drill, gently press the trigger and begin the twisting process. Don't go too fast at the beginning. Slowly and with clear, focused intention is best, ideally in a calm environment. Once you feel as if your intentions have been made clear you can speed up the drill while ALWAYS maintaining a tension between you and the other end of the wire. The whole process should take no more than a few minutes.
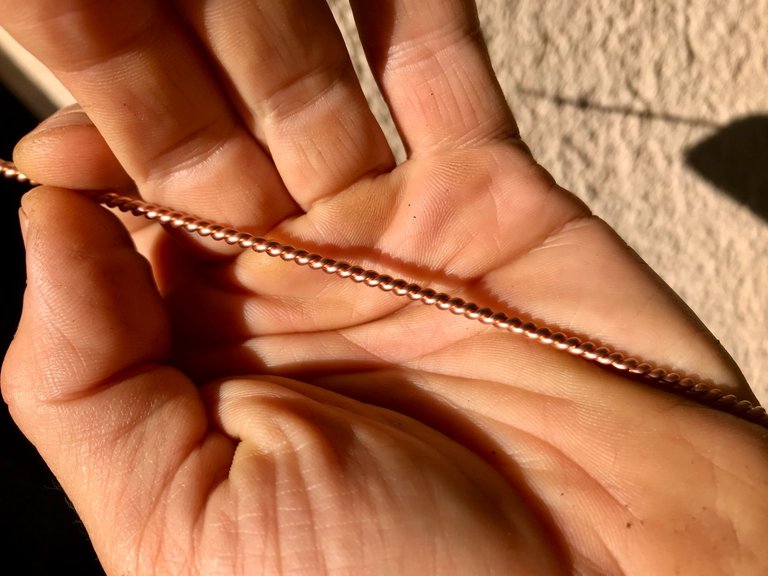
Once the wire looks like this (as tight as it can be) it will snap off from the drill end and fall to the floor.
Remove it from whatever you have attached it to at the other end and cut off the excess.
Precision is essential
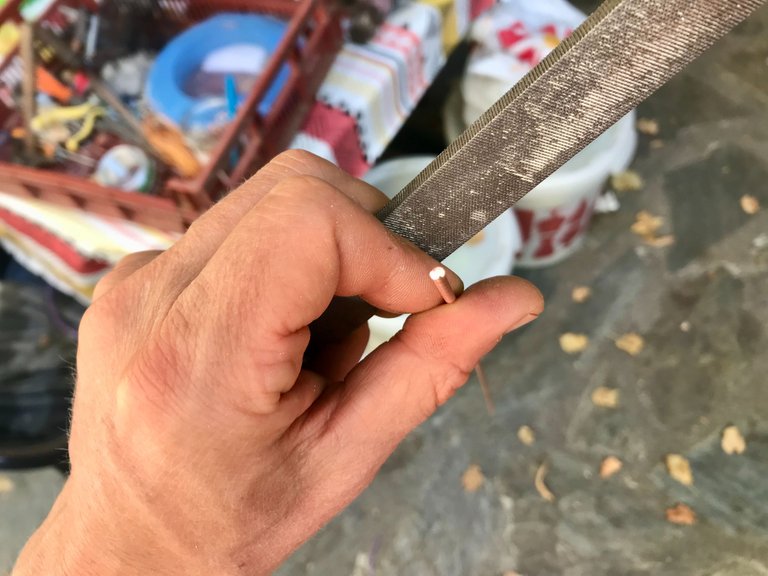
Once you have your intention-infused wire you will need to cut and file it down to be exactly your desired length.
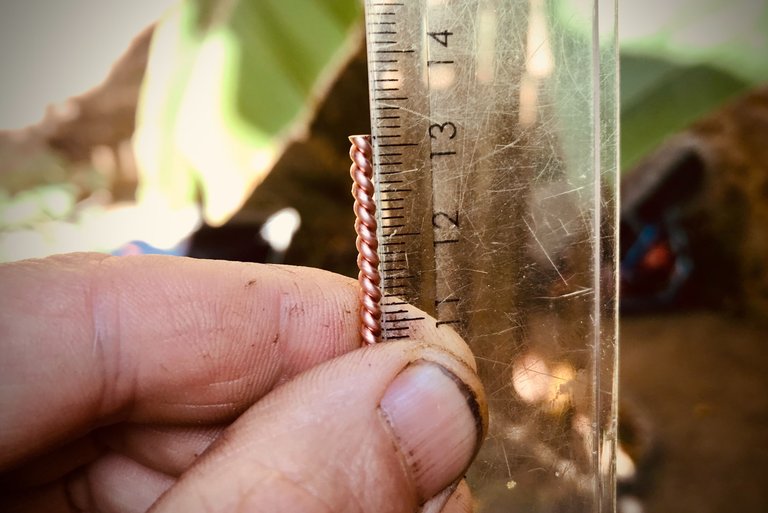
For this purpose you can use a ruler or you can mark your commonly used lengths on a piece of wood.
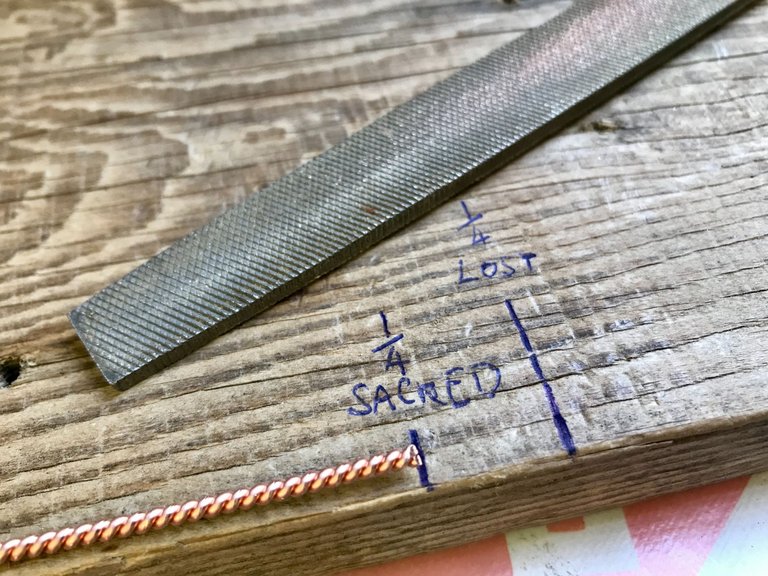
If you file off too much you will have to start from scratch, so be very careful here.
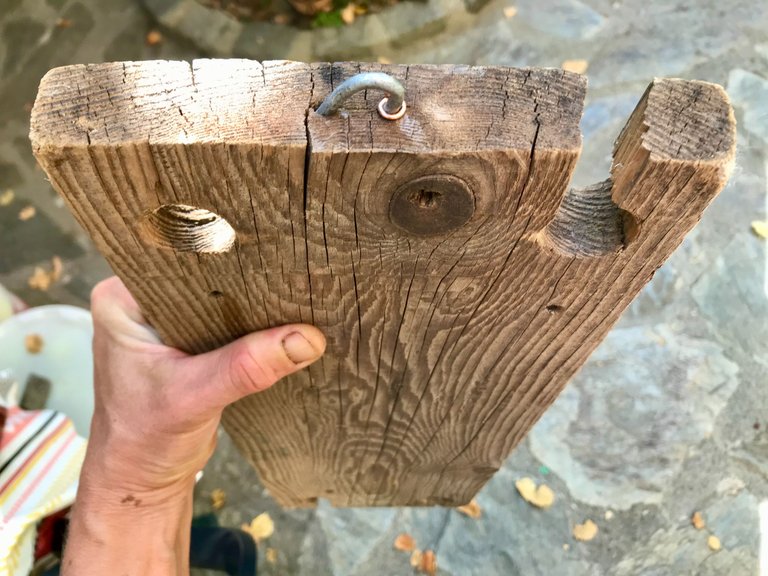
This same piece of wood can in fact double as a wire holder for twisting. Just hammer something into the end through which you can hook your wire and stand on the board for the twisting, remembering to always maintain that tension during the twisting process.
Making the circle
This next bit may take some practice but basically you want to bend that circle by hand, making it as perfect as you can get it. It may help you to have a circular item of similar size on which you can bend the copper, though in truth a perfect circle is not essential. This is more for aesthetics as the length of the wire and the way the two ends connect to create a loop are the important physical aspects here.
You would still be creating an effective healing device by twisting your wire into a different shape like an infinity loop, though the effect would likely be different in some way. A subject I intend to explore further...

Connecting the ends
Once you have created your circle and the two ends sit naturally together without any applied pressure from your hands it is time to cut another piece of copper.
Again, make sure you are woking to the cubit lengths I mentioned in my previous post. I tend to work with 1/8 or even 1/16 cubit lengths for the connecting piece. See what works best for you.
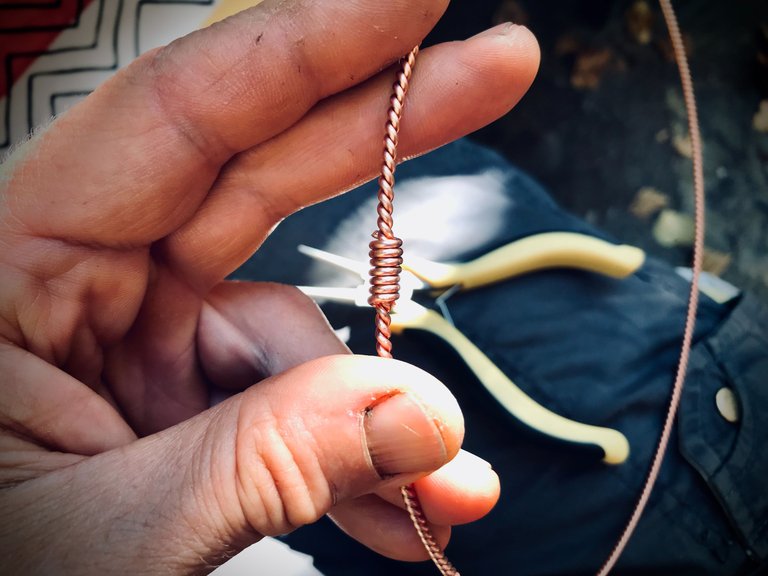
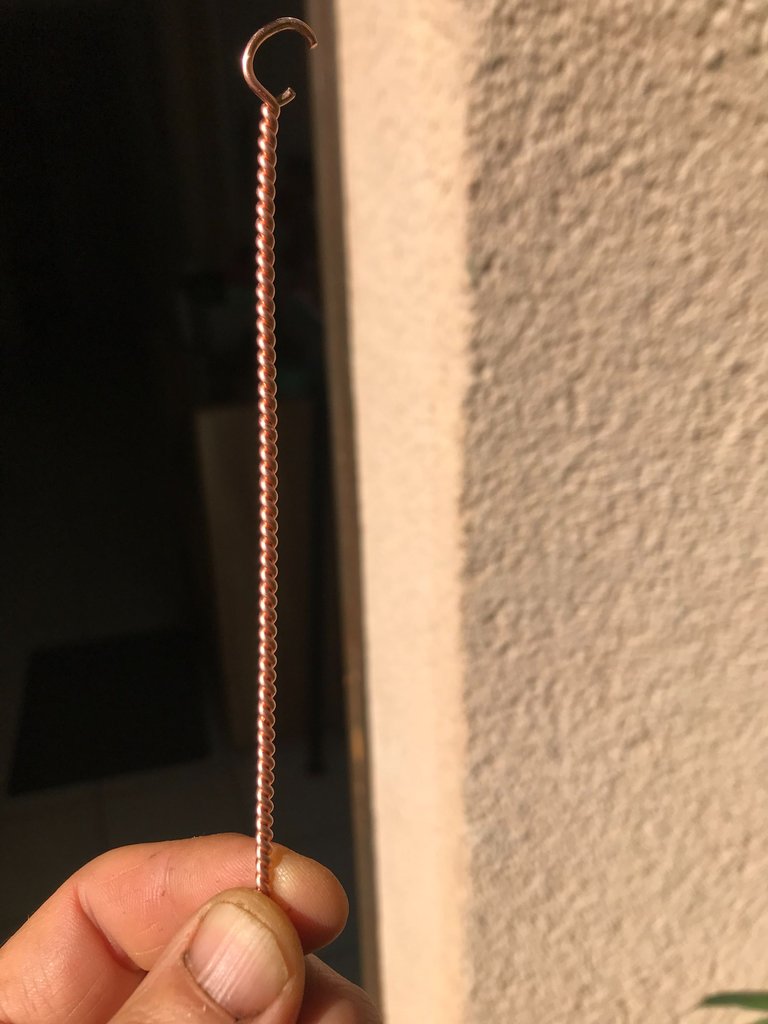
Once you have your small wire cut to the exact length you will need round nose pliers with which you will create a coil of the appropriate size to fit neatly over the two ends.
Push one end of your coil half way onto an end of your twisted wire and attach it firmly by using your flat nose pliers to apply pressure to the ends.
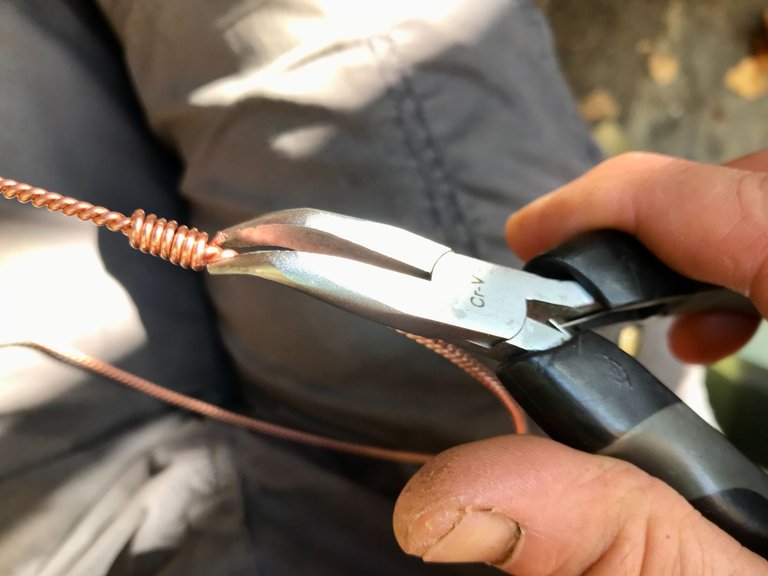
It is important that the two ends of the tensor ring be touching inside that coil.
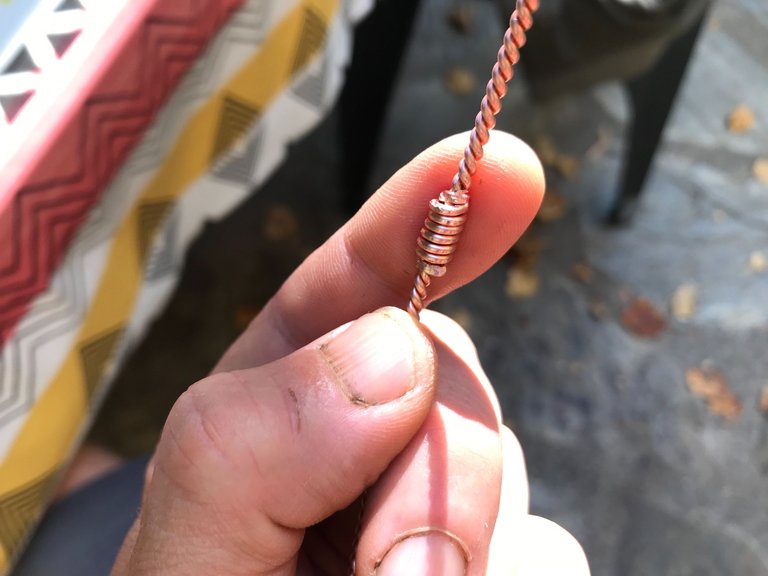
You will know it is done when there is no movement at all in the connection.
Don't be afraid to really squash the copper into place. Functionality is more important than aesthetics.
Any small pieces of copper you end up not using can be re-cycled into your orgonite!
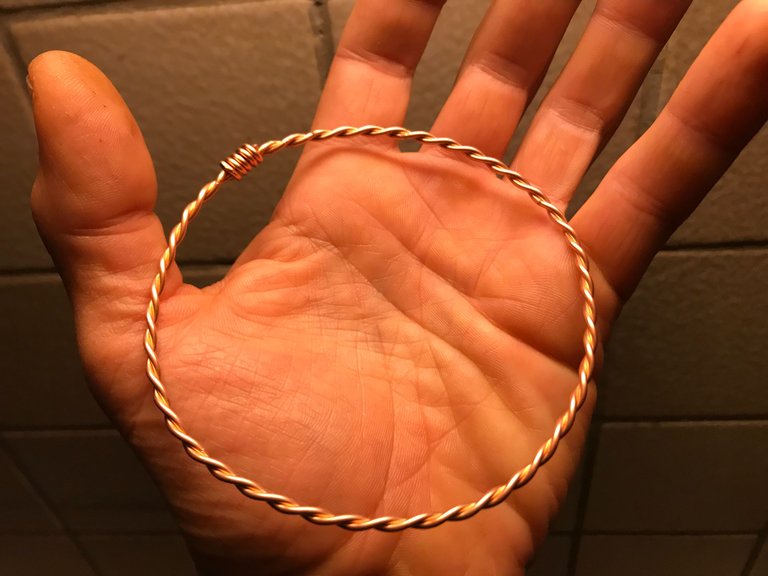
Once done your ring should feel solid and proud. This one is a 1/2 sacred cubit.
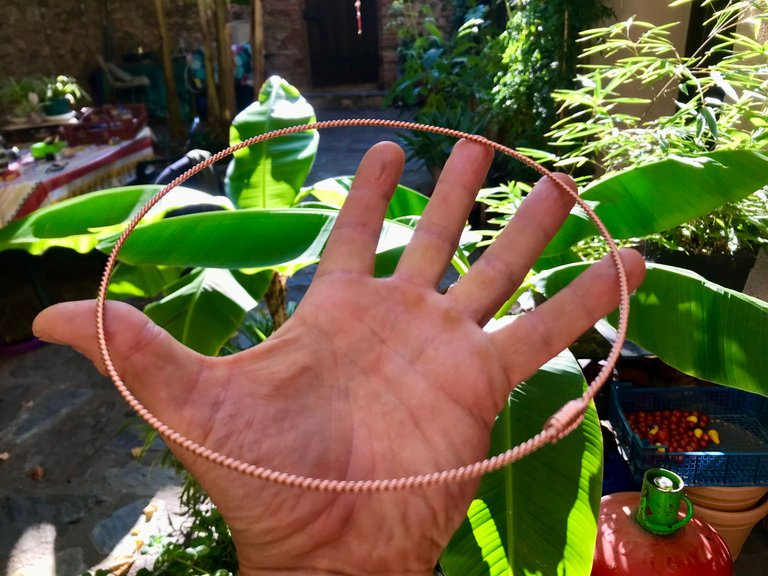
While this one is a 1/4 lost cubit.
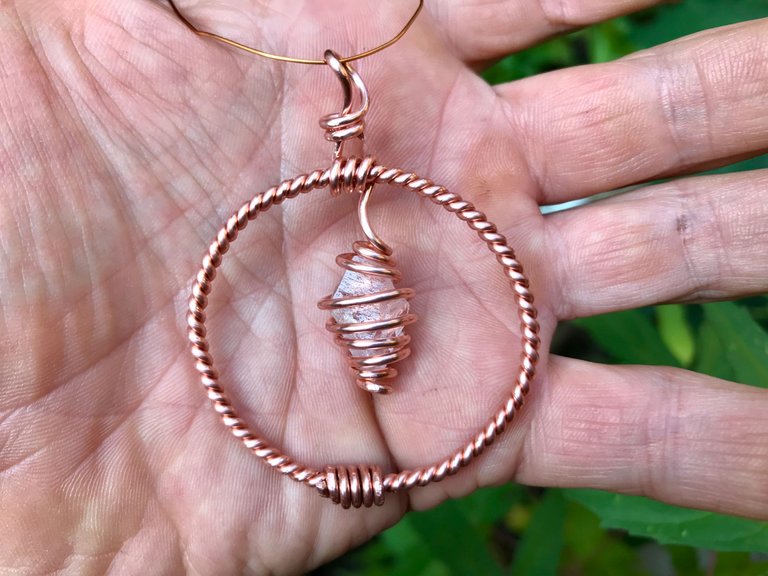
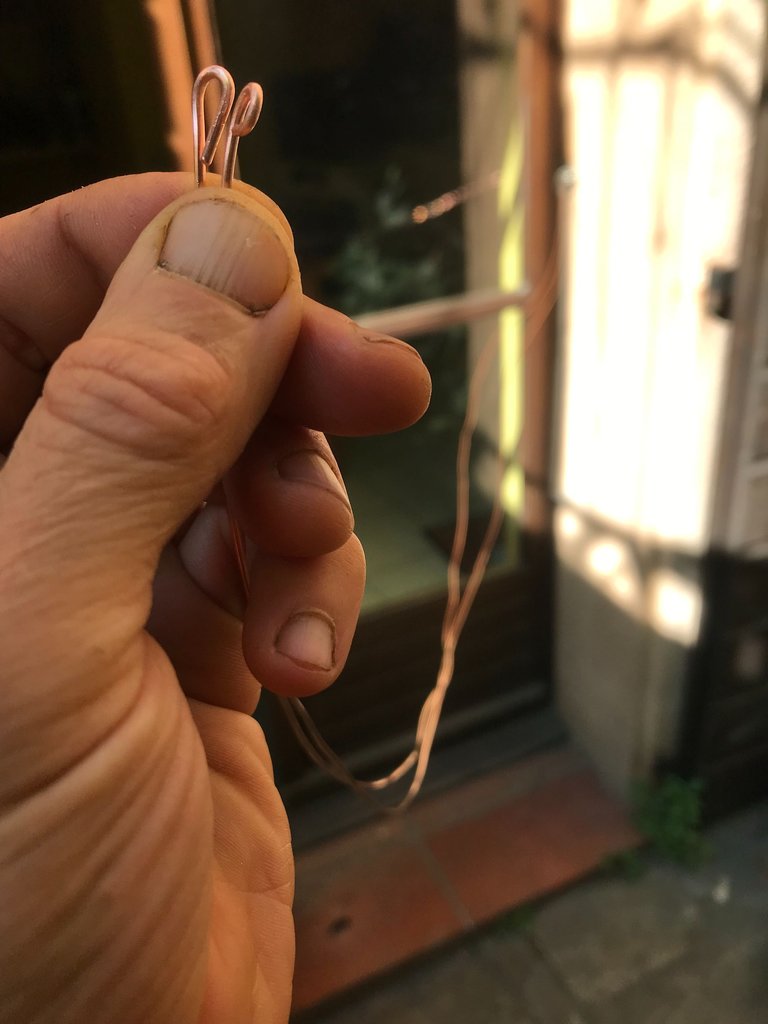
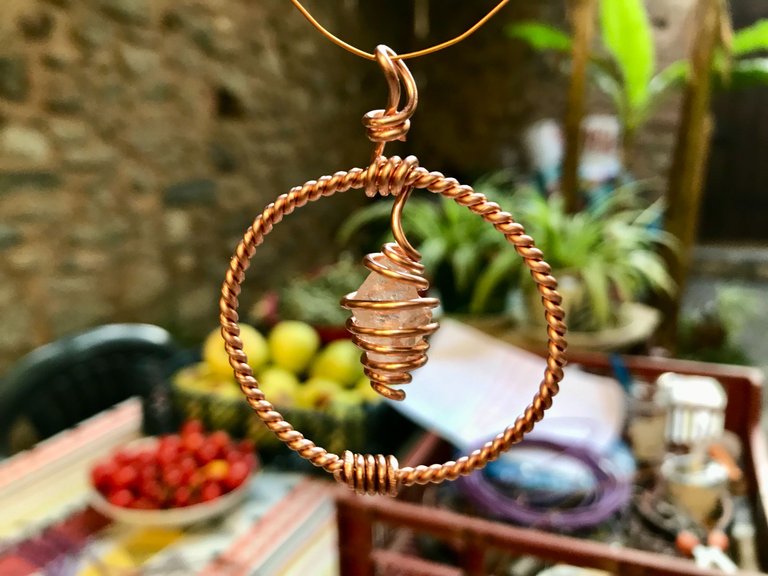
With your rings you can create a great many things, like the pendant I mentioned earlier.
Once you get confident you can connect a bunch of them together to create powerful shapes like the Seed of Life.

Here you can see the first tensor ring I ever made, specifically for one of our water containers. Important to note it is not a well made ring as the wires have not been twisted tightly enough.
The intentions were clear however and I didn't feel like re-cycling it, so put it here on a water jug which also holds a Seed of Life and a spiral.
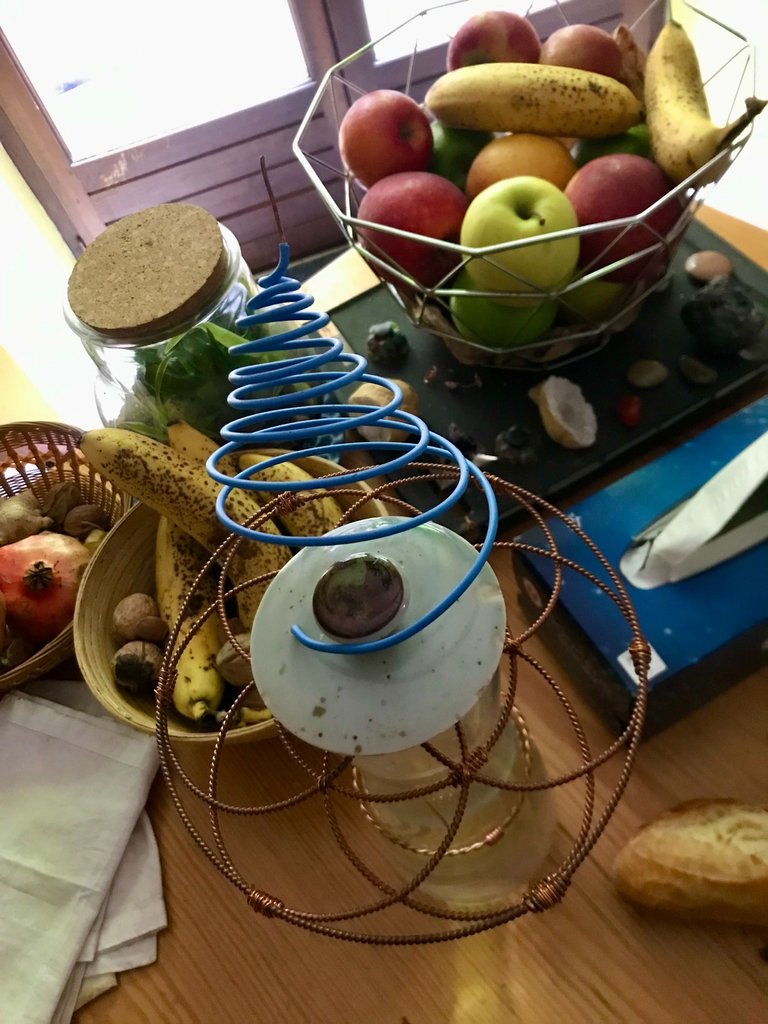
The spiral has its end coming down into the water, right around where the tensor ring is. Interestingly, in the mornings I can see bubbles here, when previously there would be none.
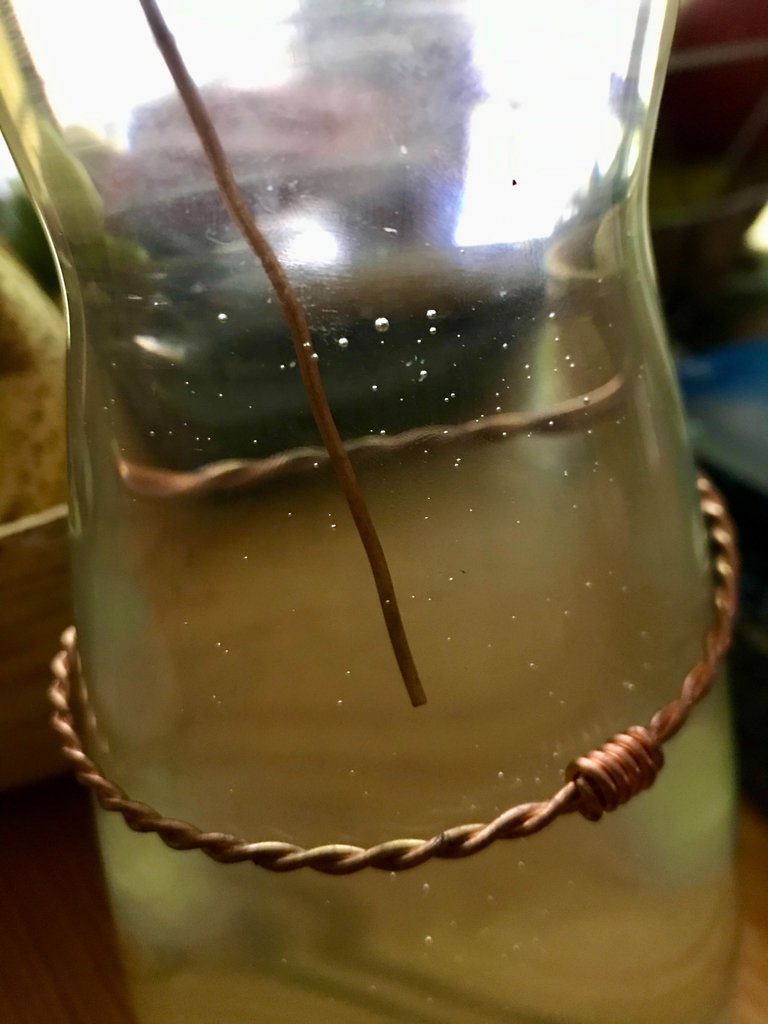
Unquestionably it is having an effect as the bubbles are only forming on one side of the jug, where the copper wire of the spiral touches the side!
Another idea you may wish to consider is hanging the tensor rings above your bed or putting them under your pillow while you sleep. Anything you can do to get into close contact with your rings will be beneficial.

Quantum reality
If truth be told your work is done as soon as you have finished twisting your wires because in the quantum realm time & space do not exist so your healing device will start healing as soon as you make a decision this is what you are going to do. The decision is compounded when you physically carry out that task and even before the device arrives with the person you have made it for, it will still be touching them in some way.
Final thoughts
I have been on quite a ride these last few days and could probably write an entire book to describe it! Magic wand creation, intense tooth pain (quickly cured by the magic wand), quantum healing sessions and realisations in relation to my father who just yesterday had a book published about him by one of my sisters.

You can buy it here if you like. Or you can just read this somewhat inaccurate Time article which briefly describes his saga back in the 1960s. A saga which deeply affected me in the 1990s. All for good reason I understand now!
Beyond these things I believe I have remembered (thanks to the help of my Higher Guides this week) who I am! This may sound strange so I will expand on the statement in a dedicated post.
Exponential is a word which keeps coming up for me.
Everything just keeps on expanding outward so fast it's hard for me to keep up.
Is this because of all the new tensor rings around my home?
I will of course do my best to document that which is going on for me in a visually enjoyable and educational manner, while attempting to say focused on one subject at a time!
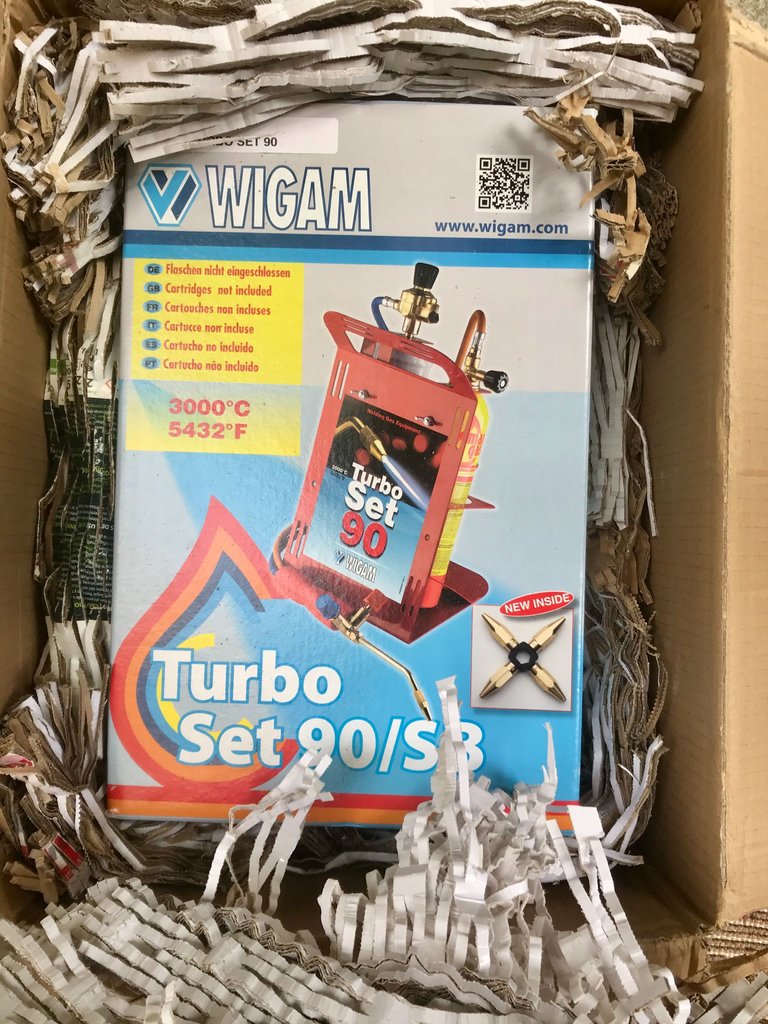
Next mission is to learn how to use this gas welder...
Love & Light everyone 🌱