I know that it may not seem that way but it can be terribly expensive when headed down the "Grow Your Own" path. Being mindful and knowing where to start can fix a lot of that. I have none of those things so, "The Hard Way" it is.
Here we go, got your sheet out or check out a Chris Trump video.
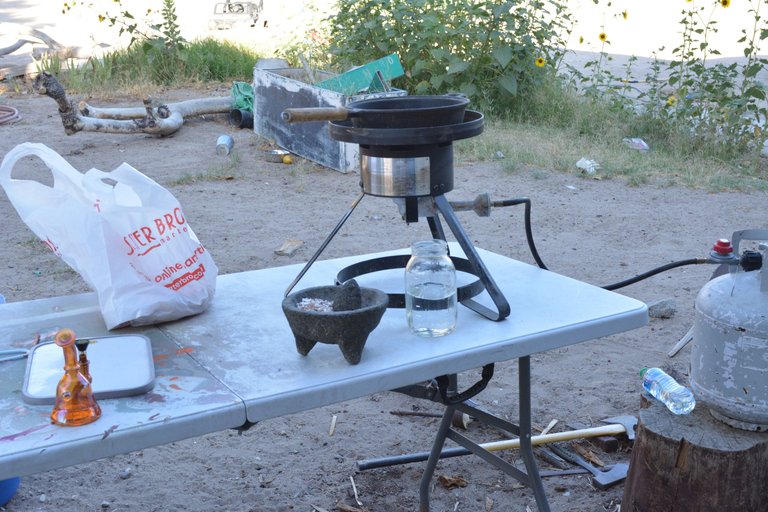
These eggshells have been accumulating on the counter for a week or more now, and that works out I'm just about out of my W.C.A. This is how I skin this particular "Cat". Got me a deep fryer burner and an Ol'skillet that needed seasoning anyway.
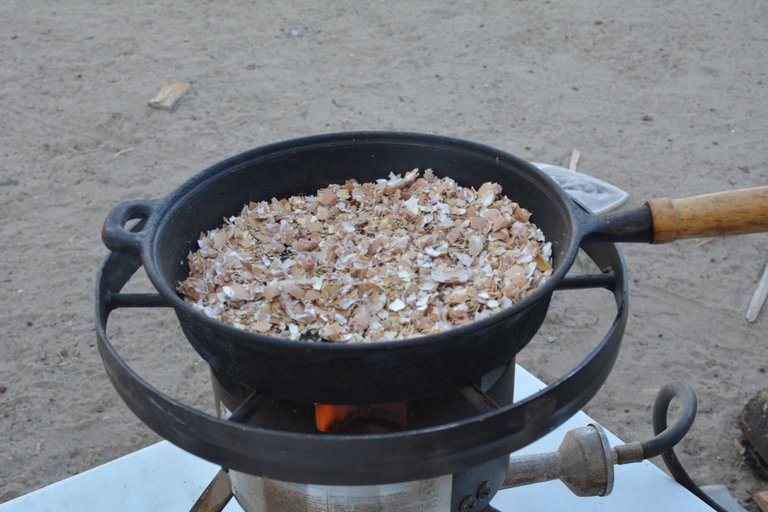
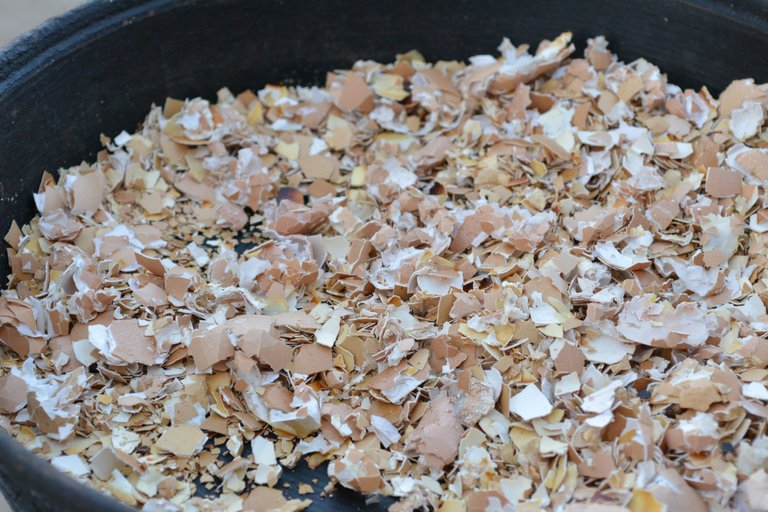
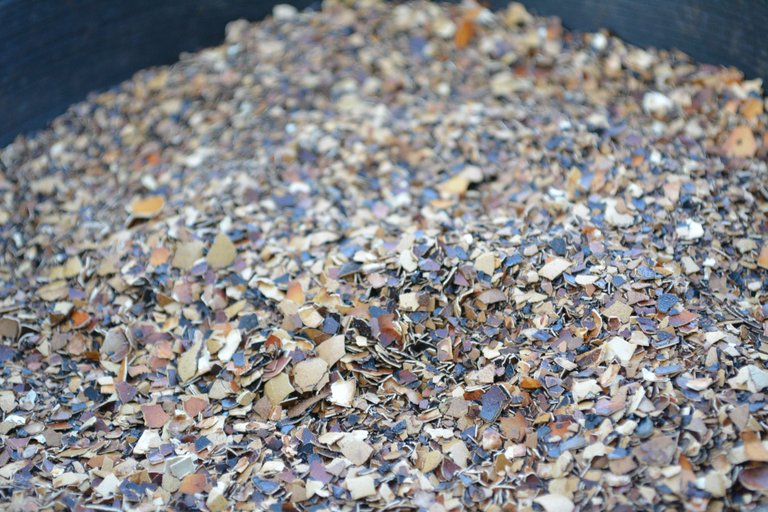
In most of the videos the eggs are placed in the pan and smashed as they cook. I skipped that step. I've found that if I send them thru the mortis first and then put them to the heat it's less of a mess/loss. Pulverized and to the heat you can see they start out like the day you cracked them smooth and tan and off white-ish.
Just there at the bottom of the pan you can see the shells start to darken and turn. That's the whole game when working here is to keep turning and shuffling the shells around the pan. The goal is to cook them thru and thru, not make scorched eggshells just burnt ones.
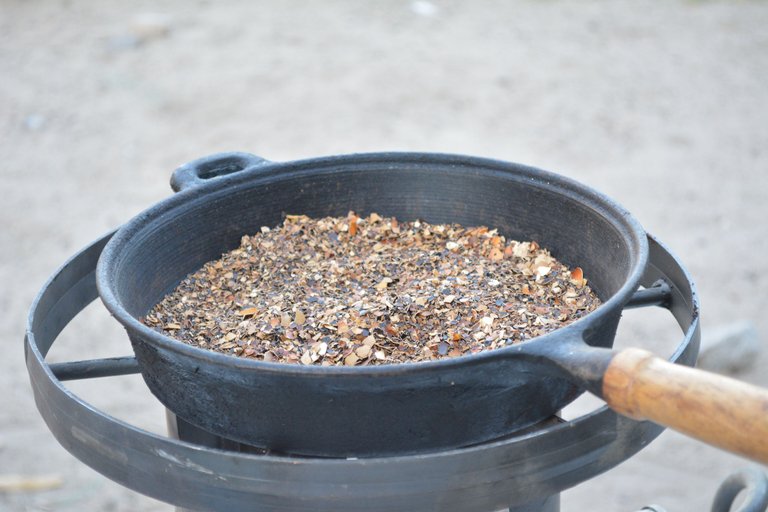
Like this. The tan parts are just usually darkened and the parts that were once white are now black. Brittle is the best way to describe how they feel under the spatula.
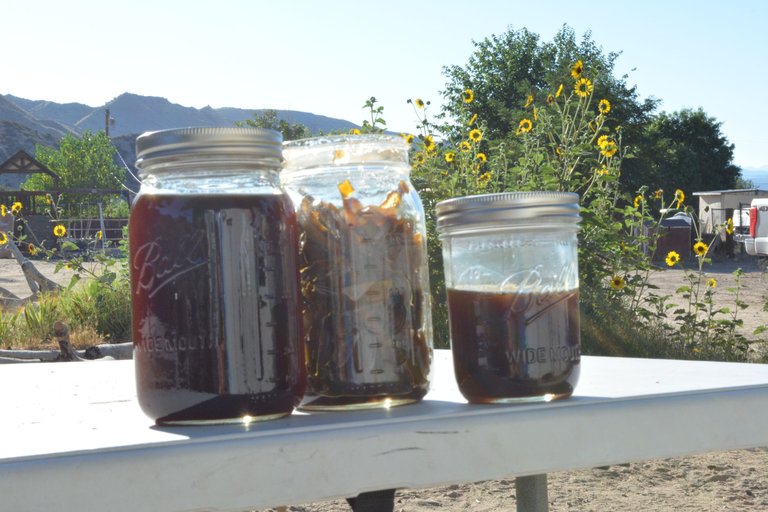
I should've thought of it before but best to do all this work knowing you have the apple cider vinegar ready to steep these shells in. No worries if you don't, just toss them in a jar and standby till you do. Apple cider vinegar on hand here, these are split into 2, 32 oz mason jars. I fill just up to the 100ml line. When adding the vinegar do this in a slow like manner, such as only half at first and let stand for 15 minutes or so then top it off just below the thread lines there. It is totally ok if you fill it all the way up it will just bubble over the top and make the kitchen smell like eggshell vinegar.
My Wifes favorite.
I know what your thinking those are not eggshells.
Correct.
This is fermented Aloe, this is made with sugar but concept is the same. To ferment you have to let it sit in a warm dry dark place, for at least 7 days, 14 at maximum. Once those have been met the contents needs to be strained and then place in a cool dark place this time. This entire time the jars or containers need to be burped or better yet have a breathable cover to let the gas exchange out but keep dust or flys from mucking up the ointment, as it were. The Aloe was mixed with equal parts brown sugar and a little water to sink the chopped aloe all the way.
This process can be done with whatever is your most readily avalaible to you. Oyster shell and all manner of mammal bones can be reduced and used in the same manner, fish bone will give and added phosphorous boost on account of it being fish bone and all. Great for Bloom I would guess. Calcium ferment only requires apple cider vinegar, or brown rice vinegar.
Either or.
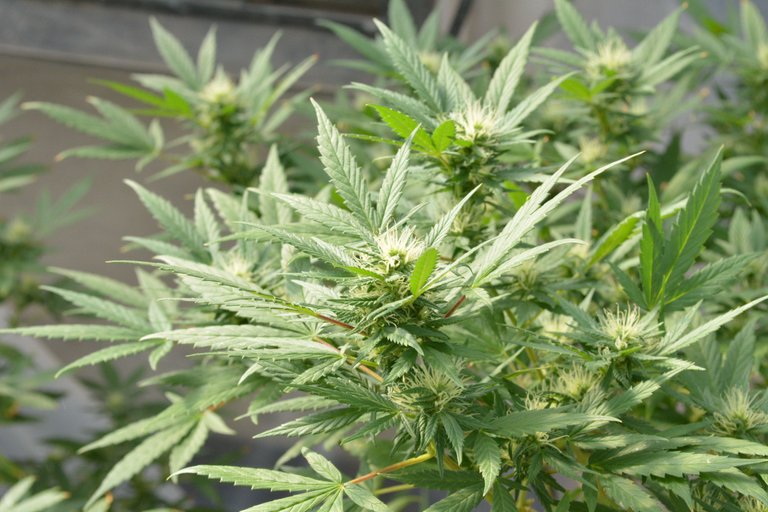
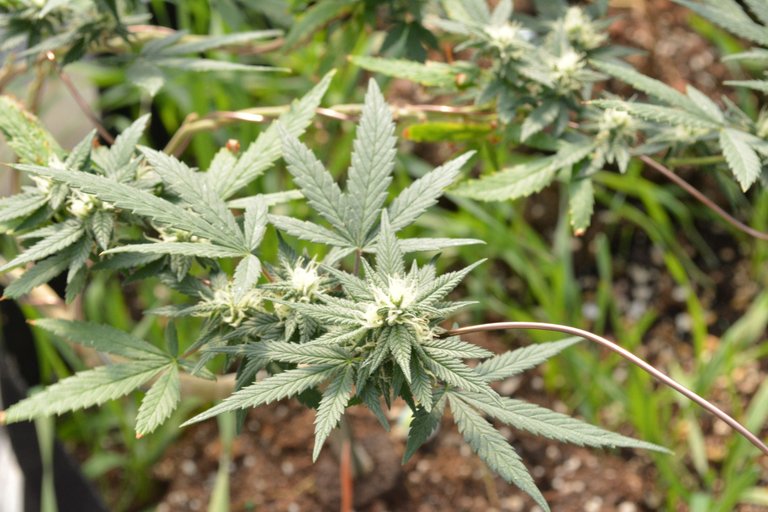
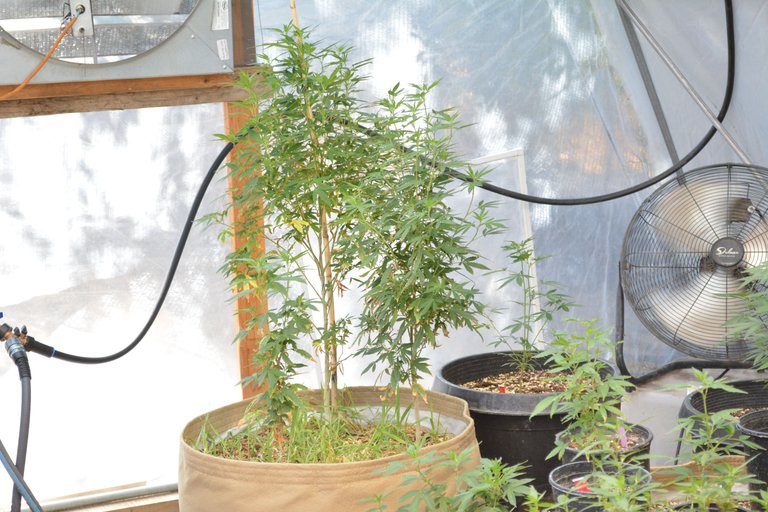
Speaking of Bloom. I have a few flowers here and there coming into their own. This bushy looking lady here is Banana Godz x Baller, just a little over 3 weeks. These ladies are on a regiment of super soil re-amends and ferments. I did manage to get my hands on the DIY soil test at the hardware store to take some of the guessing out of it. Have you used the 3 panel one before?
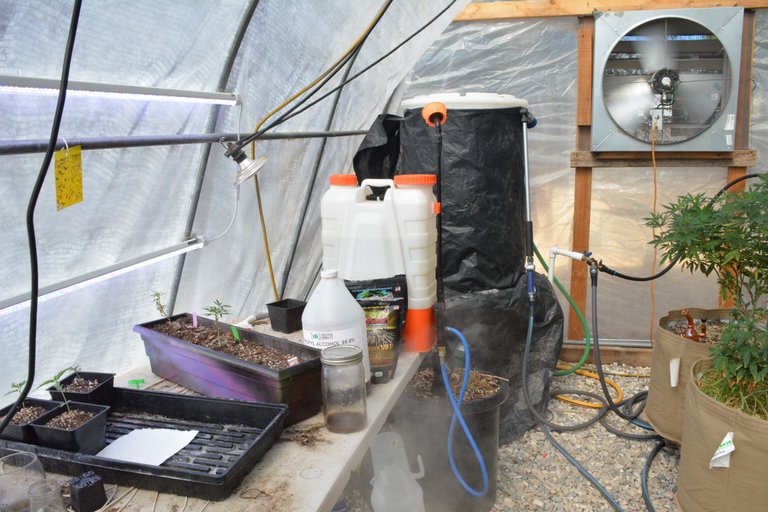
I just watched it stare at me from the bench there, as I mix my amends and just Go For It.
The Apricot ferment from this spring is really doing me some good in this space. The winter crop was quite memorable, as far as how strong they all smelled, and tasted, and smoked. Seems the Summer crop is getting into a different gear. Could be the Plan, and the gardener working together finally, or properly.
Could just be the inputs.
Plan really hasn't changed much, save for all the ferments that I use in the drench and most of the foliar now.
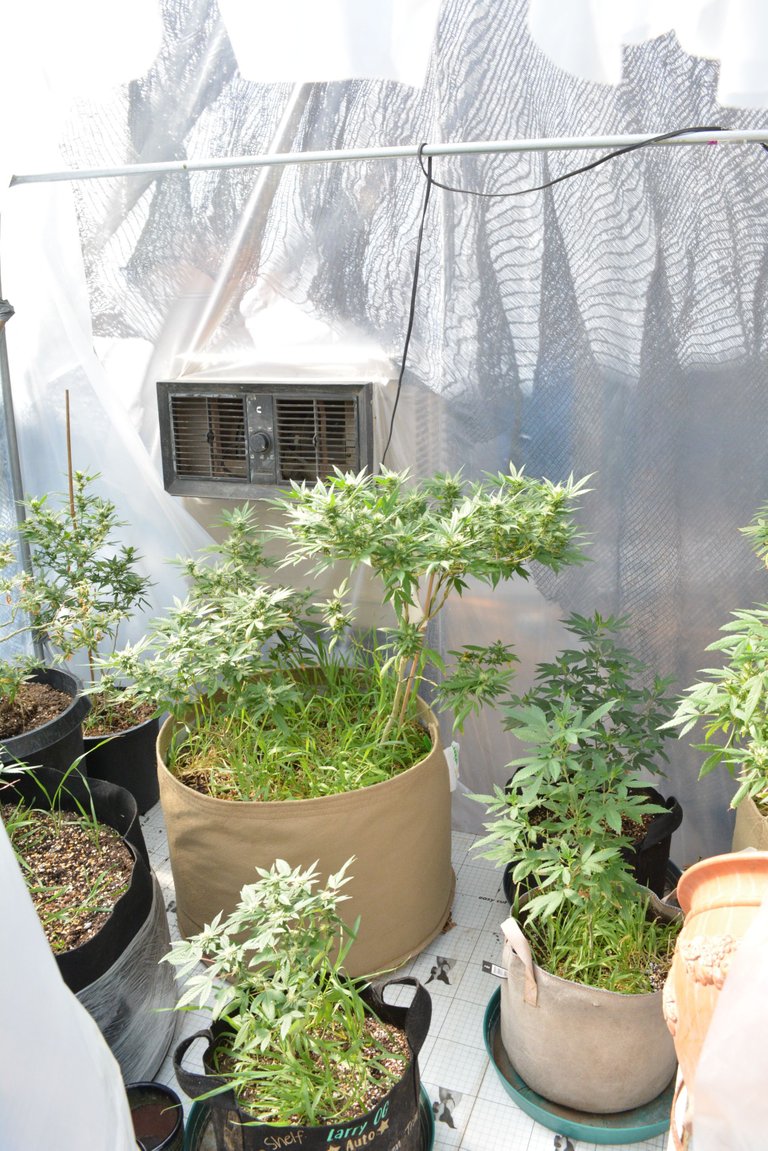
That is Girl Crush OG in the "5" gal smallish fabric pots there, a cut I got from the partner. They found this one, said it showed promise. Tada. Has a heavy earthy tone on it, OG smell very little stretch, but going into week 4 she is really starting to put on, thankfully. The 2 pictured above are just in the flip week 1 showing flower mode.
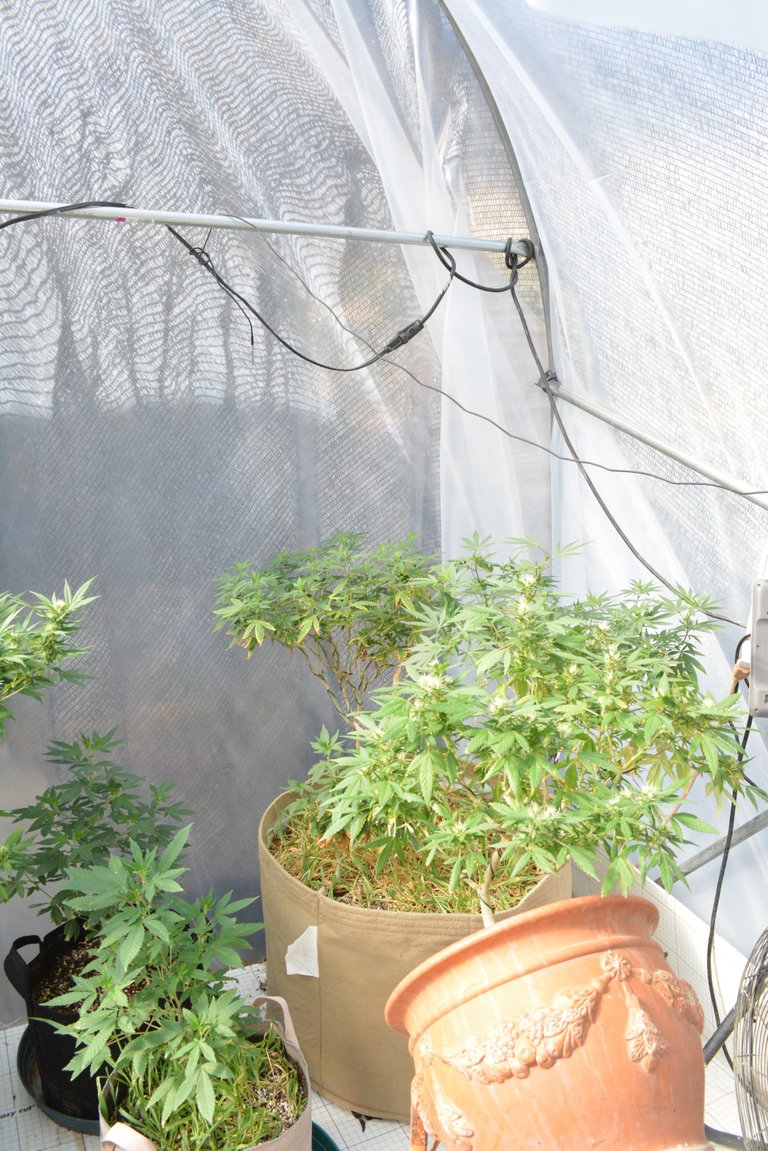
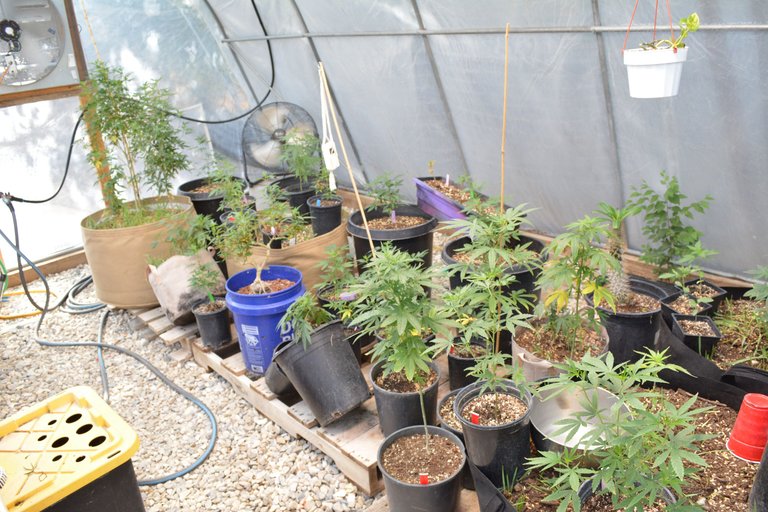
This cluster here is a 30 gallon Roots Organic, with Banana Godz, and Blue Lime Petrol x 2.
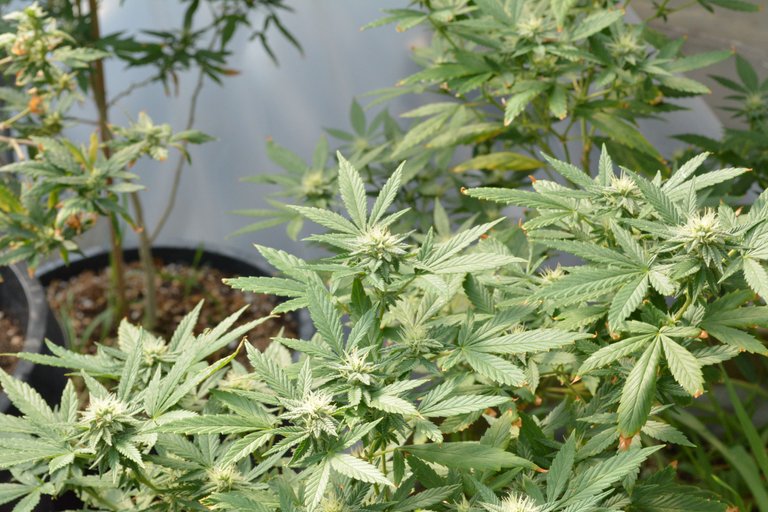
Up close on the Blue Lime Petrol. It is slightly gassy but definitely fruity. I can't say for sure it smells limy but we'll see has about 30 days left. A lot can happen in those days.
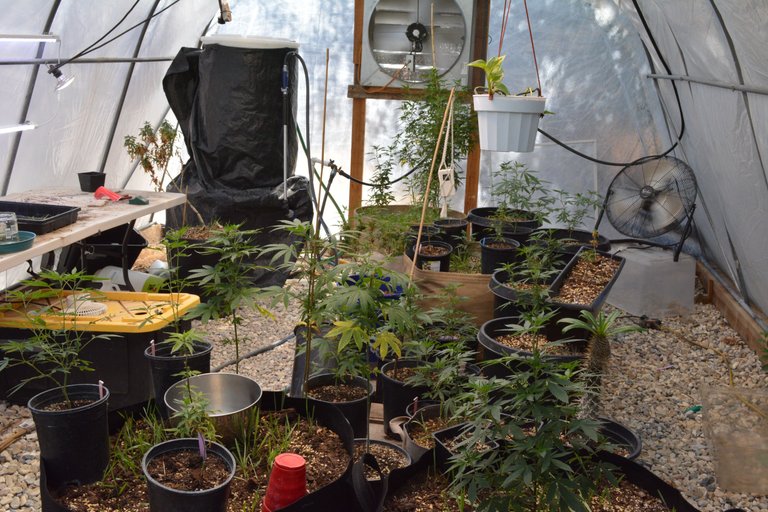
Checking in on the next Gen for the Hill Billy Hut, and see what the last "pollen chuck" round has bore as well. Most are preserve cuts and by that I mean, actually putting down some roots here and building mother pots/bags. I've found the ones out of the last round that I'd like to keep.
This here is what I would call a Keeper Sack. Roots Organic 30 gal, with Sundae Driver #2, Banana Godz OG, an POM 5 #2.
The later 2 are of my own pollination and seed search. The Banana Godz has a nice pink fade, only seen it in the winter months when the temps are much lower of course. The POM 5 #2 is very purple with pinking streaks also only winter months.
They're all scattered an smattered across the screen there, in no particular order. Labeled of course the 4 seeds that were opened a month prior are still kicking and I have actually taken 2 cuts to root and flip in a few weeks, see what I got on those so far. The rest of the '22 Seed search will follow shortly after, that is also on a 1 month cycle.
Although that being said if I possible I would like to keep the seed and just flower my cuts to see what we get, Nah Mean?
All right all thanks for stopping in repeatedly. I will be throwing down every 2 weeks, I've got a lot going on around the ranch and the moment.
KnottyDaddy, Tied Off.
