PATIENCE GAME
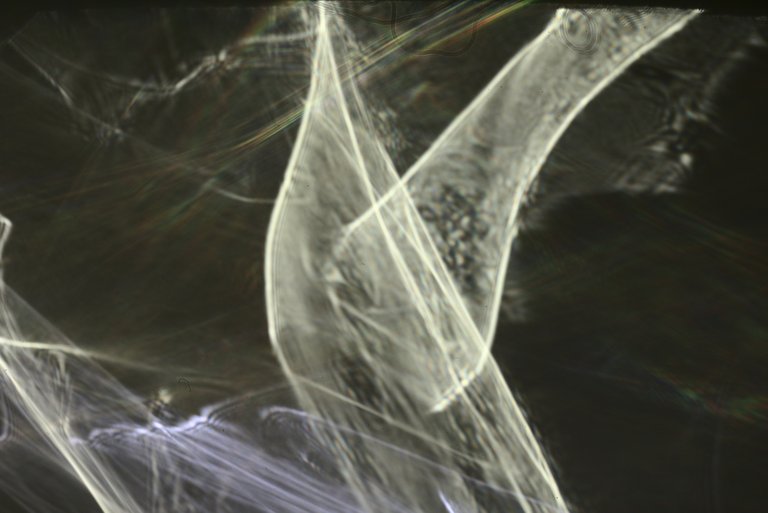
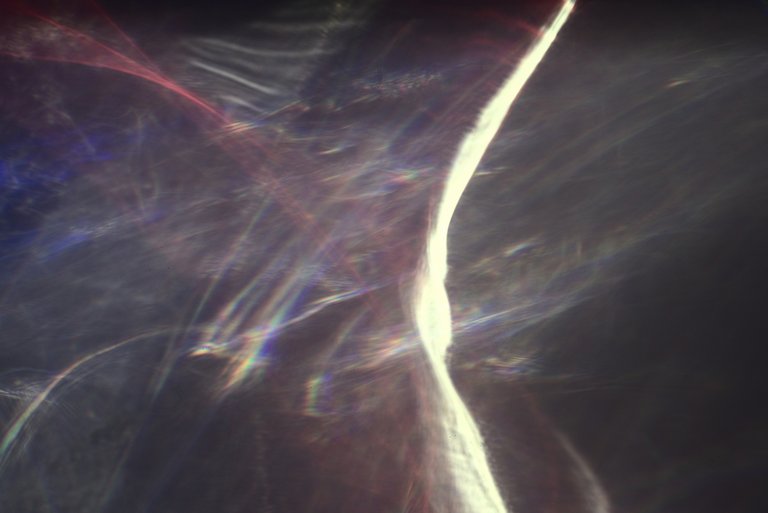
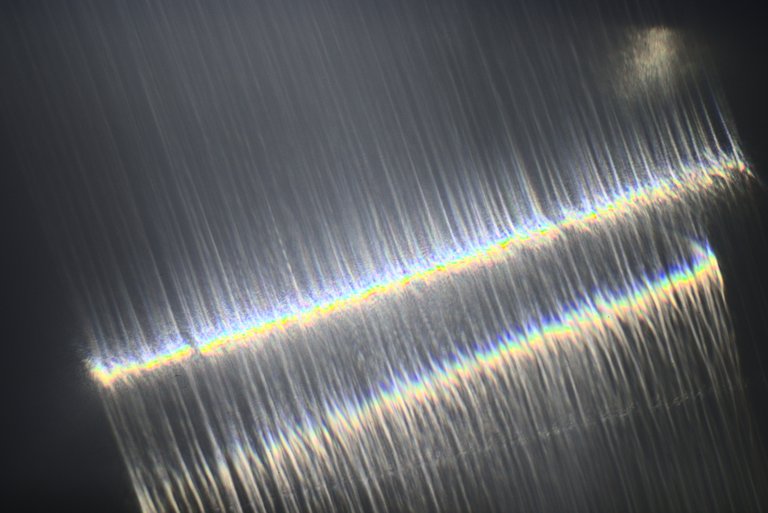
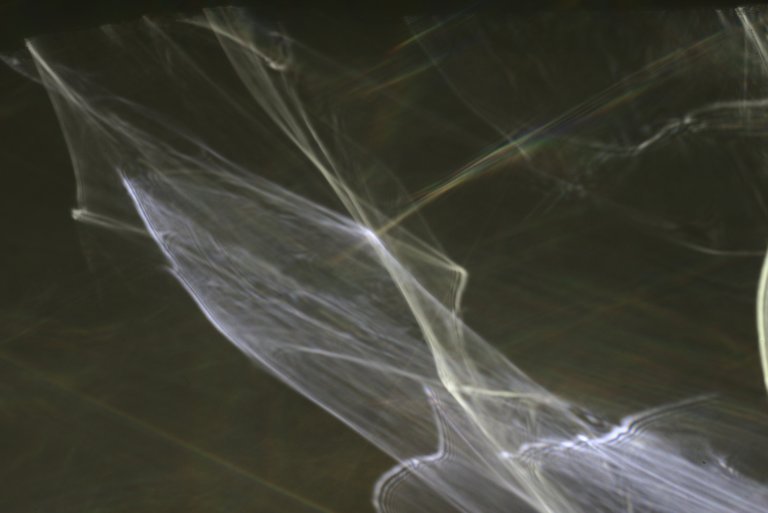
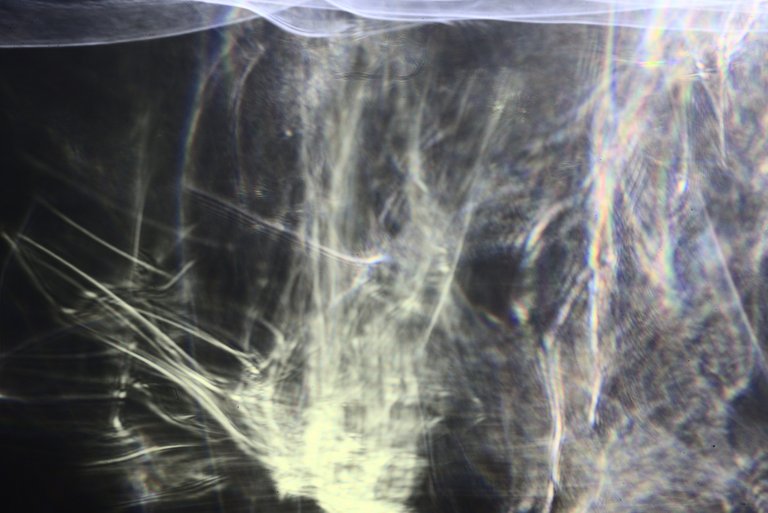
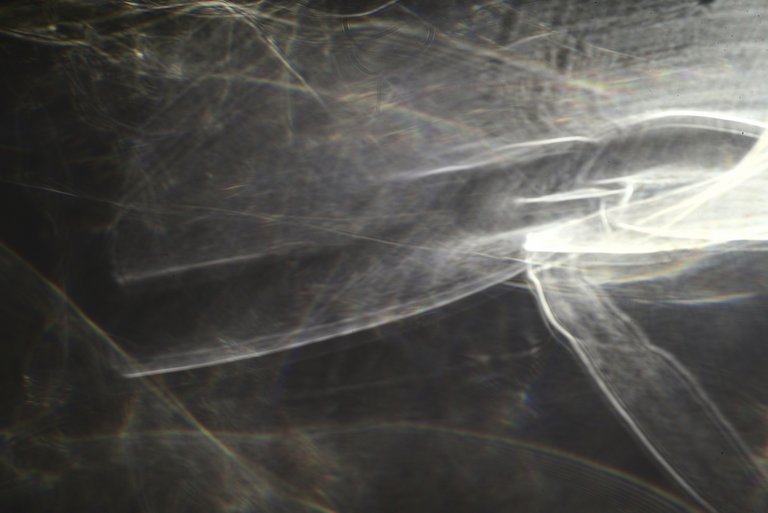
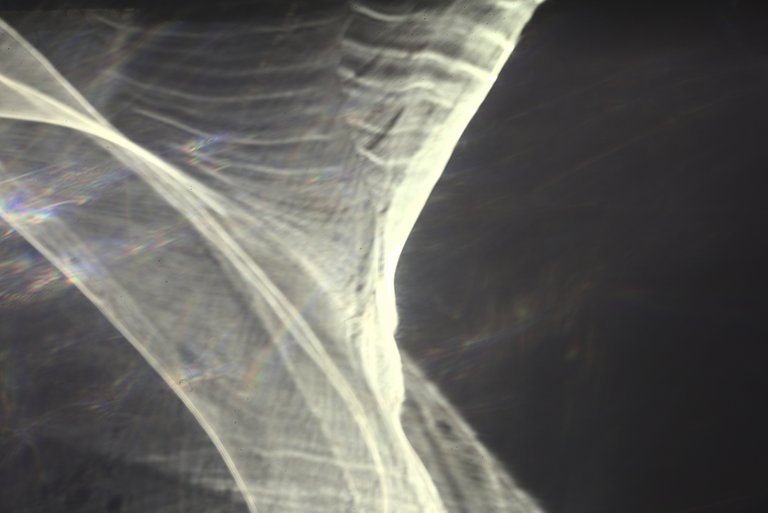
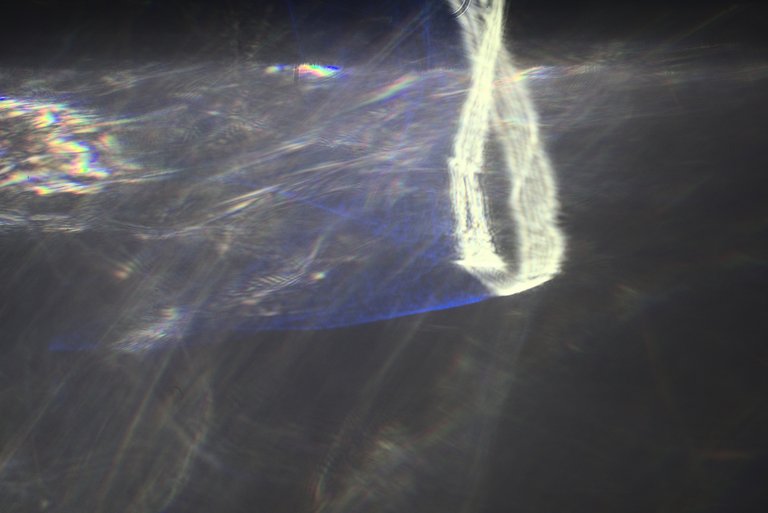
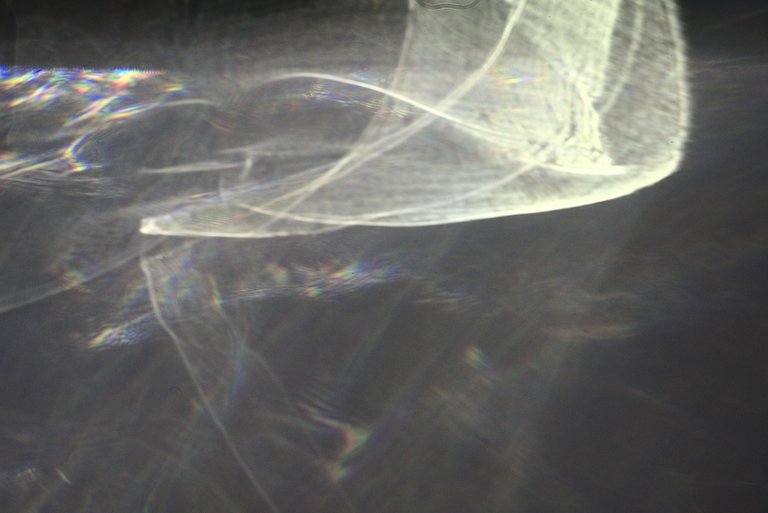
I am certainly not the most patient person. Actually, such fumbling is not for me. At the slightest movement of the glass or even the light source, the beautiful refractograph immediately disappears. But my inner voice told me to finally play with the glass shards in front of the camera again last night.
Ich bin ganz sicher nicht der geduldigste Mensch. Eigentlich ist solch ein Gefummel nichts für mich. Bei der kleinsten Bewegung des Glases oder auch der Lichtquelle ist der schöne Refraktograph sofort verschwunden. Aber meine innere Stimme befahl mir gestern Abend endlich mal wieder mit den Glasscherben vor der Kamera zu spielen.
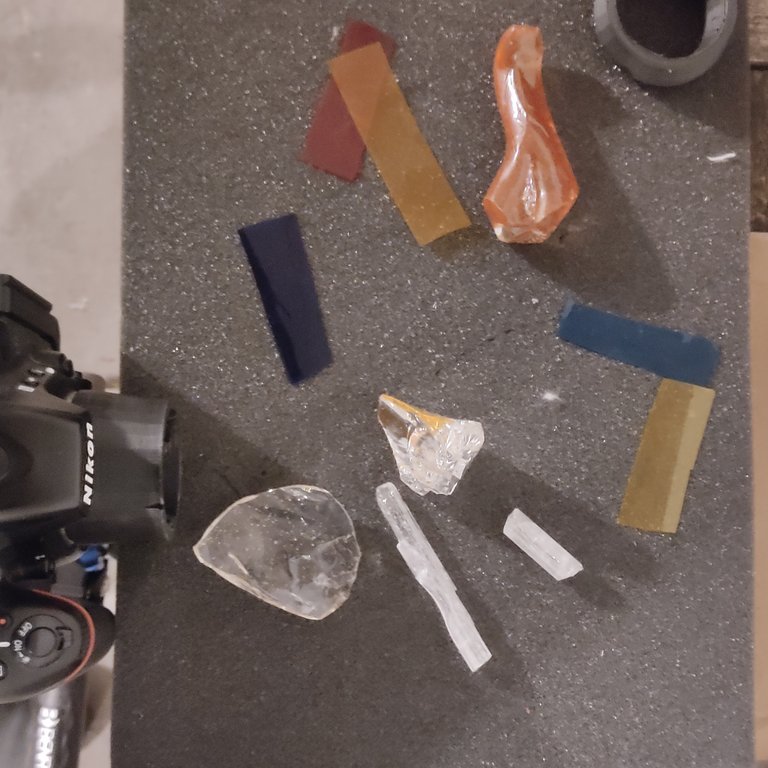
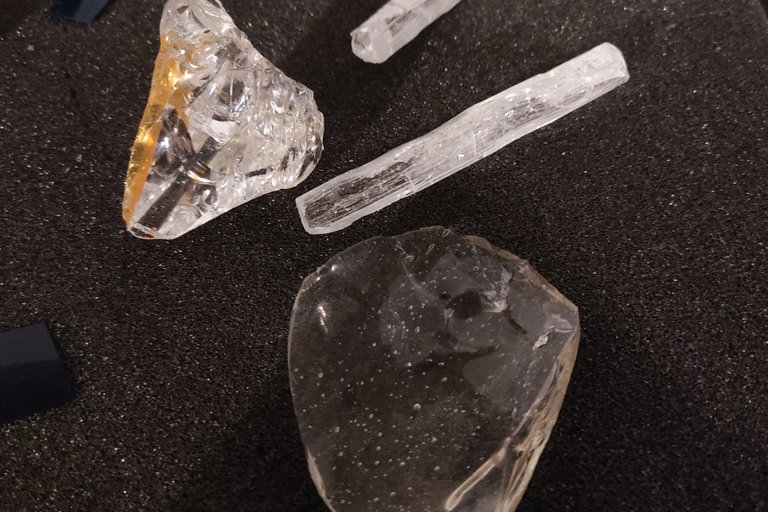
The pieces of glass used are fragments and remnants from a glass manufactory. The glass is of high quality. The manufactory uses it to make art objects and high-quality utensils. But in principle, this also works with other things made of glass, such as wine glasses or similar.
Die verwendeten Glasstücken sind Bruchstücke und Reste aus einer Glasmanufaktur. Das Glas ist von hoher Qualität. Die Manufaktur fertige daraus Kunstobjekte und hochwertige Gebrauchsgegenstände. Aber grundsätzlich funktioniert das auch mit anderen Dingen aus Glas, wie Weingläsern oder Ähnlichem.
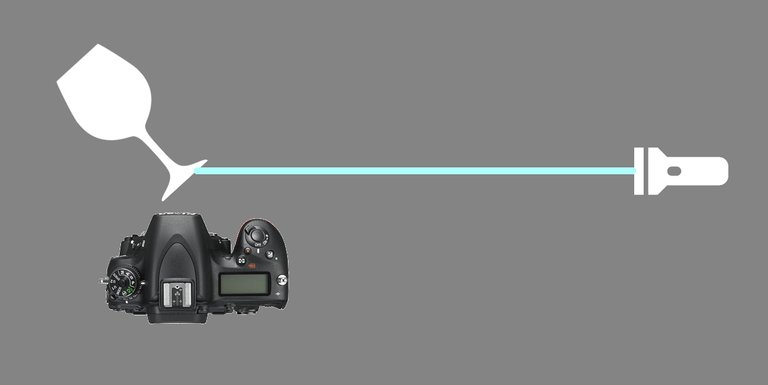
Here you can see the basic structure. The camera is mounted on the tripod without the lens. The glass object is placed in front of the camera. I had screwed a macro ring from the 3D printer onto the camera so that I wouldn't accidentally hit the sensor when moving the glass object in the dark. Then I taped the head of the Fenix PD36R with gaffa tape and poked a small hole in it. I placed the lamp about 2 metres away. I then directed the small beam of light parallel to the camera onto the glass object.
Hier seht ihr den grundsätzlichen Aufbau. Die Kamera wird ohne Objektiv auf dem Stativ befestigt. Das Objekt aus Glas wird vor der Kamera platziert. Ich hatte einen Makroring aus dem 3D Drucker an die Kamera geschraubt damit ich in der Dunkelheit beim Bewegen des Glasobjekts nicht versehentlich den Sensor treffe. Dann hatte ich den Kopf der Fenix PD36R mit Gaffa Tape zugeklebt und in dieses ein kleines Loch gestochen. Die Lampe hatte ich in ca. 2 Metern Entfernung platziert. Den kleinen Lichtstrahl hab ich dann parallel zur Kamera auf das Glasobjekt ausgerichtet.
I switched on Live View and moved the glass in front of the camera until a half-decent refractograph became visible and then triggered the camera. I had worked with exposure times of 1/8 to 1 second. The ISO value was either 100 or 400. In some of the pictures I had coloured parts of the image with small pieces of colour filter foil.
Ich schaltete den Live View ein und bewegte das Glas solange vor der Kamera bis ein halbwegs ansehnlicher Refraktograph sichtbar wurde und löste dann die Kamera aus. Ich hatte mit Belichtungszeiten von 1/8 bis 1 Sekunde gearbeitet. Der ISO Wert war entweder 100 oder 400. Bei einigen Bildern hatte ich mit kleinen Stücken Farbfilterfolie Teile des Bildes eingefärbt.
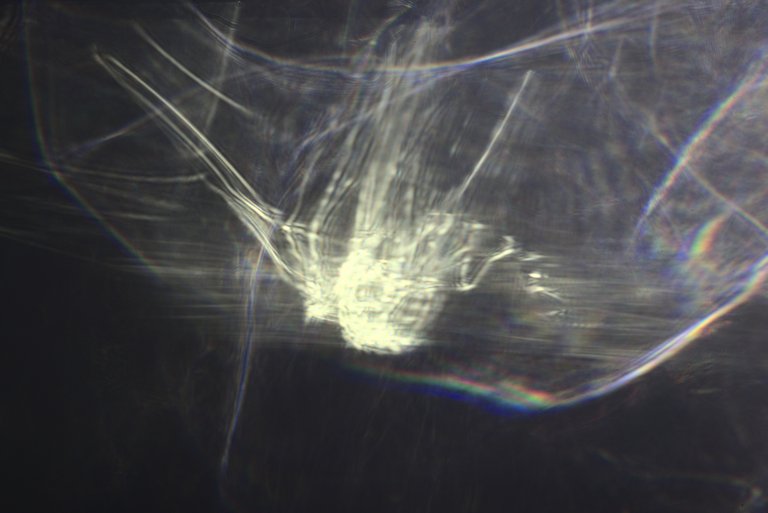
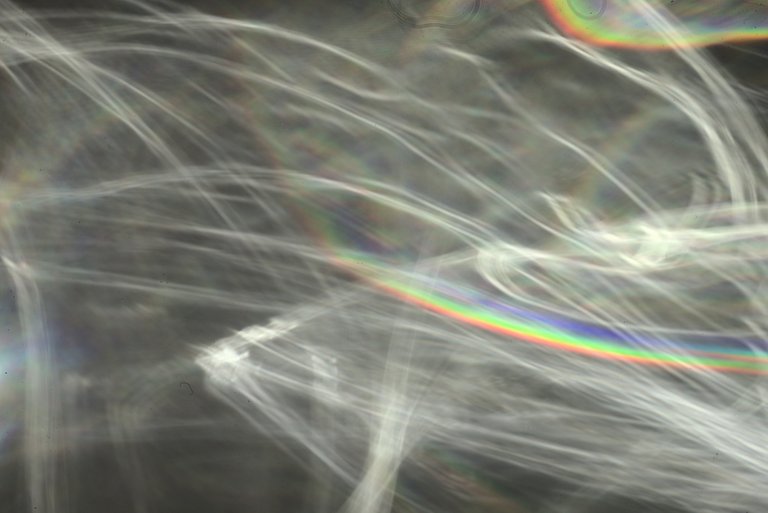
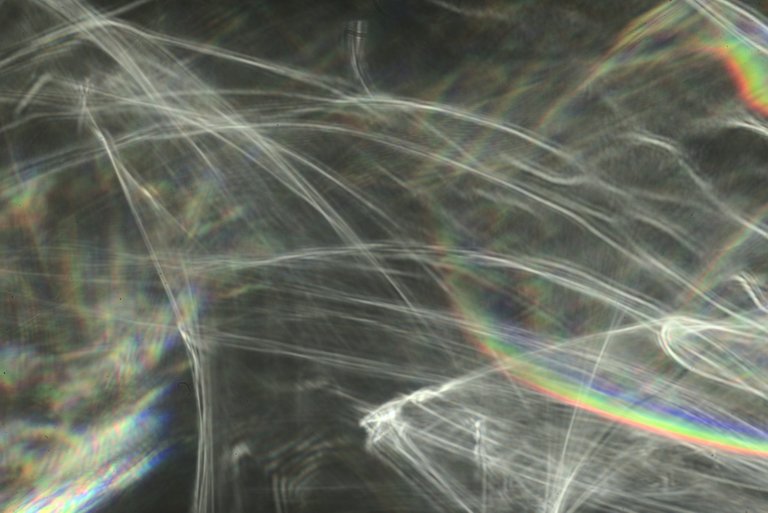
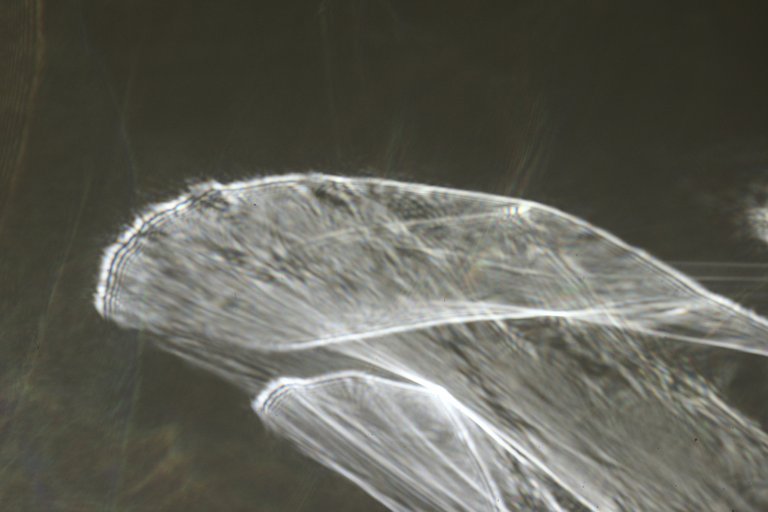
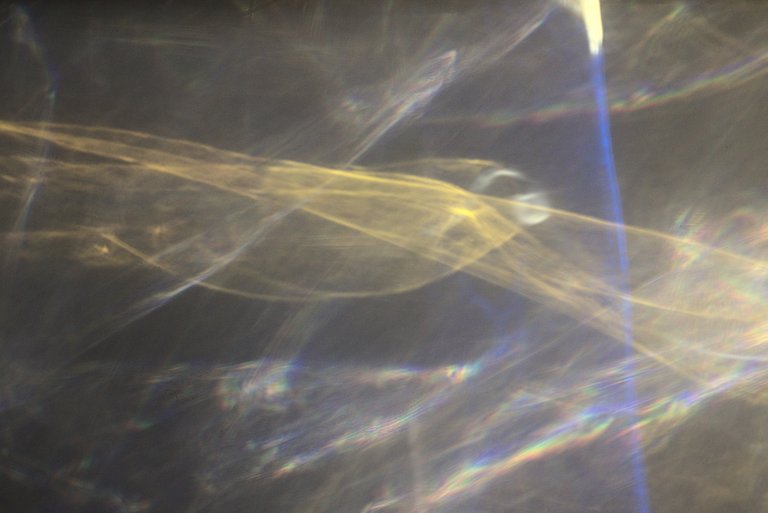
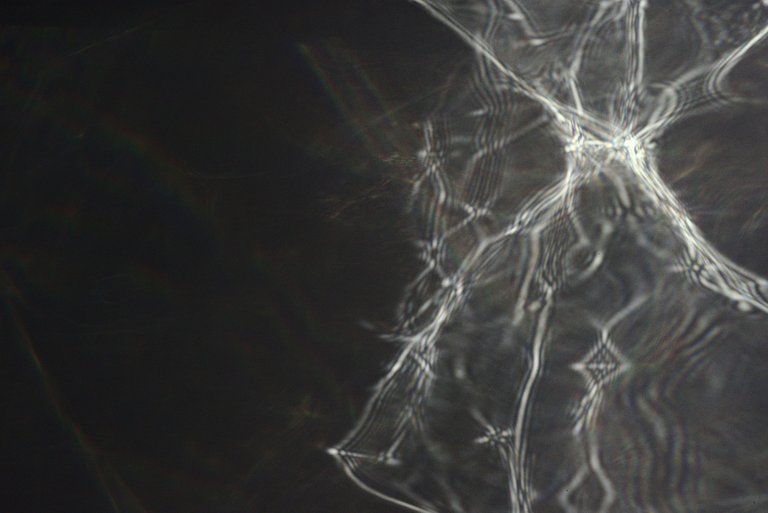
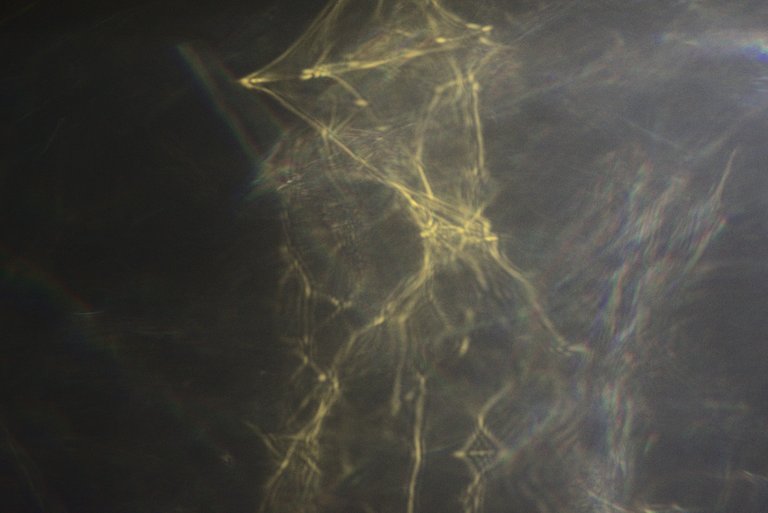
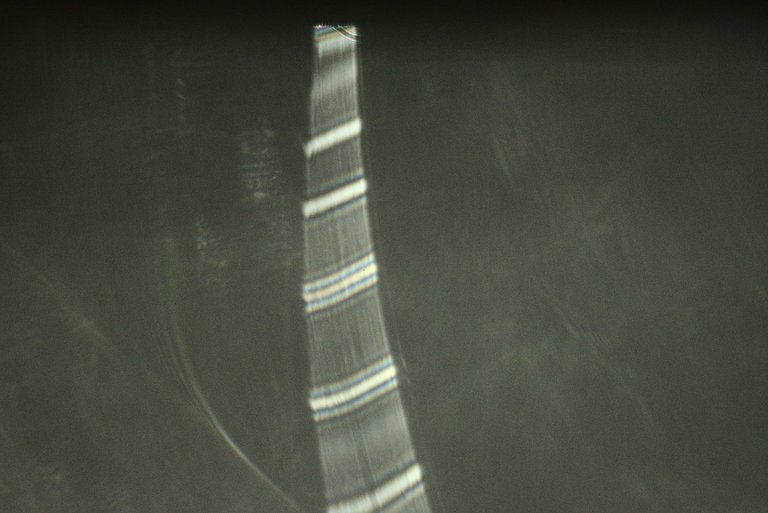
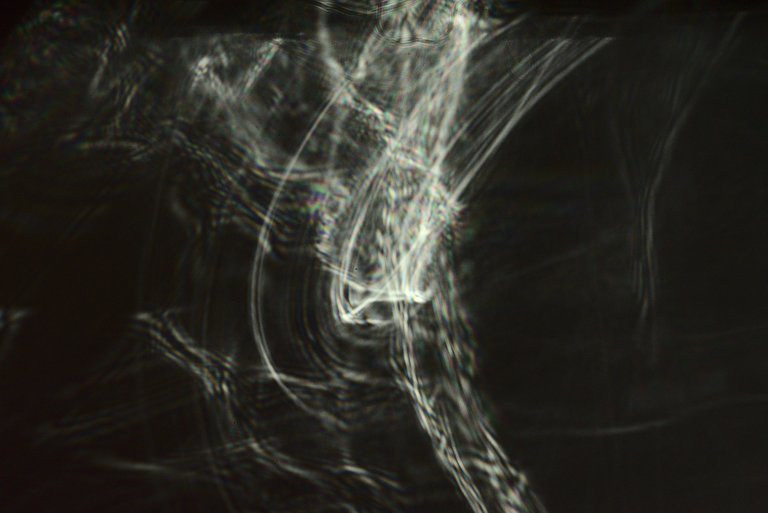
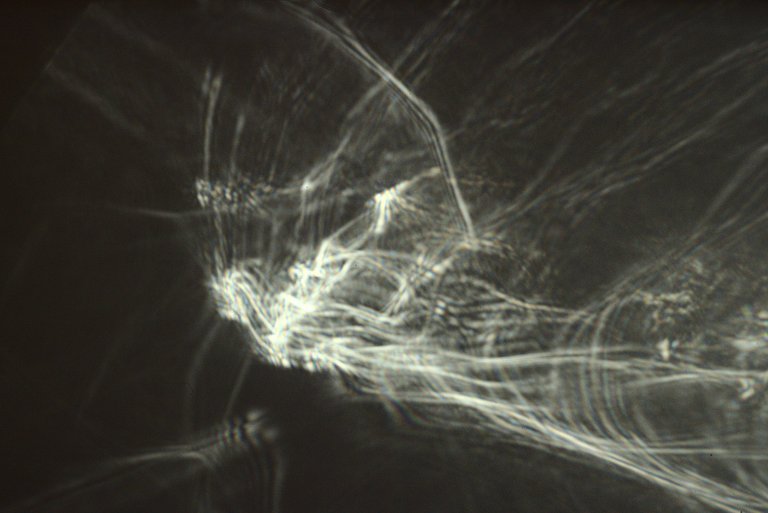
The esteemed Rob Turney published a very good tutorial on refractography a few years ago. You can find it here:
Der geschätzte Rob Turney hat vor einigen Jahren ein sehr gutes Tutorial zum Thema Refraktographie veröffentlicht. Dieses findest Du hier:

WHAT IS LIGHT PAINTING?

LICHTKUNSTFOTO
If you like my art visit www.lichtkunstfoto.de for more Light Art Photography and informations about Light Painting. Join me on Flickr Twitter


For more great Light Art Photography, Light Painting and inspiration check these light painters: @marlasinger666 @fadetoblack @fastchrisuk @dawnoner @oddballgraphics @martbarras @stepko @rod.evans.visual @yo-hoho @maxpateau @gunnarheilmann @neilru75 @maximepateau @ryuslightworks @lightstabeu @candelart @lacelight

WE ARE LIGHT PAINTERS

To help and support the LightPainters community here on Hive I would appreciate your delegation of HivePower. Any amount is appreciated. It does not require much to get started, we are happy for any gesture. @lightpainters
How to delegate?
Delegate 50HivePower, [50HP]
Delegate 250HivePower, [250HP]
Delegate 500HivePower, [500HP]
Delegate 1000HivePower, [1000HP]
All the Hive Power will help to upvote the artist's contribution as part of the LightPainters community.
