The article in Japanese is in the second half.★日本語の記事は後半に。
I have been writing this series of articles on making preserved food, but there was a period last year when I was ill and took a break from submitting articles to HIVE for about six months.
In fact, this article was scheduled to be posted a year ago.
I have now re-edited the content and decided to post it at the same season after a year.
Red ginger is very much enjoyed in Japan, but what about in other countries?
Red ginger is a soft ginger, harvested in spring, that is sliced and pickled with salt and red shiso.
In Japan, it is mostly eaten as a condiment, but sometimes red ginger is battered and fried, or mixed with fish paste and subsequently steamed and eaten like fish cake.
I have thought every year that I wanted to make red ginger during the season when fresh ginger is on sale, but I had plans to make various other preserved foods during this season, I was preparing and maintaining my balcony vegetable garden, went solo camping, went mountain climbing and was busy with other things, so I didn't make it.
This year, when I went to the supermarket, I found a lot of fresh ginger on sale at a relatively low price, so I decided to make ginger ale (ginger syrup) and also fresh ginger.
Here are four articles on making ginger syrup.
【Make preserves./保存食を作る】01_1・Make ginger syrup./ジンジャーシロップを作る。/[ENG/JPN]
【Make preserves./保存食を作る】01_2・Make ginger syrup./ジンジャーシロップを作る。/[ENG/JPN]
【Make preserves./保存食を作る】01_3・Make ginger syrup./ジンジャーシロップを作る。/[ENG/JPN]
【Make preserves./保存食を作る】01_4・Make ginger syrup.Completed/ジンジャーシロップを作る。完結/[ENG/JPN]
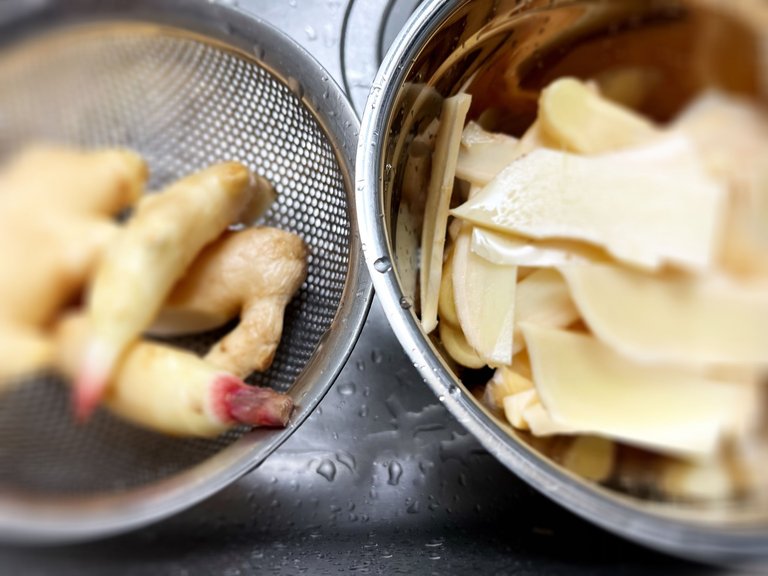
First, wash the ginger you have bought thoroughly.
As you scrub the surface with a scrubber, you can also remove unwanted skin.
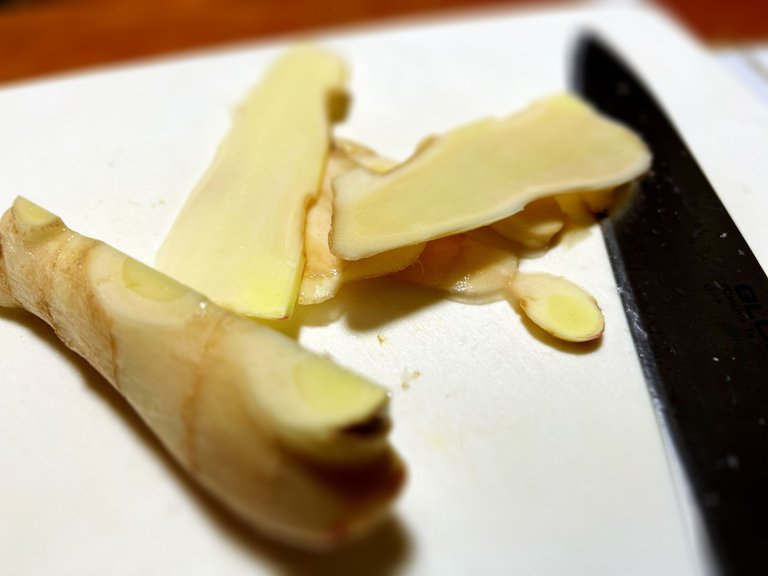
We want to cut a large surface area for salting, so we decide to slice it.
As I mentioned at the beginning, I slice them into slices this big because the bigger the better for frying.
I slice them into strips at the eating stage, but considering the process that follows, it is easier to handle them at this stage if they are cut into larger pieces, so I cut them like this.
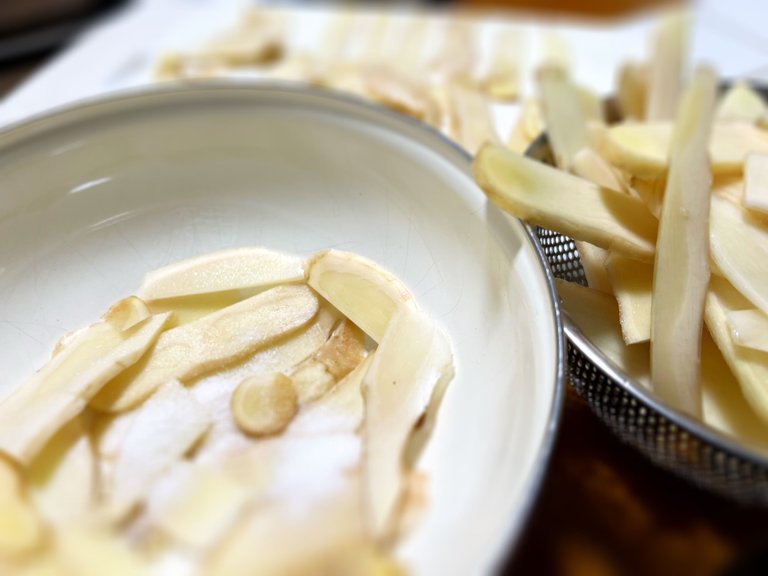
This is where the salting process begins.
In this case, 300 g of fresh ginger was used.
The salt used is 9 g.
This is adjusted so that the salt content is '3% of the ginger'.
Actually, you can pickle ginger without slicing it in this way, even if it is in a more chunky state, with 9g of salt.
So it seems possible to reduce the salt content even more if it is sliced as 'homemade' like this and then pickled in salt.
However, I don't want to reduce the salt if it makes the preservation worse, so I used 9 g of salt, prepared for it to be too salty.
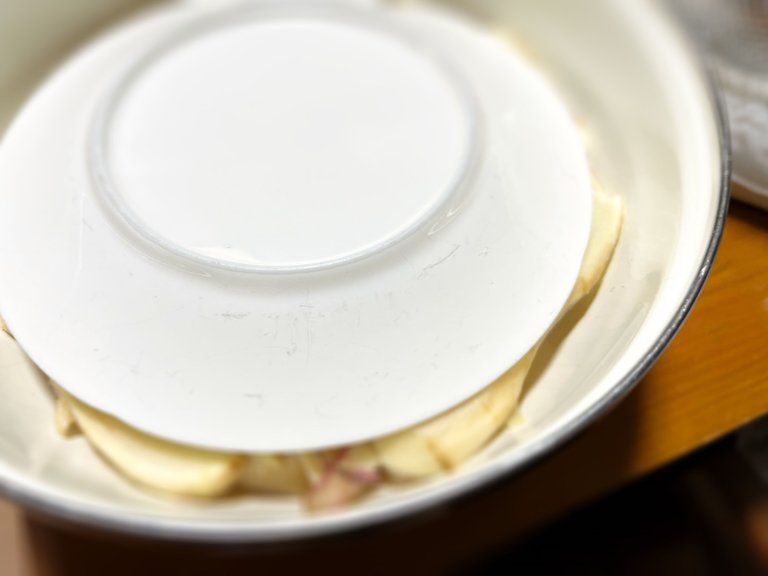
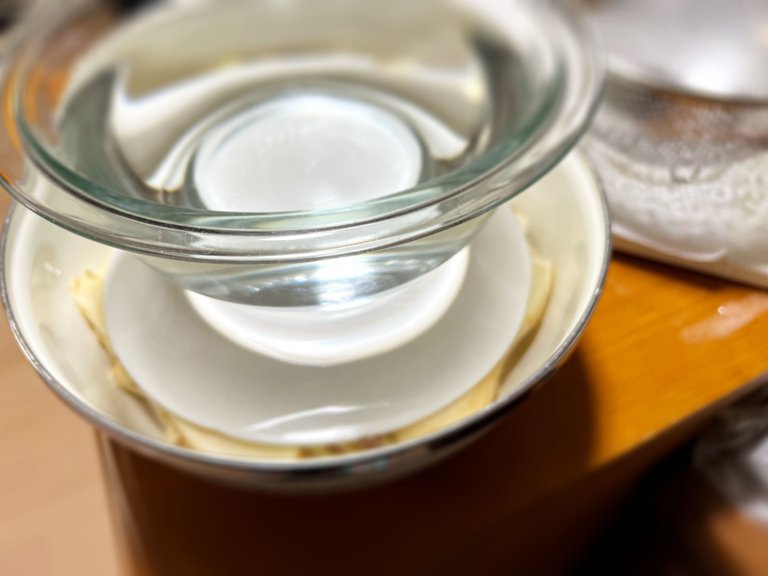
Weigh them down and leave them in this state of salting for two days.
The easiest way to weight the ginger while it is in a bowl and coated with salt is to cover it with a plate like this.
The weight is supposed to be "about twice the weight of the ginger", so I adjusted the weight by placing a bowl of water on top of this plate.
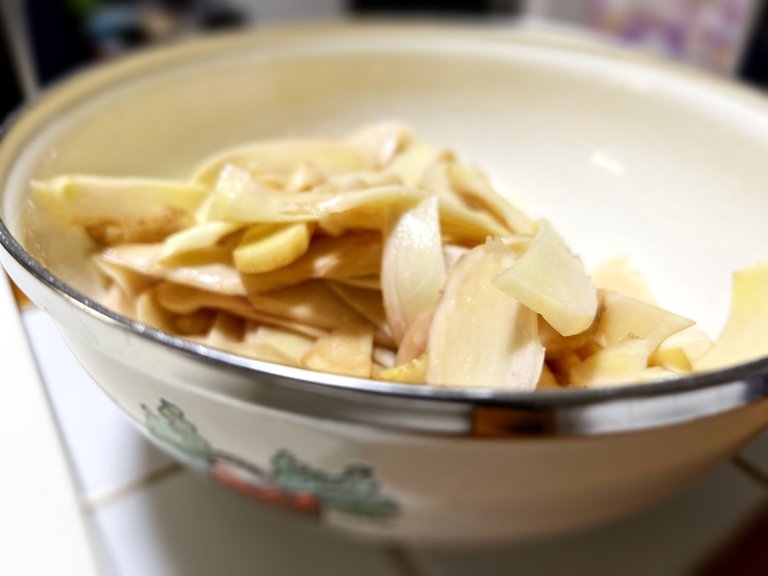
Two days later, the new ginger looks like this. The excess water has been removed and it is now sticky.
After this, I rinsed them in water and wiped off the water with kitchen paper.
The ginger is then air-dried (preferably in the sun) for about half a day, as even a small reduction in water content will help prevent spoilage due to bacteria.
After this, they are bottled.
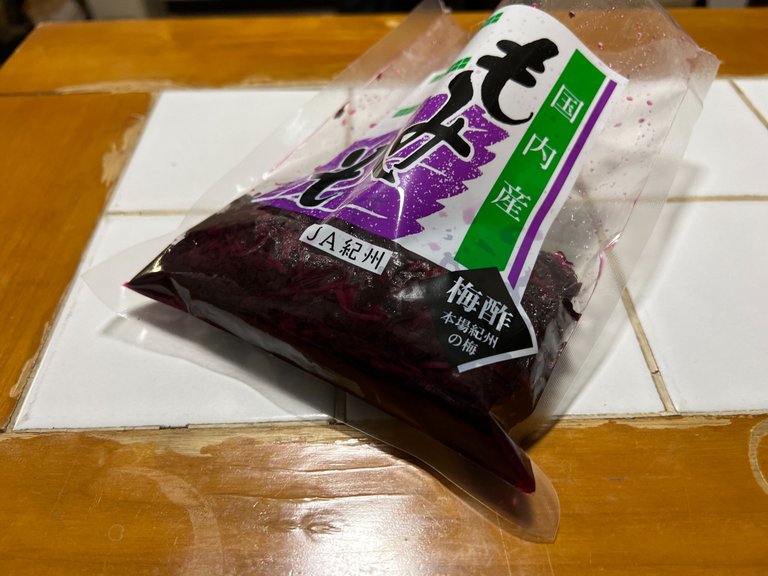
This red shiso is added when bottling.
These days, it is more convenient to buy red shiso that has been 'salt-rubbed' in advance, as shown here.
In the past, you had to buy fresh red shiso and prepare it by applying salt and rubbing it in with your own hands, which was quite a time-consuming process.
Not only the ume vinegar, but also this red shiso gives a bright colour and a good flavour.
If you can't find it, you can omit this red shiso, but I used it because I could buy it at the supermarket.
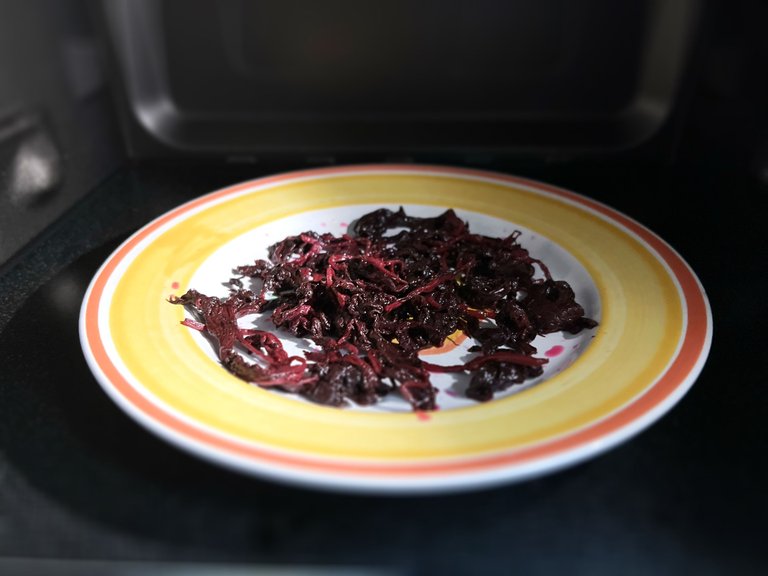
This 'salt-rubbed red shiso' can be spread out like this, dried and powdered to make the popular Japanese shiso-flavoured furikake by hand.
If you have any leftover as a result of making umeboshi or red ginger, it is convenient to make it.
It can be mixed with rice to make rice balls or Japanese fried rice.
This photo shows them about to be dried in the microwave. It is easy to dry.
Making red ginger will continue in the next article.
Enjoy.

■diary with a few words
Typhoon No. 1 apparently passed over today, and now we hear that typhoon No. 2 is already on its way. Typhoons bring rain to the northern hemisphere from the thermal energy of the southern oceans. In the area where I spent my childhood, there were water shortages every summer, so typhoons were both a mass of energy that brought a lot of rain and a scary presence that brought disasters. I still remember many things.


Japanese★ここから日本語でお送りいたします。
私はこの「保存食を作る」記事をシリーズとして書いてきたのですが、昨年体調を悪くして半年ほどHIVEに記事を投稿するのをお休みしていた期間がありました。
本当はこの記事は1年前に投稿予定でした。
今回、改めて内容を編集し直し、1年経って同じ季節に投稿することにしました。
紅生姜は日本ではとても好んで食べられているのですが、他の国ではどうなのでしょう?
紅生姜というのは、春になると収穫される、柔らかい生姜をスライスし、塩と赤紫蘇で漬け込むものです。
日本では薬味として食べられることがほとんどですが、紅生姜に衣をつけてフライにすることもありますし、魚のすりみと混ぜてその後に蒸し焼きにしてかまぼこのようにして食べることもあります。
新生姜が発売される季節に「紅生姜作ってみたいな」と毎年思っていたのですが、この季節は他にも保存食を色々と作る予定があったり、ベランダ菜園の準備と整備をしていたり、ソロキャンプに行ったり、山登りに行ったり、何かと忙しくして作ってませんでした。
今年はスーパーマーケットに行ったら比較的安い値段て多くの新生姜が売られていたので、ジンジャーエール(ジンジャーシロップ)も作り、新生姜も作ろうと思い立ったのでした。
ジンジャーシロップを作った時の記事はこちらの4件です。
【Make preserves./保存食を作る】01_1・Make ginger syrup./ジンジャーシロップを作る。/[ENG/JPN]
【Make preserves./保存食を作る】01_2・Make ginger syrup./ジンジャーシロップを作る。/[ENG/JPN]
【Make preserves./保存食を作る】01_3・Make ginger syrup./ジンジャーシロップを作る。/[ENG/JPN]
【Make preserves./保存食を作る】01_4・Make ginger syrup.Completed/ジンジャーシロップを作る。完結/[ENG/JPN]
まずは買ってきた生姜をしっかり洗います。
表面の汚れをたわしでゴシゴシ擦っているうちに、不要な皮も取れます。
塩漬けにするために表面積を広くカットしたいので、スライスすることにしました。
最初に書いたように、フライにする場合は大きい方がいいのでこれくらいにスライスします。
私は食べる段階では千切りにするのですが、この後のプロセスを考えるとこの段階では大きめにカットしておいた方が取り扱い易いので、こんなふうに切りました。
ここから塩漬けにする工程です。
この時は新生姜 300gを使いました。
使用する塩は9gです。
これは「生姜に対して3%の塩分」になるように調整しています。
実はこのようにスライスせず、もっと塊の状態の生姜であっても9gの塩で漬け込むことができます。
なので、こんなふうに「自家製」としてスライスしてから塩に漬けるならもっと塩分を削減することも可能になるようです。
でも、塩を減らすことによって保存性が悪くなったら嫌だなと思うので、しょっぱくなるのを覚悟で9gを使用しました。

重しをしてこのまま2日間塩漬けします。
ボウルに入れて塩を塗した状態で重しをするときは、こんなふうにお皿を被せるのが一番簡単です。
重さは「生姜の重量の2倍くらい」が目安だとのことなのでこの皿の上に水を入れたボウルを乗せて重量を調整しました。
2日後、新生姜はこんなふうになりました。余分な水分が抜けて、くったりしています。
この後水洗いをしてキッチンペーパーで水分を拭き取りました。
水分を少しでも減らした方が雑菌による腐敗の防止になるので、この後半日ほど空気乾燥(できれば太陽に当てて乾燥)させます。
この後瓶詰めにしていきます。
瓶詰めにする時に、この赤紫蘇を入れます。
最近は便利になり、赤紫蘇をこのようにあらかじめ「塩揉み」した状態で売られているものを買うこともできます。
昔は、フレッシュな状態の赤紫蘇を購入してきて、自分の手で塩を塗して揉み込む下拵えをしなくてはならず、これがなかなか手間でした。
梅酢だけでなく、この赤紫蘇を入れると色も鮮やかに染まりますし、風味も良くなります。
もし手に入らない場合、この赤紫蘇は省略しても良いらしいのですが、私はスーパーマーケットで購入できたので使用しました。
この「塩揉みされた赤紫蘇」はこのように広げて乾燥させて粉末にすると、日本で人気のある紫蘇の風味のふりかけを手作りすることができます。
もし、梅干し作りや紅生姜作りの結果余ってしまったら、作っておくと便利です。
ご飯に混ぜておにぎりにしたり、和風のチャーハンを作ったりできます。
この写真は電子レンジで乾燥させようとしているところです。簡単に乾燥させることができます。
紅生姜作りは次回に続きます。
お楽しみに。

■ひとこと日記
今日、どうやら台風1号が過ぎ去っていったらしいのですが、もう2号が発生しているらしいです。
台風は南の海の熱エネルギーが雨をを北半球へ運んできてくれます。
私が子ども時代を過ごしたエリアでは夏の水不足が毎年起こっていたので、台風は大量の雨を運んできてくれるエネルギーの塊でもあり、災害を運んでくる怖い存在でもありました。
今も色々思い出します。
Google Translate & DeepL, thank you as always.
I am glad that you read it :-)
今日も読んでくださってありがとうございます😊
This report was published via Actifit app (Android | iOS). Check out the original version here on actifit.io

