Evening folks
Lately I have been spending a lot of time in my workshop getting it redesigned and setup ready for the @hive-woodpeckers meetings I am running.
My son is 2 years old and for the last 2 weeks he keeps wanting to come and join me in the workshop making things.
He loves tools and has his own little plastic set that he adores.
Today while he had his nap, I decided I wanted to make him his own workbench that he can play with and recreate what he thinks I do in the workshop.
Yes it looks terrible, but there is a few reasons for this.
- My electric drill died on me recently and I am using a hand drill, which is like a bloody whisk where you turn the wheel and it turns the drill piece. This has been lent to me so I am working with what I can.
- The drill piece is not a wood bit, it is a masonry drill bit that I cannot remove because it is rusted solid and is as blunt and flat as can be!
- I had half an hour to make this and with all my might I managed to do it.
- I have an electric jigsaw whose blade is as blunt as can be. Just cutting thin MDF was a chore. The table saw you see later on is waiting on a new blade so I couldn't even use that. Which would have made this a very speedy job indeed.
- This was done using only scrap wood and off cuts I had laying around due to the severe lack of tools I had available
So now we have covered the struggles, let's get into this bad boy.
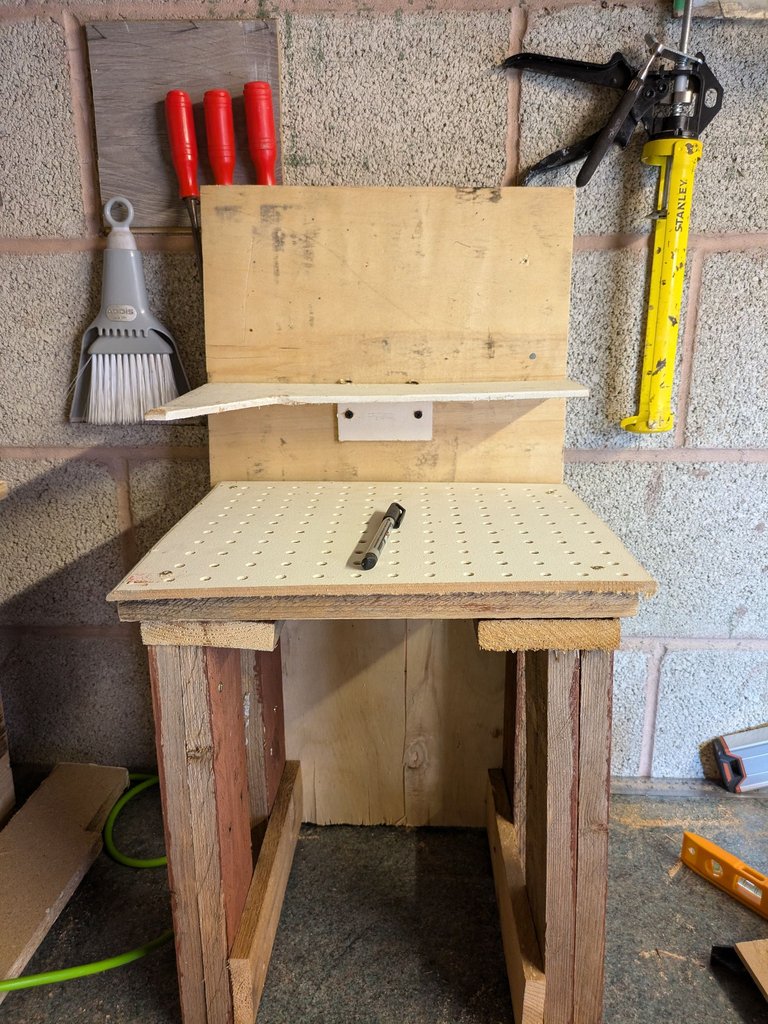
The base of the unit is actually a table I made for my son last year, so that he could eat outside with us in the sun. Another rough and ready build, but when you only have a few minutes to put stuff together this is what happens.
I used it today as it was fairly square, it is now a good standing height for him and that it can take a beating. It can support well over 200kg stacked on top of it. I did a little testing last year as my partner was scared it might collapse if he sat on it 🤗
I used plywood for the back of this bench as it was a pretty close fit measurement wise, but also it would allow me to hang some shelves from it for his tools to sit on when he isn't using them.
The workbench top is from the old Radiator Cover I made a while ago.
All screwed down with wood screws and plasterboard screws as they were the perfect size that I had to hand.
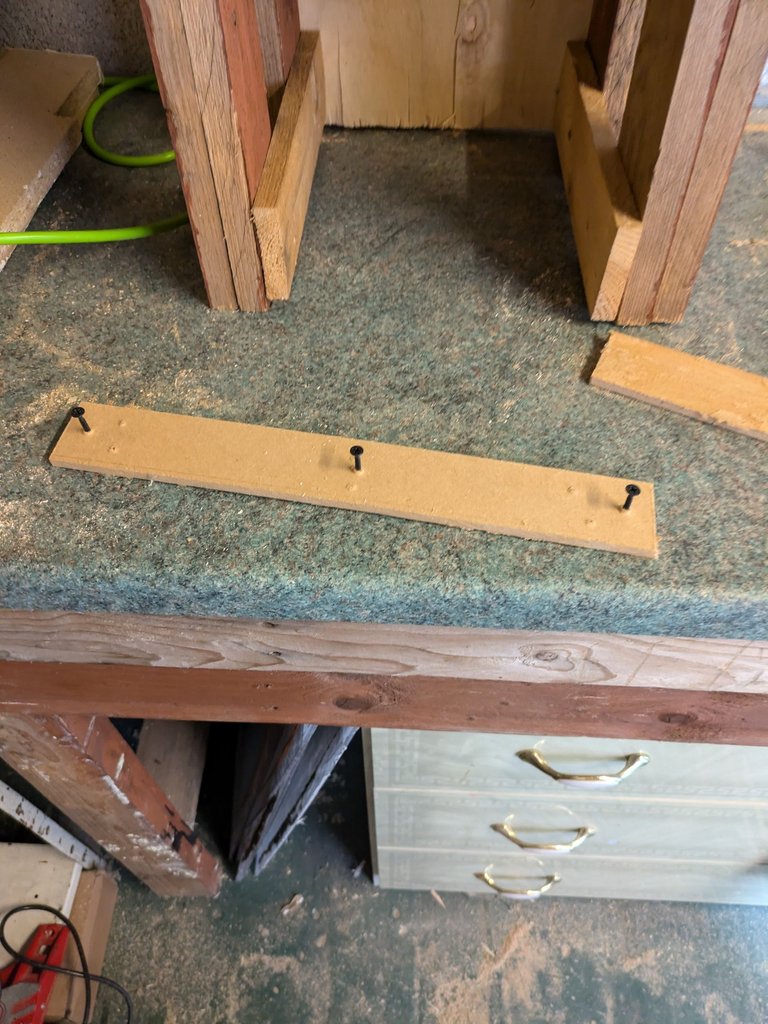
These strips were quick cuts to allow me to support the underside of the shelves, which they are doing an amazing job at.
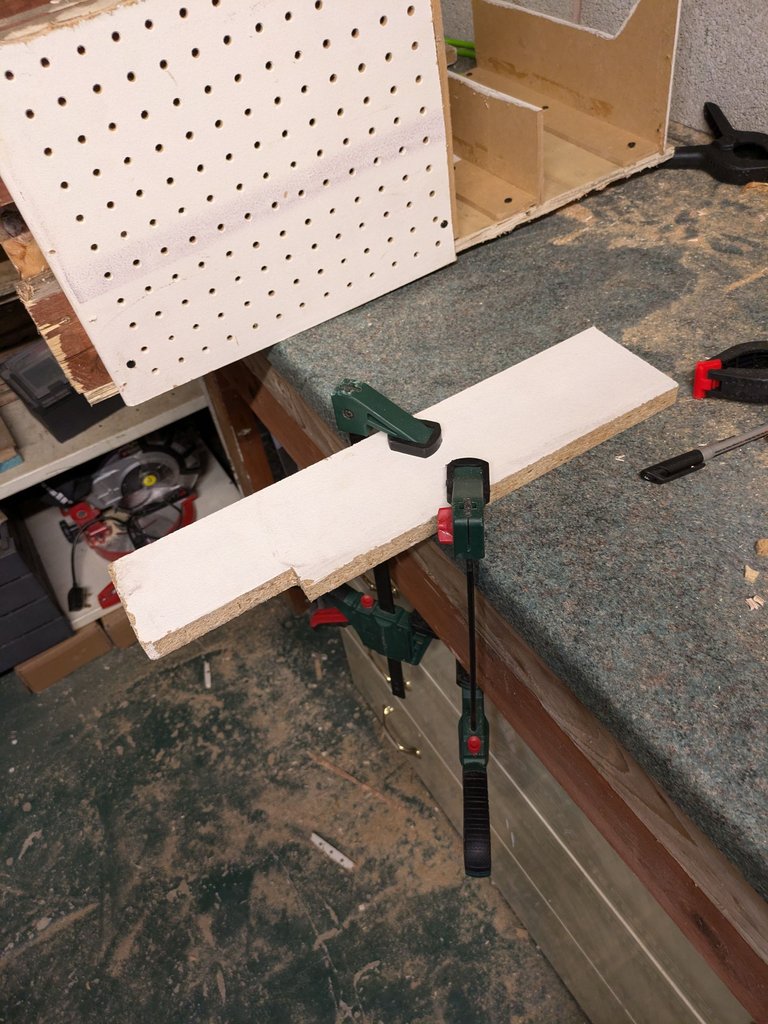
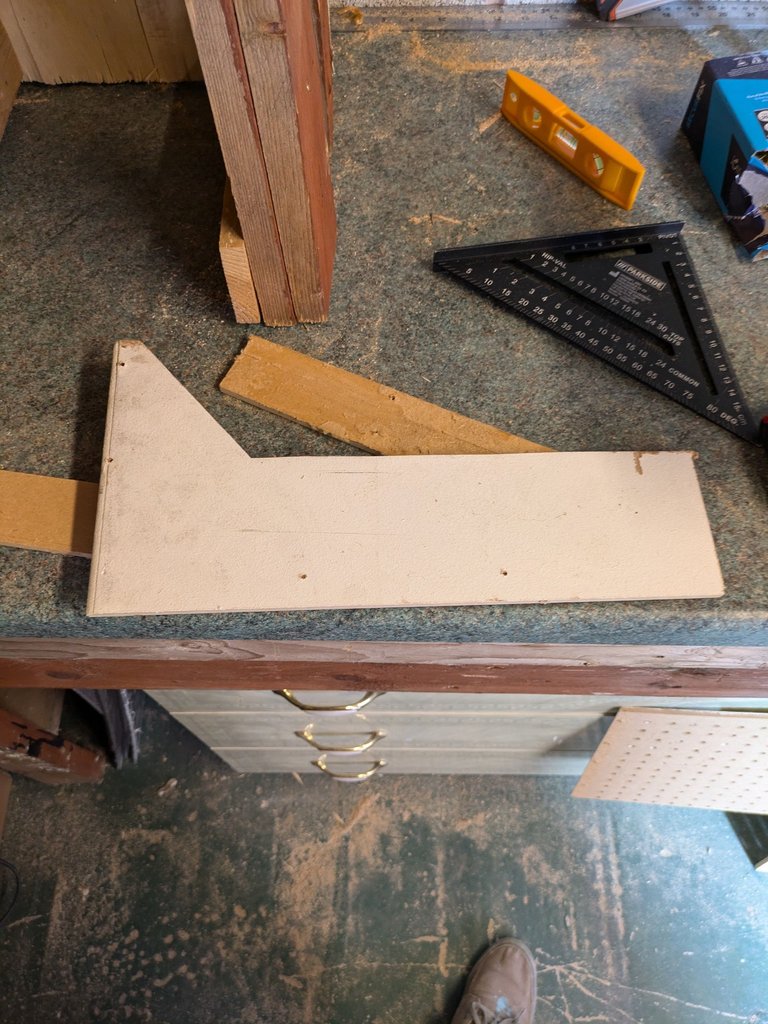
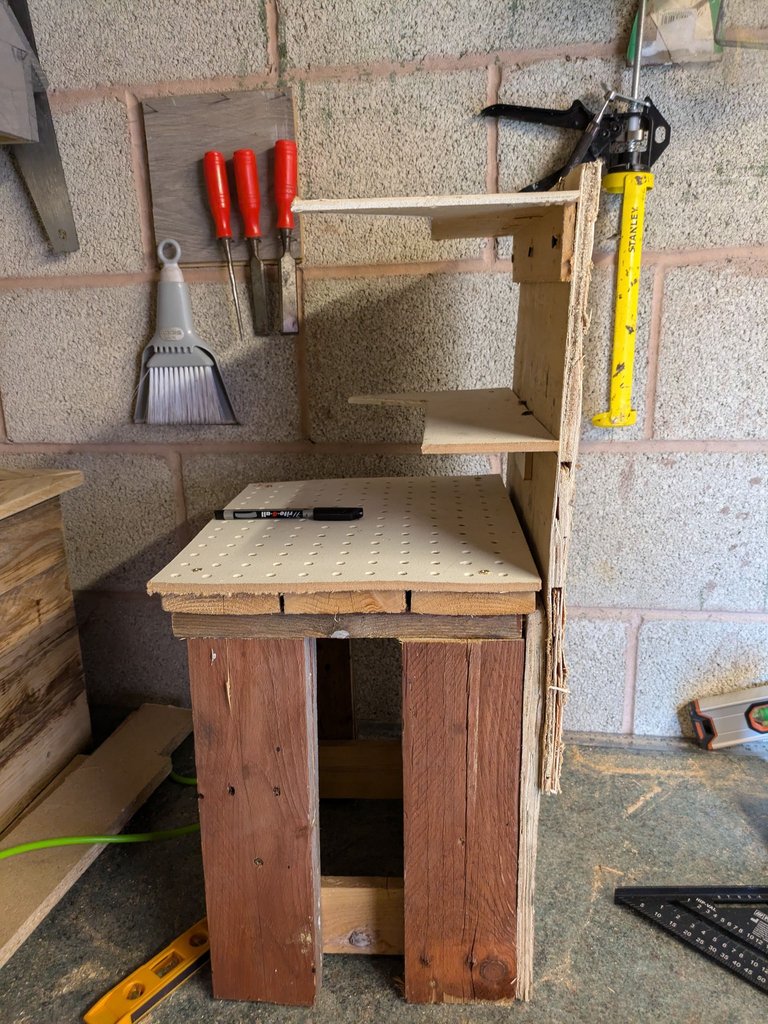
This is the top of the old radiator cover chopped up and used for the shelves.
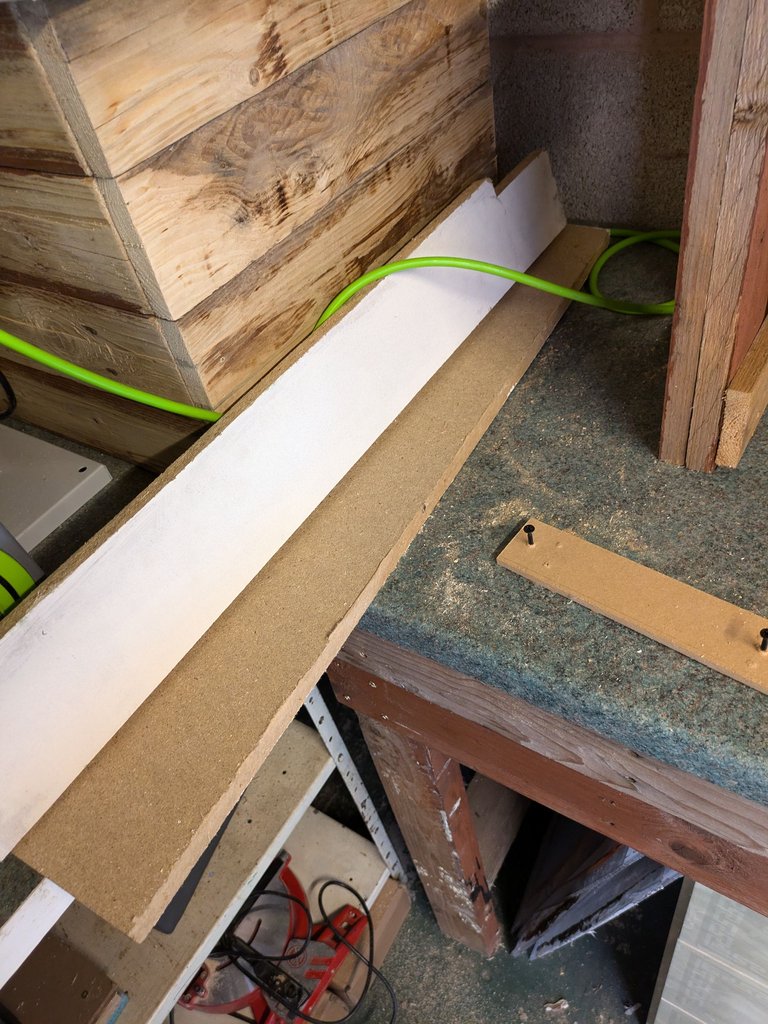
These sides were a great size and made it possible to close off the front of the bench to hide the mess of screws and dodgy cuts inside.
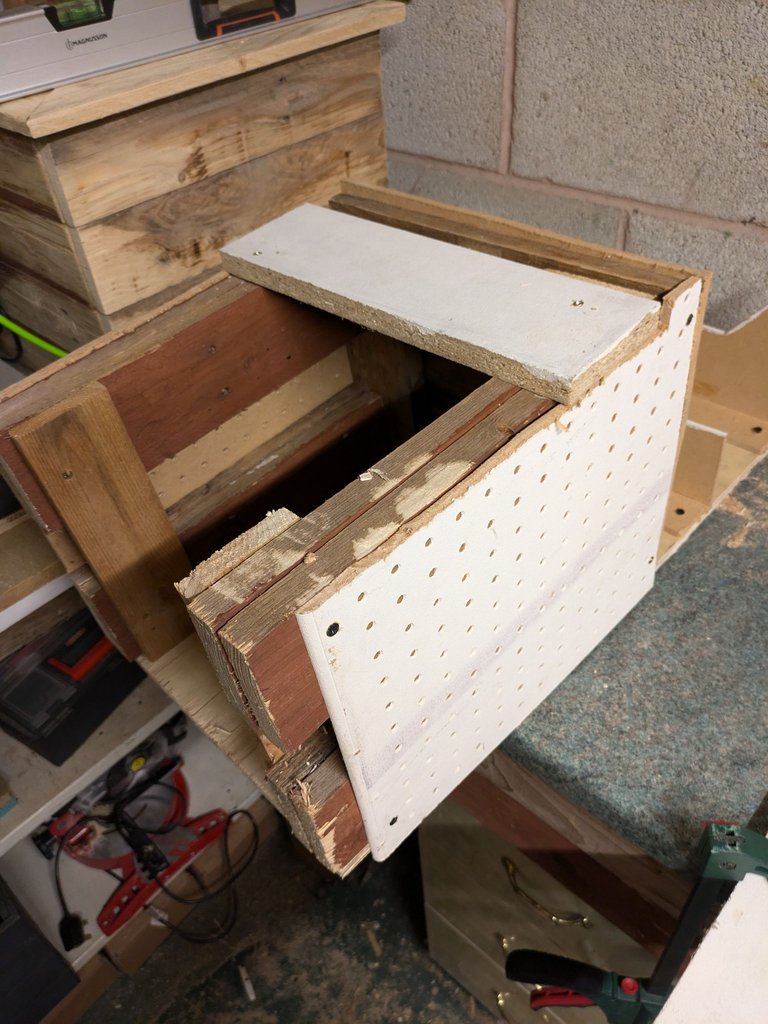
Both sides again used the front of the radiator cover and will allow me to add some hooks for him at a later date.
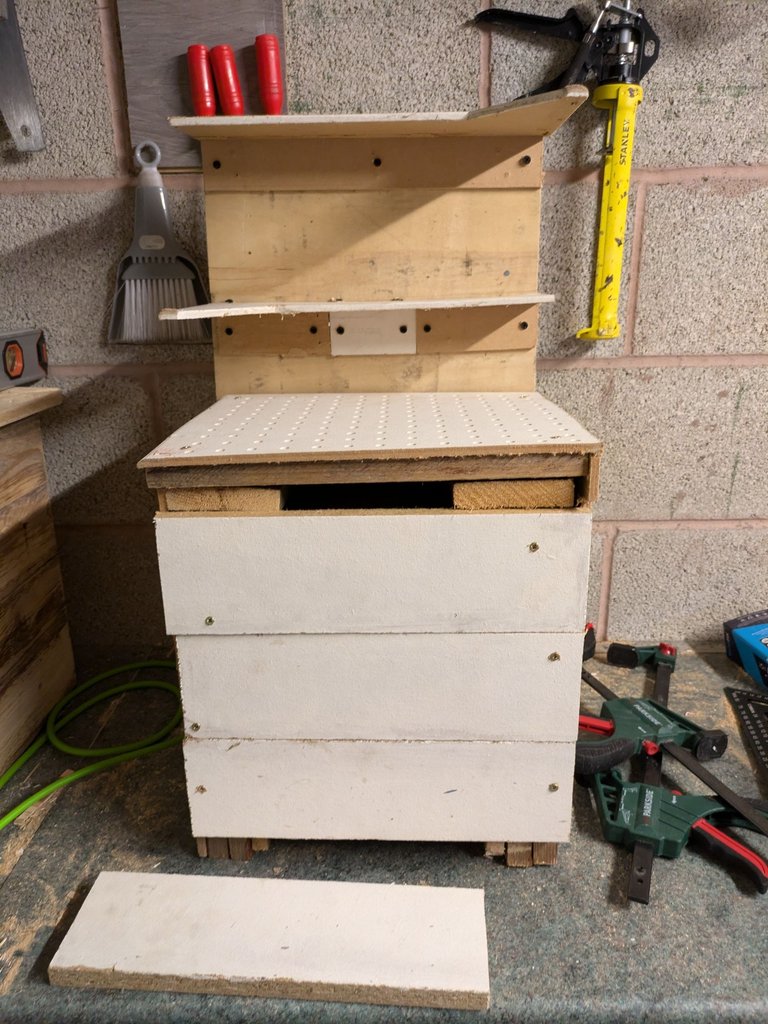
The gap at the front really annoyed me, but I didn't have anything to fill it completely so I had to resort to a good ol bodge job!

I added the shelf at the front to hide the majority of the gap, and a little screw driver holder onto the left side for him to place his 2 screwdrivers.
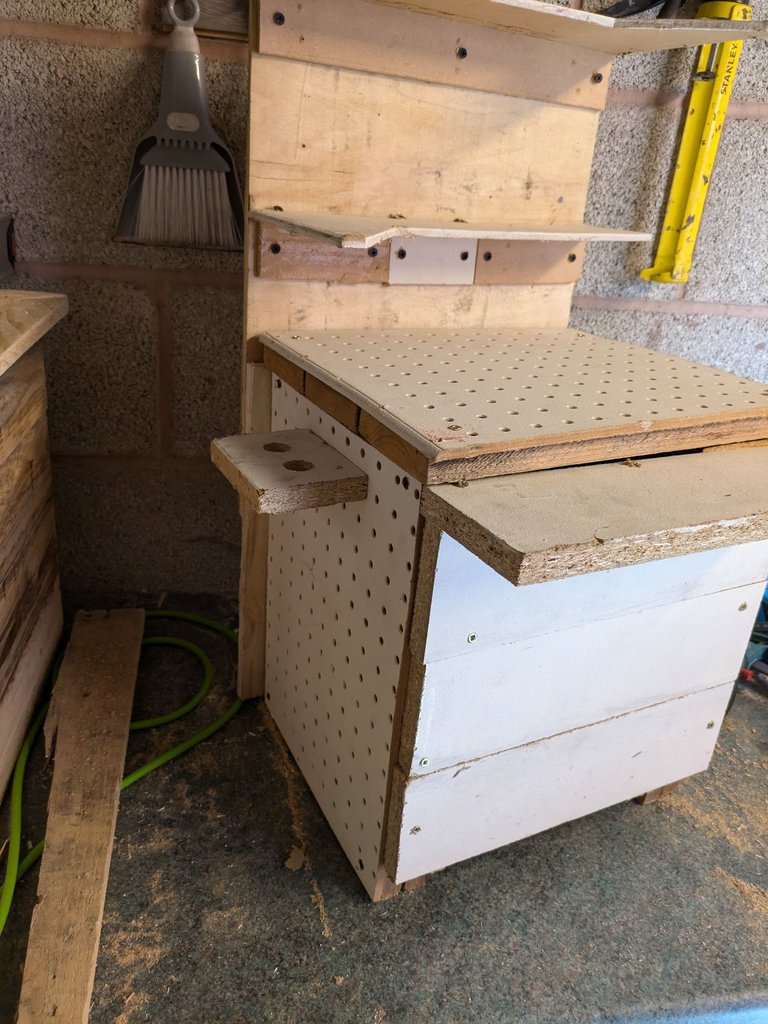
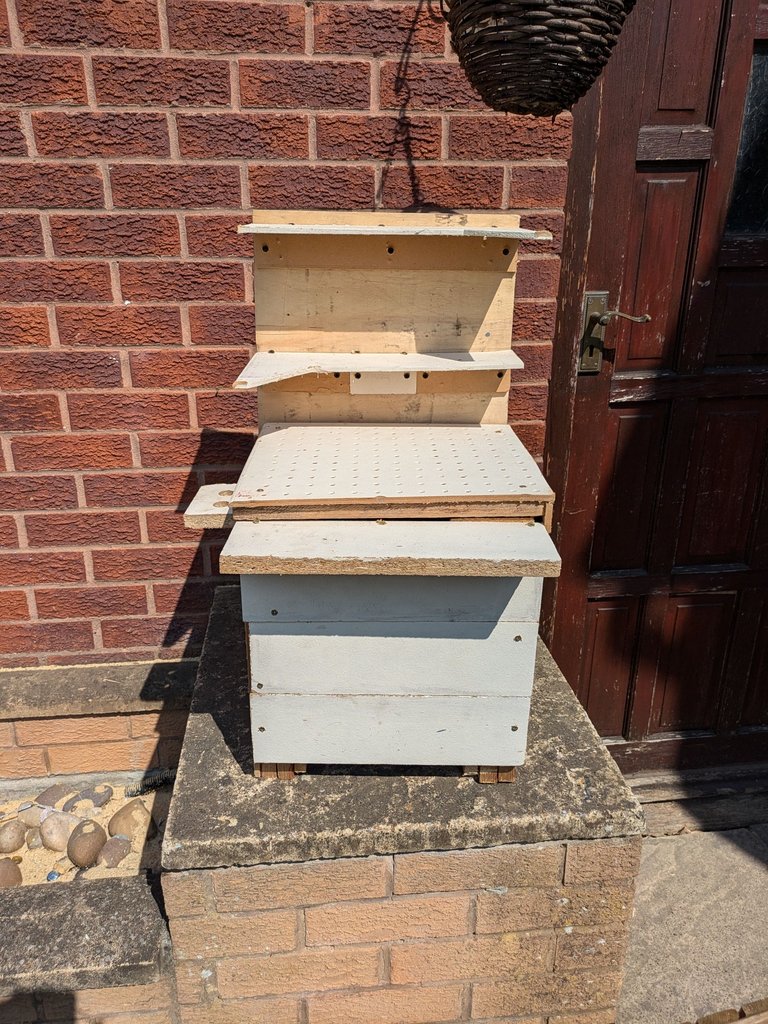
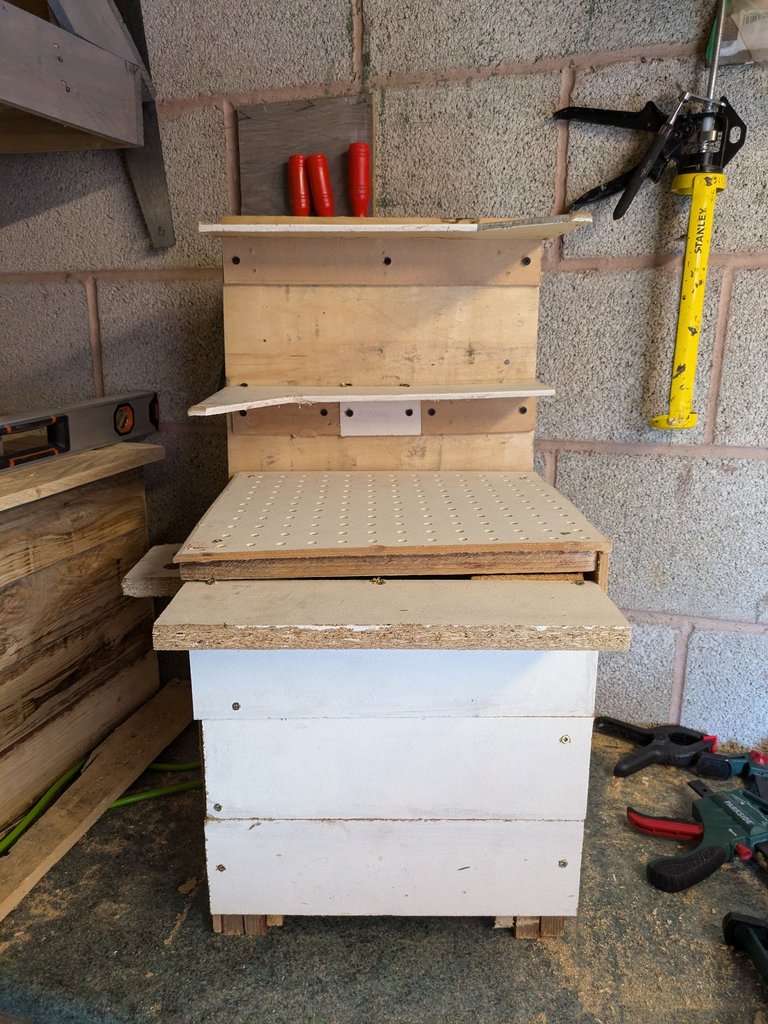
And here is the finished article after it had a really good sand down to remove any splinters and rough edges so that he didn't get hurt.
My son absolutely loves it and played with it for hours and bashed the hell out of it with his hammer. It is still standing so that made me happy.
I will be sanding it down more and giving it a couple of coats of paint just to freshen it up a bit and try to make it look less awful 😅
This will happen when I get another spare half hour, hopefully in the coming weeks.
Hive-Woodpeckers
Please take a moment and check out my Charity project that I am currently running,
The hive Woodpeckers
I am teaching disadvantaged kids in my area basic woodworking skills and hoping to make a difference in their lives.
This is done on a voluntary basis with no outside funding, so I am turning to the Hive community to help us out and allow us to keep bringing this service to the users who are loving it so far!
Posted Using InLeo Alpha


