
Hola hola amigos creativos, espero que estéis bien, disfrutando de buena salud, ¡bienvenidos a mi blog!
Comenzamos un nuevo año, y, en la comunidad hay un nuevo concurso con un hermoso tema, como es: La Paz; donde tenemos la oportunidad de expresar nuestra creatividad, de diversas maneras.
Hay muchos símbolos para representar la paz, pero el mas conocido, y, para mi el mas significativo es la paloma blanca con la rama de olivo en la boca; que me recuerda la historia bíblica del diluvio, cuando Noé envió un apaloma para saber si la tierra se había secado, y, esta regreso con una rama en el pico, señal que ya todo lo malo había pasado, y la tierra estaba en paz!
El tema de la paz, creo que es más complejo de lo que parece; siendo que esta se define como: ausencia de guerra; es irónico escuchar lemas como: si quieres la paz, prepárate para la guerra; cómo cristiana de Fe profunda en Dios, se que, la verdadera paz se encuentra en Dios; el mismo Jesucristo dijo: La Paz os dejo, mi paz os doy, yo no la doy como el mundo la da!
Sin embargo es importante crear conciencia sobre el tema , y, procurar en cuanto dependa de nosotros el hermoso estado de la paz, el cual va de la mano con la práctica de los valores!
Para mi primera participación en este hermoso concurso, ¡Difundamos la paz con nuestro concurso DIY!, quiero compartirles el #tutorial de la elaboración de unas hermosas palomas de la paz en origami; espero sea de su total agrado!
Veamos el paso a paso:
Hello hello creative friends, I hope you are well, enjoying good health, welcome to my blog!
We start a new year, and, in the community there is a new contest with a beautiful theme, as it is: Peace; where we have the opportunity to express our creativity, in various ways.
There are many symbols to represent peace, but the best known, and for me the most significant is the white dove with the olive branch in its mouth; which reminds me of the biblical story of the flood, when Noah sent a dove to find out if the earth had dried up, and it returned with a branch in its beak, a sign that everything bad had passed, and the earth was at peace!
The subject of peace, I think it is more complex than it seems; being that it is defined as: absence of war; it is ironic to hear slogans like: if you want peace, prepare for war; as a Christian of deep faith in God, I know that true peace is found in God; Jesus Christ himself said: Peace I leave with you, my peace I give to you, I do not give it as the world gives it!
However, it is important to create awareness on the subject, and, to try as much as it depends on us the beautiful state of peace, which goes hand in hand with the practice of values!
For my first participation in this beautiful contest, Let's spread peace with our DIY contest, I want to share with you the #tutorial of the elaboration of some beautiful peace doves in origami; I hope you like it!
Let's see the step by step:

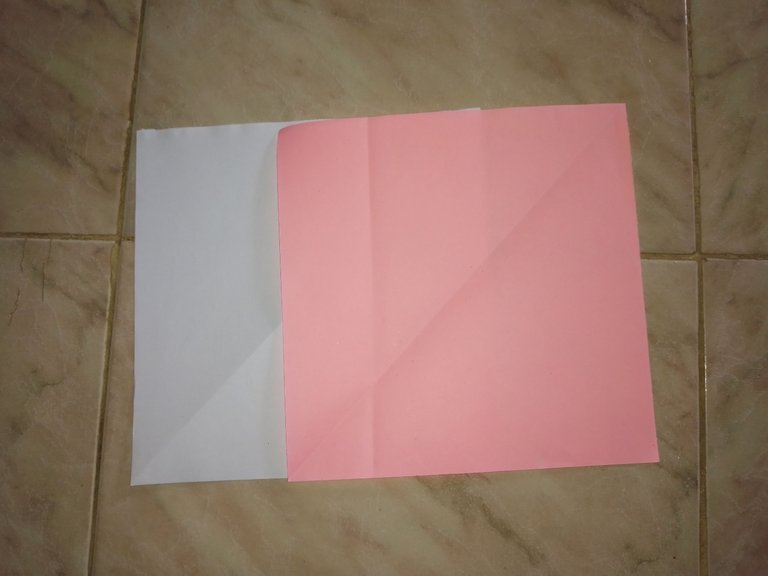
un cuadrado de 20cm x 20cm de hojas blanca y rosada.
a 20cm x 20cm square of white and pink leaves.
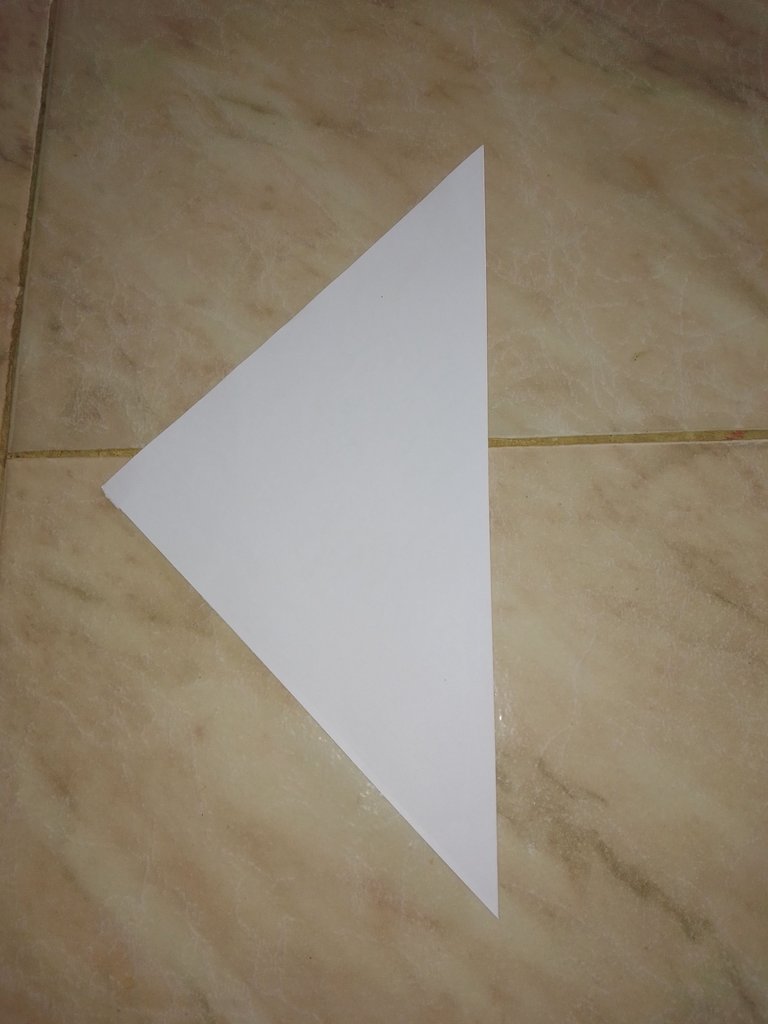
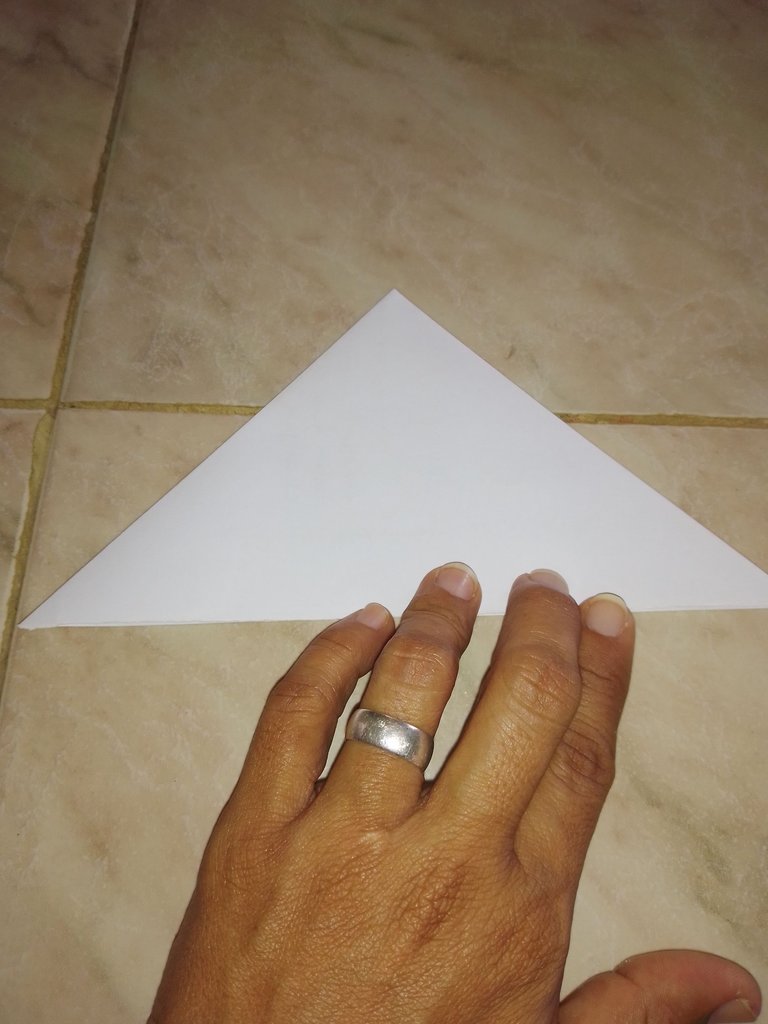
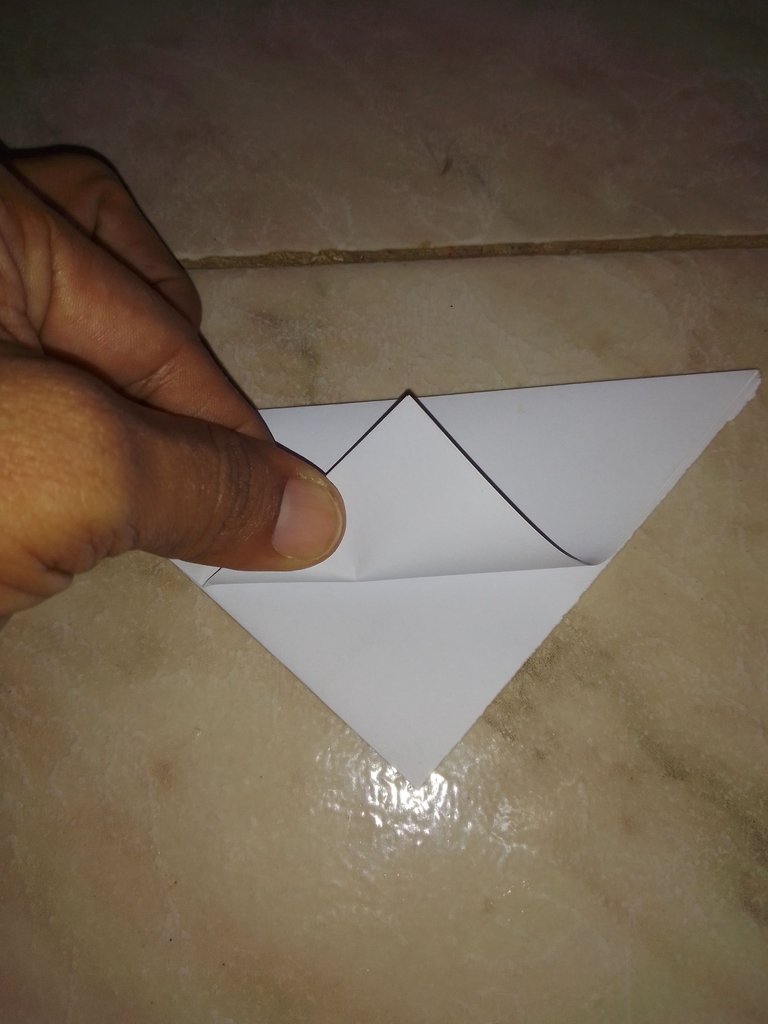
El primer paso es formar un triángulo uniendo dos puntas del cuadrado, y luego repetir la operación, de modo que sea un triángulo más pequeño.
The first step is to form a triangle by joining two points of the square, and then repeat the operation, so that it is a smaller triangle.
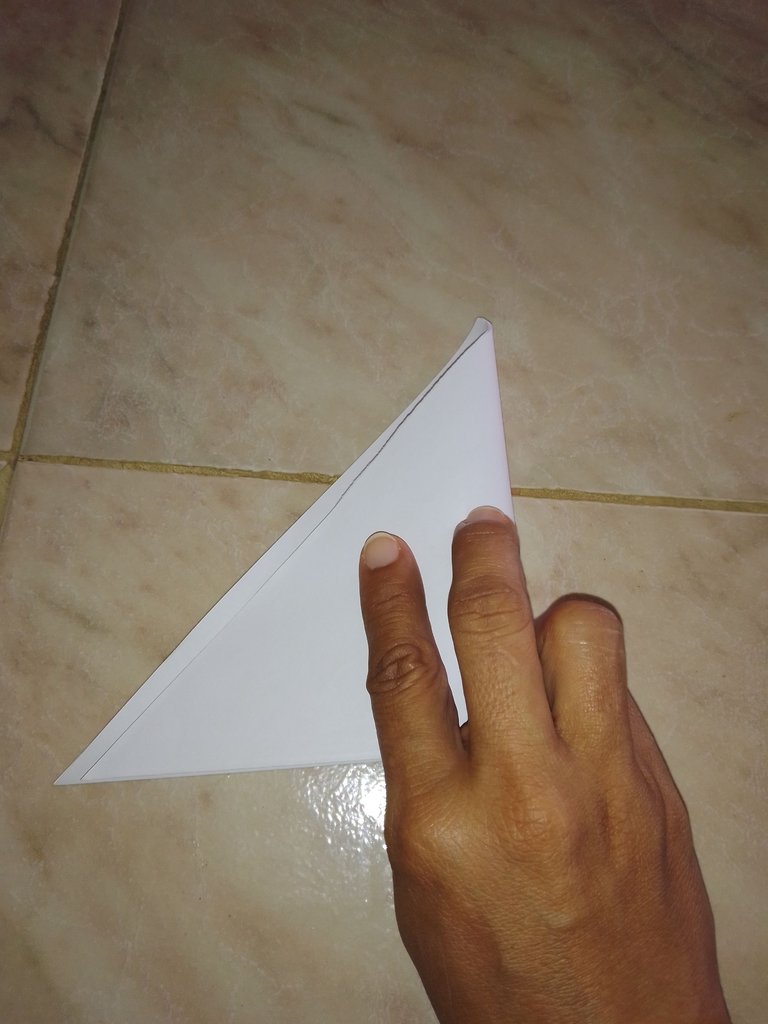
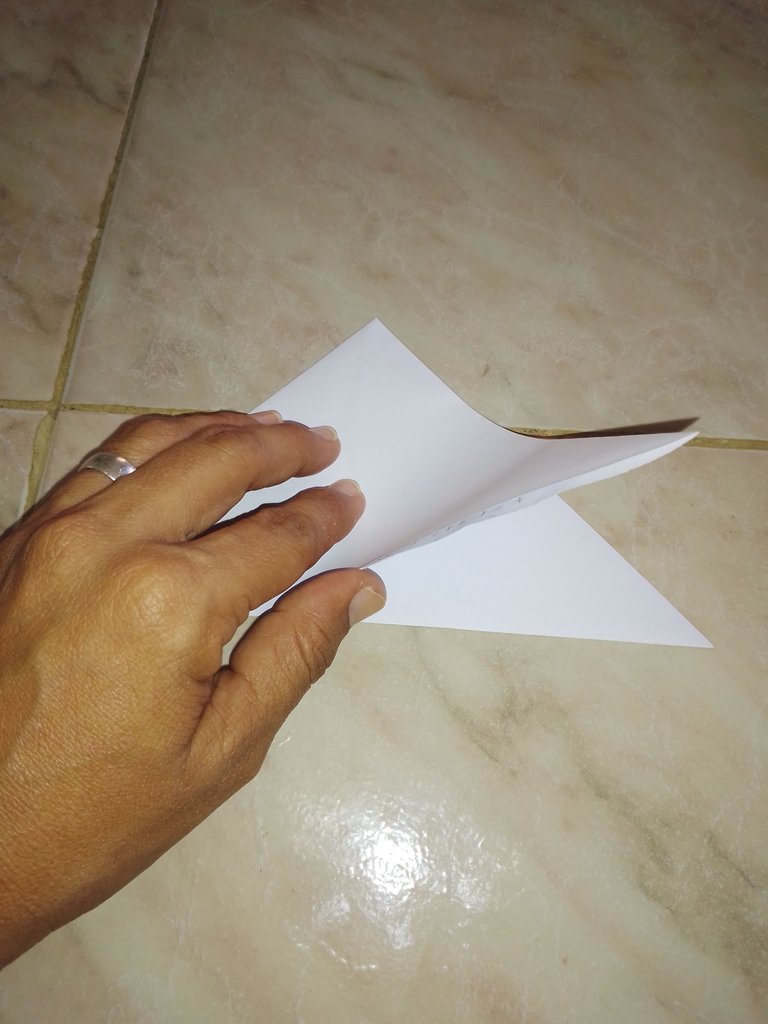
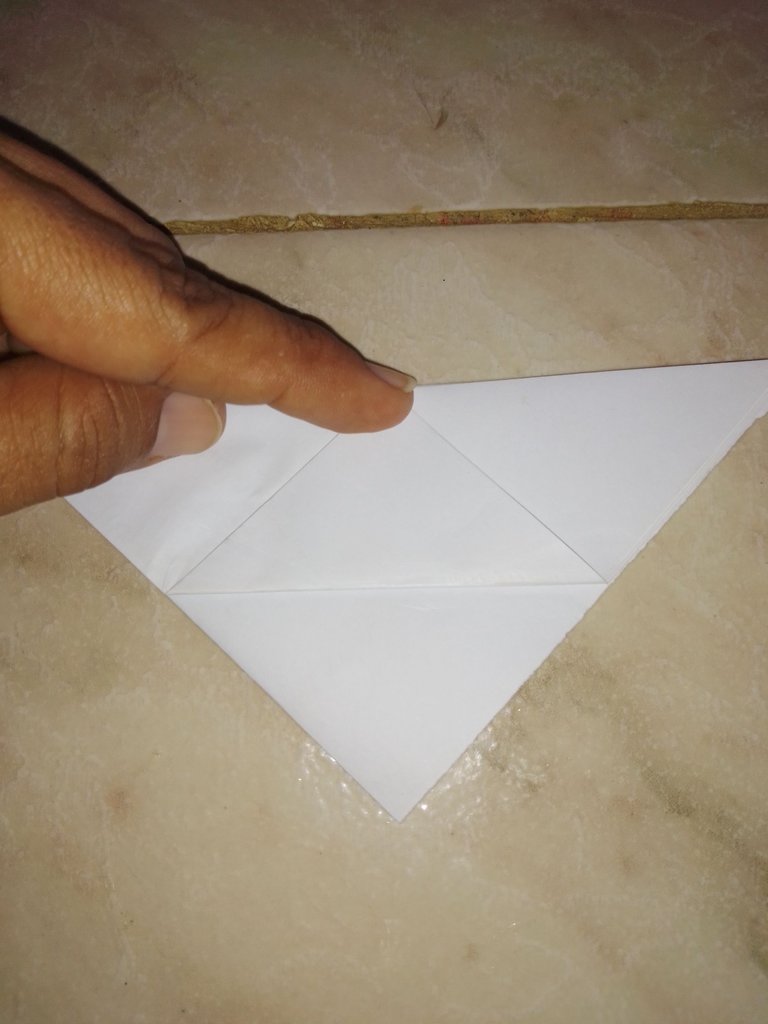
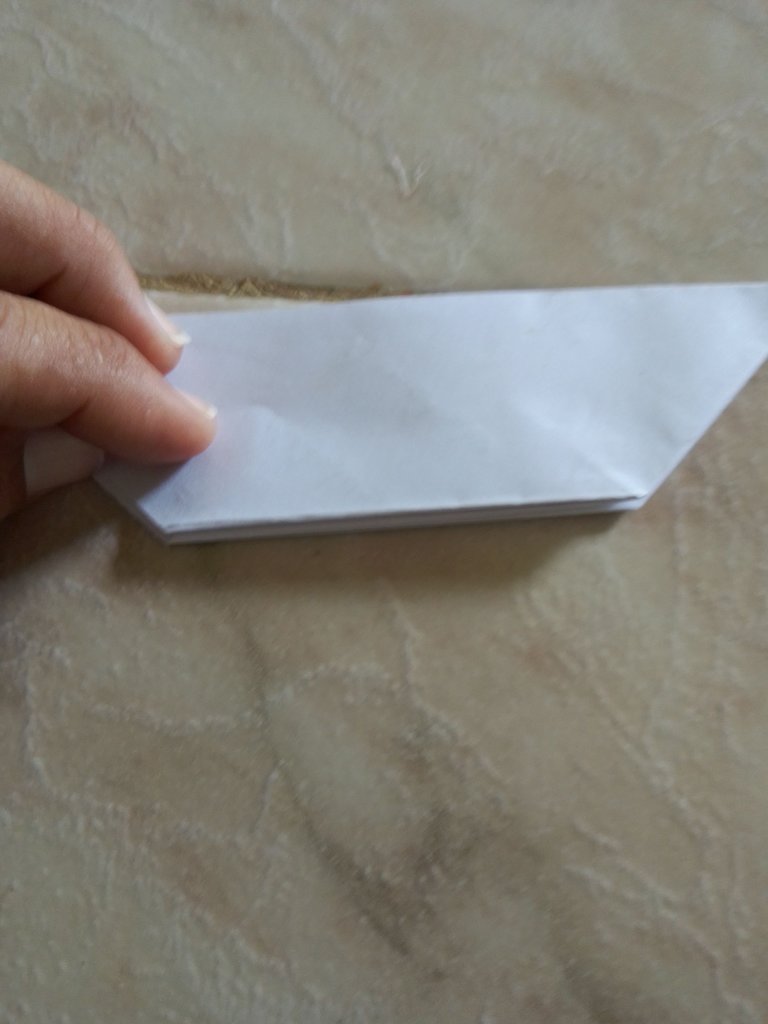
Con el triángulo hacia arriba, y, doblo una de las puntas hacia la izquierda, luego volteo el triángulo, y, repito la operación; quedandome un triángulo pequeño con un extremo de 3 puntas.
With the triangle facing up, and, I fold one of the ends to the left, then flip the triangle over, and, repeat the operation; leaving me with a small triangle with a 3-pointed end.
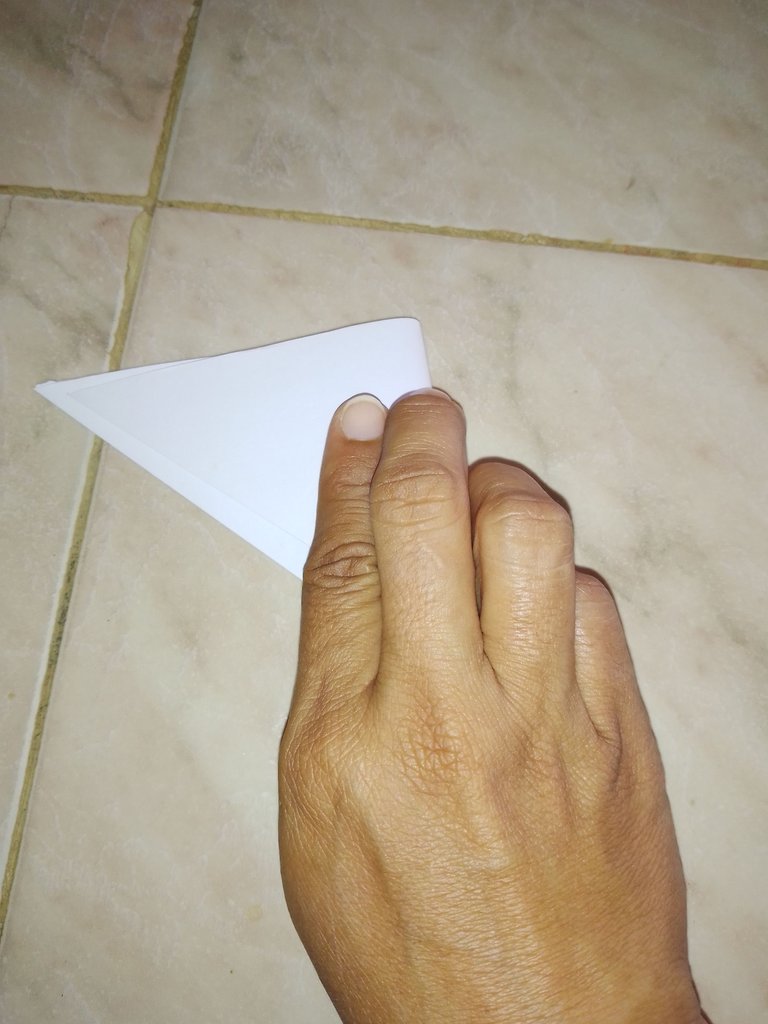
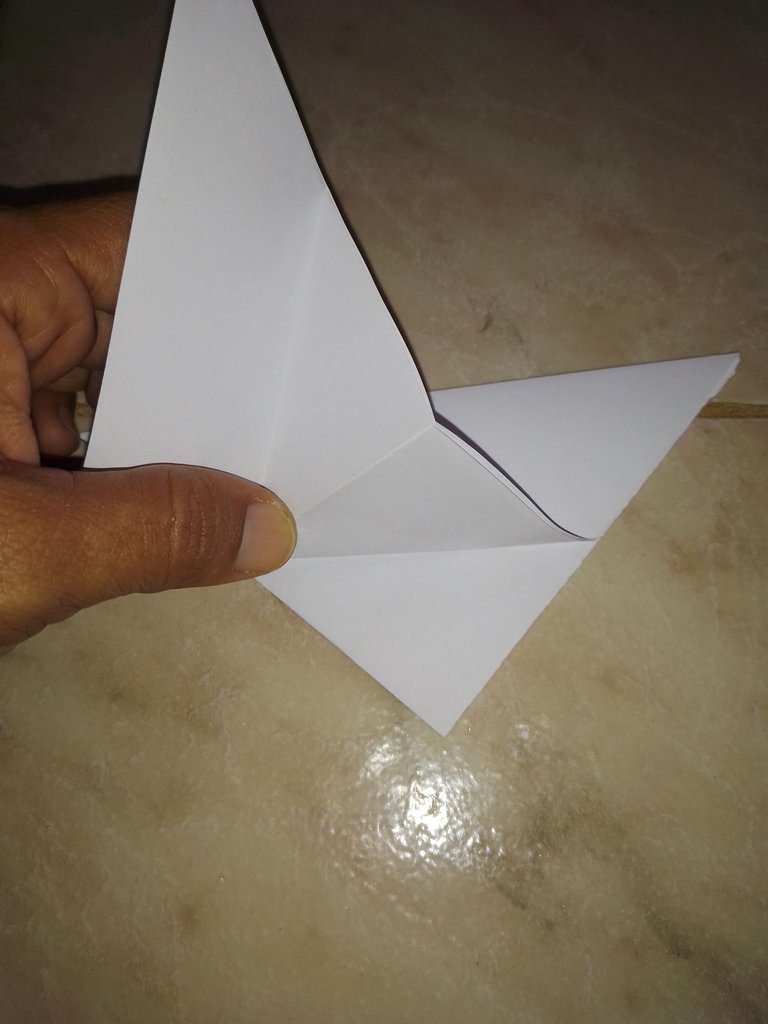
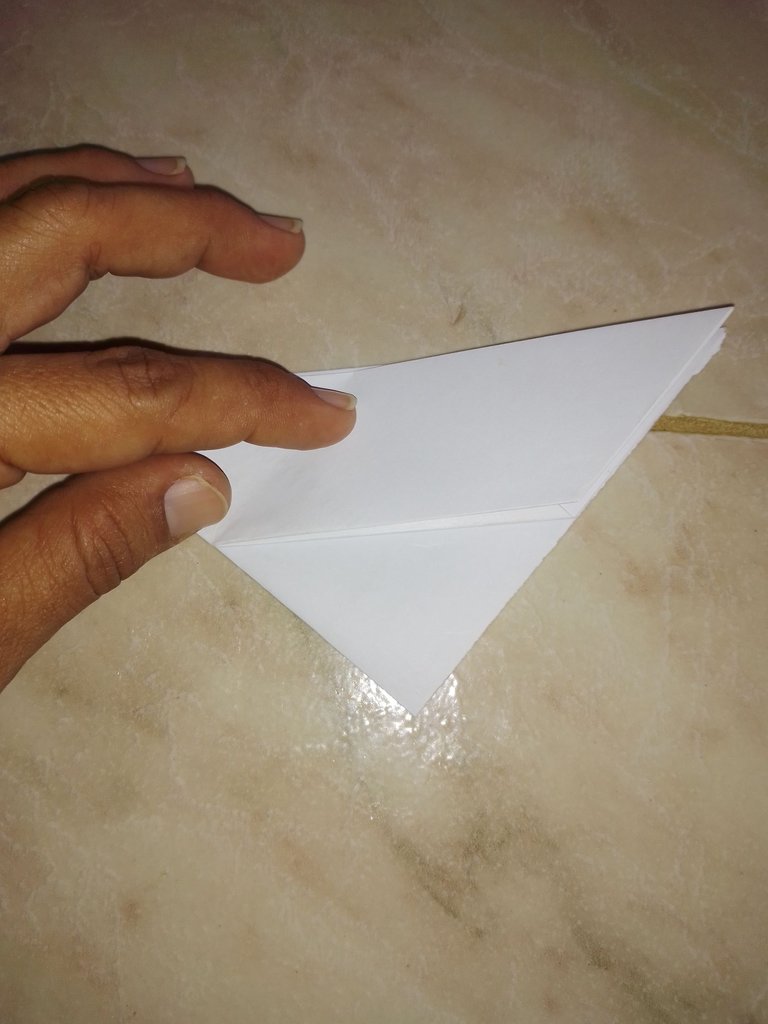
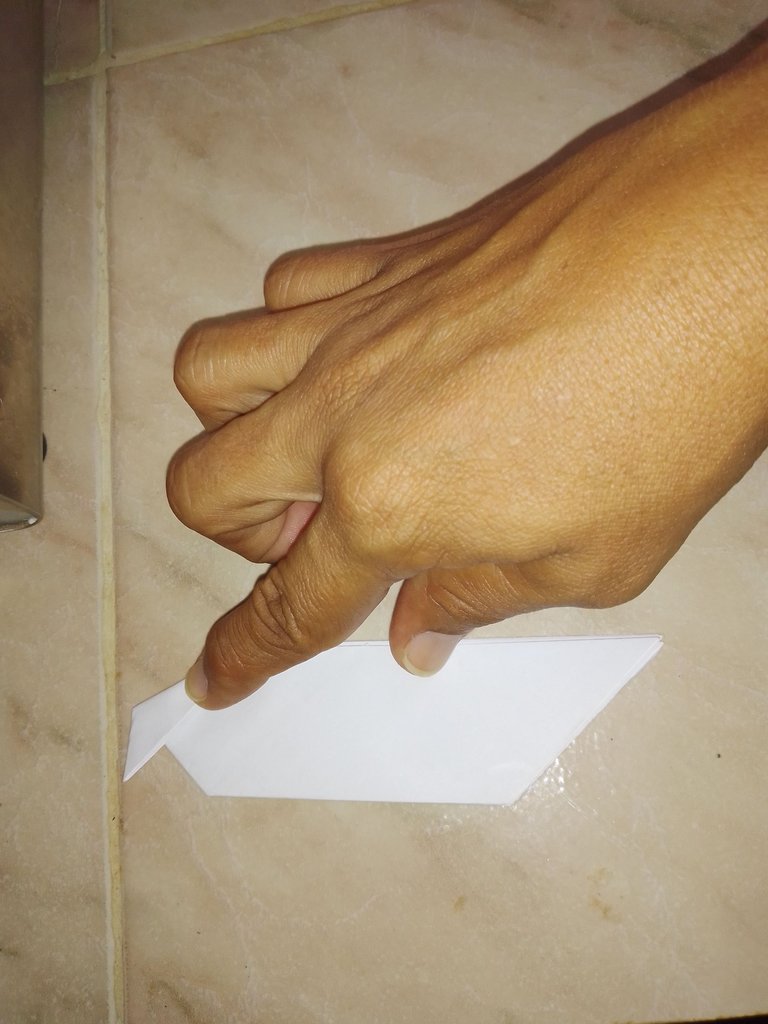
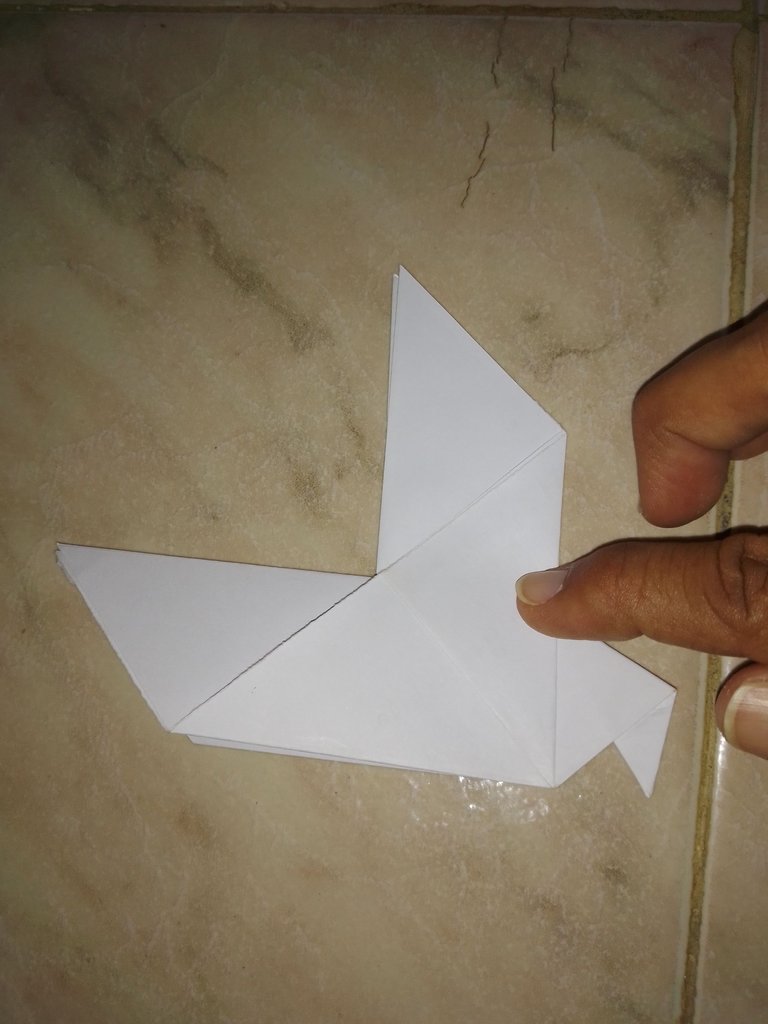
Colocar el triángulo hacia abajo, y doblo un extremo hacia arriba, luego desdoblo, e introduzco el doblez; repito la operación del otro lado! debe quedar algo parecido a un barco.
I place the triangle down, and fold one end up, then unfold, and introduce the fold; I repeat the operation on the other side! it should be something like a boat.
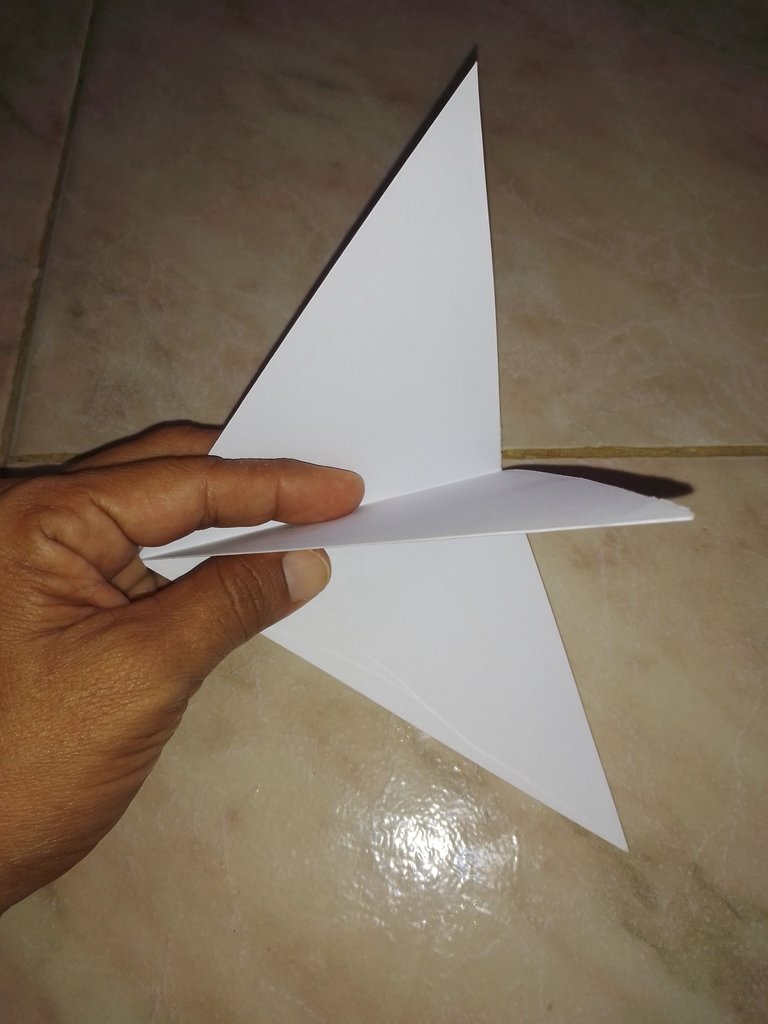
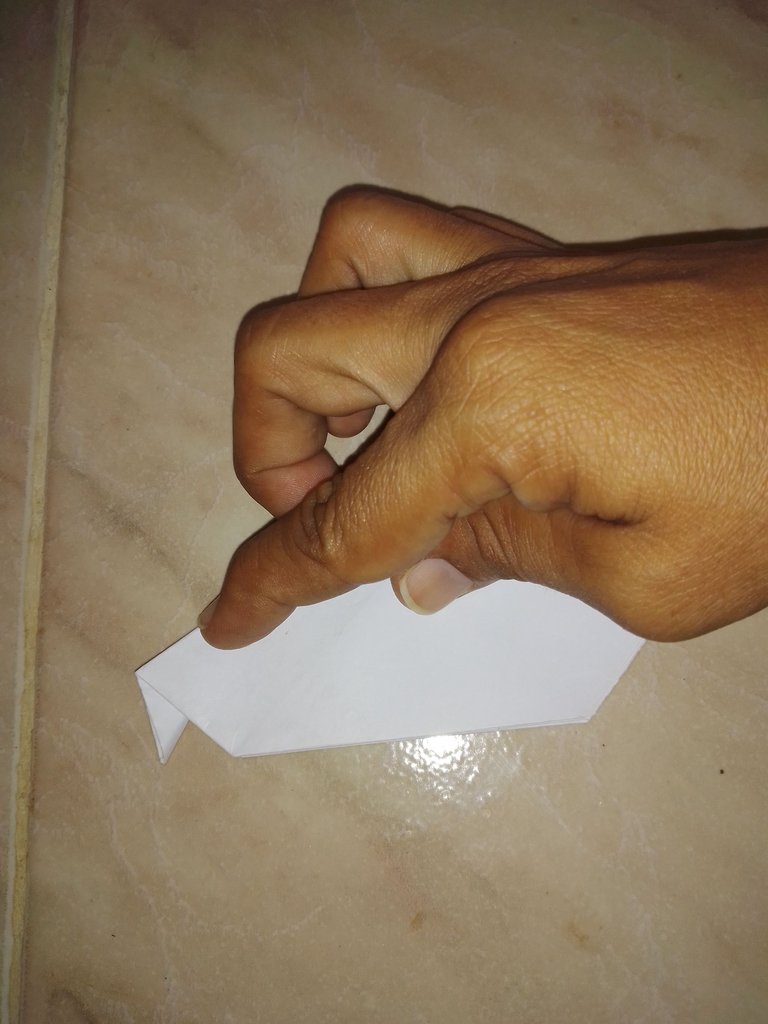
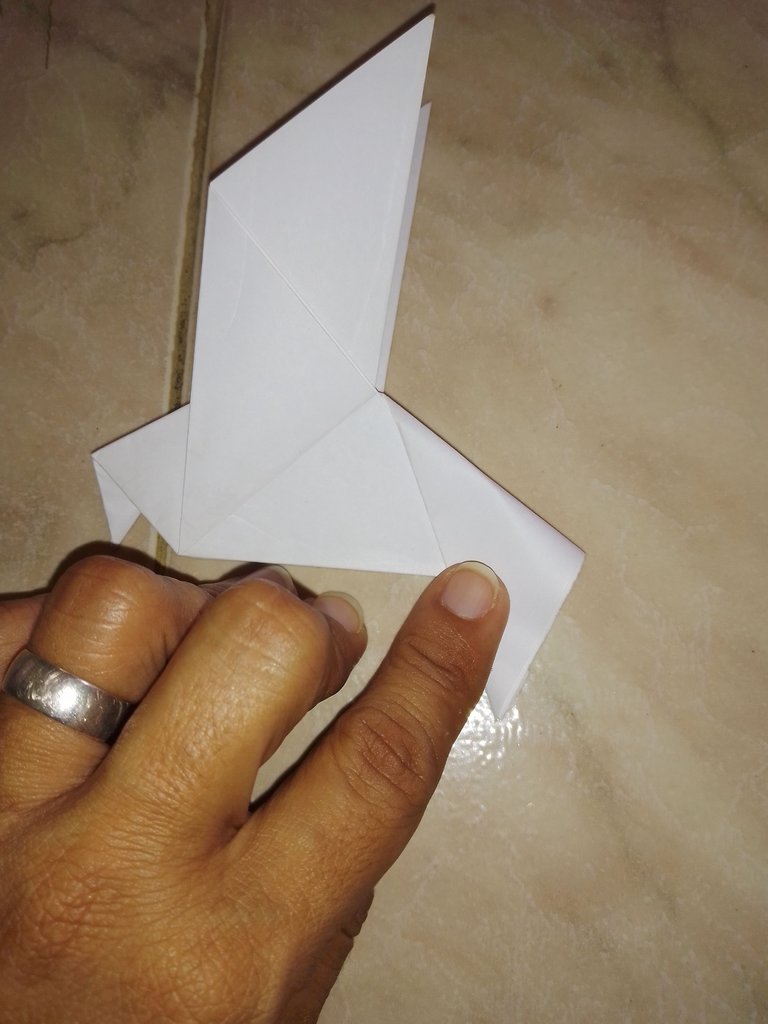
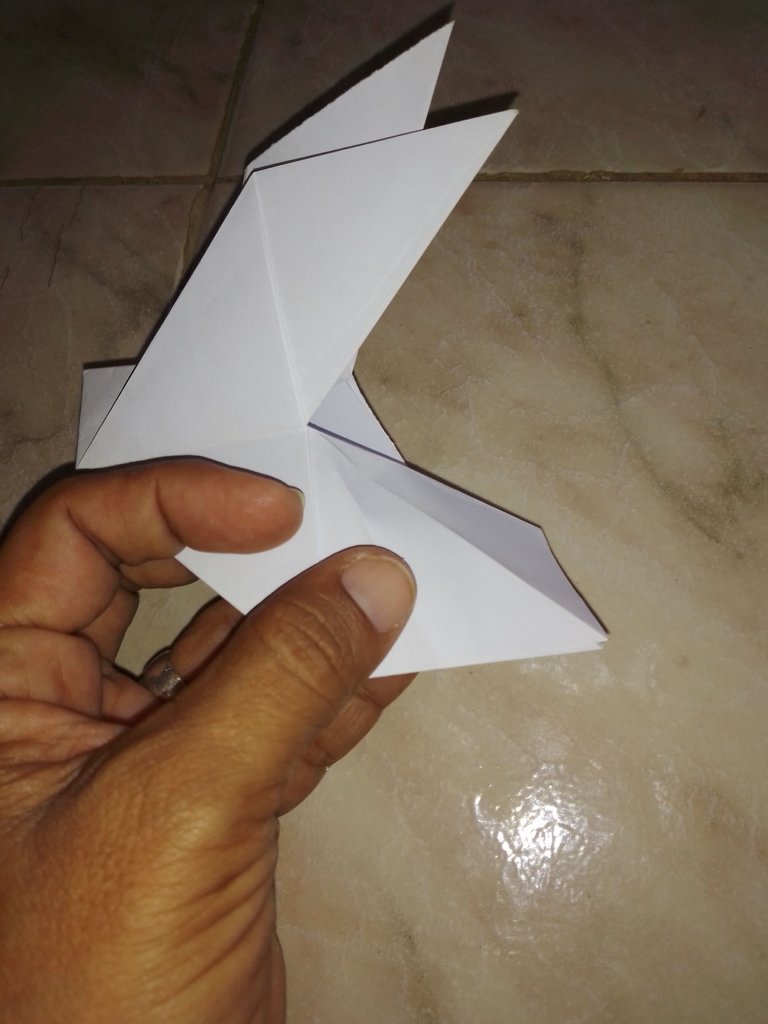
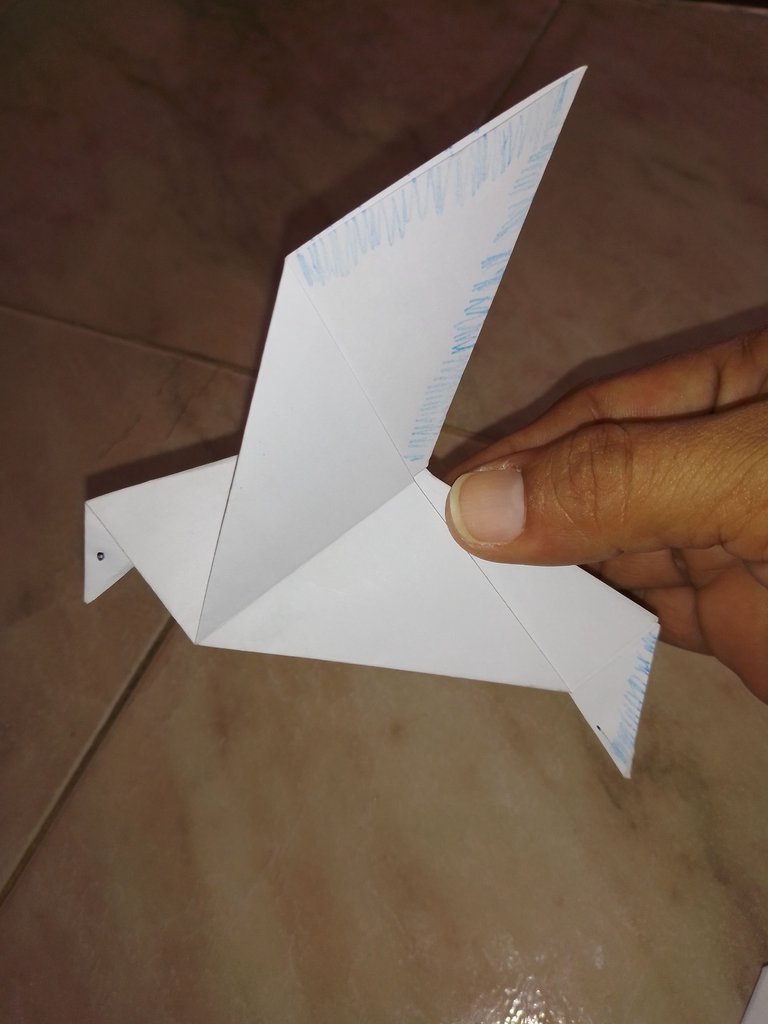
Por el extremo que tiene dos puntas, doblo hacia abajo, luego desdoblo, e introduzco el doblez para formar el pico.
Por el otro extremo que hay tres puntas, doblo la primera hacia arriba, que sera una ala, y luego la ultima, que sera la otra ala.
La punta del medio la doblo hacia adelante, luego desdoblo e introduzco el doblez, para la colo de la paloma.
At the end that has two points, I fold down, then unfold, and introduce the fold to form the beak.
At the other end, which has three points, I fold the first one up, which will be one wing, and then the last one, which will be the other wing.
The middle end I fold forward, then I unfold and introduce the fold to form the pigeon's beak.
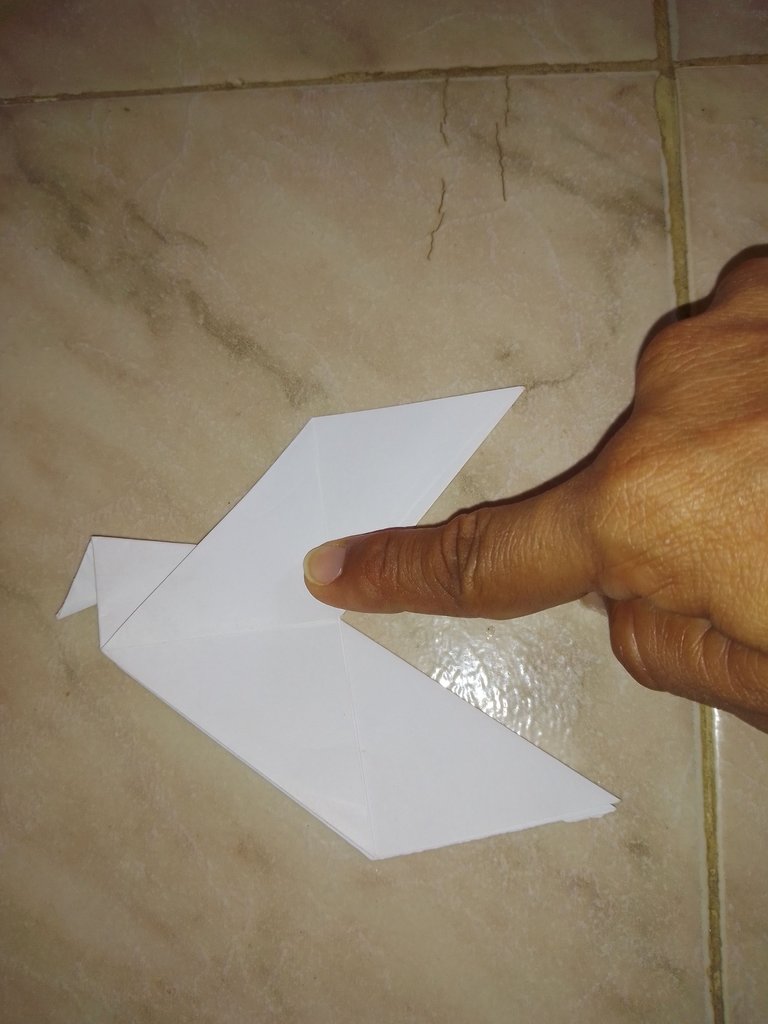
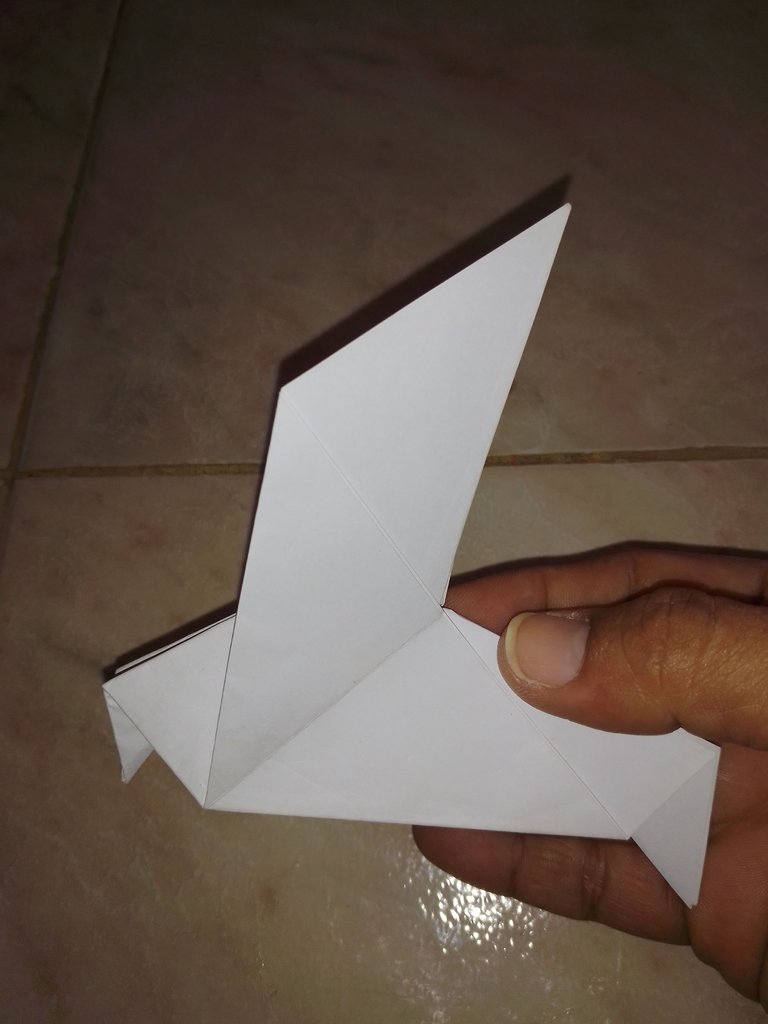
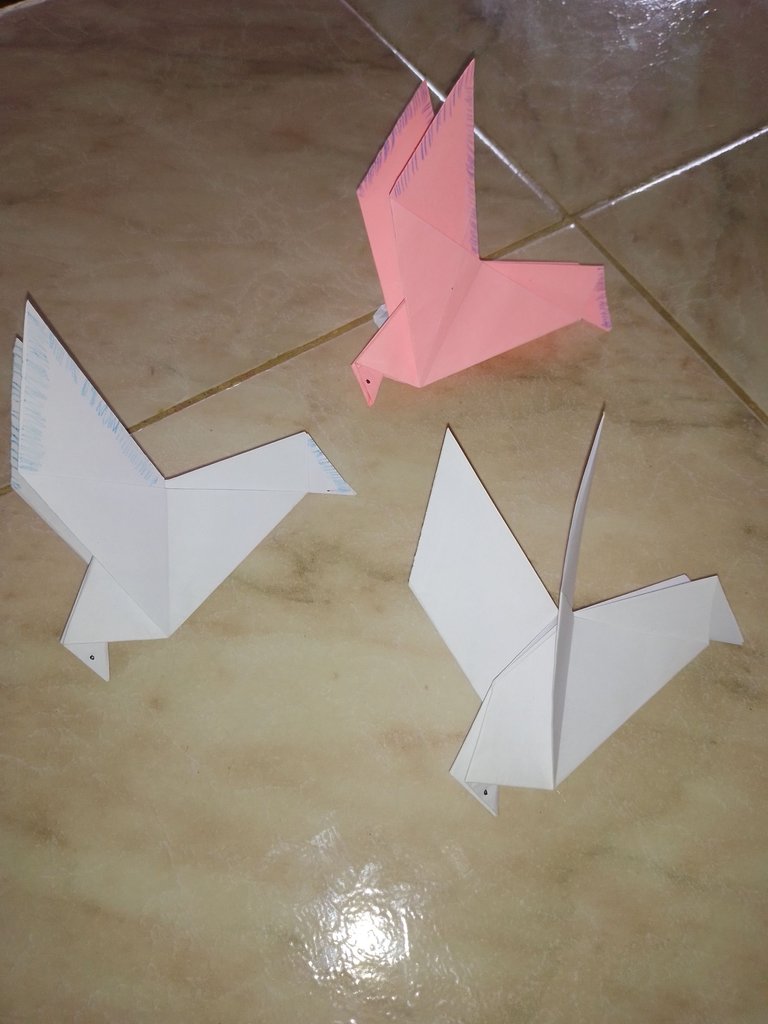
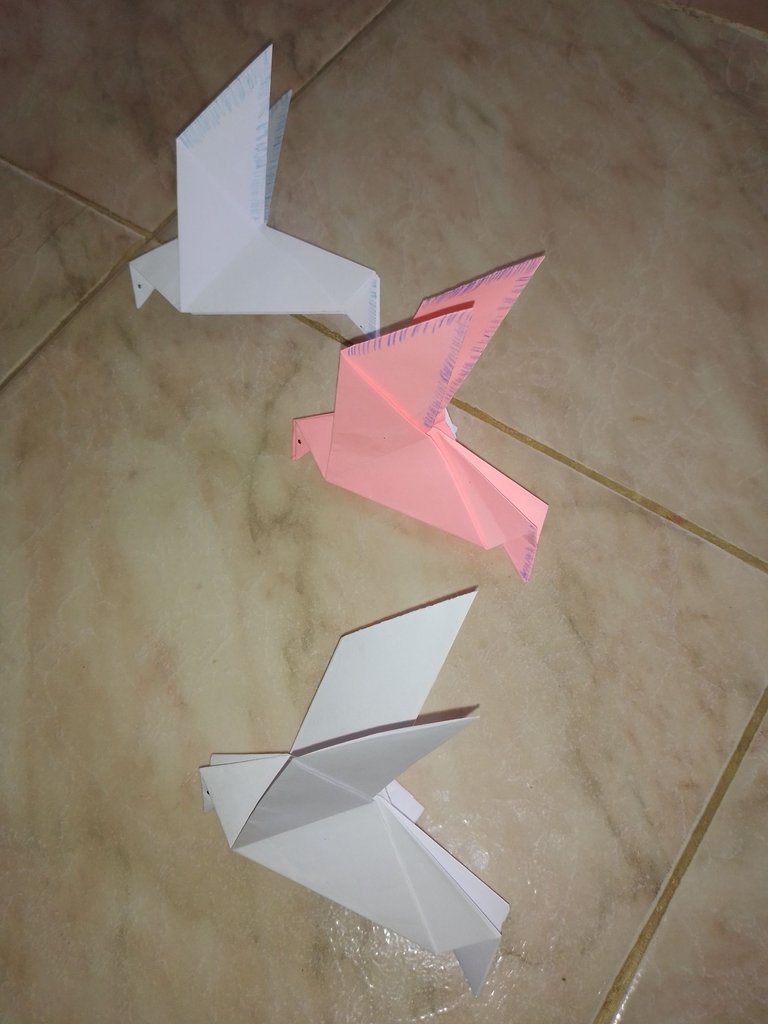
Como un detalle dibuje un punto negro para el ojo, y rayas azules en las alas!
Asi, quedaron mis hermosas palomas de la paz!
As a detail I drew a black dot for the eye, and blue stripes on the wings!
That's how my beautiful peace doves turned out!

Espero te haya gustado!
Gracias por pasar y comentar, Dios te bendiga!
I hope you liked them!
Thanks for stopping by and commenting, God bless you!
Translated with https://www.deepl.com/translator
      Todas las imágenes son de mi autoría, capturadas con mi teléfono ZTE.

   All images are my own, captured with my ZTE phone.
