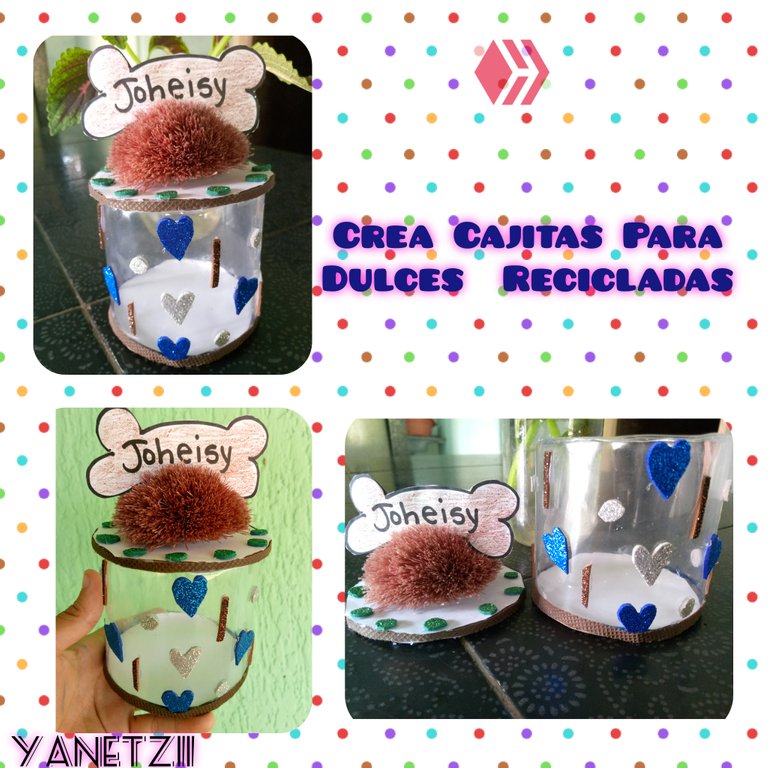
¡Hola queridos lectores! En el día de hoy les compartiré una manualidad creativa y sencilla, se trata de unas cajitas para dulces hechas con potes de refrescos. Esta es una excelente forma de reciclar y reutilizar los potes de plástico que ya no utilizamos en casa y al mismo tiempo, crear algo útil y bonito.
Tambien puede ser una magnifica idea ya que viene el dia de las madres y es una opcion a regalar a todas esas hermosas madres sirve para un regalo o un gesto de amistad .
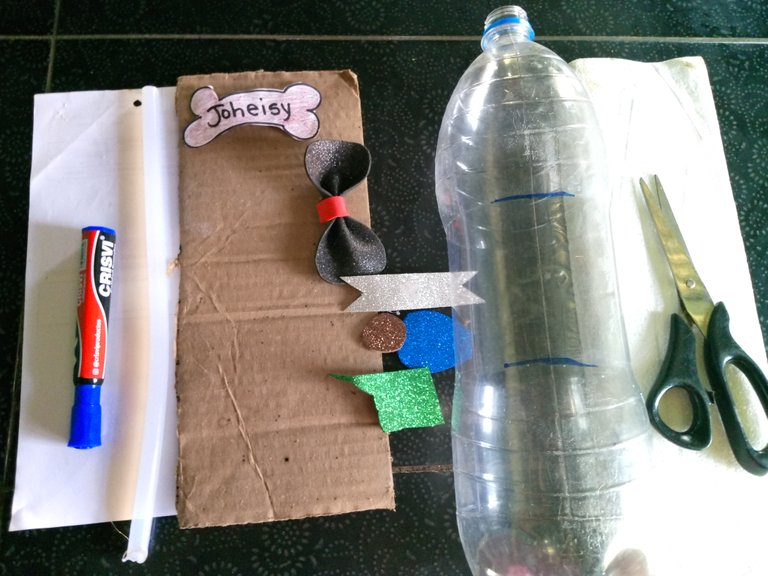
Los materiales que necesitaremos son
- Pote de refresco vacío y limpio.
- Tijeras.
- Marcador.
- Pegamento caliente.
- Papel decorativo o foami Azul Marrón Plateado.
- Cinta Marrón.
- Bola de pelusa reciclada.
- Papel blanco.
- Carton.
Paso 1
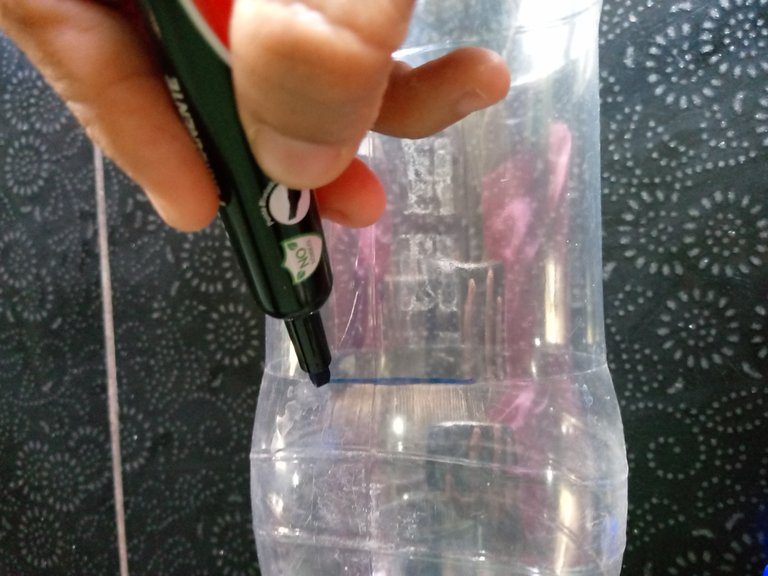
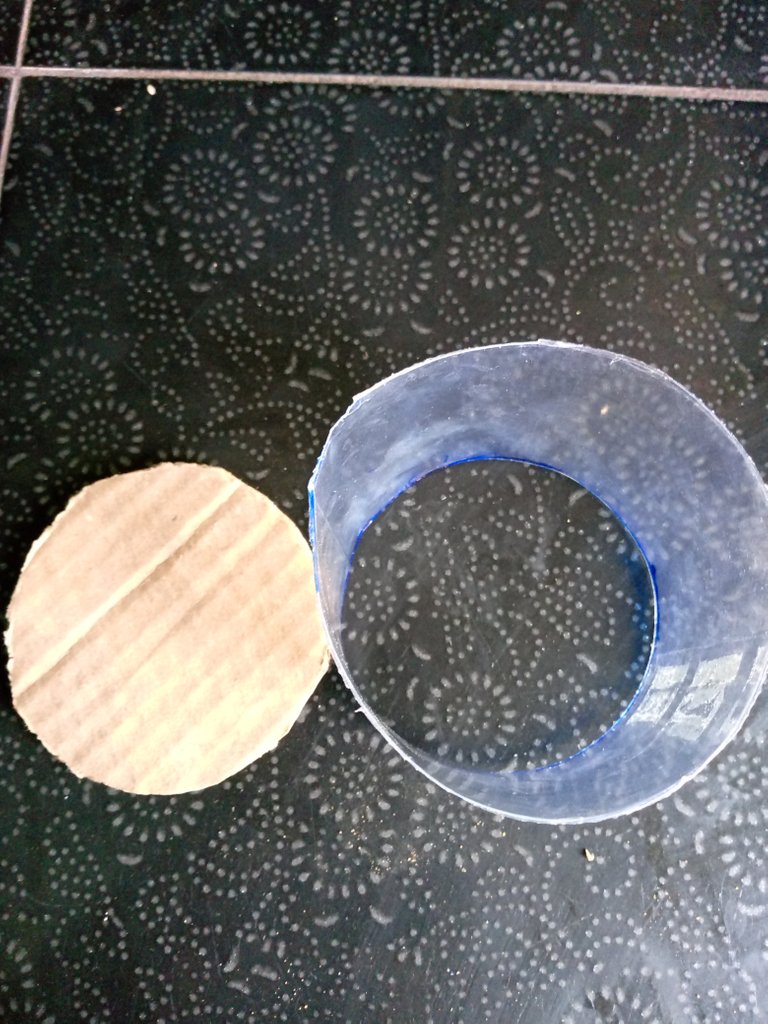
¡Manos a la obra! Primero, con ayuda de la regla y el marcador, dibujamos una línea recta alrededor del pote de refresco, donde queremos cortar. Es importante que esta línea sea recta para lograr una caja uniforme y perfecta.
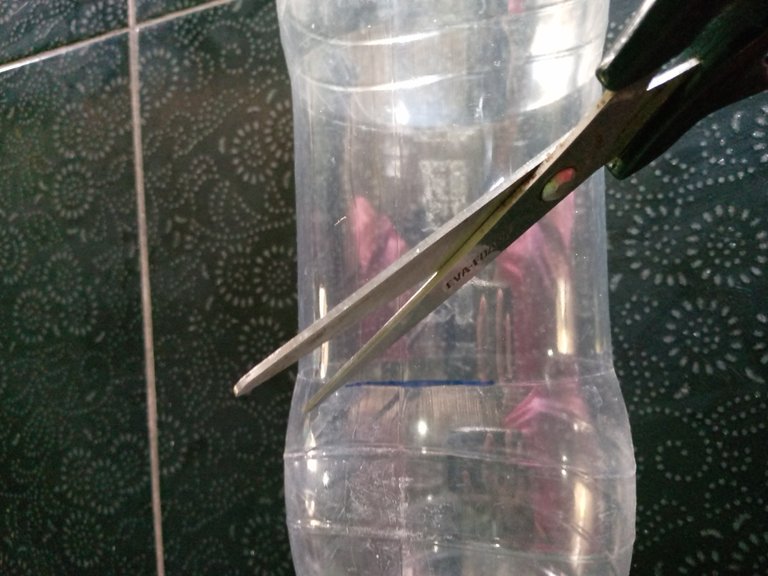
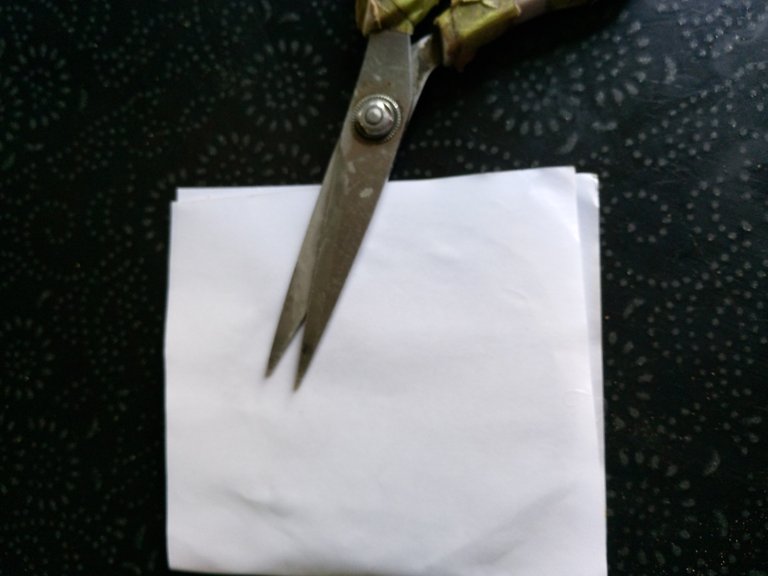
Luego, cortamos cuidadosamente a lo largo de la línea marcada con las tijeras. El extremo superior del pote que no fue cortado será la tapa de nuestra cajita.
Paso 2
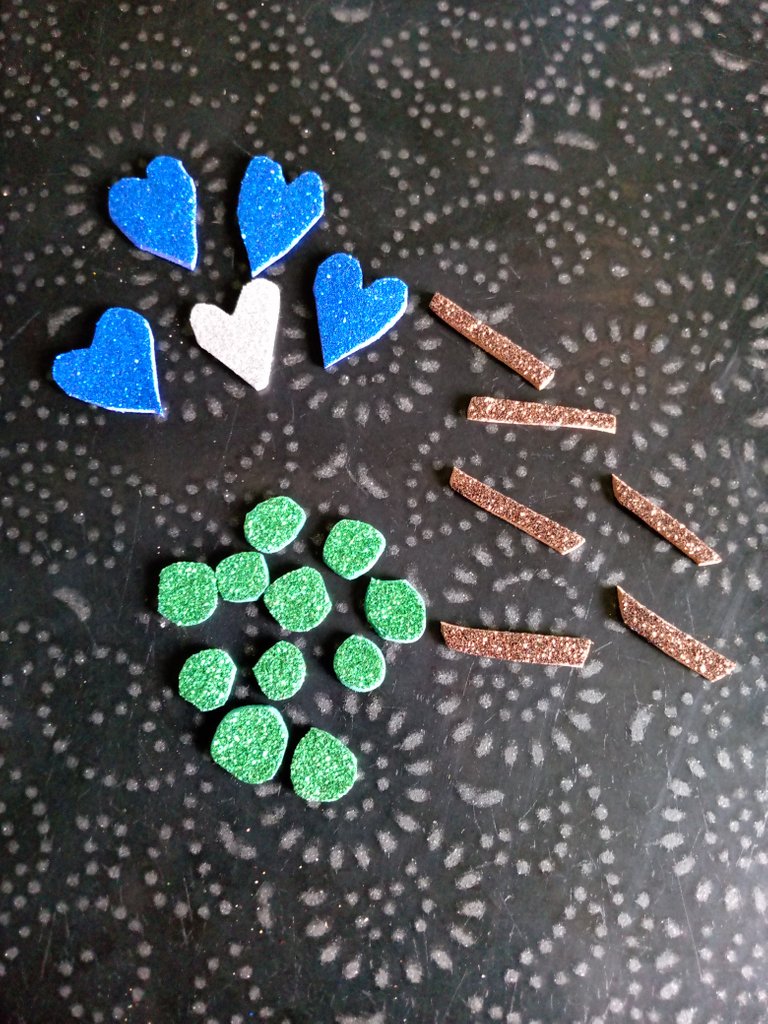
A continuación, tomamos nuestro papel decorativo o foami y haremos algunas figuras como círculos , palitos o corazones como lo hice en esta ocasión .
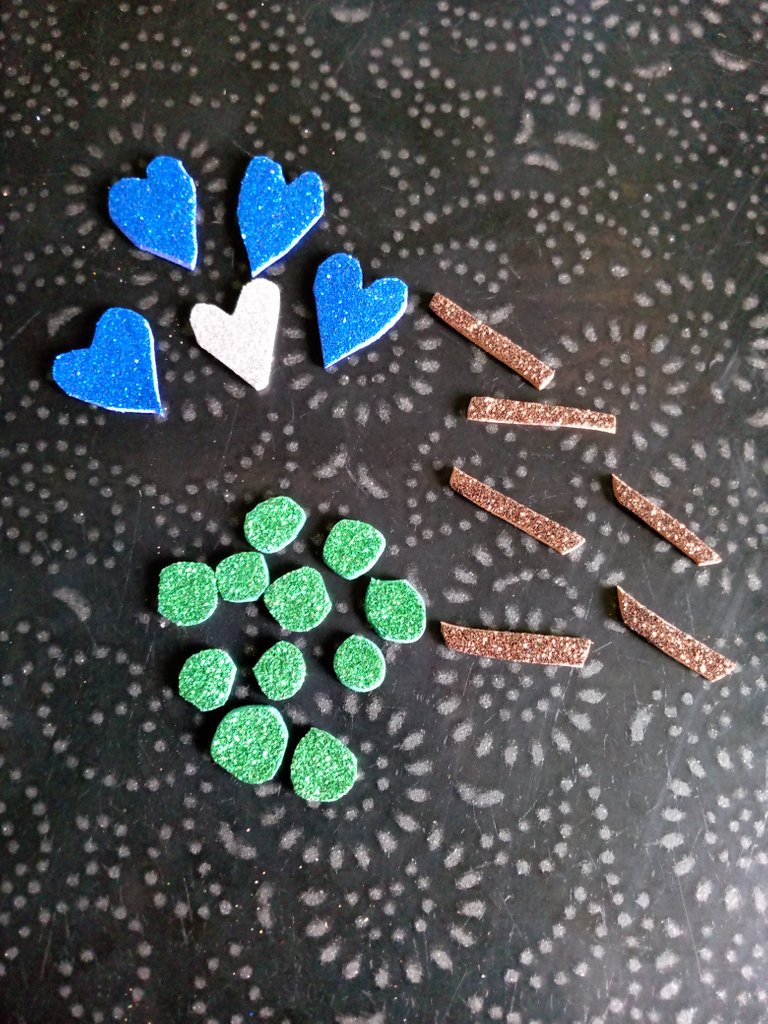
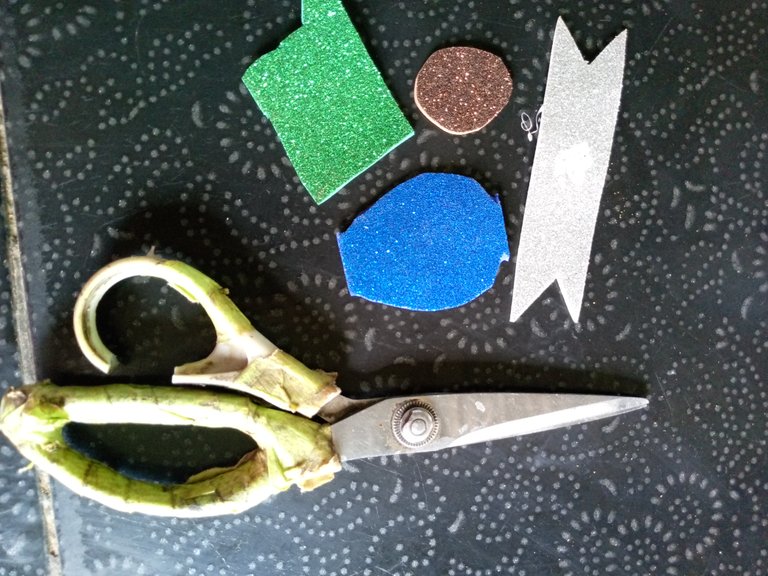
Este papel puede ser estampado o con algún diseño que nos guste, ¡la elección es tuya! También podemos utilizar pintura acrílica para decorar nuestro pote, pero es importante asegurarnos de que se seque completamente antes de continuar.
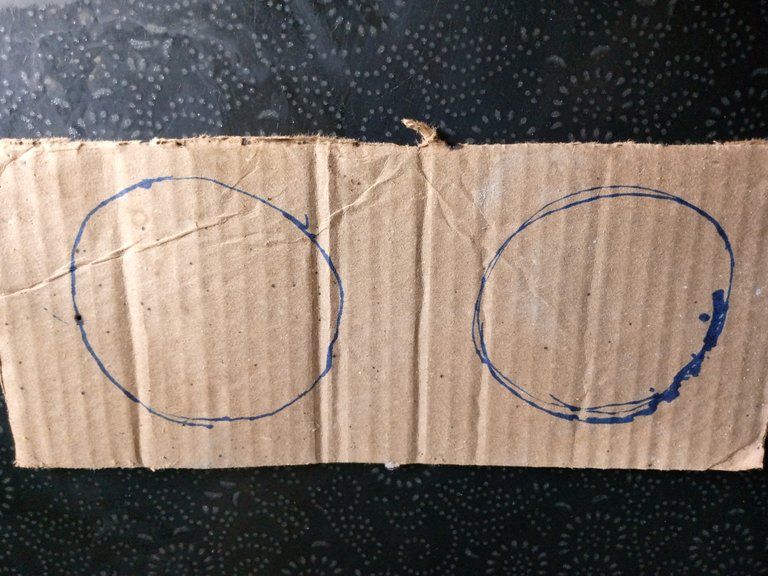
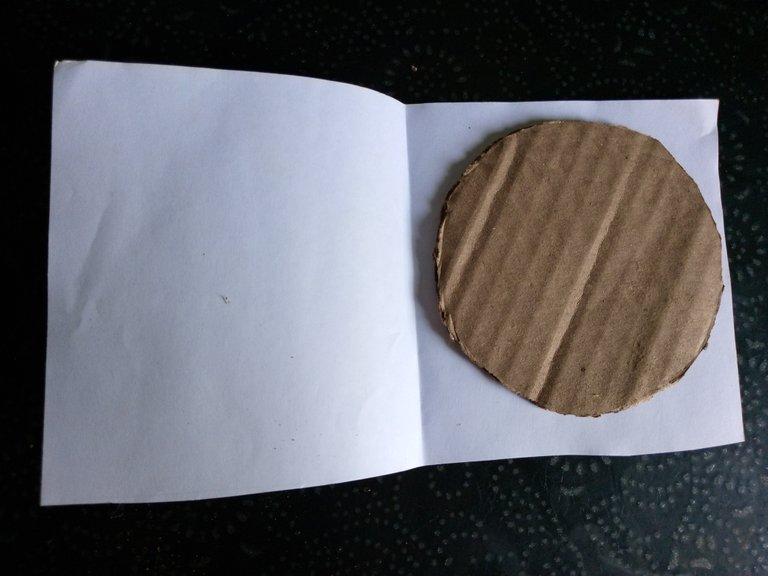
Luego viene la marcacion en el carton los dos circulos que uno sera la parte de abajo de la cajita y la de arriba la tapa
Paso 3
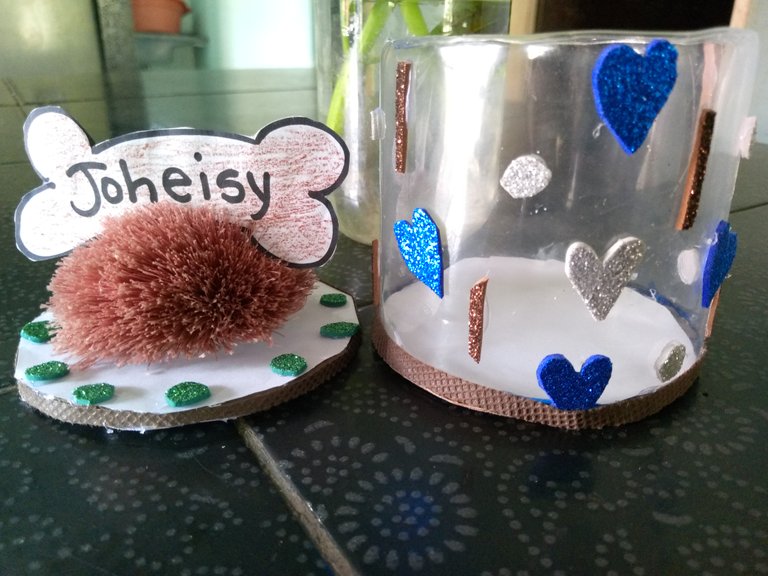
Después, pegamos el papel decorativo o foami alrededor del pote con la ayuda de la pistola de pegamento caliente y delicadamente lo fui pegando de manera circular los corazones y los palitos separadores pero ustedes pueden hacerlo a la manera que les guste.
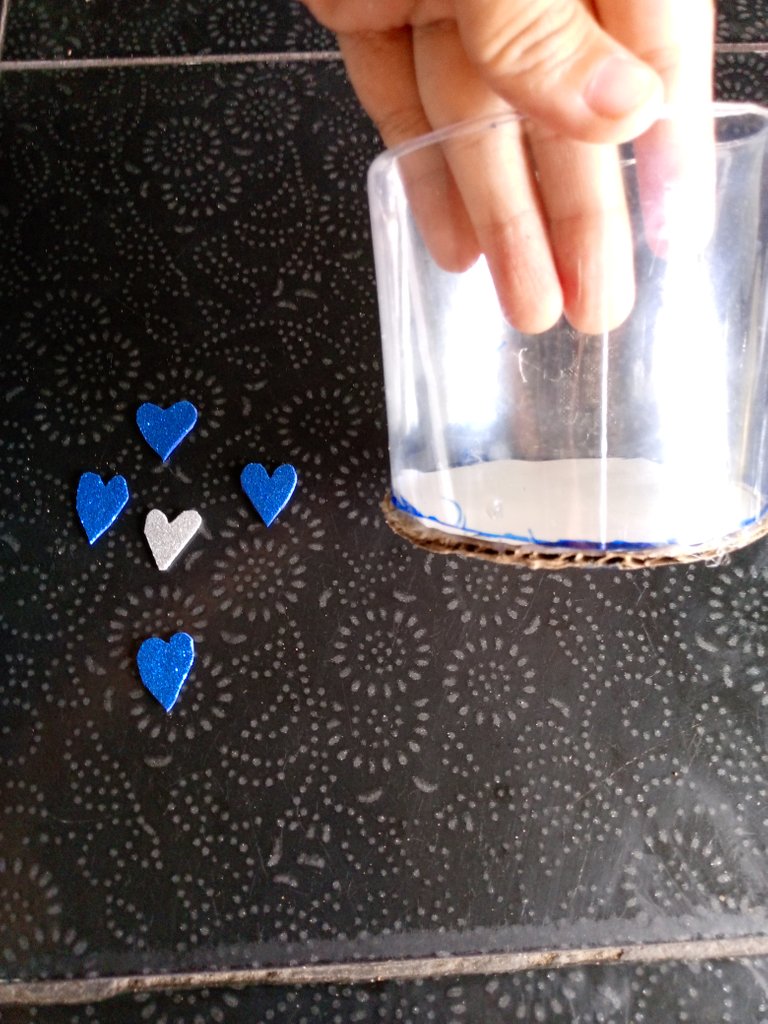
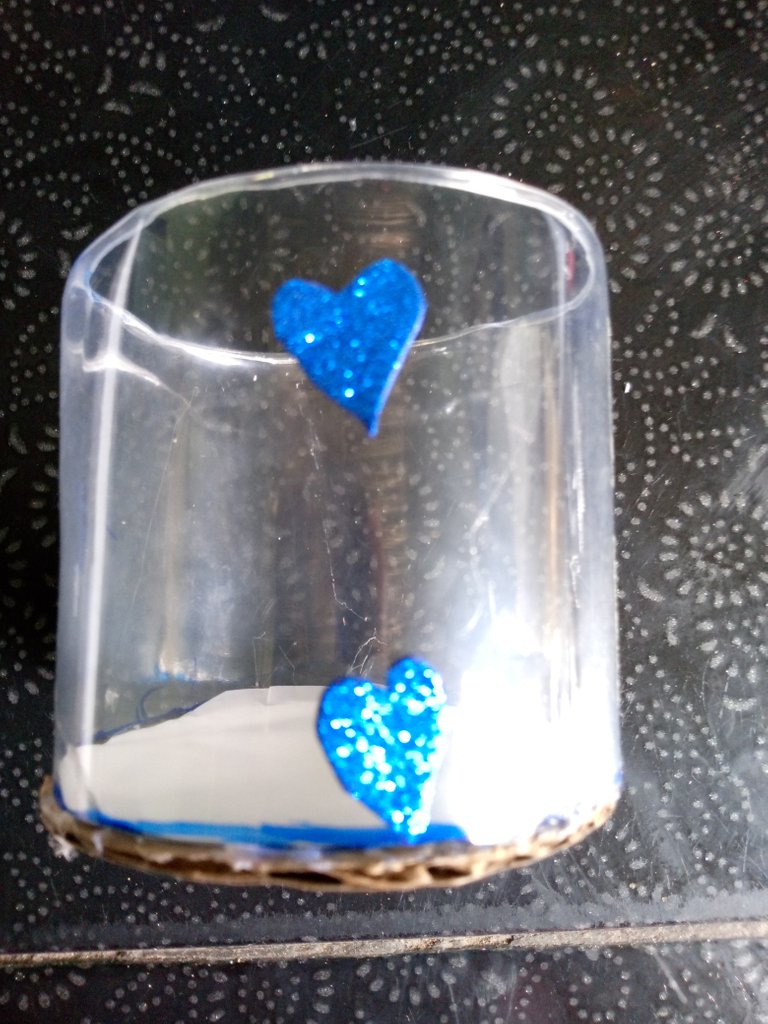
Es importante asegurarnos de que el pegamento quede bien distribuido y que el foami quede bien pegado o distribuido con el pegamento .
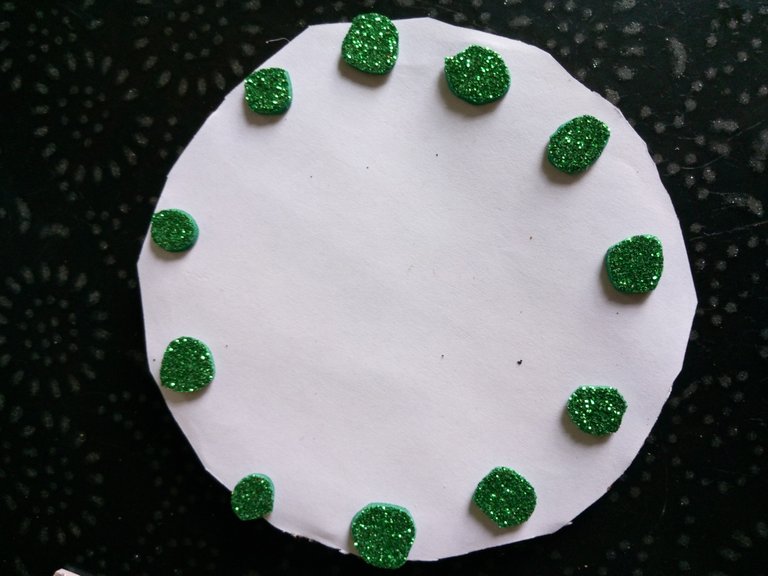
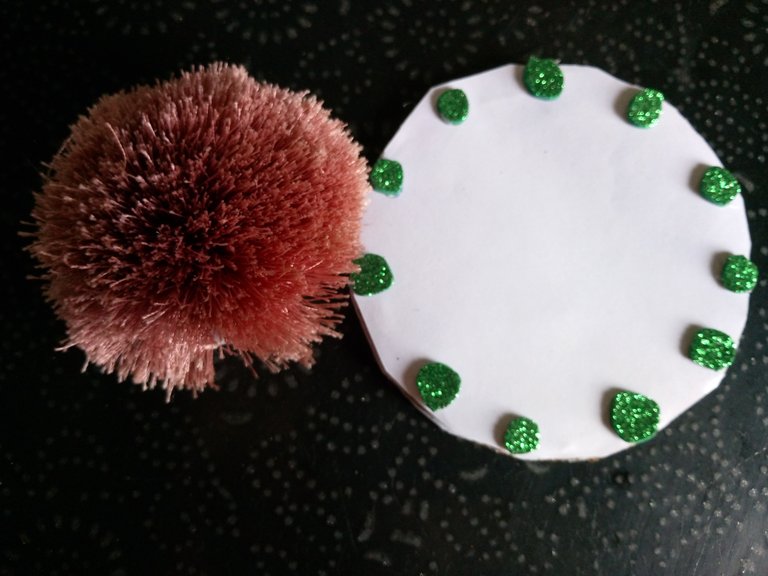
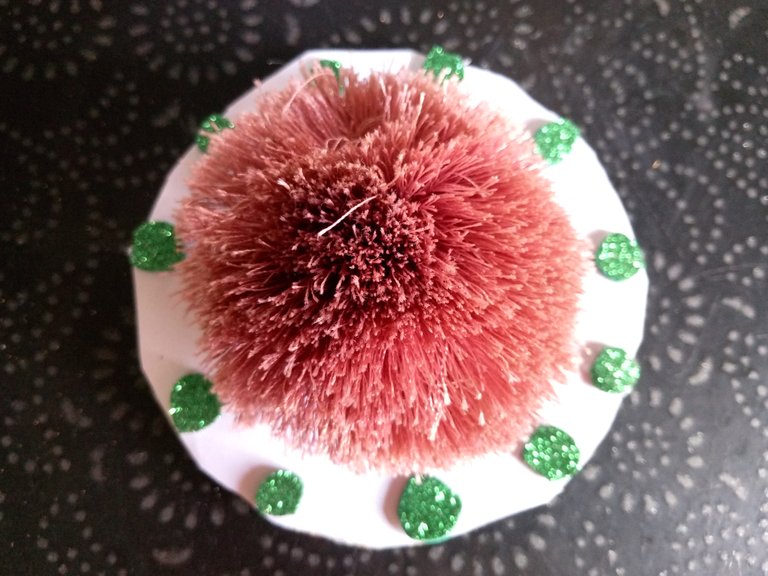
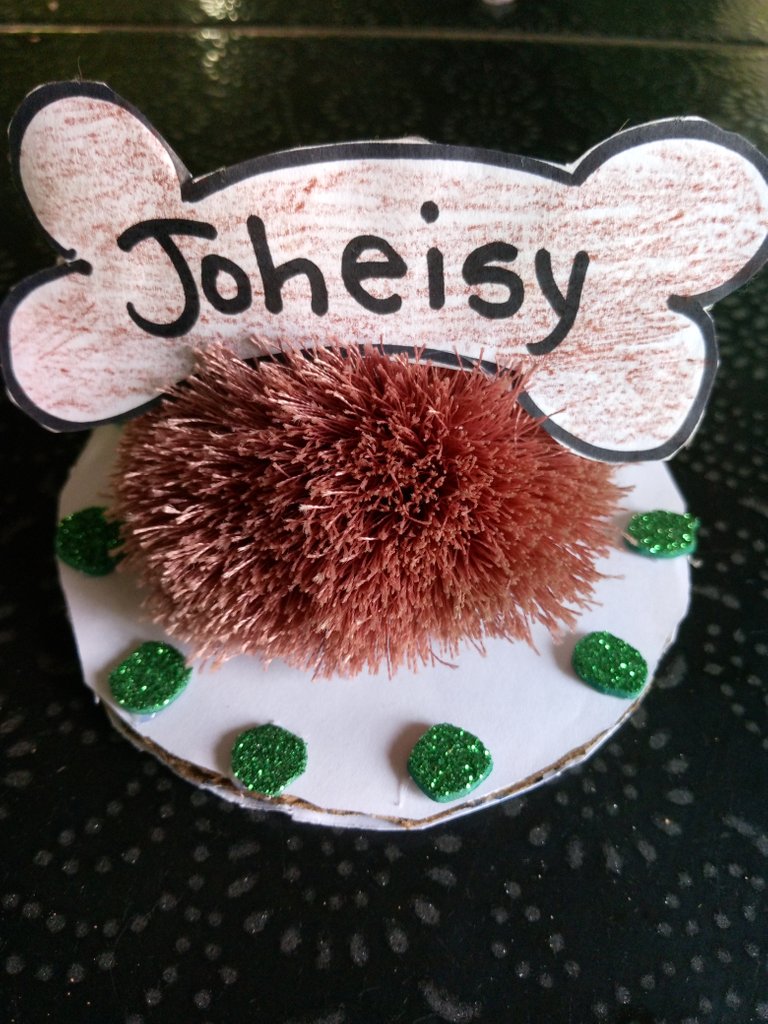
Con la tapa de arriba tomamos los foamis verdes redondes recortados y los pegamos de esta manera al final lo que haremos en pegarle por igual la bols de pelusa y ponerle el nombre como lo hice en este caso de esta manera quedara la tapa da la cajita de dulces .

Paso 4
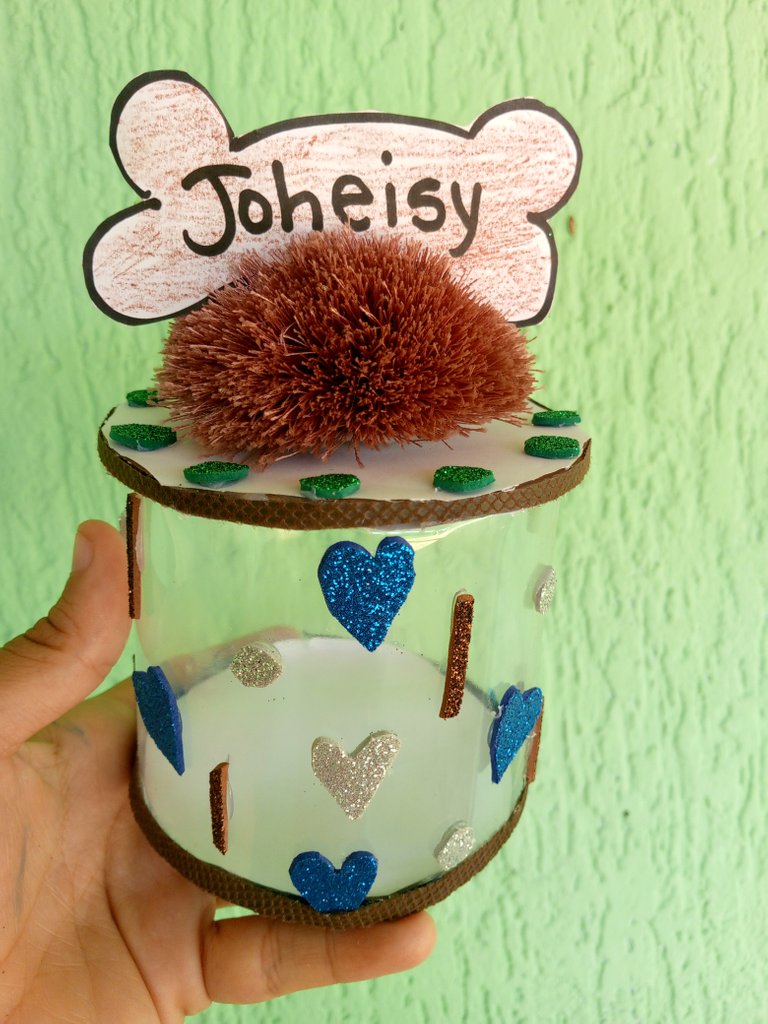
Para finalizar, doblamos la parte superior del papel que cubre el pote hacia adentro para crear un borde limpio y cerramos nuestro pote con la cinta adhesiva. ¡Ya tienes una hermosa y práctica caja de dulces hecha en casa!
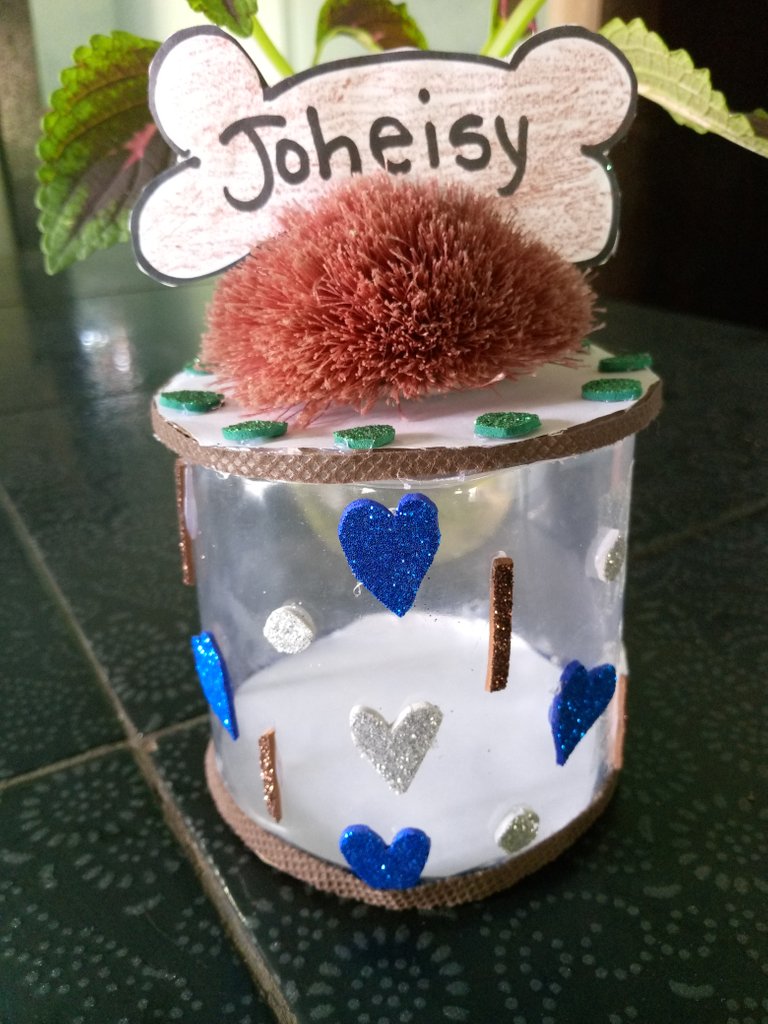
En conclusión, con pocos materiales y en tan solo unos sencillos pasos, podemos crear cajitas para dulces únicas y personalizadas. Además, esta manualidad es una forma excelente de reciclar y reutilizar los potes de plástico que tenemos en casa. ¡Inténtalo y sorprende a tus seres queridos con hermosas y deliciosas cajitas de dulces! Comenten Aqui espero que les guste y sea de agrado .
BENDICIONES DEL UNIVERSO
Las fotos son de mi propiedad y fueron tomadas por mi teléfono tecno pop 8
Las fotos son editadas mediante la aplicación editor de fotos polish y los separadores fueron editados en la aplicación editor de canva.
Traductor utilizado : Deelp traslater traductor.
IMAGINA Y CREA

It can also be a great idea since Mother's Day is coming and it is an option to give to all those beautiful mothers as a gift or as a gesture of friendship.
The materials we will need are.
- Empty and clean soda can.
- Scissors.
- Marker.
- Hot glue.
- Decorative paper or foami Blue Brown Silver.
- Brown ribbon.
- Recycled lint ball.
- White paper.
- Cardboard.

Step 1
Let's get to work! First, using the ruler and marker, draw a straight line around the soda can where you want to cut. It is important that this line is straight to achieve a uniform and perfect box.

Next, we carefully cut along the marked line with the scissors. The top end of the pot that was not cut will be the lid of our box.


Step 2
Next, we take our decorative paper or foami and make some figures such as circles, sticks or hearts as I did this time.


This paper can be stamped or with any design we like, the choice is yours! We can also use acrylic paint to decorate our pot, but it is important to make sure it dries completely before continuing.
Next comes the marking of the two circles on the cardboard, one will be the bottom of the box and the top will be the lid.


Step 3
Next, we glued the decorative paper or foami around the pot with the help of the hot glue gun and delicately glued the hearts and the separator sticks in a circular fashion, but you can do it any way you like.


It is important to make sure that the glue is well distributed and that the foami is well glued or distributed with the glue.
With the top cover we take the round green foamis cut out and glue them in this way at the end what we will do is glue the lint bag and put the name as I did in this case in this way will be the lid of the candy box.


Step 4
To finish, we fold the top of the paper covering the pot inwards to create a clean rim and close our pot with the tape. You now have a beautiful and practical homemade candy box!


In conclusion, with just a few materials and in just a few simple steps, we can create unique and personalized candy boxes. Also, this craft is a great way to recycle and reuse the plastic pots we have at home, try it and surprise your loved ones with beautiful and delicious candy boxes! Comment Here I hope you like it and I hope you like it.

BLESSINGS FROM THE UNIVERSE.
Photos are my property and were taken by my techno pop 8 phone.
The photos are edited using polish photo editor app and the separators were edited in canva editor app.
Translator used : Deelp translator translator.
IMAGINE AND CREATE


