Hello everyone ✨
This is my entry into the diyhub sun contest. There are many creative ways of coming up with a diy sun but since this month's contest is a collaboration with the @needleworkmonday community, I made a dressing accessory which had the sun embedded in it.
One of the aims of this month's contest is to introduce more people to 'needlework' and for those who are already in it, to encourage them. I started my needlework journey in January and it's been six months already. I can say that these six months have been really fulfilling as I have a few projects to show. With that, I made a bucket hat with the sun embedded in it for this month's contest. Buckle up as I take you through the process

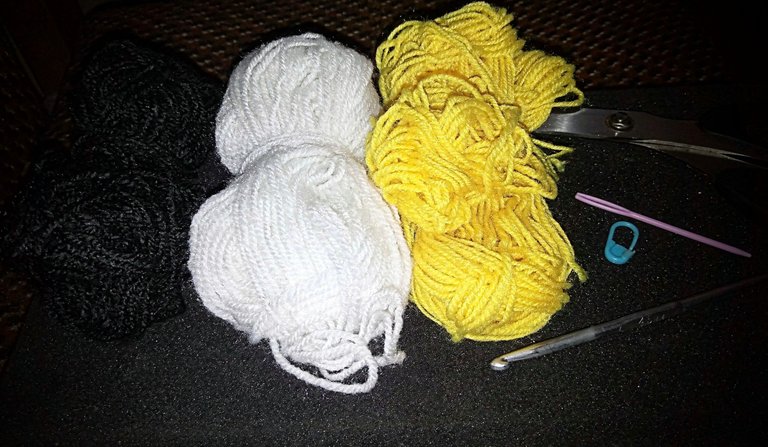
Materials
- Yarns
- 4.5mm crochet hook
- Yarn needle
- A pair of scissors
- Stitch markers
- Measuring tape(optional)

Process
I didn't want to make the regular bucket hat which would have been a circumference with one colour and so, I decided to use 'sun granny squares' to make my bucket hat's circumference.
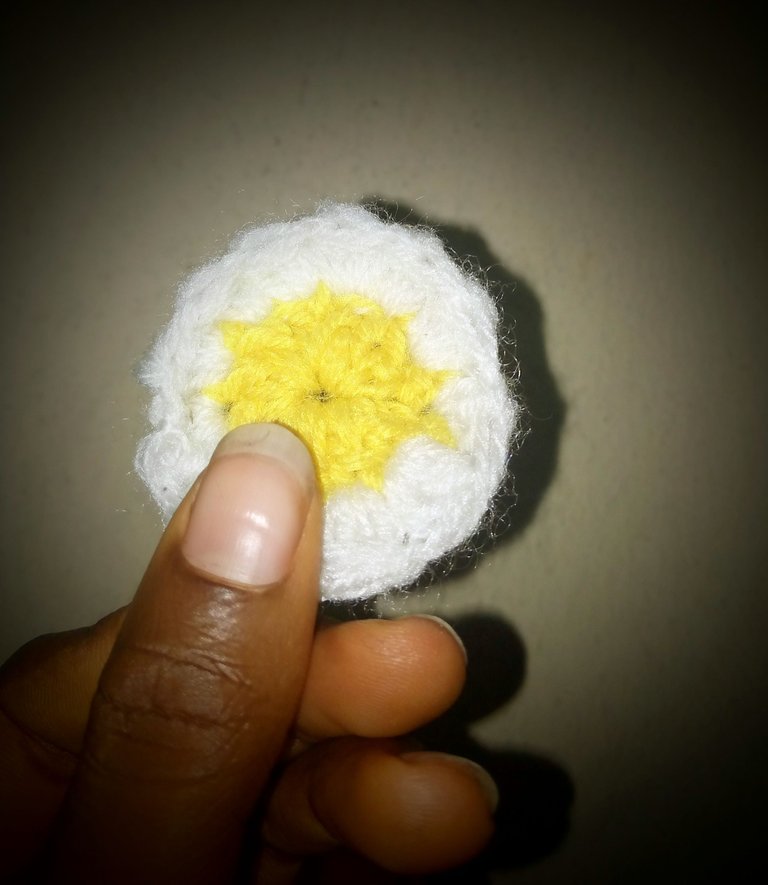
I started off by making the sun using a yellow and white yarn. Then I covered the sun with two rows of black yarn. This was my favourite part of the whole process:)
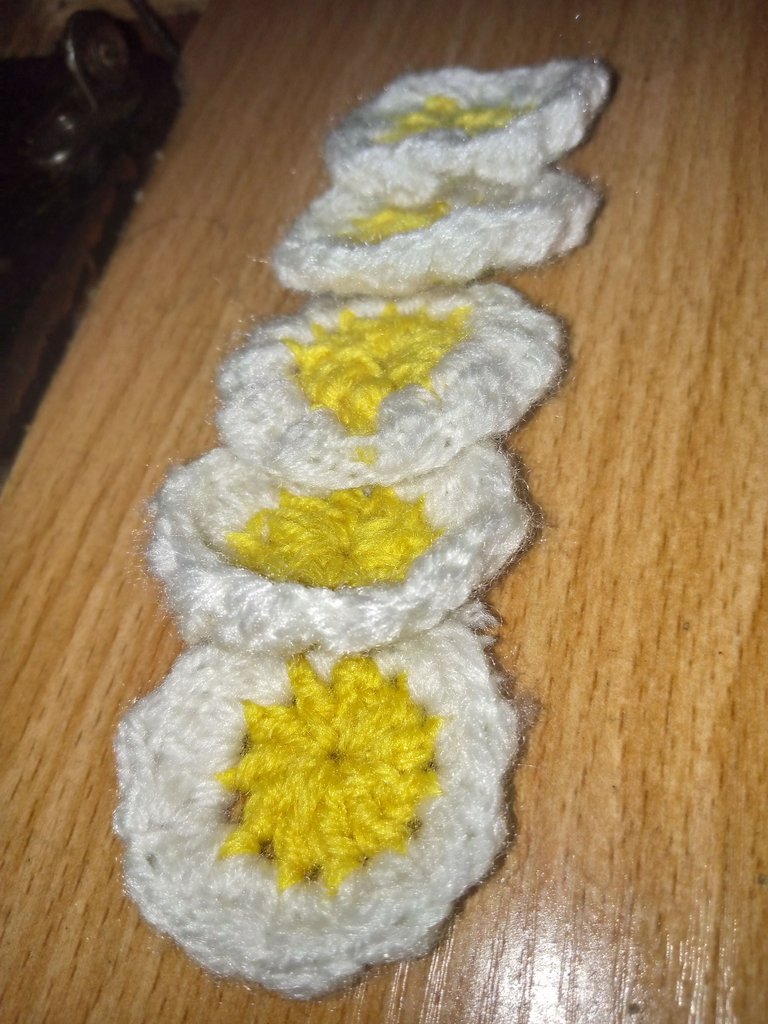
I made five sun granny squares as my head isn't so big and also, the yarn I used is a bit stretchy. With the granny squares done, I went ahead to join them together using a white yarn. For the coupling, I used flat stitches which made the coupling look bold.

Once I was done coupling, I went ahead to begin the top of my bucket hat. For the top, I made a larger sun granny square. Once I was done making the large sun granny square, I went ahead to join the top part and the circumference together using a white yarn and a 'single crochet' stitch.
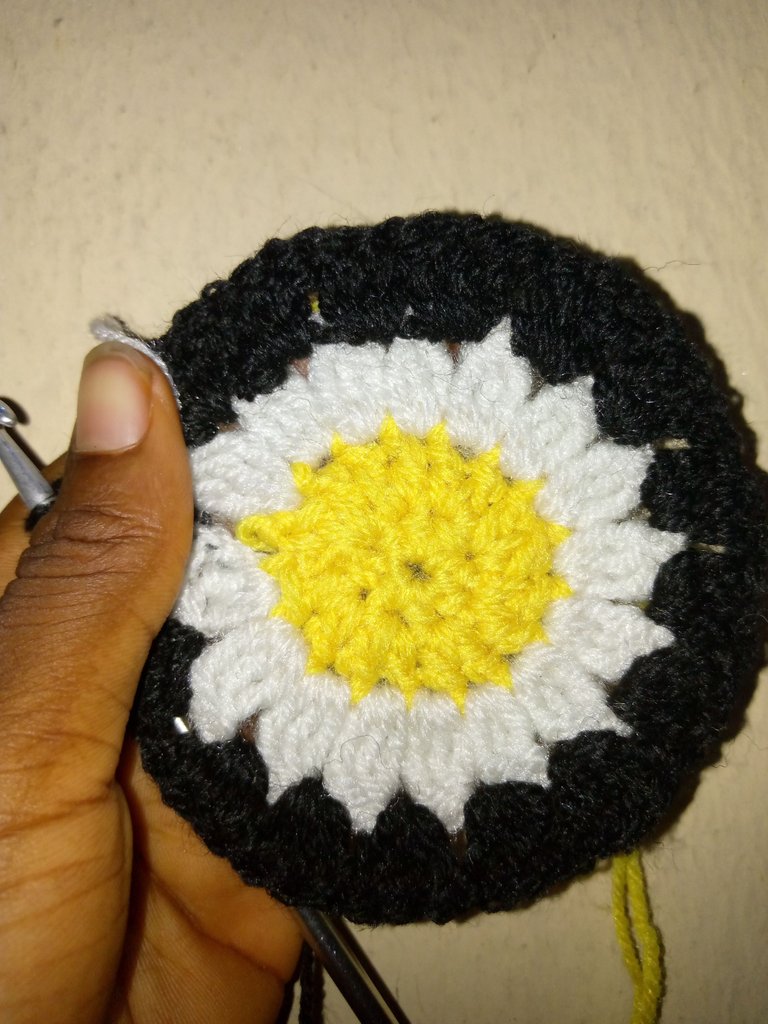
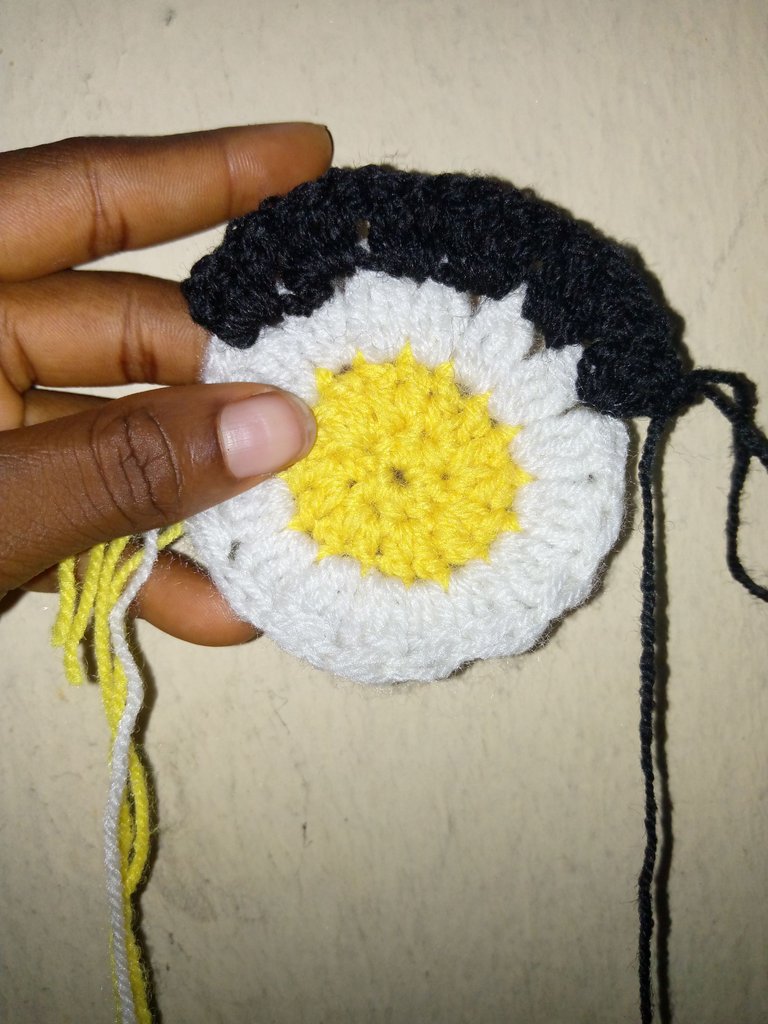
At this point, the bucket hat began to take shape and I was utterly excited. With that, I made a single crochet round the bottom of my circumference with a white yarn to give it the same look as the top of the circumference.
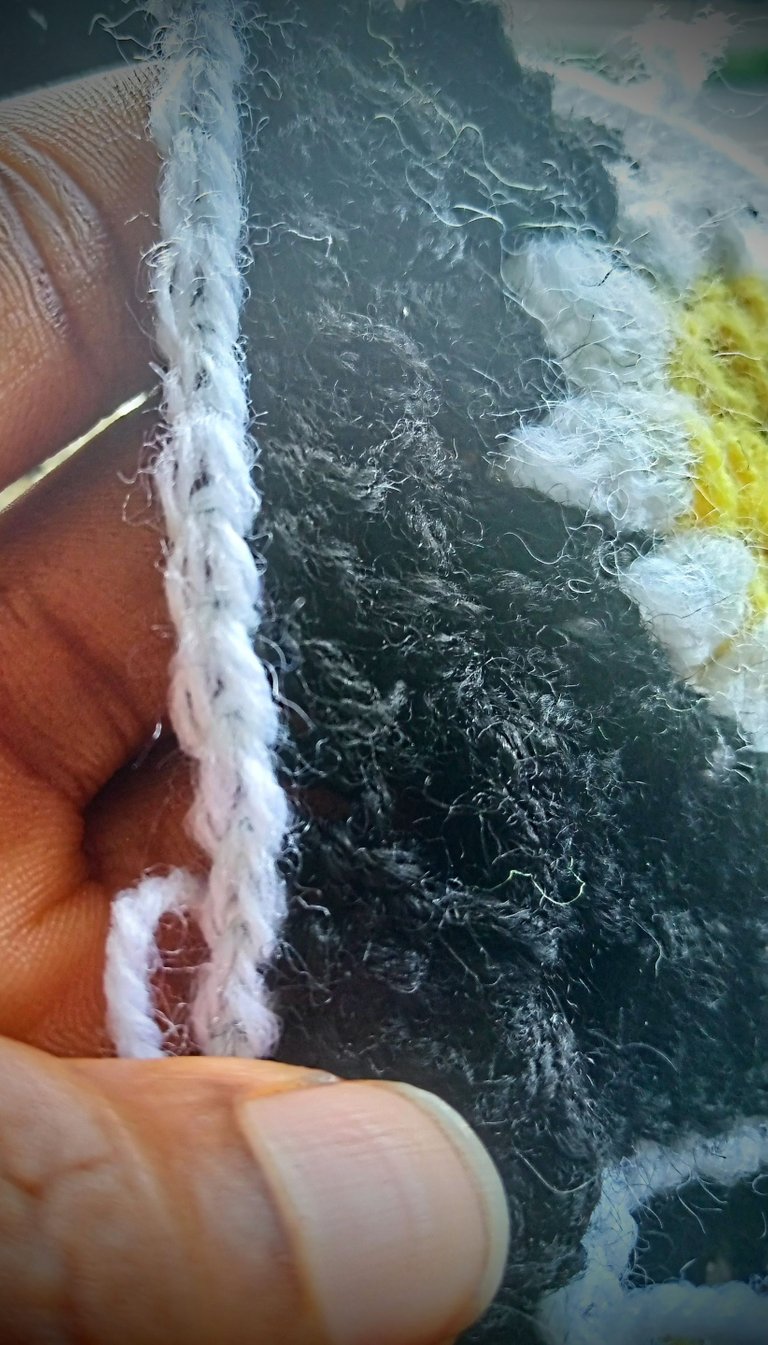
After this phase, I went ahead to make the flaps(base/brim) of my bucket hat. For this part, I used a double crochet with an increase in every fifth stitch. I made five rows in total.
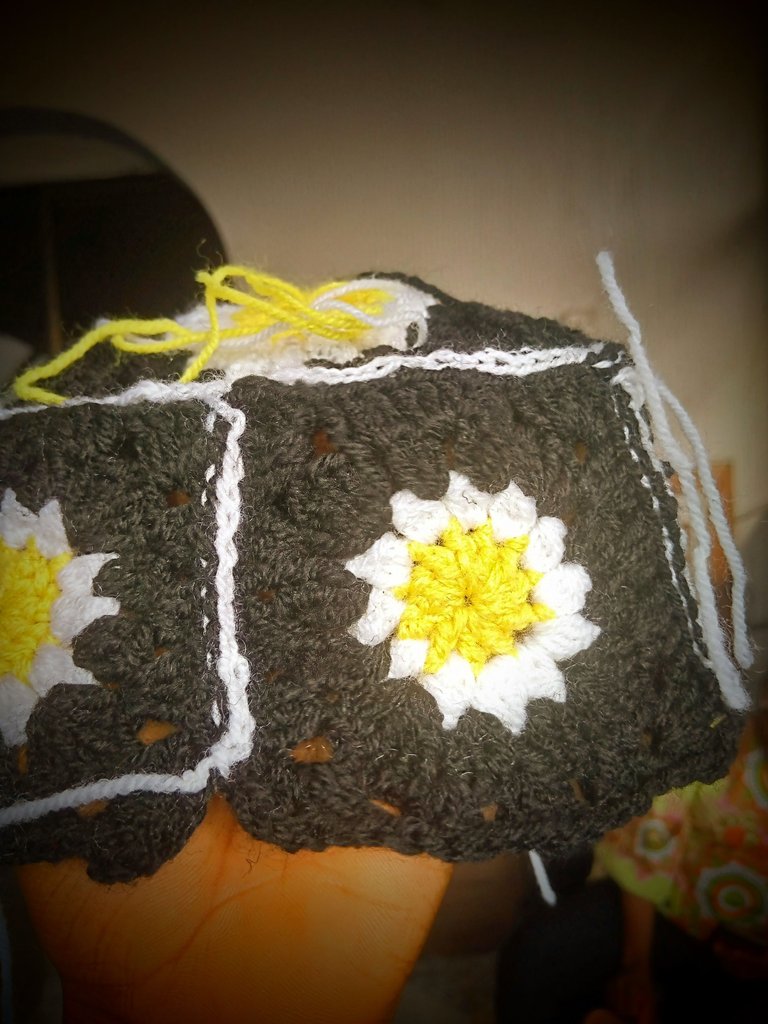
With that, I was pretty much done with my sun bucket hat. The last step was to sew in my loose ends.
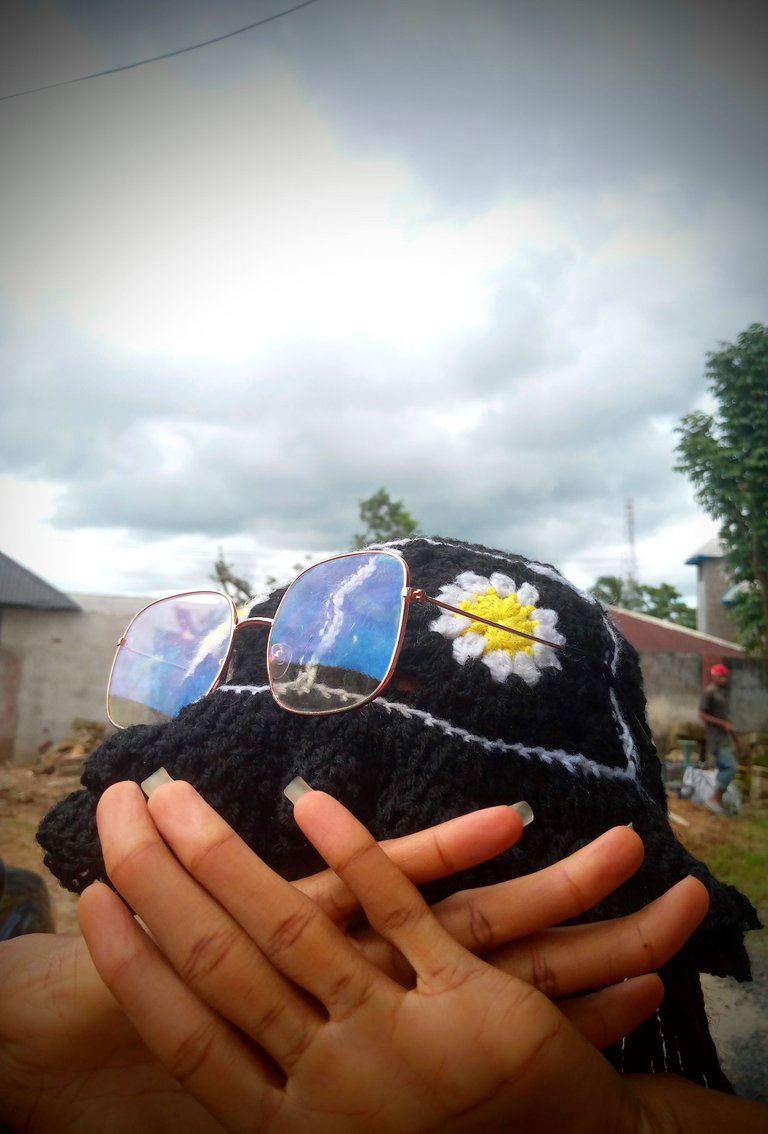
This is a bucket hat which can be worn to shield you from the sun on a regular day. But one can also wear it to the beach as it strikes as something people would love to wear to a beach.
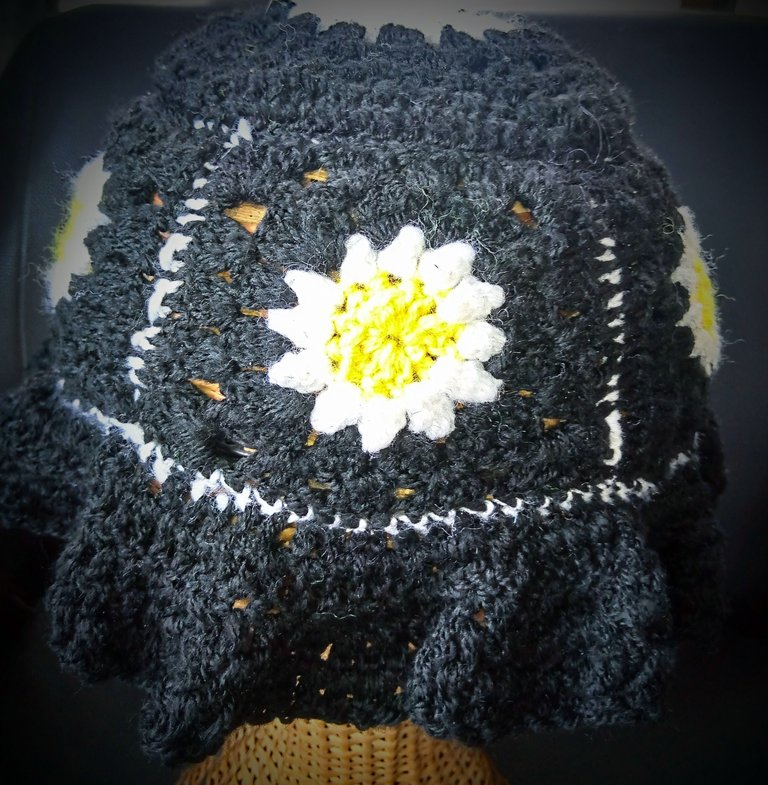
Another good thing about this bucket hat is that it can be worn on both sides. Many people didn't really notice the difference but if one looks closely, they would see that the stitches are different on both sides. The right side looks more casual while the wrong side looks more formal; it depends on who is looking.
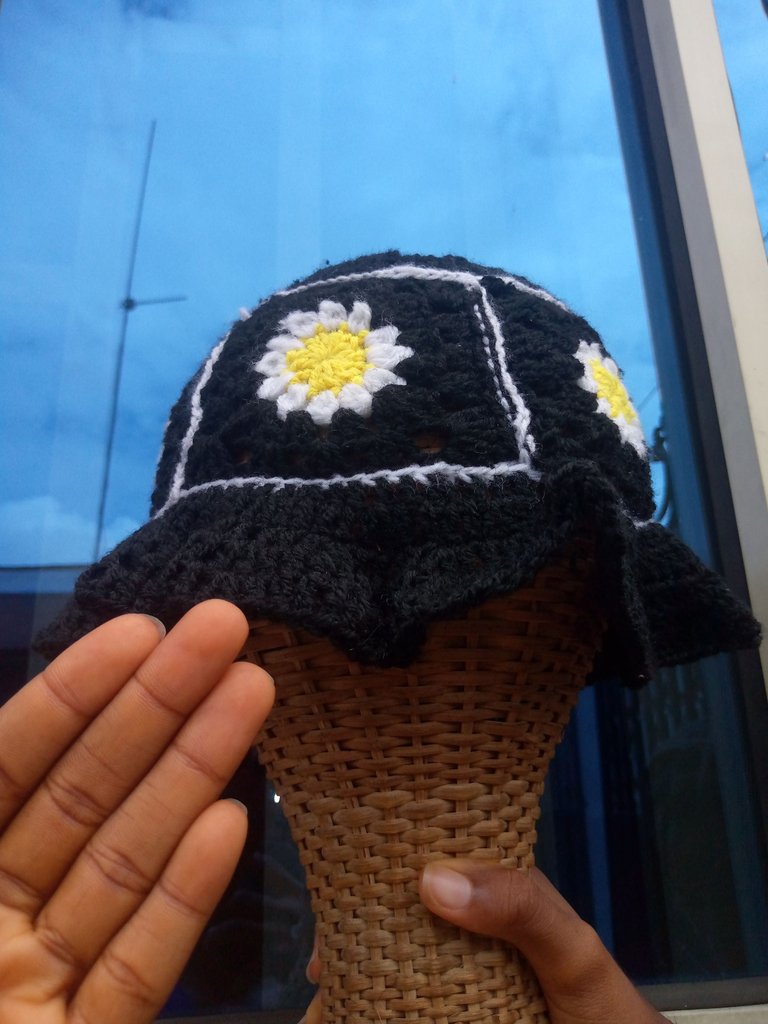
I was so pleased with the end product and for the first time, everyone around me was pleased too. I got so many positive reviews about the bucket hat as I was photographing it. Once again, @jhymie came at the right time to be my model. Thank you ma'am ❣️.
I'd also love your reviews and suggestions on the sun granny squares bucket hat. Did you like the colour combination and the stitches used?.
With love, wongi ✨
