Alcancía hecha de papel maché.💜
Piggy bank made of paper mache.💜
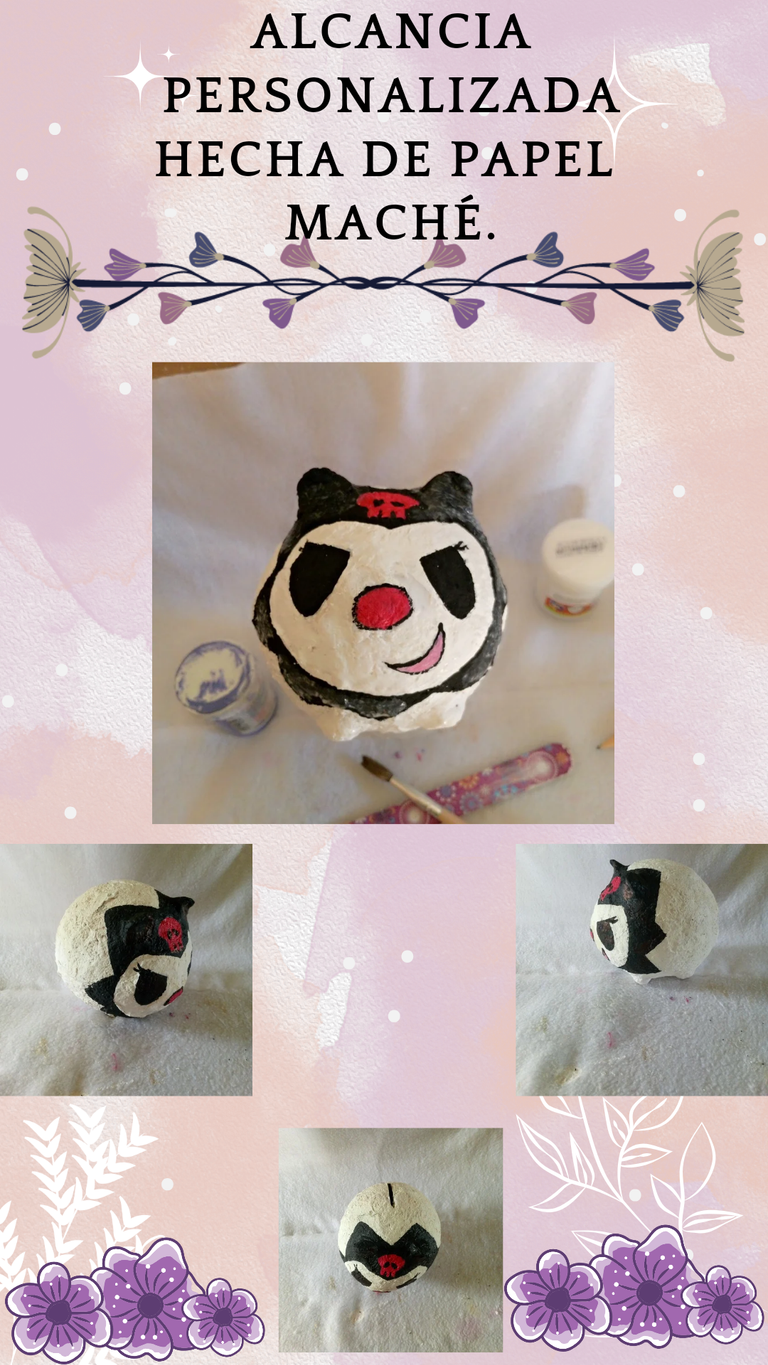
Hello friends of DIY Hub! On this occasion, I was working on a piggy bank made of paper mache. Not long ago, I made one using soda bottles, but coincidentally, while browsing Pinterest, I came across some inspiring ideas. I came across a page that featured personalized piggy banks that I really loved.
Aquí donde vivo, no venden la base de alcancía que normalmente es de cerámica, así que recordé que hay una alternativa perfecta: ¡el papel maché! Esta manualidad te permite diseñar tu alcancía a tu estilo, dejando volar tu creatividad.
Here where I live, they don't sell the piggy bank base that is normally ceramic, so I remembered that there is a perfect alternative: paper mache! This craft allows you to design your piggy bank in your style, letting your creativity fly.
Yo, como siempre, elegí a mi personaje favorito, Kuromi, como modelo para plasmar en mi alcancía. Ahora se llama "Alcancikuromi". Espero que les guste esta creativa alcancía tanto como a mí.
I, as always, chose my favorite character, Kuromi, as a model to capture in my piggy bank. Now it is called "Alcancikuromi". I hope you like this creative piggy bank as much as I do.
Materiales necesarios:Papel periódico o papel reciclado,pegamento (cola blanca o mezcla de agua y pegamento),un globo (como base),pintura acrílica o témperas,pinceles,tijeras,un cuchillo o cutter (para hacer la ranura).
Necessary materials: Newspaper or recycled paper, glue (white glue or a mixture of water and glue), a balloon (as a base), acrylic or tempera paint, brushes, scissors, a knife or cutter (to make the slot).
Inflo un globo al tamaño que deseo yo no la hice más grande que mi mano porque queria que mantuviera la forma redonda para mi alcancía. Este será el molde sobre el que voy a trabajar. Luego, corto el papel periódico en tiras y mezclo el pegamento con un poco de agua para obtener una consistencia más líquida.Me aseguro de cubrir toda la superficie, dejando un pequeño espacio en la parte superior para la ranura. Aplico al menos dos o tres capas para que sea resistente.
I blow up a balloon to the size I want. I didn't make it bigger than my hand because I wanted it to keep the round shape for my piggy bank. This will be the mold on which I am going to work. Next, I cut the newspaper into strips and mix the glue with a little water to get a thinner consistency. I make sure to cover the entire surface, leaving a small space at the top for the groove. I apply at least two or three coats to make it resistant.
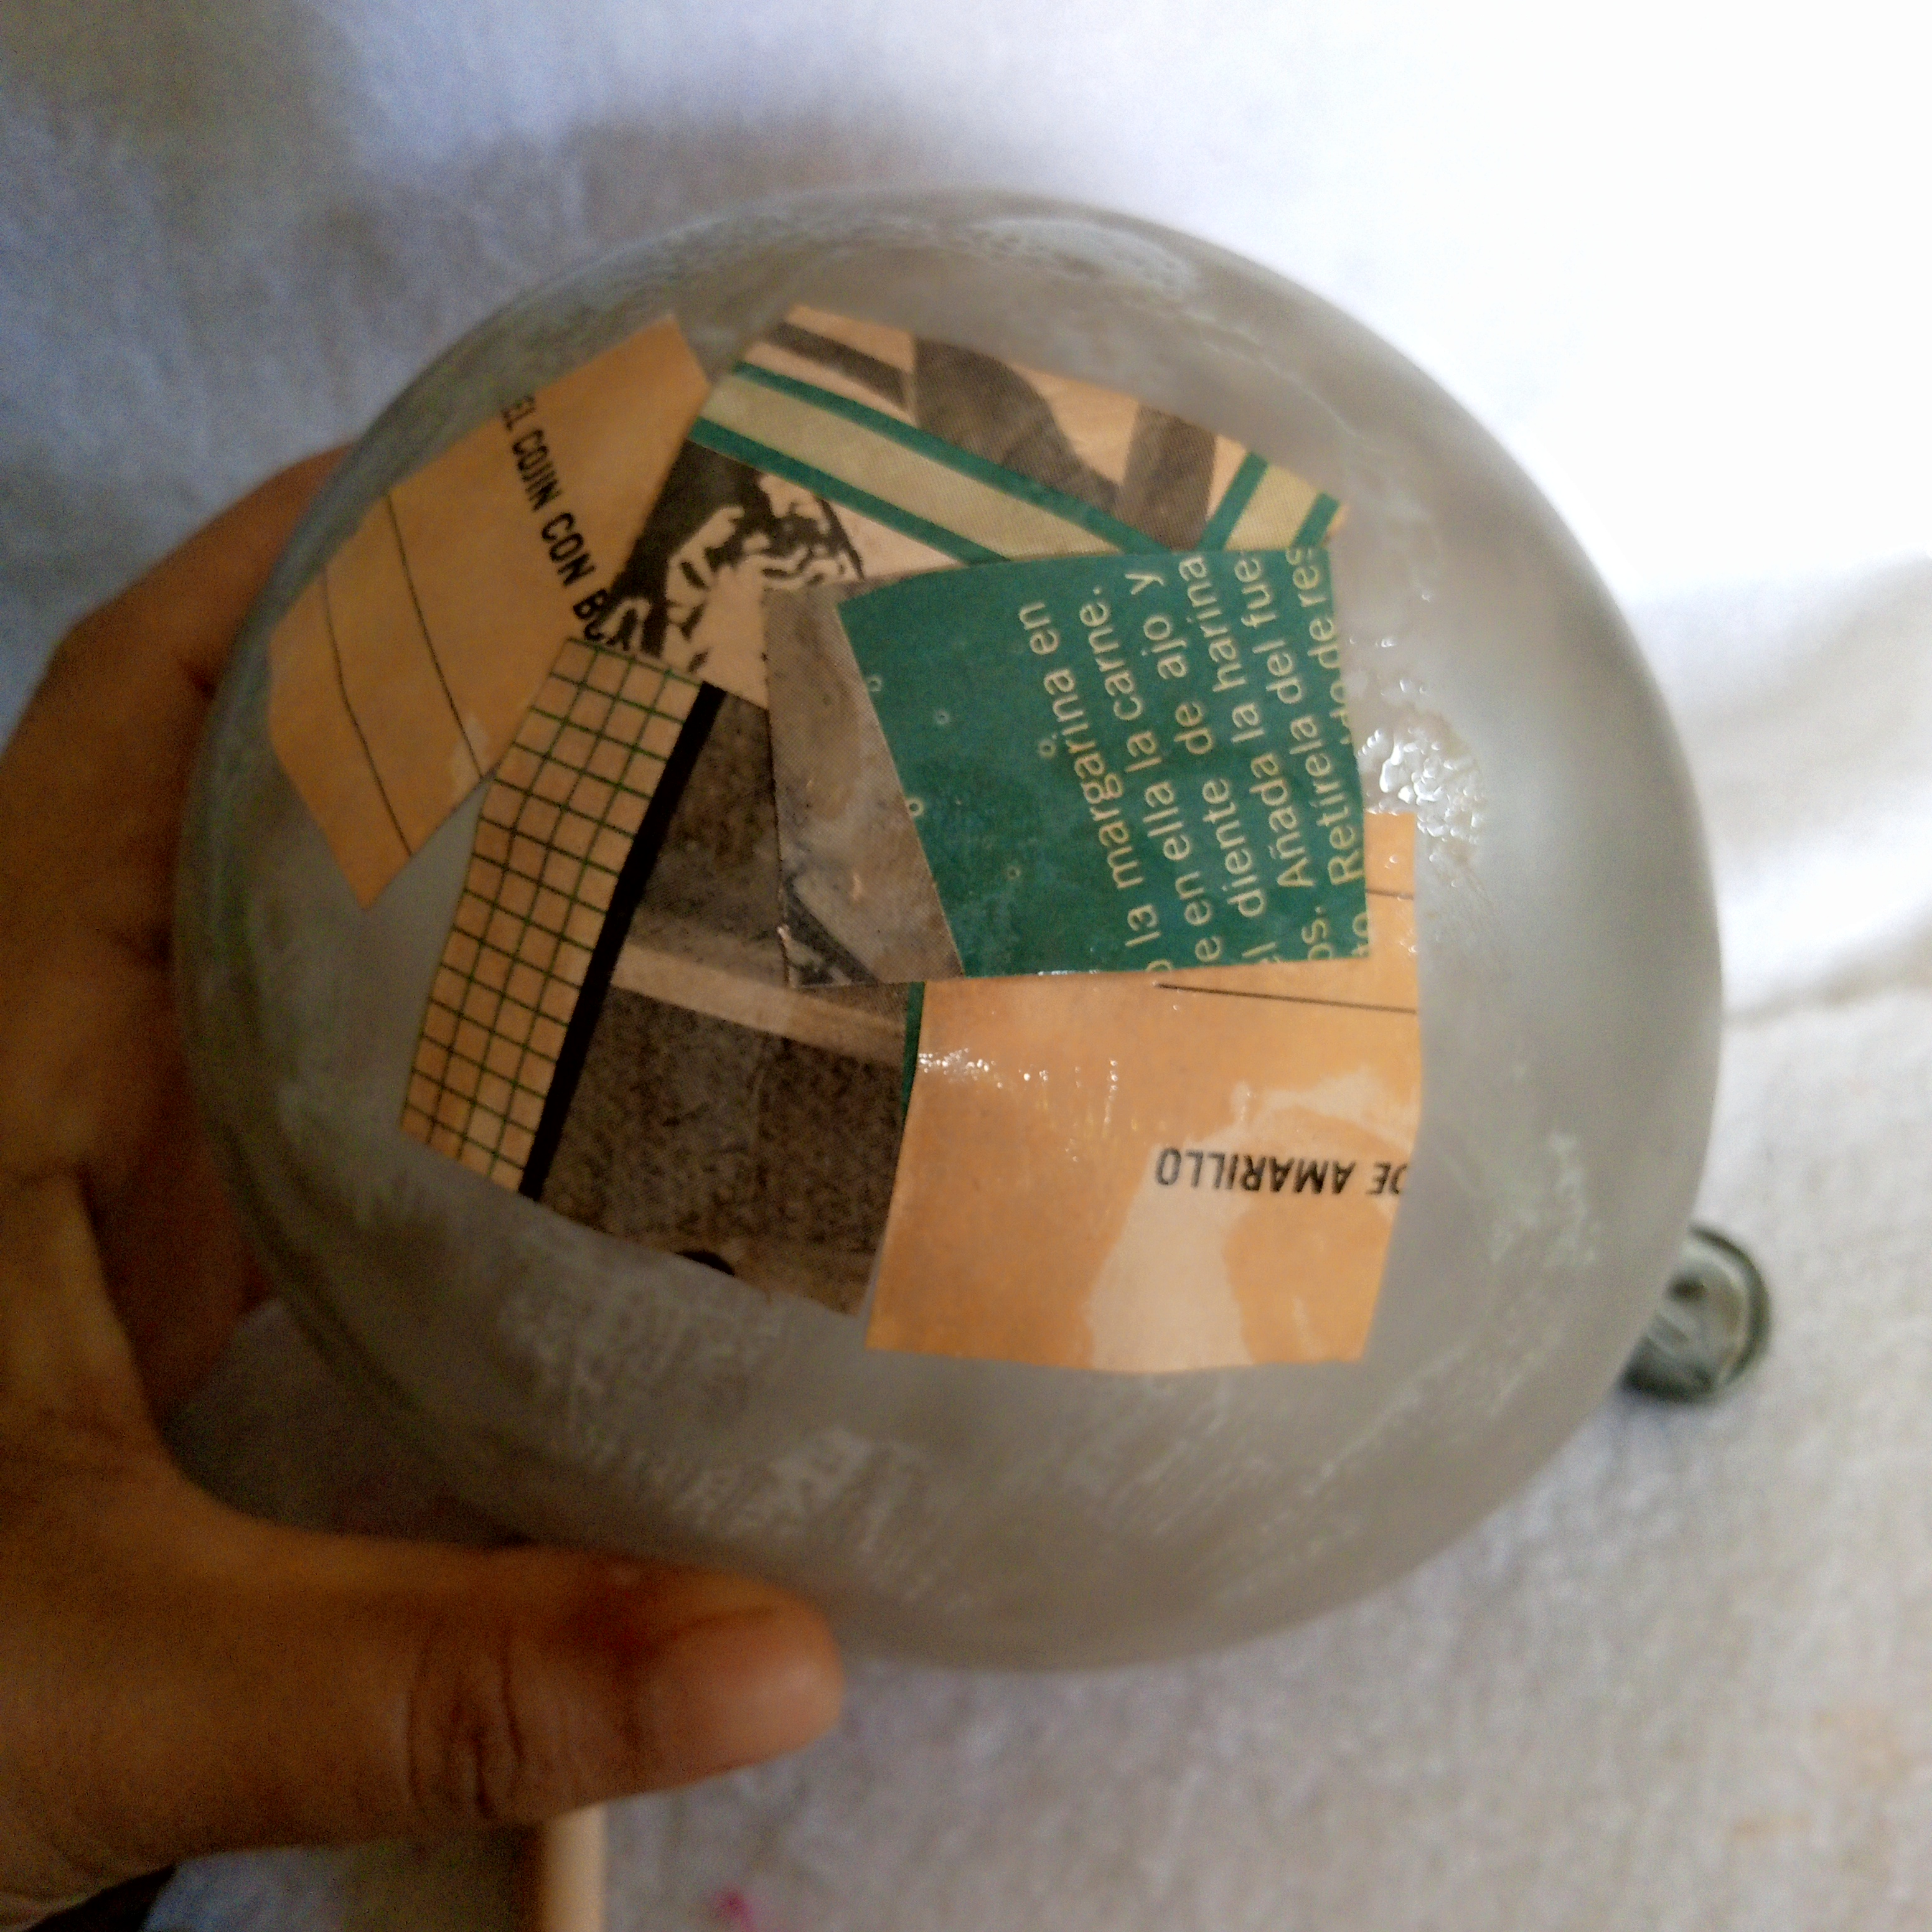
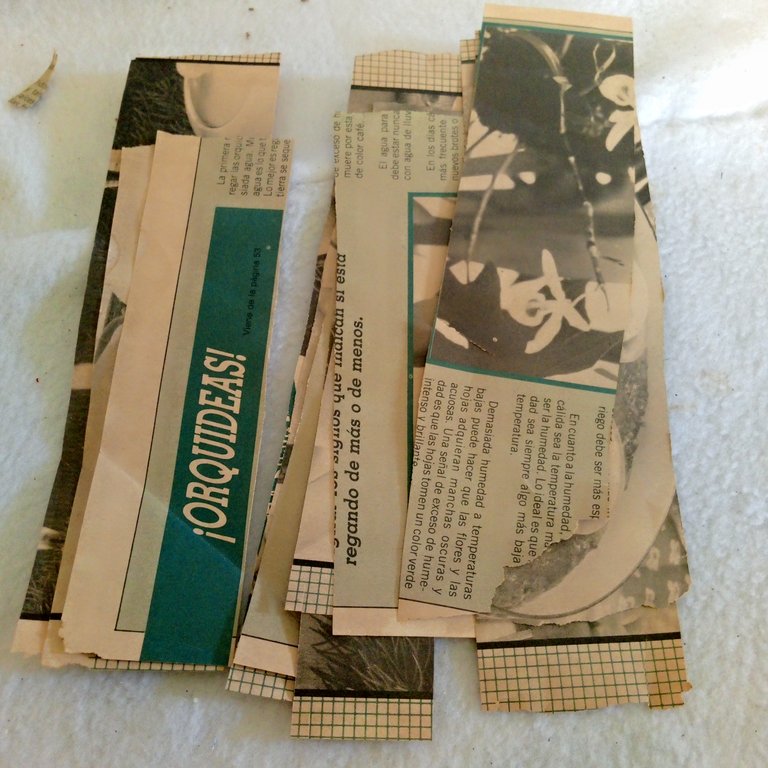

After gluing all the strips, I let the piggy bank dry overnight to make sure it is completely hard and ready for the next step.
Aparte hice una mezcla de papel crepé blanco para esta utilice solo el papel crepé,pega,un poco de agua, está mezcla solo necesita que se mezcle bien para que se forme una masa esta mezcla la voy a colocar a la base para tener un material más duro y también como es moldeable con esta hare las orejas,las patitas,trompa y colita.
Separately, I made a mixture of white crepe paper for this, use only the crepe paper, glue, a little water, this mixture only needs to be mixed well so that a dough is formed. I am going to place this mixture on the base to have a material harder and also as it is moldable with this I will make the ears, the legs, the trunk and the tail.
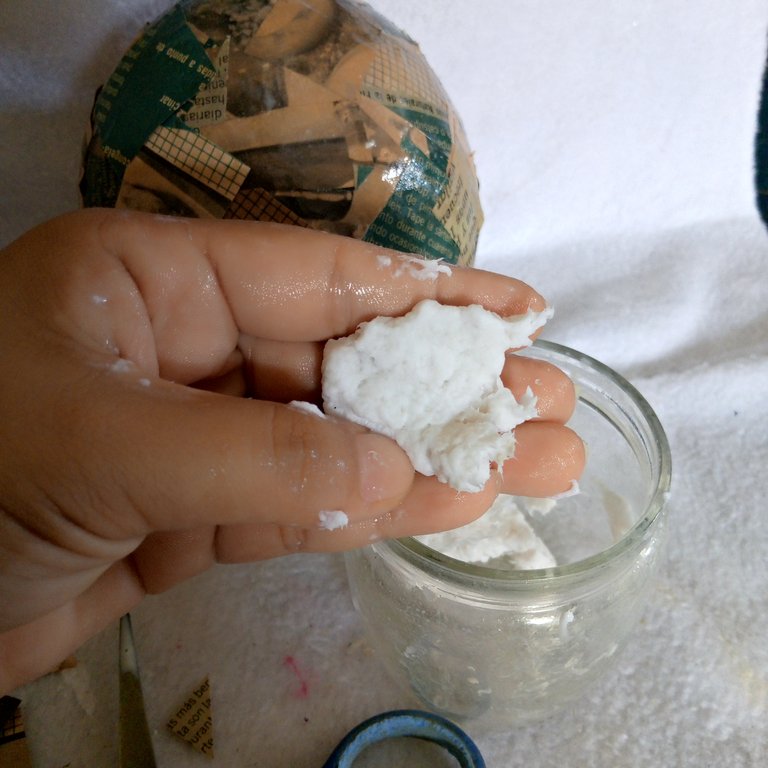
The next day the base is already dry, I'm going to put the mixture that I made of crepe paper on it and I'm going to start molding the shape of the piggy bank. For this step I didn't use a mold or anything like that, just my hands.
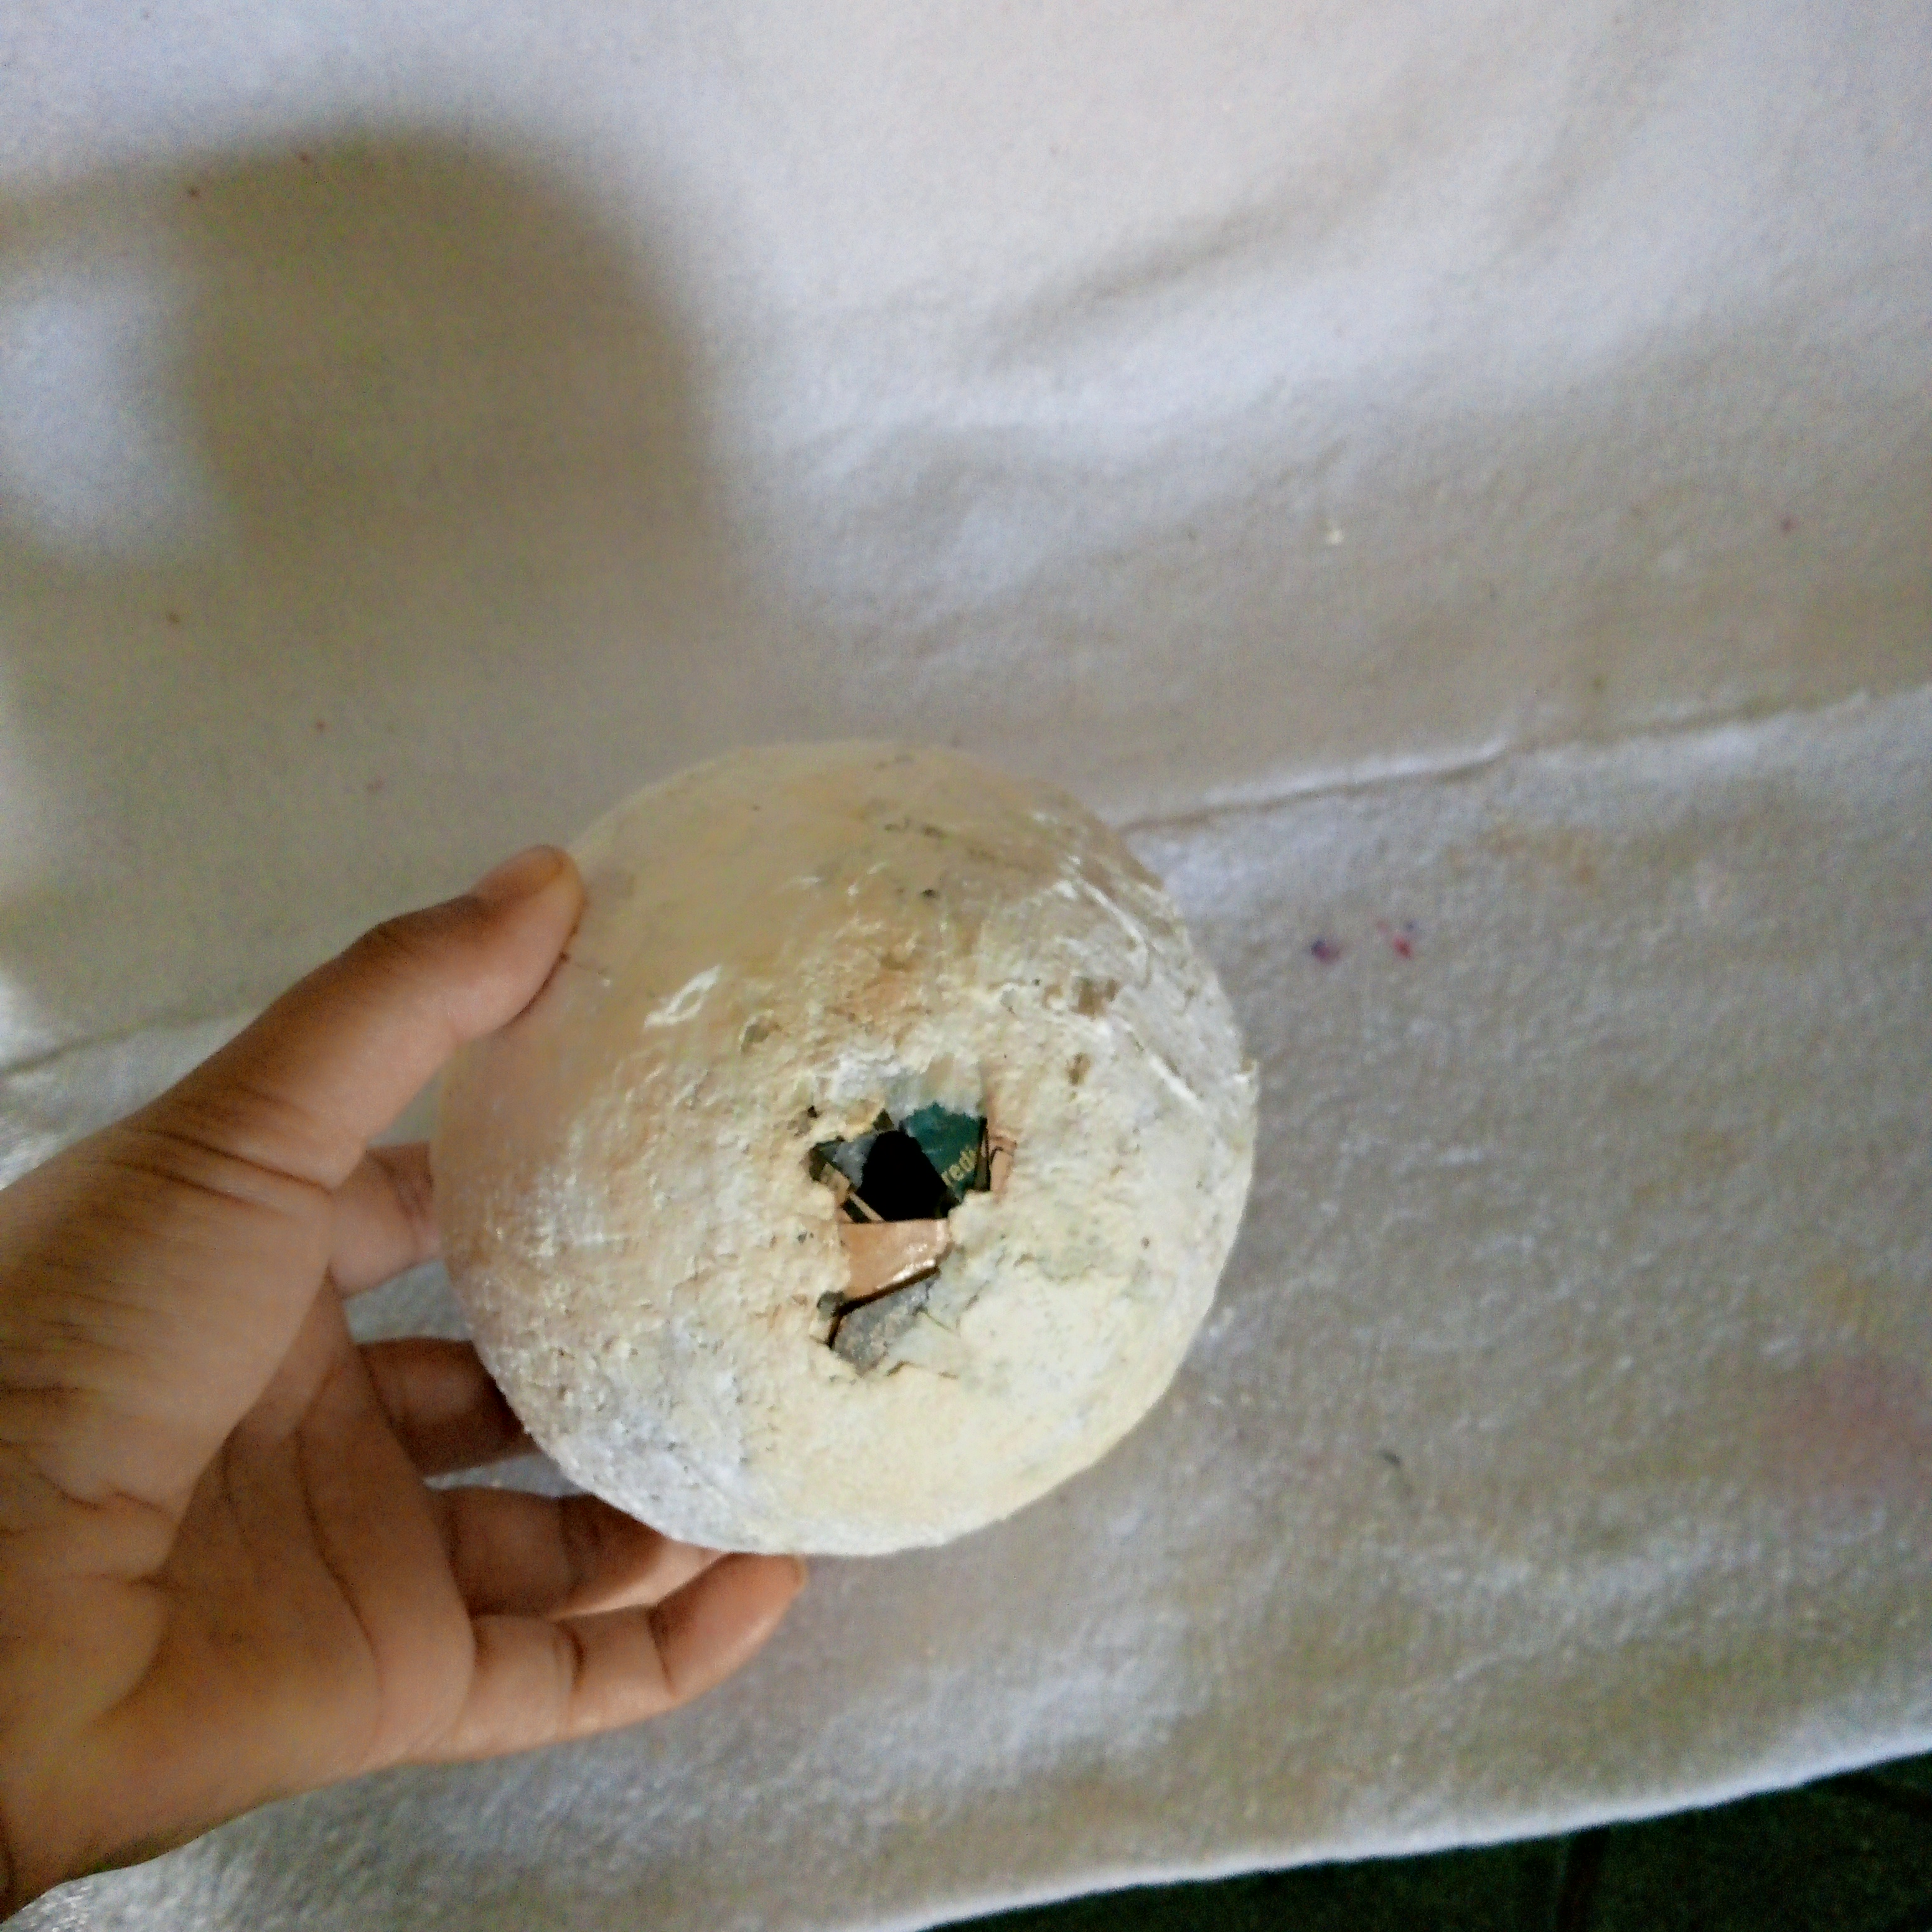
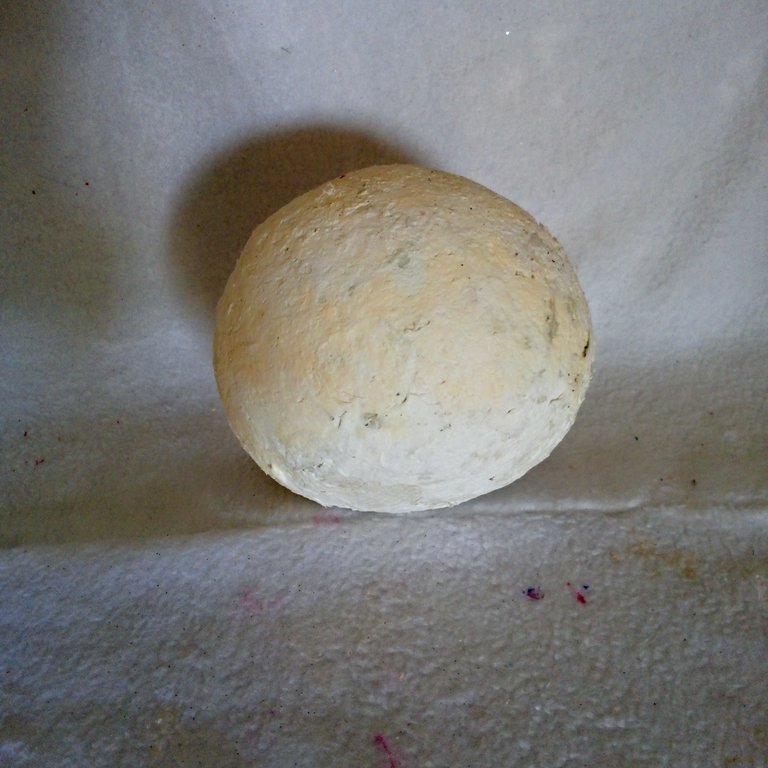
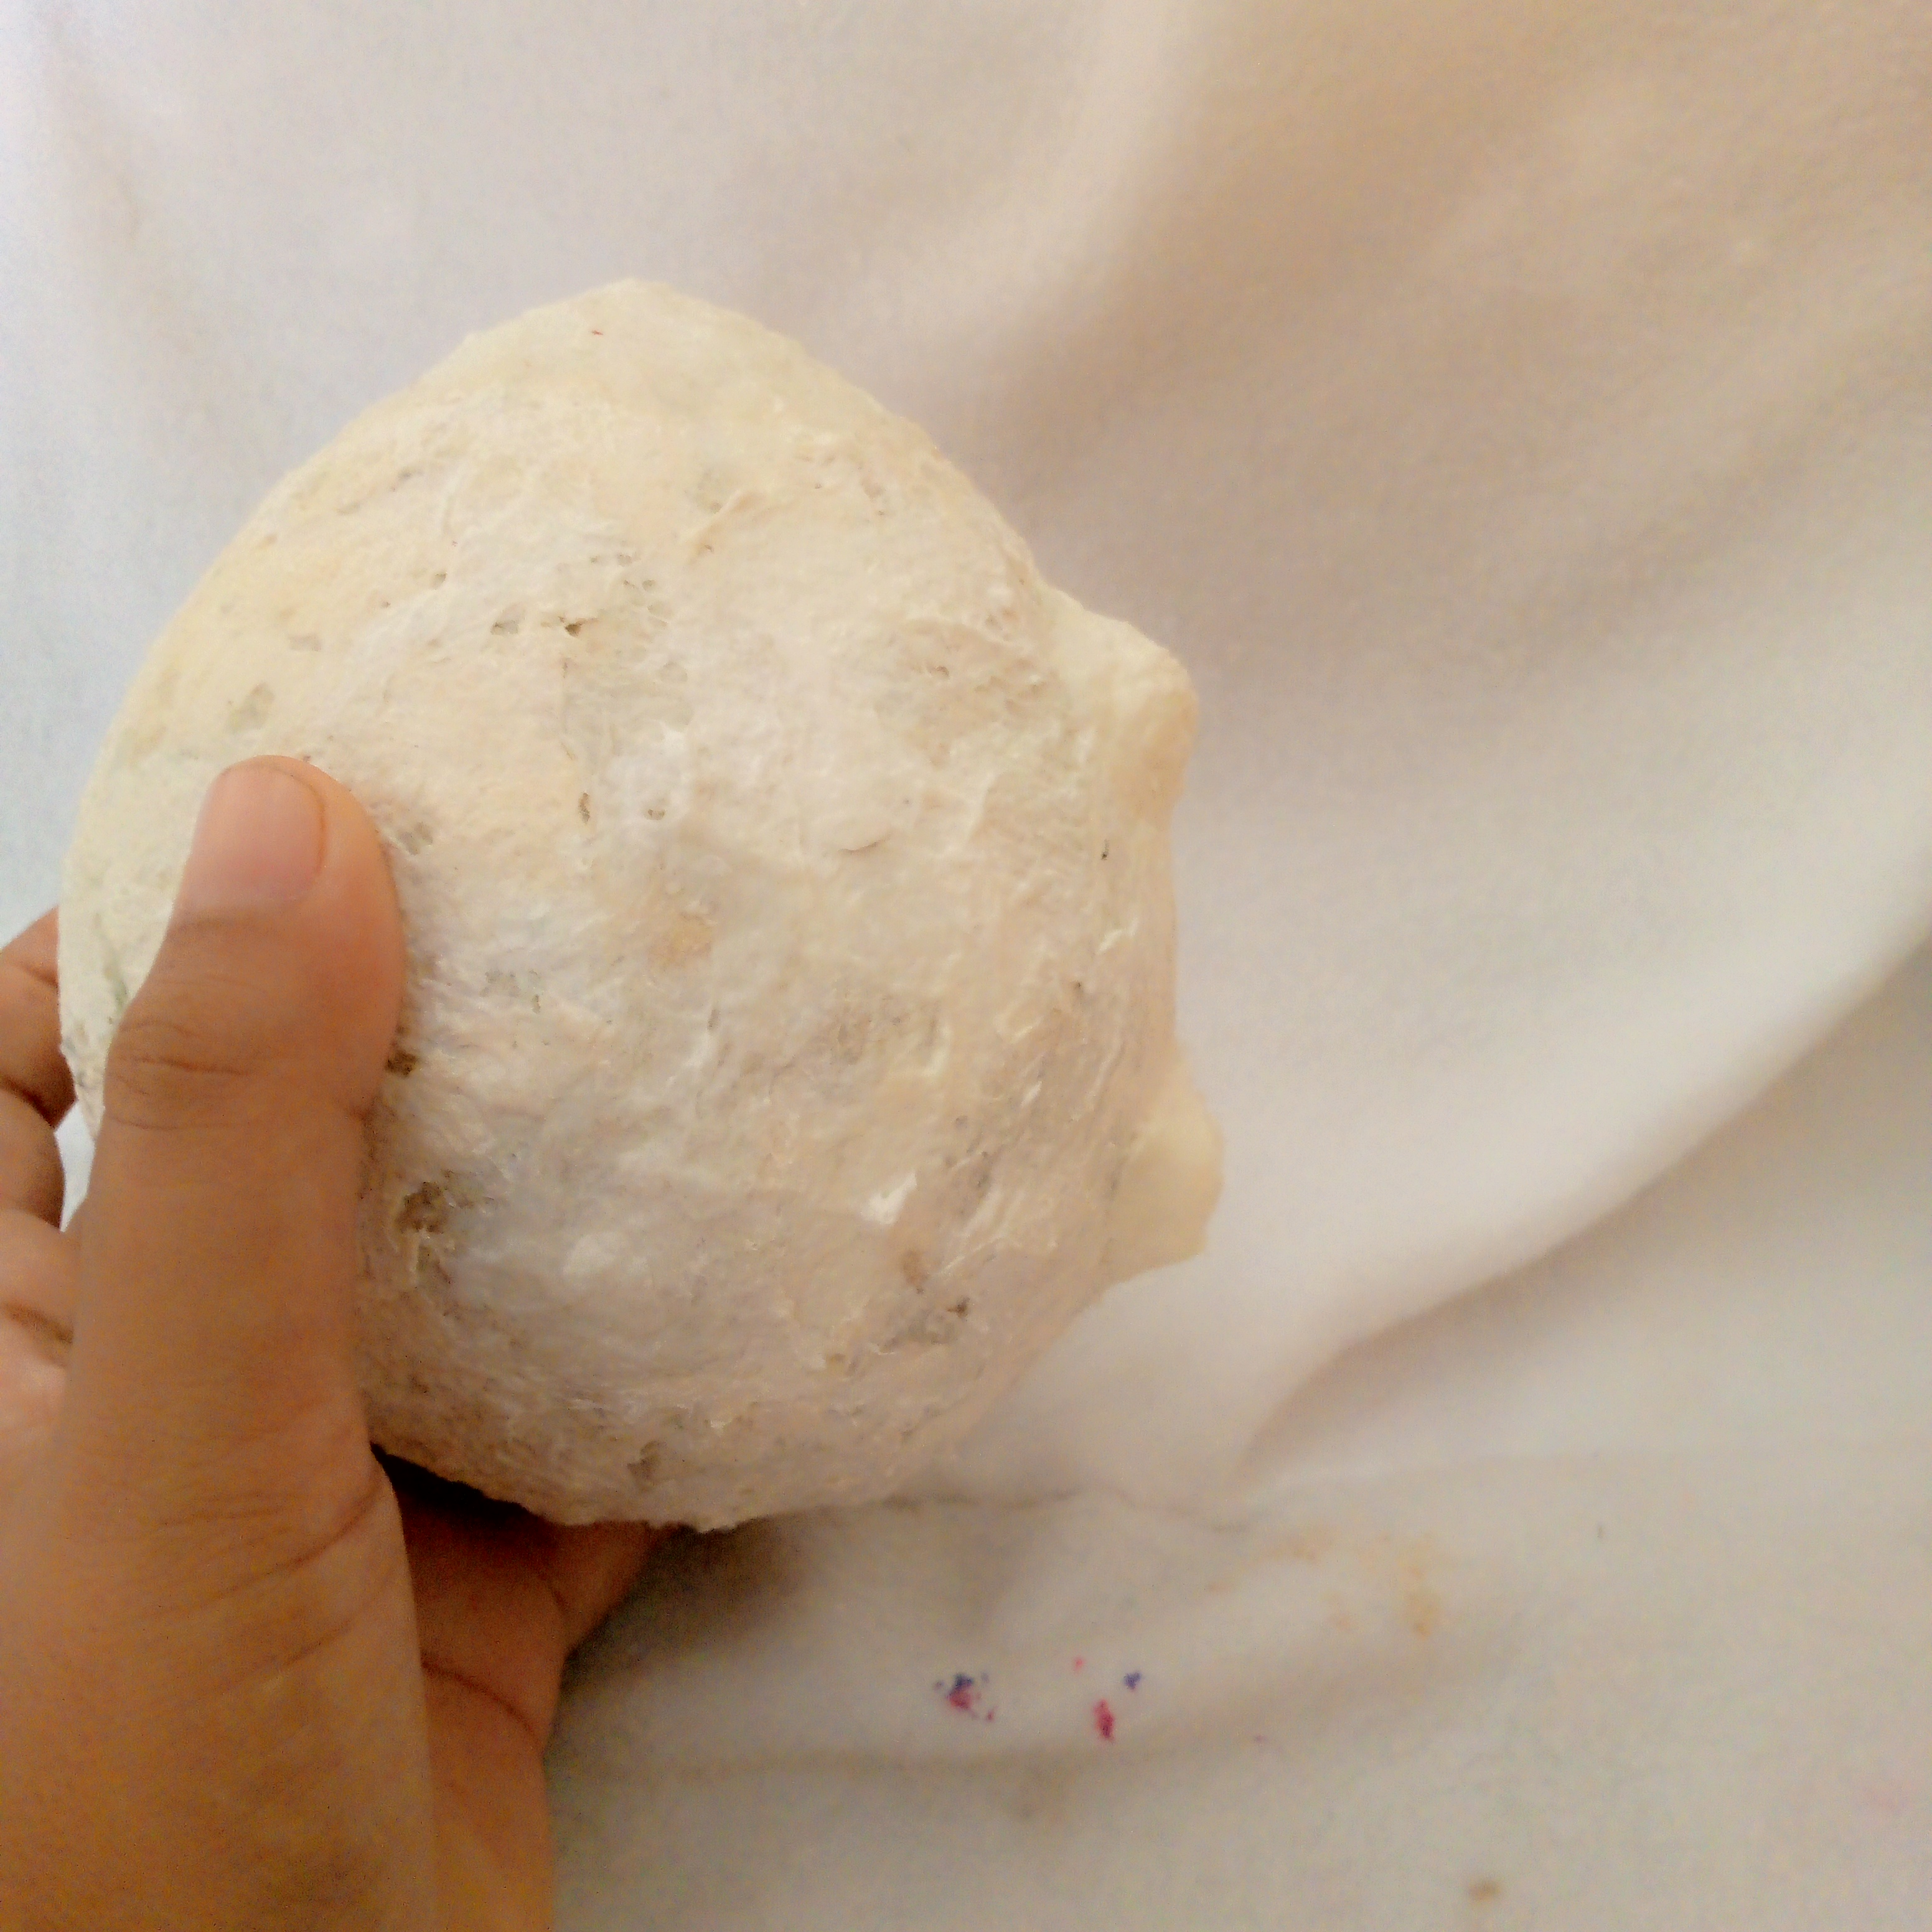
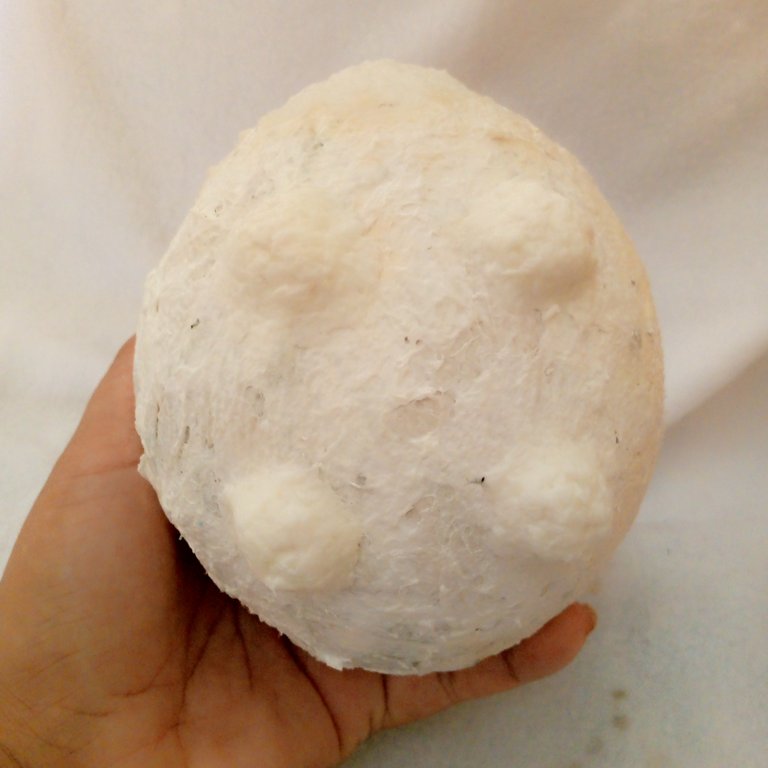

Then let it dry for at least 5 hours, this is quite a process.
Ya después que paso las horas, ahora sí ya es momento de hacerle el diseño y de colocarle color.
After the hours have passed, now it is time to make the design and add color.
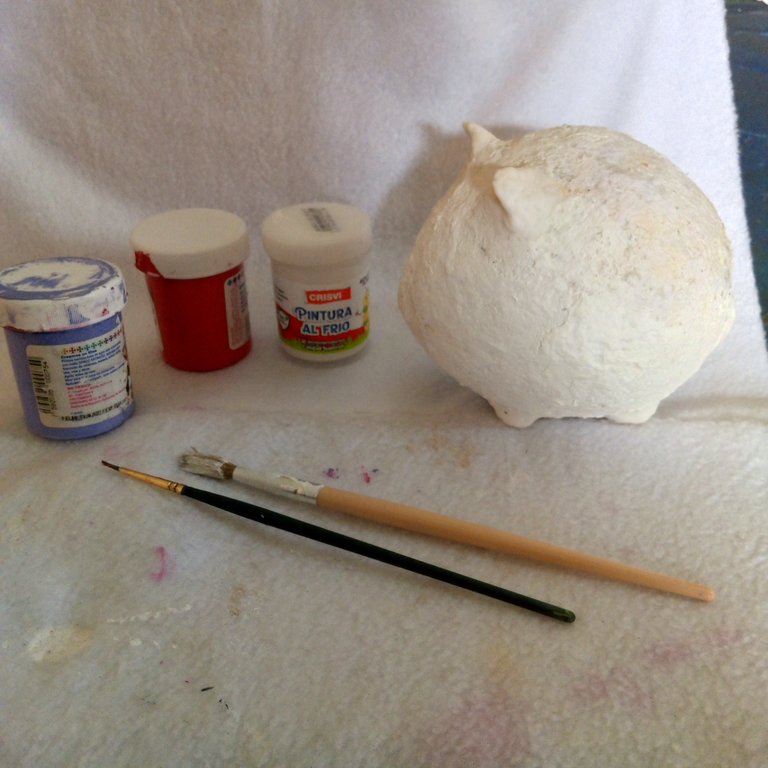
Before I drew the characteristics so as not to make mistakes and I started by placing the color black in the area of the ears, neck and eyes. And the fuchsia nose and the light pink mouth, and also a drawing of a caravel that the doll has that I painted in fuchsia.
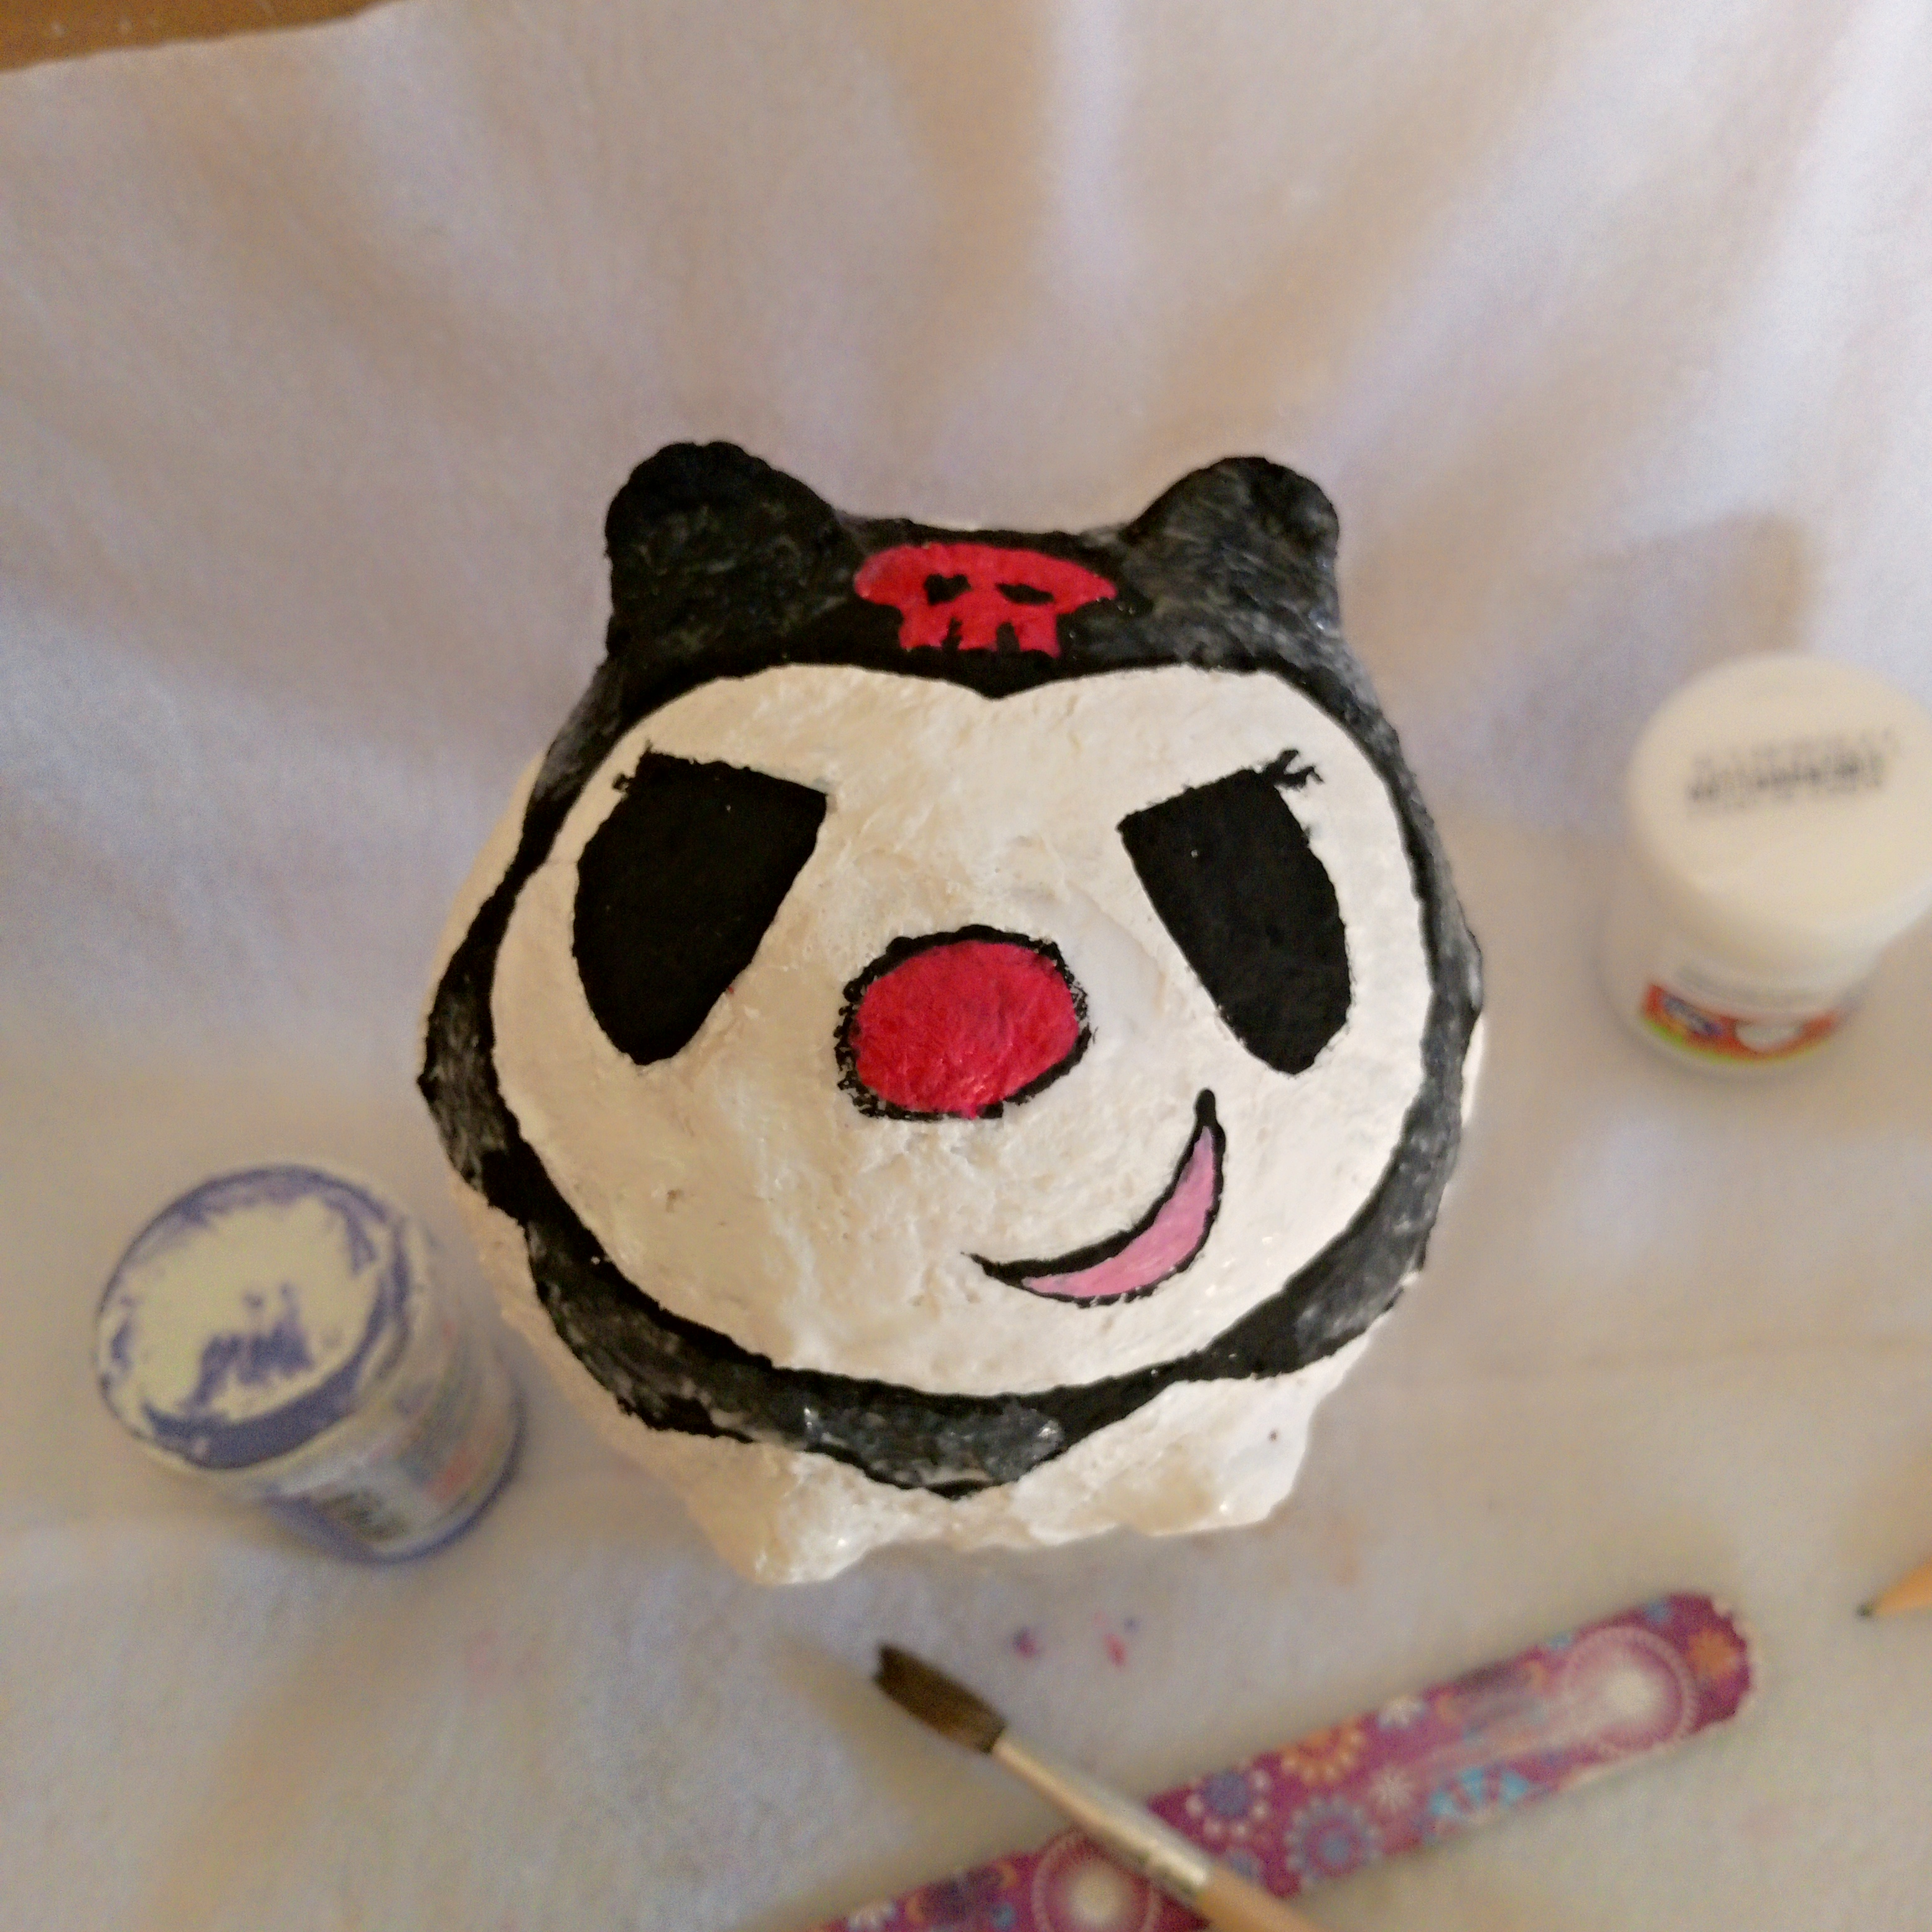
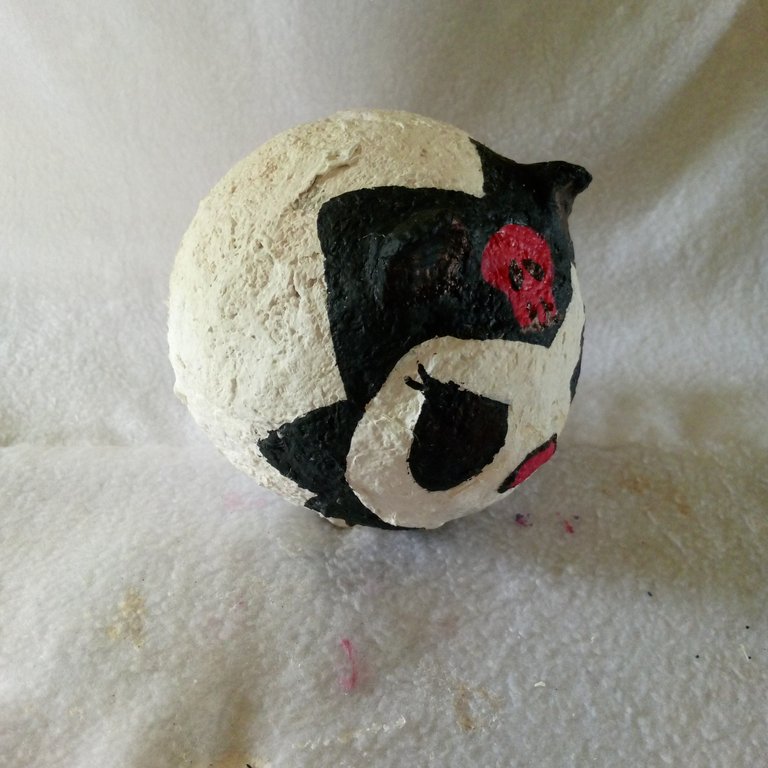
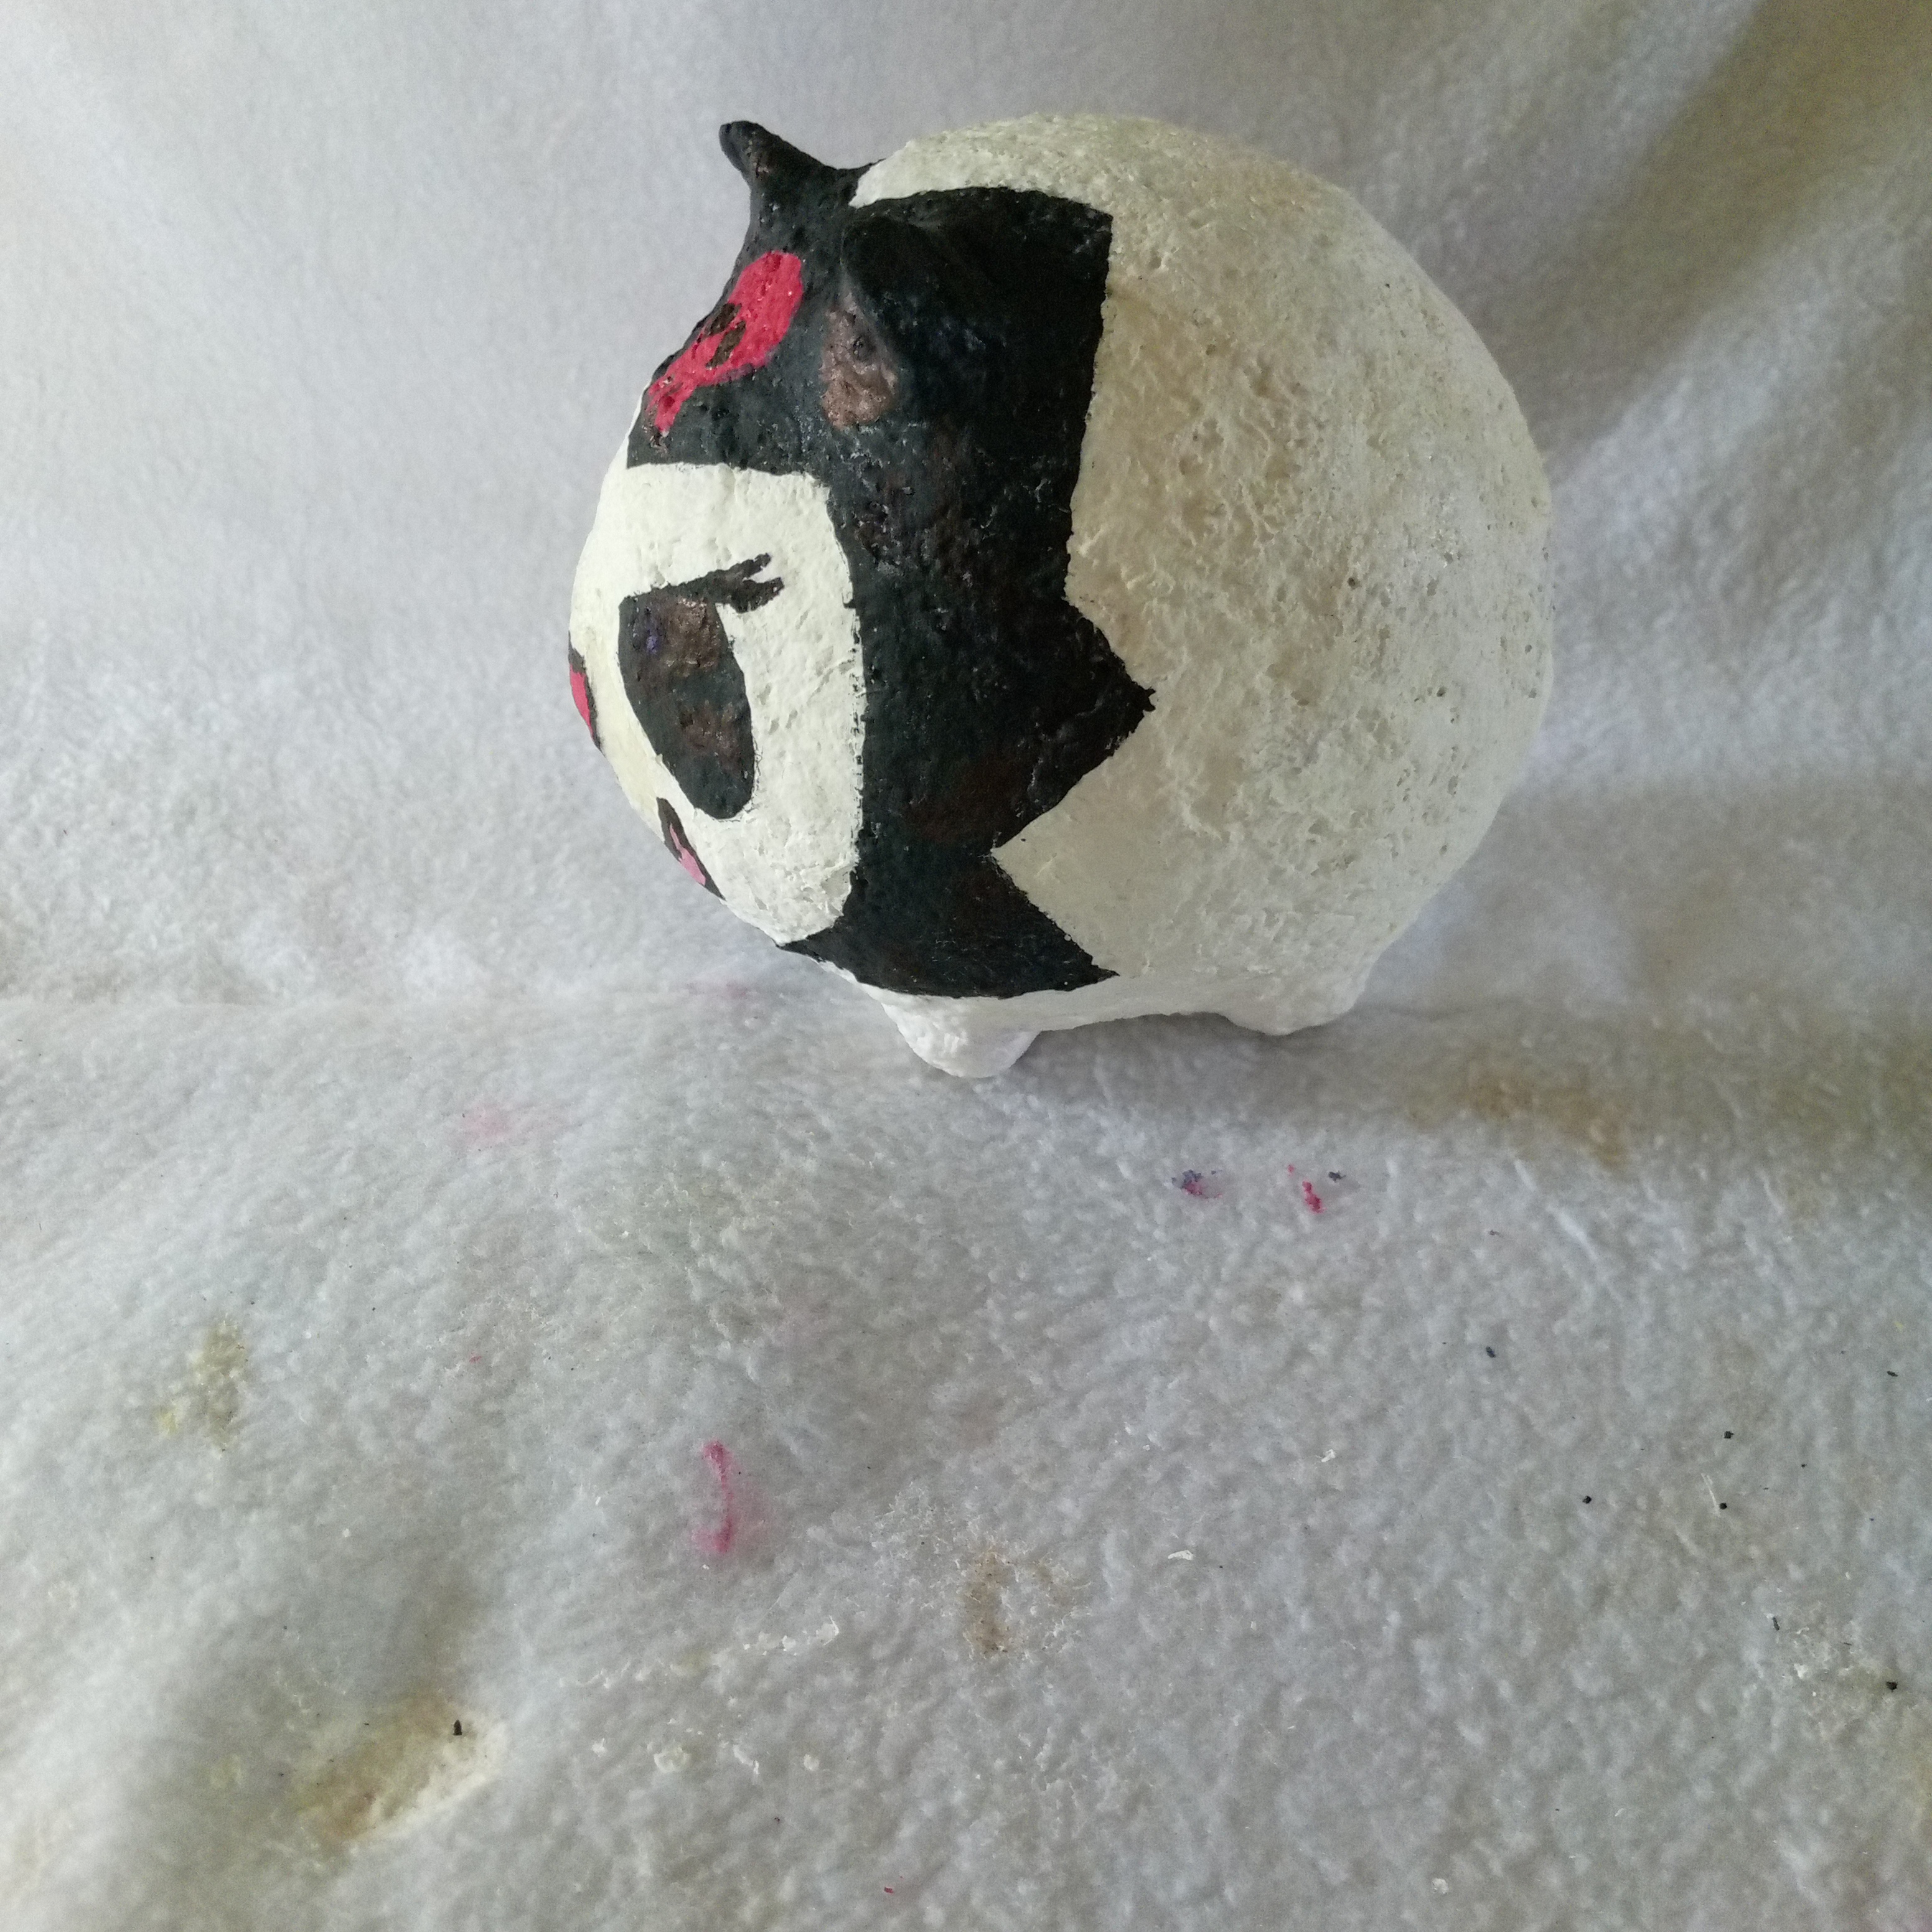
This is how my piggy bank turned out, remember that each craft is an opportunity to express your creativity and make something unique. I hope you are encouraged to create your own paper mache piggy bank and enjoy the process as much as I do. Have fun and let your imagination fly!
La edición de las fotos es de mi autoría, el texto ha sido traducido con Google Translate, y las fotos las tomé con mi teléfono Infinix Smart 7.
The editing of the photos is my responsibility, the text has been translated with Google Translate, and the photos were taken with my Infinix Smart 7 phone.

