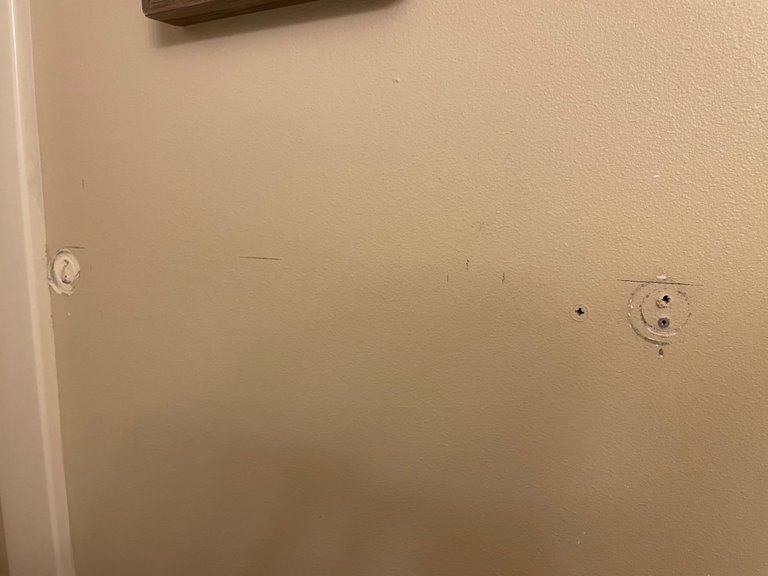
DANG KIDS!!! ~ Tore The Towel Rack Off… Again!!

in #hive-1896412 years ago

Don’t drape the towel over the rod, oh no don’t do that!! Ball it up and stuff it in between the wall and the rod… that’s how you properly hang a towel. I guess it’s better than leaving them all soaking wet on the floor. Well hopefully with this fix the towel holder will stay on the wall when the kids try and stuff 6 towels between it and the wall.
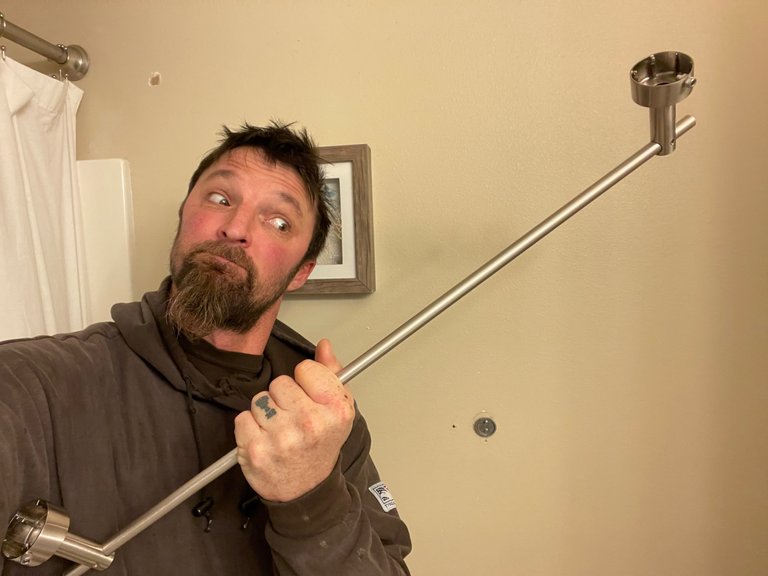
B57402F7-D2BB-40EC-9922-CE6CA0B01EE2.jpeg

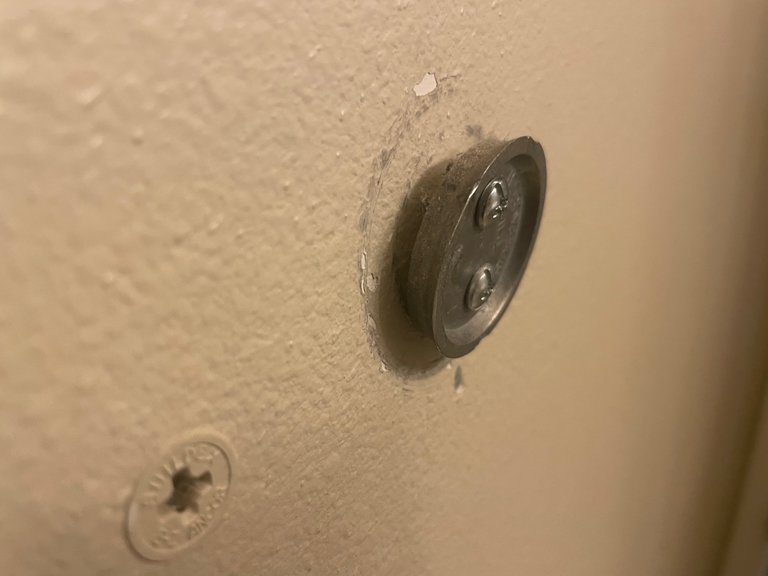
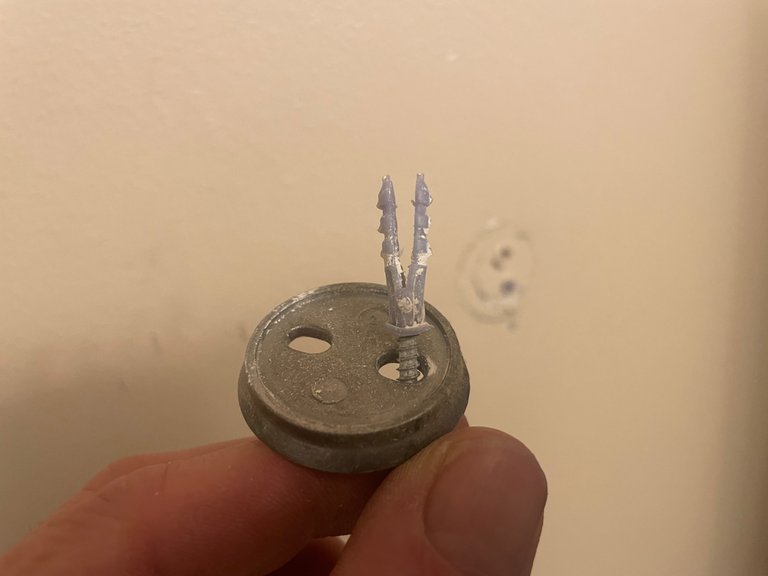
This time the kids didn’t rip the anchors completely out of the wall. One of them was close to ripping out and the other has some serious damage around it. Dang!! What the heck are these kids doing??
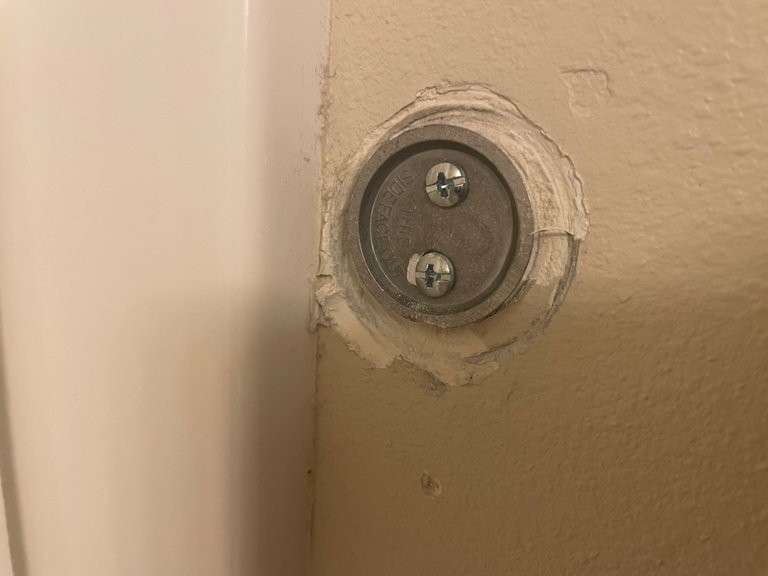
A28ADFAE-1163-4C2E-9656-DBB3BACAF2E8.jpeg
07DE45D5-AE6E-4DD9-91BE-8AED516C7763.jpeg

Anchoring a towel rod or rack just to the sheetrock doesn’t cut it. They make all these fancy anchors you can use but nothing holds them in place like the 2x4 stud behind the sheetrock. Unfortunately the studs don’t typically line up exactly with where the rod/rack needs to be attached. This rod needs to be close to the shower because if it is farther away where it lands on the studs then it would be behind the door. I got an idea should make this towel rod nice and solid.

The towel rod points of attachment are 24 inches apart. So I dug through the garage and found a piece of scrap 1x3, then cut it 6 inches longer than the towel rod.
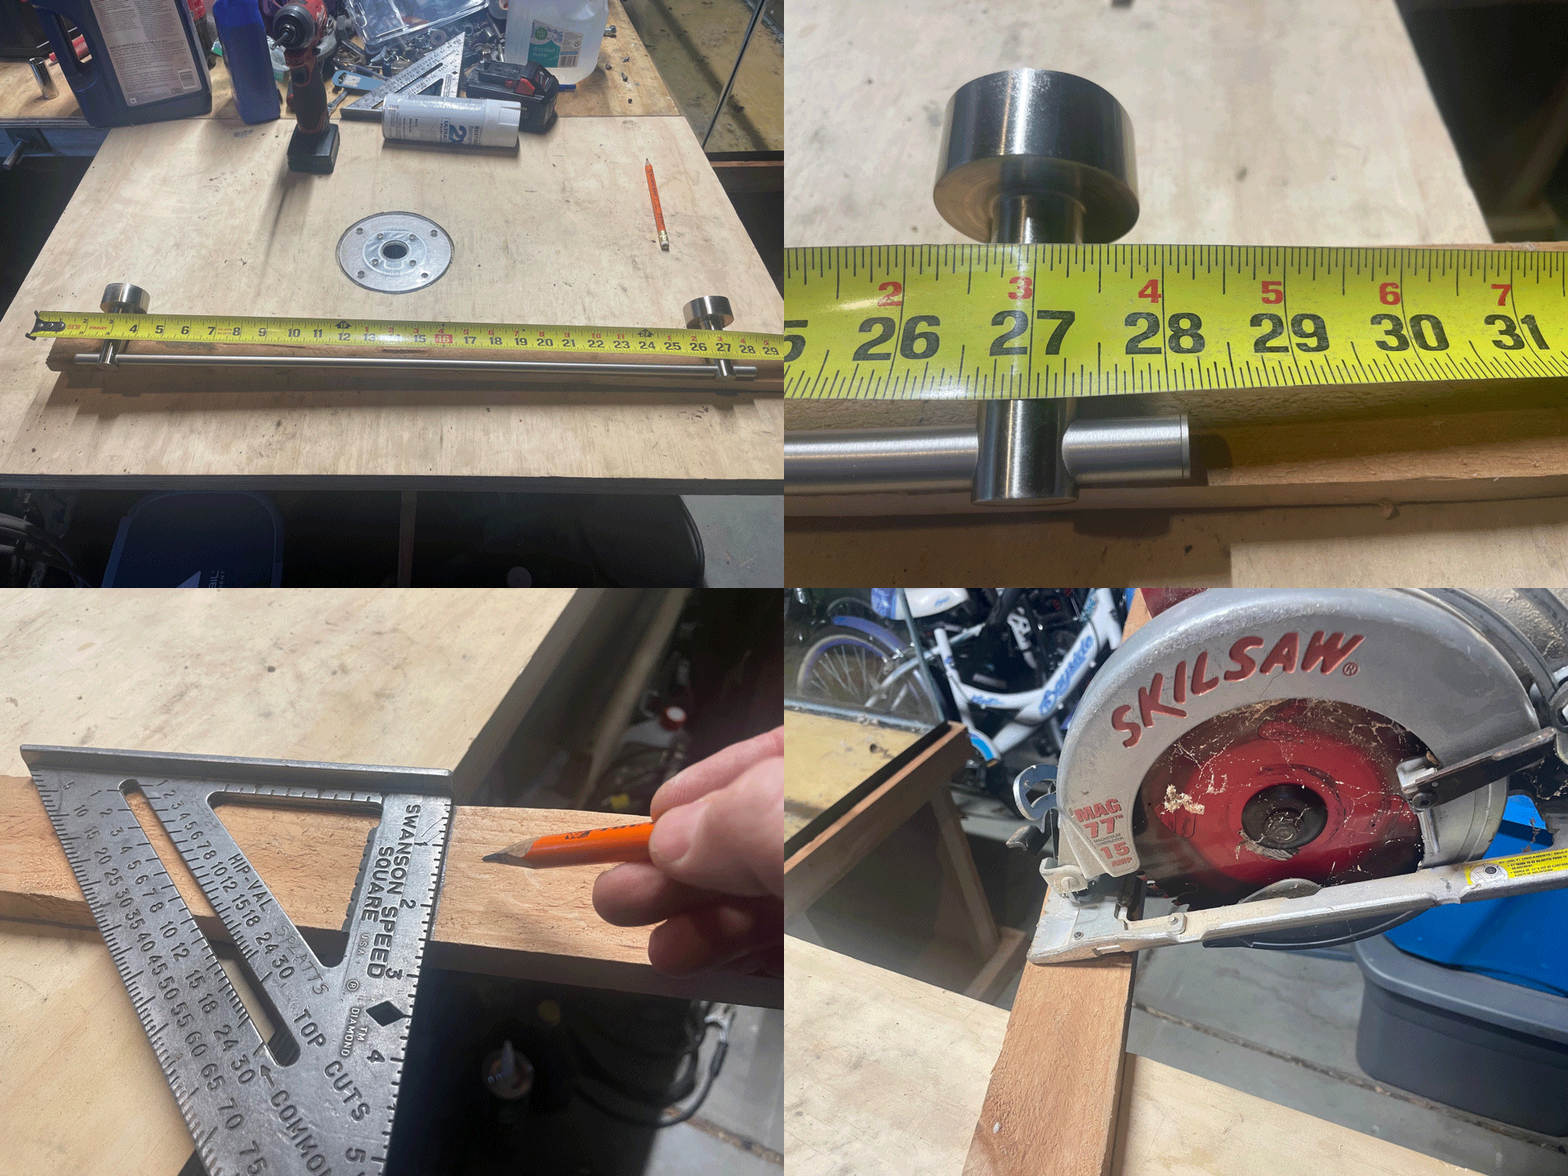
5B1FA0BE-7D78-46BF-BA4A-BF2BA3B849C8.gif

To make it look a little nicer, I used my router table attached to my work bench to round off the edges of this 1x3
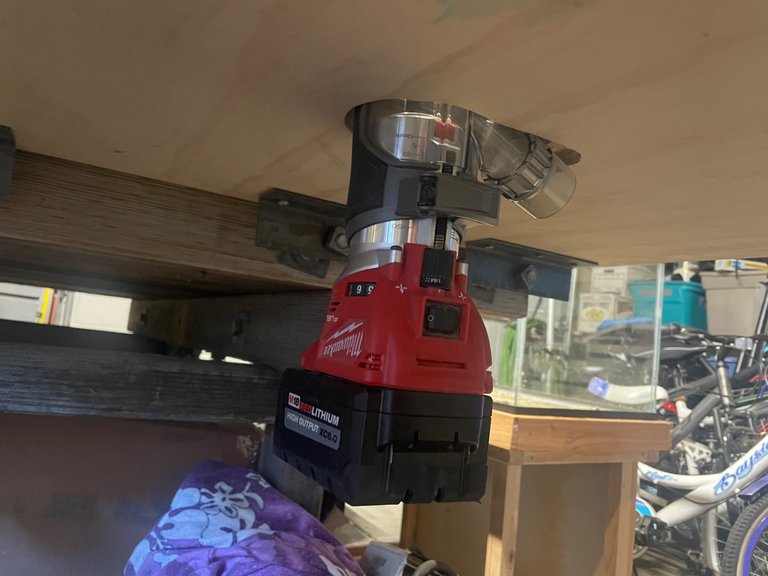
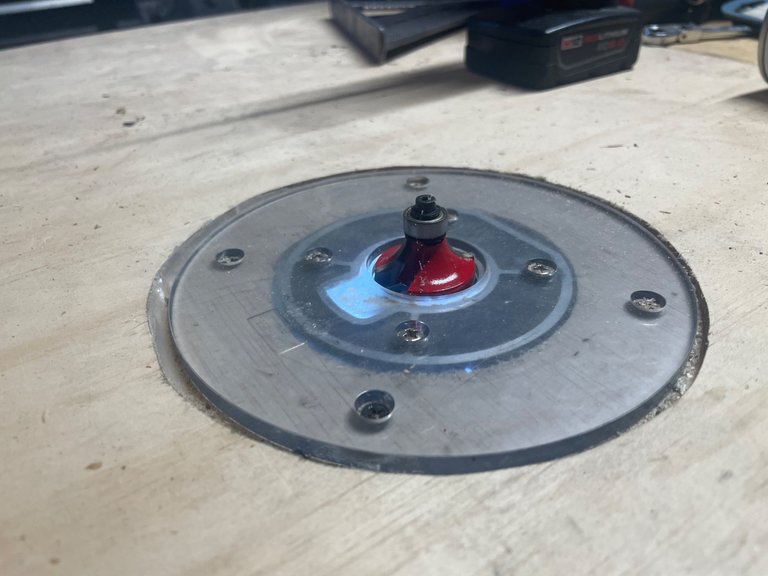
6634079D-3931-403F-B84F-CAF84044868A.jpeg
D1C9662A-3109-4A70-BC54-8F6B09CA6157.jpeg

I took a scarp piece and ran it through the router with a 1/2 inch rounding bit. Just to make sure that it was adjusted correctly. Then I ran the piece though it rounding off all 4 sides.
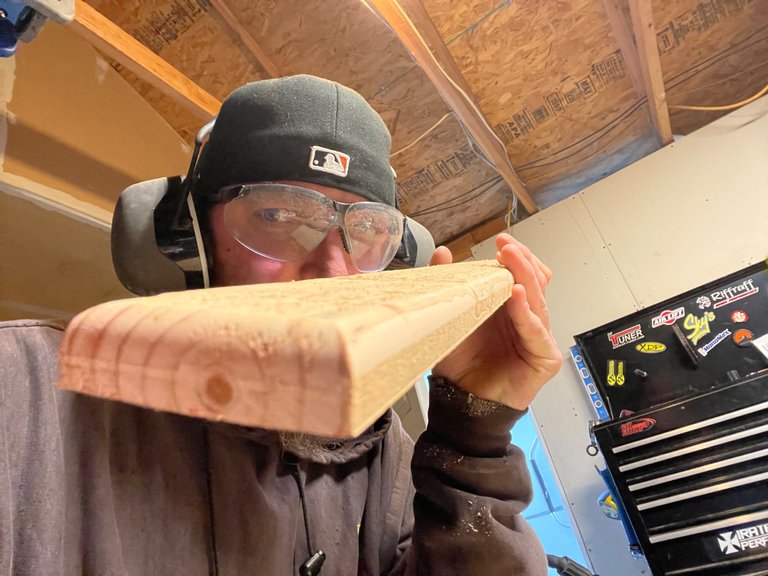
6246B777-17AC-46A8-9FFA-208EBF1625BA.jpeg
Don’t forget your eye and ear protection!!

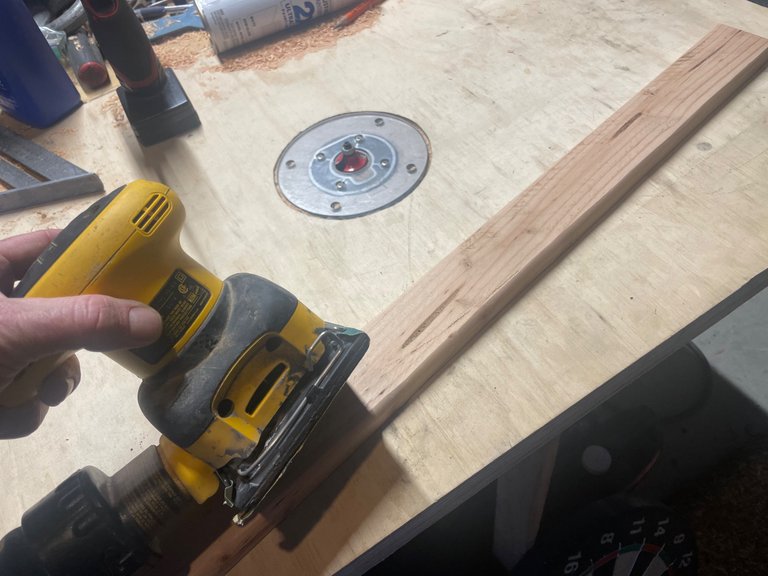
This is some rough lumber, so it’s gonna need to do a little bit of sanding to smooth things out.
0ADB282A-46CE-4A07-8064-8BF5A3814A87.jpeg
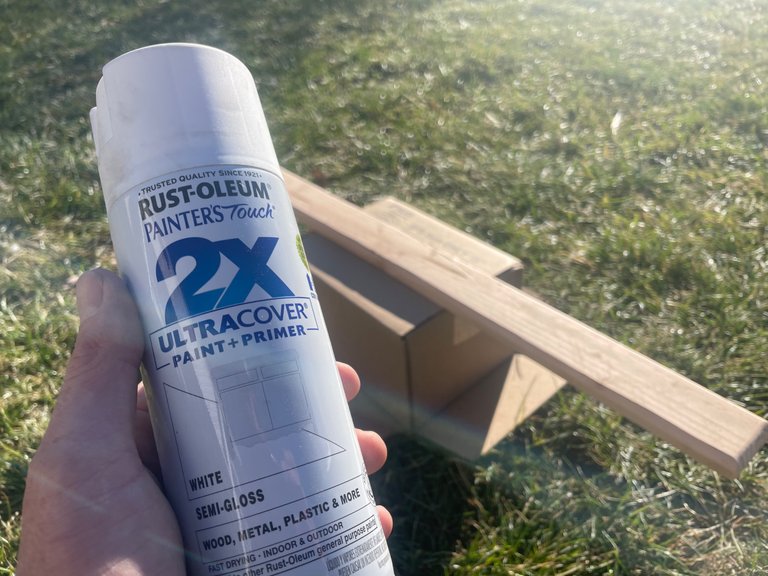
Then lay down a few coats of white paint so it matches the bathroom
AFEDA5EF-55FD-4797-9B53-E3F75B1B15BD.jpeg

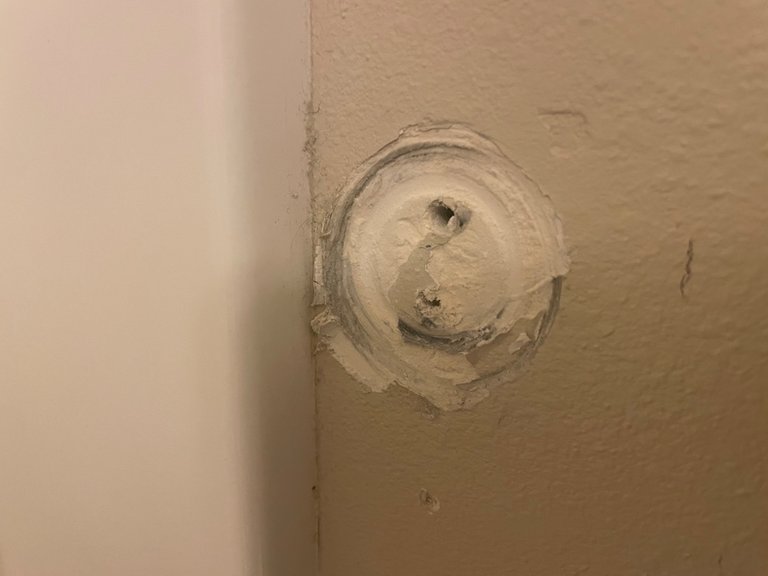
While the paint is drying, I went into the bathroom and removed the towel rod mounting plates. One side was in the stud but the other had those junk Sheetrock anchors.
E193F6CC-E5C3-4AA6-9021-BA681B2D1BEF.jpeg
Look at that damage to the wall… DANG!!
E1A3B0BC-62B5-4306-A72A-550F1E5FD9D0.jpeg

The good news is that the new towel rod mount with cover all that up. You know just hide it behind there instead of patching, texturing, and painting the wall.

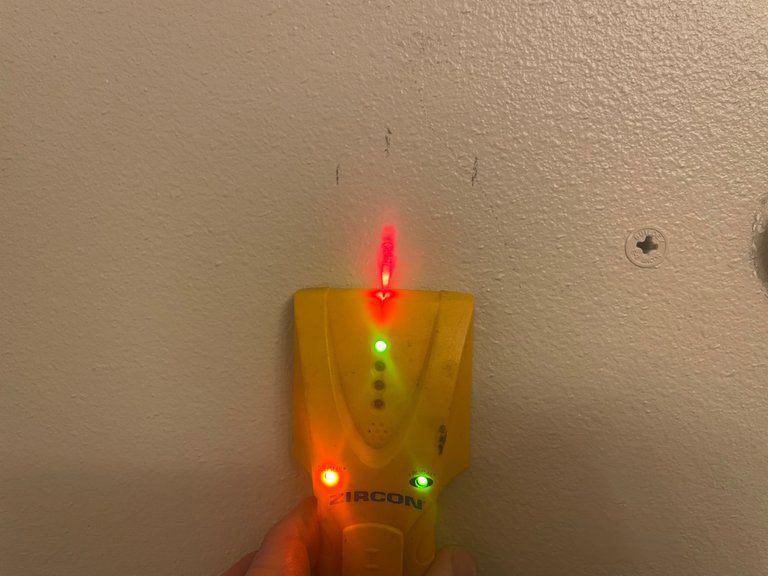
Time to bust out the ol’ stud finder and locate the studs. I’m gonna throw a couple 2-1/2 inch screws right in there somewhere… the other side has studs right next to the shower.
6B199022-F935-440A-8110-F6F42E66DA17.jpeg
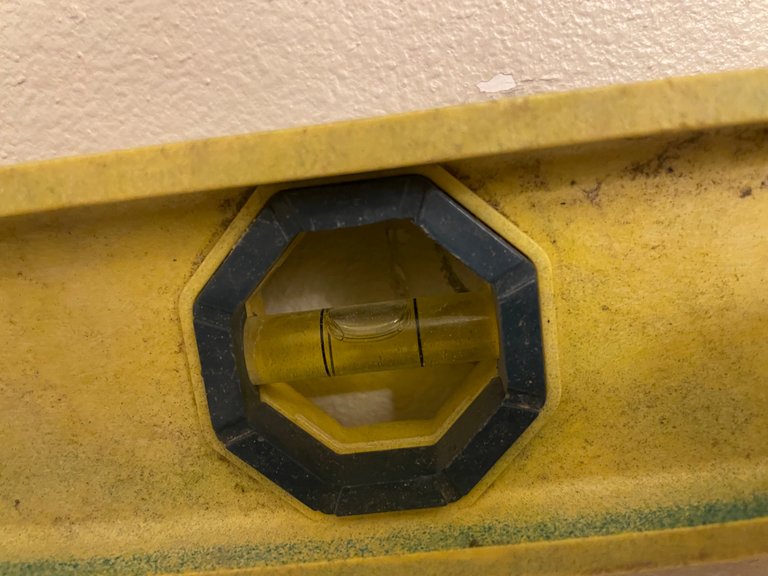
Then use a level and mark a straight level line where the board will screw into the wall.
F76E95E2-FA7F-46BE-947B-2CA1C1CC872D.jpeg
2B8FD163-6C08-471C-8449-2A0009F03E56.jpeg

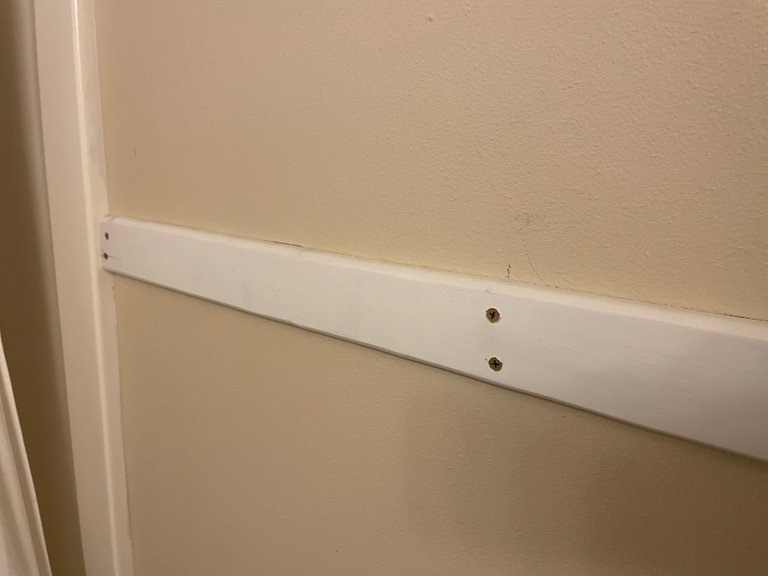
Just hold the top edge of the board on the level lines I made and screw them in. I put one screw in the top on one side to hold it while I get the other side just perfect to the line. Then drive all 4 of those 2-1/2 inch screws all the way into the studs.
802076FA-F41B-4B11-8764-18DB19355AAB.jpeg

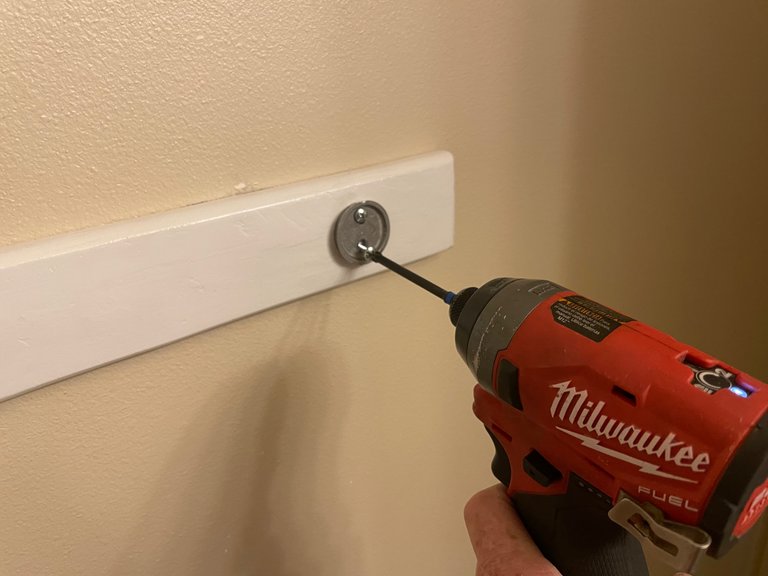
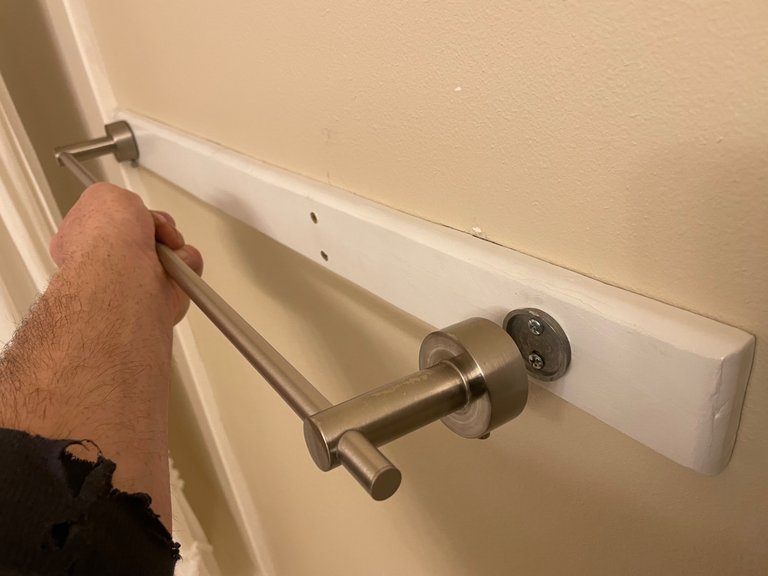
To mount the towel rod mounting plates I measured in 3 inches from side. Remember I made this plate exactly 6 inches long that the rod mounts. Centered them up on the board and screwed them into place.
6ADC8854-C9B8-45F3-9B7B-38118A03C8B9.jpeg
Look at that, worked out just perfectly
D0C84123-42D6-4465-9616-109DD2205D8D.jpeg

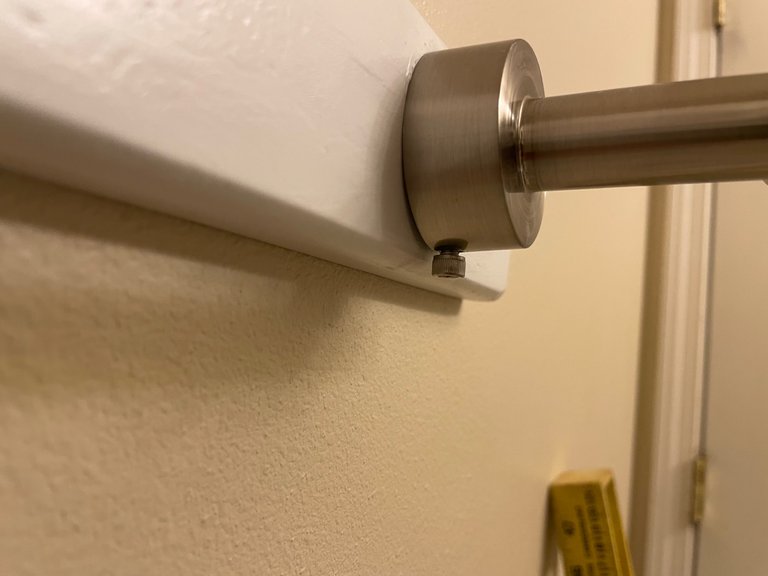
All that is left is to tighten the set screws on the bottom and this towel rod is back in business.
290AD73C-91F9-4B54-BA8D-17C358F63A30.jpeg

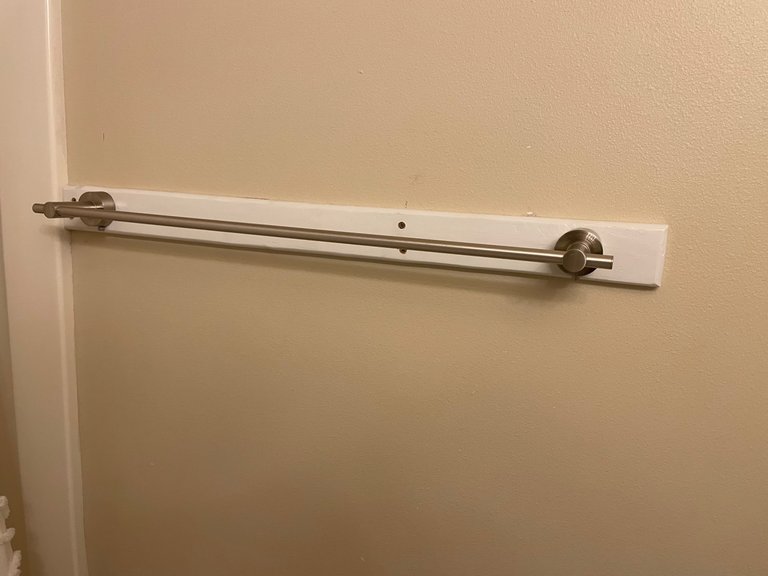
Just a little caulking over the screws and a dab of touch up paint and this little project is done!
7BCECBEC-C329-4692-8B76-BD4D11994CC3.jpeg

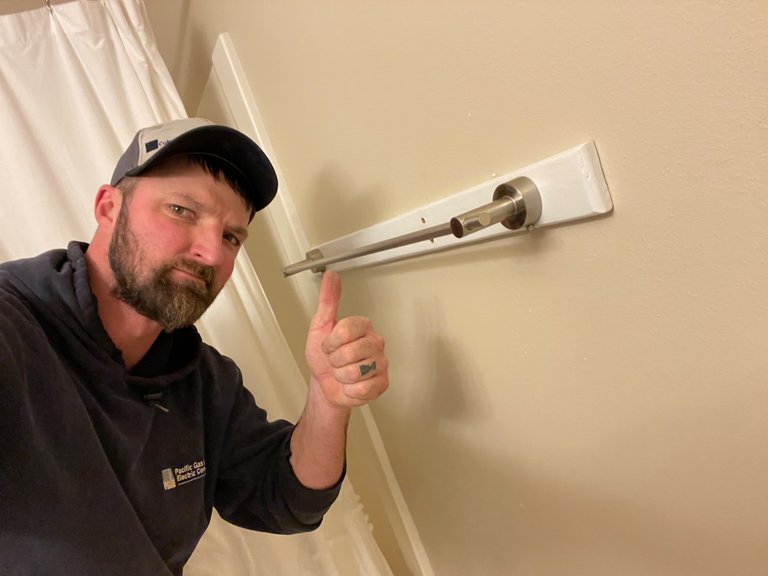
I started this project before we left for a week long Dr appointment with my son. Then didn’t get around to it for another week. Dang I am such a procrastinator. Lol. Oh well it’s up and strong as all get out!! Let’s see you kids rip this rack out of the wall.
316491A4-D7BE-4E6D-93E0-C2423253884E.jpeg

9730FF78B35142D89349809F353FBB53.png

Your Random
Dose of...

Join us in the Mancave!

93CFC9FF-4DAD-48B2-AEBC-C368B868548F.png

B3BEB29A3854409FBA0F3C7B534887A0.png

Sort:  

Good job, but if I were a kid, this would sound like a challenge! Let’s see you kids rip this rack out of the wall.untitled.gif

Keep it down!!! My 15 year old might start trying to do pull-ups in there.

whoa, u sure get er done! 😊😉👍 I think I woulda just duct tape it! :P

Like they say… “Duct it or F it” 😂😂

😂🤣🤙

Handy tip to anyone doing serious remodeling or building new: install blocks between the studs at a suitable height for towel racks, hand rails, and other such features. Make a note of the height and location, and you're set!

Lay some 2x6 flat and nail it between the studs. Gives you 5-1/2 inches up or down. BRILLIANT IDEA!!!

I know I have specified that with 2x12 on some blueprints for stairway handrails.

I remember doing that back when I used to frame houses. Adding it in bathrooms would be nice.

That is sweet work. Mine is still just off. I’ll wait till they are older to fix it. Ha

!PIZZA

I hear ya on that one!!! Lol Either they are too short and end up ripping them off the rack or they stuff them between the rack and the wall… it’s a never ending battle

🍕 PIZZA !

I gifted $PIZZA slices here:
@dkid14(8/20) tipped @splatts (x1)

Learn more at https://hive.pizza!

This is definitely something that breaks more often than not...like the toilet paper holder.

I may or may have have tore one off a time or two… I’m not going to admit or deny…
untitled.gif

Let’s see you kids rip this rack out of the wall.

I'm the wise guy, farm-mom had nothing to do with it. Opened up the wrong account.
untitled.gif

DAHAHAHA I’m just glad they are old enough now not to treat it like a jungle gym… or are they??!!

I'm imagining a long-term solution with some kind of scaffolding pole/ joint rig-up; that way they could all swing on it the day long ;-D Hehehe- great work and brilliant, entertaining tutorial, dear @splatts !!

I’m going to have to do some serious remodeling in order to make it a bathroom Playground. LOL

Thank you for sharing this post in the DIYHUB Community!

Your content got selected by our fellow curator desro & you just received a little thank you upvote from us for your great work! Your post will be featured in one of our recurring compilations which are aiming to offer you a stage to widen your audience within the DIY scene of Hive. Stay creative & HIVE ON!


Please vote for our hive witness <3

untitled.gif

I have old old old crusty drywall in my walls. This might be a solution. I want a stud finder.

A magnet works to find studs also. It will find the drywall screws used to attach the drywall to the studs

Wtf didn’t I think of that?!!!!!!!!!!!!!!!!!!!!!!!!!!?!?!?!?!?!?!?!!?

Don’t answer that.
Thank you. I’ve been trying to use the knuckle and ear technique… me make drum go bang bang bang… stupid musician shit.

DAHAHAHAHA!!!! You should have a pretty good ear for that. I bet you are pretty accurate.