A few of hours ago I became aware of a DIY challenge on Hive. Was I thrilled? Absolutely, I love DIY projects. I quickly put myself to work, I realized that I had just thrown away some of the waste materials I had collected for such projects. I decided to use whatever was available at home.
Material needed
Like I said I just used what was at home, so this is a very simple project.
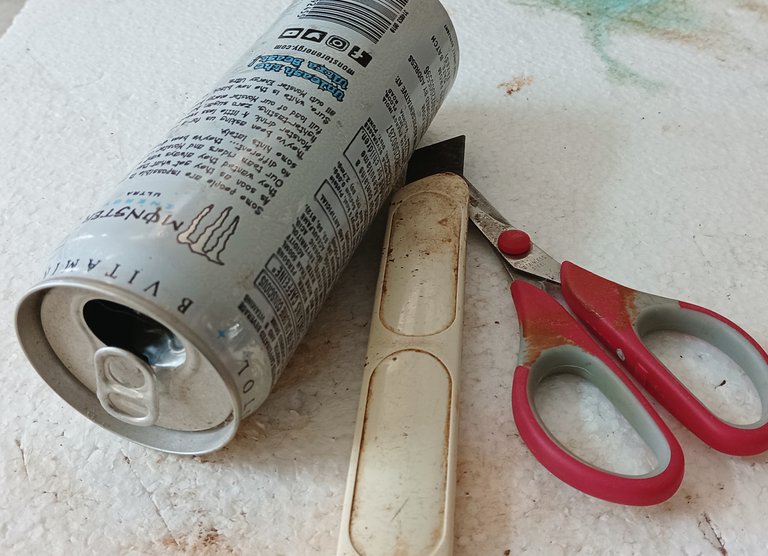
- A can of some monster drink
- a knife,
- a pair if scissors,
- a small foam board,
- aluminum foil
- a marker pen

Step one - Deciding on the measurements
Let's get started
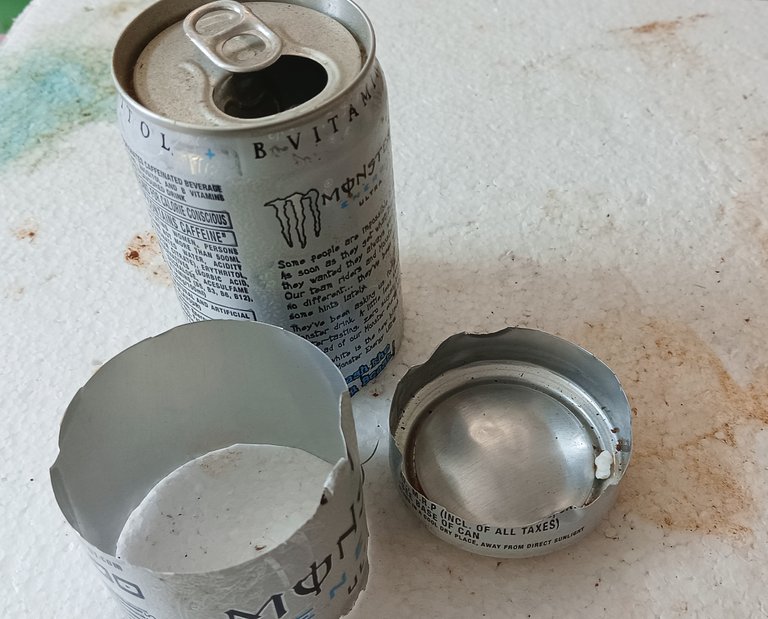
After collecting the material I decided to cut the can into three pieces. The main piece at the top of the can , the size depends on what size you want your tea pot to be. Since I had only one can I had to ensure that I could make all the parts with the material available from that one can.
Step two - Cutting the soda can
The top piece was about four inches long, the bottom piece was one and a half inches long and the left over middle portion was used for the spout and the handle. I made an incision with a knife and cut the can with a pair of scissors.
Step Three - Fixing the Body of the teapot
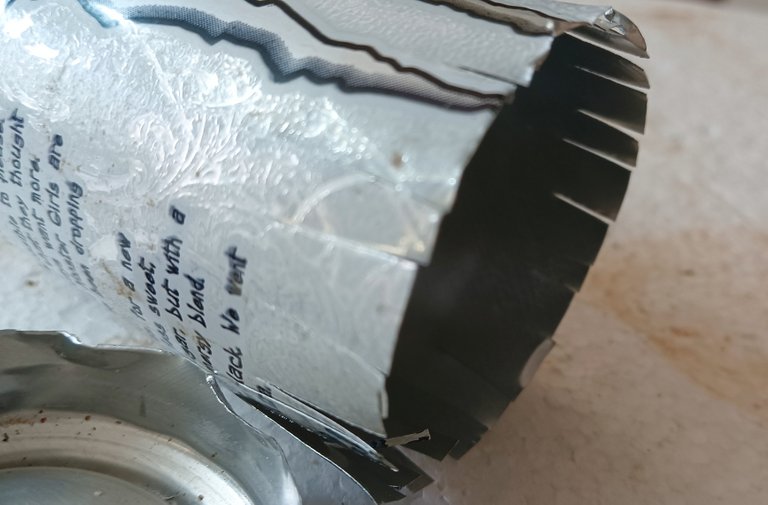
Next, I inserted the top part into the bottom piece, I cut some short fringes at the end of the top piece to ensure that it fitted well into the bottom piece. The two pieces fit quite snugly and I didn't have to stick it with glue as I had planned to.
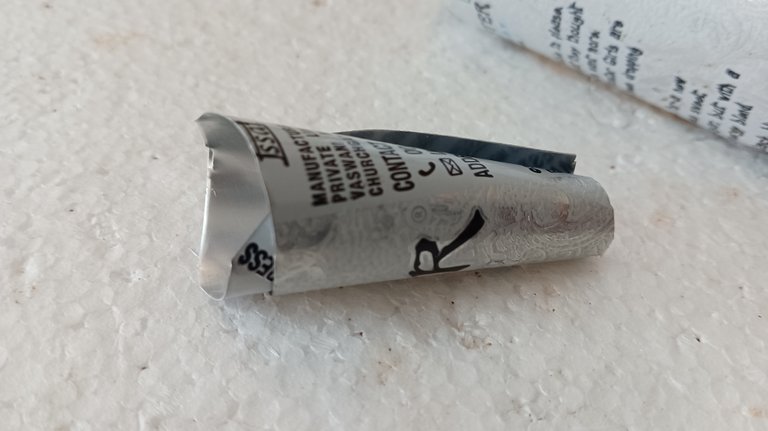
Step four - Making the spout
Now, I cut the center portion in the middle and flattened the sheet. I cut this sheet into two parts and rolled one into a cone. I kept one end thin while the other was wide.
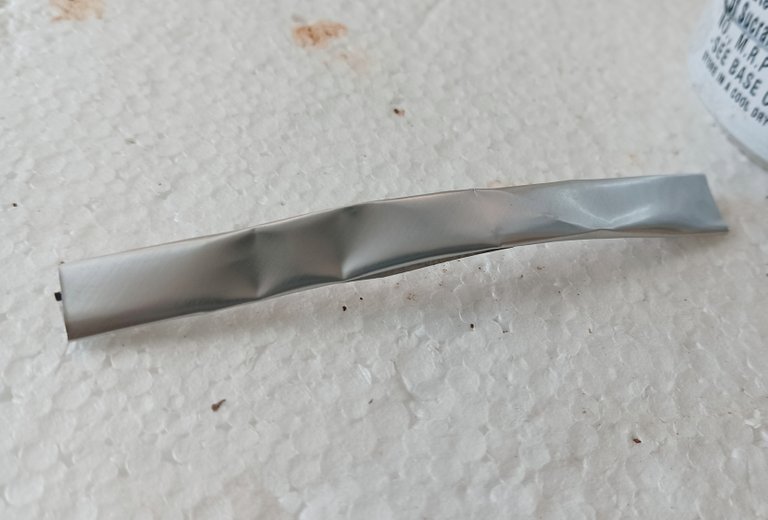
Step Five - Shaping the handle
The other piece of the middle portion was used to make the handle. I folded the strip horizontally to make it into one folded tin sheet.
This was bent around a curved surface to get the required shape and shaped into a handle.

Step Six - Making space for the spout
I used the spout to measure the circle that needed to be cut out to insert the spout. I marked out the circle with a marker pen. This was done one inch above the bottom edge of the first piece. I pierced with a knife and cut the circle with a pair of scissors.
(Sorry, I forgot to take the picture here).
Step Seven - Fixing the spout
Now I inserted the spout into the can. Since the measurement was perfect the spout fitted perfectly in the can.
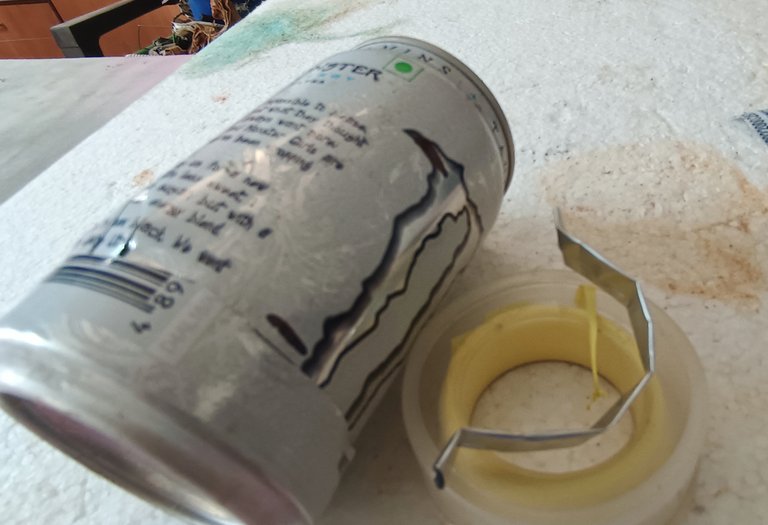
Step Eight - Fixing the handle
The handle was shaped into the upper case omega sign Ω. Now I measured this on the can and marked of the place for the edges to be inserted. I made two cuts with the blade to enable the handle to be inserted into the teapot. This was quite easy and it fit very well.
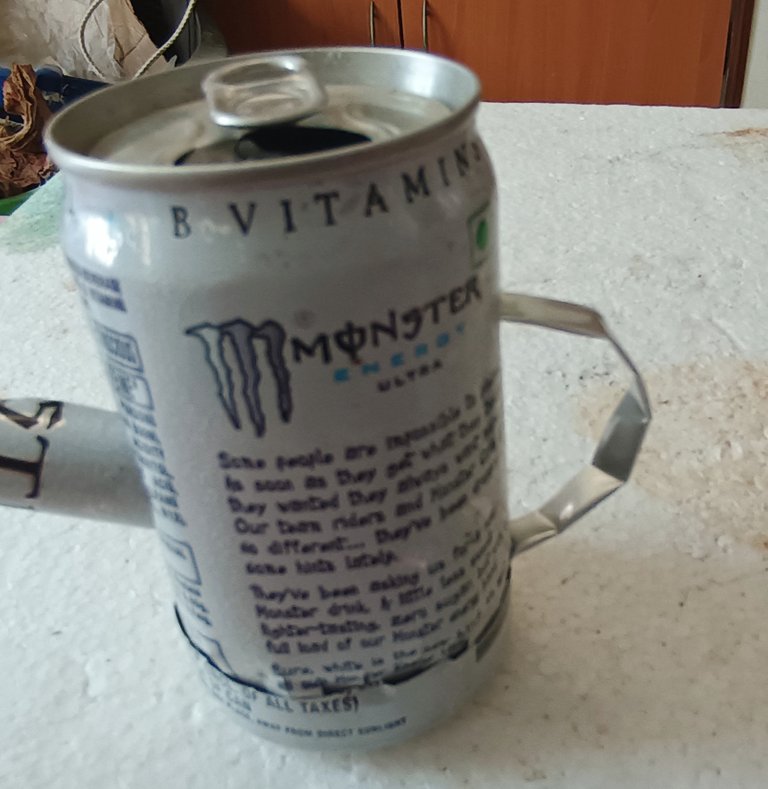
Step Nine - Big mouth
Now, I cut open the top part of the can to give tea pot a big mouth. This was tough part. This did require a bit of elbow grease.
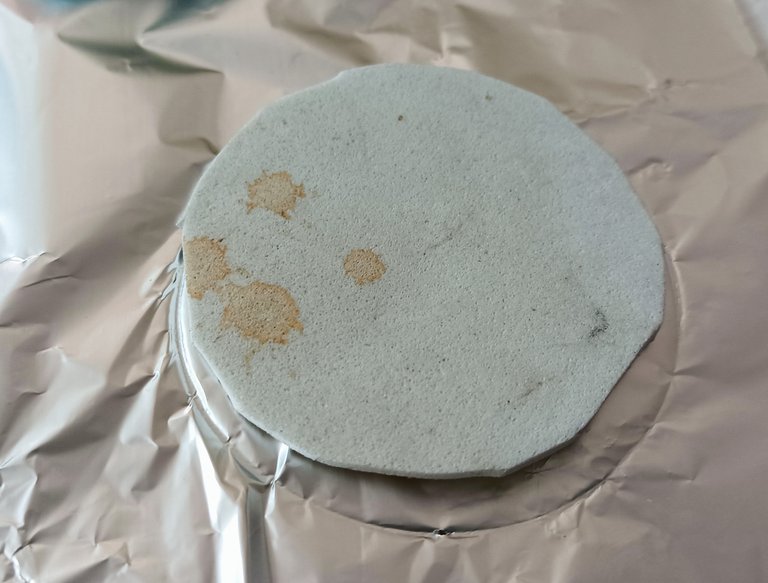
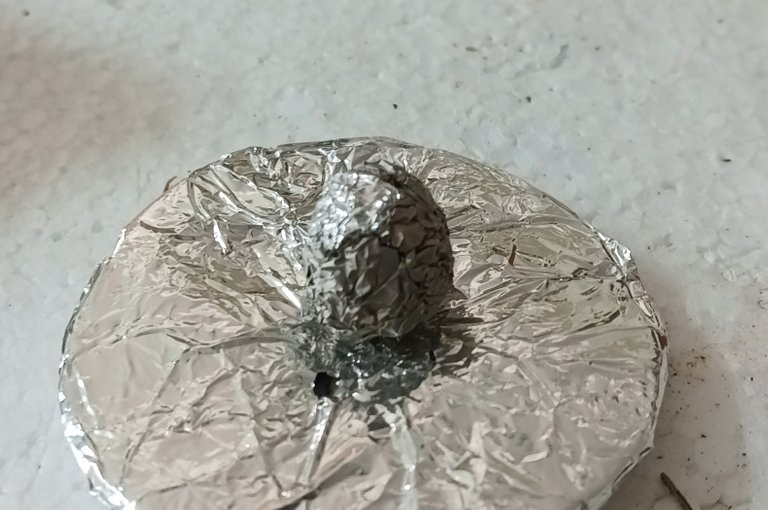
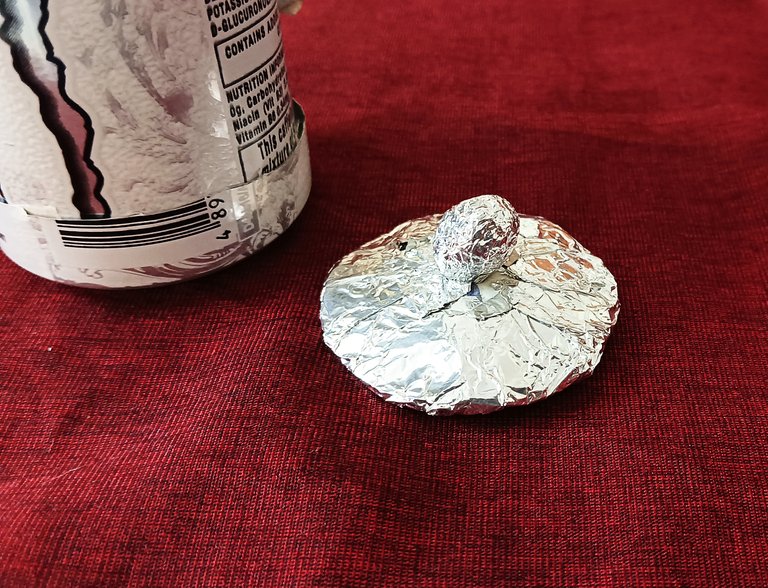
Step Ten - Making the lid
Now I measured the mouth and cut out a foam circle to size I made a tiny ball with aluminum foil. I stuck this to the center of the foam circle I cut out and wrapped this in a bigger sheet of aluminum foil. I shaped it like a hat and Ta Da my lid was ready.
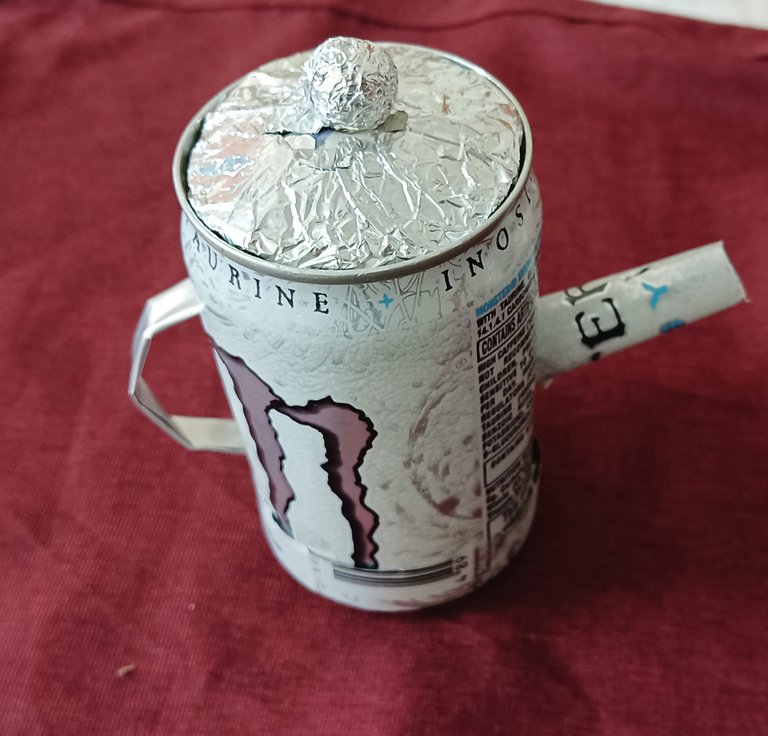
Step Eleven - Planting a trailing vine
There you go my soda can teapot is ready. I decided to add some soil into the soda-can teapot and added some Baby's tears plant, I didn't drill any holes into this can as the I felt that the teapot joints would be sufficient to help drain away excess water. This plant loves moist soil, but if needed I might pierce a couple of holes to ensure drainage.
This is my submission for the DIY theme of the month contest Thanks for your time and support. I hope you like my little teapot.